2. Computer-Aided Design
2D Design with Inkscape
In addition to the pencil sketch for my final project, I also attempted to create a 2D sketch using a computer. I chose to use Inkscape for this part of the assignment. Inkscape works quite similarly to Adobe Illustrator which didn’t work well on my computer. It is free and and is a professional vector graphics software used for design while many others have quite a steep price. While a mouse can work fine with the software I chose to use a stylus on my touch screen. I can imagine that a person who it is more skilled in sketching or has more artistic ability could probably create some impressive 2D designs using this interface.
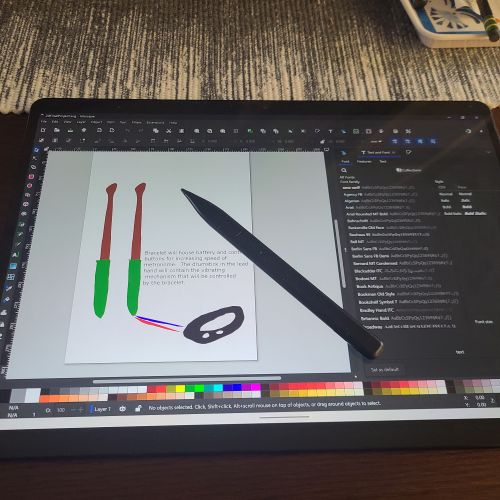
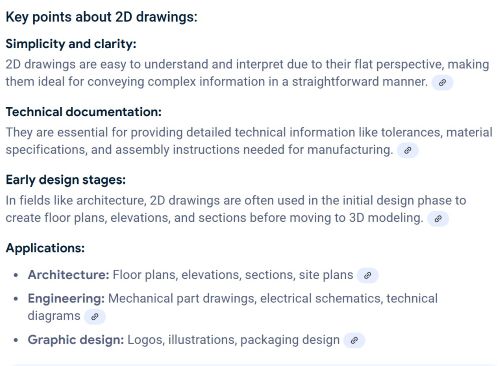
Although I found sketching on this software to be relatively difficult because I was not using straightforward shapes, I did find the exercise helpful in general. It gave me a moment to reflect on the parts and the pieces and what colors I may decide to use and that color is an option in general not only for main components but also for finishing the the final prototype. The components in color also allow for visualization of how much material of each type may be needed. I also enjoyed the look of my idea going from pencil sketch to color cartoon. The final rendering in 2D looks very toyish but I do understand now that the use of 2D computer-aided sketches can be incredibly useful for design purposes. See the key features of 2D design below that I obtained from the website of the Australian Design & Drafting Services. They present a great amount of information on the differences between 2D and 3D design.

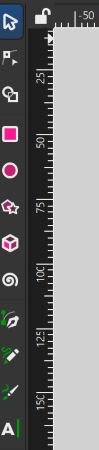
The features that I found most helpful as a beginner were the extensive color palette, the ability to add text to the drawing, the pen tool which allowed me to draw using a stylus on a touch screen, and a catalog of built-in shapes like lines, stars, circles, squares, etc. By being able to add text I was able to further describe my idea and more importantly as I began to write the written description it forced me to update the sketch itself to reflect what I had written in the description.

Tutorials Explored for 3D Design
This week I began to explore computer-aided design using OnShape and Fusion 360. First I used the green instruction line in the index file to create a new page to add notes for Week 02's assignments. You can then copy header codes from week 01's file over to the new page created for week 02 in order to have the same set up and headers. Through this exercise I was able to reinforce and correct mistaken key strokes from last week using Git Bash and Visual Studio to edit the Week 02 assignment page and link on the index page. The remainder of the notes refer to the tutorials I used to familiarize myself with computer-aided 3D design, mostly using Fusion.
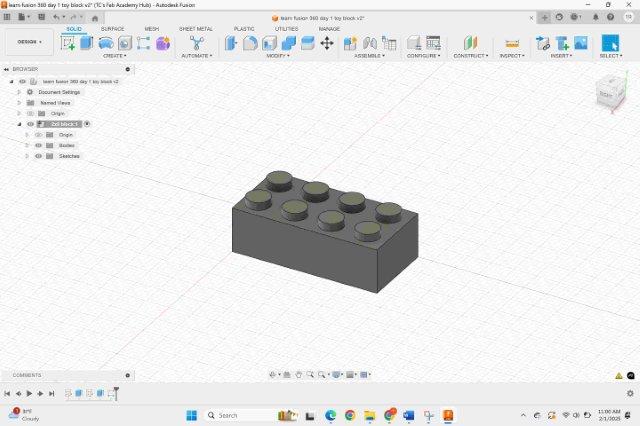
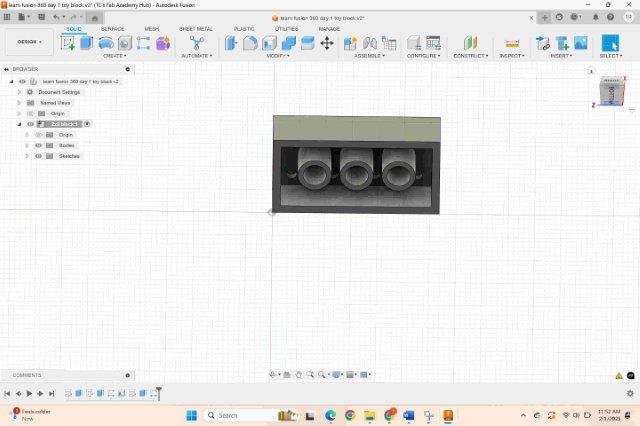
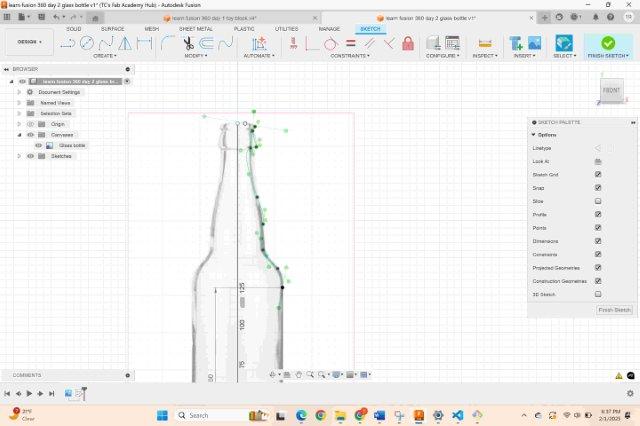
Many tutorials can be found on Youtube from several different organizations. The exercises used to create the photos below can be found in the useful links section also below. The tutorial is a brief walk through of how to use the basic features of Fusion 360. In doing the walk through I learned to design a lego-style toy block using the computer-aided design. It was great practice in sketching 2D shapes that can later be made 3D using the extrusion function. The tutorial also teaches how to replicate structures, hollowing, units of measurement as well as the pattern and fillet functions. The tutorial also gives practice in center snapping lines and shapes and opportunity to change materials and colors of final rendering. The second tutorial with the glass bottle shows how to use the sketch from an uploaded photo feature as well as the revolve function. Both will be incredibly helpful if you are drawing something from scratch.
SAMPLE DRAWINGS MADE USING AUTODESK FUSION
"Learn Fusion 360 in 30 Days TUTORIALS FROM YOUTUBE: toy block
SAMPLE DRAWINGS MADE USING AUTODESK FUSION
"Learn Fusion 360 in 30 Days TUTORIALS FROM YOUTUBE: glass bottle

Coding Notes for the Week
- I learned from one of my instructors that I can minimize the number of commits by viewing the changes made after saving using the chrome browser locally.I will use this going forward to minimize the number and repition of commit-type notes.
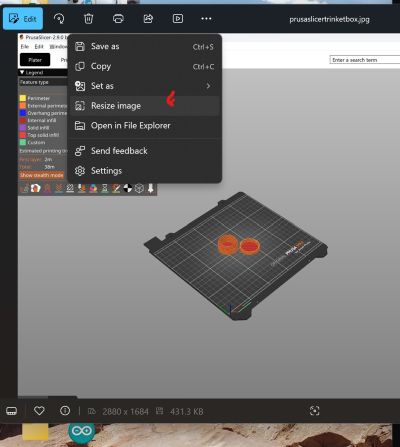
-I also learned that creating a folder for images at the same "level" of the pages they will be copied to leaves for less challenges in the pictures loading correctly. Either separate folcer can be created or the ../ can be used to go back one folder's distance in the directory.
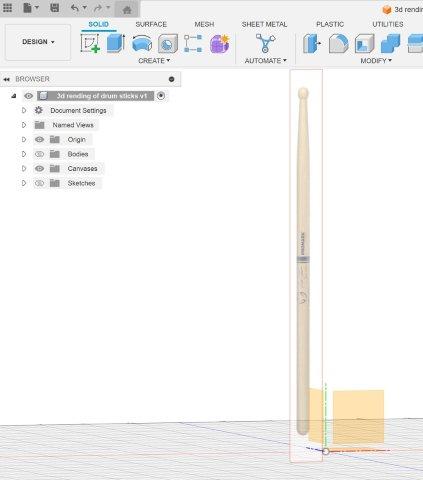
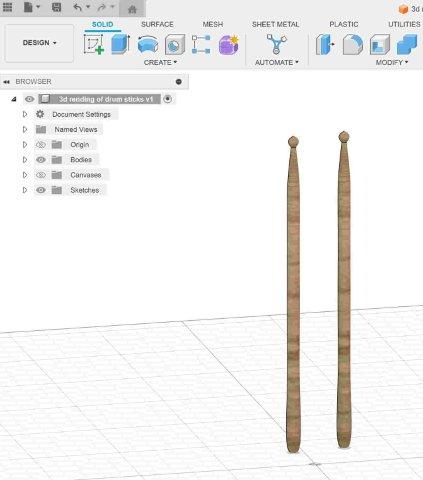
Skill Borrowed from Tutorials above for 3D Sketch of Final Project
I downloaded a photo of Promark 5A drumstick and added it the canvas in Fusion 360 and was able to sketch one half of it and then use the "revolve" feature in order to create a symmetrical 3D rendering out of oak.