3D Scanning and Printing
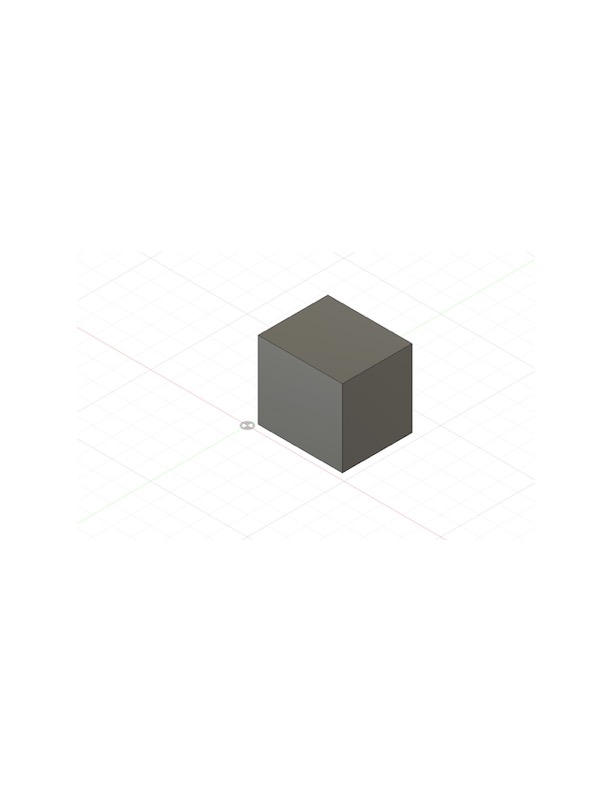
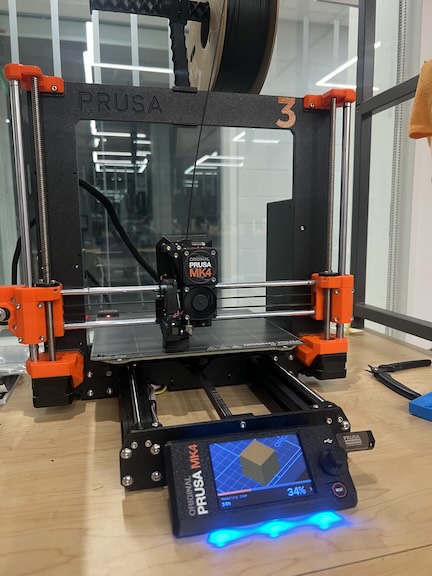
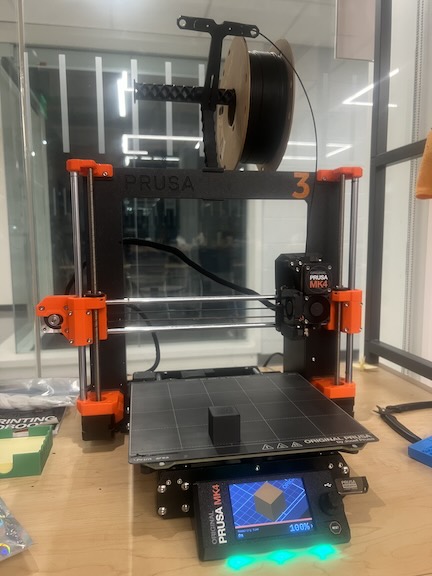
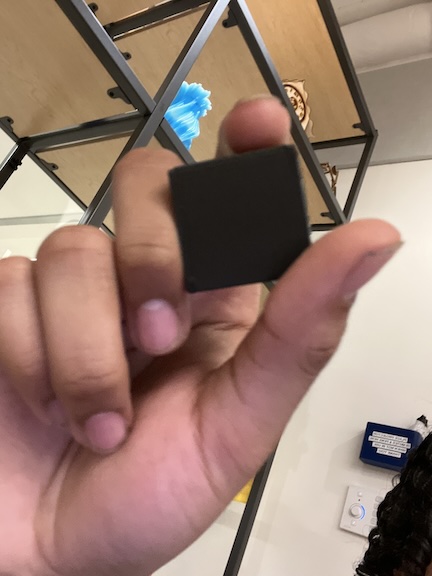
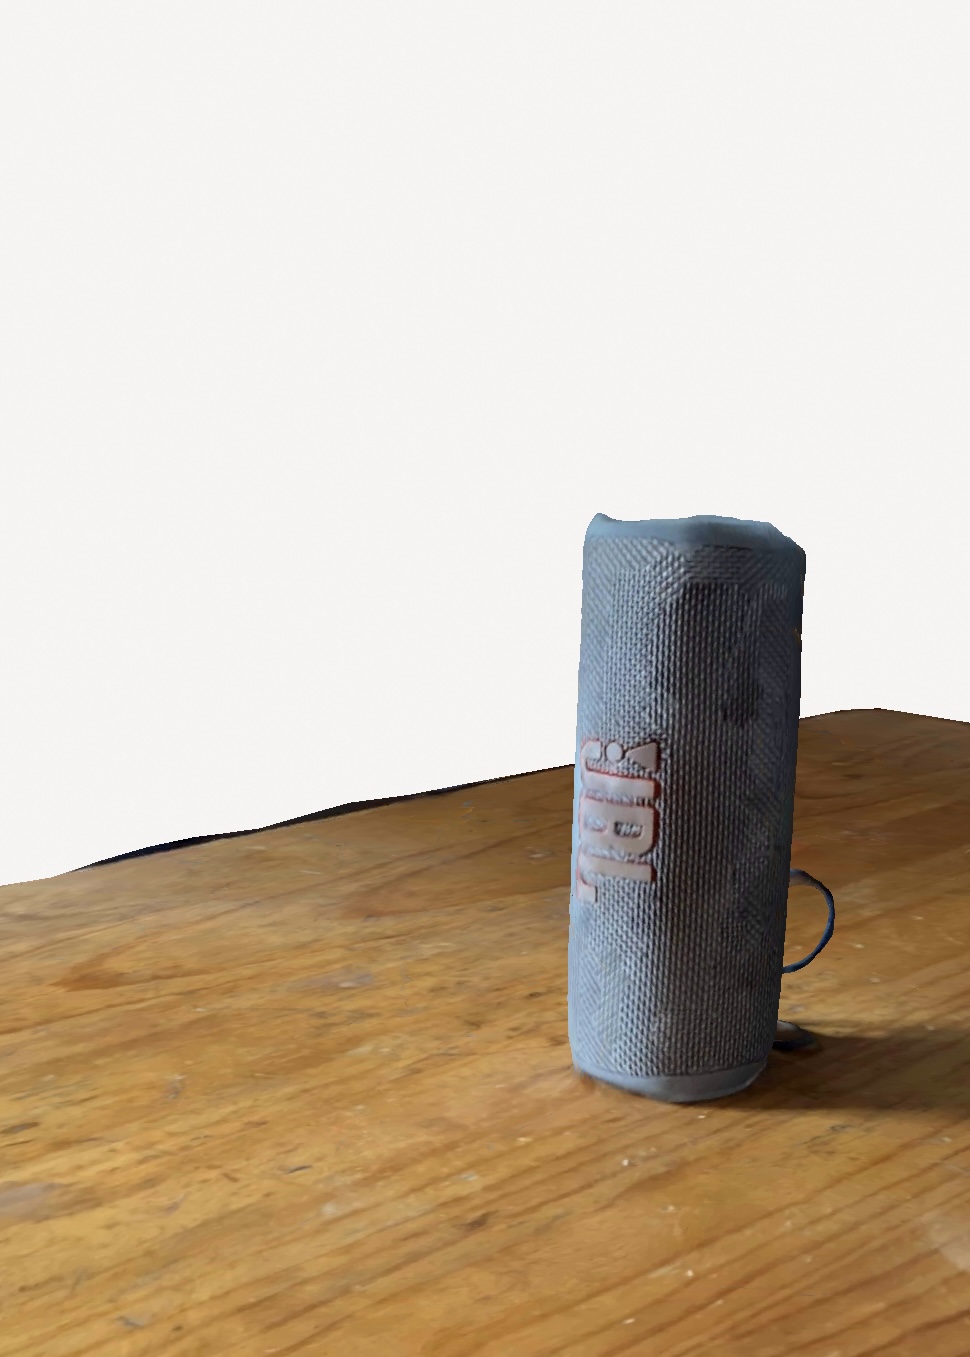
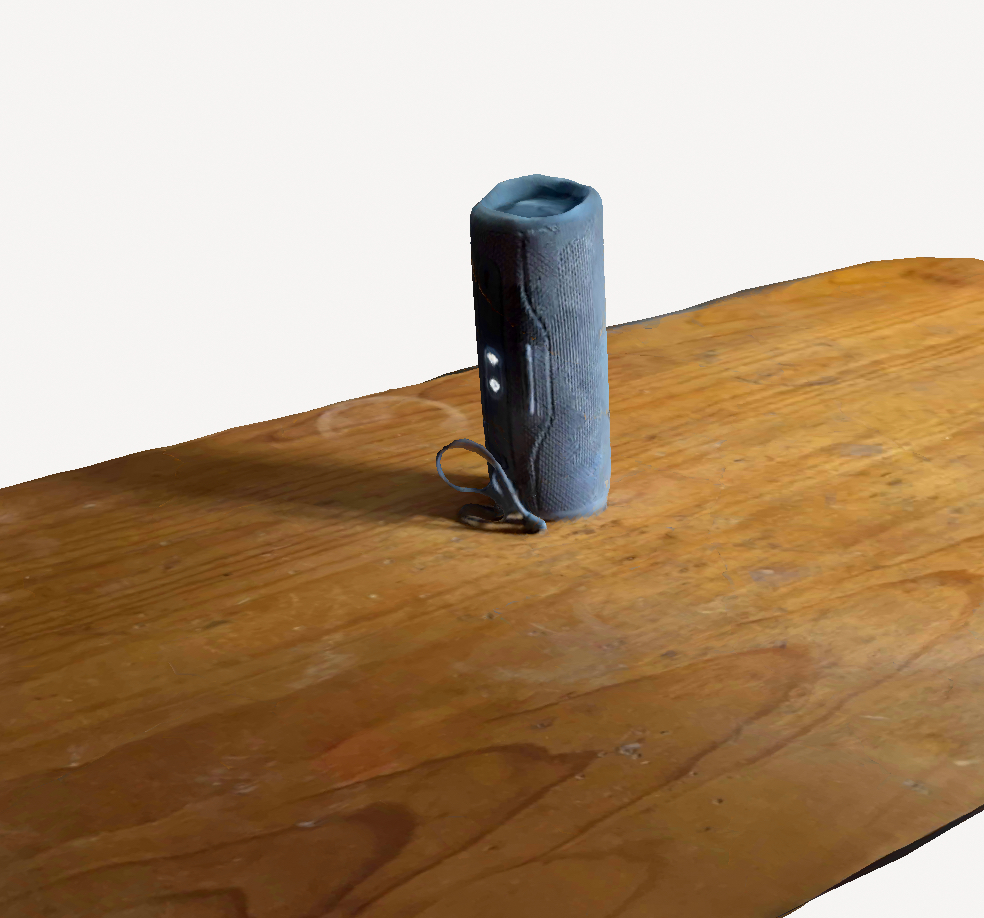
I started by designing a hollow cube in Fusion 360. First, I created a new sketch and drew a square, then extruded it into a solid cube. Using the Shell tool, I hollowed out the cube, leaving a 2mm wall thickness. Once the design was complete, I exported it as an STL file and imported it into PrusaSlicer. There, I adjusted the print settings, ensuring the layer height and infill were appropriate. Before slicing, I previewed the print and set a pause at 90% completion. After starting the 3D print, I waited for it to reach the paused layer, then carefully placed small jewels inside the hollow space. Once the jewels were inside, I resumed the print, allowing the final layers to seal them in. The result was a fully enclosed hollow cube with the jewels trapped inside, creating a unique effect. I used Polycams 360 feature to take multiple photos around my speaker, letting the app stitch them into a 3D model.