
Applications and implications,Project development
About This Week
I have proposed my final project this week, which combines most of the key units we have studied so far. In the proposal, I clearly explained the hardware components that will be used in the project. I also provided a detailed breakdown of the cost of each component and specified the sources from which they will be purchased. In addition to these technical details, I answered several questions related to the project's application, purpose, and overall feasibility.
Objctive of the Assignment
Plan a final project masterpiece that integrates the range of units covered, answering:
What will it do?
The PandaX project is an AI-based module designed to respond to human actions and emotions. For example, when someone raises their hand, the panda will react by waving back. The goal of the PandaX project is to make learning more interactive and enjoyable. It will be used in schools to engage children through emotion-based interactions. By recognizing emotions and responding with "Hii" using oled display, PandaX will help students learn, play, and express themselves in a fun and meaningful way. This smart panda aims to become a friendly digital companion for students, creating a more exciting, supportive, and joyful classroom environment.
Who's done what beforehand?
I searched on various online platforms, but I couldn’t find any project exactly like this one. Although there are many panda designs available in the form of toys, I did not come across a panda that can respond to human actions or emotions.
What sources will you use?
To complete this project, I will use different types of sources. I will buy the hardware components like the Xiao ESP32-S3, OLED display, servo motors, and sensors from online websites such as Amazon, Digi Key, Seed studio offical website, depending on availability. For technical help, I will use official datasheets, online tutorials, GitHub libraries, and also take guidance from my instructor. I will also watch YouTube videos and read online forums to understand and fix any problems. These sources will support me in both the hardware and software parts of the project.
What will you design?
For this project, I will design a PCB that connects all the hardware components like LEDs, an OLED display, and servo motors. I will use the Xiao ESP32-S3 as the main controller on the PCB. Along with this, I will also create a 3D design of the panda. In the panda's body, I will make space to fit the servo motors so that its hands can move properly. My goal is to combine all the electronic and mechanical parts in a simple and effective way to make the panda work smoothly and look nice.
What materials and components will be used?
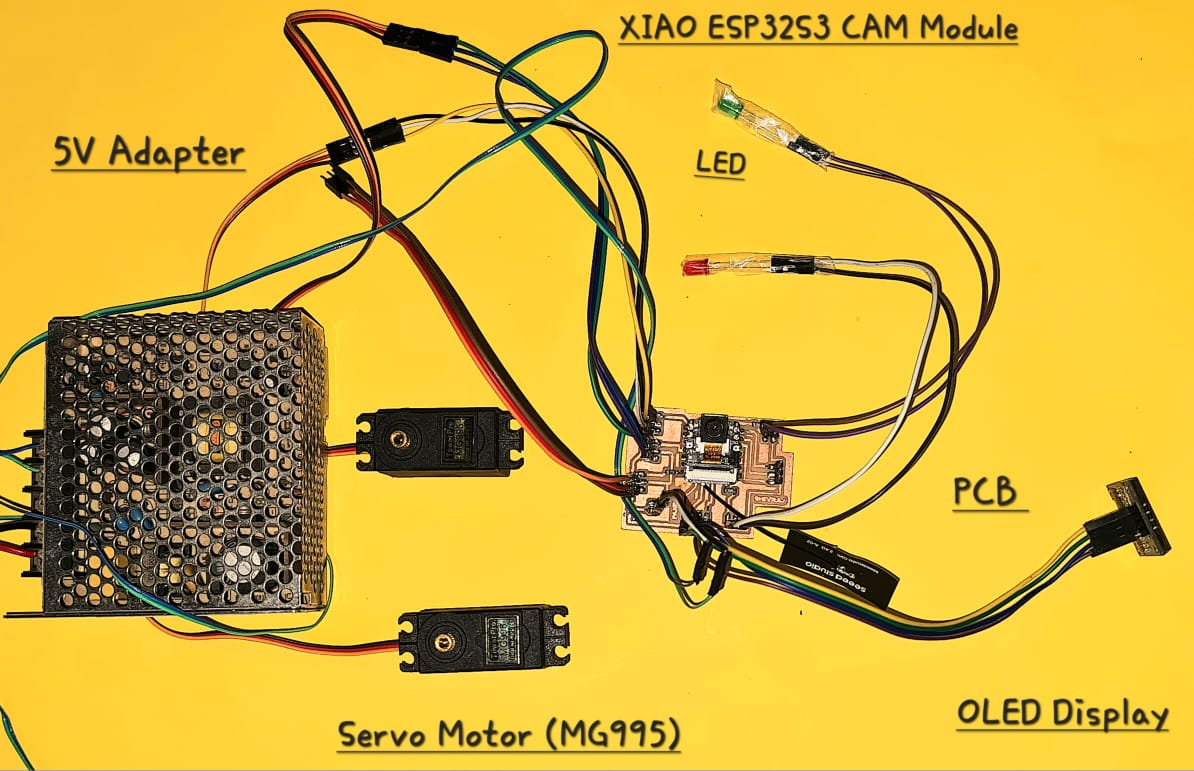
|
| All components used |
|
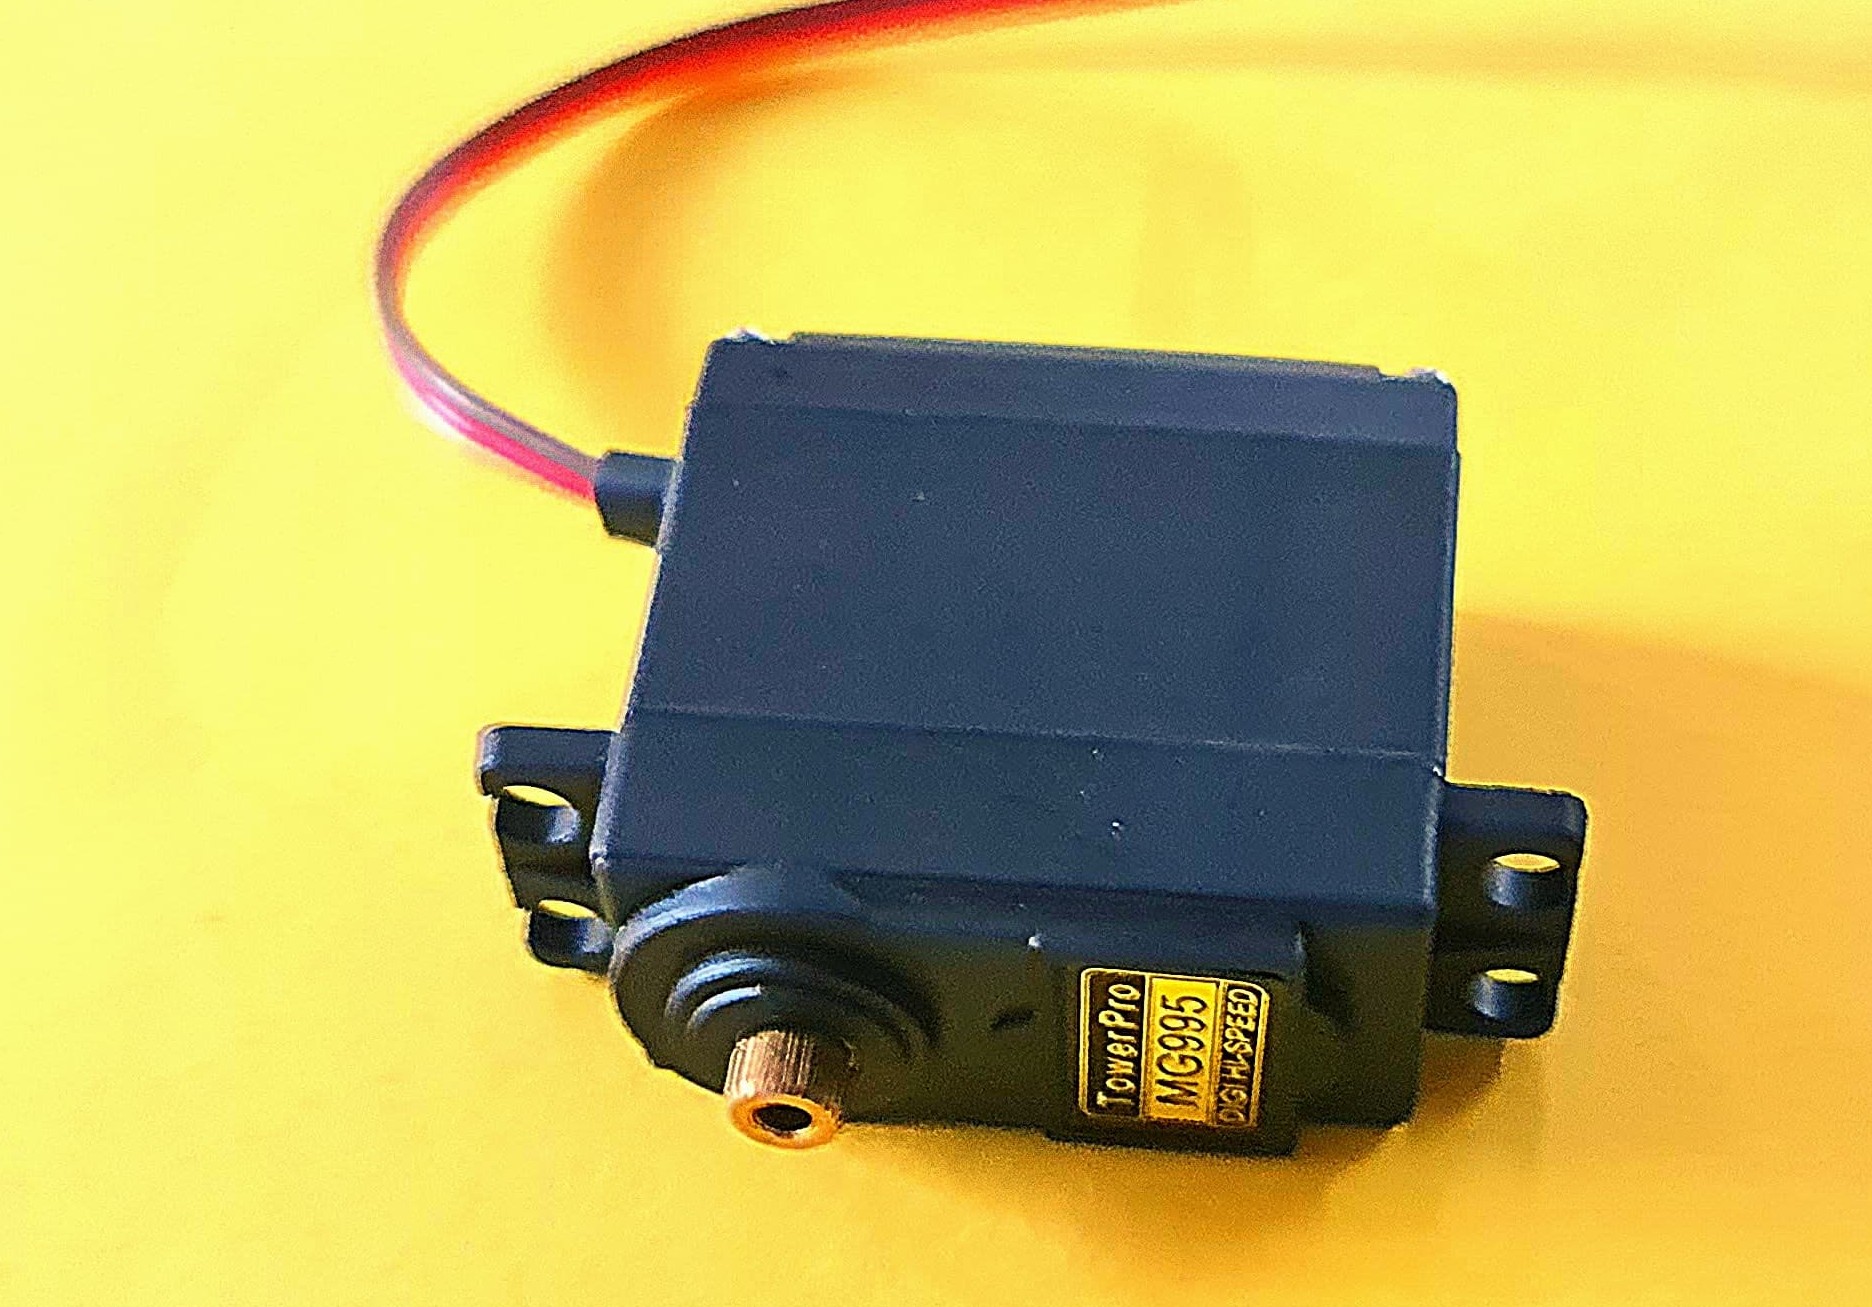
| (MG995) Servo Motor |
|
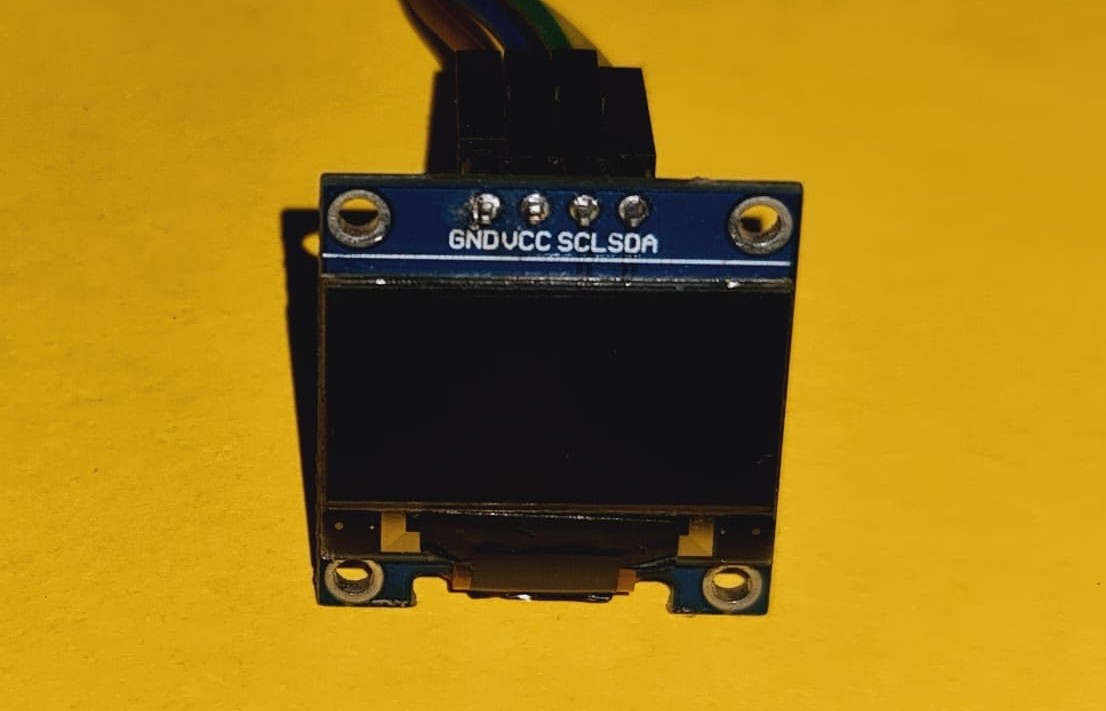
| OLED Display |
|
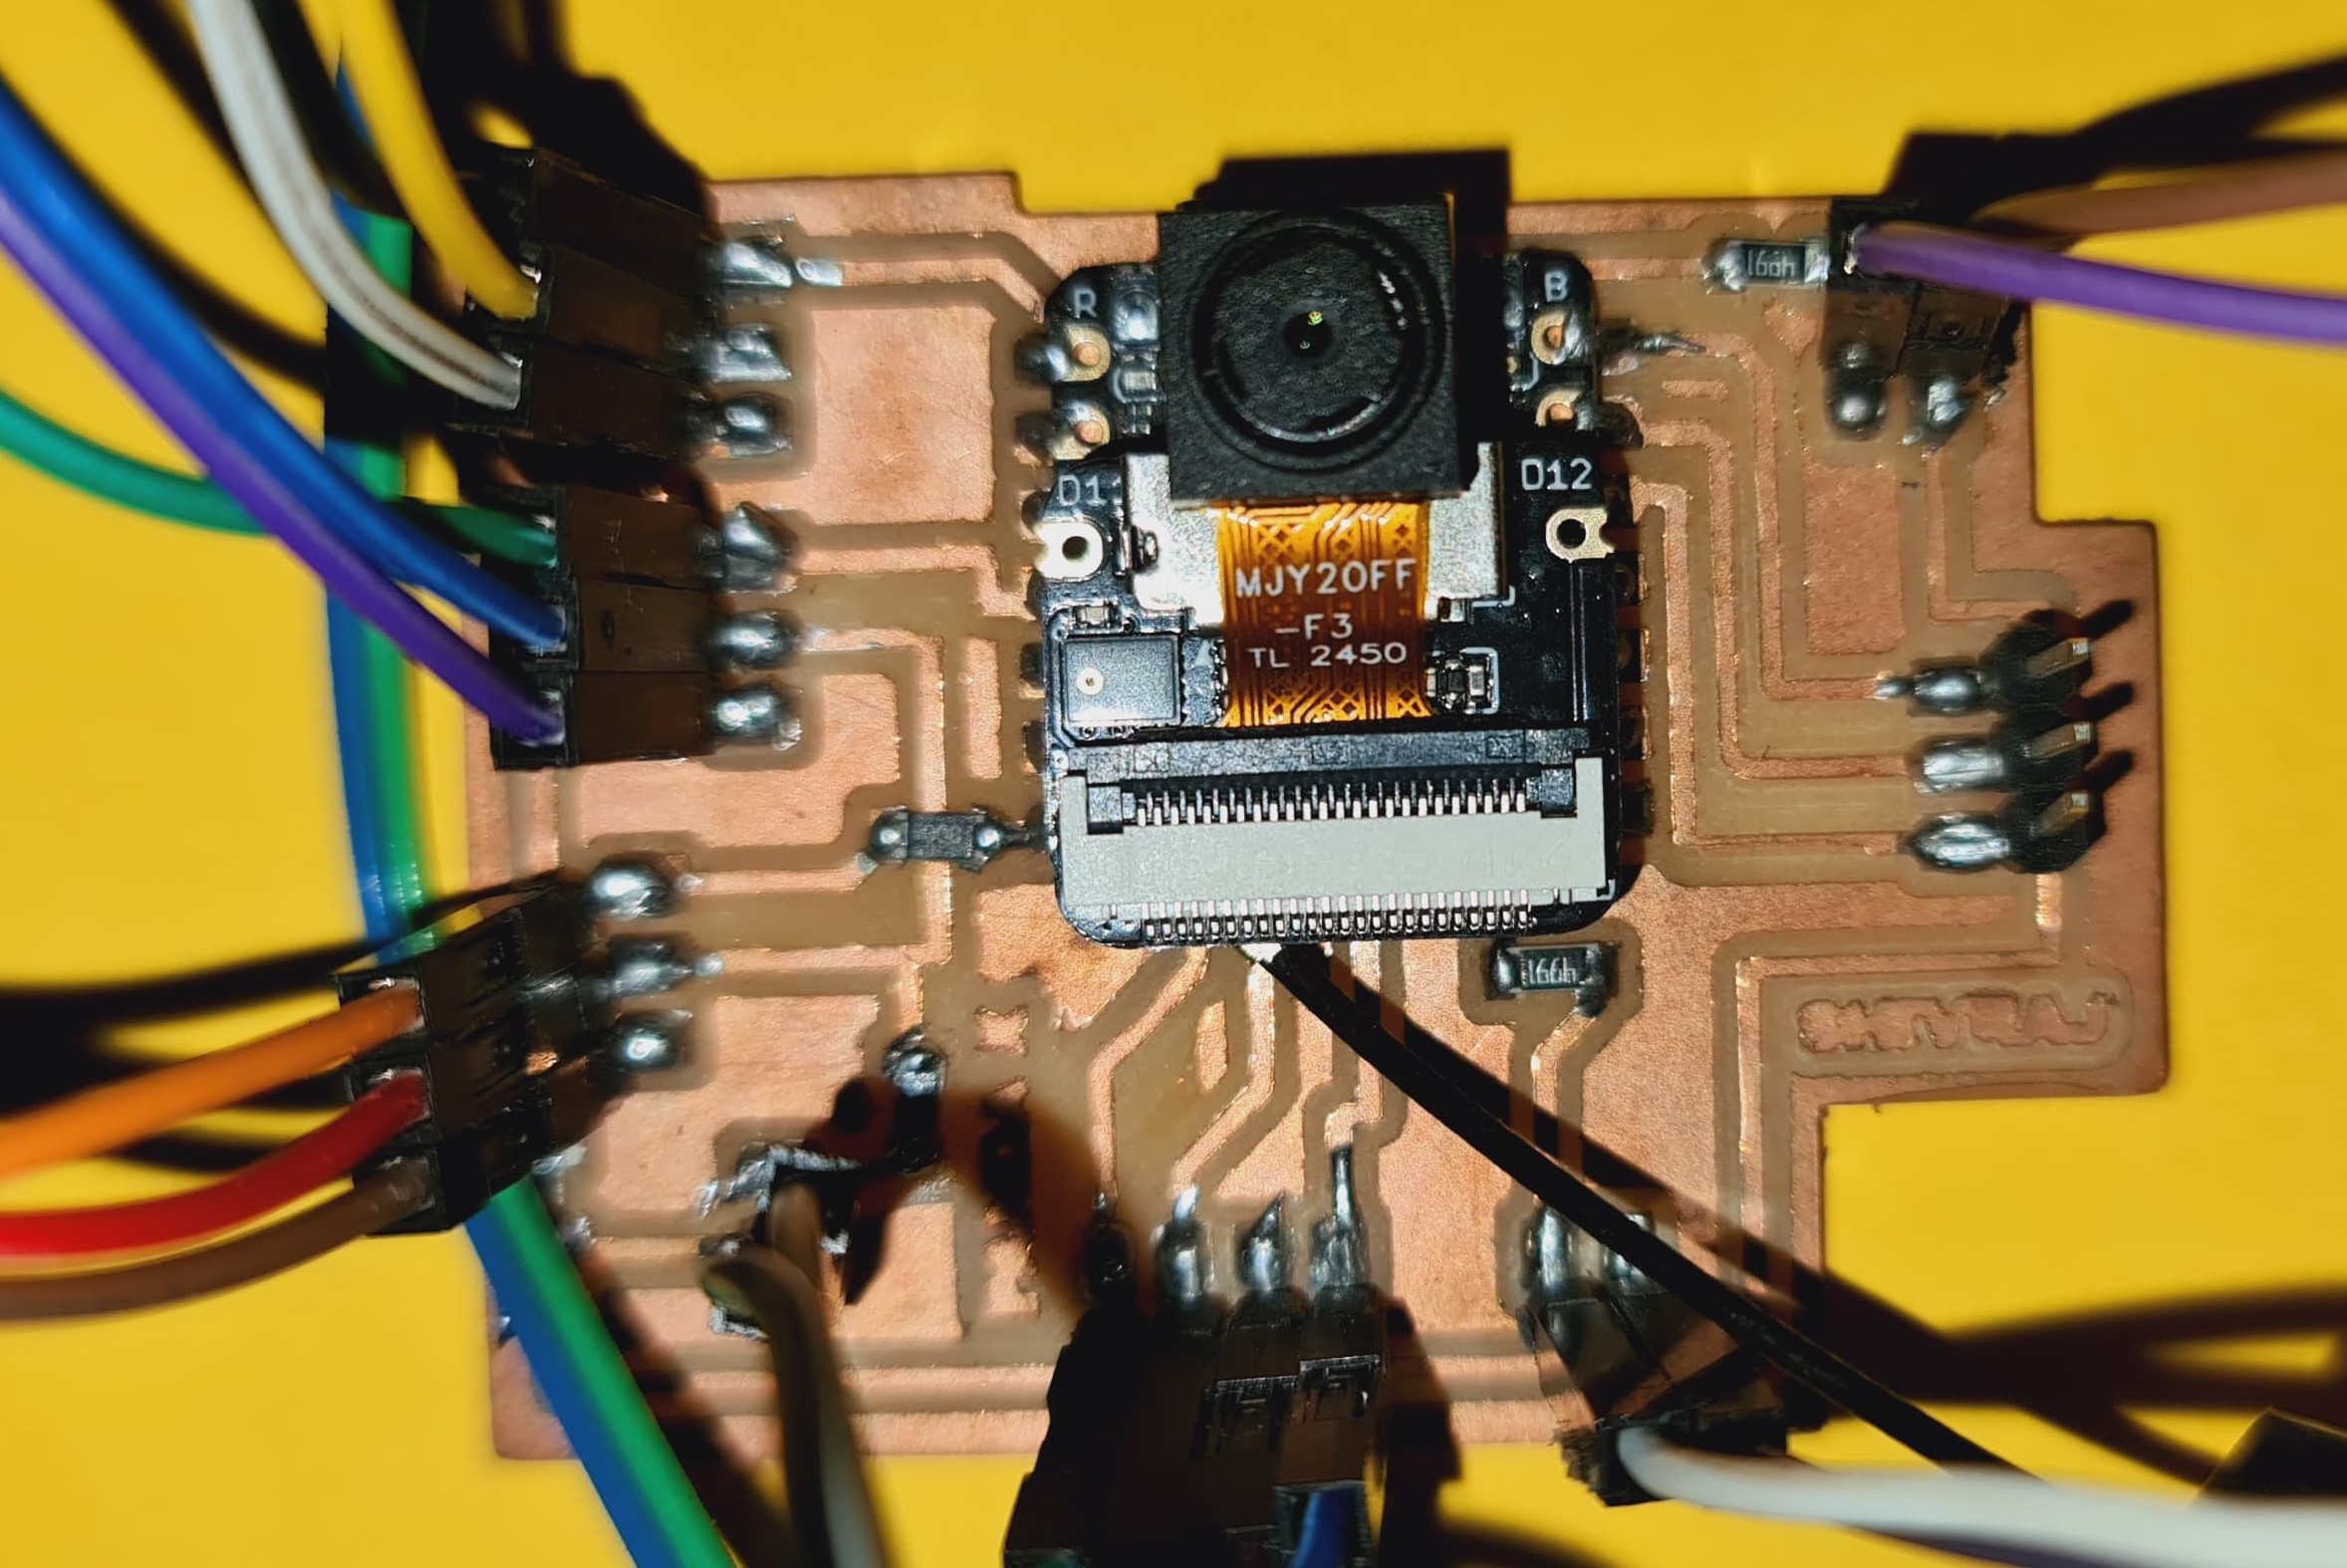
| XIAO ESP32 S3 CAM Module ( Microntroller ) |

|
| Assembled PCB |
Where will come from ?
All the materials for this project will be purchased from different suppliers, depending on availability. Below is the list of components along with their purchase links:
How much will they cost?
| Component | Quantity | Price (INR) | Total (INR) |
|---|---|---|---|
| LEDs | 2 | 6.45 | 12.90 |
| XIAO ESP32 C3 Sense(CAM Module) | 1 | 1400 | 1400 |
| MG99 Servo Motor | 3 | 400 | 1200 |
| OLED Display (I2C) | 1 | 365 | 365 |
| 4 Pin Connector | 1 | 0.41 | 1.64 |
| 3 Pin Connector | 4 | 0.41 | 1.23 |
| 2 Pin Connector | 3 | o.41 | 0.82 |
| Capacitor 100pf | 1 | 18.66 | 18.66 |
| Capacitor 4.7uf | 1 | 19.80 | 19.80 |
| Resistance SMD 0E | 1 | 1.99 | 1.99 |
| Resistance SMD 4,99k | 1 | 8.52 | 8.52 |
What parts and systems will be made?
In this project, a 3D design of the panda will be created, where both the hands and the head will be movable. This movement will be made possible by placing servo motors inside the panda’s hands and head. After completing the panda design, a 3D base will be made to hold the panda securely. This base will be cut using a wood router machine for better precision and stability. Finally, a custom vinyl design will be prepared and applied to give the panda a name and add a decorative touch to its appearance.
What processes will be used?
During this project, the following processes will be followed to complete the design and development of the system:
What questions need to be answered?
How will it be evaluated?
Summary
In the weeks of Applications and Implications and Project Development, the goal was to explain how the final project will be made. This included how the process starts, what hardware components are needed, and answering some related questions.
I started the project by drawing a hand sketch to plan the idea. Then I made the PCB design and added all the required components. After the design was ready, I used a milling machine to print the PCB.
Next, I collected all the hardware components and assembled the PCB. After that, I started working on the design of the panda model, made it, and assembled it. Then I connected all the hardware parts and tested the connections.
Finally, I searched for the online prices of each component, added the links, and calculated the total cost of the project.
Conclusion & Learning Outcome
This stage helped me understand the full process of making my project—from planning and designing to assembling and testing. I learned how to design a PCB, work with hardware components, and manage the cost of the project.