
wildcard week
About This Week
This week was our "Wild Card Week", where we had the opportunity to explore and work with various digital fabrication machines. These included plasma cutters, embroidery sewing machines, laser cutters, 3D printers, and more. The goal was to create a new design (not part of any previous assignment) and fabricate it using one of these machines.
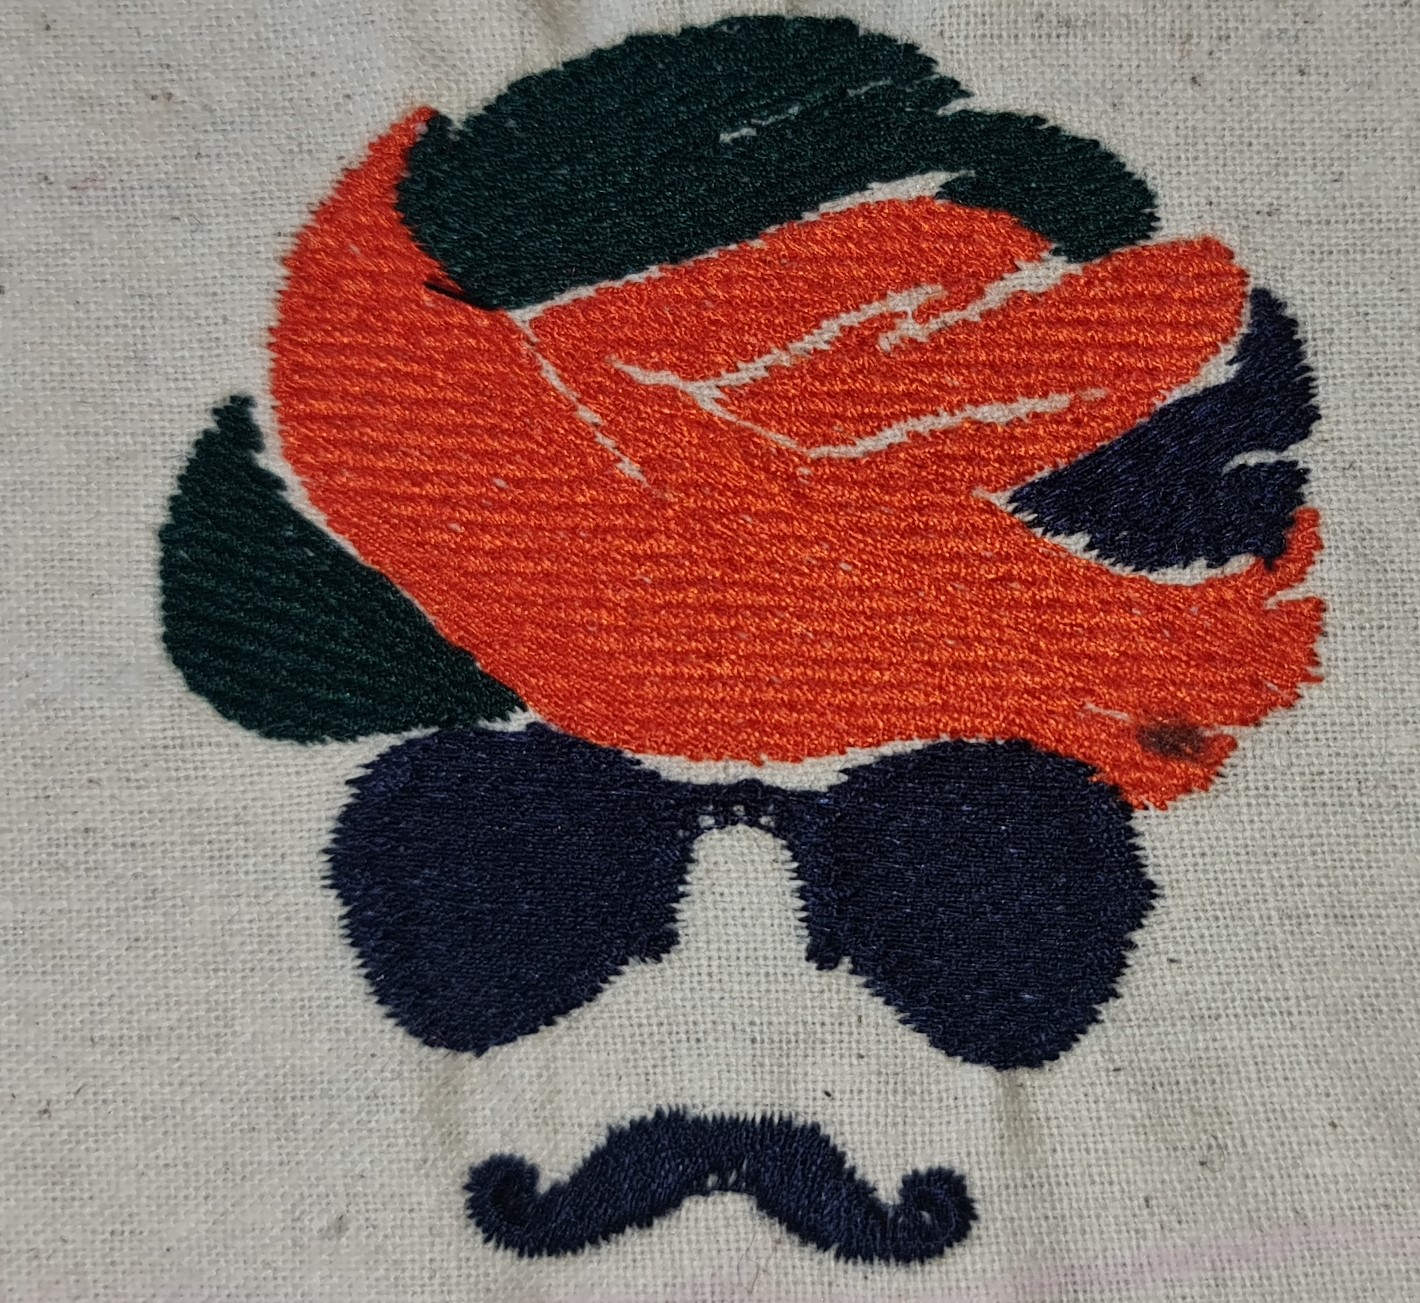
I chose to work with the embroidery sewing machine. I started by designing a logo using Inkscape, a vector graphics software. I used the "Trace Bitmap" feature to convert an image into a vector file. After finalizing the design, I saved the file in formats compatible with embroidery software, such as .SVG or .PDF.
Next, I imported this vector file into Digitizer Embroidery Software (likely you meant "Digitizer MBX" or similar). This software allowed me to generate the toolpath (stitch pattern) for the embroidery machine. After generating the toolpath, I exported the final design file and transferred it to the embroidery sewing machine.
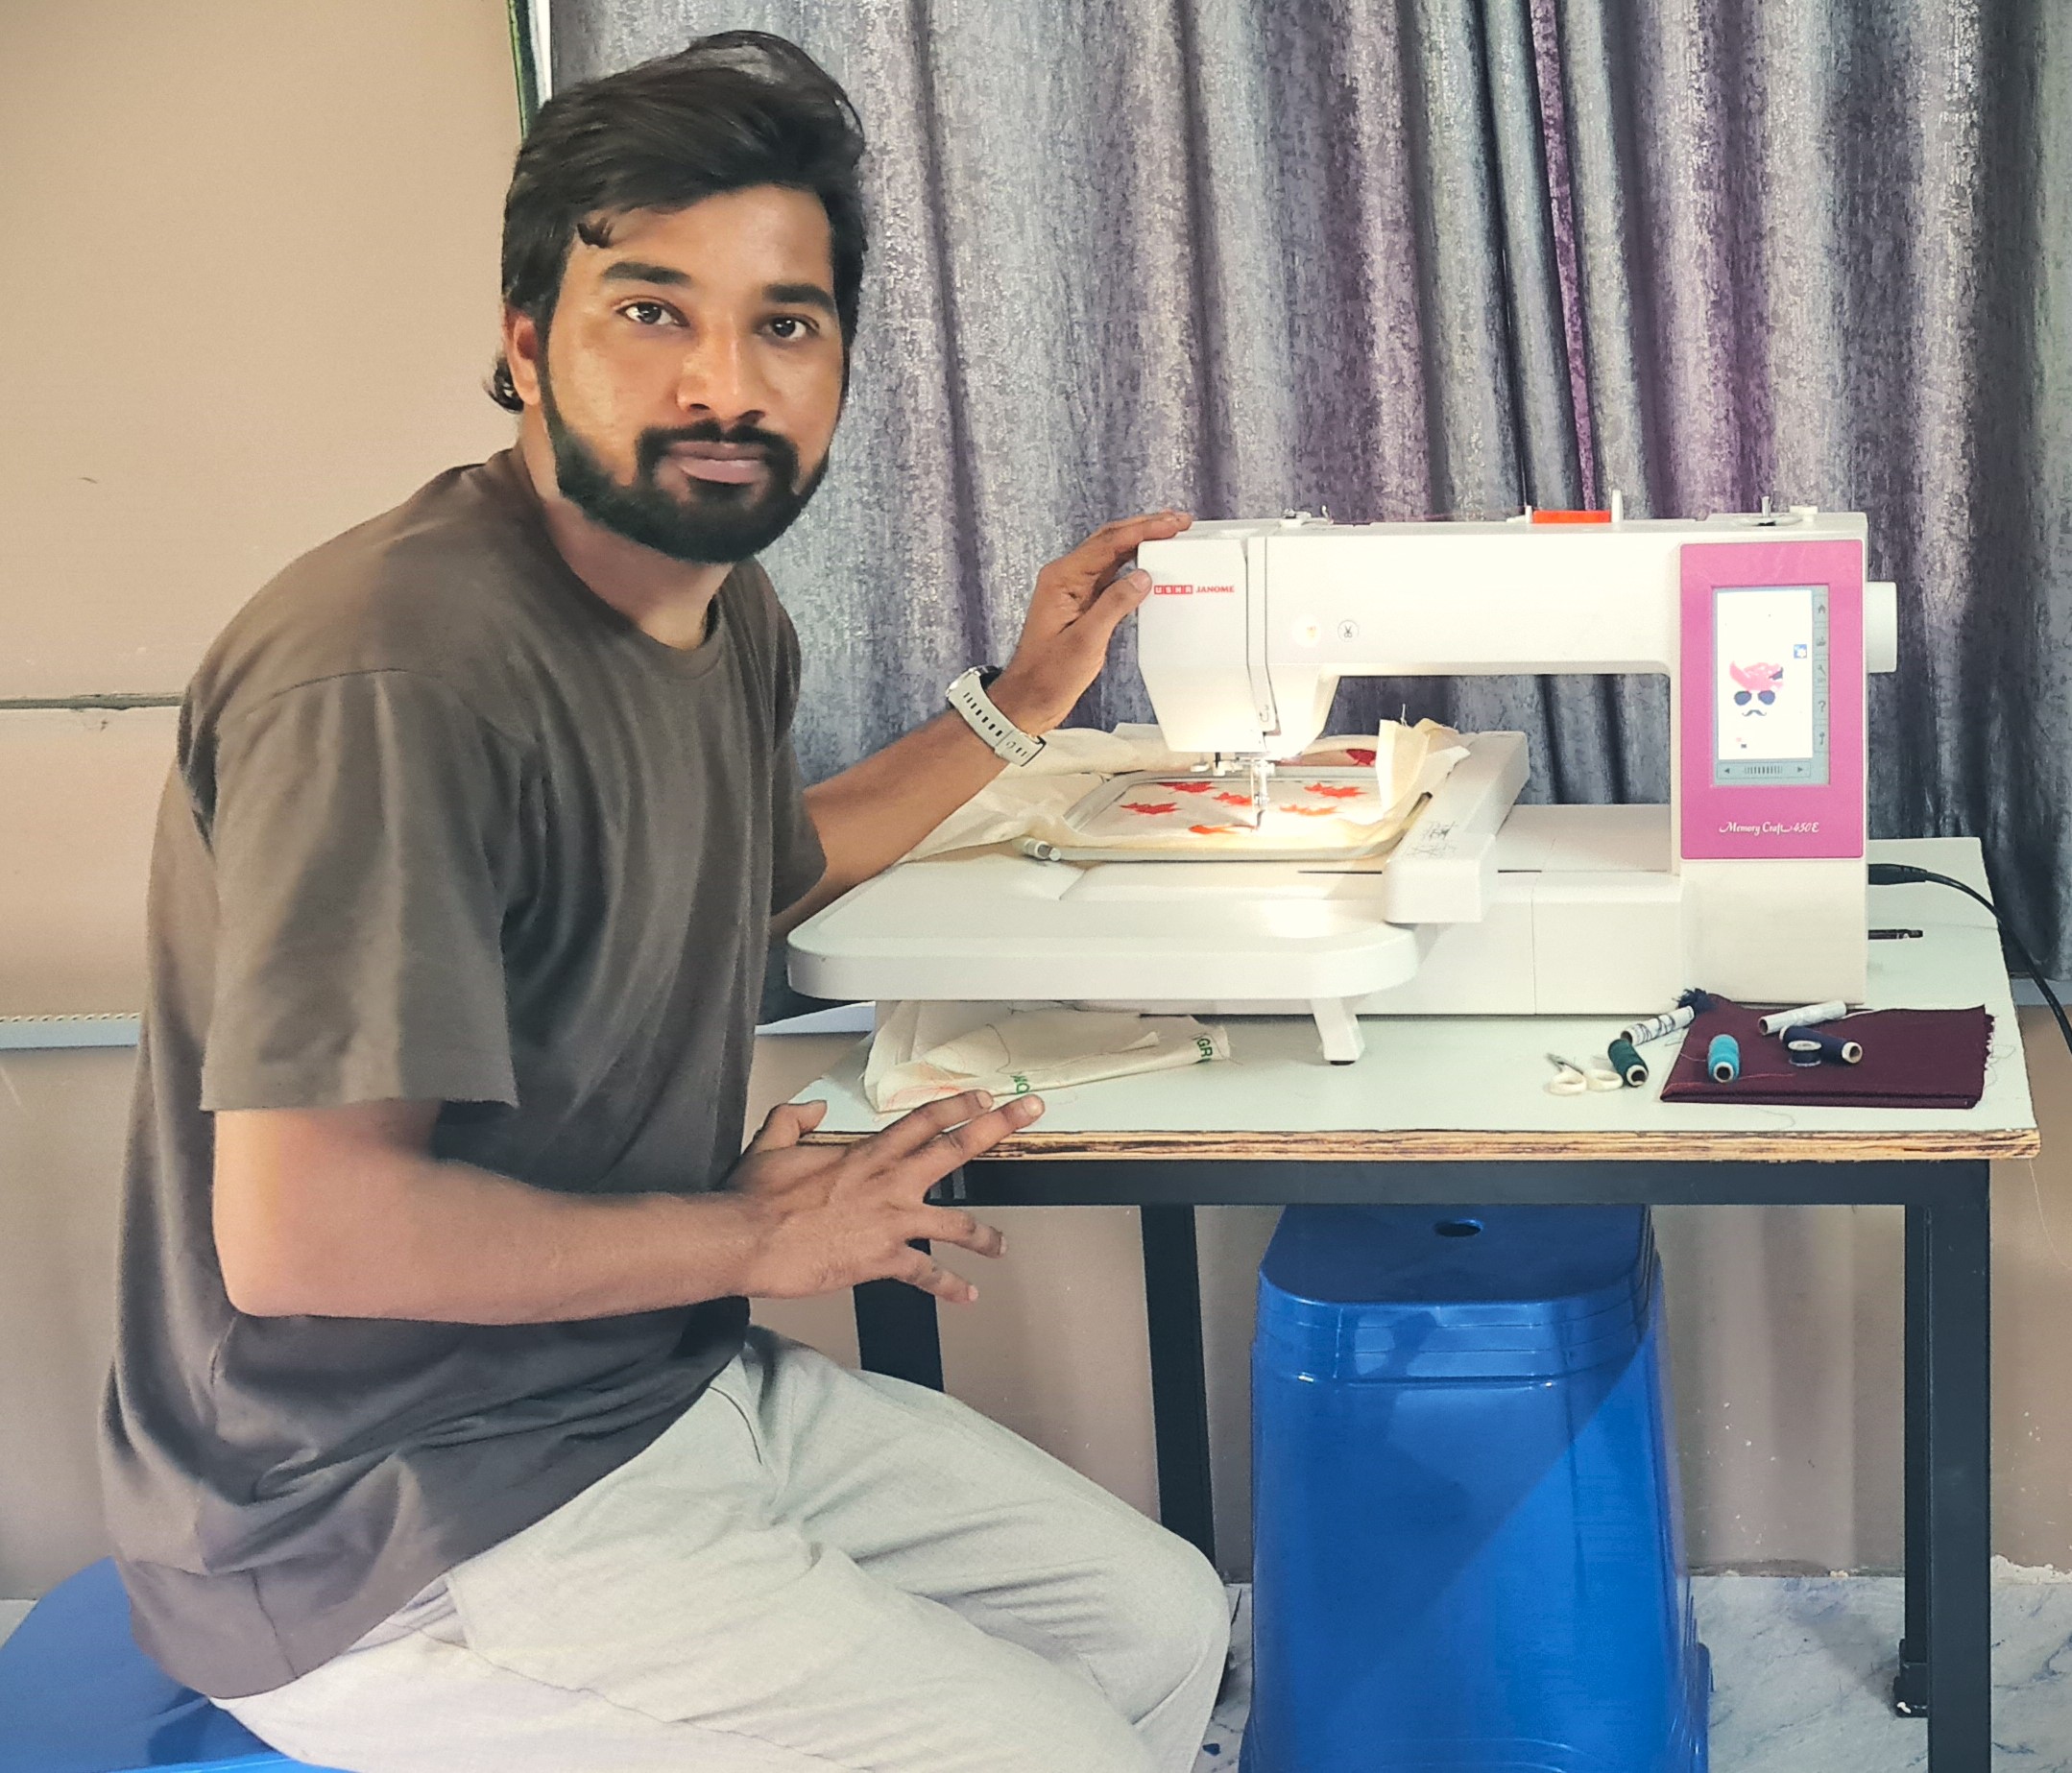
Heroshot of the Assignment
 |
 |
|
|
|
Objctive of the Assignment
Individual Assignment
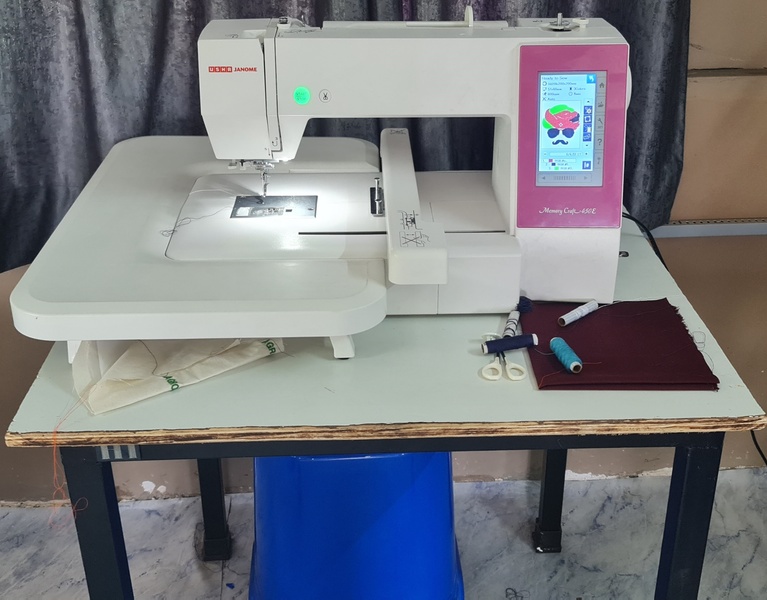
Embroidery Sewing Machine
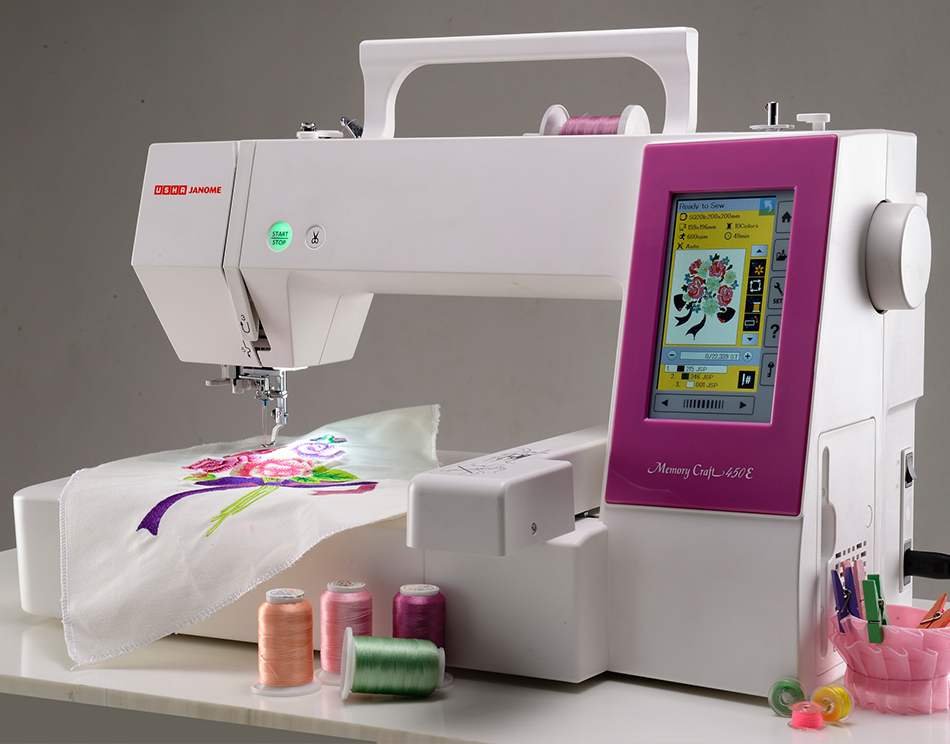
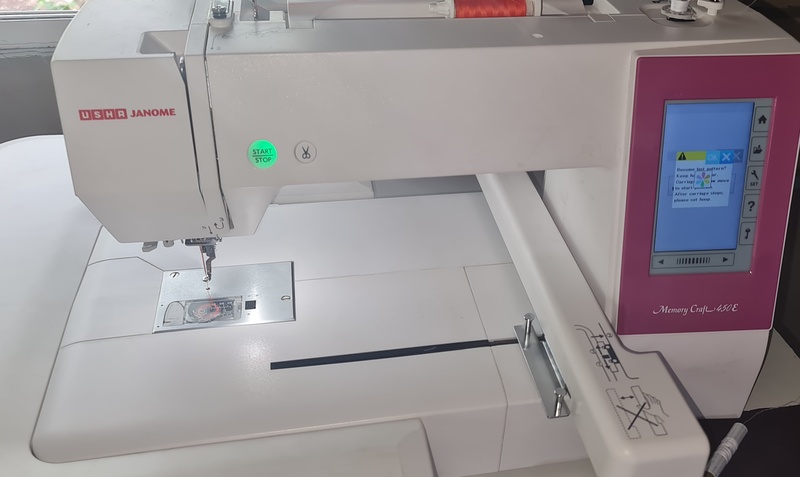
Name of the machine - Memory Craft 450E( Usha Janome)
About this Machine
An efficient embroidery machine, the Memory Craft 450 E offers a speed of 860 spm (stitches per minute) and is enabled to embroider designs of up to 200 X 280 mm making it great for boutiques. It has two hoops – RE28b: 20 cm x 28 cm and SQ20b: 20 cm x 20 cm, which are adjustable even after embroidery has begun. Its extra wide table supports large projects and its free Digitizer Jr V5 software allows editing of existing designs and creation of customised designs.
|
| Photo Reference here |
Understanding the Operation and Specifications of Embroidery Sewing Machine
Feature
Technical Specifications
| Feature | Specification |
|---|---|
| Backlit LCD Screen | Yes |
| Built-in Embroidery Designs | 160 |
| Built-in Monogramming Fonts | 6 |
| Built-in Memory | Yes |
| Design Rotation Capability | Yes |
| Embroidery Sewing Speed | 400 spm – 860 spm (Stitches Per Minute) |
| Format for Customized Designs | Yes |
| Maximum Embroidery Area | 200 mm x 280 mm |
| Needle Threading | Yes |
| Number of Hoops | 2 |
| Thread Cutter | Yes |
| USB Port | Yes |
For more information, Visit this website - www.ushasew.com
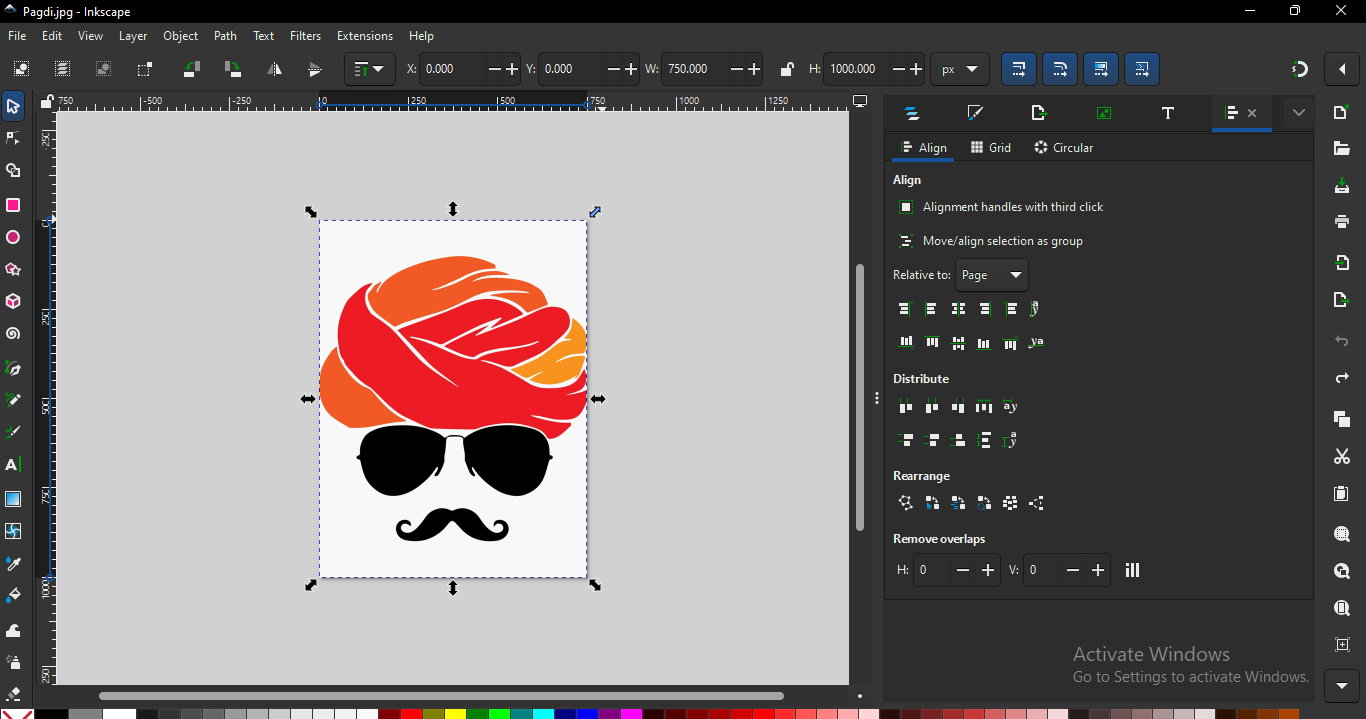
Logo Design in Inkscape
In Inkscape, I first imported the logo and then modified it by using the "Trace Bitmap" tool to convert it into a vector file. After that, I used the Text Tool to add a name to the design.
Logo design reference here
|
| First, I imported logo into Inkscape to begin the design process. |
|
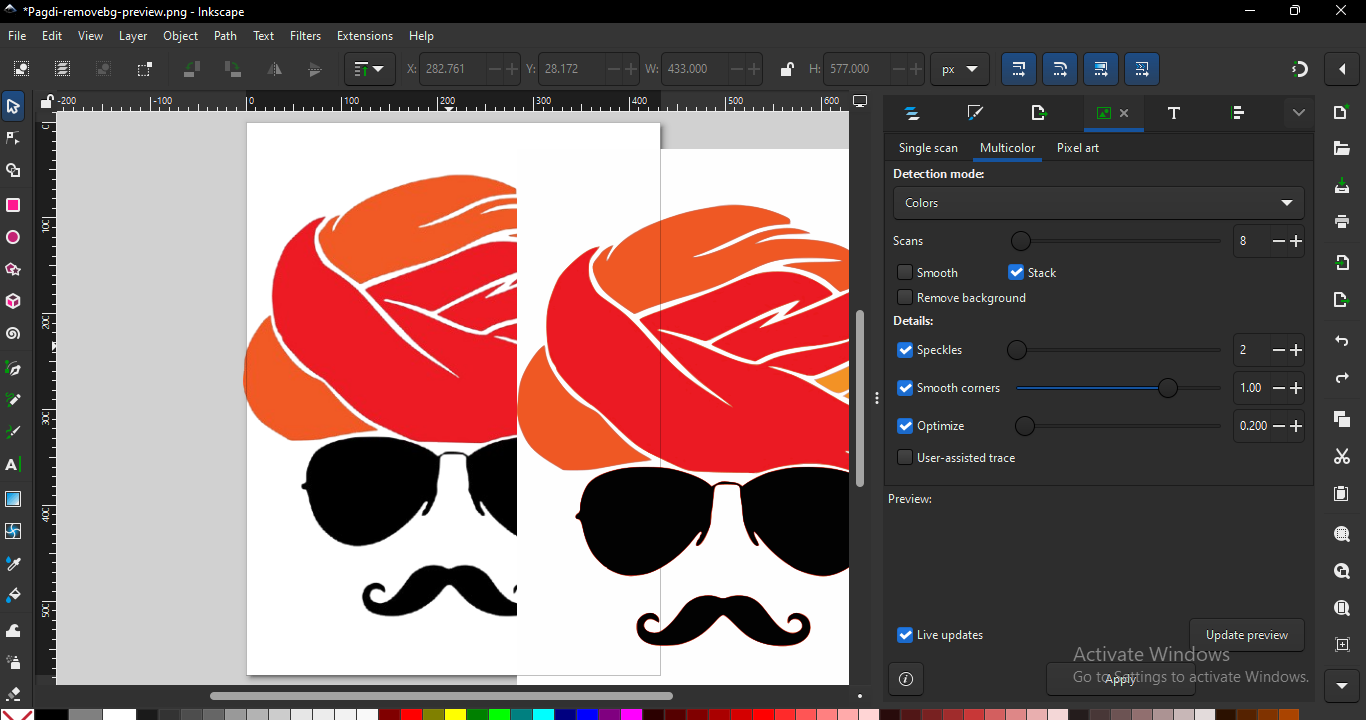
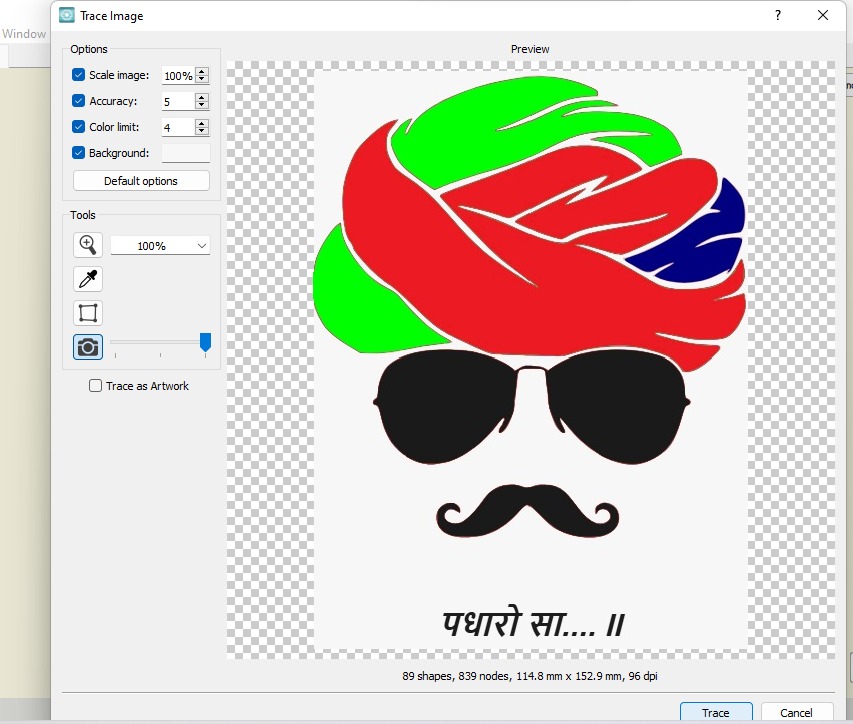
| After importing the logo image into Inkscape, I used the "Trace Bitmap" tool to convert it into a vector file. This step is important because vector graphics are resolution-independent and can be easily scaled or edited, which makes them ideal for use in digital fabrication processes like embroidery. |
|
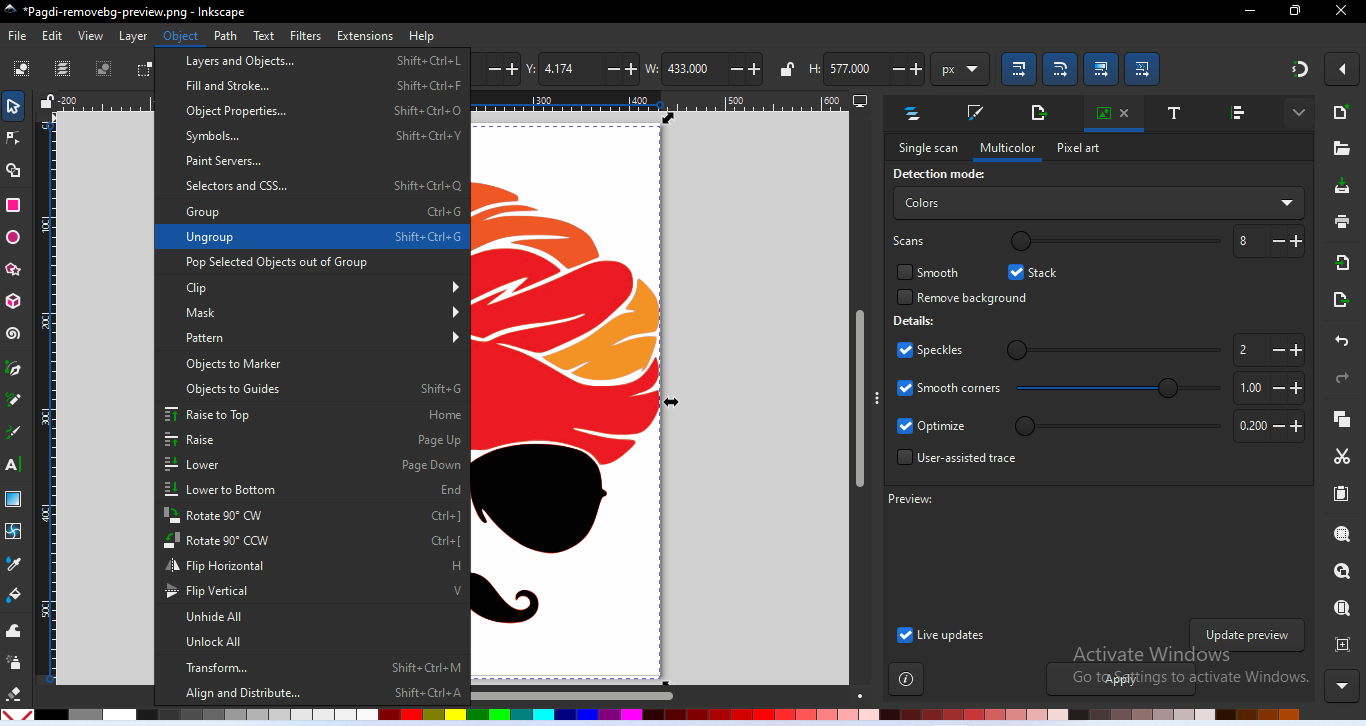
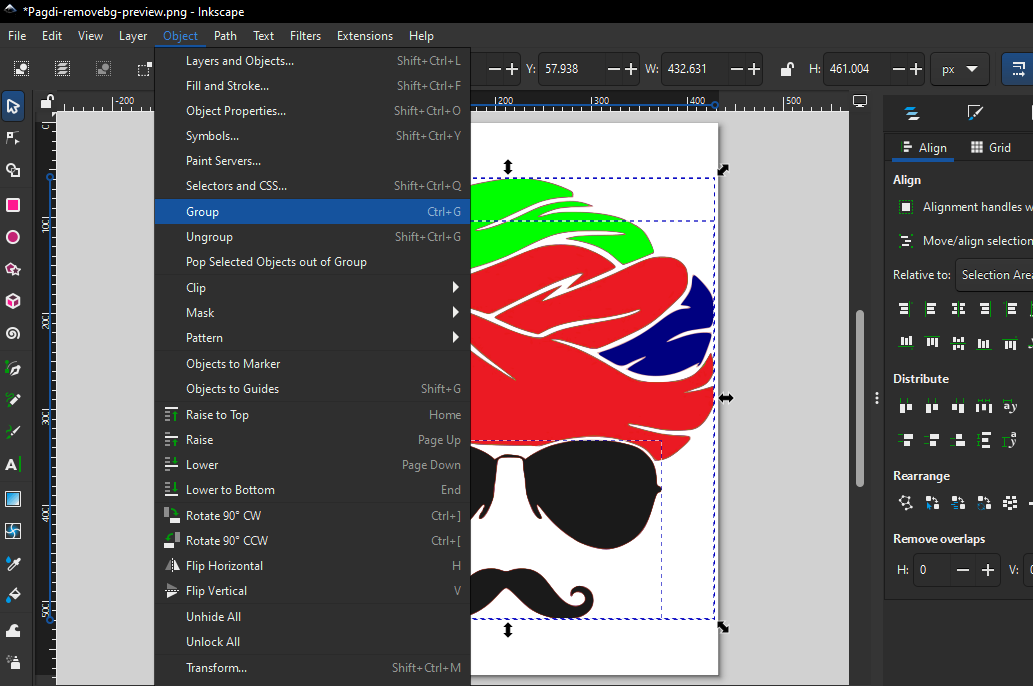
| Next, I ungrouped the logo design in Inkscape to separate its individual elements. This allowed me to modify each part of the design independently, such as changing shapes, adjusting paths, or refining details. |
|
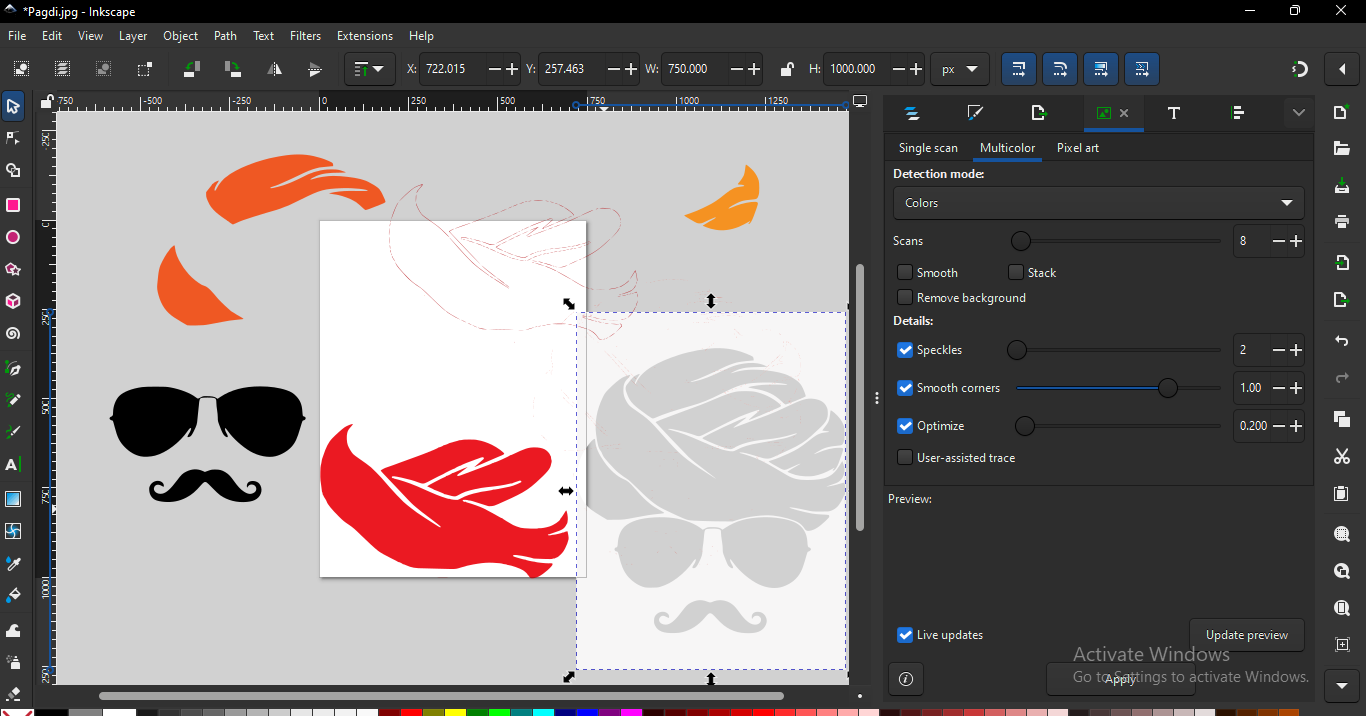
| After ungrouping all the elements of the logo, I separated each part individually to organize the design more effectively. |
|
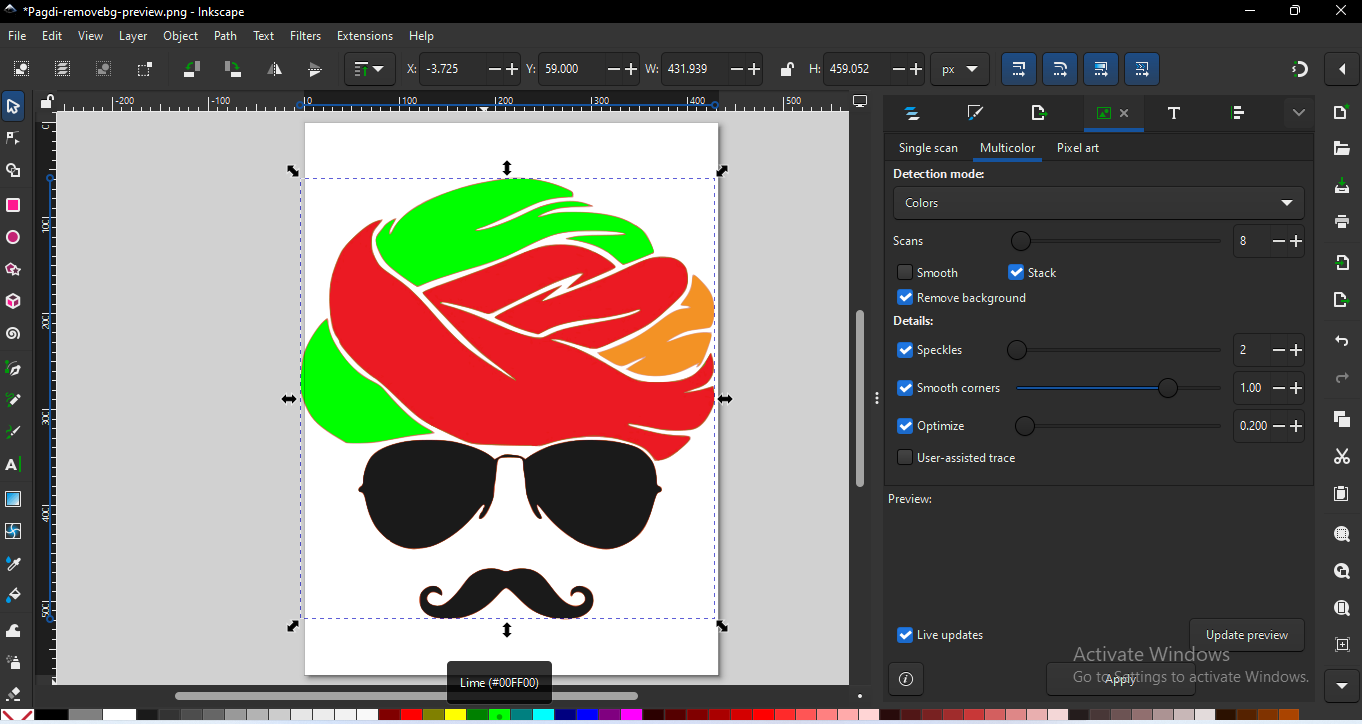
| After separating the individual parts of the design, I filled each section with different colors in Inkscape. |
|
| After filling colors in the parts, I positioned all the parts in their correct places to reconstruct the complete design. Then I grouped the parts back together to keep the design organized and ensure it could be moved or resized as a single unit. |
|
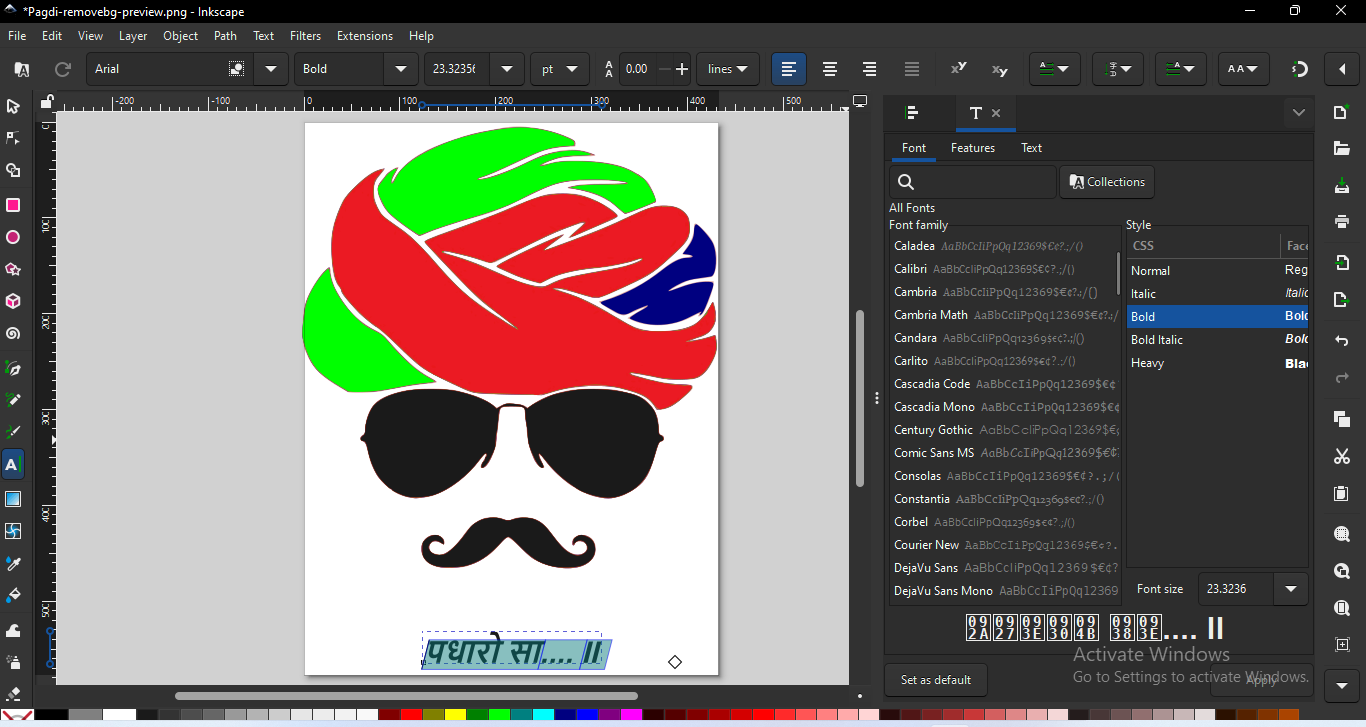
| Next, I added a name below the design. |
|
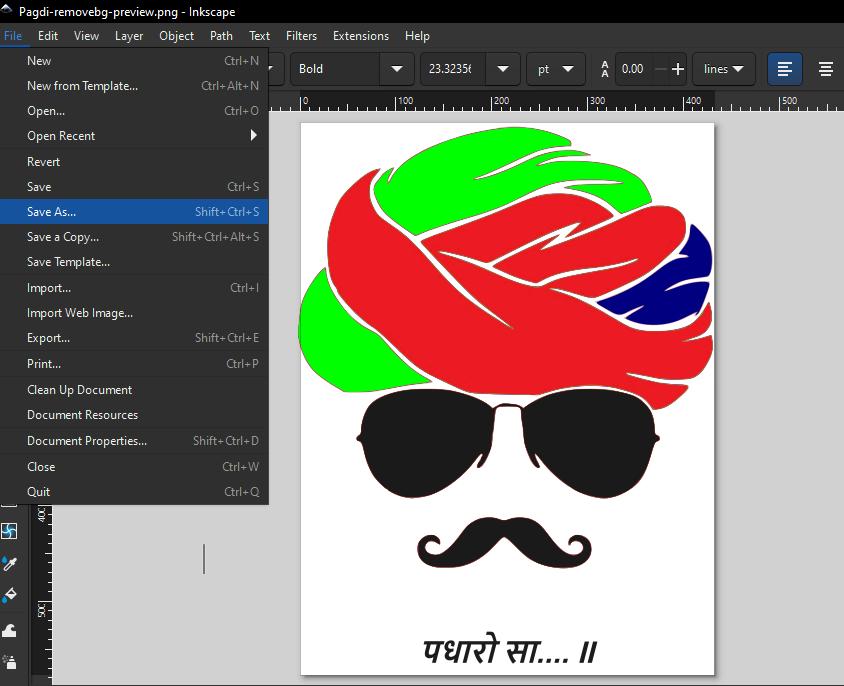
| Now, go to the "File" menu and select the "Save As" option to save the design. |
|
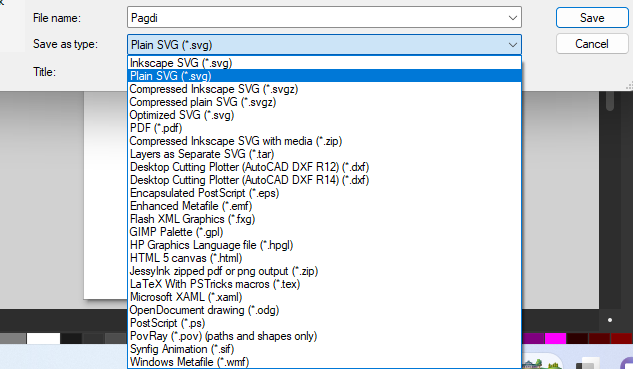
| Then select the file formet and save it. |
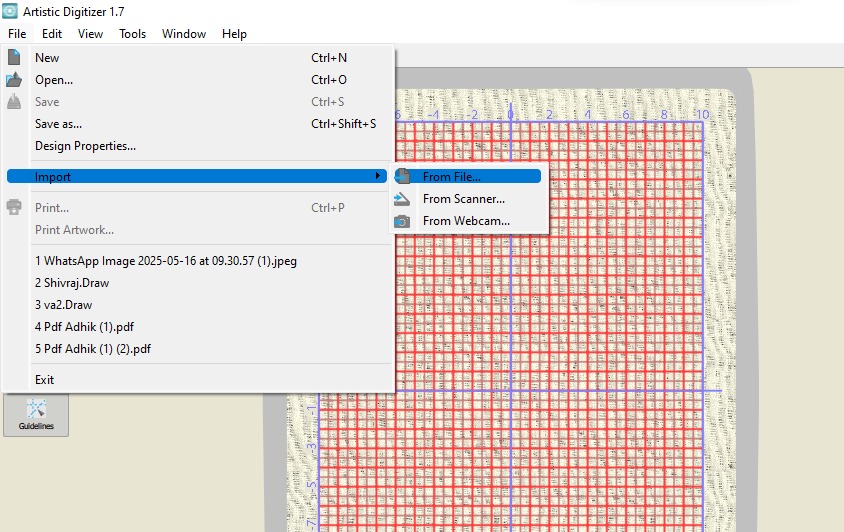
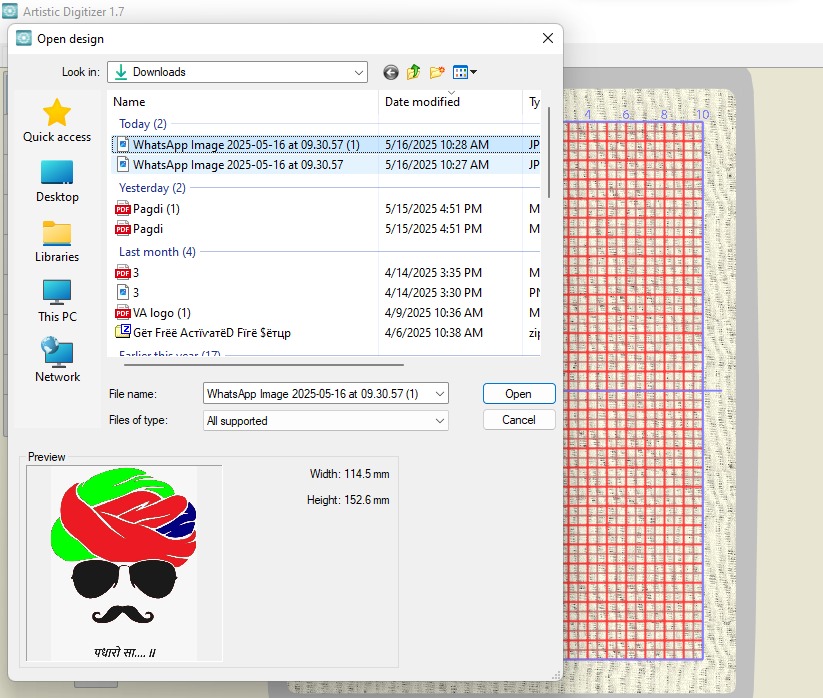
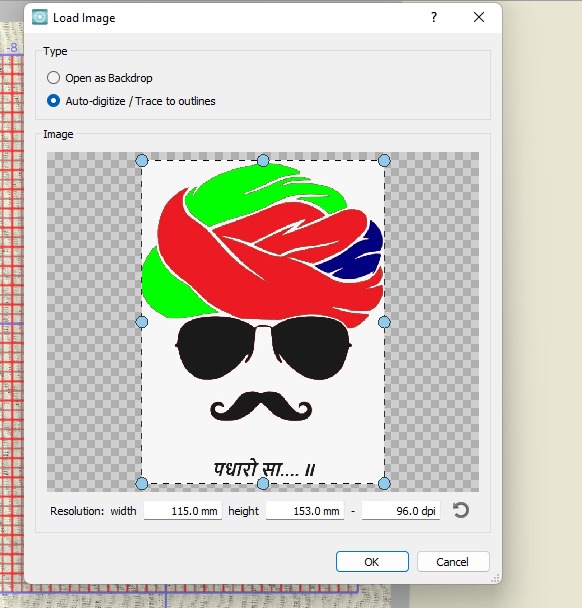
Toolpath generate with Artistic Digitizer 1.7
|
| First , Open Artistic Digitizer |
|
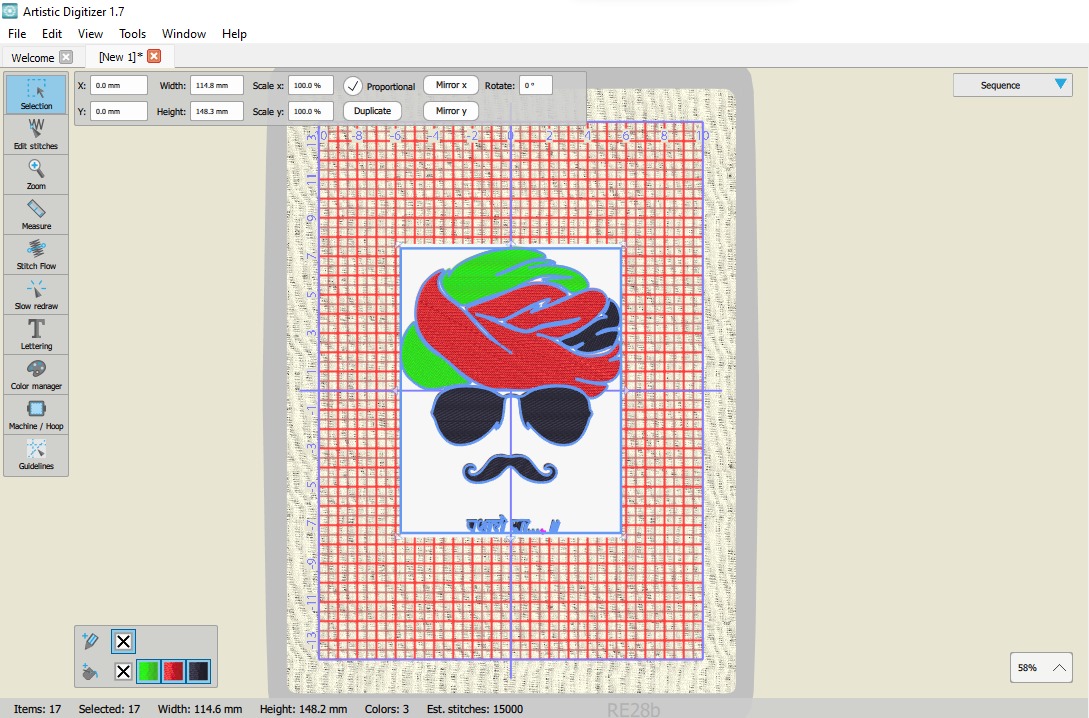
| Then go to "File" menu and select "import" and take design file (in PDF,.SVG.PNG formet) from the device |
|
| now selected file and logo is visible. Click on "open" |
|
| After open, You can see design file is loded, Now click on "ok" |
|
| This is the trace part, Click on "Trace" |
|
| The blue border around the design logo indicates that it is ready for stitching. |
|
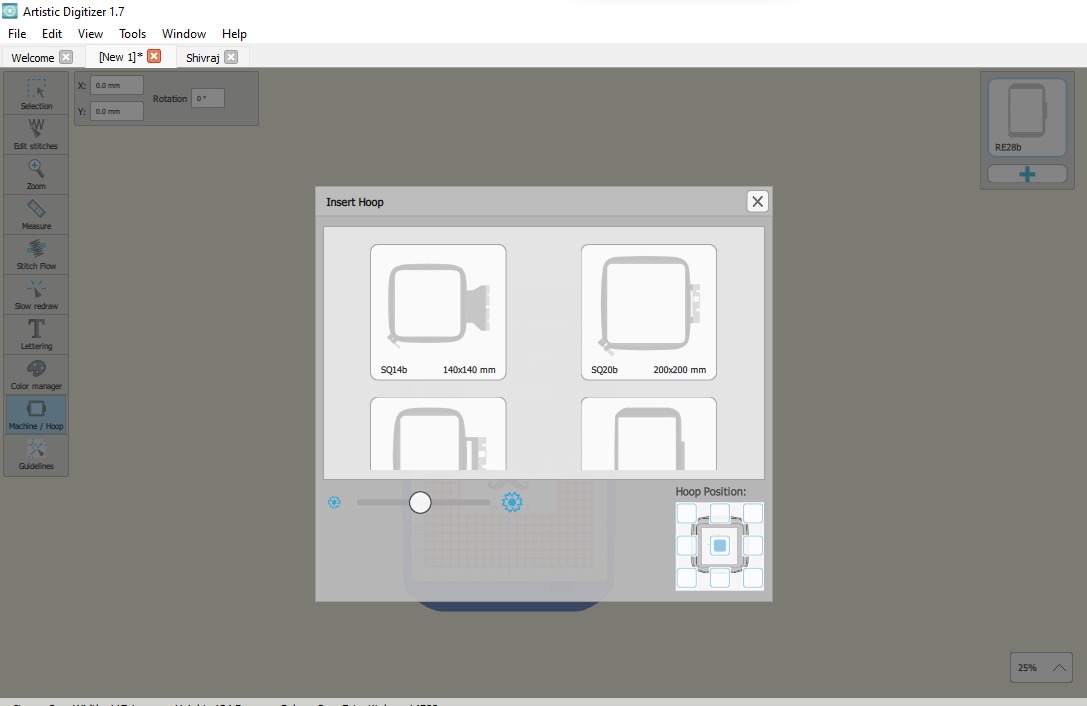
| Now, we need to select the bed for the swing machine. For this, click on the bed symbol located at the right side corner, on the icon with the plus (+) sign. |
|
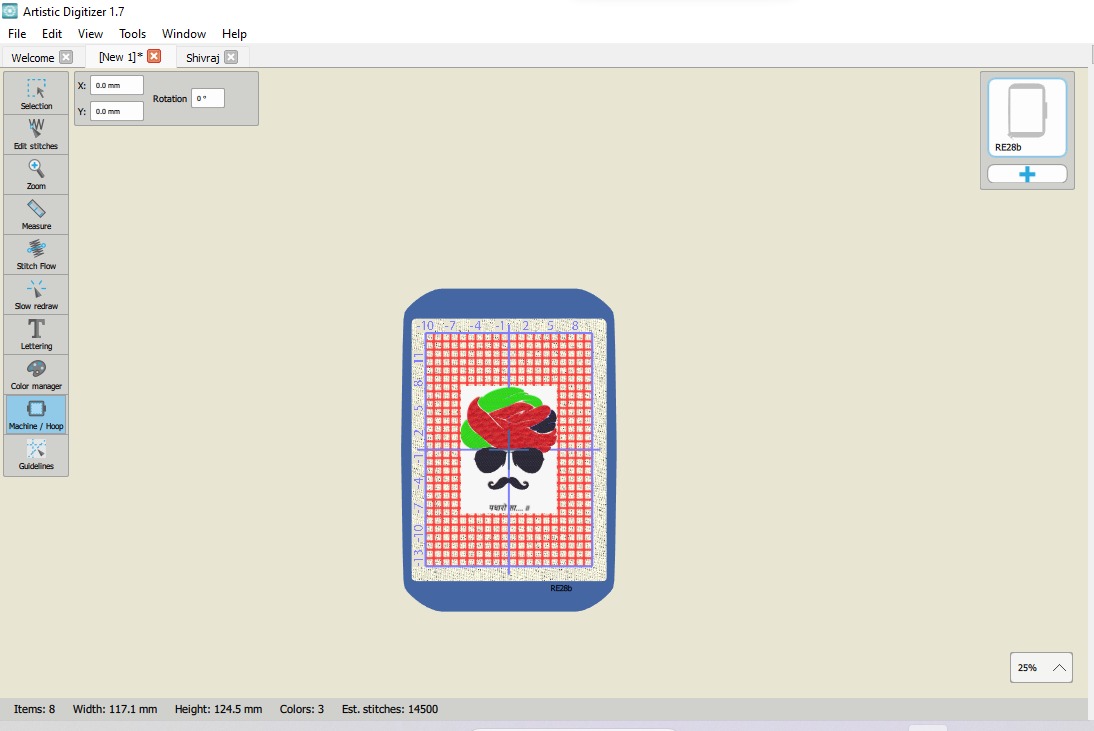
| Then, select the bed according to the machine; I chose the 200 by 200 option because it was available. |
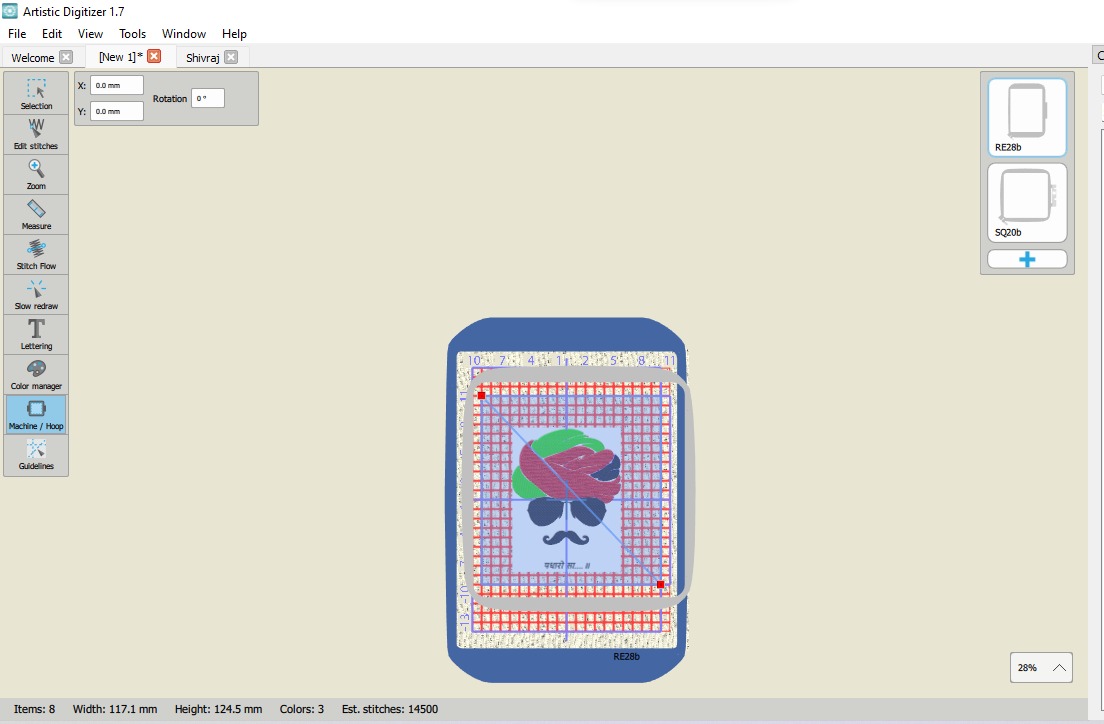
|
| The selected bed is now in the work area. |
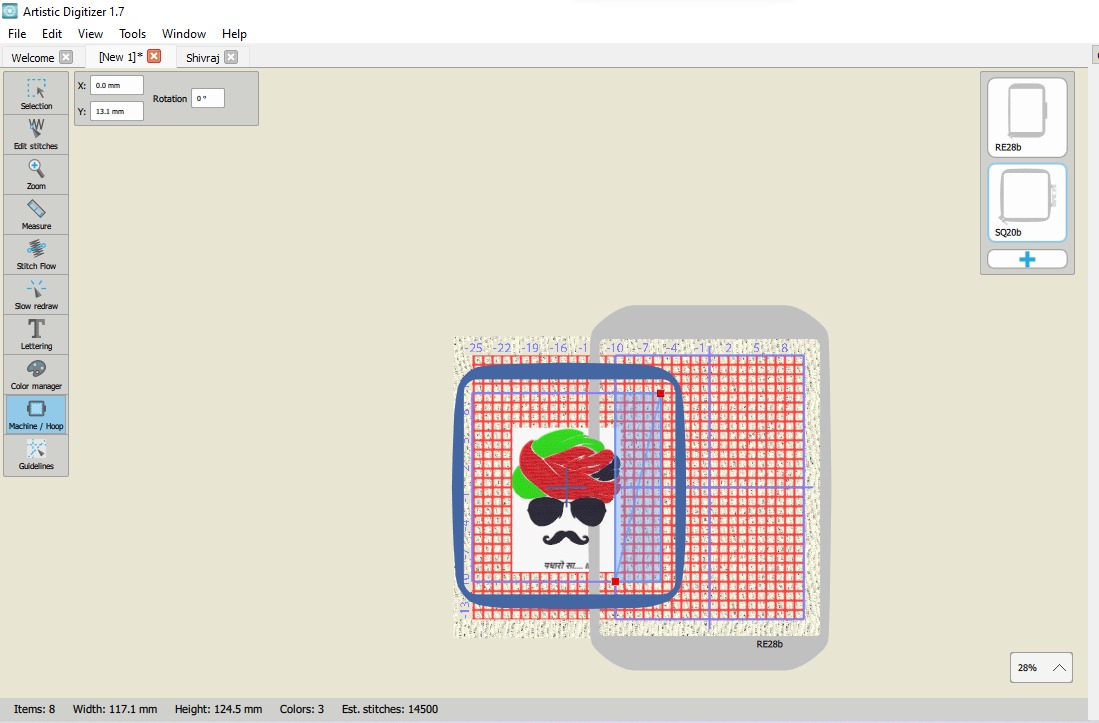
|
| Now, to view or understand the bed properly, you can click on it and drag to move it. |
|
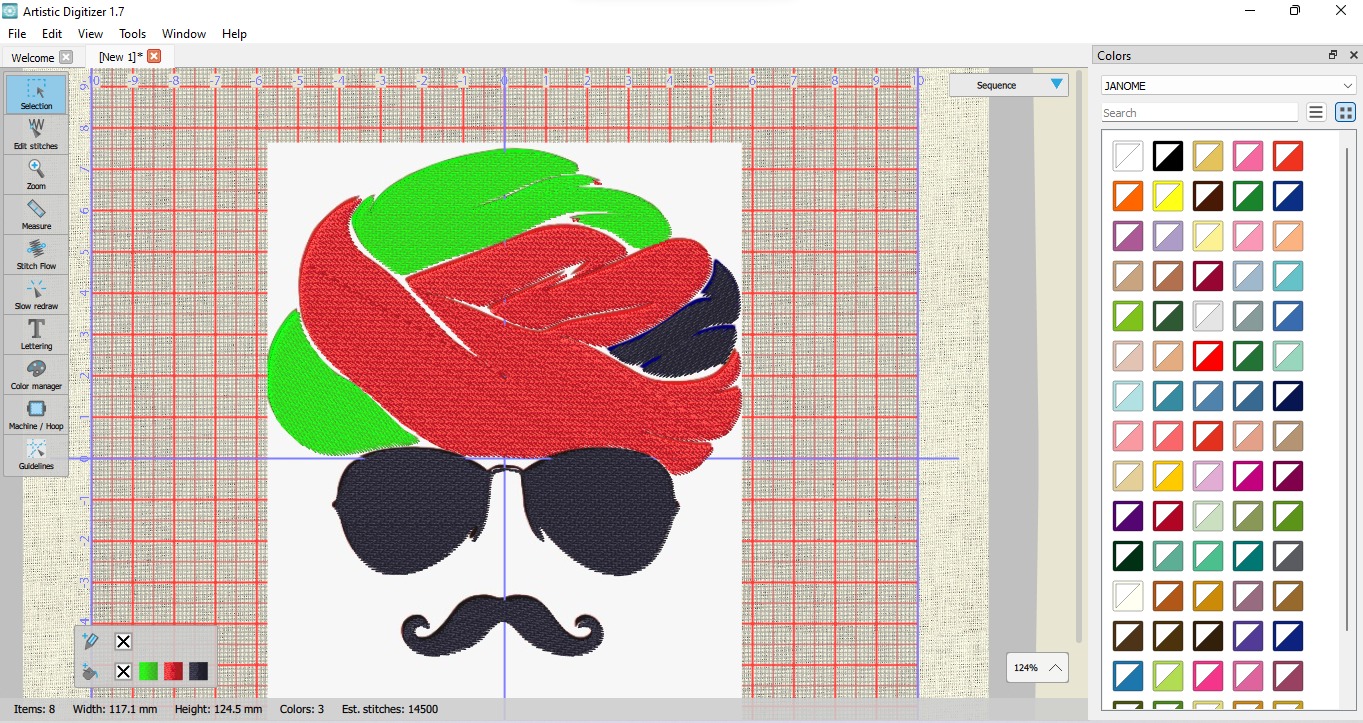
| Now, select the entire design and then ungroup it using "Ctrl + Shift + G". This allows you to remove any individual part if needed. After making changes, you can regroup the design by using "Ctrl + G". This way, you can easily edit specific elements and organize your design as required. |
|
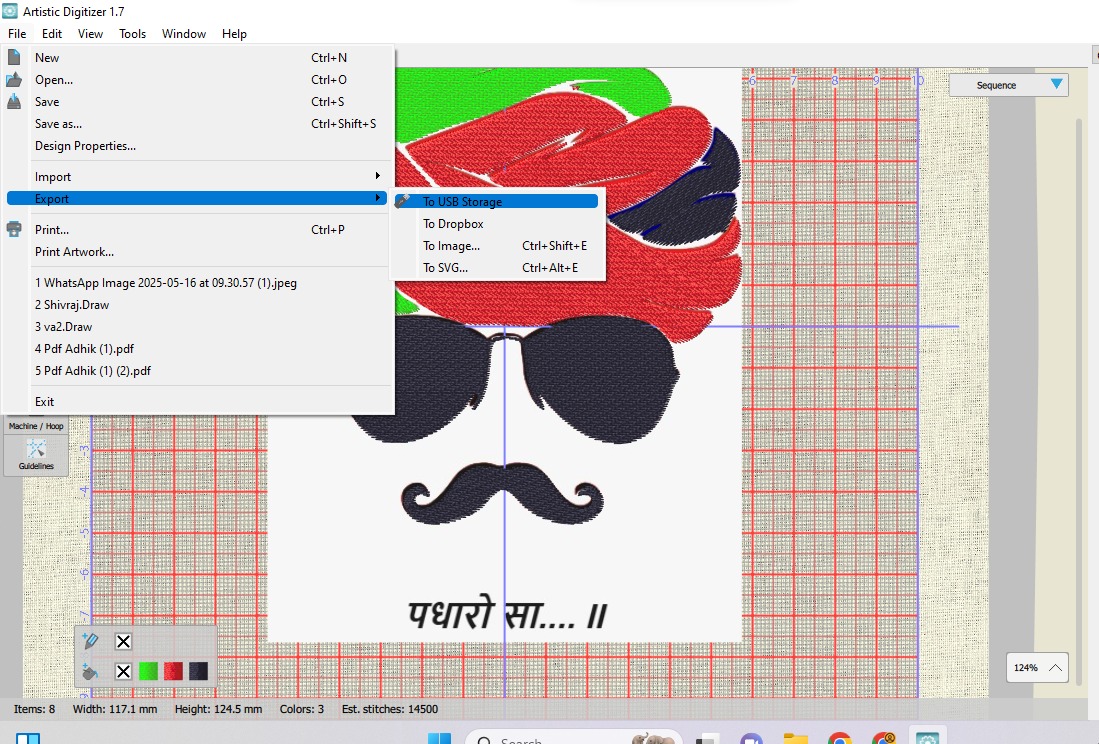
| Now, go to the File menu, select Export, and save the file to your device or in pendrive. |
Design Printing Process
|
| First, turn on the swing machine.Make sure the machine is properly connected to power and ready to operate before starting the process. Next, insert the USB pendrive into the machine. Make sure the USB pendrive contains the design file with the generated toolpath before inserting it. Then ...... |
 |
 |
 |
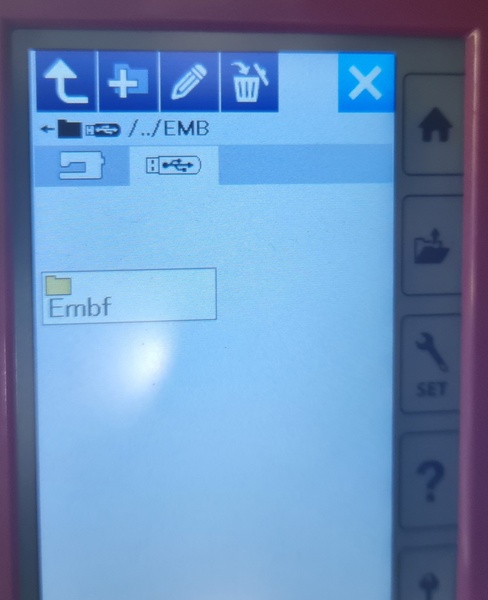
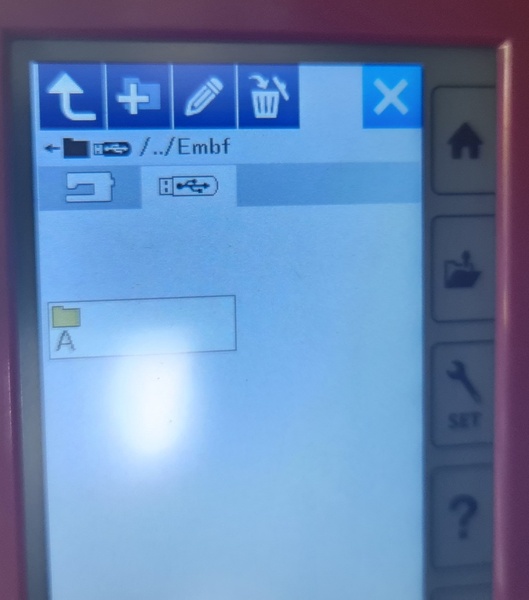
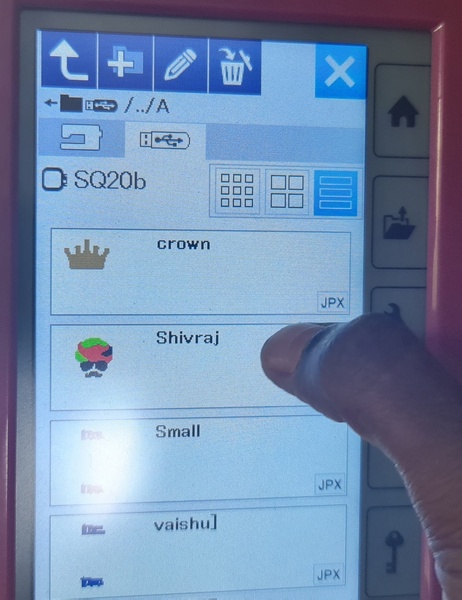
| First open folder |
Open folder |
Design file is visible now. |
 |
 |
 |
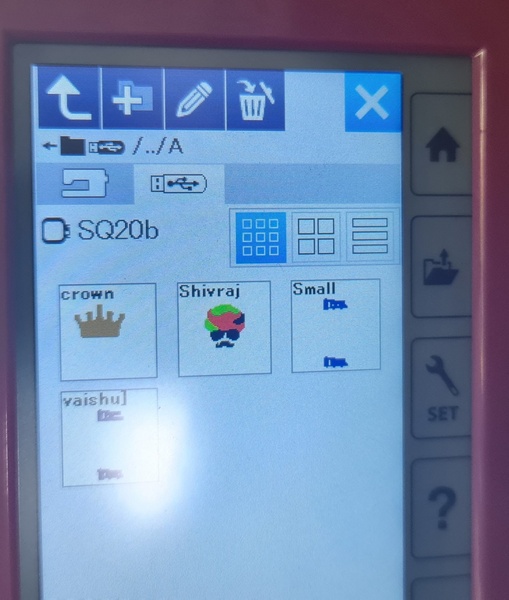
| Now select the design file |
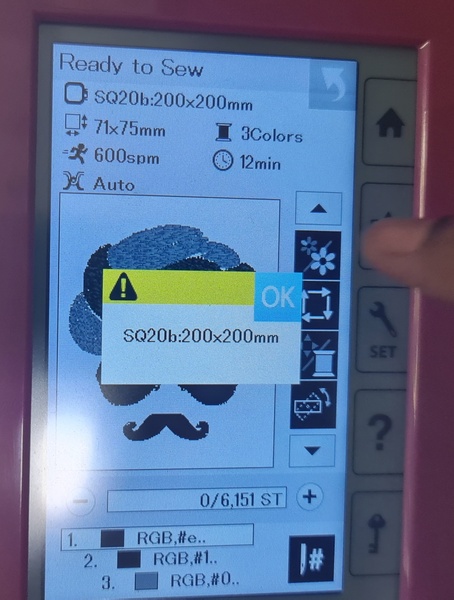
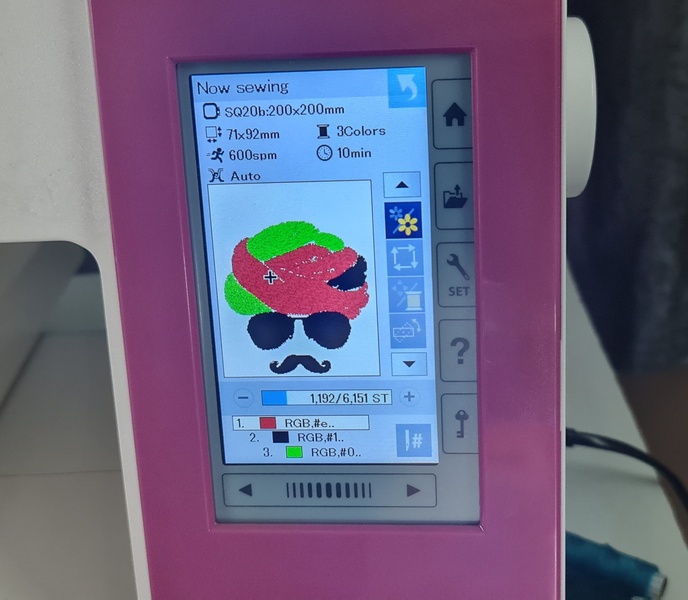
Click on "ok" this is the bed size. |
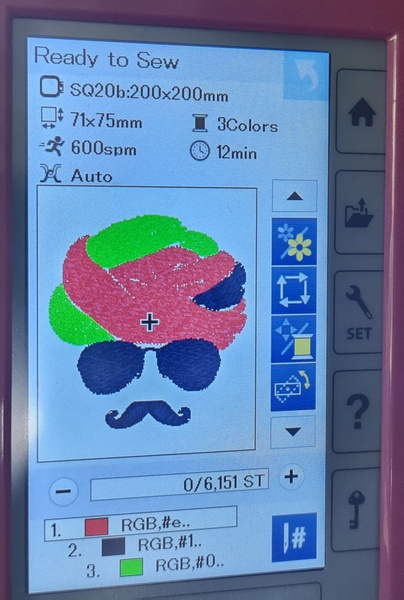
Now file is loded and ready for next step. |

|
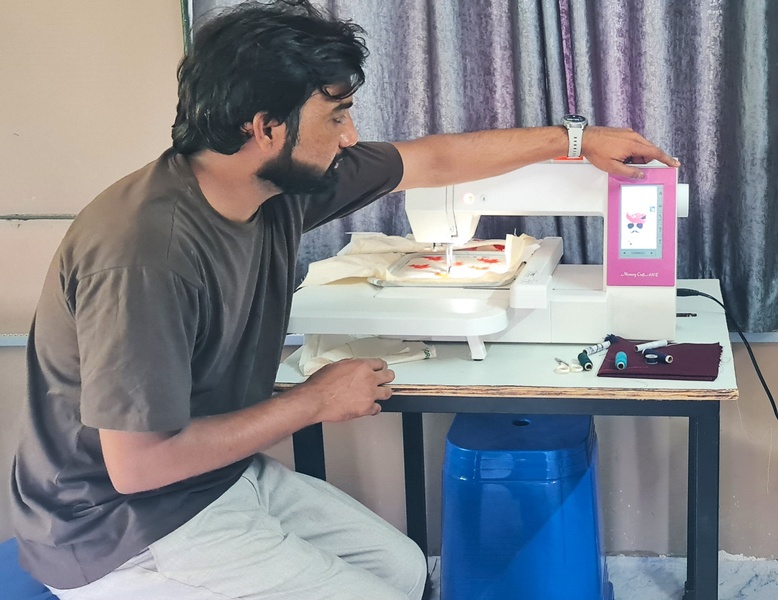
| Now, properly place the fabric on the bed and properly set the bed into the machine. Ensure the fabric is smooth and firmly fixed to avoid any movement during the stitching process. |
|
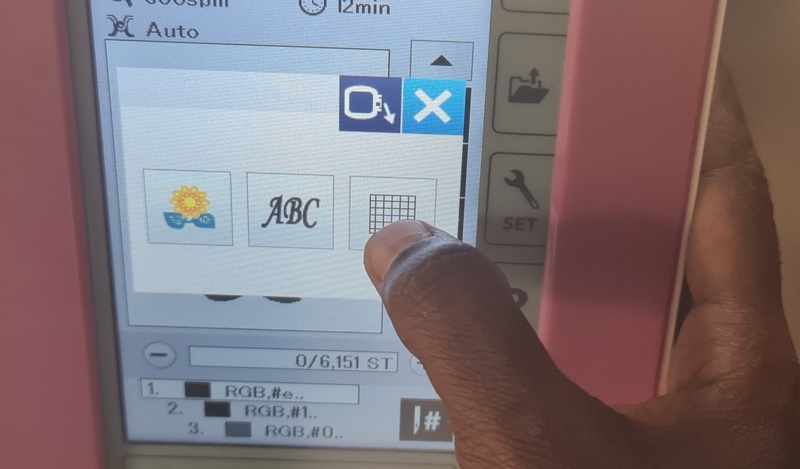
| Now, select the graph-type workspace area from the machine’s display. |

|
| Then, place the design in the workspace area, and you can also adjust its size as needed. |
|
| The design is now fully prepared and ready for stitching. Double-check all settings if needed. |
|
|
| Now, start the stitching by pressing the Start button on the machine. You can also press thesame button to pause or stop the process if needed. |
| The machine has started stitching the design. |
|
|
| The stitching of the design is now complete.You can carefully remove the fabric from the machine and inspect the finished work. |
Original File
SVG formet download here
Summary
Conclusion & Learning Outcome
From this week’s experience, I learned the complete workflow of designing and fabricating an embroidery pattern, from digital design to machine output. I now understand how a vector design can be converted into a stitch file and embroidered onto fabric using a digital sewing machine.
This exercise also helped me become more familiar with tools like Inkscape and Digitizer software, and how important proper file formatting and toolpath generation are in digital fabrication. It was exciting to see my digital design come to life on a physical piece of fabric, and it gave me a deeper appreciation for digital embroidery technology.