Week 14
Interface and Application Programming
Welcome to week 14 of FabAcademy!
Heroshots
 |
Group Assignment:
We explored a range of application development and interface programming tools during this week's group assignment, which delves into interface and application programming. We concentrated on comprehending the features, functions, and objectives of these technologies. Additionally, by developing applications with programs like Processing and MIT App Inventor, among others, we obtained real-world experience.
Visit our Group assignment page here
Individual Assignment:
MIT App Inventor:
About MIT App Inventor:-
MIT App Inventor (App Inventor or MIT AI2) is a high-level block-based visual programming language, originally built by Google and now maintained by the Massachusetts Institute of Technology (MIT). It allows newcomers to create computer applications for two operating systems: Android and iOS, which, as of 25 September 2023, was in beta testing. It is free and open-source released under dual licensing: a Creative Commons Attribution ShareAlike 3.0 Unported license and an Apache License 2.0 for the source code. It's target is primarily children and students studying computer programming, similar to Scratch.
The web interface consists of a graphical user interface (GUI) very similar to Scratch and StarLogo, allowing users to drag-and-drop visual objects (blocks) to create an application that can be tested on Android and iOS devices and compiled to run as an Android app. It uses a companion mobile app named MIT AI2 Companion providing live testing and debugging.
App Inventor provides integration with different online services, such as Google Sheets and Firebase.
When creating App Inventor, Google drew upon significant prior research in educational computing, and work done within Google on online development environments.
MIT App Inventor Communication with Embedded Board:
With MIT App Inventor, you can create Android apps without knowing any coding. The following procedures must be followed in order to communicate with an embedded board:
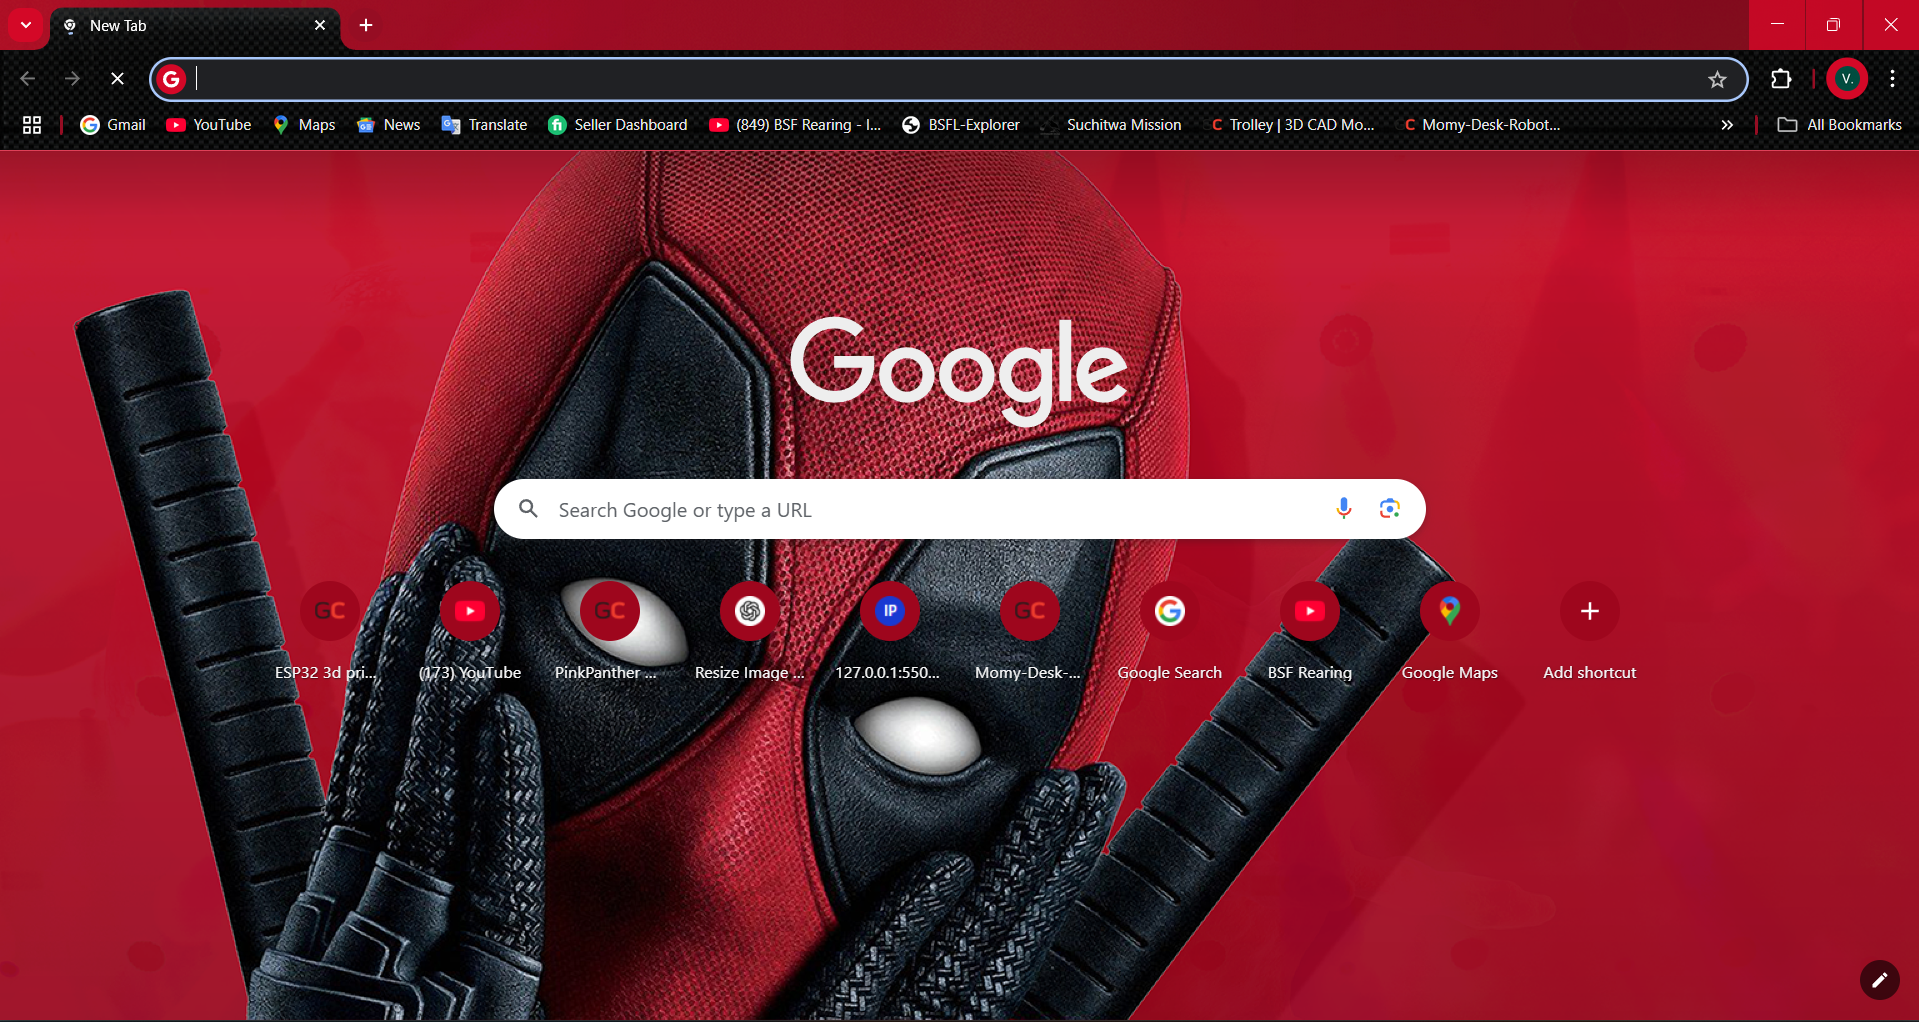
1.Open Web Browser, to search MIT App Inventor

2.Search MIT App Inventor
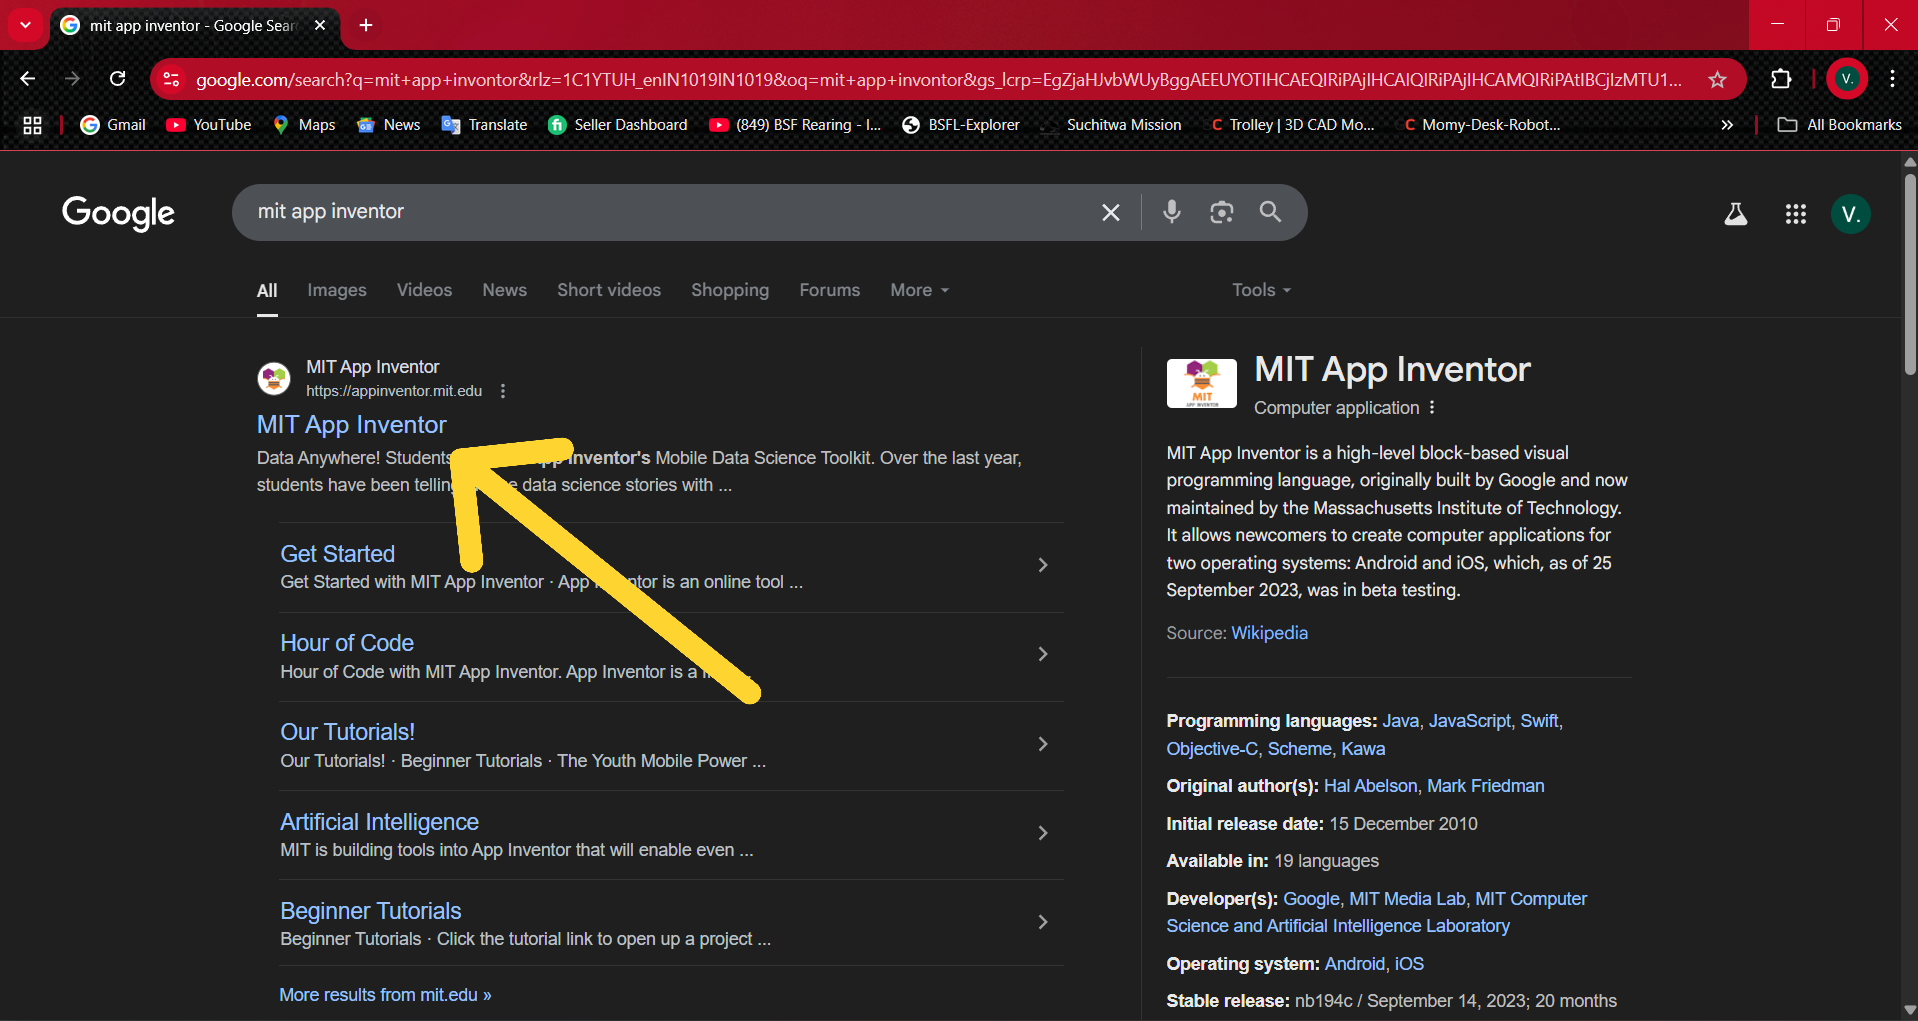
3.Open MIT APP web page by selecting first link
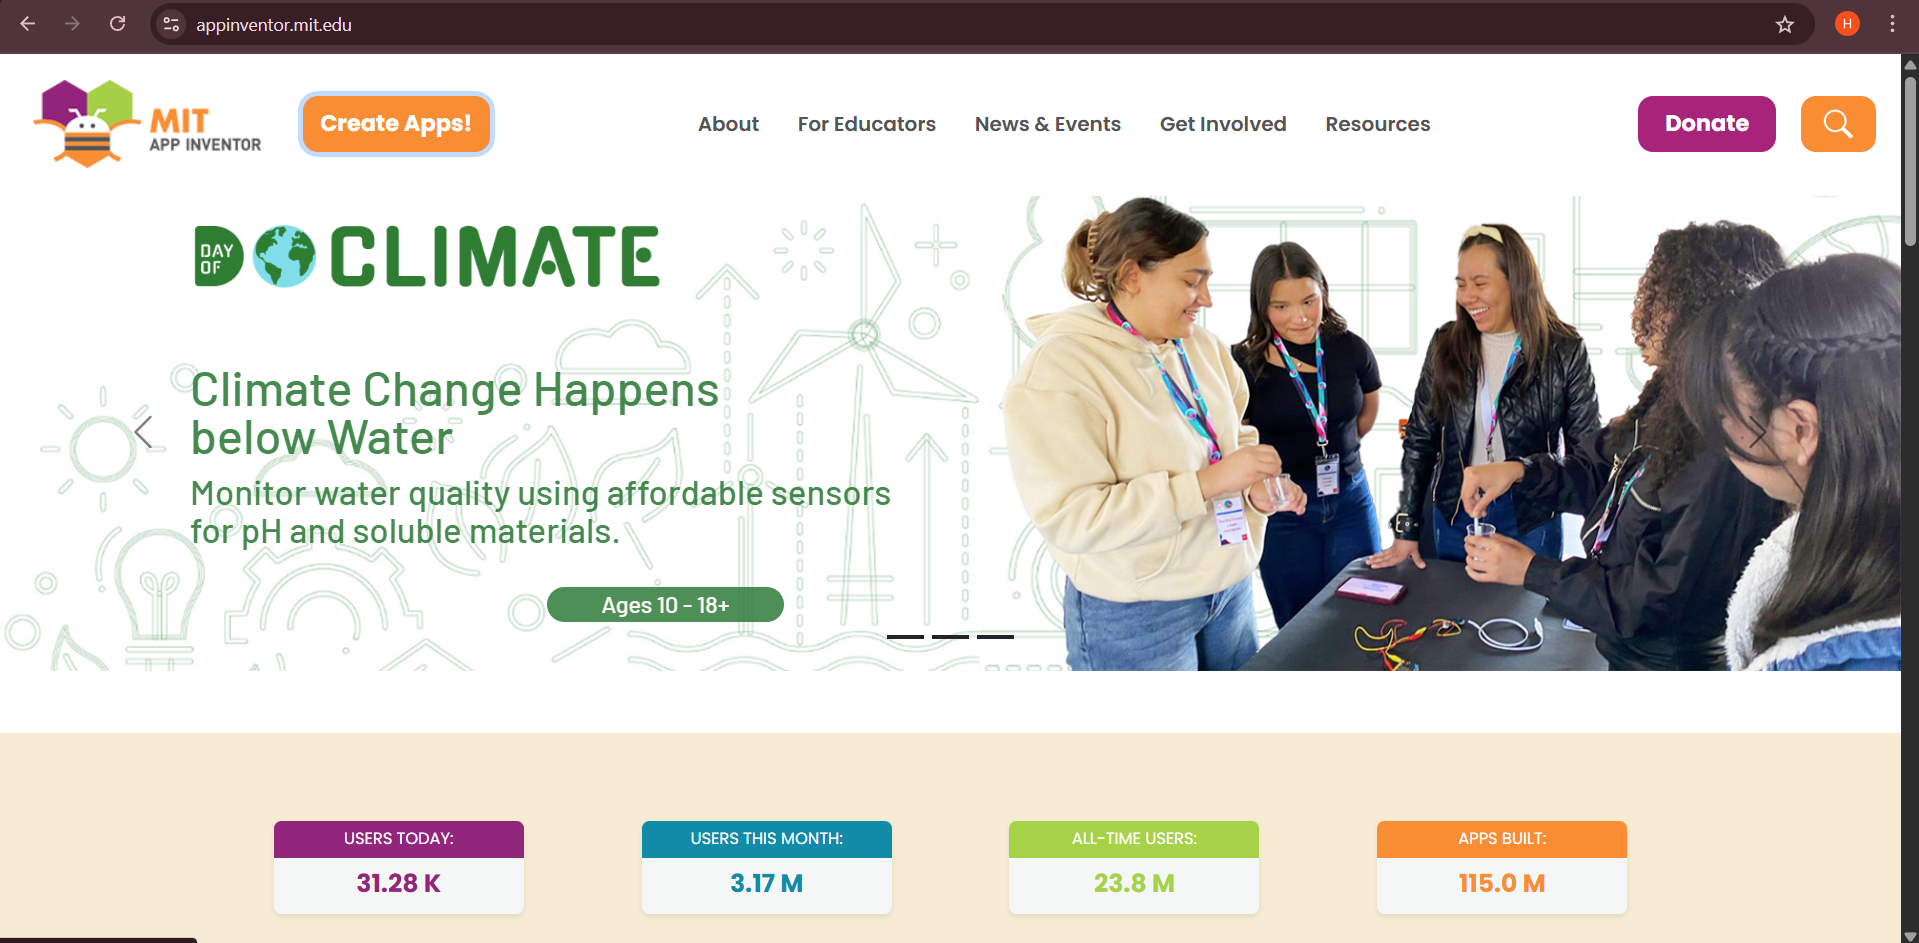
4.A home page window will open
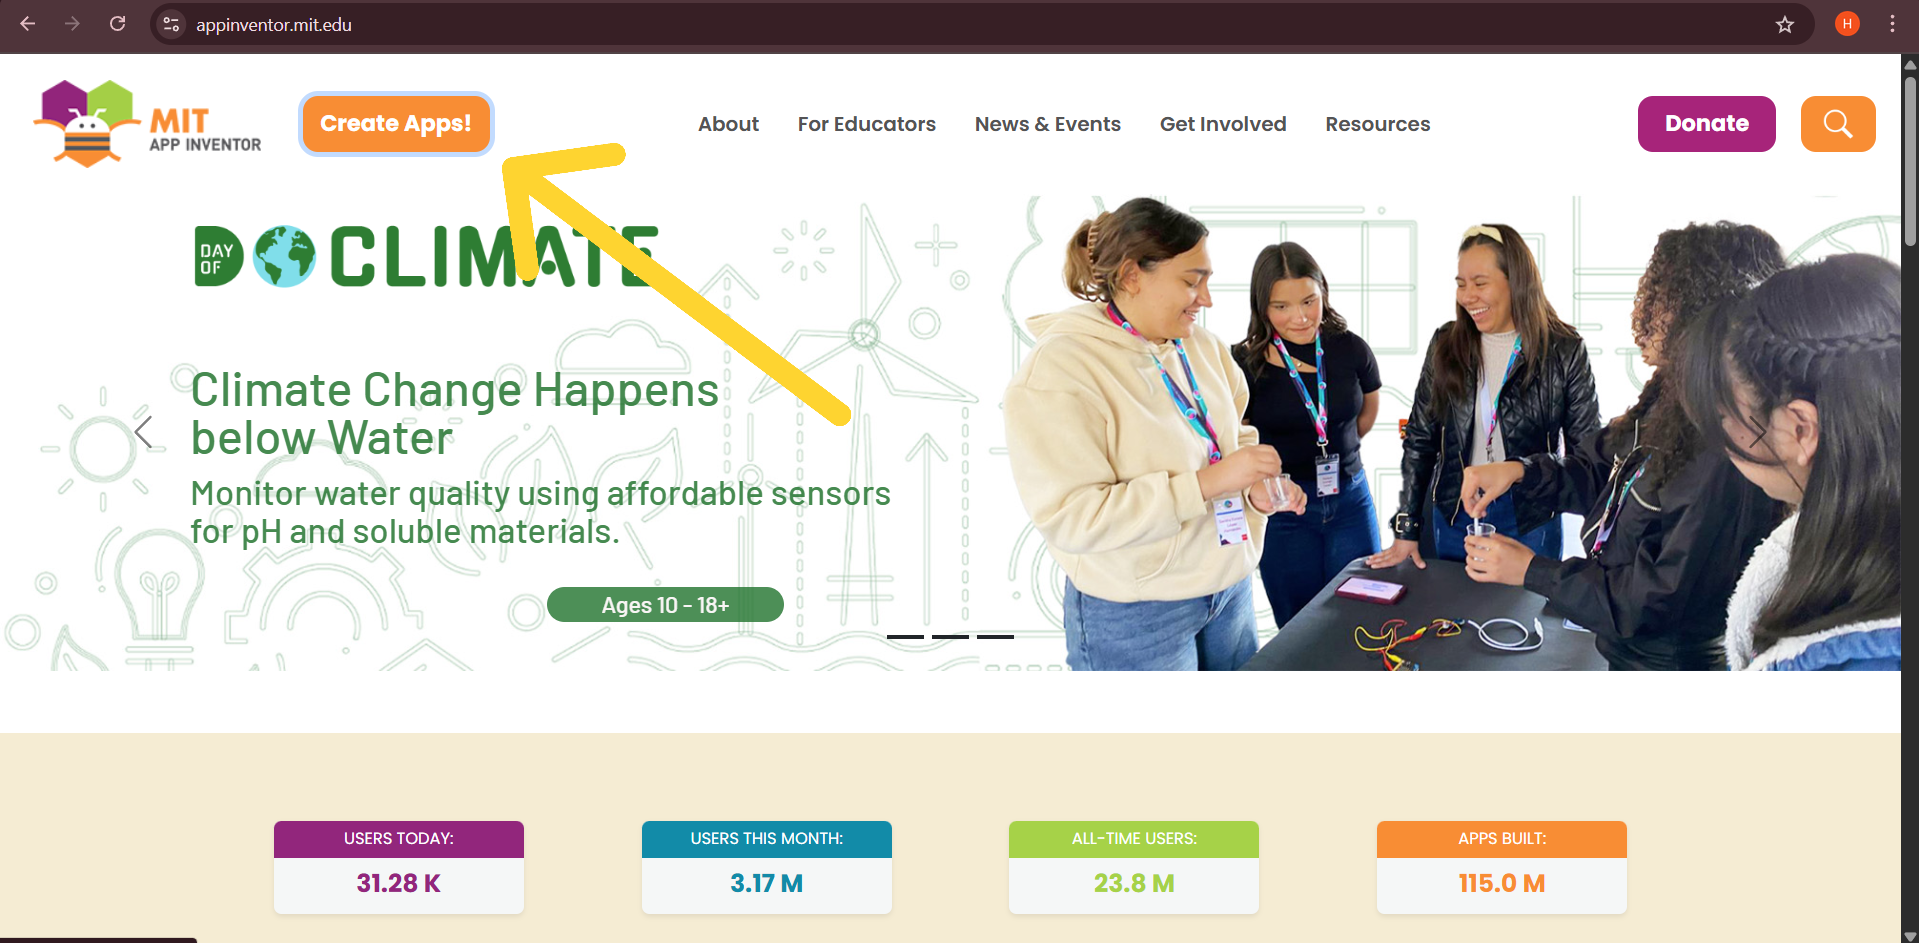
5.click create apps
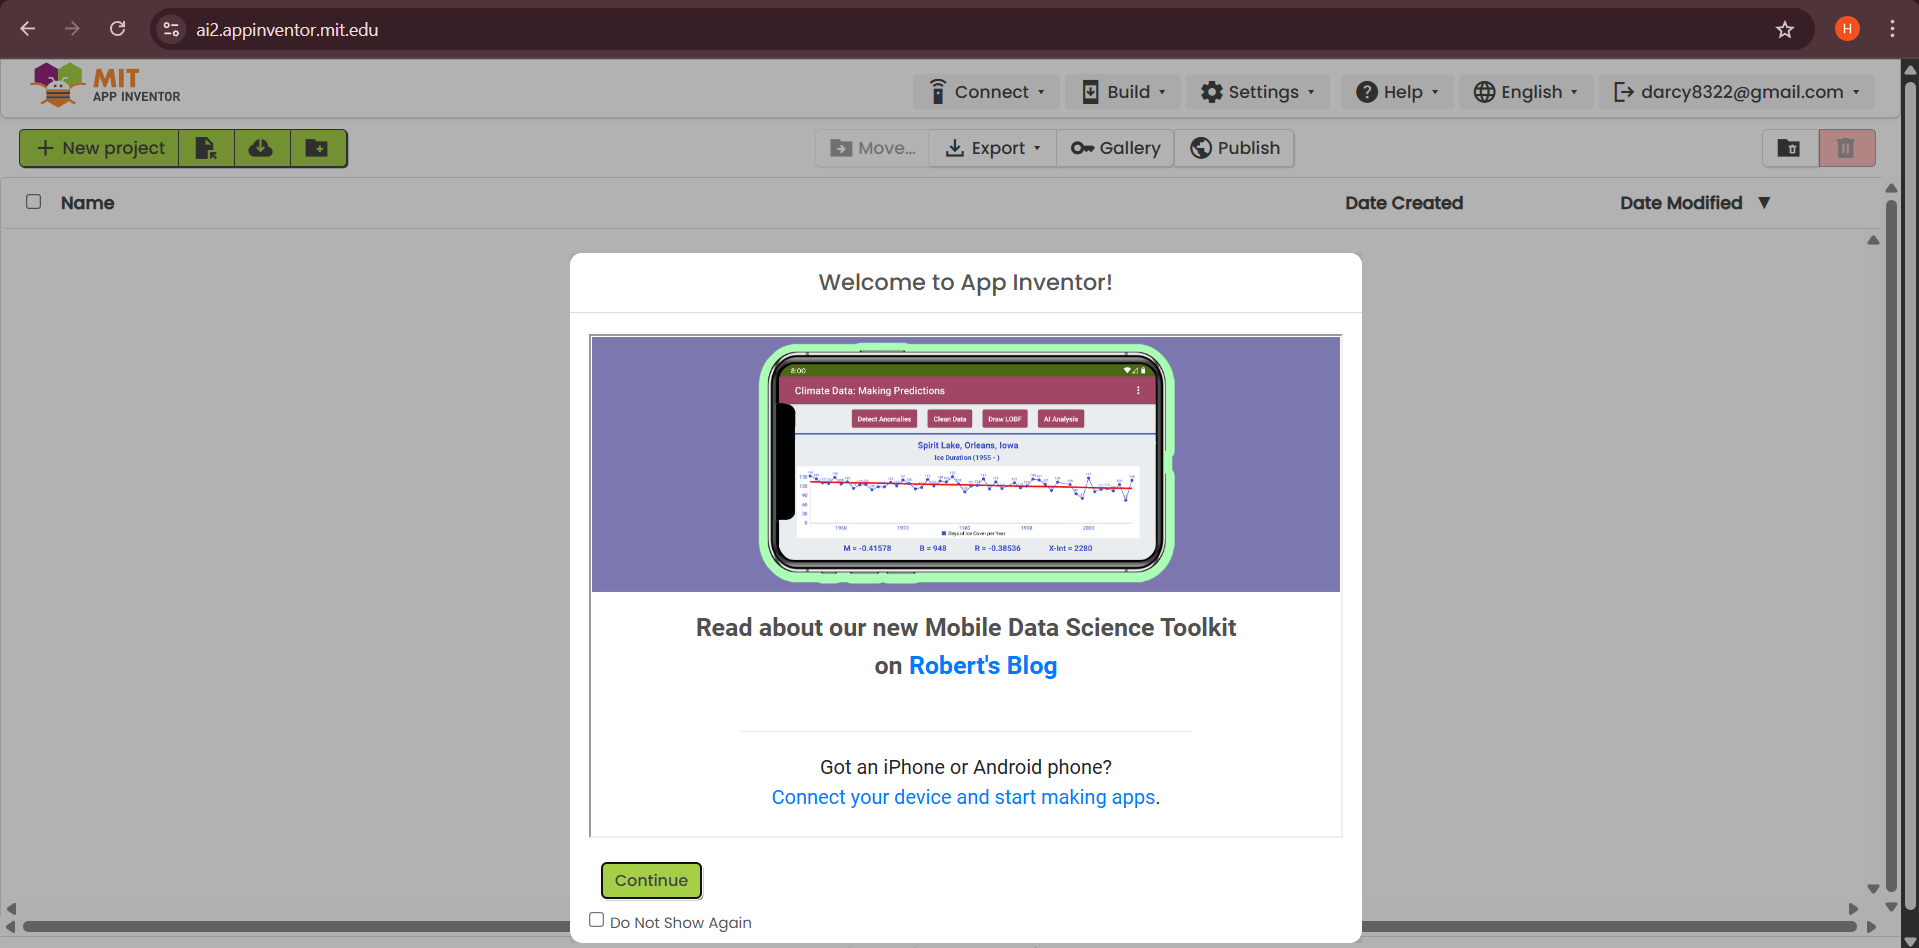
6.Then click to continue:
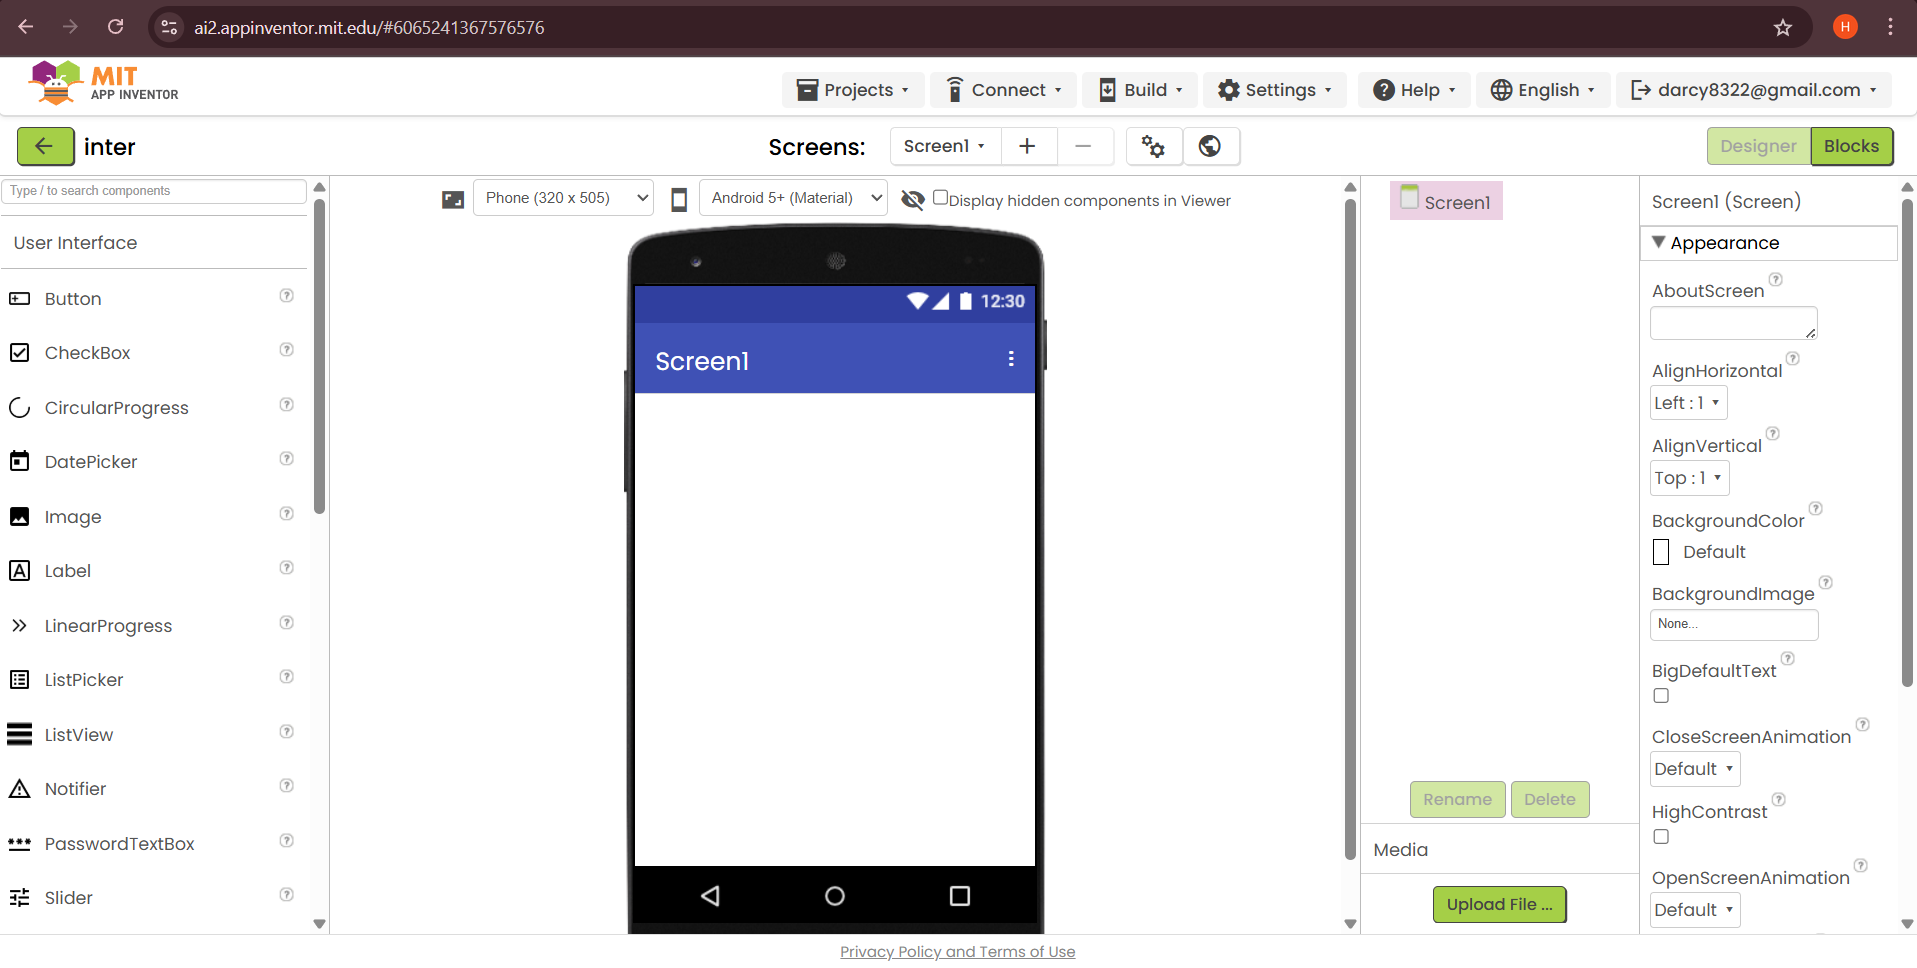
7.MIT APP Inventor User Interface will open:
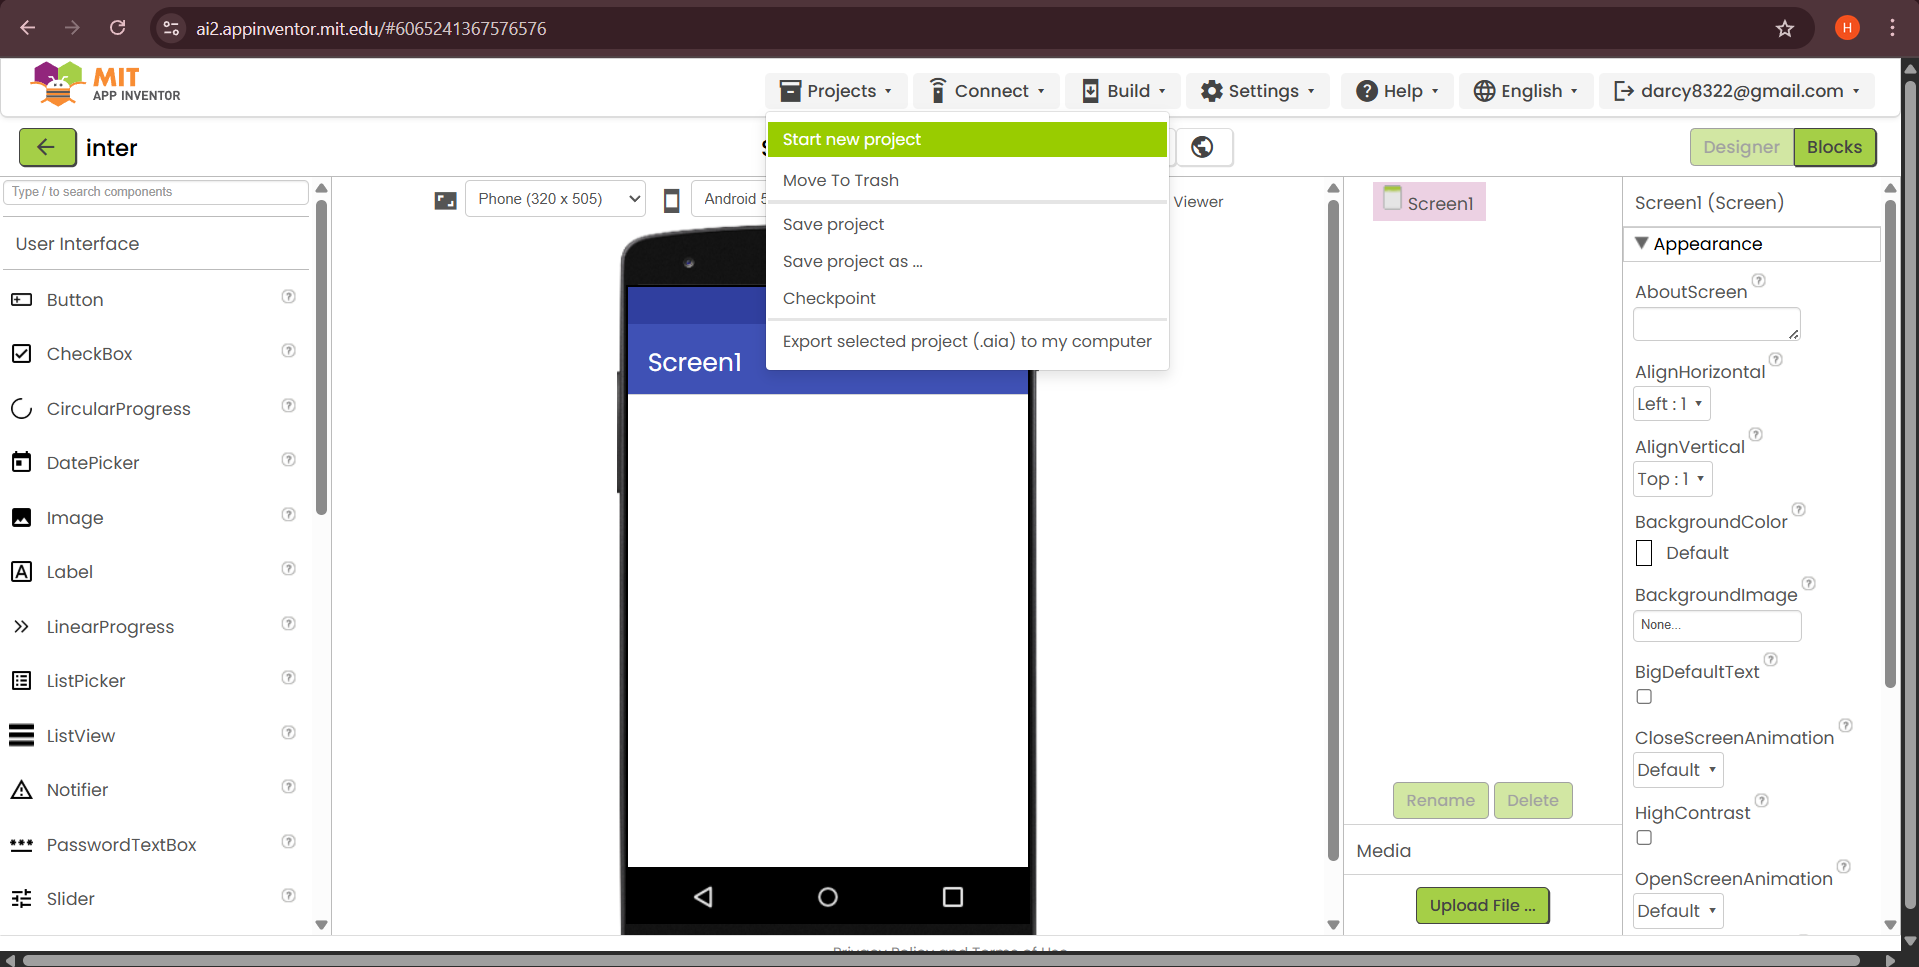
8.Start new project:
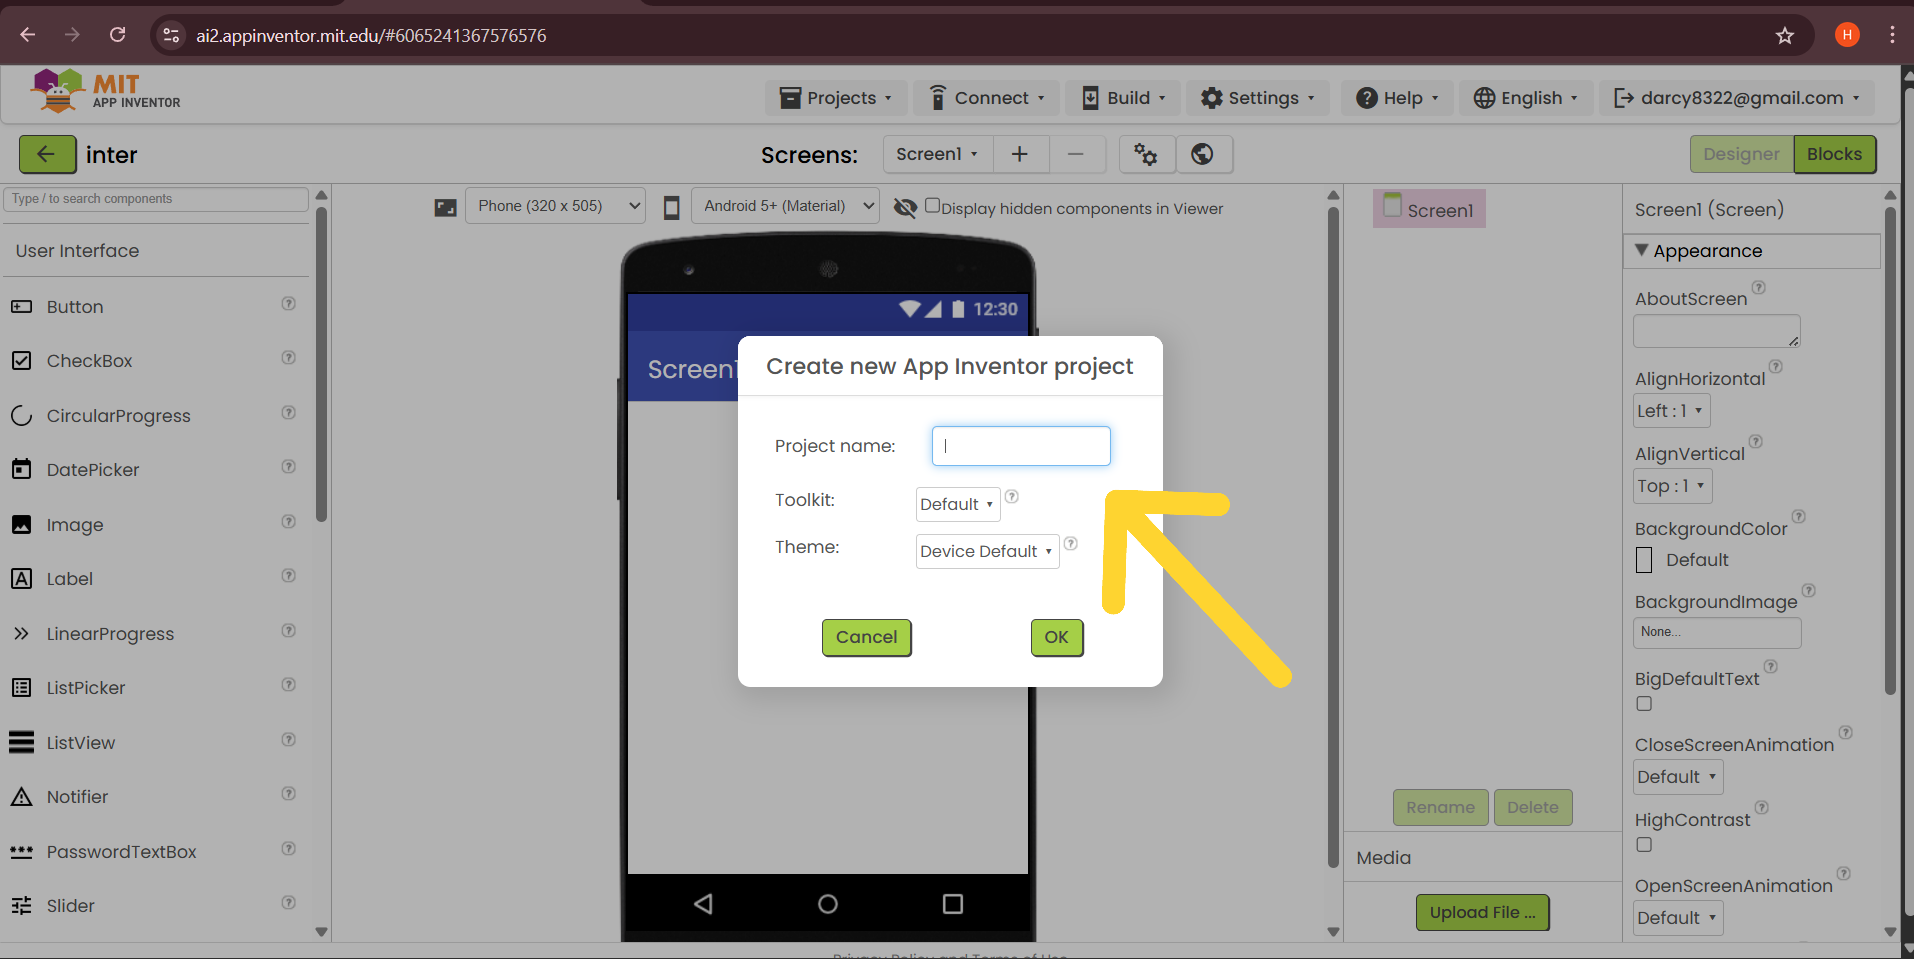
9.Give new project name
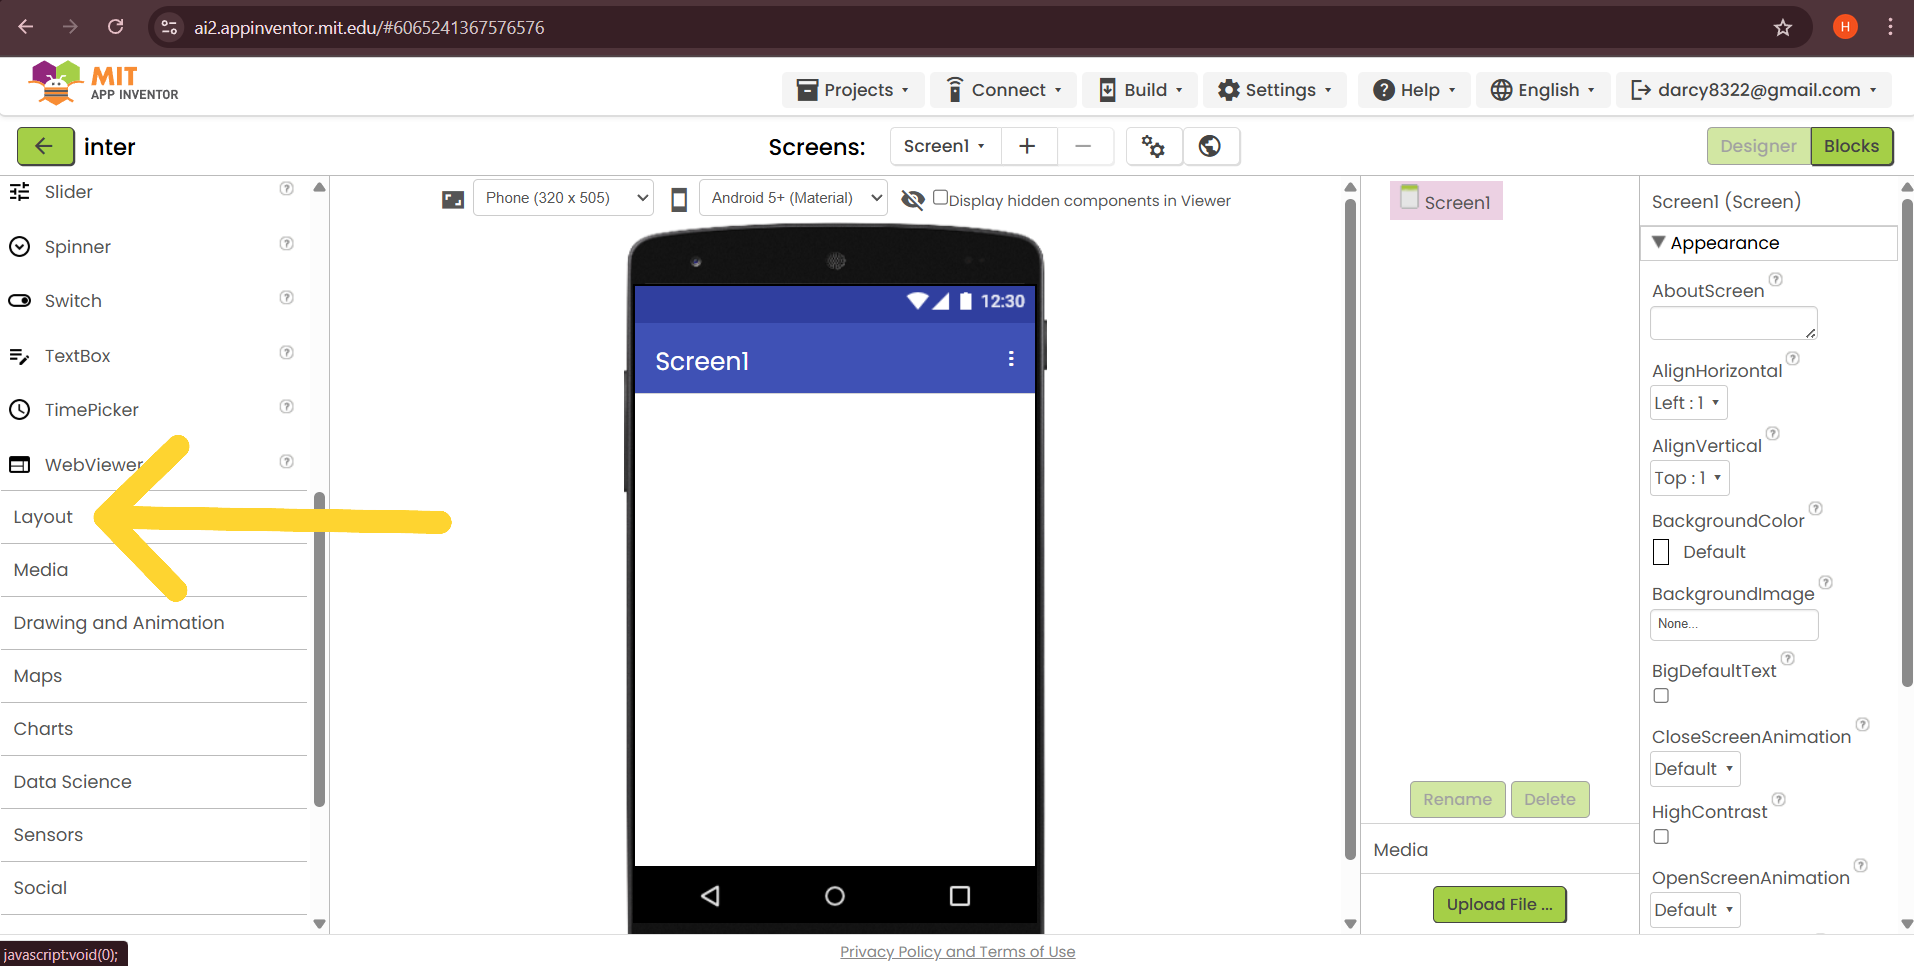
10.Click for layout :
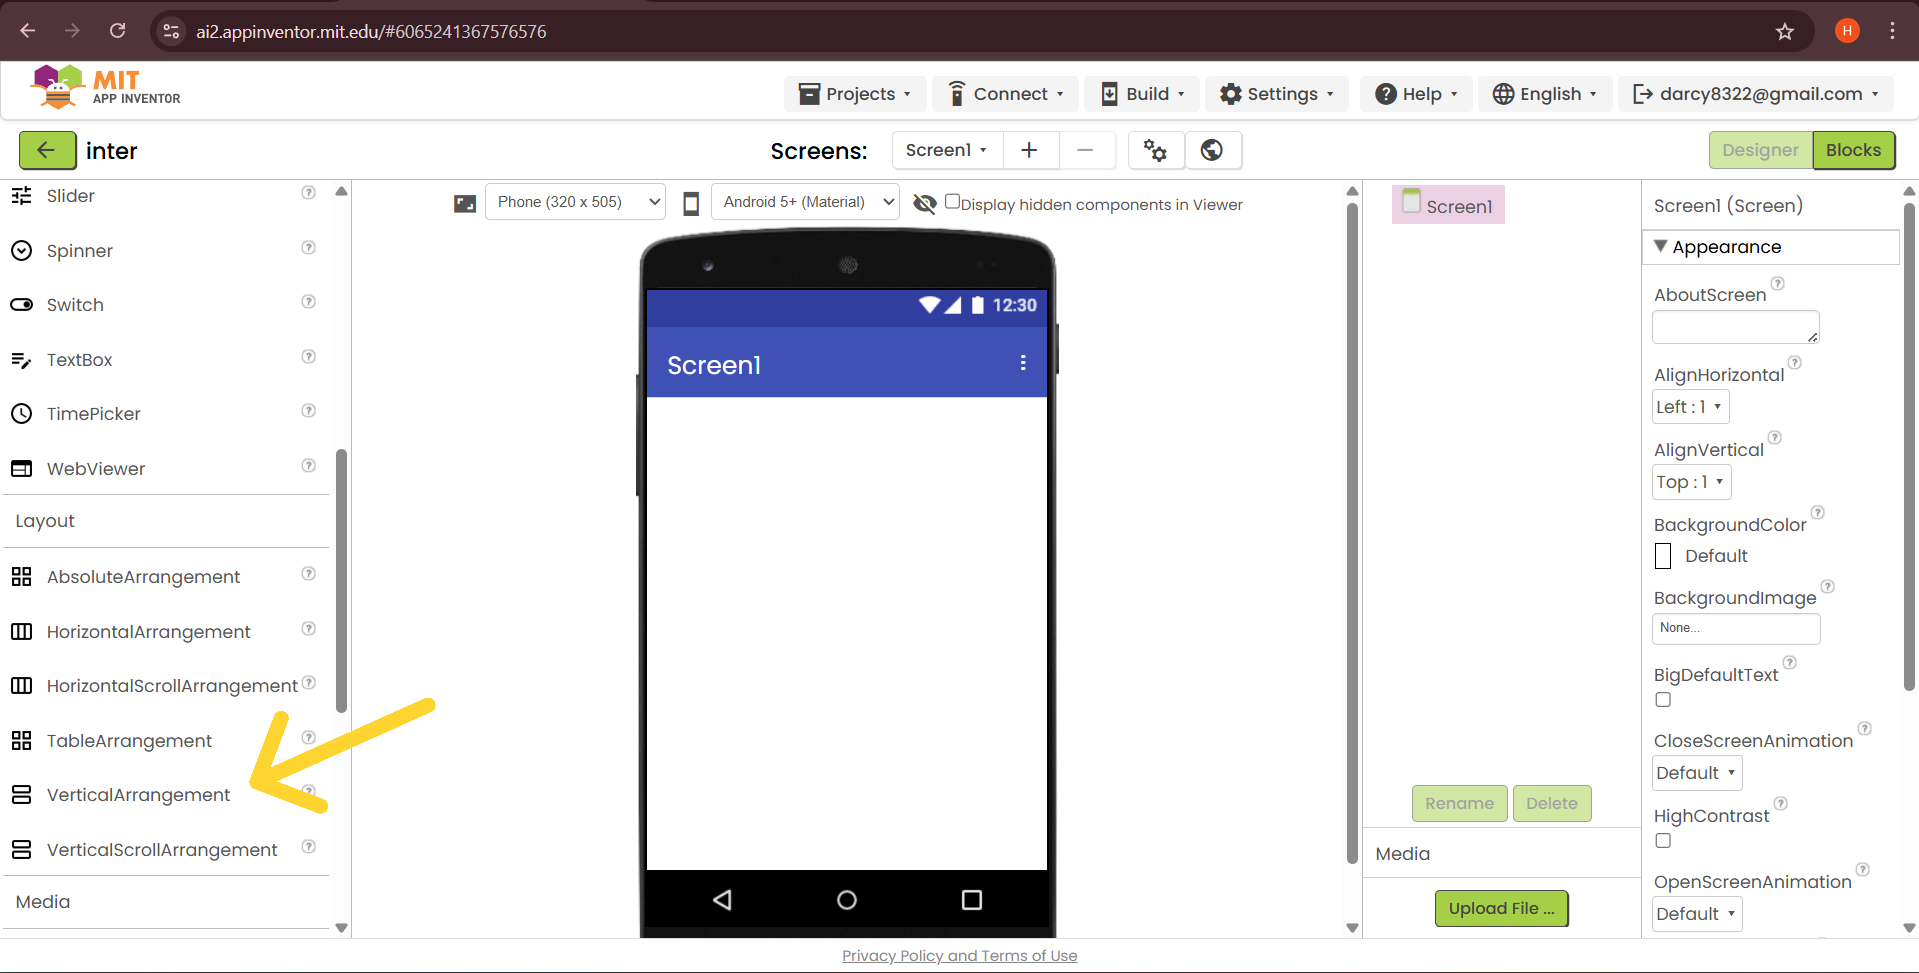
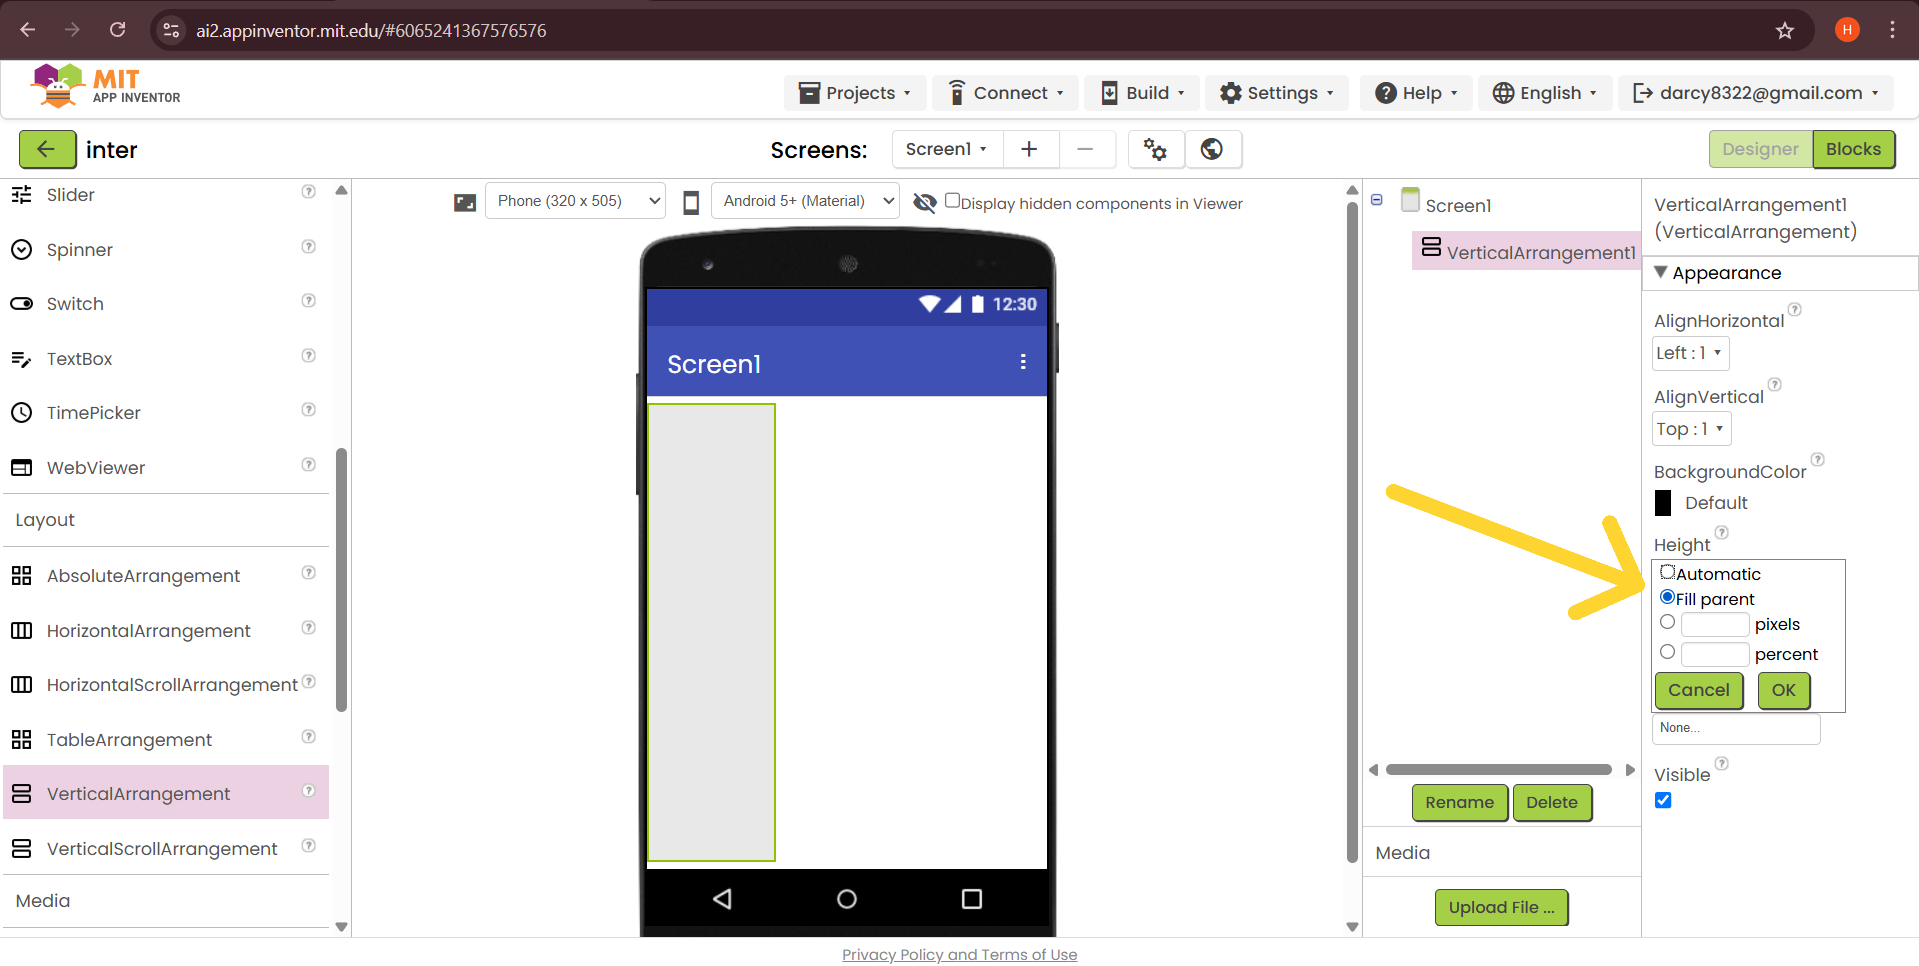
11.Insert the vertical arrangement:
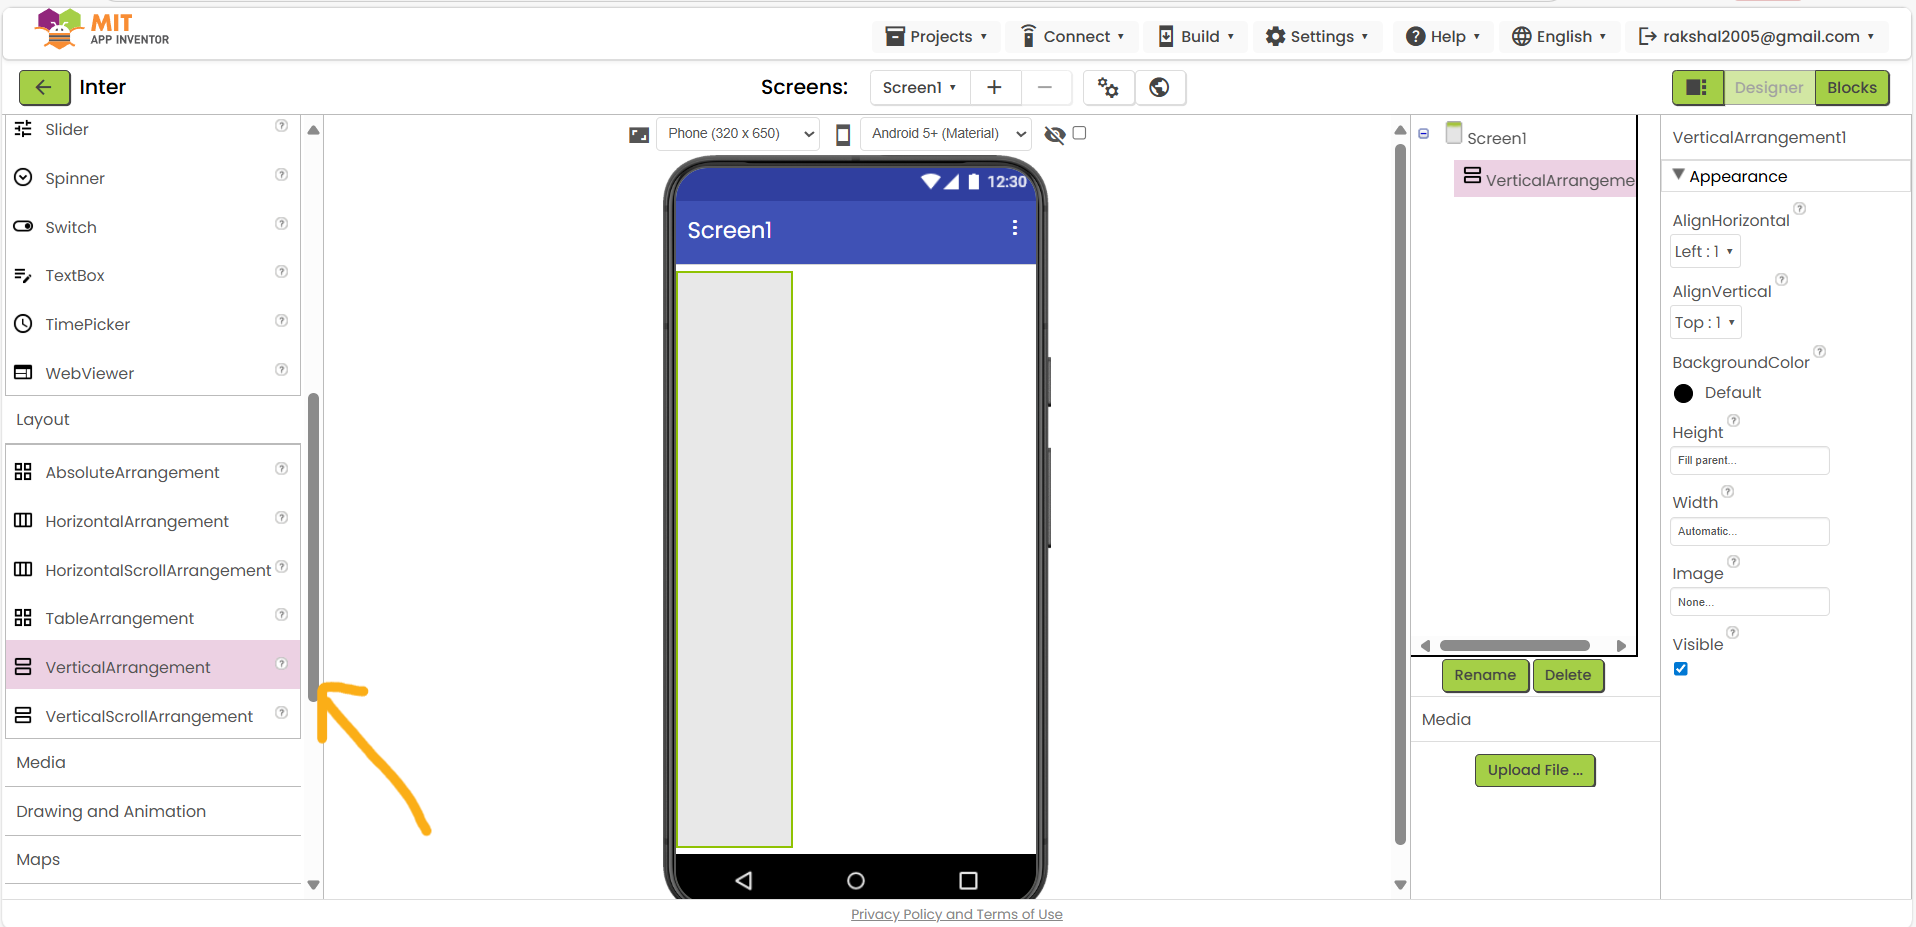
12.Set Height on fill parent:
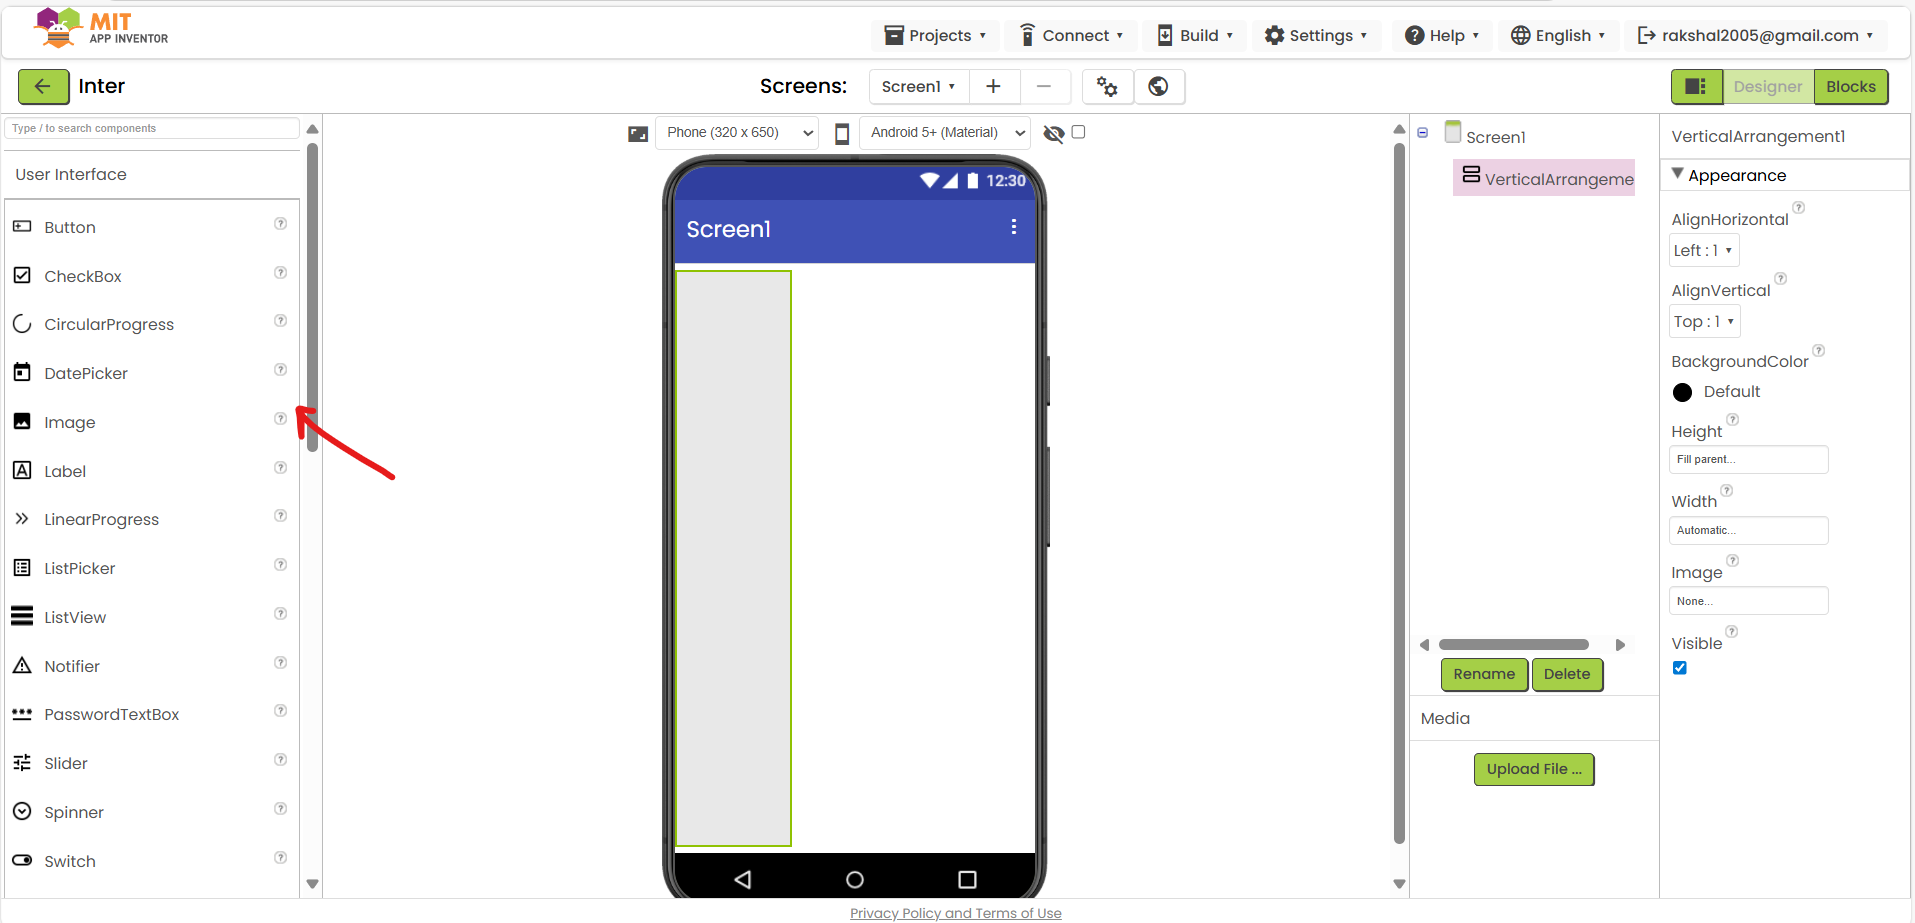
13.then insert image:
14.Upload the image:
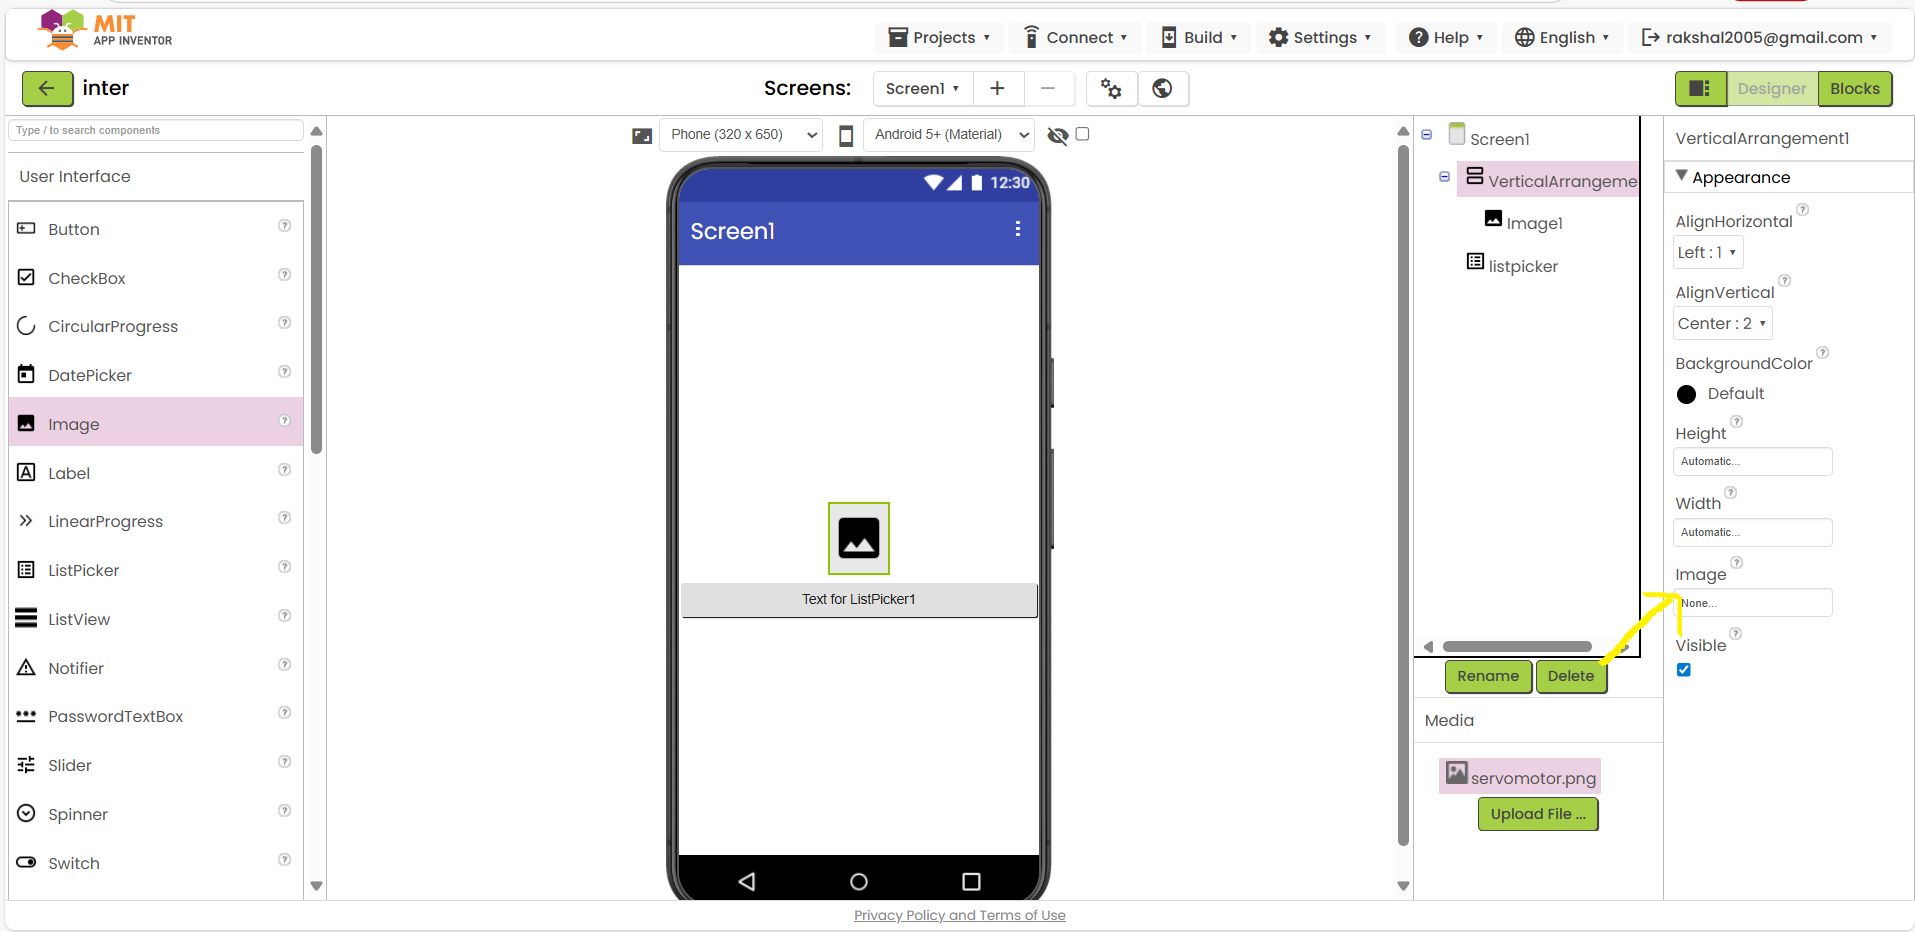
15.Add the ListPicker:
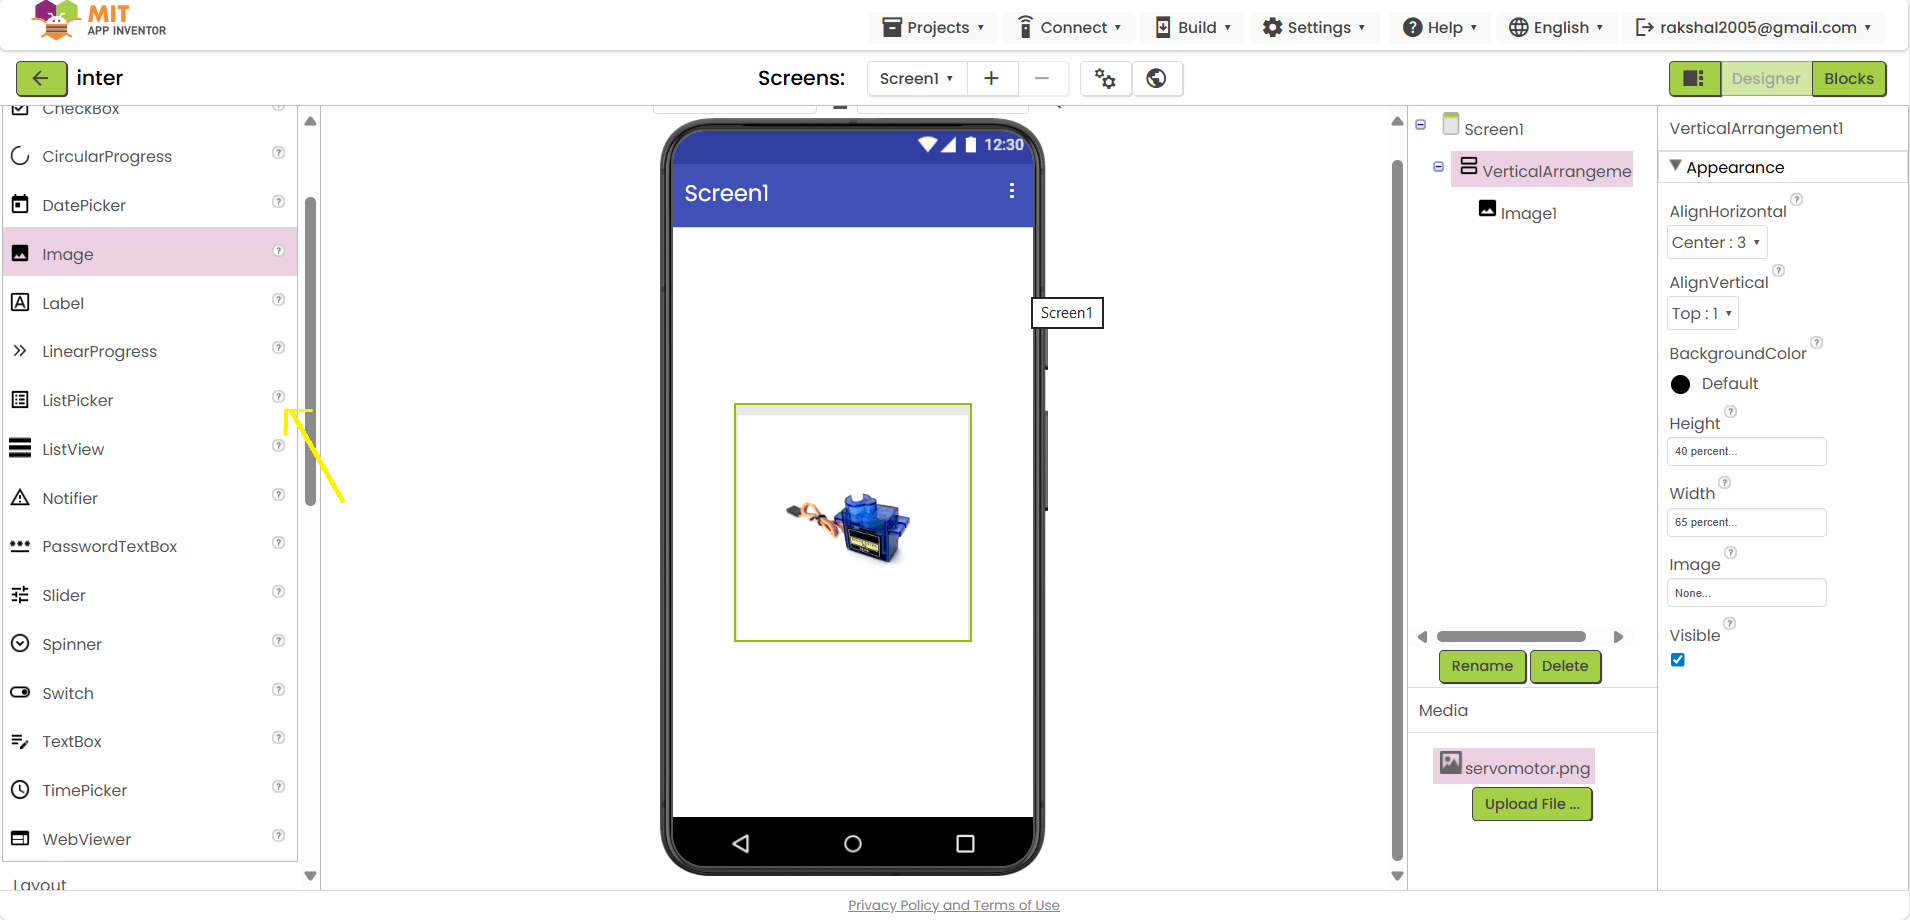
16.Set ListPicker width as fill parent :
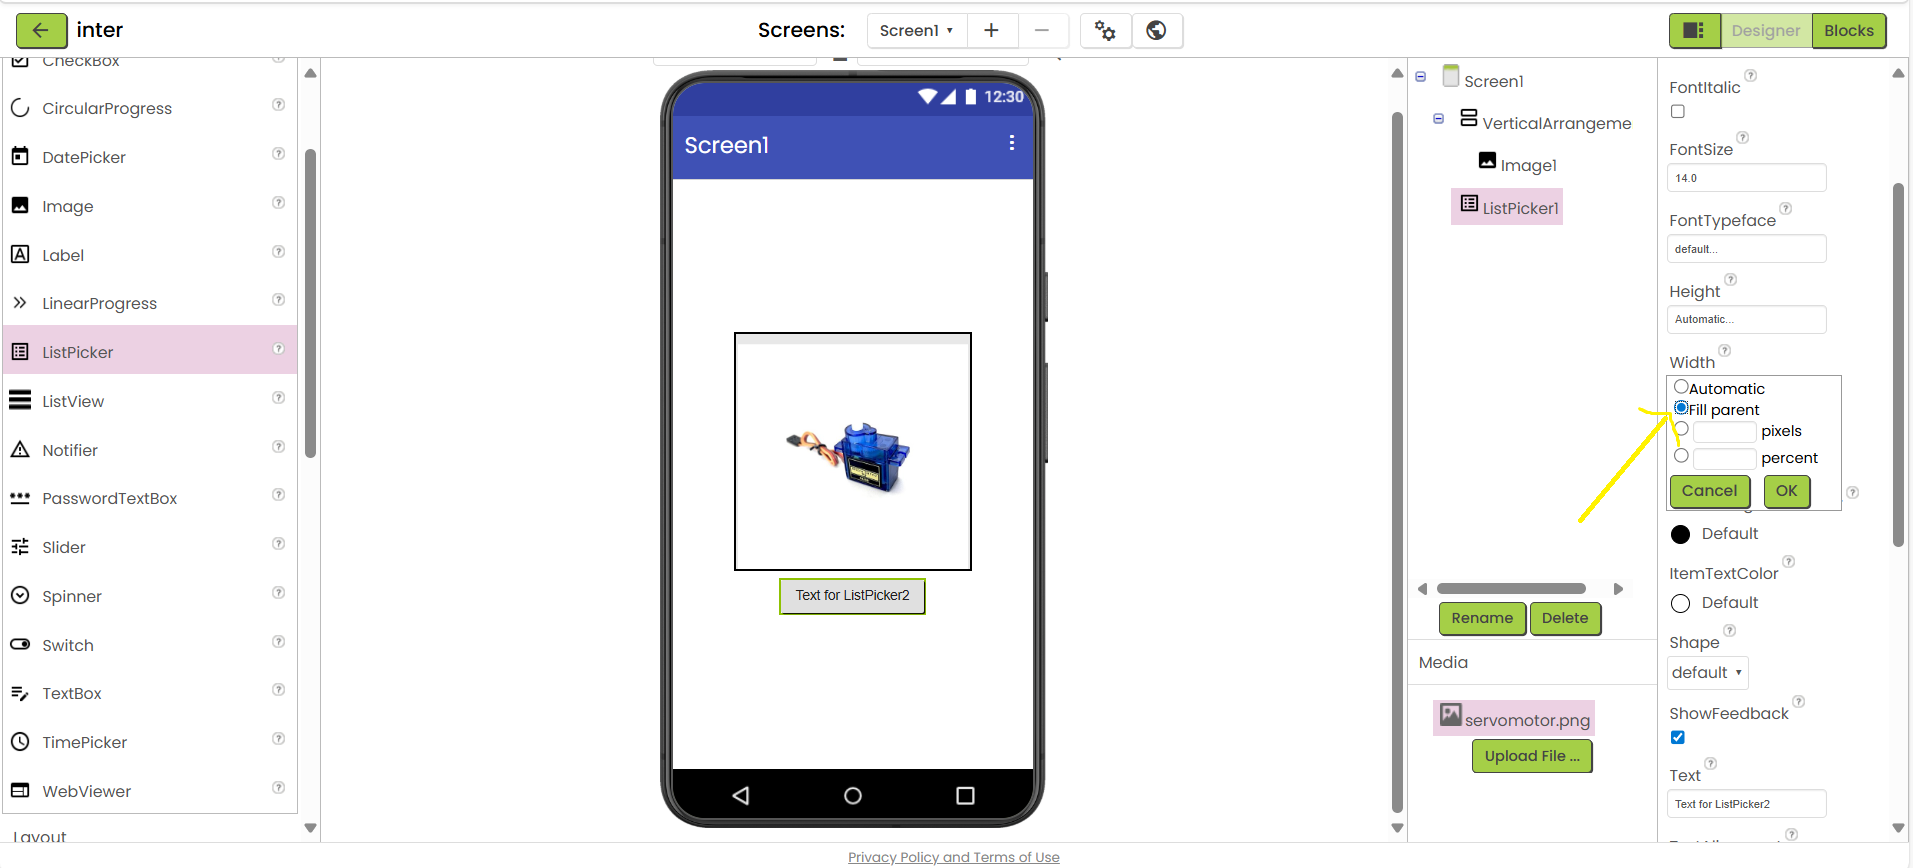
17.You can rename the list picker tab
:
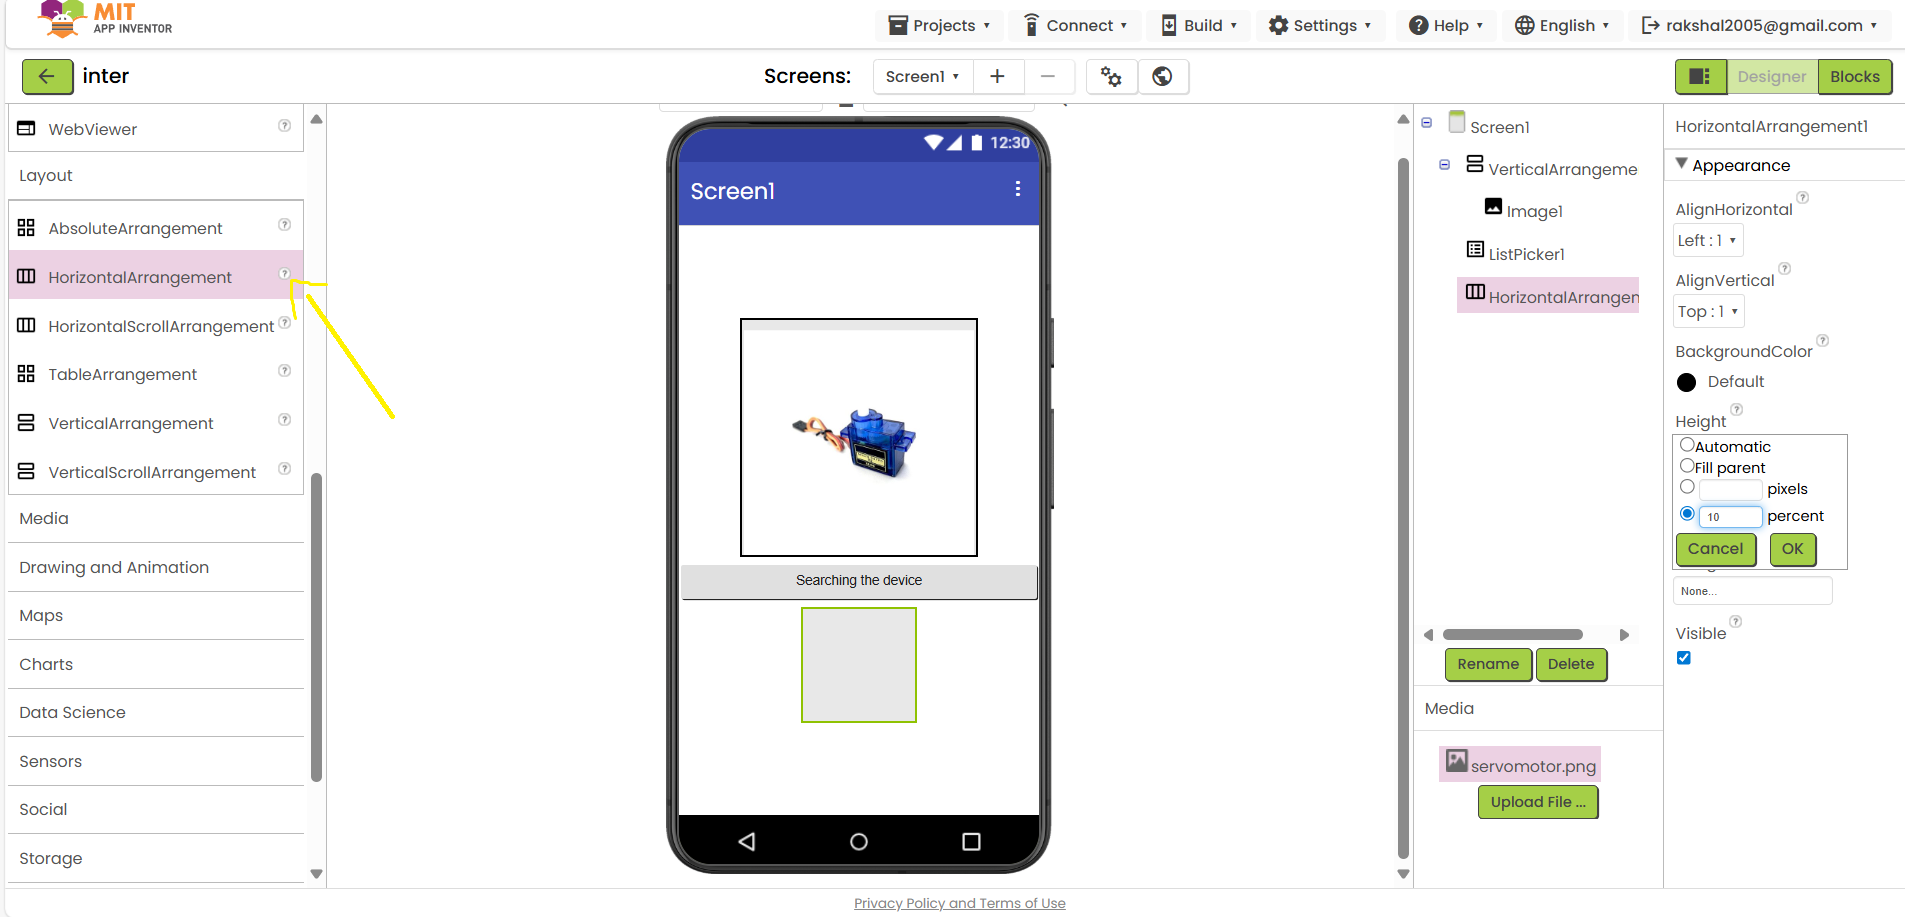
18.Add horizontal arrangement:
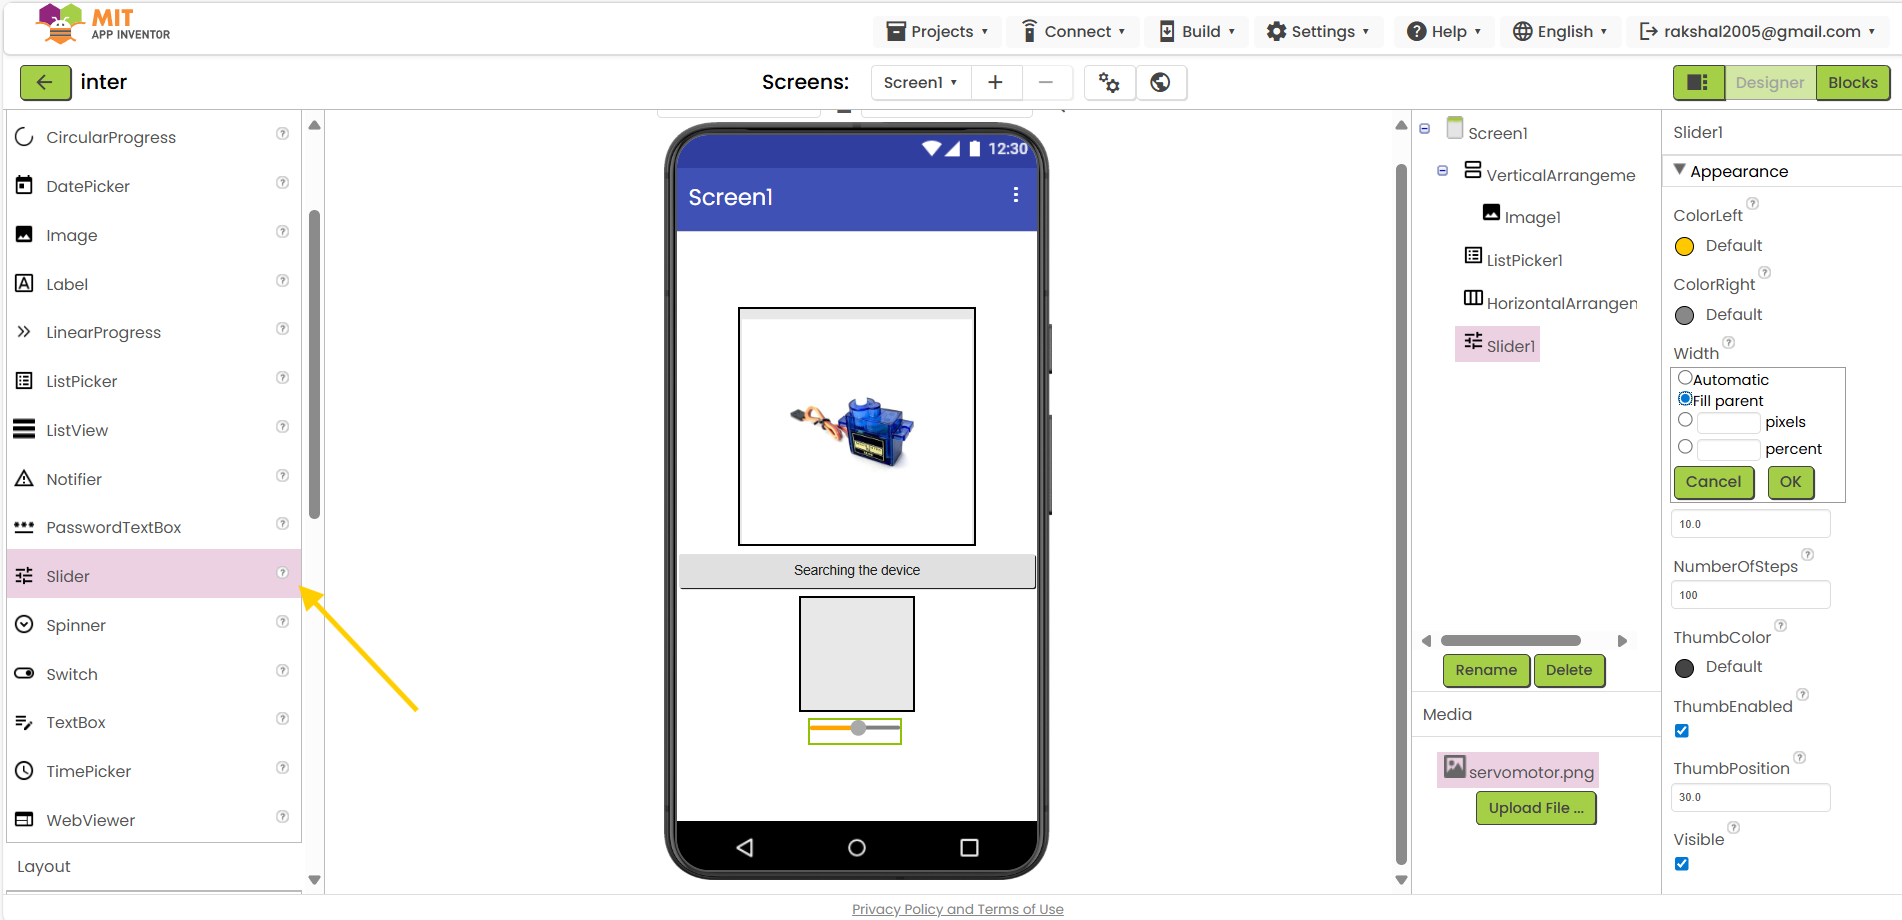
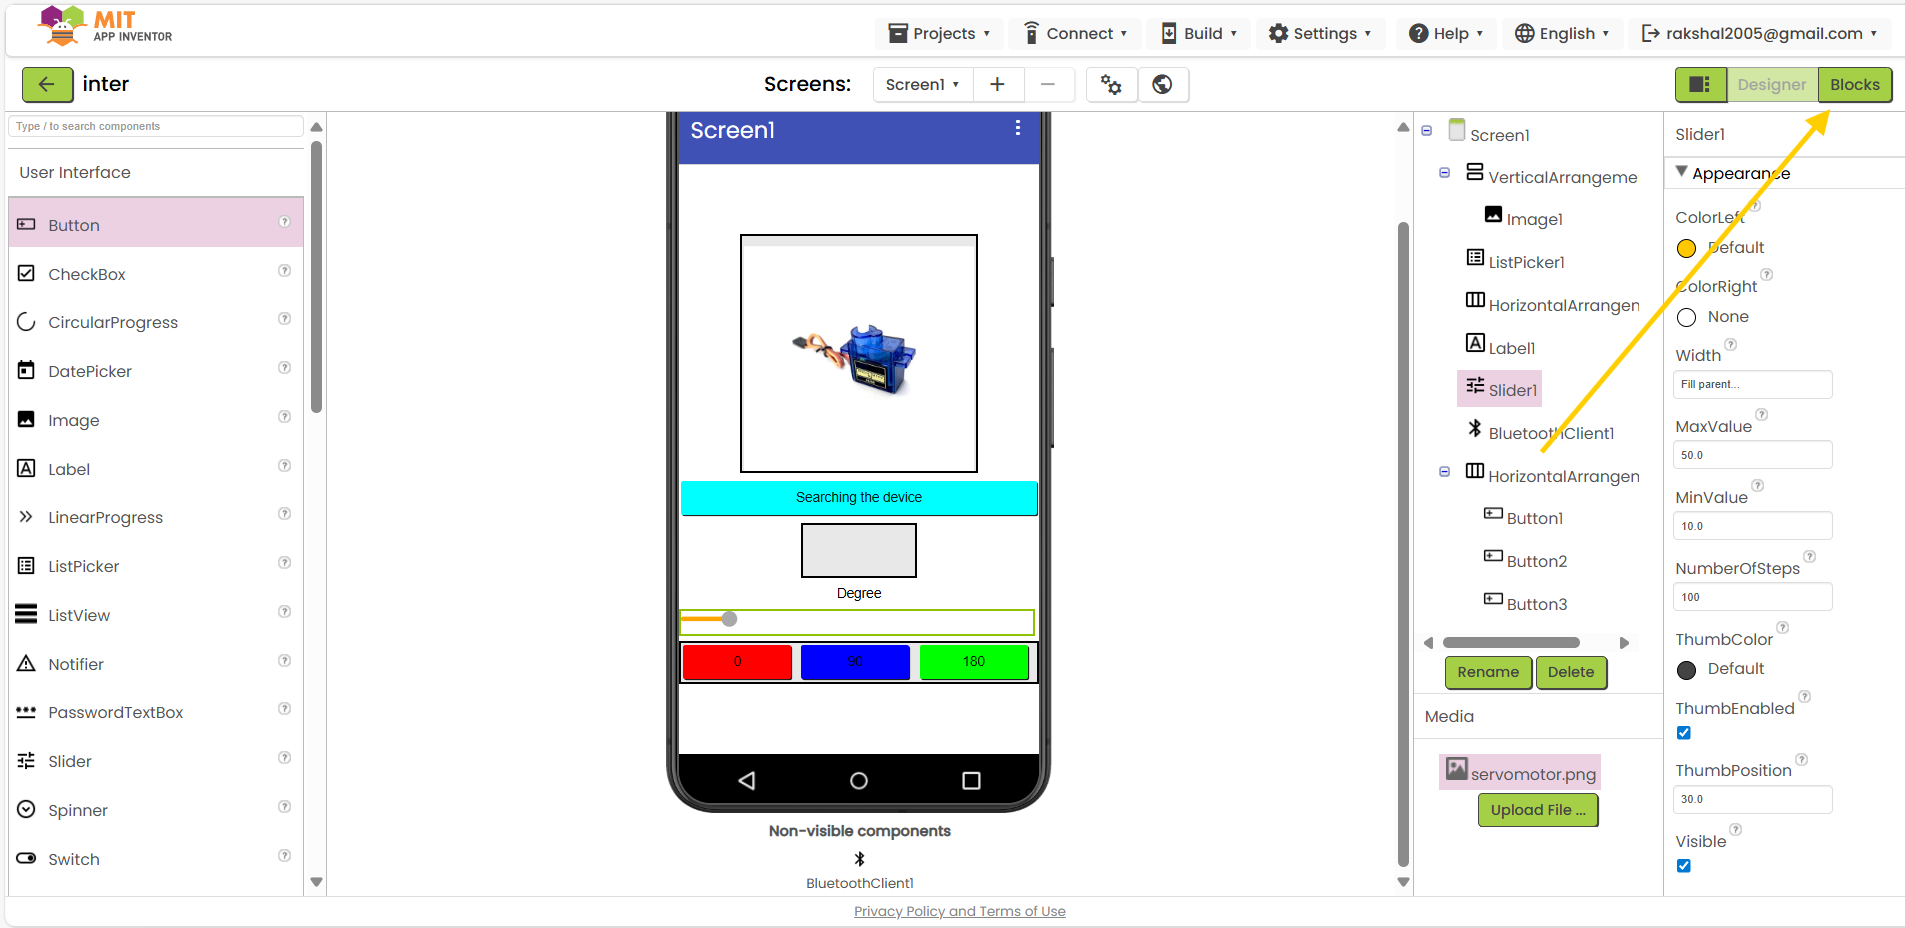
19.Then add slider:
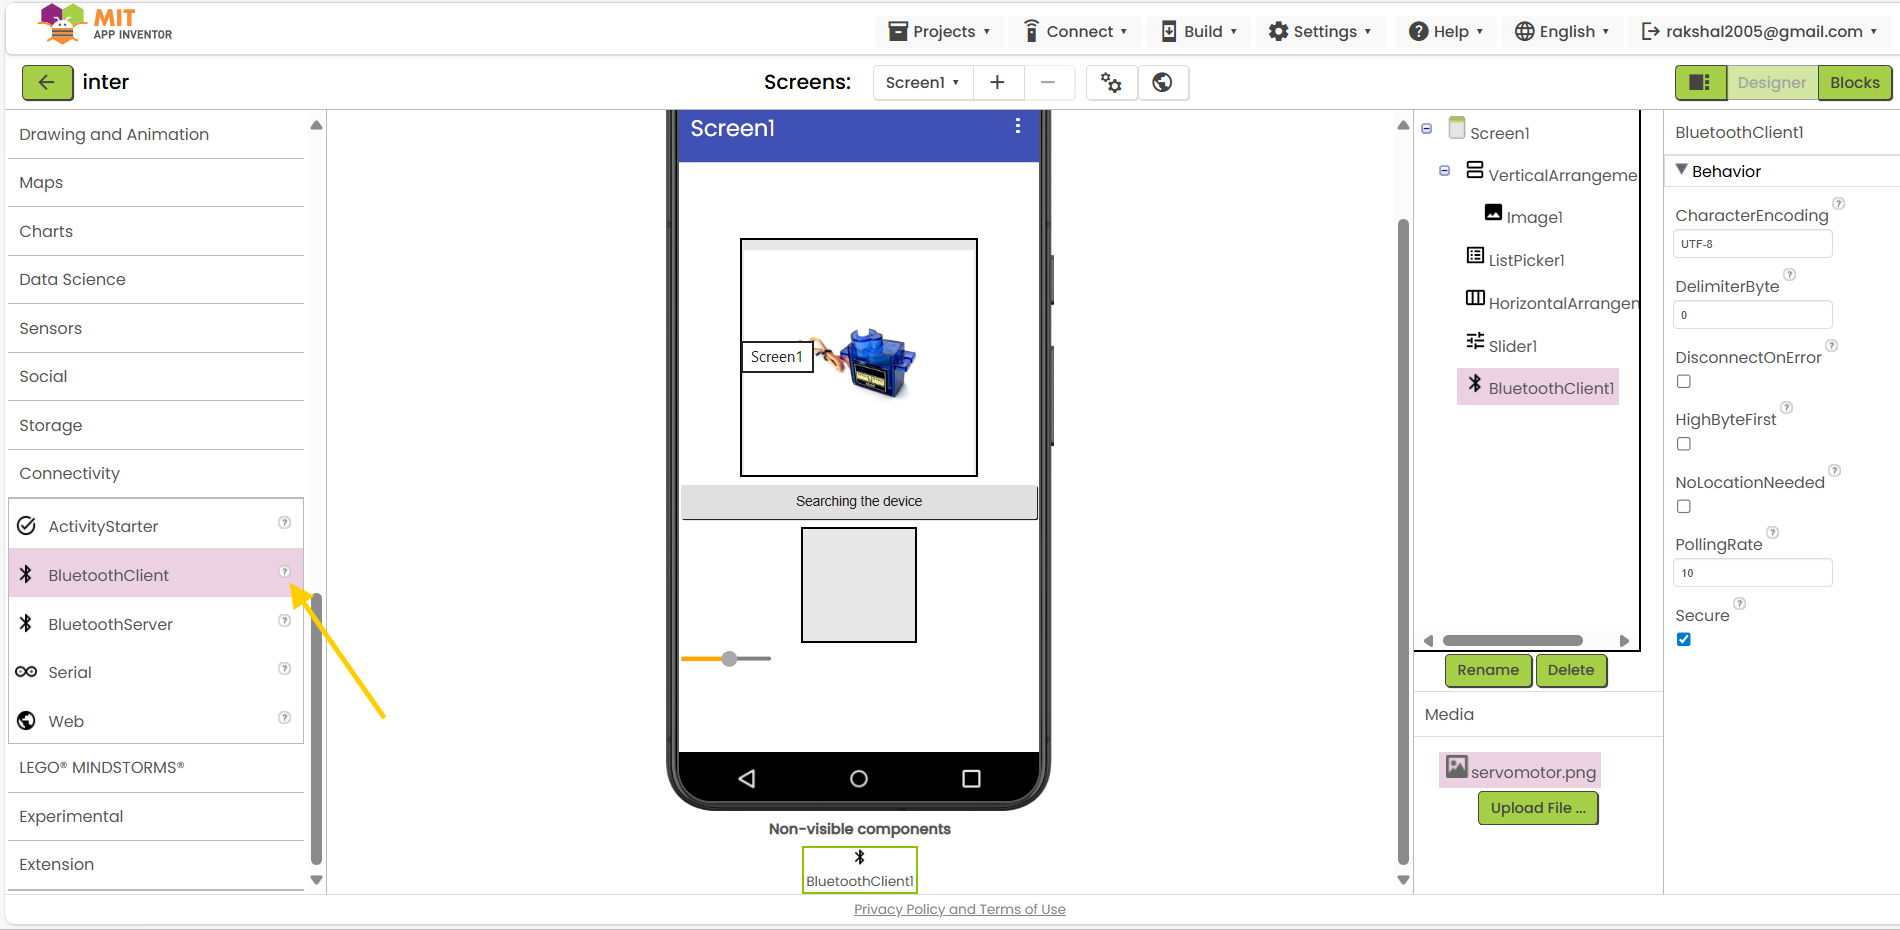
20.Insert bluetooth block:
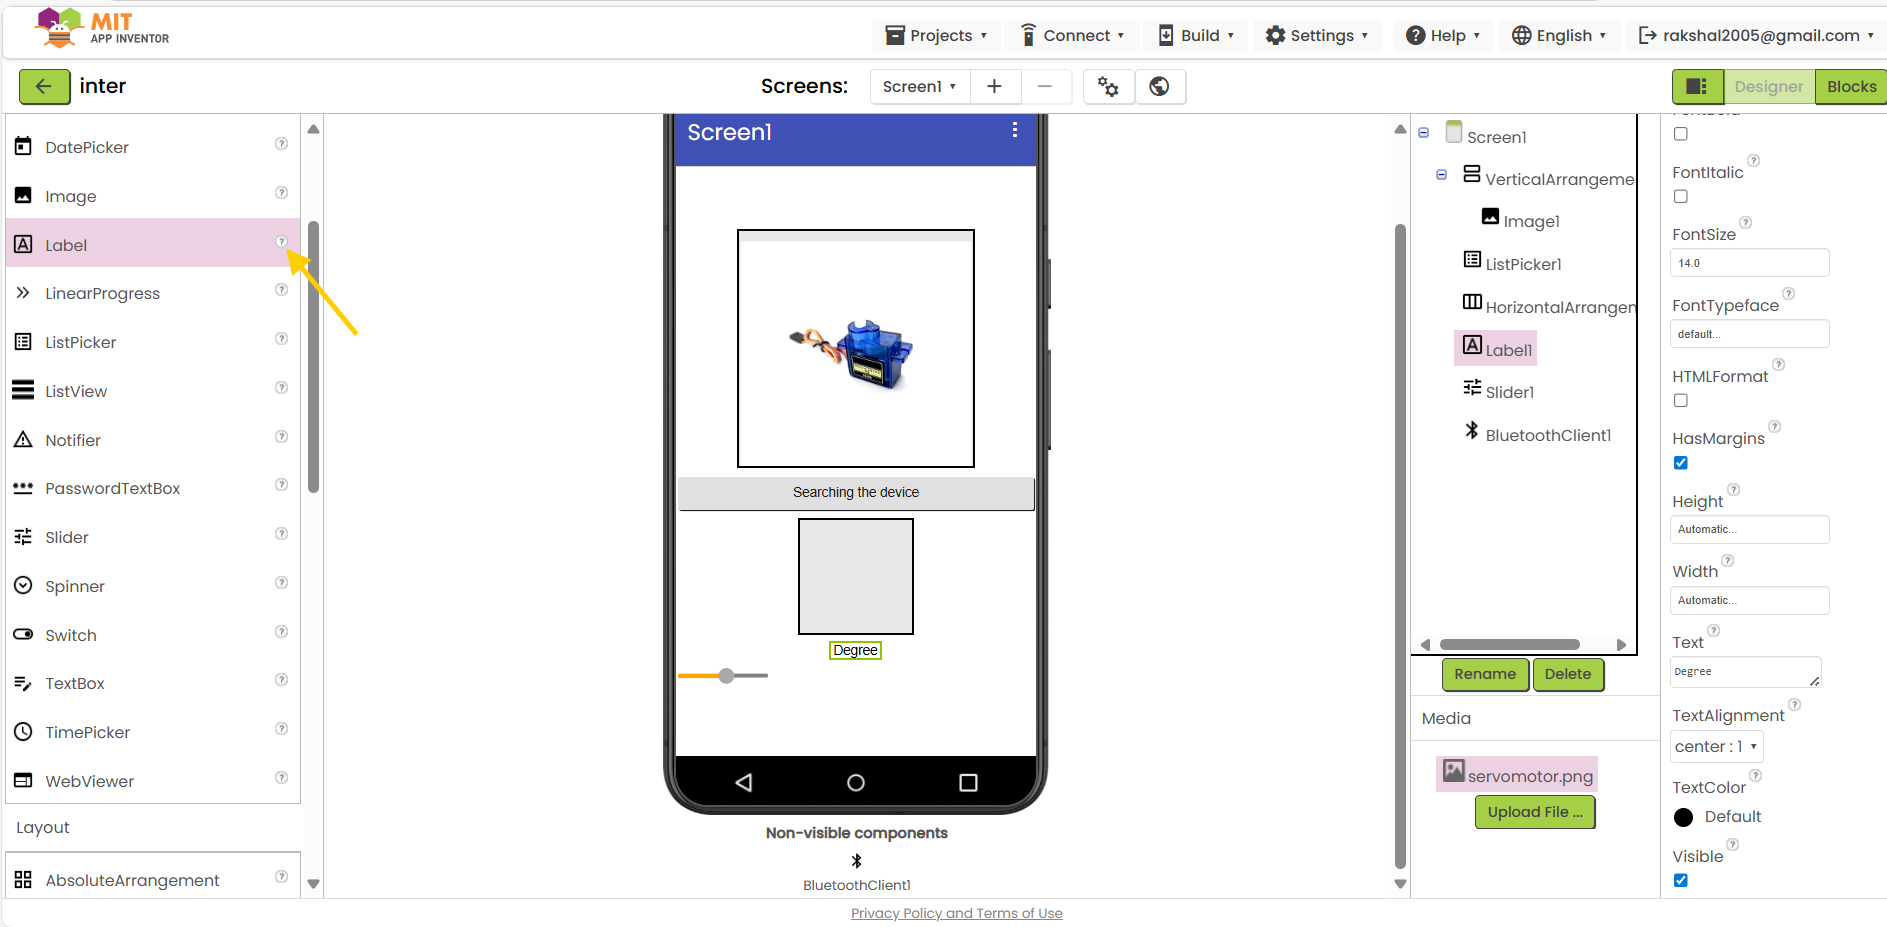
21.Add the label:
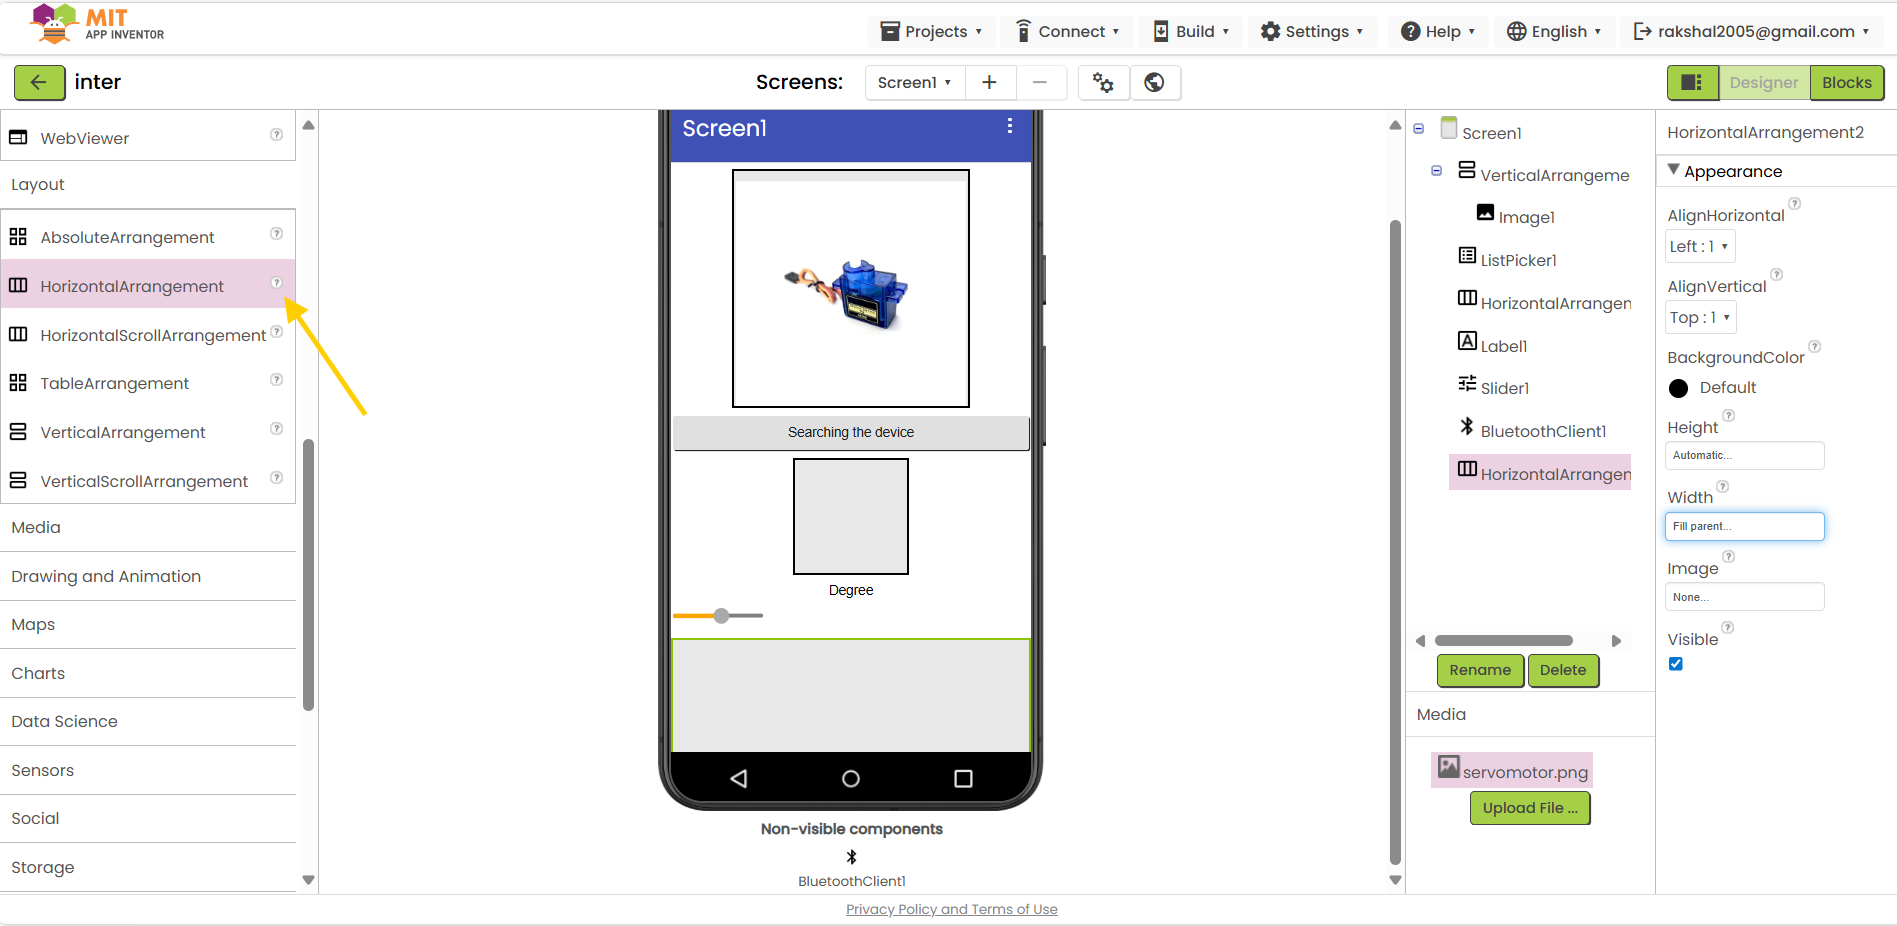
22.Add one more to horizontal arrangement:
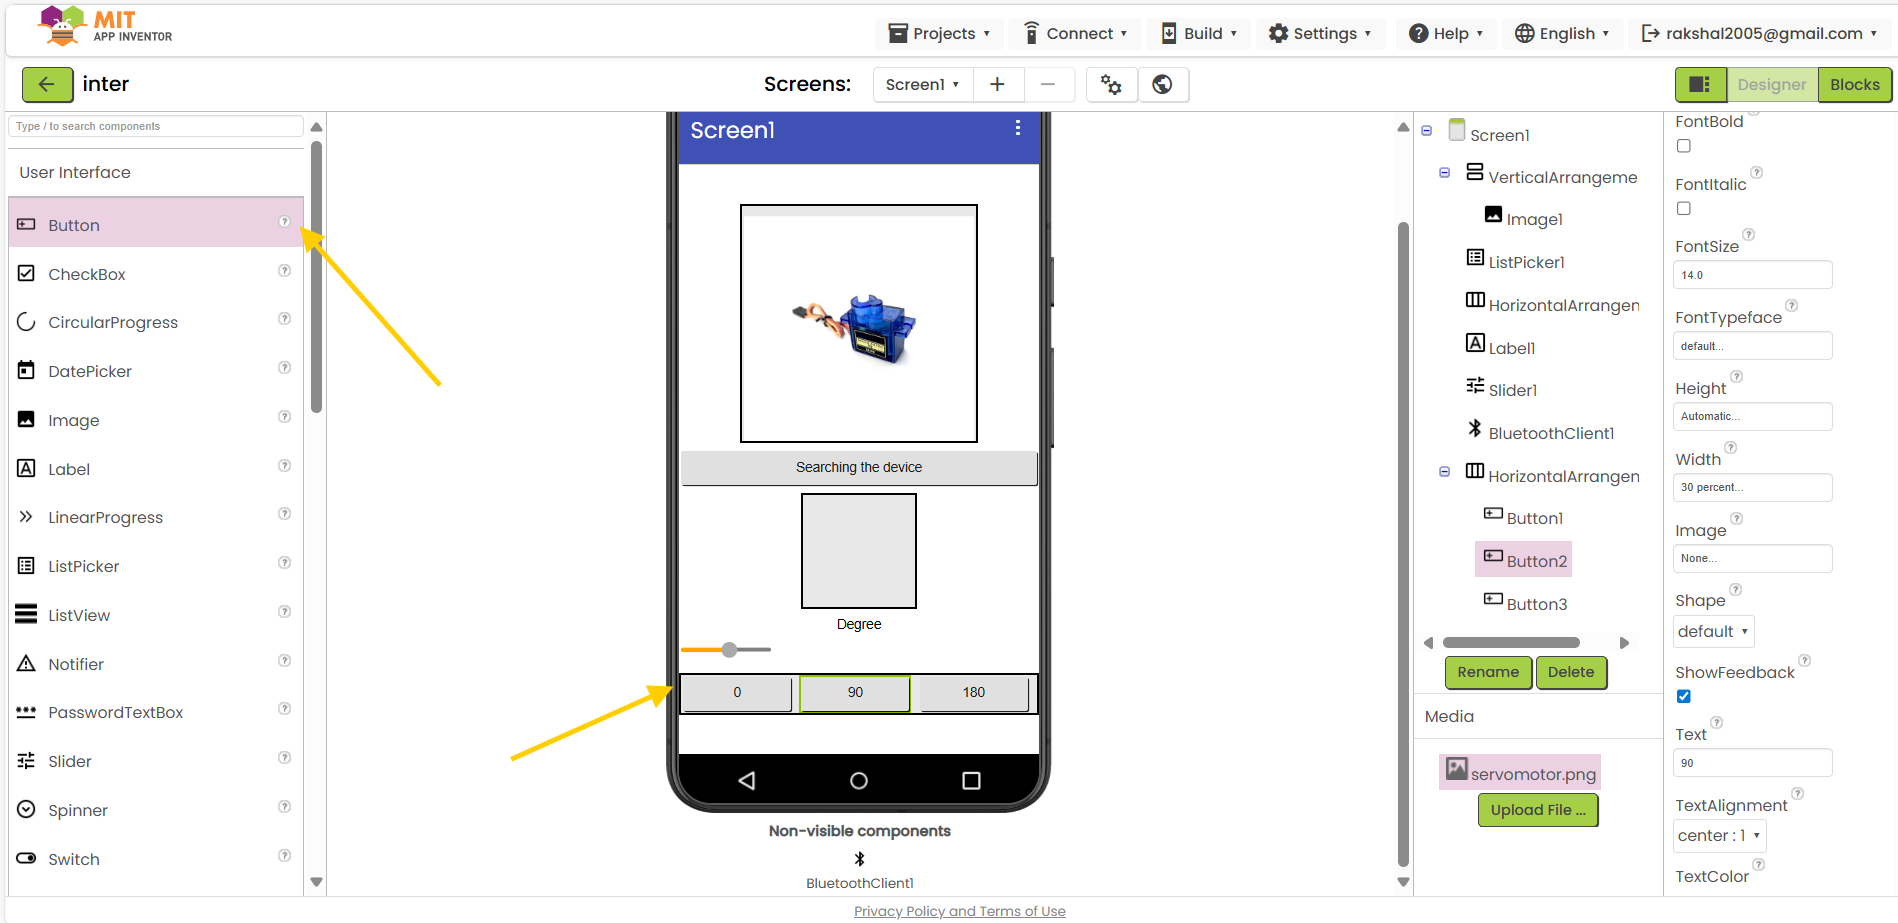
23.Insert 3 buttons:
24.Then start create block on top-right :
25.Insert listpicker block:
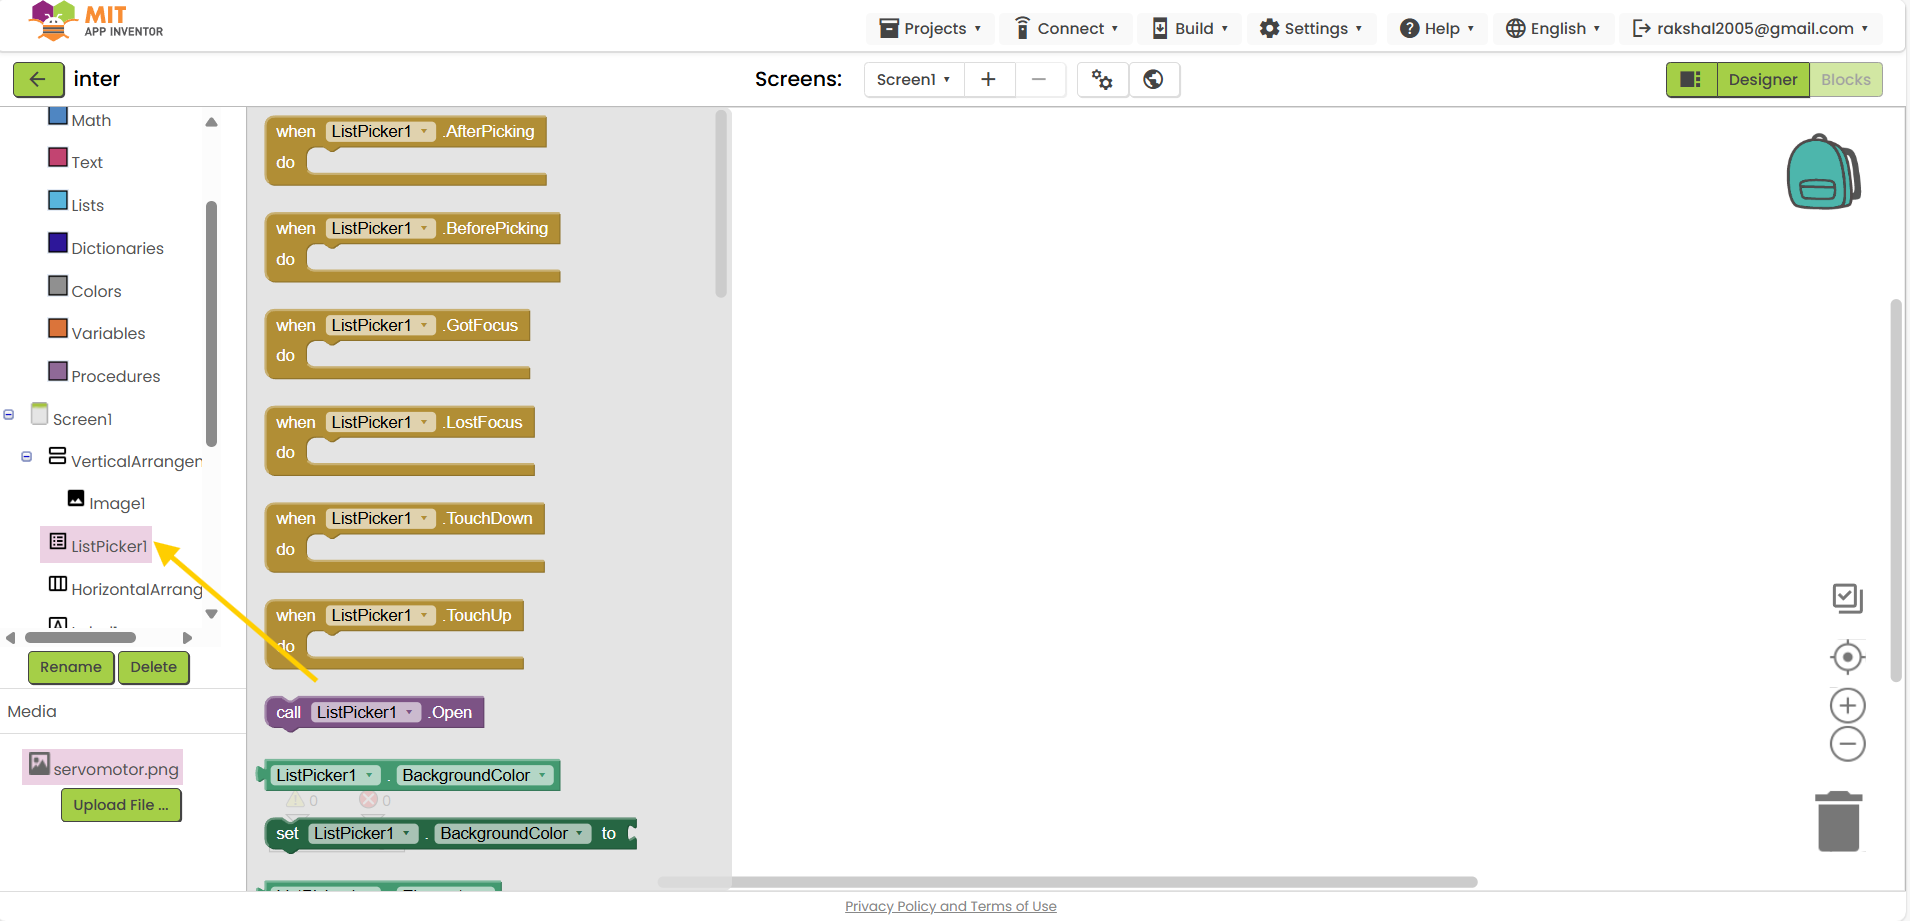
26.You can give any command to select the block:
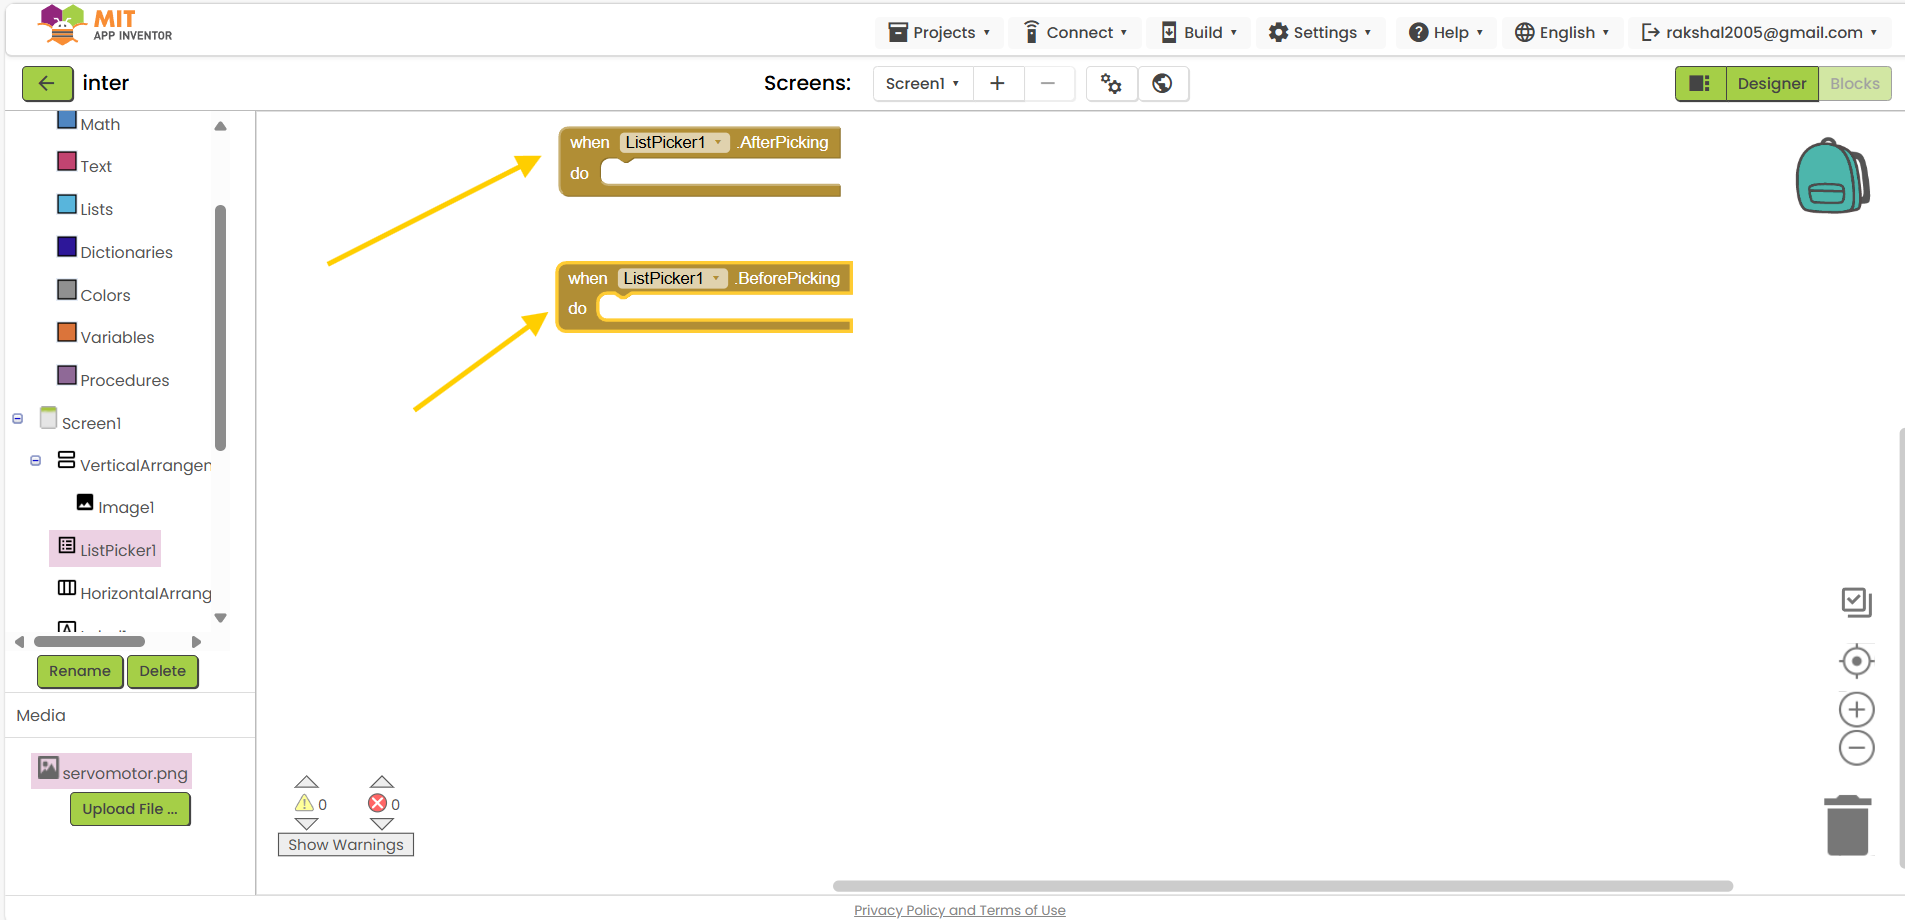
27.You can select the all blocks and type the app code :

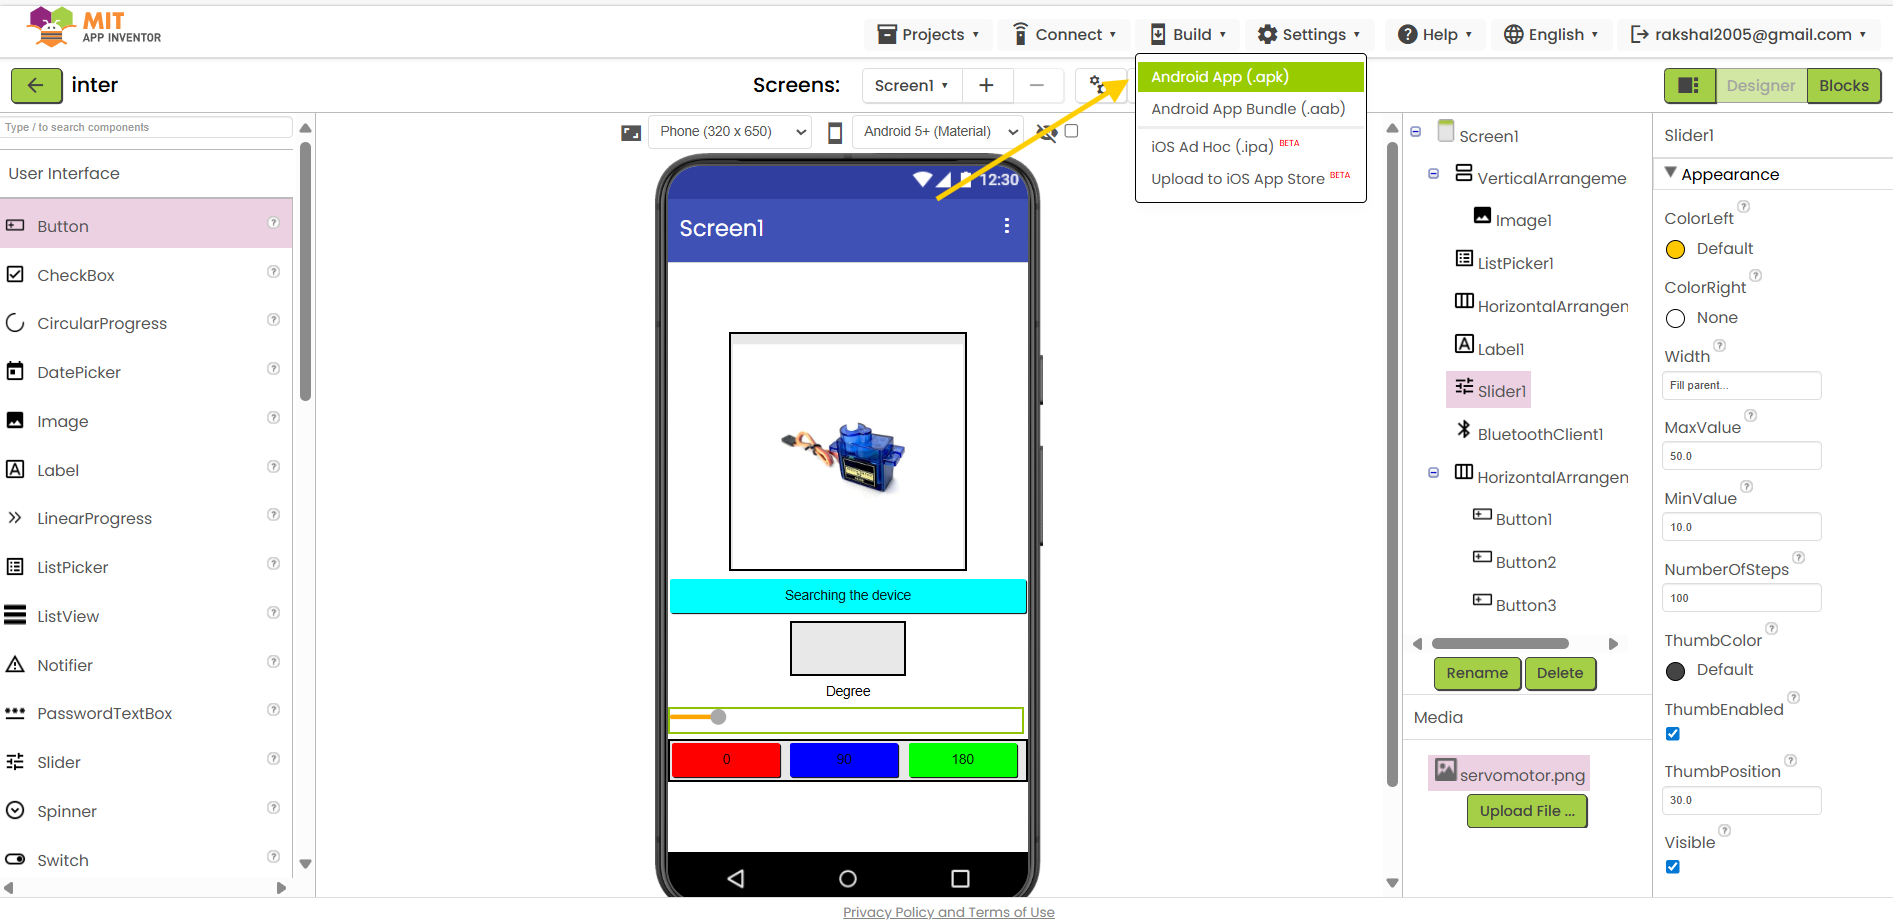
28.then click to build show apk app :
29.Scan the AI companion and download app:
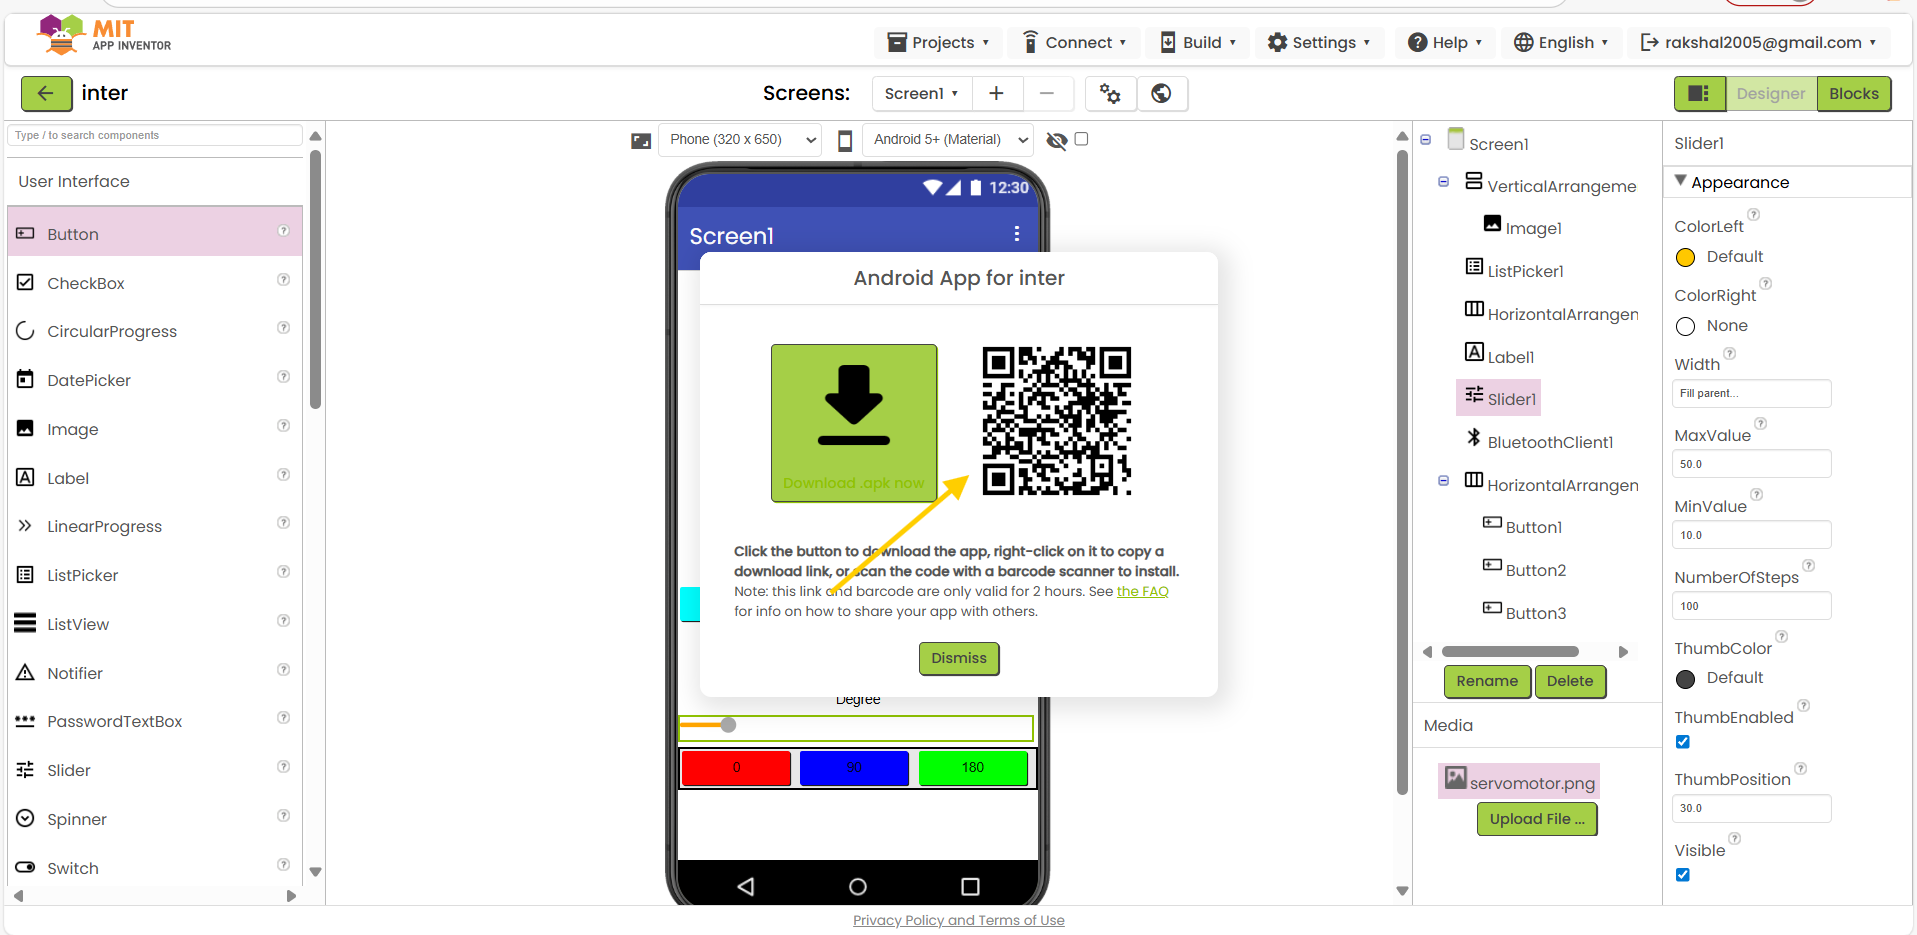
30.Finaly apk file will be downloaded, then Install the App on the Android phone
MIT App Inventor and Bluetooth Communication work:
How MIT App Inventor Works?
With the help of the block-based interface of MIT App Inventor, a visual programming environment, users may design Android apps. Here's a quick rundown of how it functions and how Bluetooth allows it to connect to a microcontroller board:
- Design Interface: To create the user interface of an application, users drag and drop elements (buttons, text fields, labels, etc.) onto a virtual phone screen.
- Block Programming:The behavior of the application is defined by users using a block-based coding framework. Various programming constructs and functionalities are represented by blocks.
- Testing and Deployment:Both a real Android smartphone and an emulator can be used to test apps. The program may be packaged and installed on any Android device after it is finished.
Communicating with the Board Bluetooth:
- Bluetooth Component:In the Designer view, add the Bluetooth Client component to your application.
- Pairing:Make sure the microcontroller board's Bluetooth module (HC-05, HC-06, etc.) is associated with the Android device.
- Connection:Establish a connection with the Bluetooth module using blocks. This usually entails looking for available devices and establishing a connection with the appropriate one.
- Data Transmission:
- Sending Data: Use blocks to send commands or data from the app to the microcontroller. This can be done using the
SendTextorSendBytesblocks. - Receiving Data: Use blocks to receive data from the microcontroller. This can be done using the
ReceiveTextorReceiveBytesblocks.
- Sending Data: Use blocks to send commands or data from the app to the microcontroller. This can be done using the
- Processing Data:After processing the collected data, the microcontroller board takes the necessary action, such as turning a servo motor.
Example:
- Design: Place a button on the app to control the servo motor.
- Blocks: When the app launches, create blocks to connect to the Bluetooth module. When the button is pressed, add blocks to transmit an instruction to move the servo.
- Microcontroller Code:Create code that will enable the microcontroller to decipher Bluetooth commands and adjust the servo motor's operation accordingly.
With this configuration, interactive projects can be made possible by the MIT App Inventor app controlling the microcontroller wirelessly using Bluetooth.
Problem I Faced:
I realized that I had not installed the correct library after noticing that the code had previously failed to upload correctly and displayed several errors. if you know kotlin go for android studio.