Molding and Casting
Home ← →
Objective of this Week
- Review the safety data sheets for each of our molding and casting materials
- Make and compare test casts with each of them
- Compare printing vs milling molds
Moulding makes the mould, and casting uses the mould to make parts
Moulding
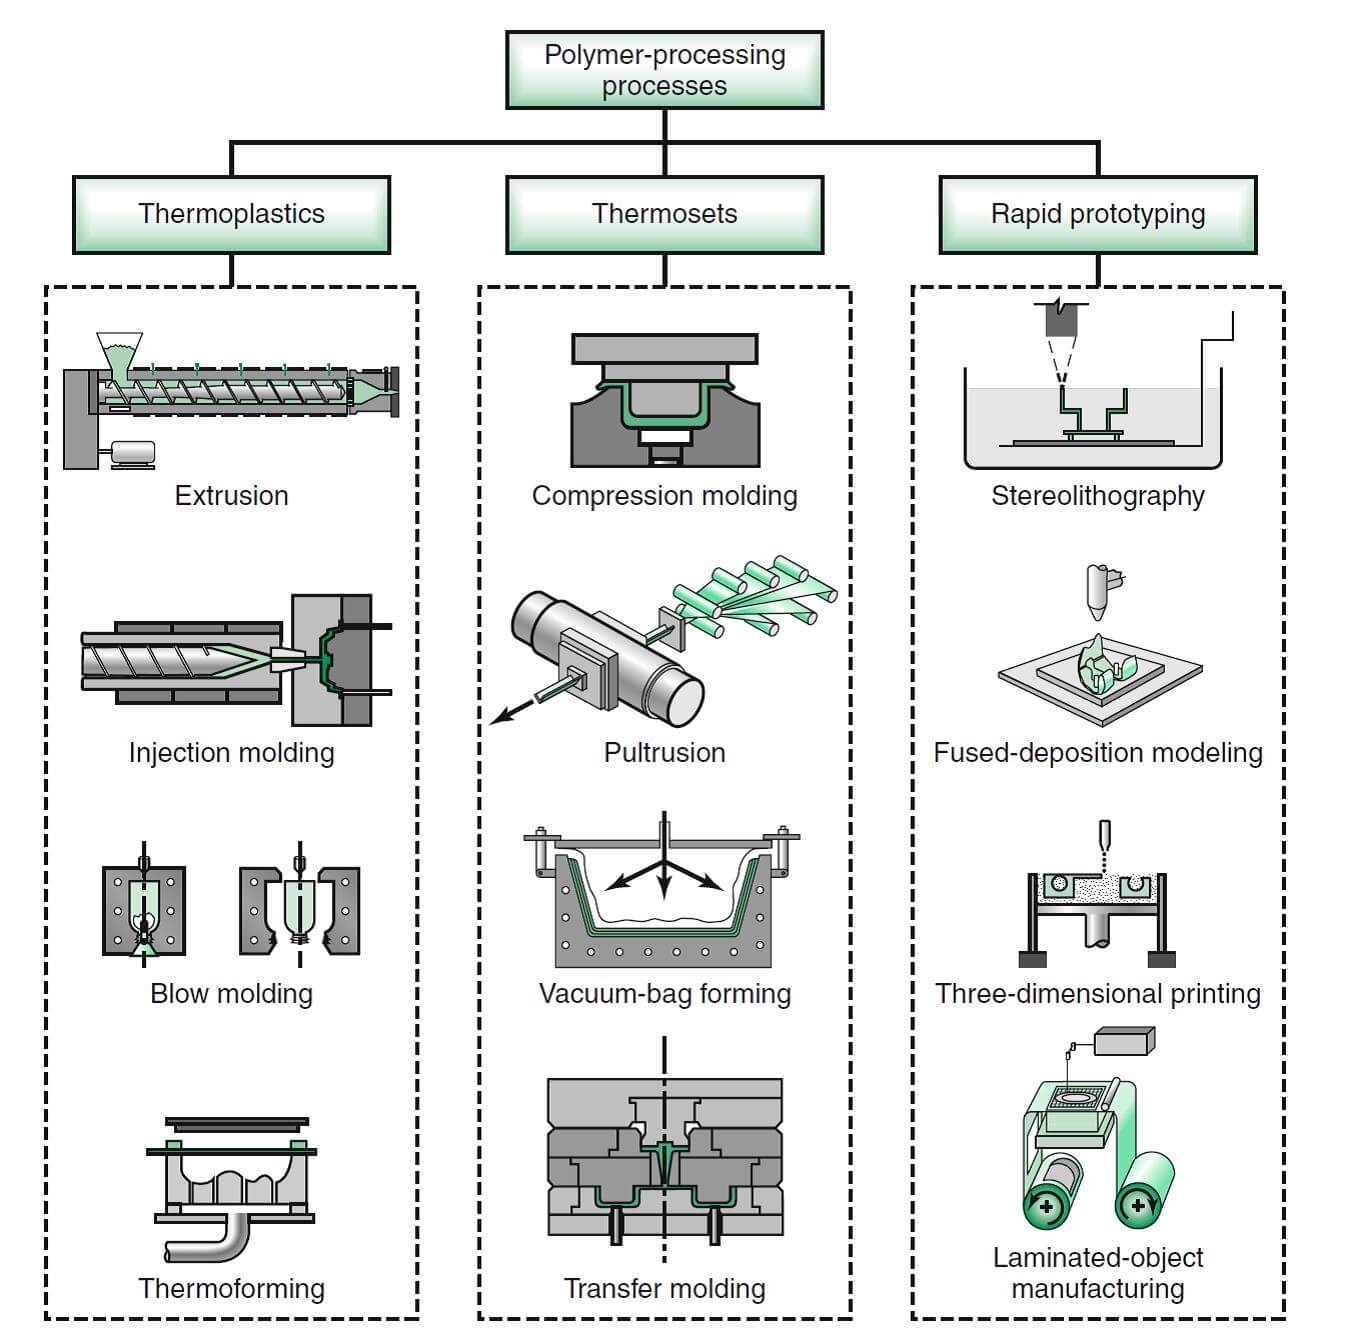
Moulding is a fundamental process in manufacturing, that involves shaping a material into a desired form using a rigid frame called a mould. This technique has been widely used across industries such as automotive, construction, packaging, and household appliances.
Types
| Type of Moulding | Description |
| Injection Moulding | Molten plastic is injected into a mould to form complex plastic parts. |
| Blow Moulding | Used for making hollow plastic parts like bottles using air pressure. |
| Compression Moulding | Preheated material is placed into a heated mould and compressed into shape. |
| Rotational Moulding | Mould is rotated in multiple axes to coat and form hollow plastic products. |
| Extrusion Moulding | Material is forced through a die to form long shapes like pipes and tubes. |
| Sand Moulding | Uses sand to create moulds for metal casting (common in foundries). |
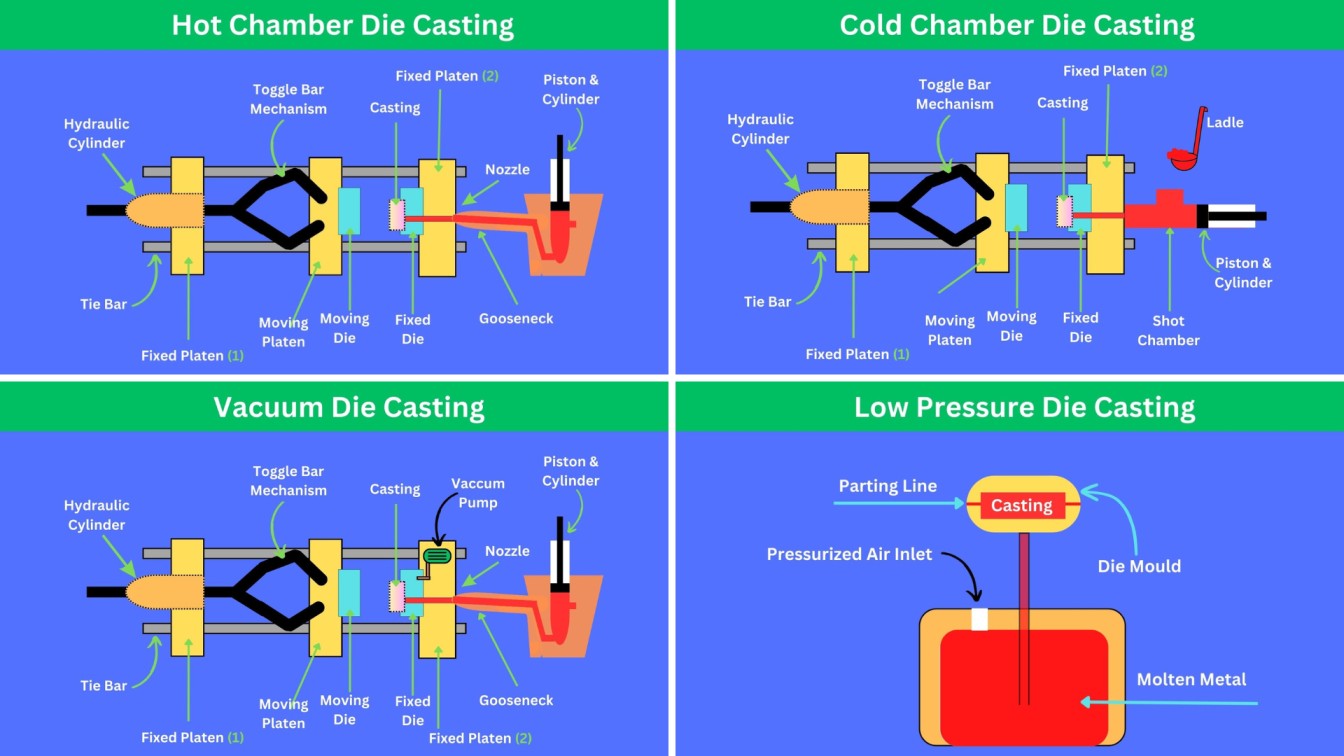
| Die Casting | Molten metal is injected into a metal mould under high pressure. |
| Vacuum Forming | Heated plastic sheet is shaped over a mould using vacuum pressure. |
| Transfer Moulding | Material is heated, then transferred into a mould cavity (used for electronics). |
Casting
Casting is a manufacturing process where a liquid material is poured into a mold and allowed to solidify. The solidified part, known as a casting, is then removed from the mold. It is used to create complex shapes that are difficult to achieve by other methods.
Types
| Casting Type | Description |
| Sand Casting | Uses sand as the mould material; low cost, suitable for large components. |
| Die Casting | Uses metal moulds; molten metal is forced under pressure; high precision. |
| Investment Casting | Uses wax pattern and ceramic shell; high accuracy and fine surface finish. |
| Centrifugal Casting | Molten metal is poured into a rotating mould; used for cylindrical parts. |
| Shell Moulding | Uses a resin-coated sand shell; better accuracy than sand casting. |
| Permanent Mould Casting | Reusable metal moulds; better strength and surface finish than sand casting. |
| Continuous Casting | Used for metals like steel; molten metal solidifies as it flows continuously. |
Materials
Moulding Types
| Moulding Material | Description |
| Green Sand | Mixture of silica sand, clay, and water; commonly used in sand moulding. |
| Dry Sand | Similar to green sand but baked before use for better strength. |
| Plaster | Used for precise, thin-walled castings; not suitable for high temperatures. |
| Ceramic | Used in investment casting; can withstand very high temperatures. |
| Metal (Die) | Used in die casting; reusable and durable; typically steel or cast iron. |
| Resin-Bonded Sand | Sand mixed with synthetic resins for improved surface finish and strength. |
| Wax | Used as a pattern in investment casting; melts away during mould preparation. |
Casting Types
| Casting Material | Description |
| Cast Iron | Excellent fluidity and wear resistance; used in engine blocks, pipes. |
| Aluminium | Lightweight, corrosion-resistant; used in automotive and aerospace parts. |
| Steel | Strong and tough; used in heavy-duty machinery and structural components. |
| Copper Alloys (Bronze, Brass) | Good conductivity and corrosion resistance; used in plumbing and decorative items. |
| Magnesium | Lightest structural metal; used in aerospace and electronics. |
| Zinc | Good for die casting; low melting point and high precision. |
| Titanium | High strength-to-weight ratio and corrosion resistance; used in medical and aerospace. |
Safety Precaustions
- Wear protective gear such as heat-resistant gloves, face shields, safety goggles, and flame-resistant aprons to protect against burns and splashes.
- Ensure proper ventilation to avoid inhaling harmful fumes, especially when working with materials like aluminium, zinc, and copper alloys.
- Handle molten metals carefully using appropriate tools like crucibles and tongs; never pour water on molten metal.
- Keep the workspace clean and dry to prevent accidents caused by moisture contact with hot materials.
- Be trained in emergency procedures such as handling metal spills, burns, and fire safety protocols.
Safety Equipments
- Safety Goggles
- Rubber Gloves
- Face Mask
- Measuring Cylinder
- Measuring Cup
- Tongs
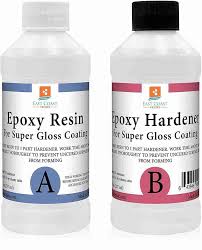
Epoxy Resin
Datasheet
Product details
- Brand - Haksons Resin
- Product Name - Epoxy Resin Kit
- Two-Part Epoxy System
- Components: Part A (Resin) + Part B (Hardener)
- Color: Clear / Slightly Yellow
- Hardness: Approx. 80D (after curing)
- Curing Time: 12 to 24 Hours
- Mix Ratio: 1:1 by weight or volume (e.g., 100g Resin + 100g Hardener)
- Packaging: Varies – commonly 1Kg (500g Part A + 500g Part B)
- Form: Liquid
- Applications: Art, Jewelry, DIY crafts, Casting, Coating, Tabletop finishing
- Purity: 99%
- Grade Standard: Industrial Grade
Key Features
- Crystal clear finish after curing
- High gloss and durable surface
- Self-leveling properties
- Excellent adhesion to various substrates
- UV resistant (varies by formulation)
- Suitable for high-detail casting and coating applications
User Instructions
- Safety Precautions-Use gloves, ensure ventilation, avoid contact with eyes and prolonged skin contact
- Preparation-1 Ensure the working area is clean, dry, and dust-free. 2. Use a mold release agent or Vaseline to coat molds if necessary
- Mixing-Mix 1. equal parts of Part A (Resin) and Part B (Hardener) by weight or volume. 2. Stir slowly and thoroughly for 1 to 2 minutes to avoid bubbles.
- Pouring- 1. Slowly pour the mixture into the mold or surface from one side. 2. Avoid pouring too quickly to reduce air bubble formation.
- Curing - 1. Let the cast or coated piece sit undisturbed for 12–24 hours. 2. Allow full cure in a dust-free, temperature-controlled area.
- Removing - 1.Carefully demold after curing using soft tools. 2. Keep in a cool, dry place away from sunlight and moisture
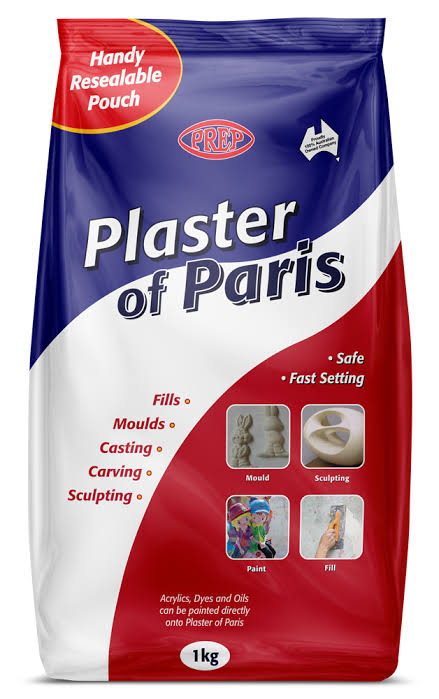
Plaster of Paris (POP)
Datasheet
Product details
- Product Name – Plaster of Paris (POP)
- Material Type – Gypsum-based Casting Powder
- Color – White
- Form – Fine Powder
- Mixing Ratio – Approximately 3 Parts POP : 1 Part Water
- Setting Time – 15 to 30 Minutes
- Demolding Time – 1 to 2 Hours
- Full Drying Time – 24 Hours
- Hardness – Rigid After Curing
- Applications – Casting, Sculpture Making, Decorative Models, Mold Replication, Educational Projects
- Purity-Industrial Grade
Key Features
- Easy to mix and cast
- Low-cost casting material
- Good reproduction of mold details
- Quick setting and curing
- Suitable for educational and prototype applications
- Compatible with silicone molds
User Instructions
- Safety Precautions – Wear gloves and a dust mask while handling the powder. Avoid inhaling dust and contact with eyes.
- Preparation – Ensure the silicone mold is clean and free from dust or debris before casting.
- Mixing – Measure approximately three parts Plaster of Paris powder and one part water. Slowly add the powder into the water and mix thoroughly until a smooth, lump-free consistency is achieved.
- Pouring – Carefully pour the mixture into the silicone mold. Gently tap the mold to remove trapped air bubbles and ensure complete filling of the cavity.
- Curing – Leave the mold undisturbed for approximately 1–2 hours until the material hardens sufficiently for demolding.
- Removing – Carefully remove the cast part from the silicone mold after curing. Handle gently during the initial stage and allow it to dry completely for maximum strength.
CONCLUSION
For this group assignment we explored various materials used in the molding and casting process. To understand their individual properties, mixing ratios, and applications in mold-making.We studied two materials for this assignement Epoxy Resin and Moldsil 15 PLUS. By using the Material Datasheet, we learned how to calculate the required level of materials based on the design of our mold's size and how to properly mix those two-part systems (Part A and Part B) properly to get the better outcome.