1. Principles, Practices and Project Management
Building The Website
Creating my website was an exciting journey, combining various tools and technologies. Here’s a step-by-step breakdown of the process:
1. Installing Git and Cloning the Repository
What is Git?
Git is a tool that helps you keep track of changes you make to your files, especially code. It allows you to save different versions of your work and share them with others or upload them to platforms like GitLab.
I started by downloading and installing Git on my computer.
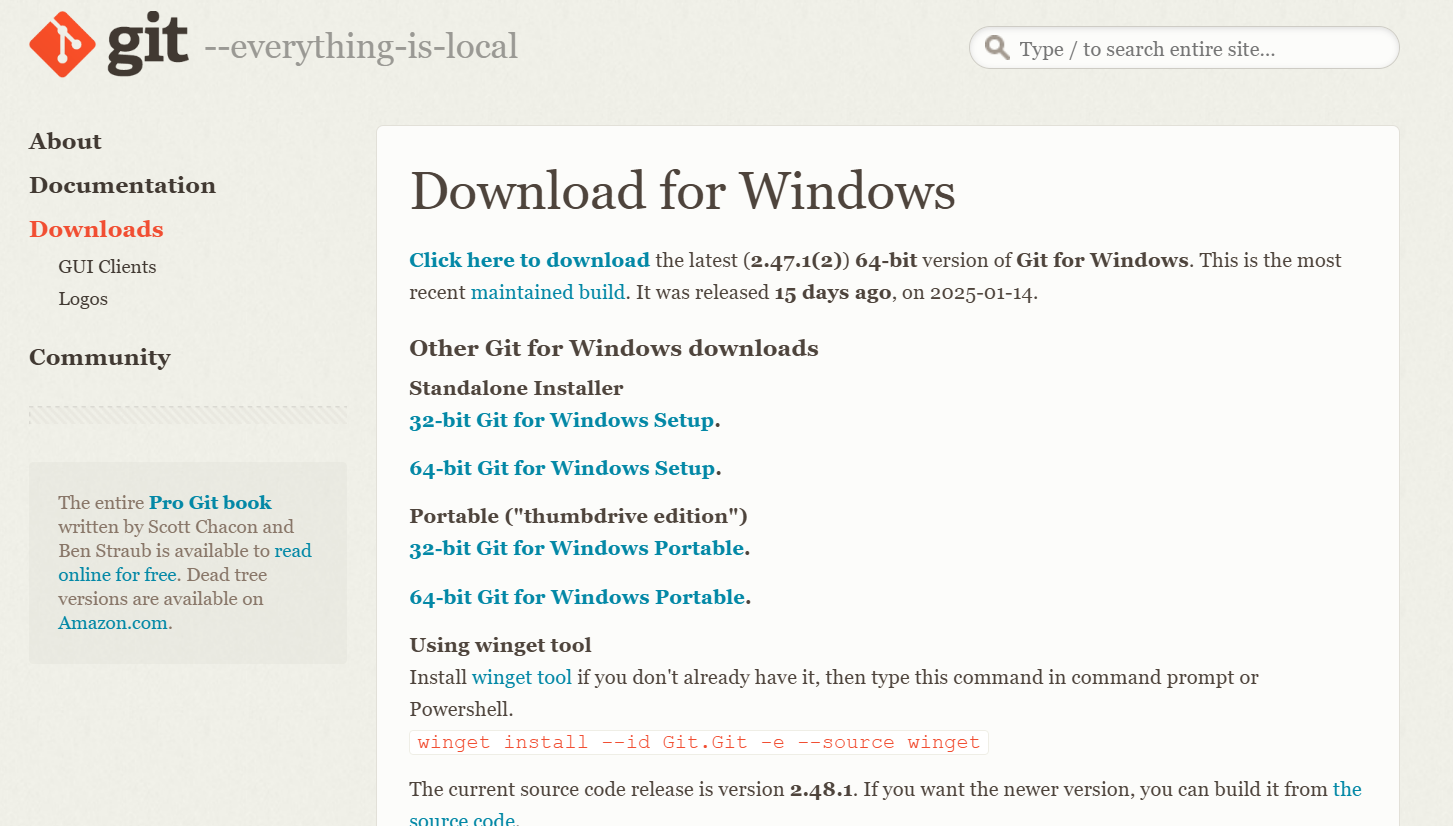
This allowed me to clone repositories, manage changes, and push updates to GitLab.

I encountered an authentication error while trying to clone my repository.

I resolved the issue by creating a personal access token and using it for authentication.

2. Setting Up My Development Environment
I installed Visual Studio Code (VS Code) as my editor. VS Code allowed me to edit the Markdown files and adjust the mkdocs.yml configuration file easily.


3. Learning MkDocs
Before working on my website, I learned Markdown, a lightweight markup language that allows for easy formatting. I practiced basic syntax, including:
- Headings using # (e.g., # Heading)
- Bold and Italics using bold and italics
- Lists using - for bullet points and 1. for numbered lists
- Links using
[text](URL) - Images using

I understand how to:
- Write content in Markdown.
- Update the navigation and structure in the mkdocs.yml file.
- Customize the Material theme to match my preferences.
I chose Markdown for documenting my Fab Academy website due to its efficiency and ease of use. Although I had learned and understood HTML, I found Markdown to be a quicker and more convenient option for tracking my progress.
4. Cloning a Markdown Website
To build my site, I cloned a former Fab Academy student’s website, which used the Material for MkDocs theme. Thanks Naim!.
Below are the detailed steps I followed:
Step 1 : Navigate to the directory where I wanted to clone the project and Open Git Bash.
Step 2 : Clone the repository by running:
git clone
This command created a local copy of the project files on my computer.

Step 3 : Explore the files:
- I opened the project folder in a VS Code to examine the structure and contents.
- I reviewed the .md files, and other assets to understand how the website was structured.

Step 4 : Customizing the Website After cloning the repository, I explored the files and started making changes. One of my first attempts was modifying the color scheme in the file. I experimented with different colors but ultimately decided to keep the default blue theme as it looked visually appealing.

How I made new .md file
- I opened a new text file in visual Studio Code.
- Write my text/ code.

- save it as markdown.

5. Uploading Changes to GitLab
After making changes, I used Git commands to upload my work back to the repository:
```
git add .
```

```
git commit -m "Updated website content and layout"
```

```
git push origin main
```

Final Project Idea
All details about my final project can be found here.