Week 14 - Interface and Application Programming
Group assignment:
• Compare as many tool options as possible.
• Document your work on the group work page and reflect on your individual page what you learned.
Overview
For this week’s Group Assignment, we explored the following app tools:
1. MIT App Inventor
2. Processing
MIT App Inventor
Being new to app development, we first try MIT App Inventor. Our first thought is that this tool does not look very complicated and might be a good tool for beginners.
Connecting your mobile device and PC over Wi-Fi
To get started, go to this page with instructions on how to set up the connections to your mobile device and PC.
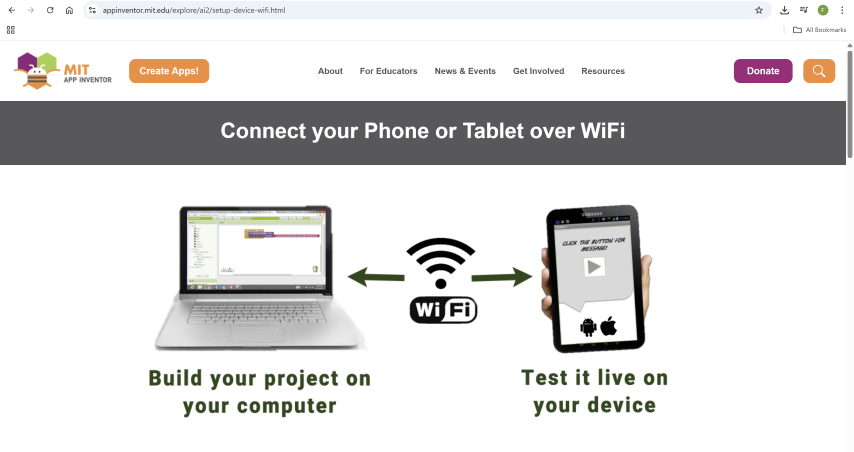
As you can see, there is a huge key image that communicates the main idea of what to achieve here. It is then followed by a few simple steps as shown below.
Step 1: Download and install the MIT App Inventor Companion app on your Android or iOS device.
For this step, we downloaded the MIT App Inventor Companion app from the Google Play store and installed it on our mobile phone
Step 2: Connect both your computer and your device to the SAME Wi-Fi network
Done. The PC and mobile phone are already on the same Wi-Fi network.
Step 3: Open an App Inventor project and connect it to your device
For this, we go to the app and start a new project, then we choose “Connect” and “AI Companion” from the top menu. This will bring up a QR code that you can scan with your mobile device. We scanned it and successfully connected the project to our mobile device.
Hello Codi (Beginner’s Tutorial)
Now that we have our mobile device and PC connected over Wi-Fi, we look for something to do with MIT App Inventor. We look for a tutorial from this page, and chose to do the Hello Codi tutorial.
Having already started a new project in the previous section, we start by dragging a button into the “screen”.

Drag more components that are needed for the app into the “screen” We add a label and a sound. These appear in the All Components menu and when you click on each of them individually, you can change their properties in the rightmost panel.
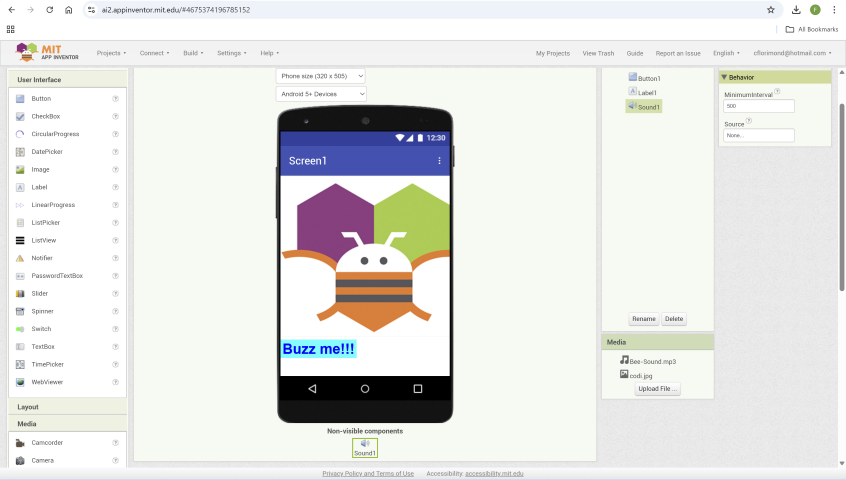
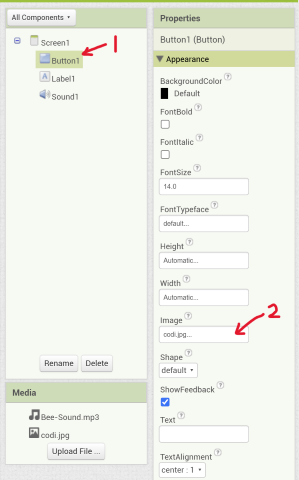
For example, the tutorial provide a jpeg image (codi.jpg) of their bee mascot that you can use in place of the default button (Select Button1 under the All Components menu then go to Properties, look for Image, then upload codi.jpg).
When we have all the components (a button, a label and a sound) in, we click on Blocks on the top right to go to the coding blocks workspace.

For this tutorial, basically we want the app to play a sound when the button is clicked. So, we click on Button1 to bring out the code block do options and drag the code block “when Button1. Click do” into the coding blocks workspace. Following this, we do the same by clicking on Sound1 to bring out the code block options, then drag the “call Sound1.Play” code block into the coding blocks workspace, nesting it within the previous code block. The combined code blocks look like this.
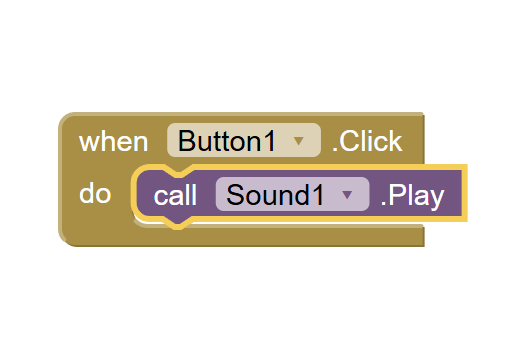
This set of blocks means that "when Button1 is clicked, Sound1 will play."
Packaging the app
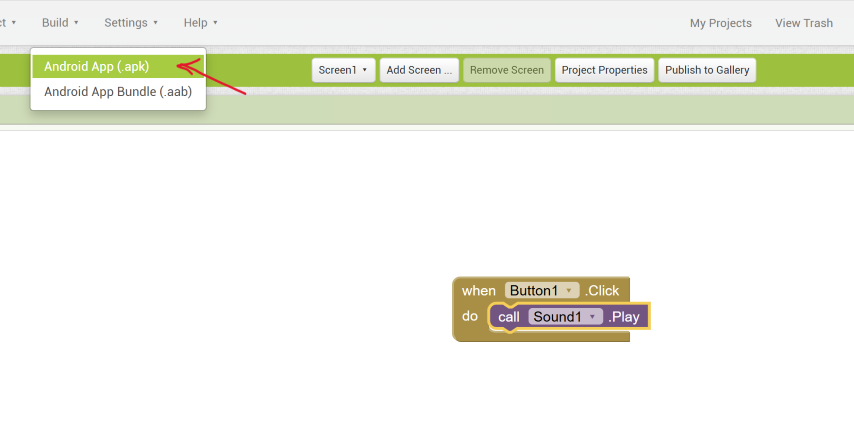
From what we understand, we must “package” the app to produce an application package (apk file) so that the app can run independently on the mobile device without being connected to App Inventor on the PC always.
To do this, click on Build > Android App (.apk).
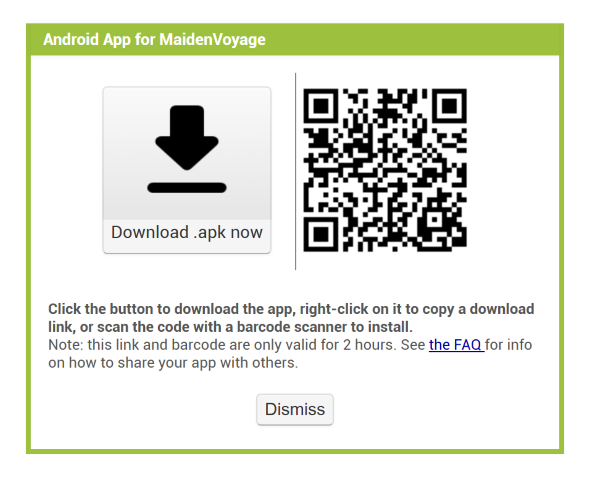
Let the app compile. When the compiling is complete, a QR code appears, and we scan it so that we can run the app on our mobile device.
Here is a video of the app working on a mobile phone.
You can see that when the Bee is pressed, it triggers a buzzing sound to play.
Processing
The next app we will try for this week’s Group Assignment is Processing. Processing is an open-source software environment and programming language designed to make learning code accessible and visual. Since its creation in 2001, it has helped bridge the gap between visual arts and technology by fostering both programming literacy in artists and visual literacy in technologists.
Today, it’s widely used by students, artists, designers, researchers, and hobbyists for education, experimentation, and creative prototyping.
Setup
• Go to: https://processing.org/
• Download and install the Processing application. On Windows, Processing comes as a .msi installer file. Locate the file in your Downloads folder and double-click it to install .
• Open the application.
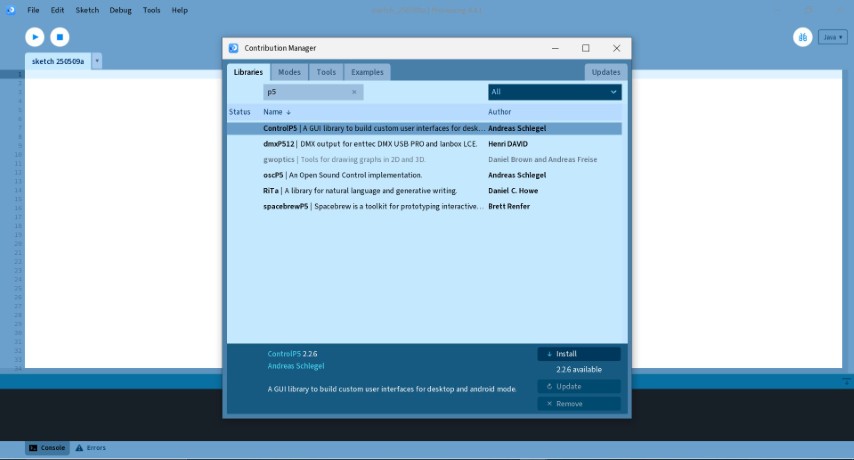
• Select SKETCH tab > IMPORT LIBRARY…. > MANAGE LIBRARIES… > Search “ControlP5” and install.
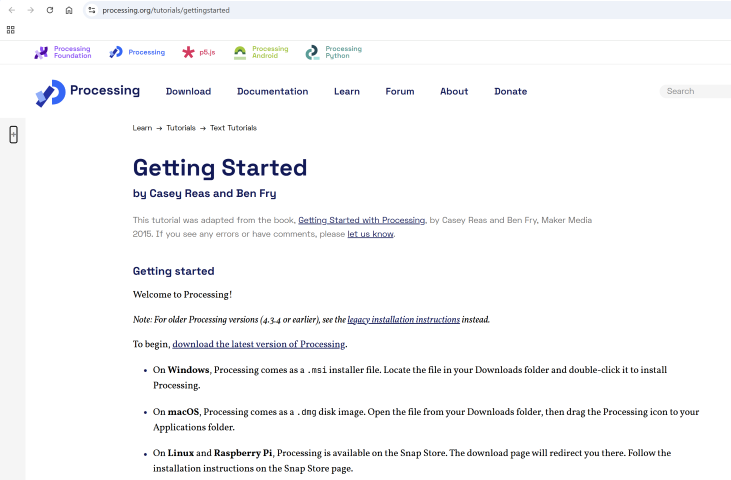
Tutorial - Getting Started by Casey Reas and Ben Fry
• Once we completed the setup, we refer to the the Getting Started by Casey Reas and Ben Fry tutorial (Learn>Tutorials>Text Tutorials).
• Click the Run button to execute the sketch.
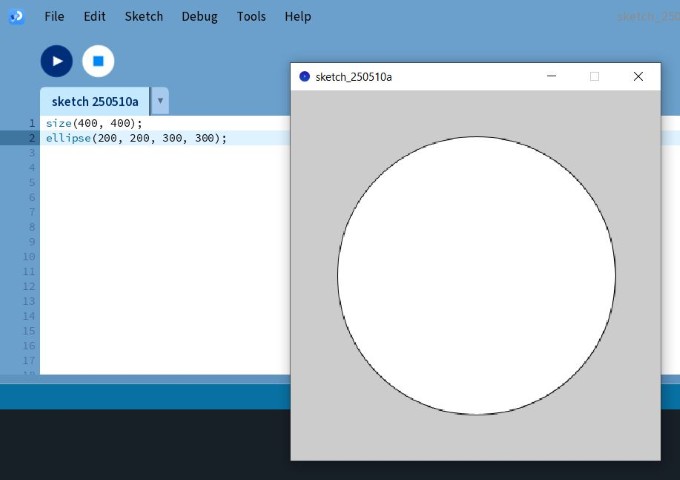
Where:
• “size(X, Y)” refers to the window size that is X pixels wide and Y pixels high.
• “ellipse(a, b, c, d)” shows the x- and y- coordinates of the ellipse (a,b) and the width and height of the ellipse (c,d).
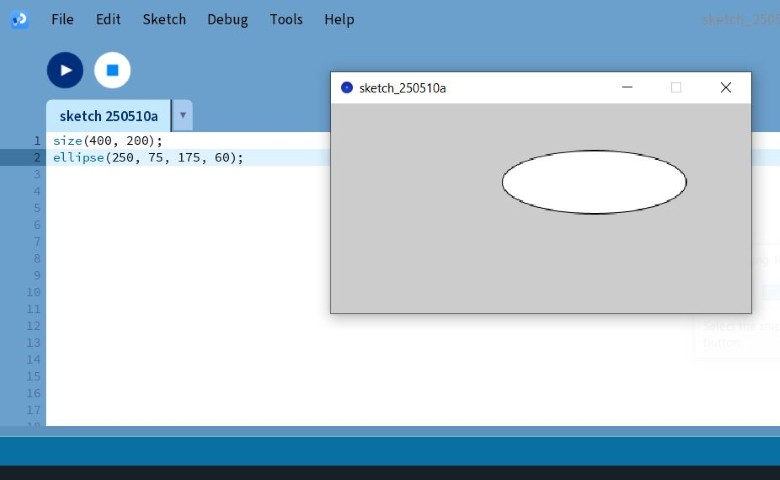
• We repeat the process with different values to understand how the ellipse changes with different values such as X = 400, Y = 200, a = 250, b = 75, c = 175, d = 60
At this point, the tutorial instructs us to delete our previous code and try the code shown below:
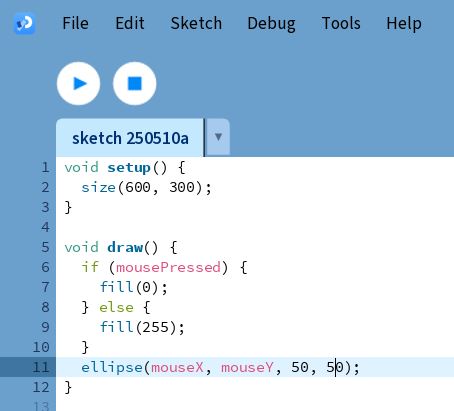
Some elaboration about the code:
• void setup(){ } – Set initial value for the code to use. For this example, we set the background size of the drawing.
• void draw(){ } – Equivalent to “void loop()” function in Arduino IDE, where set the function to run in loop.
• mousePressed - Called once after every time a mouse button is pressed.
• Fill(xxx) - Sets the colour used to fill shapes, where xxx represent the RGB colour code (ranged from 0 – 255). Can be presented in a set of 3 integers, for example: (255, 0, 0) represent RED colour.
You can see how the application works in the video below:
Comparing MIT App Inventor and Processing
After trying both MIT App Inventor and Processing, we summarize our comparison in the table below:
| Feature | MIT App Inventor | Processing |
|---|---|---|
| Purpose | Build mobile apps for Android using visual blocks | Learn to code through visual art, interaction, and prototyping |
| Interface | Visual, drag-and-drop programming blocks | Text-based coding environment |
| Target Users | Beginners, especially in mobile app development | Artists, designers, students learning creative coding |
| Platform | Web-based, outputs to Android devices | Desktop application, cross-platform (Windows, Mac, Linux) |
| Programming Language | Uses Blockly (visual programming) | Uses Java-based Processing language |
| Learning Focus | App logic, UI design, sensor input | Graphics, interaction, generative design |
| Output | Mobile apps | Interactive graphics, animations, and visual projects |
In short, MIT App Inventor is great for quickly creating mobile apps without writing code, while Processing is better suited for exploring code through visual and creative projects.
This concludes our LAST Group Assignment for Fab Academy. We would like to extend our heartfelt gratitude to all who have helped us through our Fab Academy journey so far. We would not have made it till here without you. A very special thanks to our Fab Academy Instructor, Steven, who has patiently guided us throughout our entire journey.