The Group Assignment :Link to go
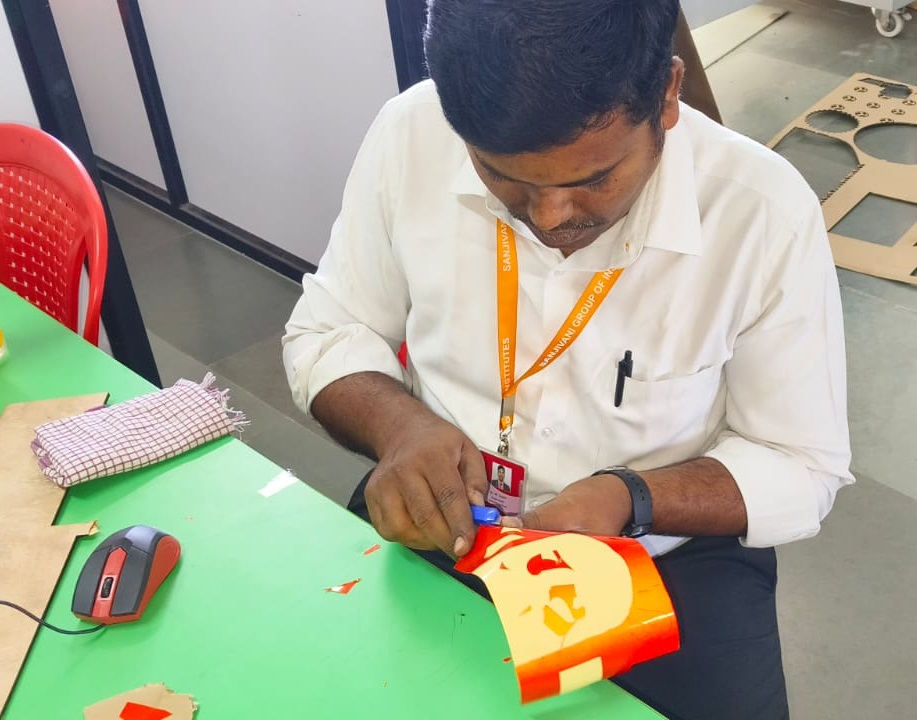
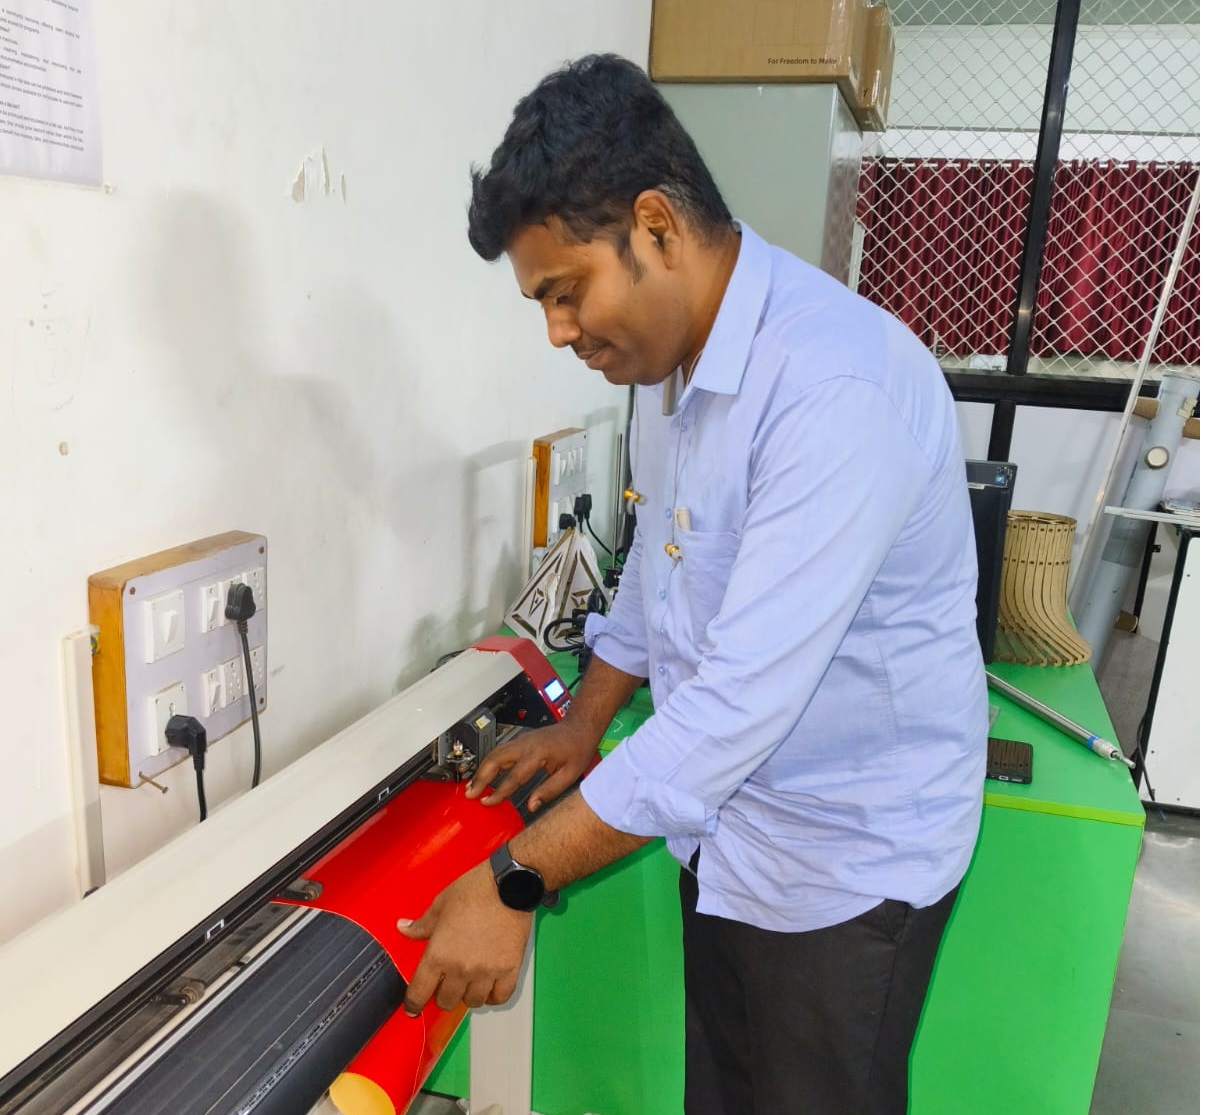
First, I explored the vinyl cutter, learning how to work with adhesive and heat transfer vinyl.
I am using Inkscape tools like the Pen Tool to create paths and the Text Tool for adding typography. Additionally, I utilize the Path menu to convert text into vector paths, making them suitable for cutting. I have also worked with FlexiPro Design for enhancing my design and cutting workflow.
Speed: Faster speeds allow for quicker cutting, but they can compromise precision, especially for intricate designs. It’s best to start slow for detailed cuts. Pressure: Increasing the pressure ensures deeper cuts, but excessive pressure may tear or warp the vinyl, affecting the final output. Blade Type: A standard blade works well for regular vinyl, while a deeper-cut blade is ideal for thicker materials like Heat Transfer Vinyl (HTV).
Start with basic shapes such as squares and circles, then utilize the "Object" and "Path" options to refine the design. Practice manipulating these shapes by resizing, rotating, and aligning them for better precision. Additionally, grouping and ungrouping objects can help manage elements efficiently, making the design process more organized.
To design logos or text, combine shapes, add text, and adjust paths by moving points. If you have a raster image, use Inkscape's "Trace Bitmap" tool to turn it into a vector. Try different fonts (make sure they are converted to paths) and add curves or other design elements to make the design look better.
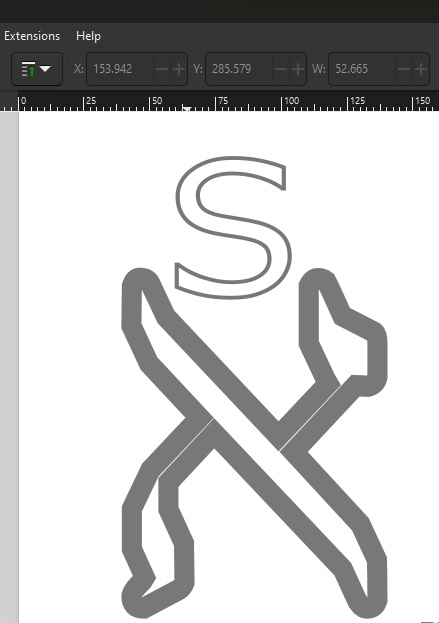
Once your design is ready, check that it's the right size for your material and send it to the cutter using its software. Doing a test cut first helps make sure the machine reads your design correctly before making the final cut.
If the cuts are incomplete, check if the blade is dull or if the cutting speed is too fast. Adjust the settings and redo a test cut. Also, make sure the material is set up properly and that the cutter settings match your design requirements.
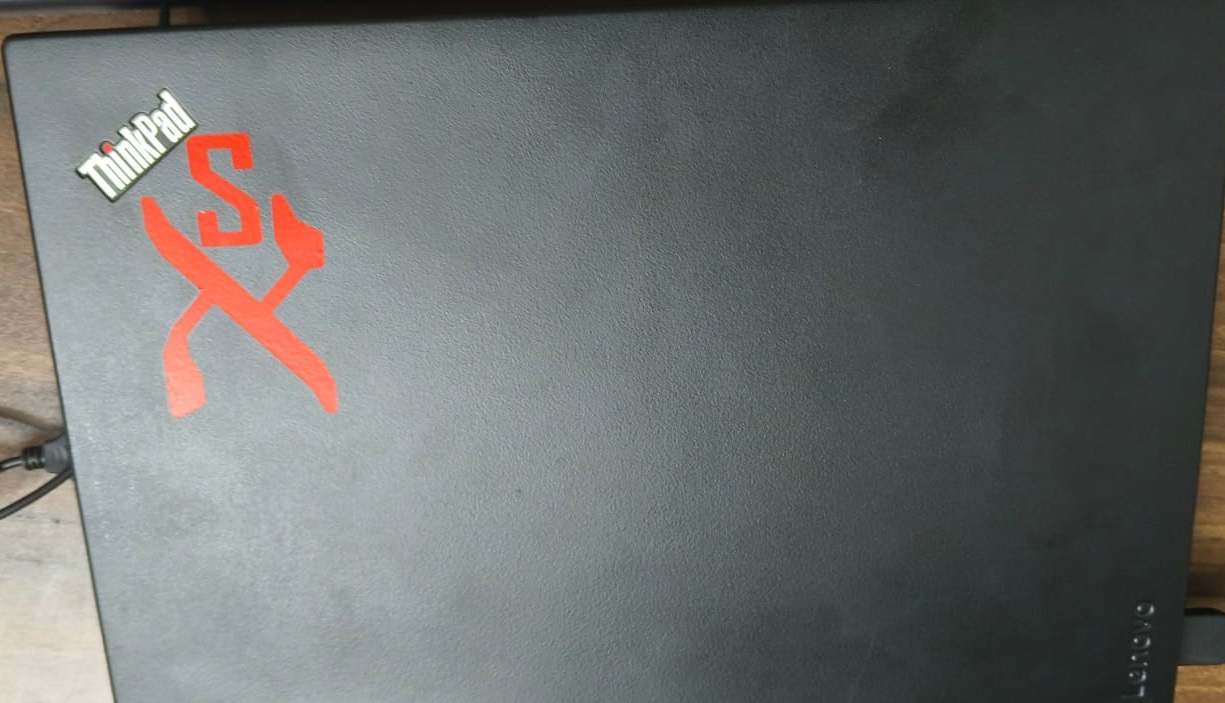
Pasted the printed sticker on the surface of the laptop
Coming from an Electrical and Electronics engineering background, I’ve always been fascinated by precision and design. Recently, I embarked on a journey into laser cutting—a technology that merges creativity with technical accuracy. As a newcomer, I’ve been diving deep into understanding how laser power, speed, and focus influence different materials. My approach is hands-on—I learn best by experimenting with real tools, adjusting settings, and observing results. Every test cut and engraved design brings new insights into material behavior and machine control. From designing in CAD to translating ideas into physical objects, this exploration has opened up a whole new dimension of making.The excitement of transforming digital designs into tangible creations keeps me eager to learn more. With every project, I’m not just learning laser cutting; I’m mastering the art of precision and bringing engineering and creativity together.
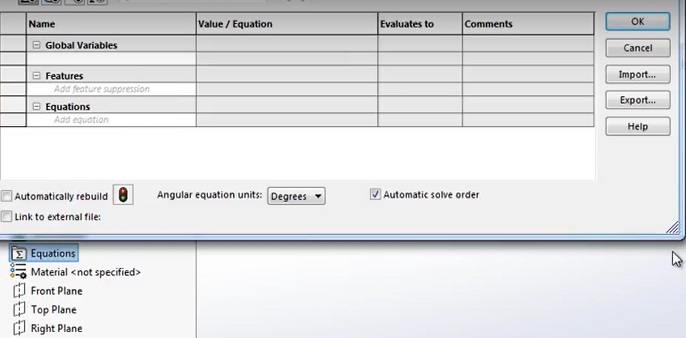
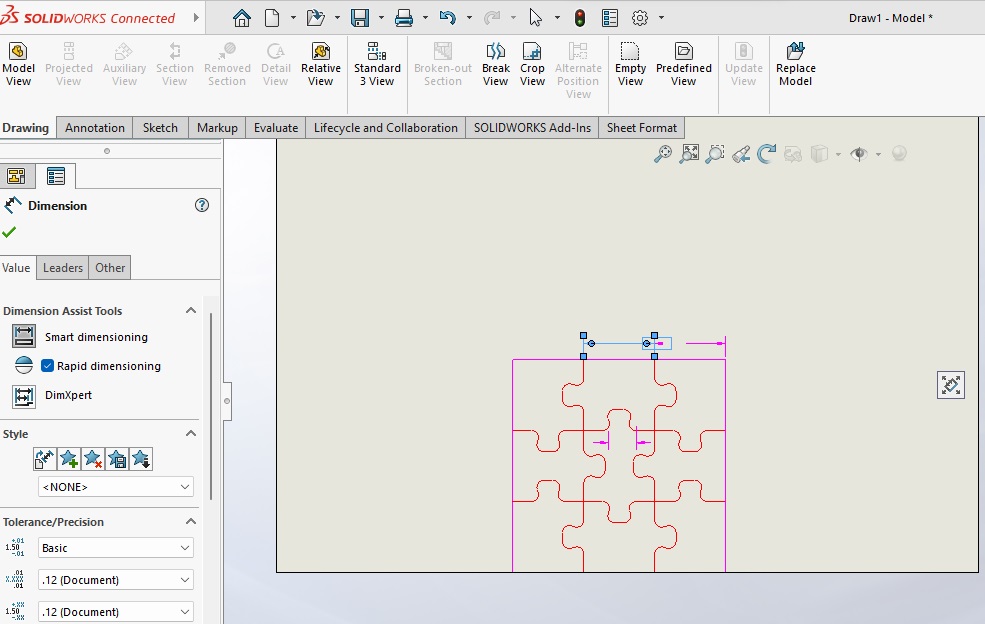
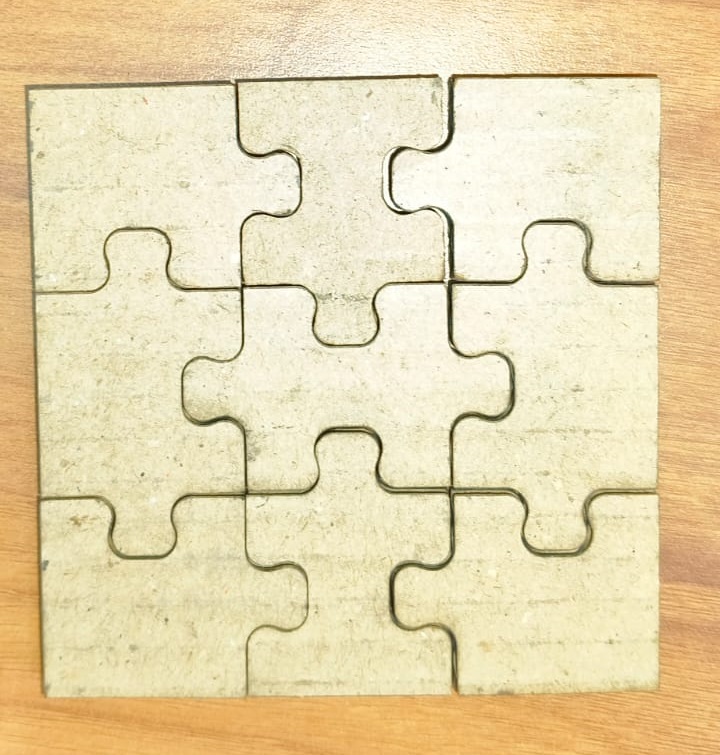
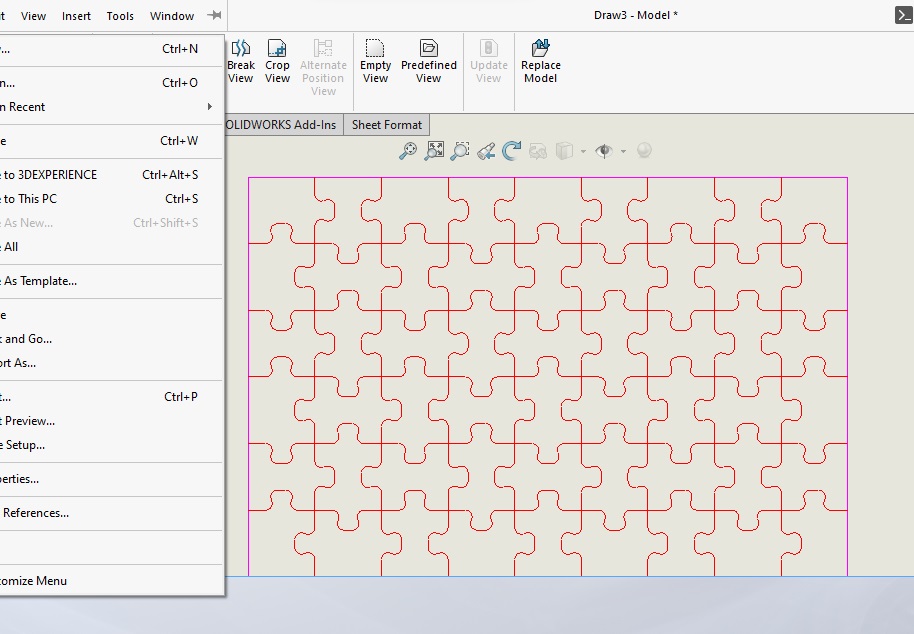
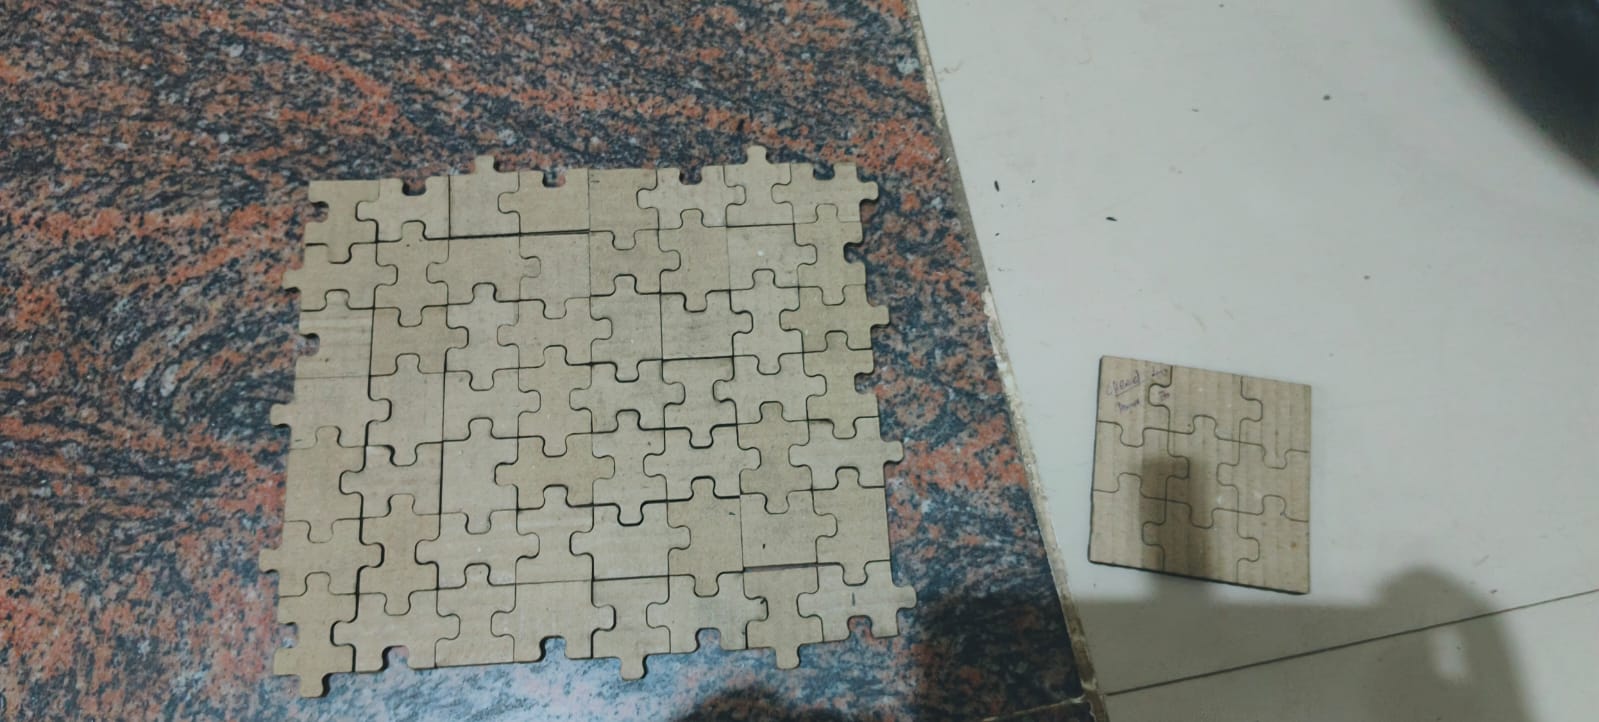
Parametric design in SolidWorks enables the creation of a customizable box puzzle by defining key dimensions with parameters. This ensures flexibility in modifying the design without manual adjustments. The final design is prepared for laser cutting by exporting vector-based files.
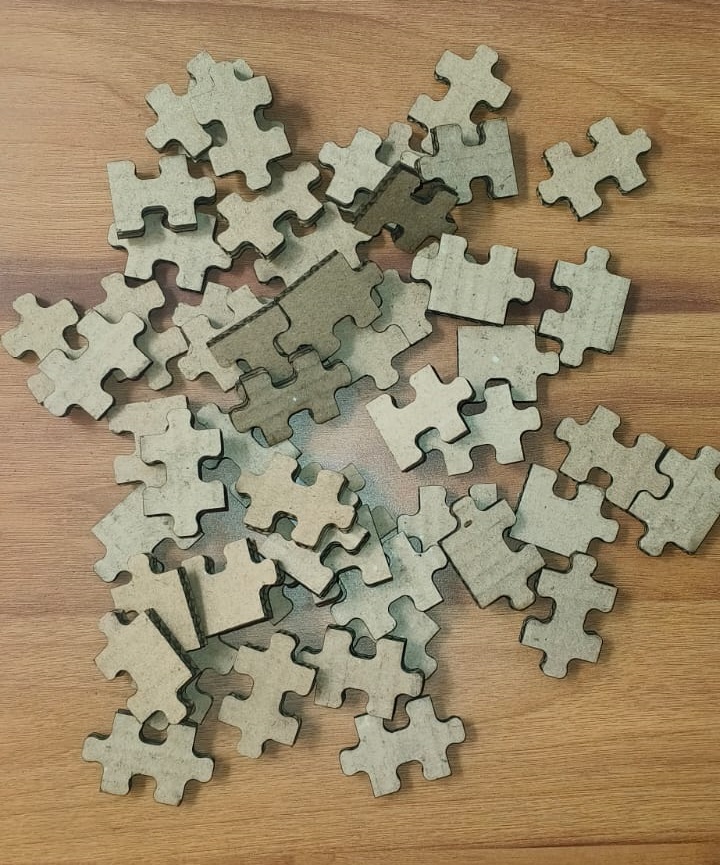
I had given the created puzzle to my daughter, she enjoyed to arrange the puzzle as she likes ......................................
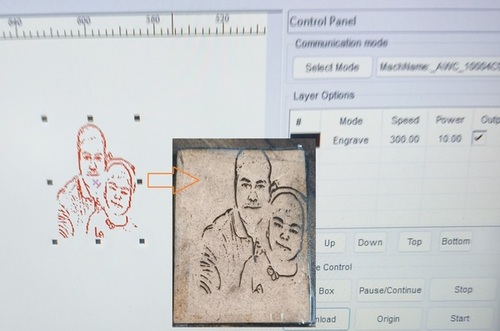
Apart from laser cutting, I also explored laser engraving, particularly for images. Since I am new to this, I focused on understanding how engraving works and how it differs from cutting. I experimented with adjusting power and speed settings to achieve different engraving depths and effects.
One of the key challenges was learning how to process images for engraving—converting them into a suitable format, adjusting contrast, and optimizing for better clarity. I tested different materials to see how they reacted to the laser, noting how wood, acrylic, and other surfaces produced varied results.
This hands-on approach helped me understand how laser engraving can be used for detailed artwork, text, and photographic engravings, adding another valuable skill to my digital fabrication journey.
Laser cutting requires vector-based files such as SVG or DXF. However, many designs start as raster images (JPG, PNG). This report outlines the step-by-step process of converting a JPG image into a laser-cut file using Inkscape.
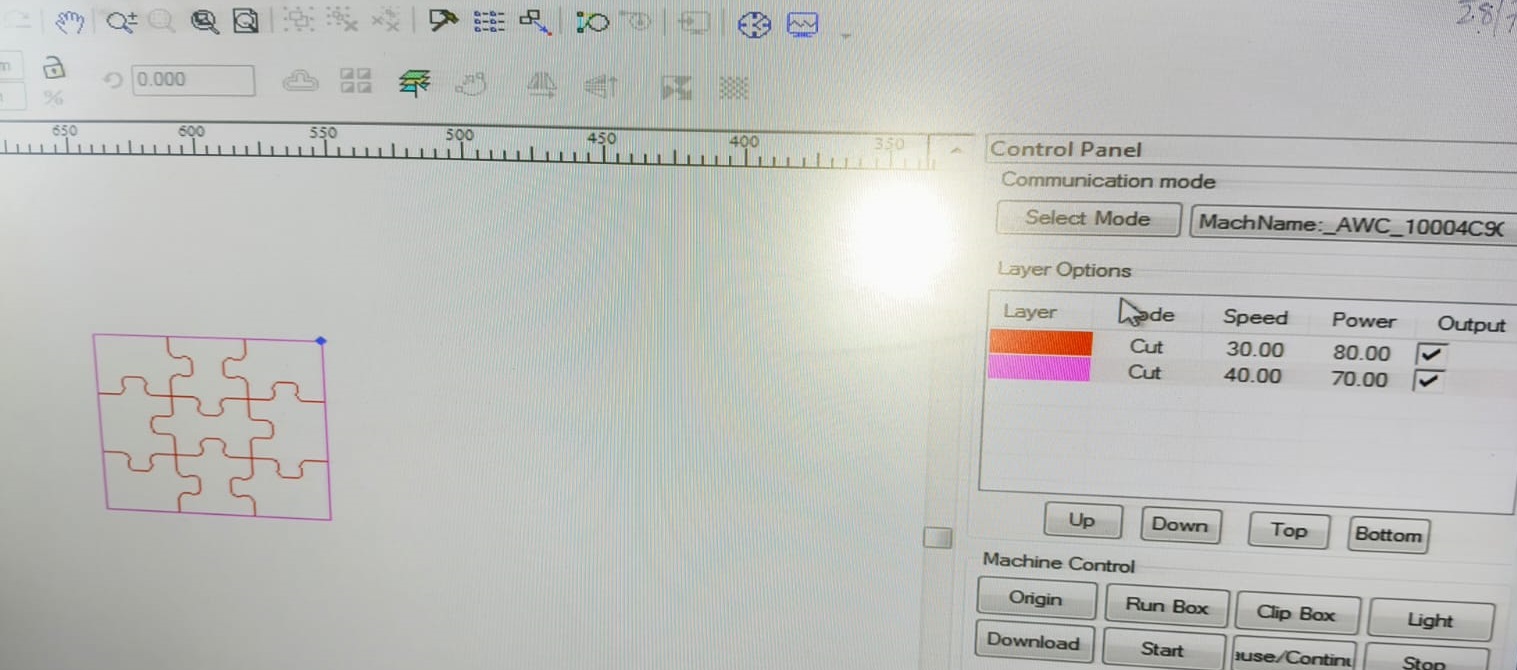
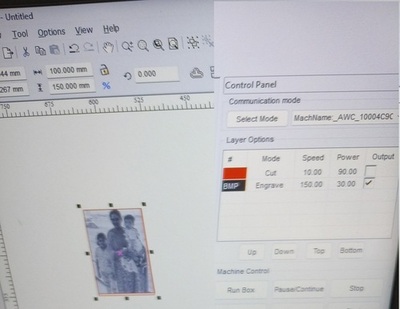
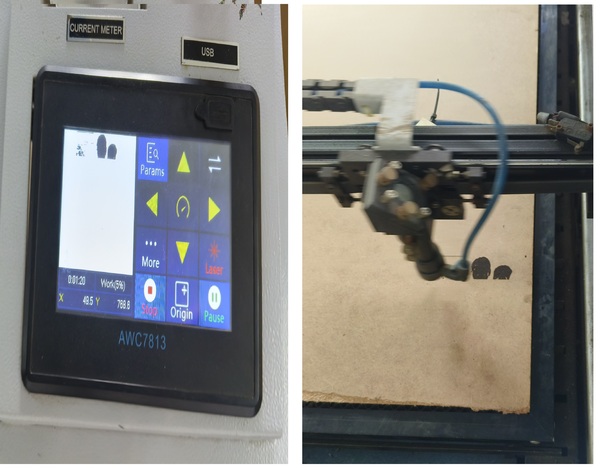
After testing various valueson MDF sheet, a cut speed and laser power have to set appropriately for engraving and cutting. Done the two test cases attached here
First case , more power, low speed, entire image is burned out
Second case ,laser shaping on outlining is done, but appropriate power is not set for cut from mdf board . The image shown below, during laser cut board get burned out at the border
video is attached for border cutting on mdf sheet
In the exploration of computer-controlled cutting, few things learned from vinyl cutting, laser cutting, and laser engraving. Vinyl cutting involved understanding materials like adhesive and heat transfer vinyl, using design tools such as Inkscape and FlexiPro, and adjusting cutter settings like speed, pressure, and blade type for precision. Troubleshooting techniques and final application using transfer tape were essential steps. Laser cutting focused on parametric design using SolidWorks, where customizable models were created and exported as DXF/SVG files for cutting. Adjusting power, speed, and material thickness was crucial to achieving precise cuts, especially when assembling interlocking designs like a puzzle box. Laser engraving required image processing skills, including converting images to vector format, adjusting contrast, and fine-tuning engraving parameters for clarity. Testing different power and speed settings on materials like MDF helped optimize results while preventing excessive burning. Overall, hands-on learning through trial and error proved vital in mastering machine settings, optimizing materials, and refining design techniques for precise and efficient digital fabrication.
😀 Happy Learning 😀
😀 Suith Mayakrishnan 😀