Week 5: 3D Printing Assignment
3D Printing and Scanning
Group Assignment
Tested the design rules for our 3D printer(s), including overhangs, bridges, layer adhesion, and minimum feature size.
Visit our Group Assignment Page to explore our findings and methodologies.
Individual Assignment
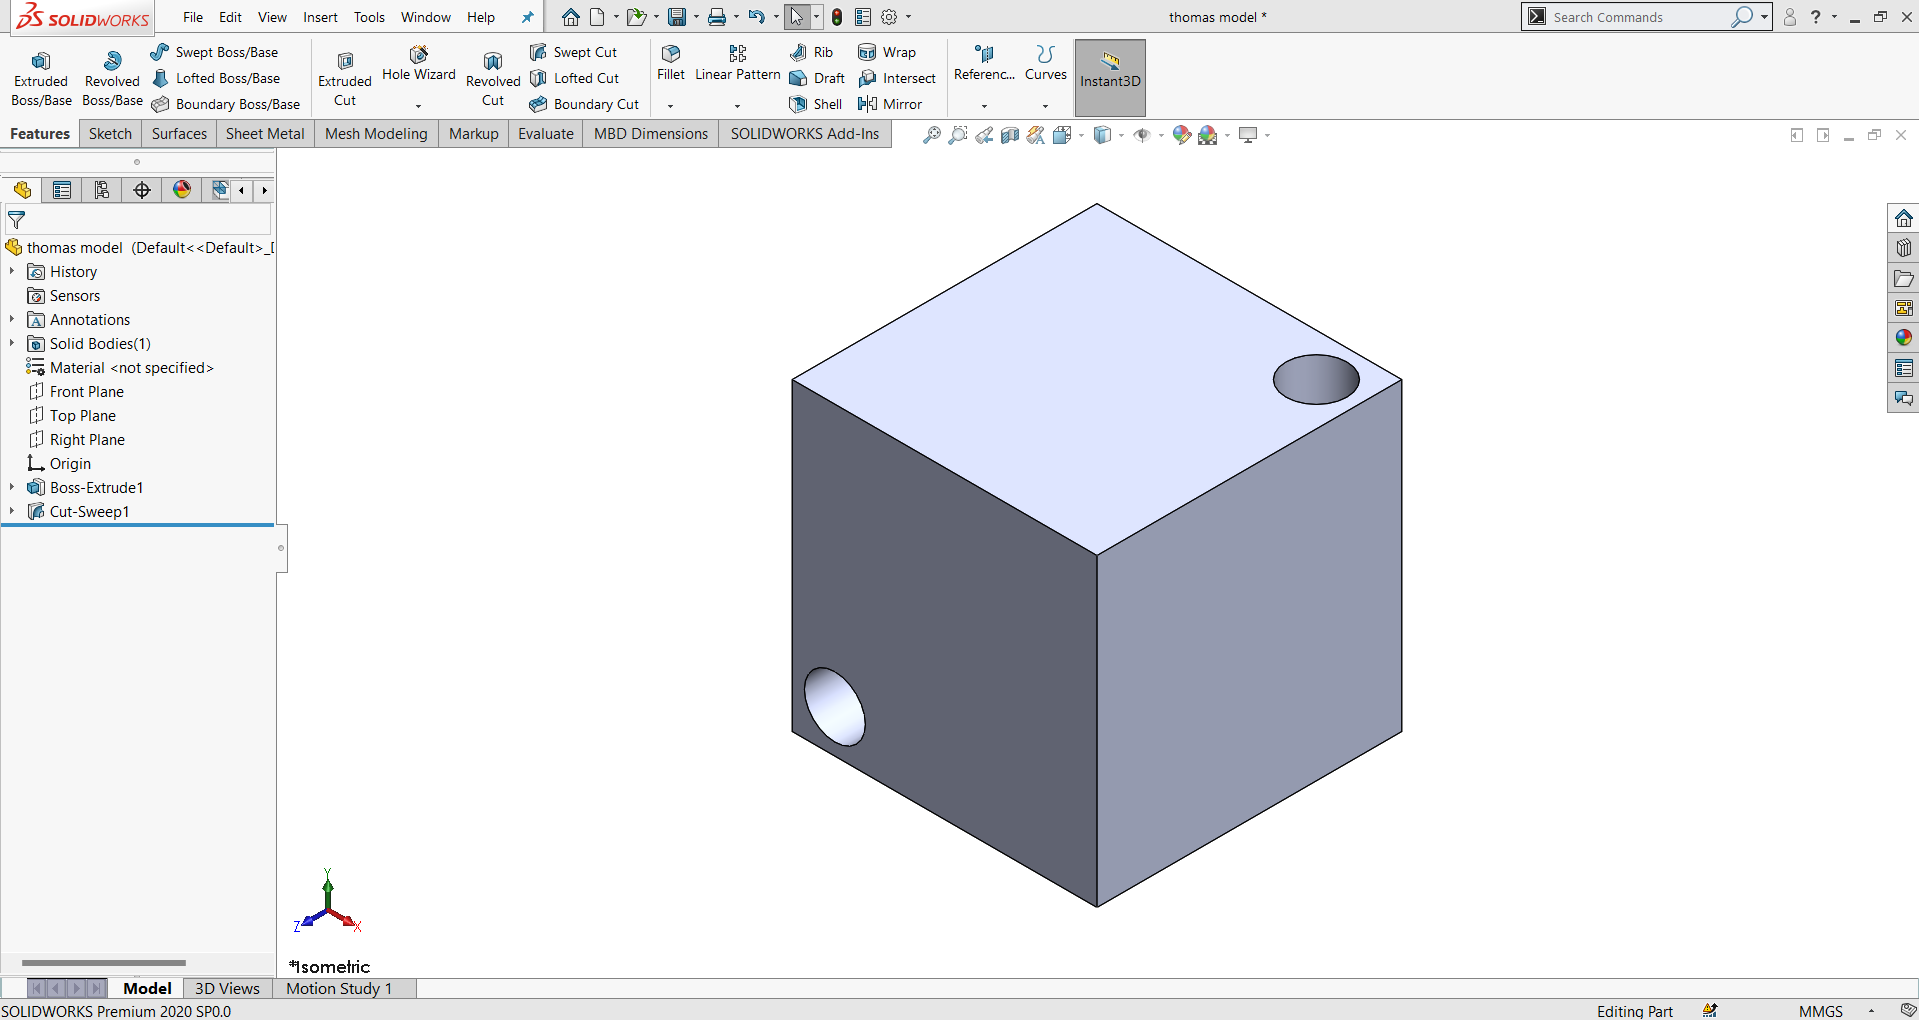
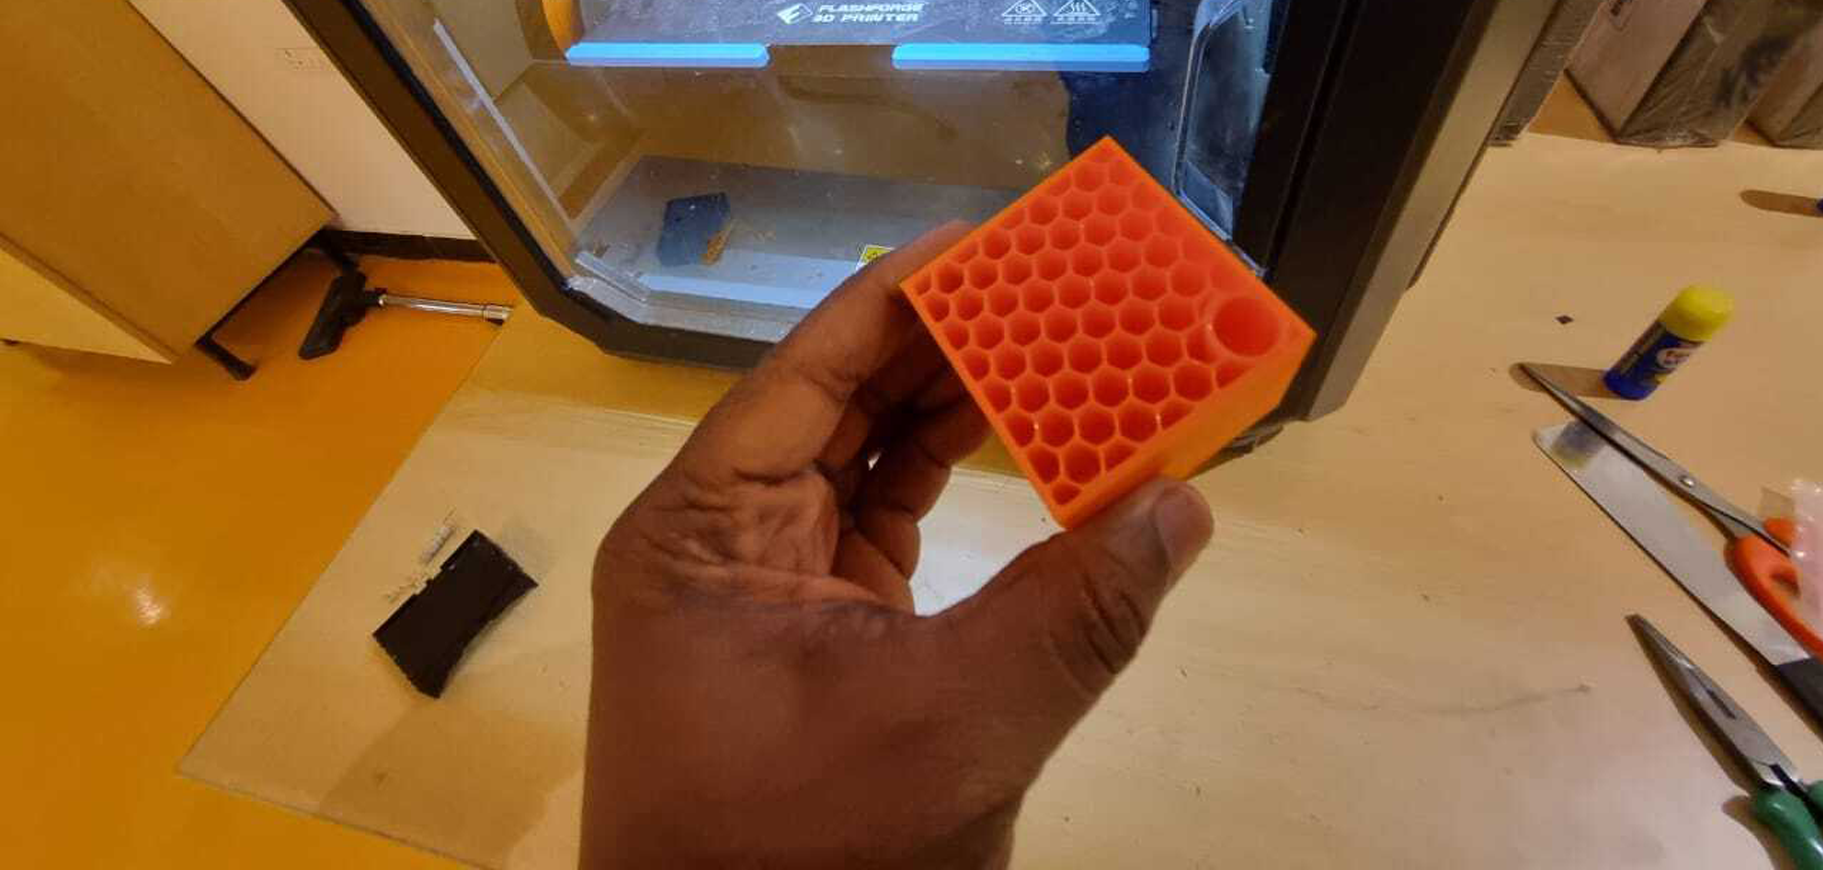
- 3D Design and Printing: Designed and 3D-printed an object that could not be made using subtractive methods. The object features interlocking internal structures.
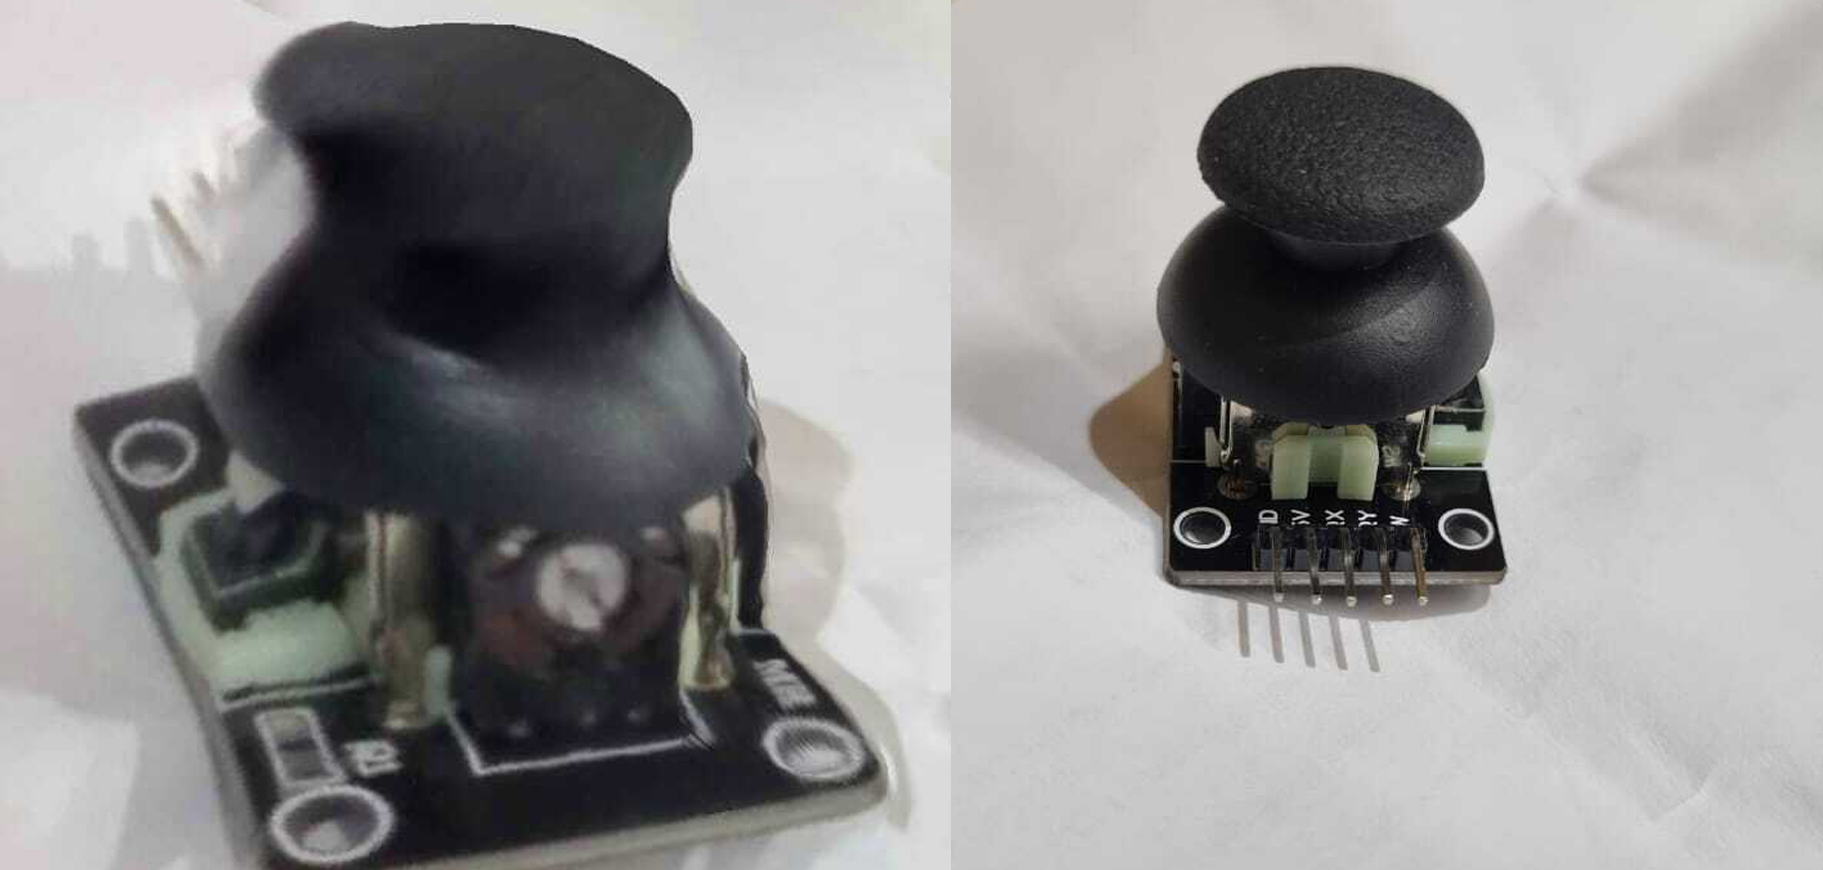
- 3D Scanning: Scanned a complex object and prepared it for optional 3D printing.
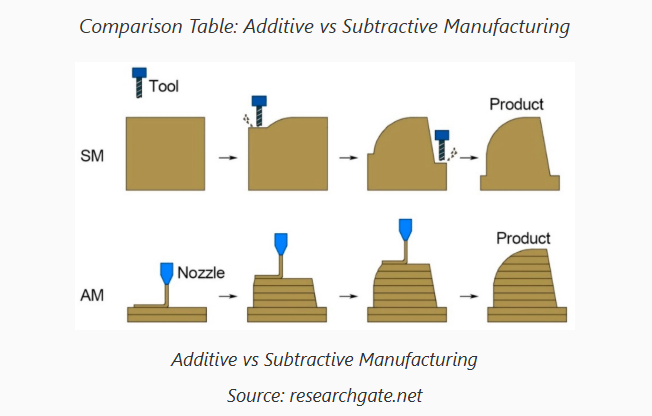
Explanation between different types of Manufacturing
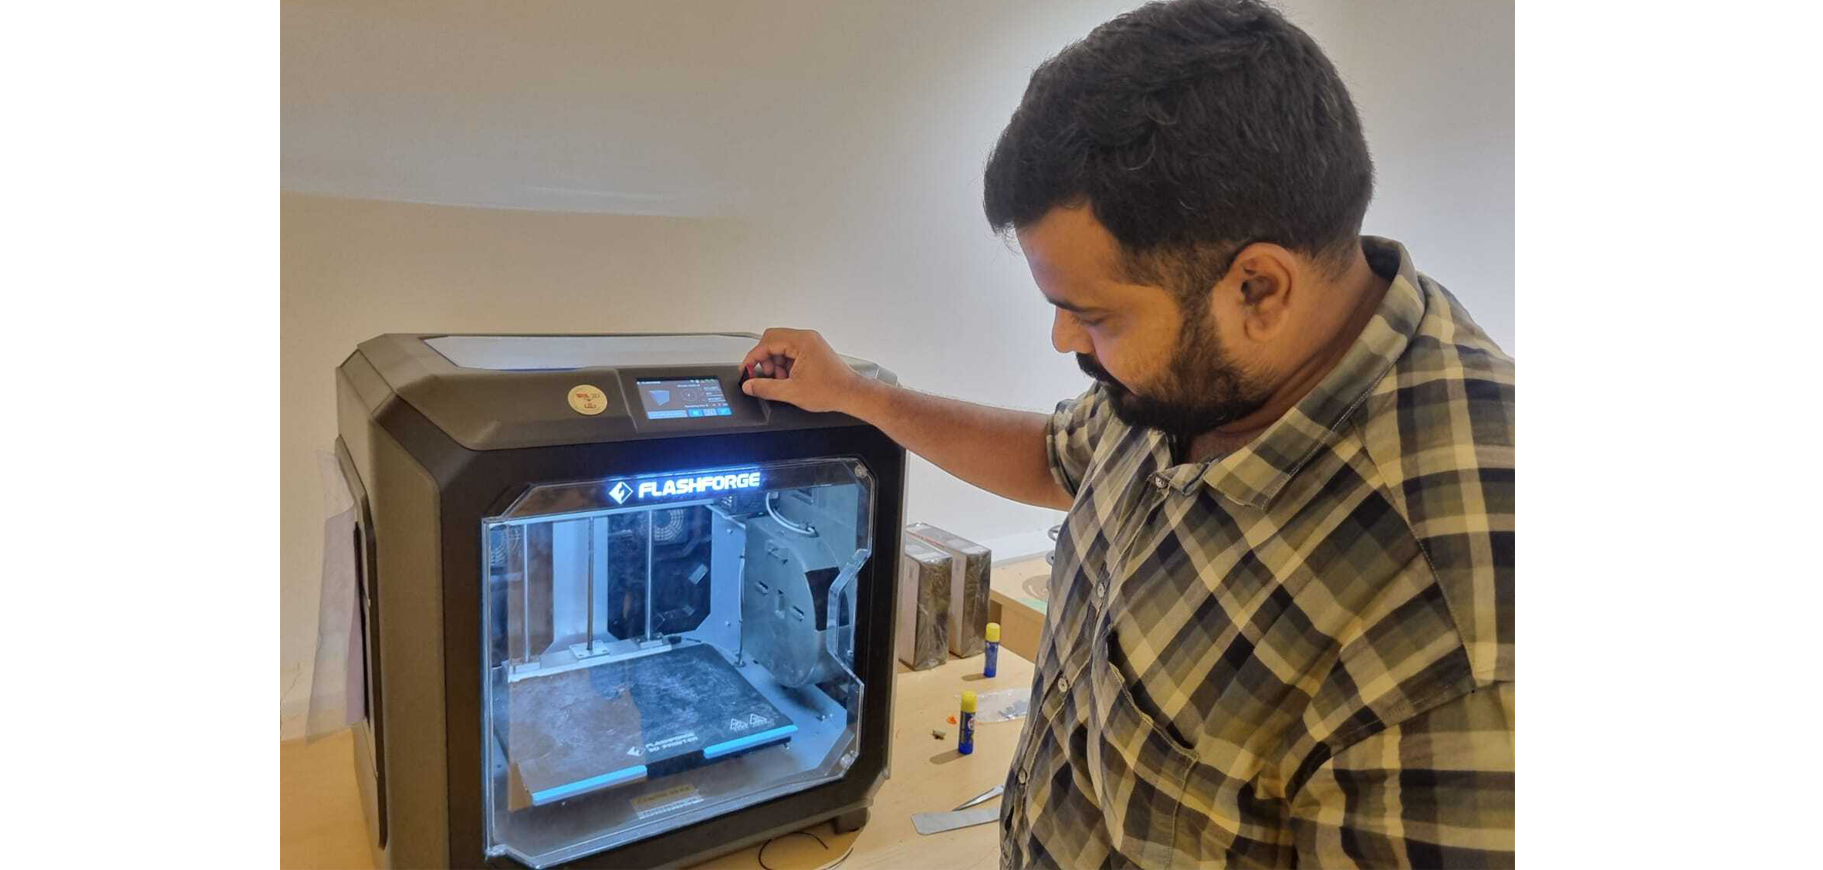
Setting up the 3D Printer
Testing a 3D printer is crucial to ensure it operates correctly and produces high-quality prints. Proper testing helps identify mechanical issues, calibration errors, or software misconfigurations before starting actual print jobs.
- Step 1: Initial Setup Check
Verify that the printer is assembled correctly, including frame stability, belts, rods, and wiring. Ensure all cables are securely connected and no loose parts are present.
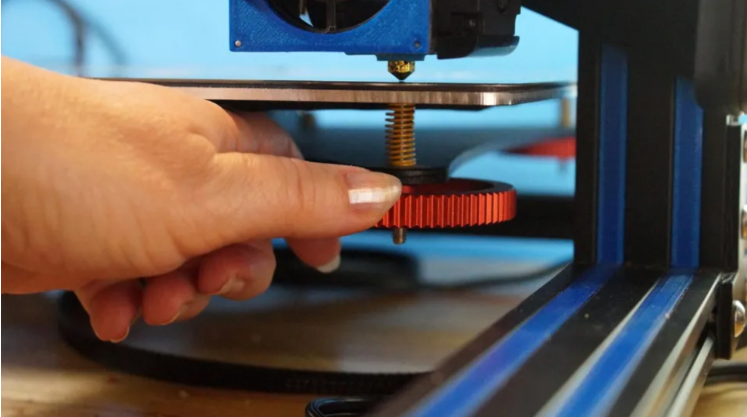
- Step 2: Level the Print Bed
Proper bed leveling is essential for good adhesion and print accuracy:
- Manually adjust the bed using screws or knobs until the nozzle is at a consistent distance from the bed across the surface.
- Use a piece of paper to gauge the nozzle gap, ensuring it lightly drags between the nozzle and the bed.
- Step 3: Check Nozzle and Extruder
Confirm the nozzle is clean and free of clogs. Test the extruder by heating it to the recommended temperature and extruding filament manually or via printer controls.
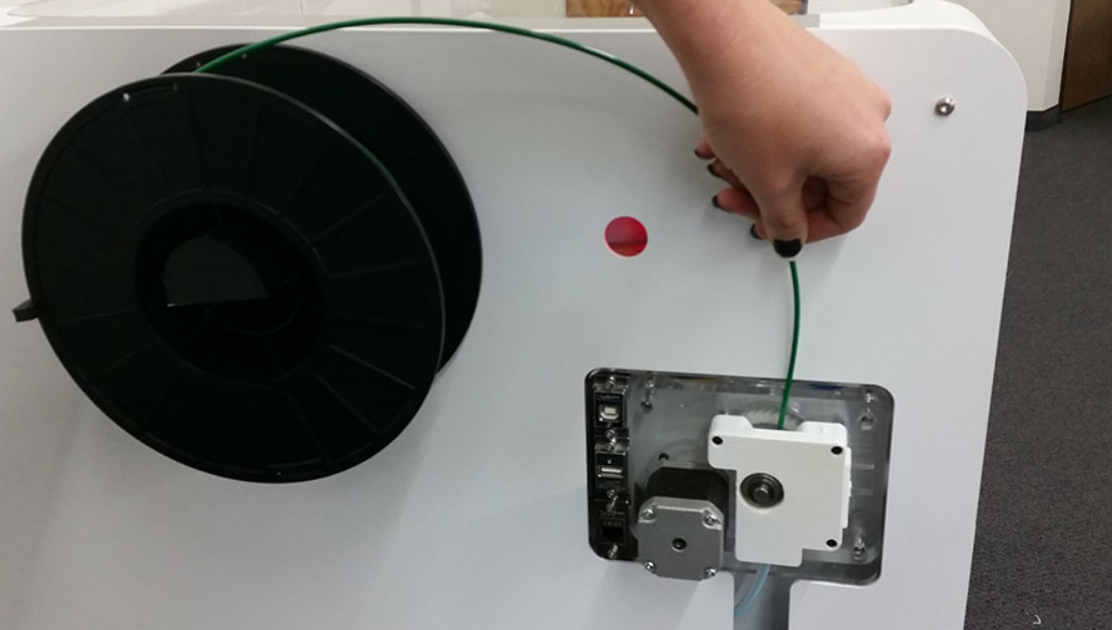
- Step 4: Load Filament
Insert the filament into the extruder, feeding it until it exits the nozzle smoothly. Use filament compatible with your printer and nozzle specifications.
- Step 5: Run a Test Print
Start with a simple calibration object (e.g., a 20mm cube or a test pattern):
- Monitor the first layer to check adhesion and extrusion consistency.
- Observe layer alignment, stringing, and surface finish during printing.
2. Documenting the Design and 3D Printing Process
Designing and 3D printing an object involves a step-by-step process to bring a concept to life using additive manufacturing techniques. Here's a detailed breakdown of the process:
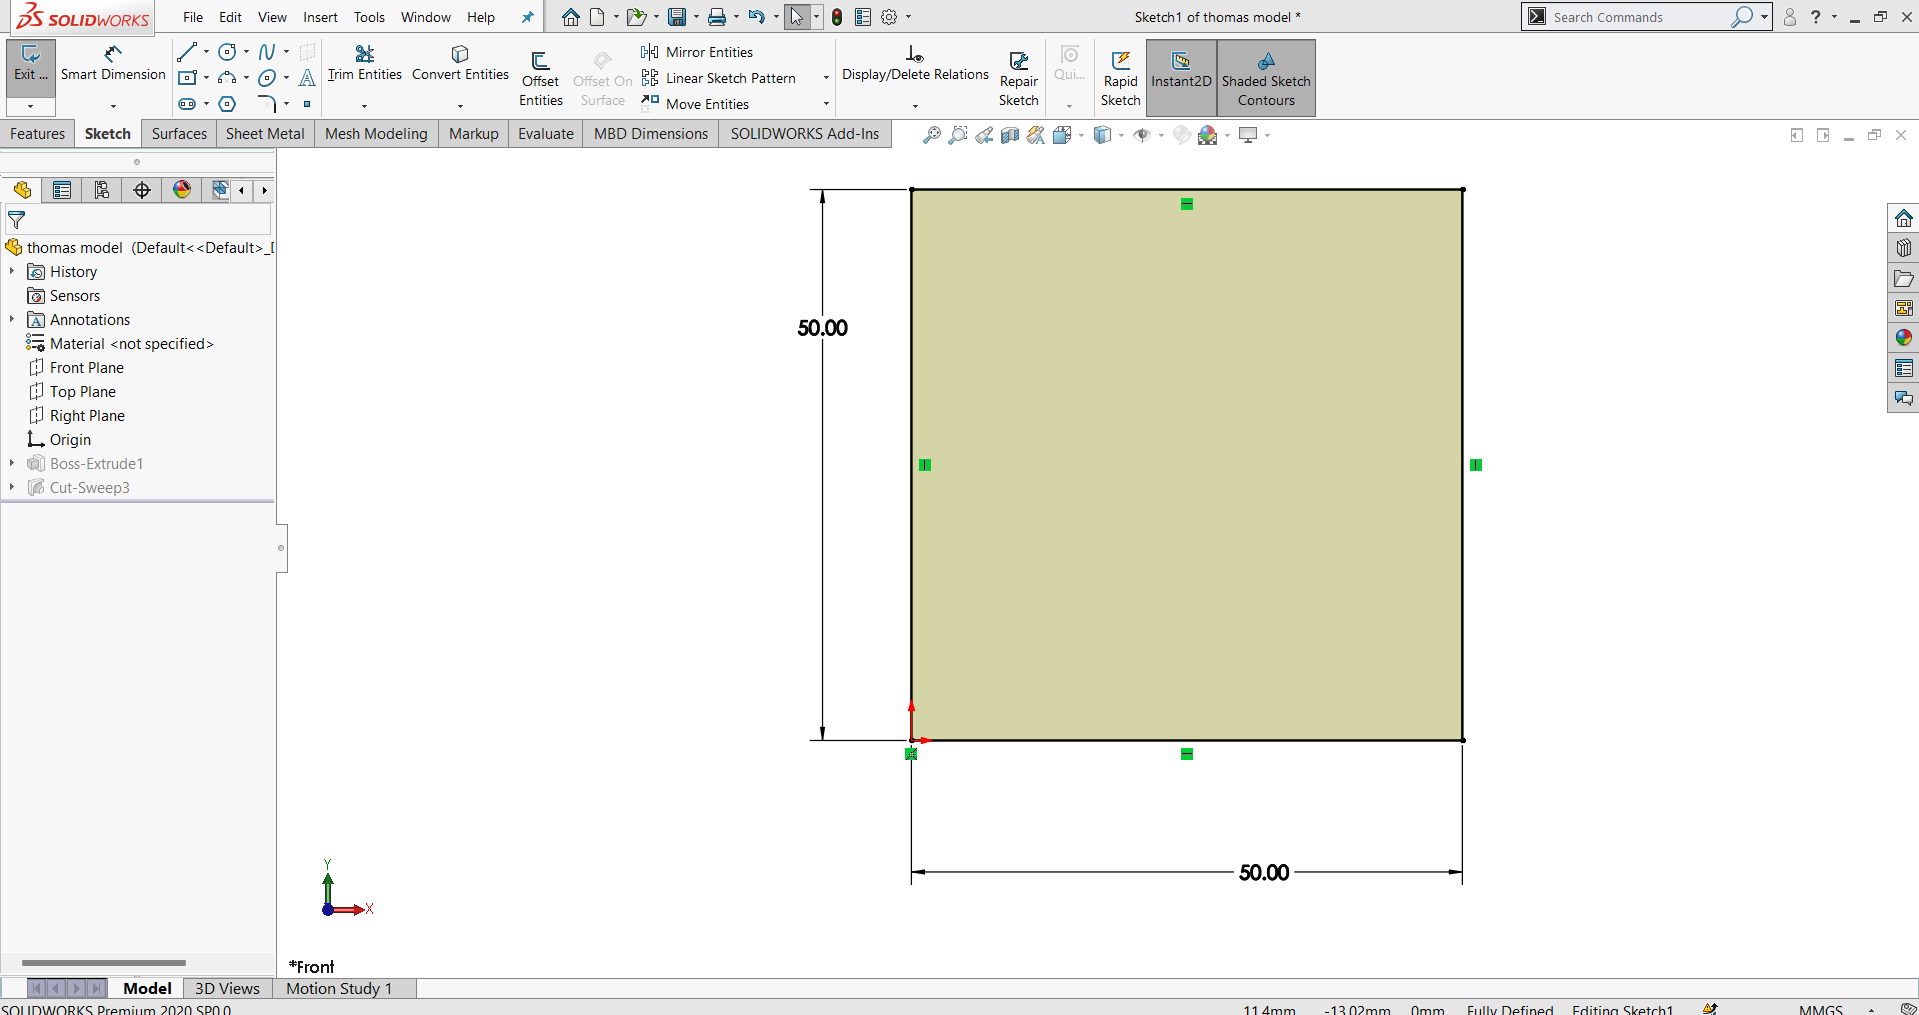
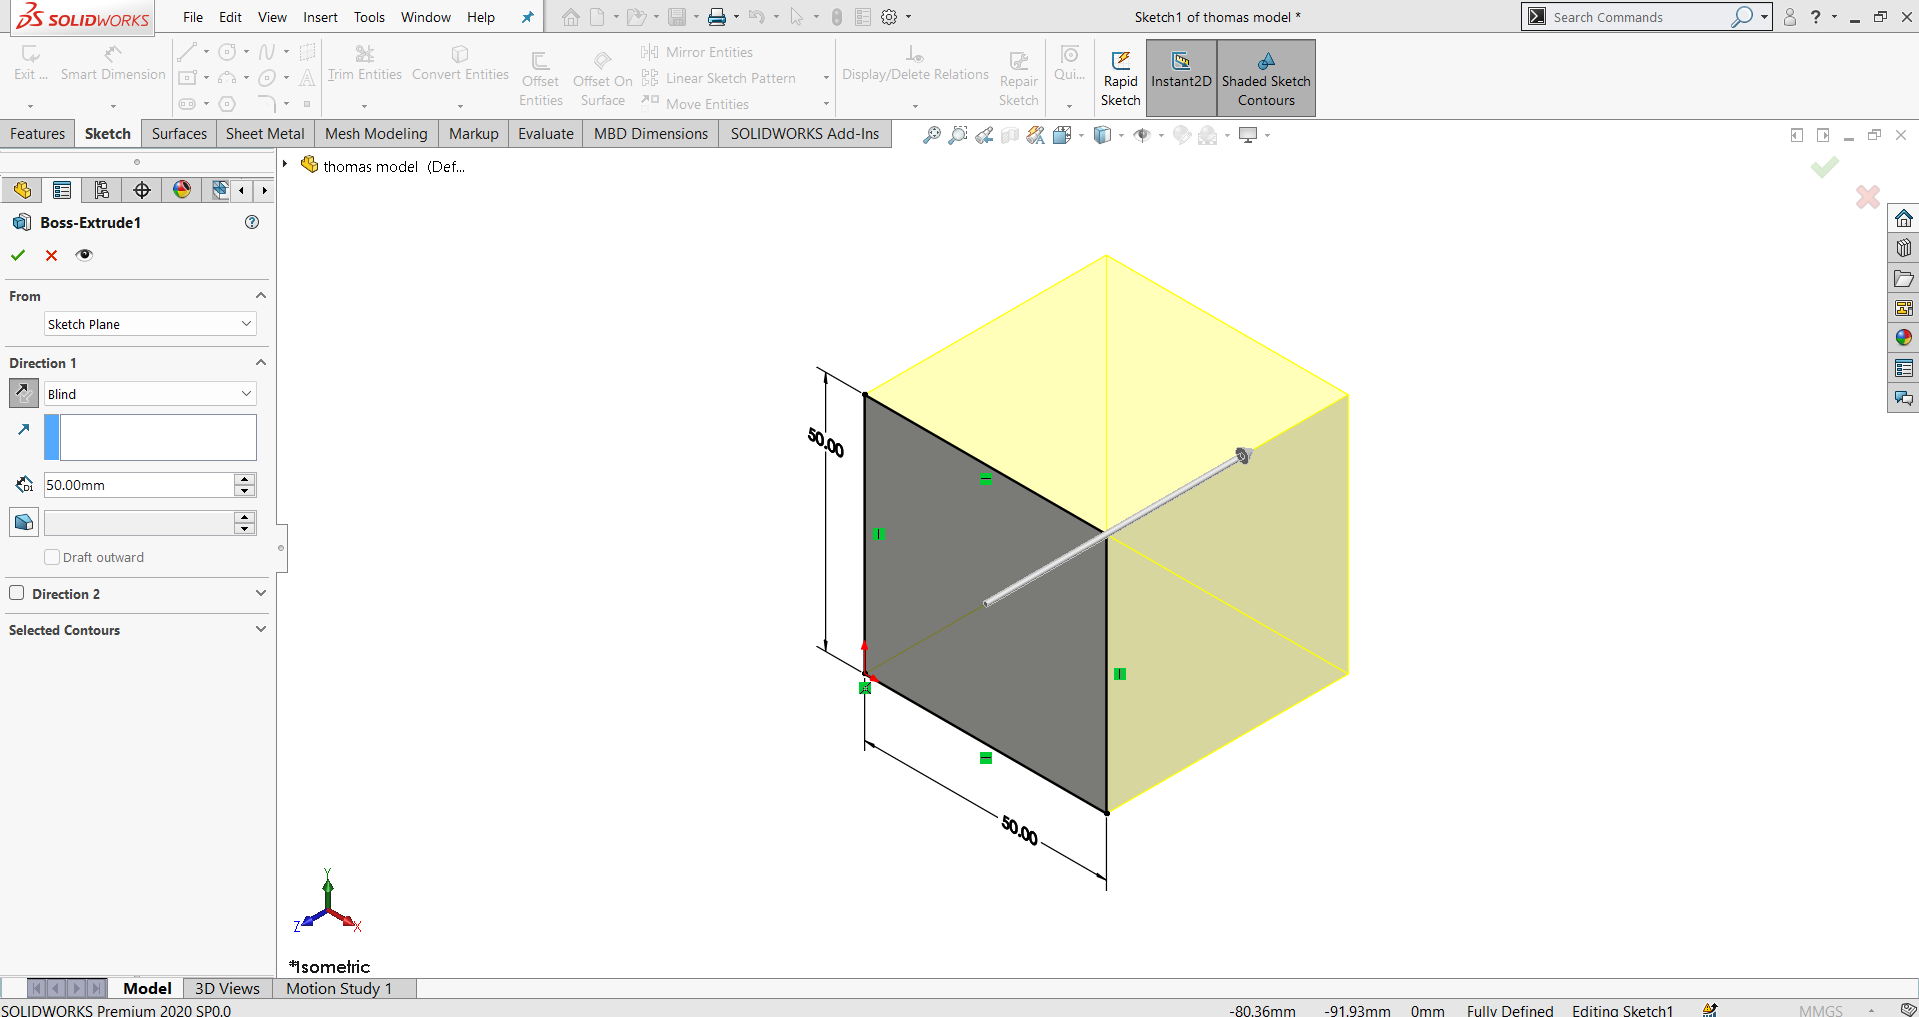
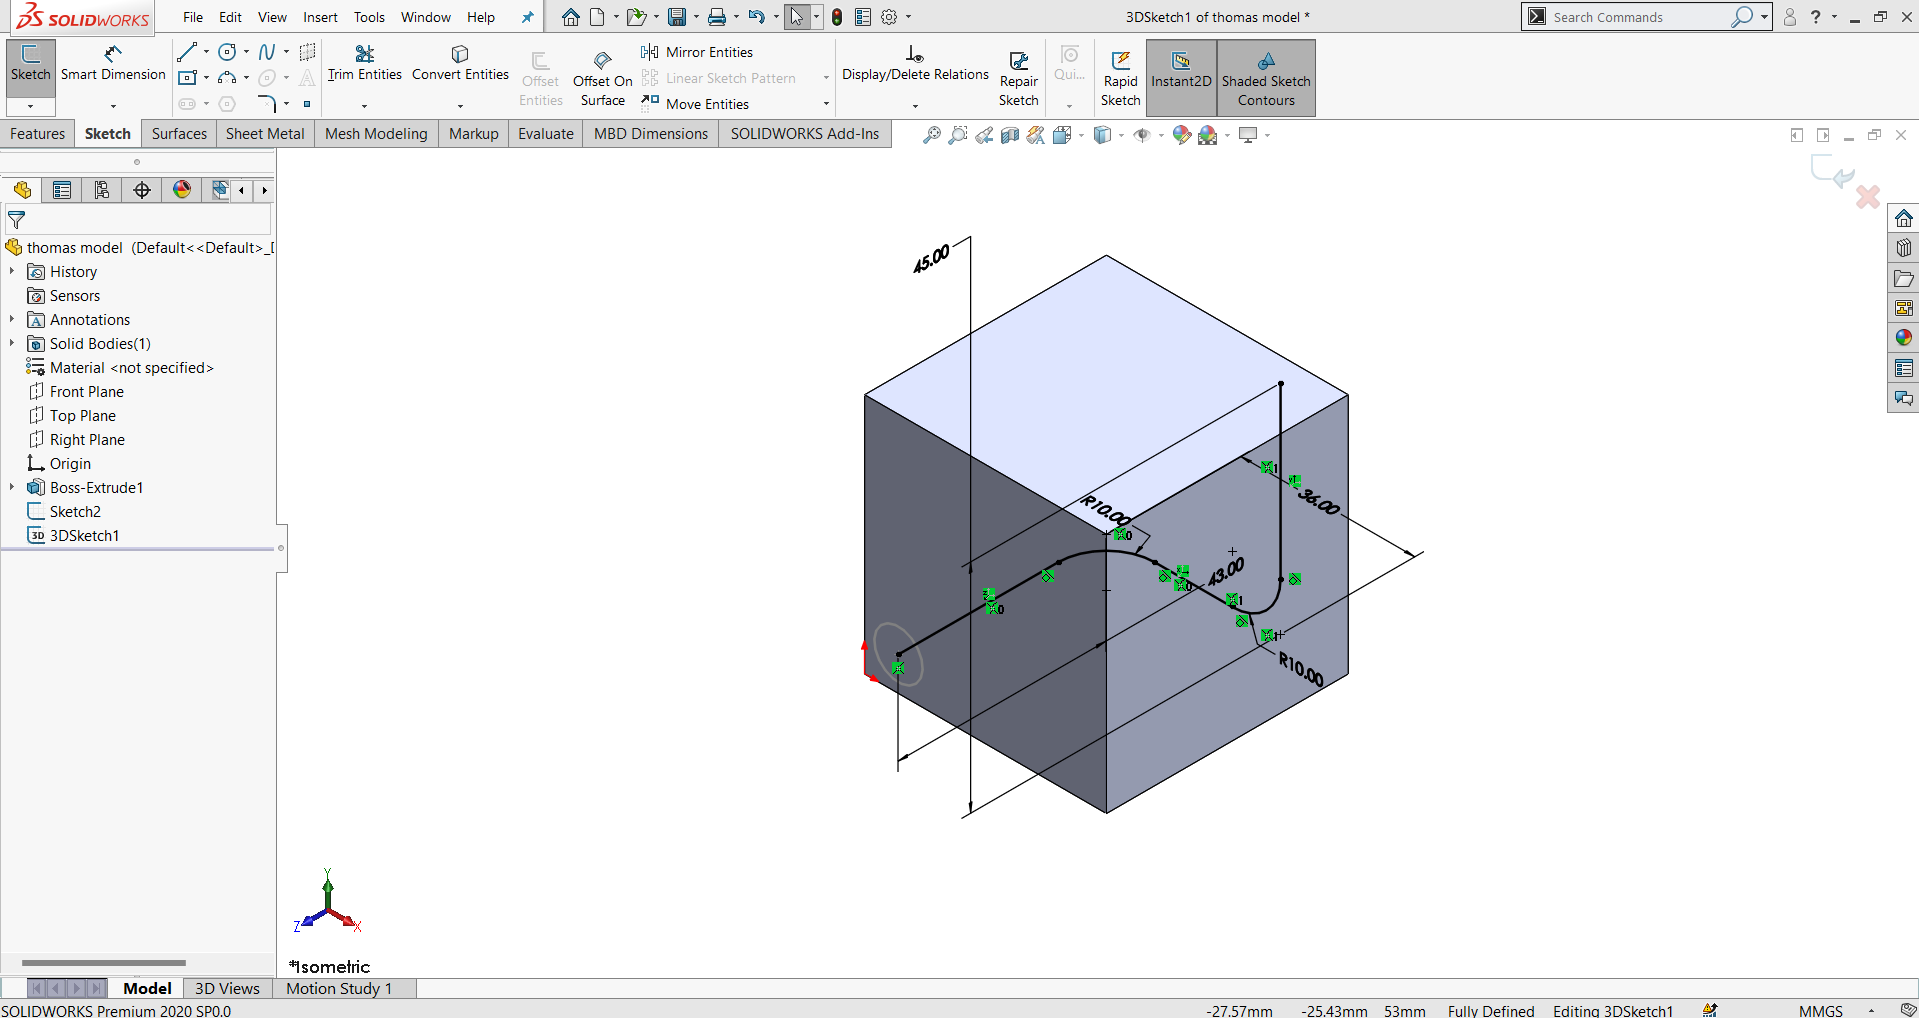
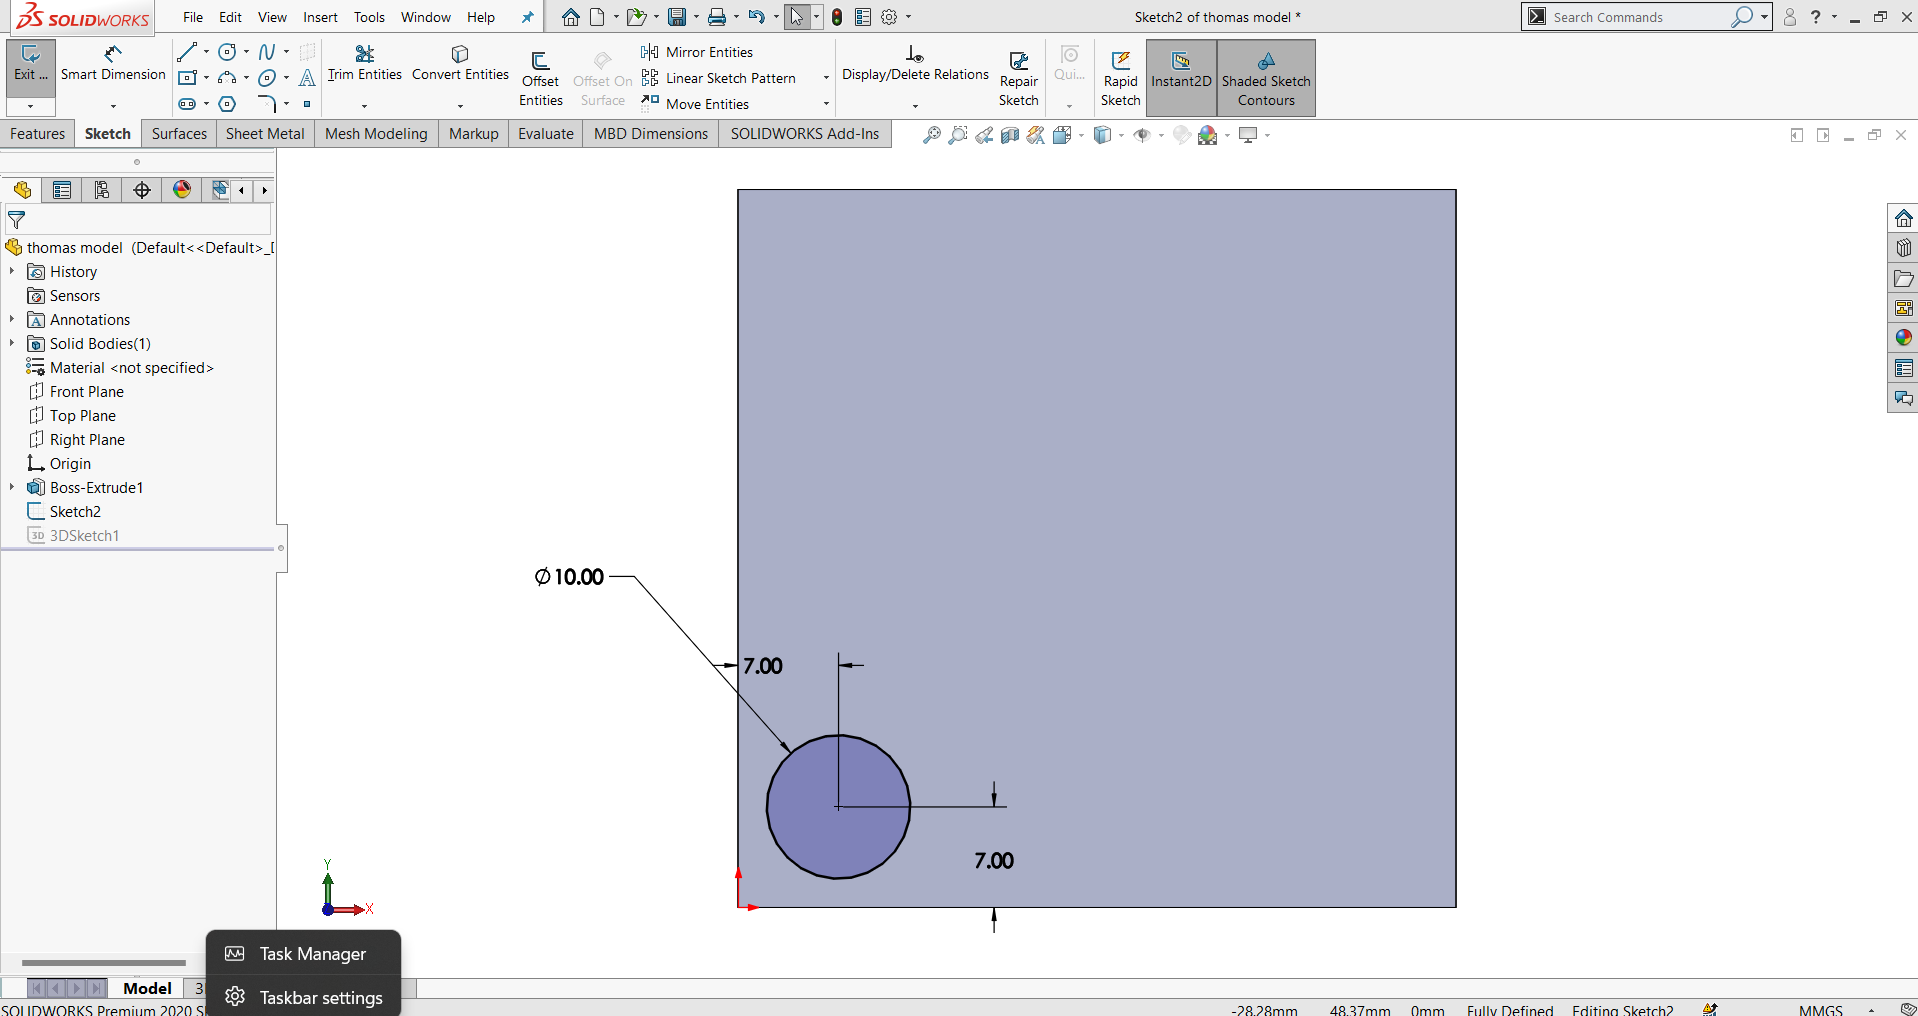
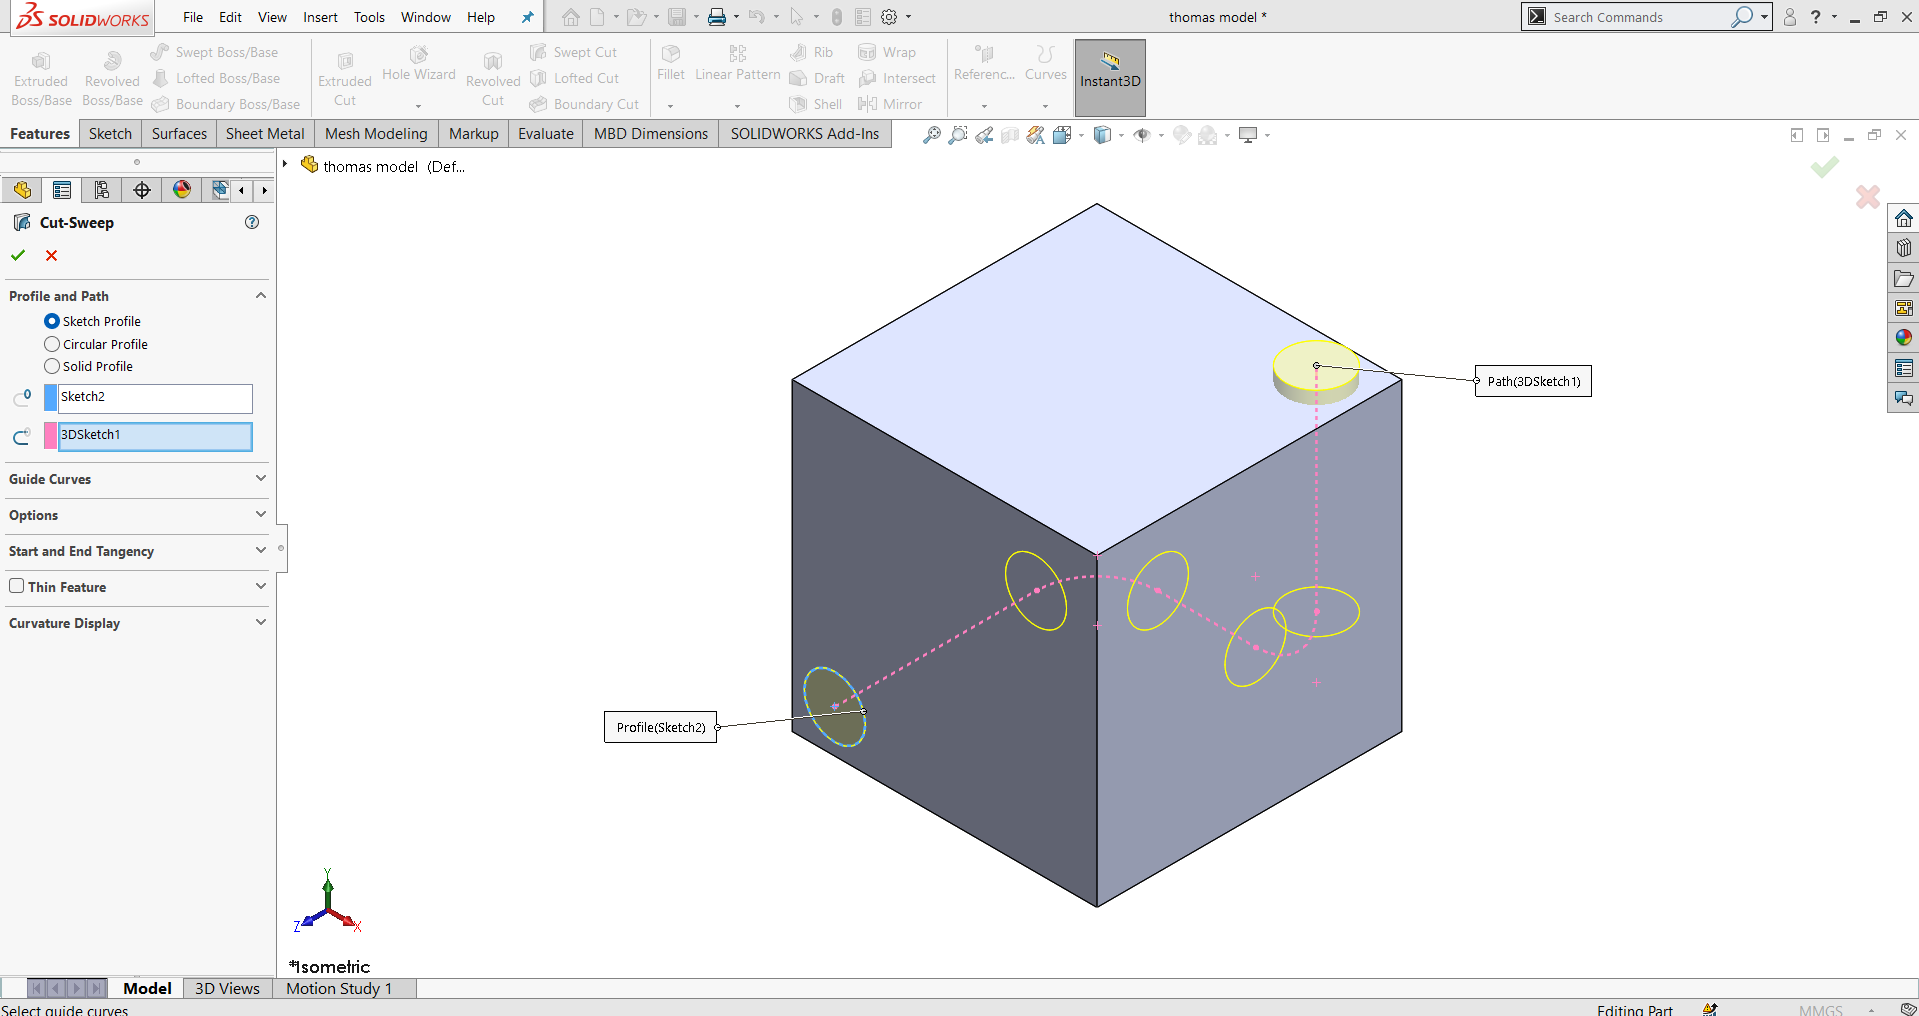
- Conceptualization and Design: The process begins with identifying the purpose and requirements of the object. Using CAD software like SolidWorks the design is created with specific features such as internal geometries, overhangs, and intricate details that are difficult to achieve with subtractive methods.
- Design Considerations:
- Internal Structures: Hollow sections, lattices, and honeycomb patterns for lightweight yet strong designs.
- Complex Geometries: Freeform curves and overhangs that are impossible or inefficient to carve using traditional subtractive tools.
- Precision Features: Accurate dimensions for fittings, screw holes, or assembly parts.
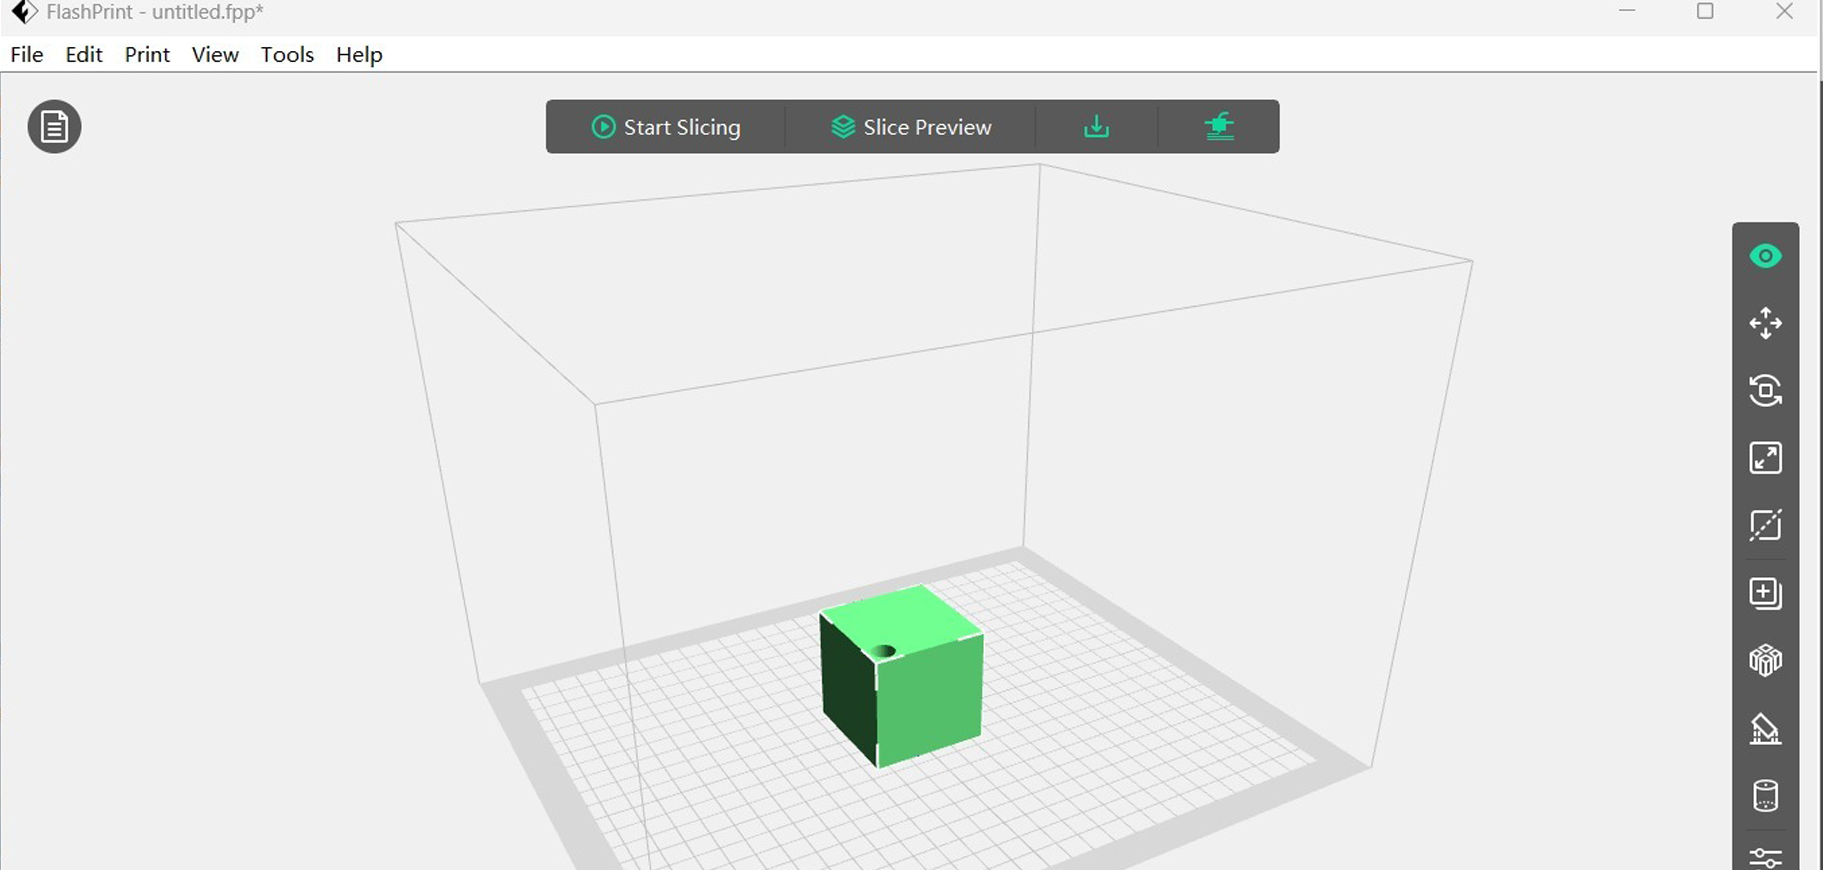
- Preparation for Printing: Once the design is finalized, it is exported to an STL or OBJ format. The file is then imported into slicing software like Cura prepare for 3D printing.
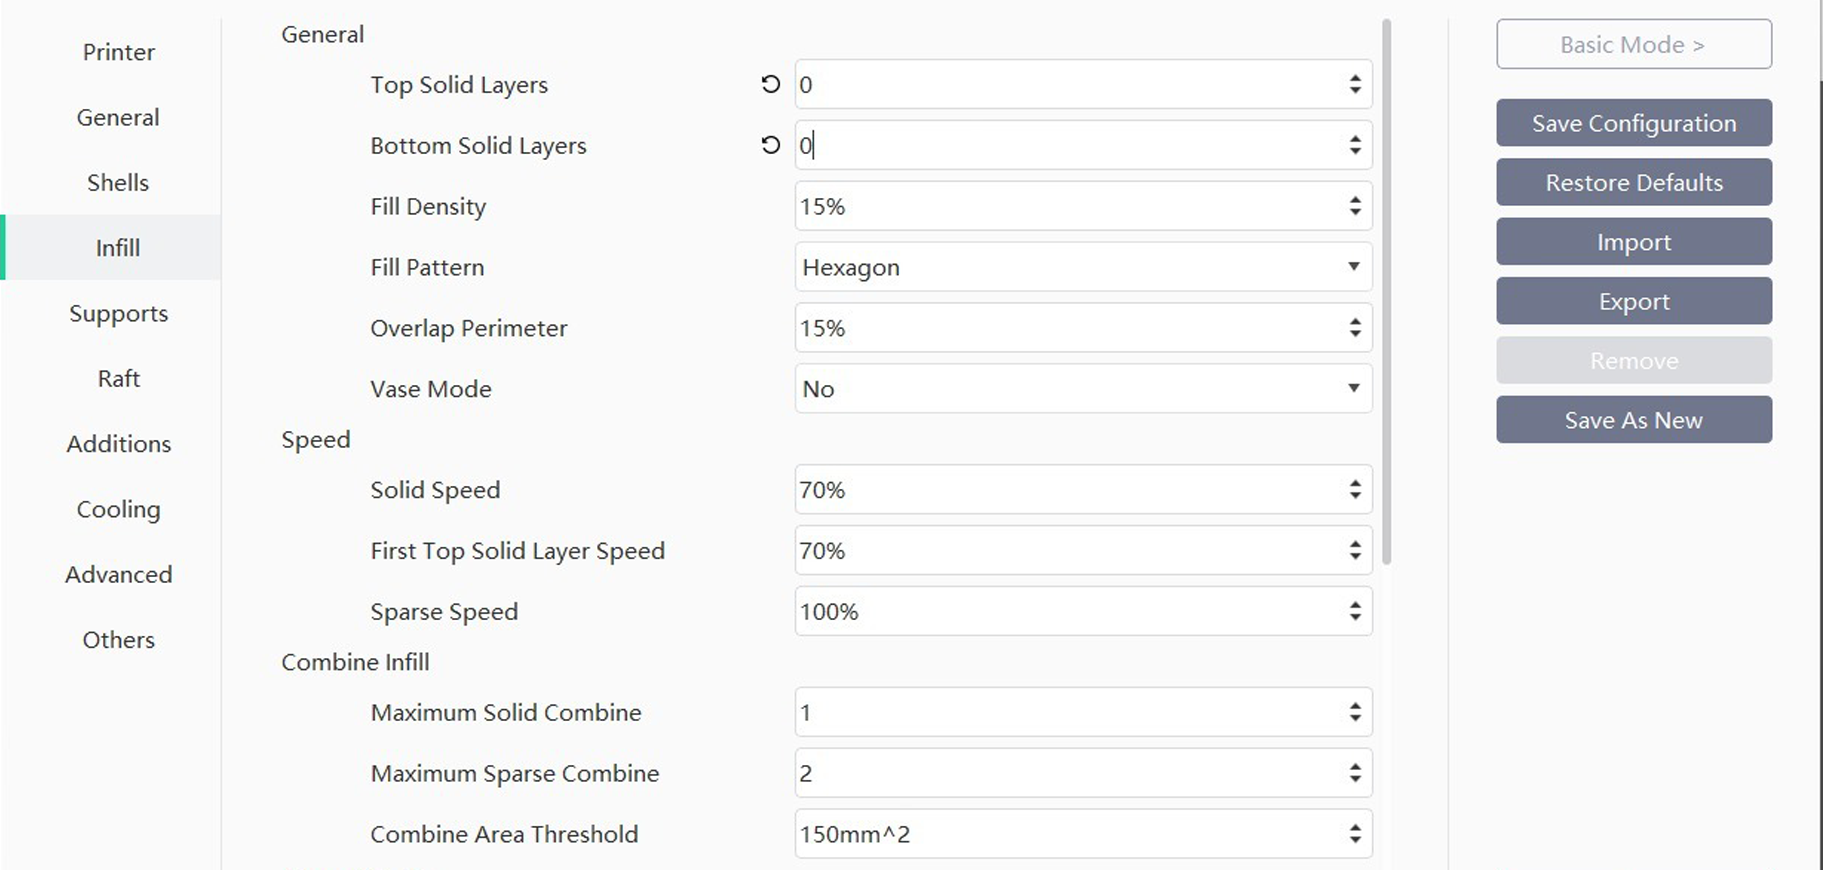
- Slicing Process: In the slicer:
- Layer heights, infill densities, and support structures are adjusted based on the design's complexity.
- Orientation is optimized to minimize supports and enhance structural integrity.
- Print time and material usage are calculated to balance efficiency and quality.
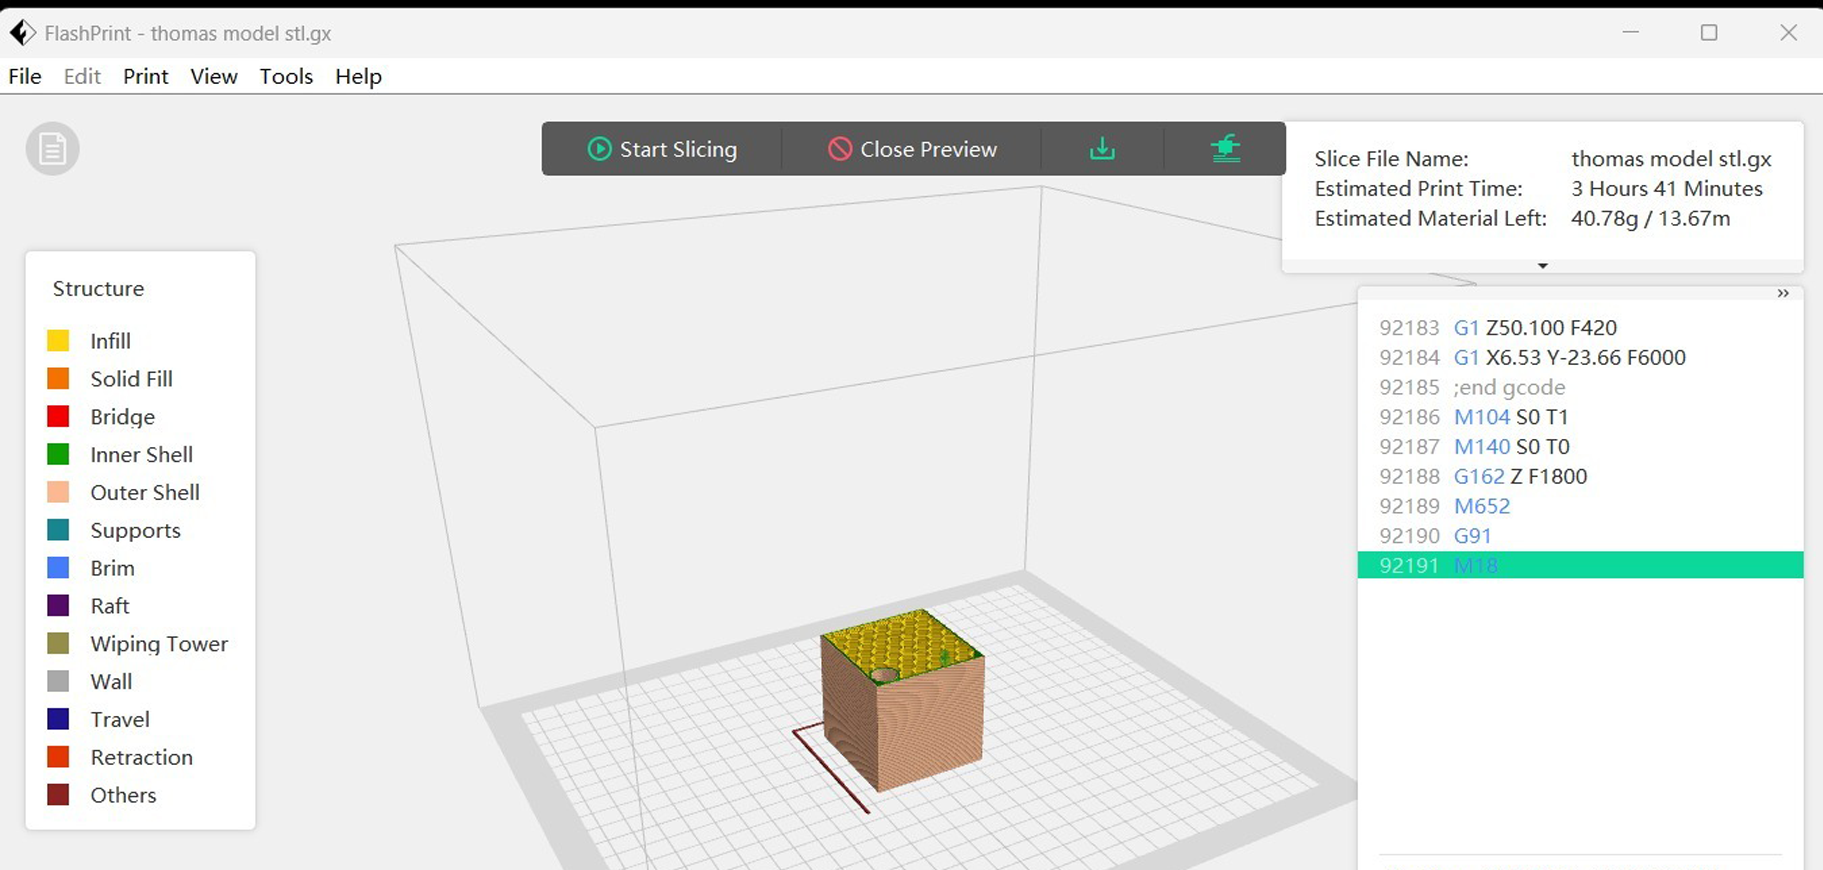
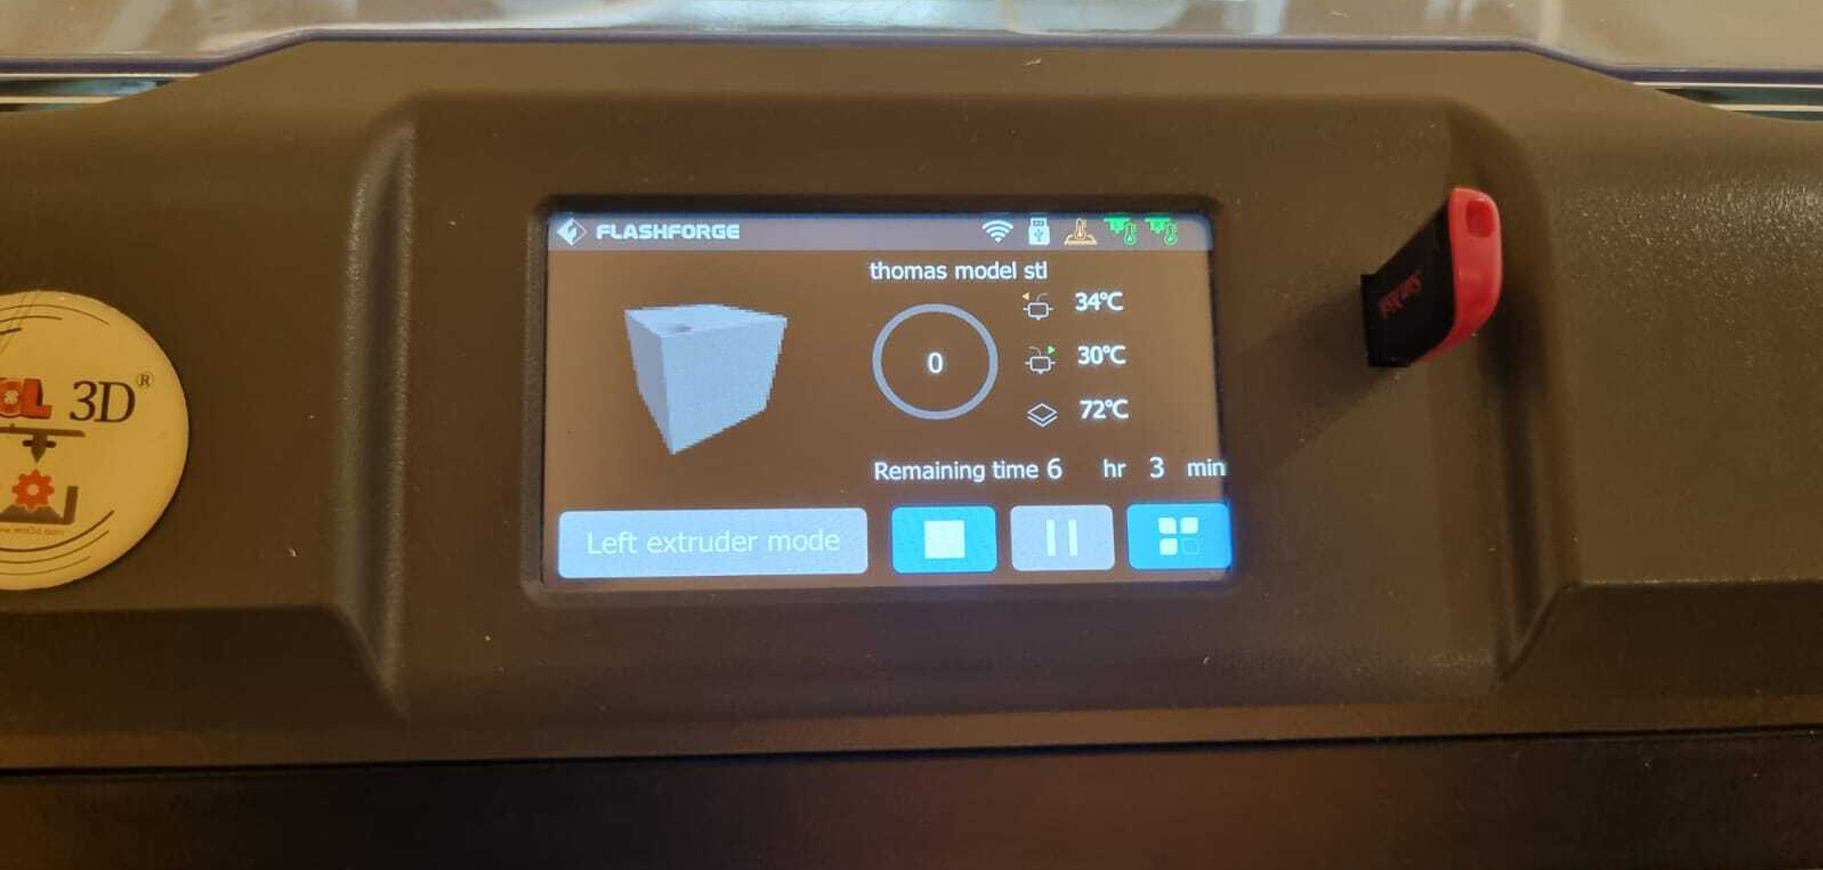
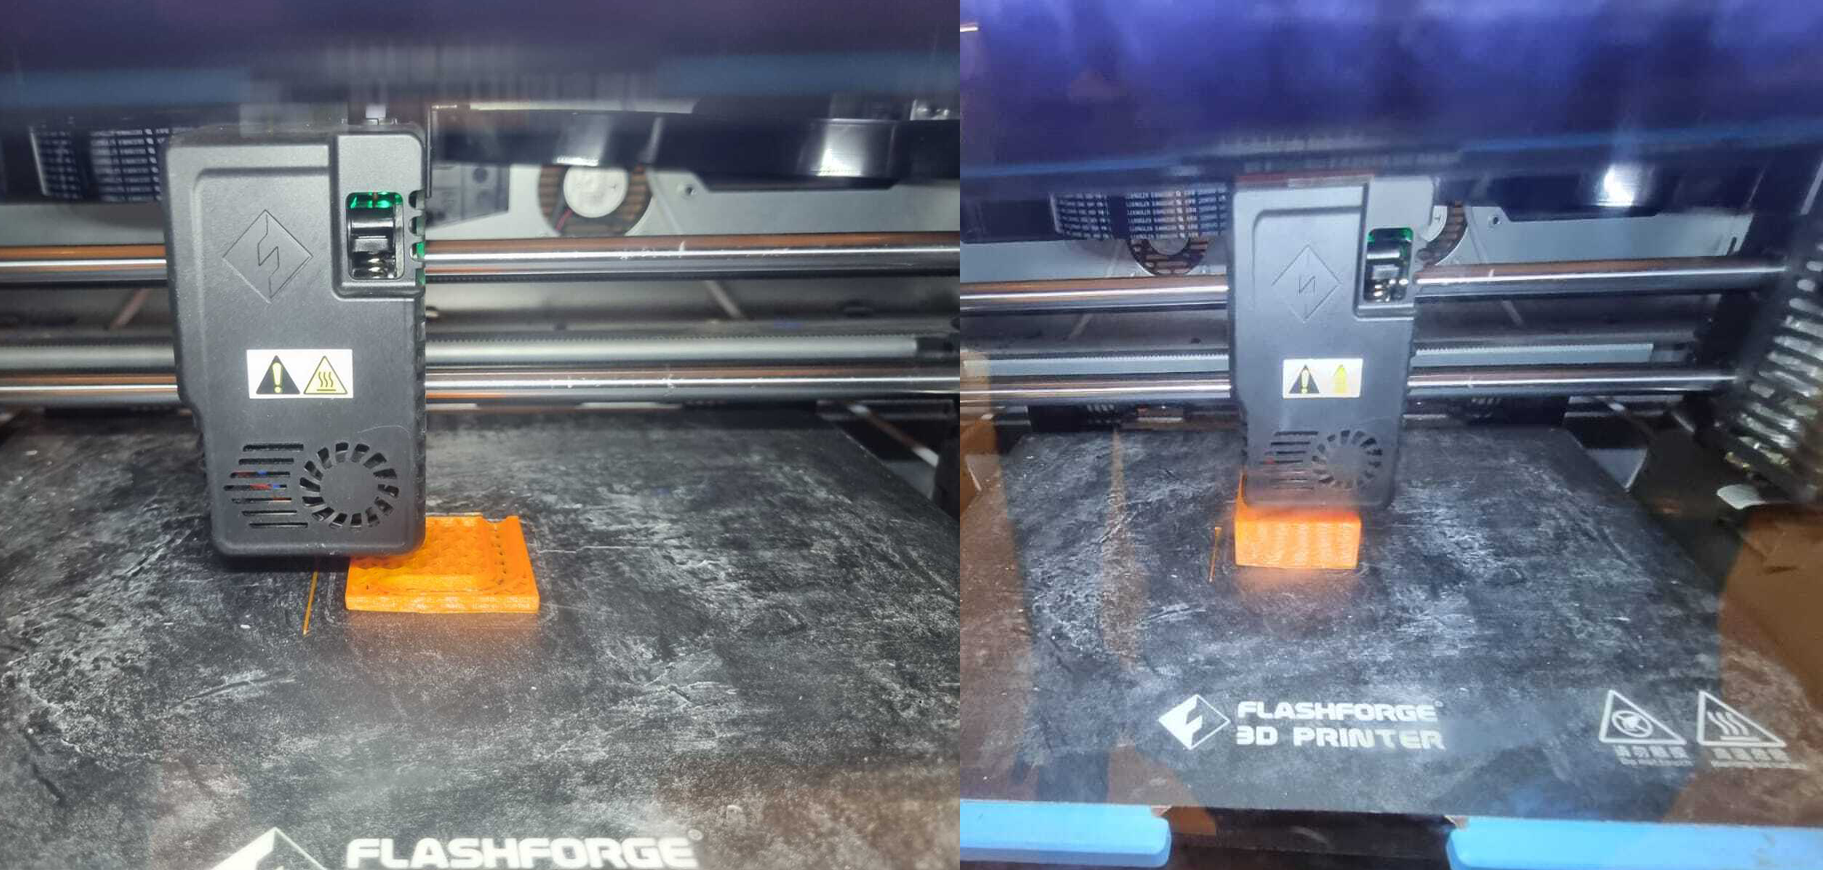
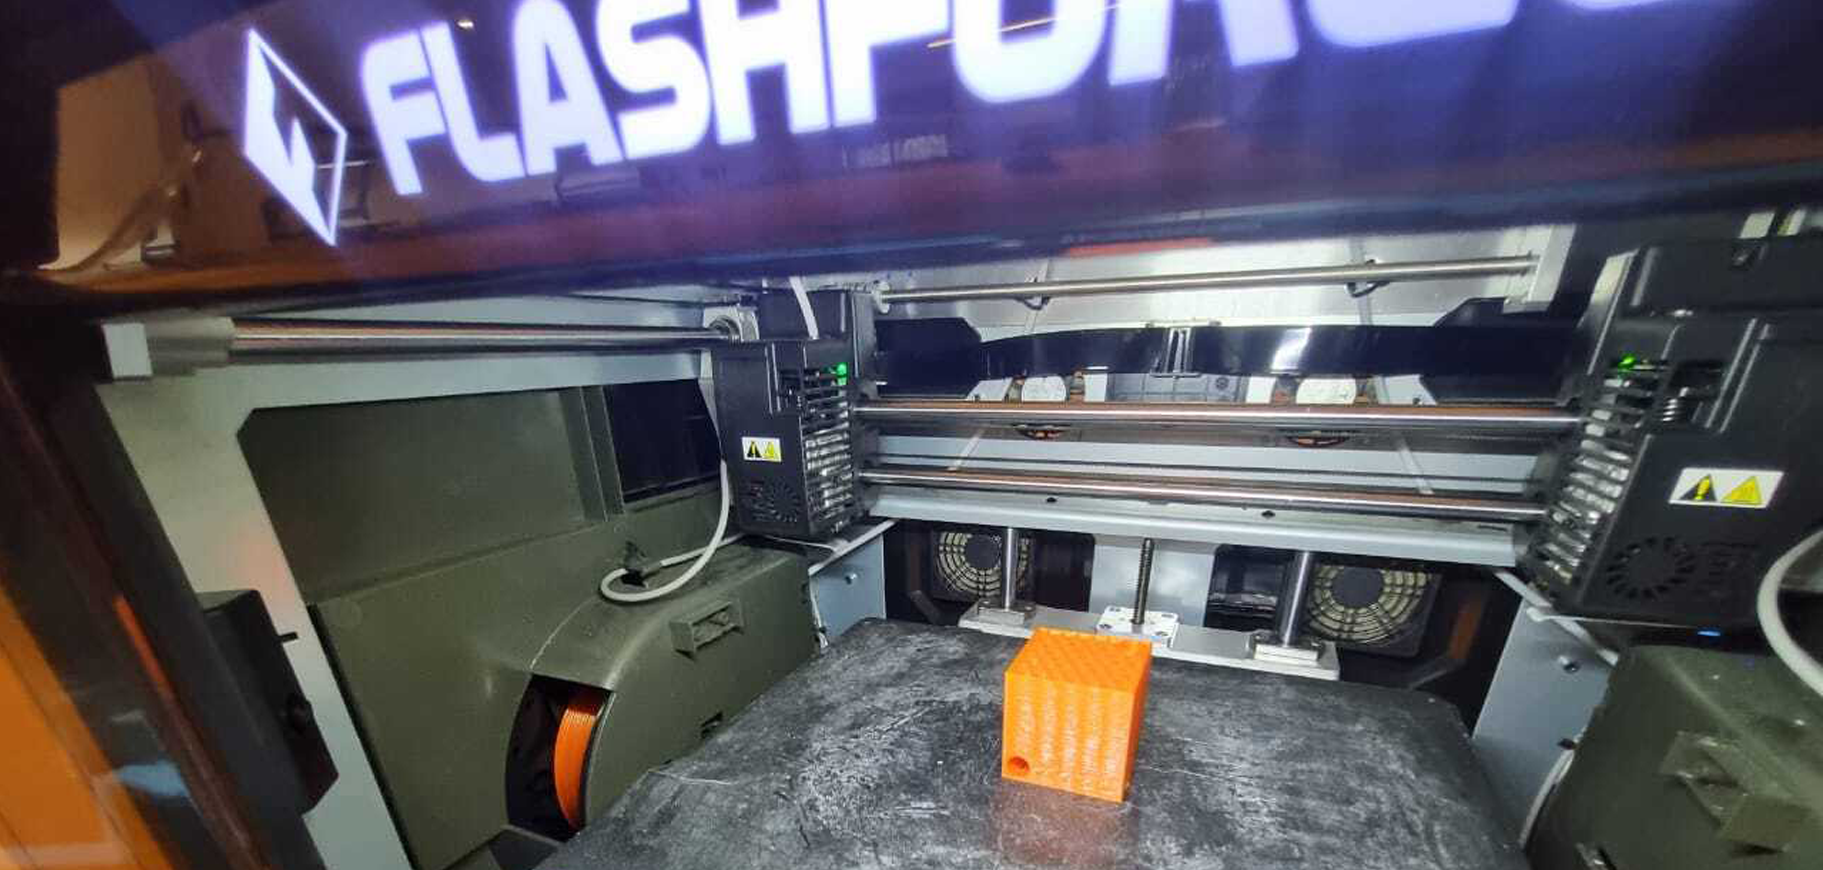
- Printing the Object: The sliced file is sent to the 3D printer, and the printing process begins. During printing:
- The printer deposits material layer by layer to build the object from the ground up.
- Parameters such as nozzle temperature, bed temperature, and print speed are monitored for consistency.
- Post-Processing: After printing, the object is carefully removed from the print bed. Post-processing steps include:
- Removing supports and sanding for a smooth finish.
- Painting or applying a surface coating, if needed.
- Comparison to Subtractive Manufacturing: Additive manufacturing is better suited for this object due to:
- Internal Features: Traditional subtractive methods cannot easily create hollow or internal cavities.
- Material Efficiency: Additive manufacturing uses only the material required for the design, reducing waste compared to subtractive methods.
- Design Flexibility: Complex and intricate shapes are achievable without the limitations of cutting tools or molds.
3. Scanning an Object
Scanning an object for 3D printing involves capturing the physical dimensions and geometry of the object using specialized tools. Below is the detailed process:
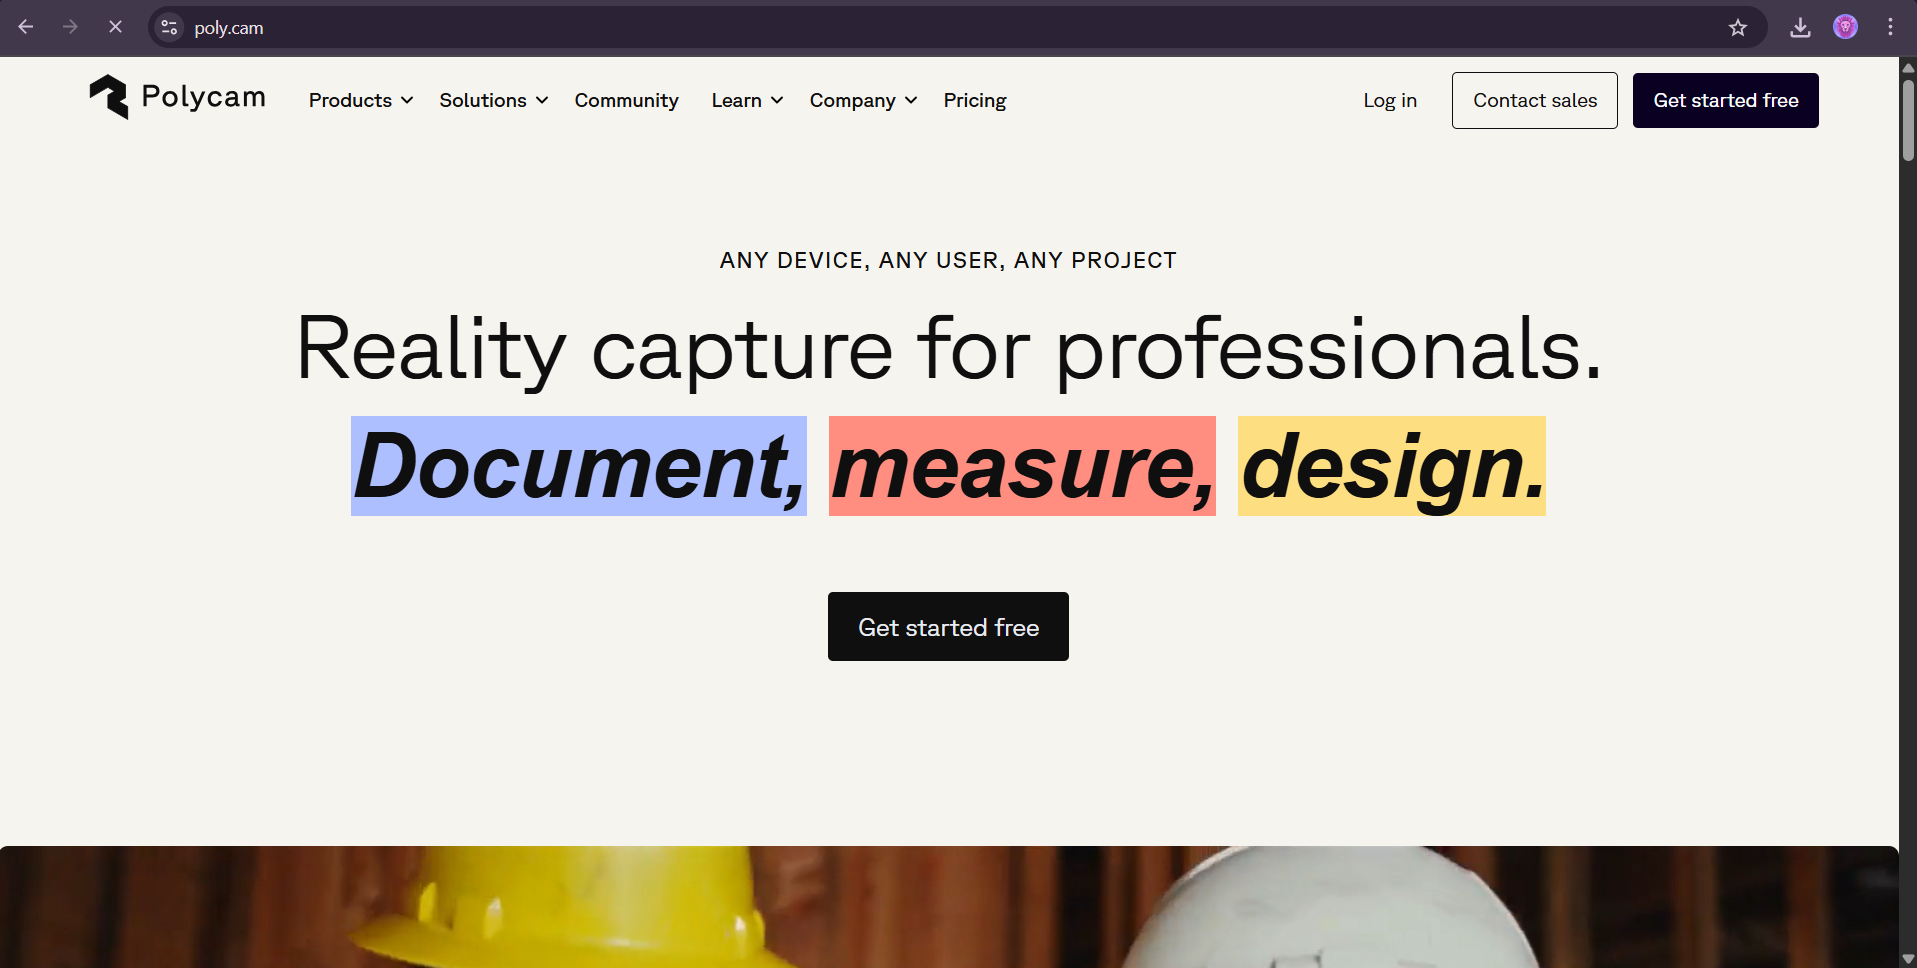
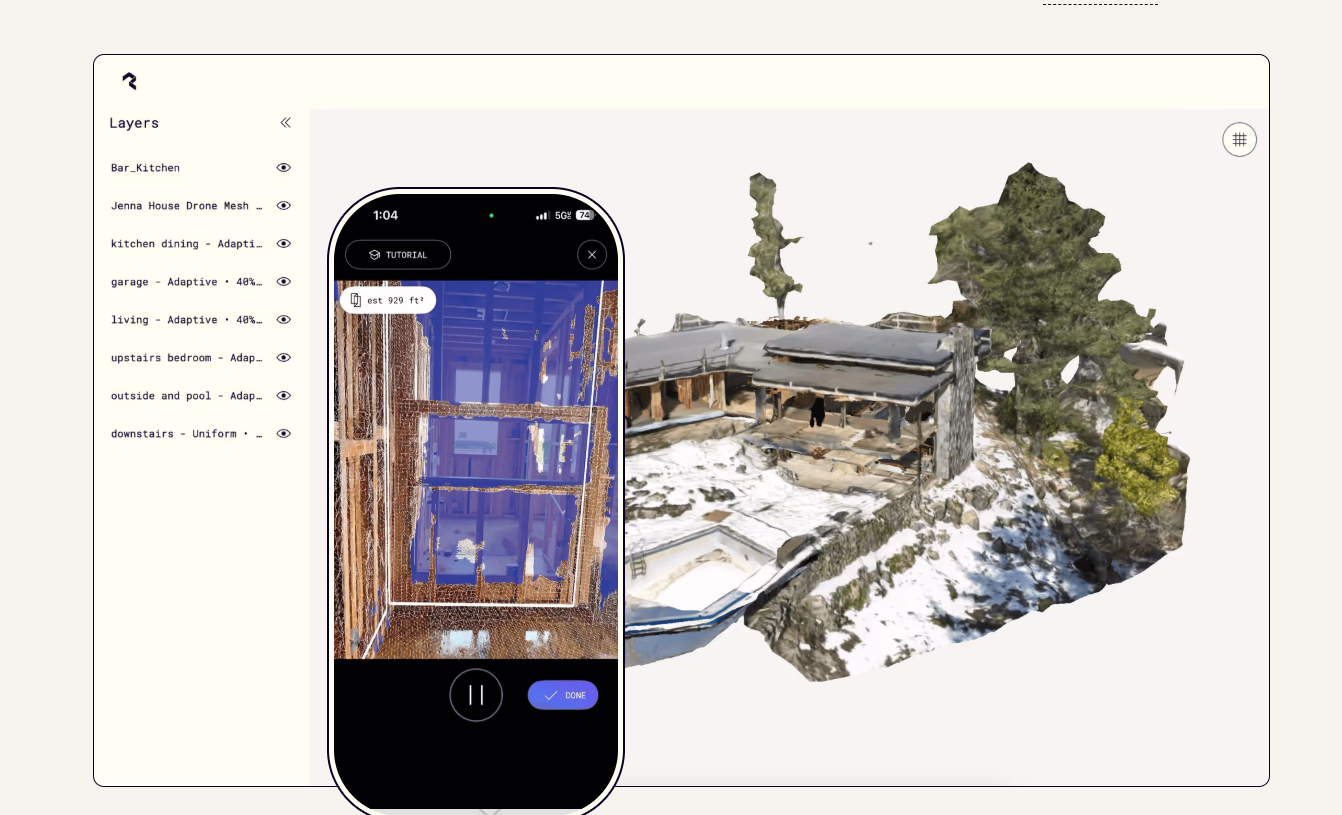
- Selecting the 3D Scanner:Polycam
- I used a Mobile app for scanning the object the mobile app is called Polycam
- It gave stunning results and was very user friendly
- Preparation for Scanning:
- Ensured proper lighting and a stable environment to reduce noise in the scan data.
- Applied matte spray or powder on reflective surfaces to enhance scanner performance.
- Secured the object on a turntable for consistent rotation and scanning angles.
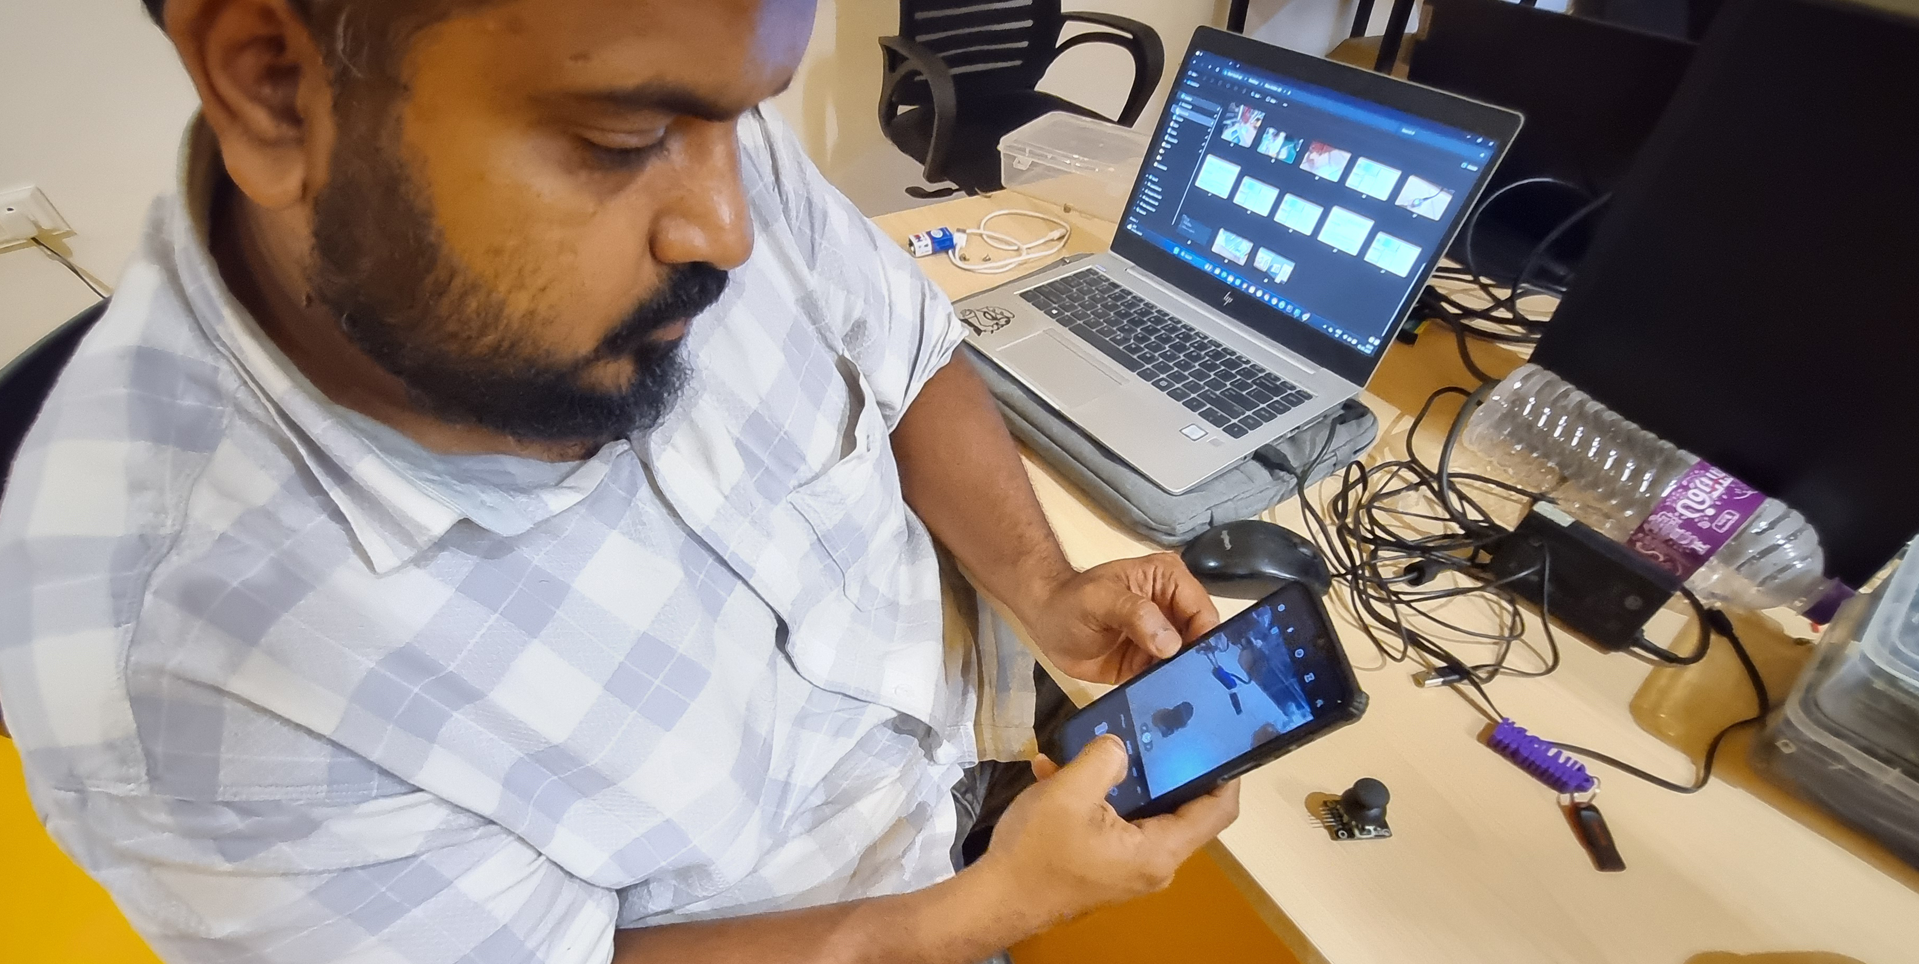
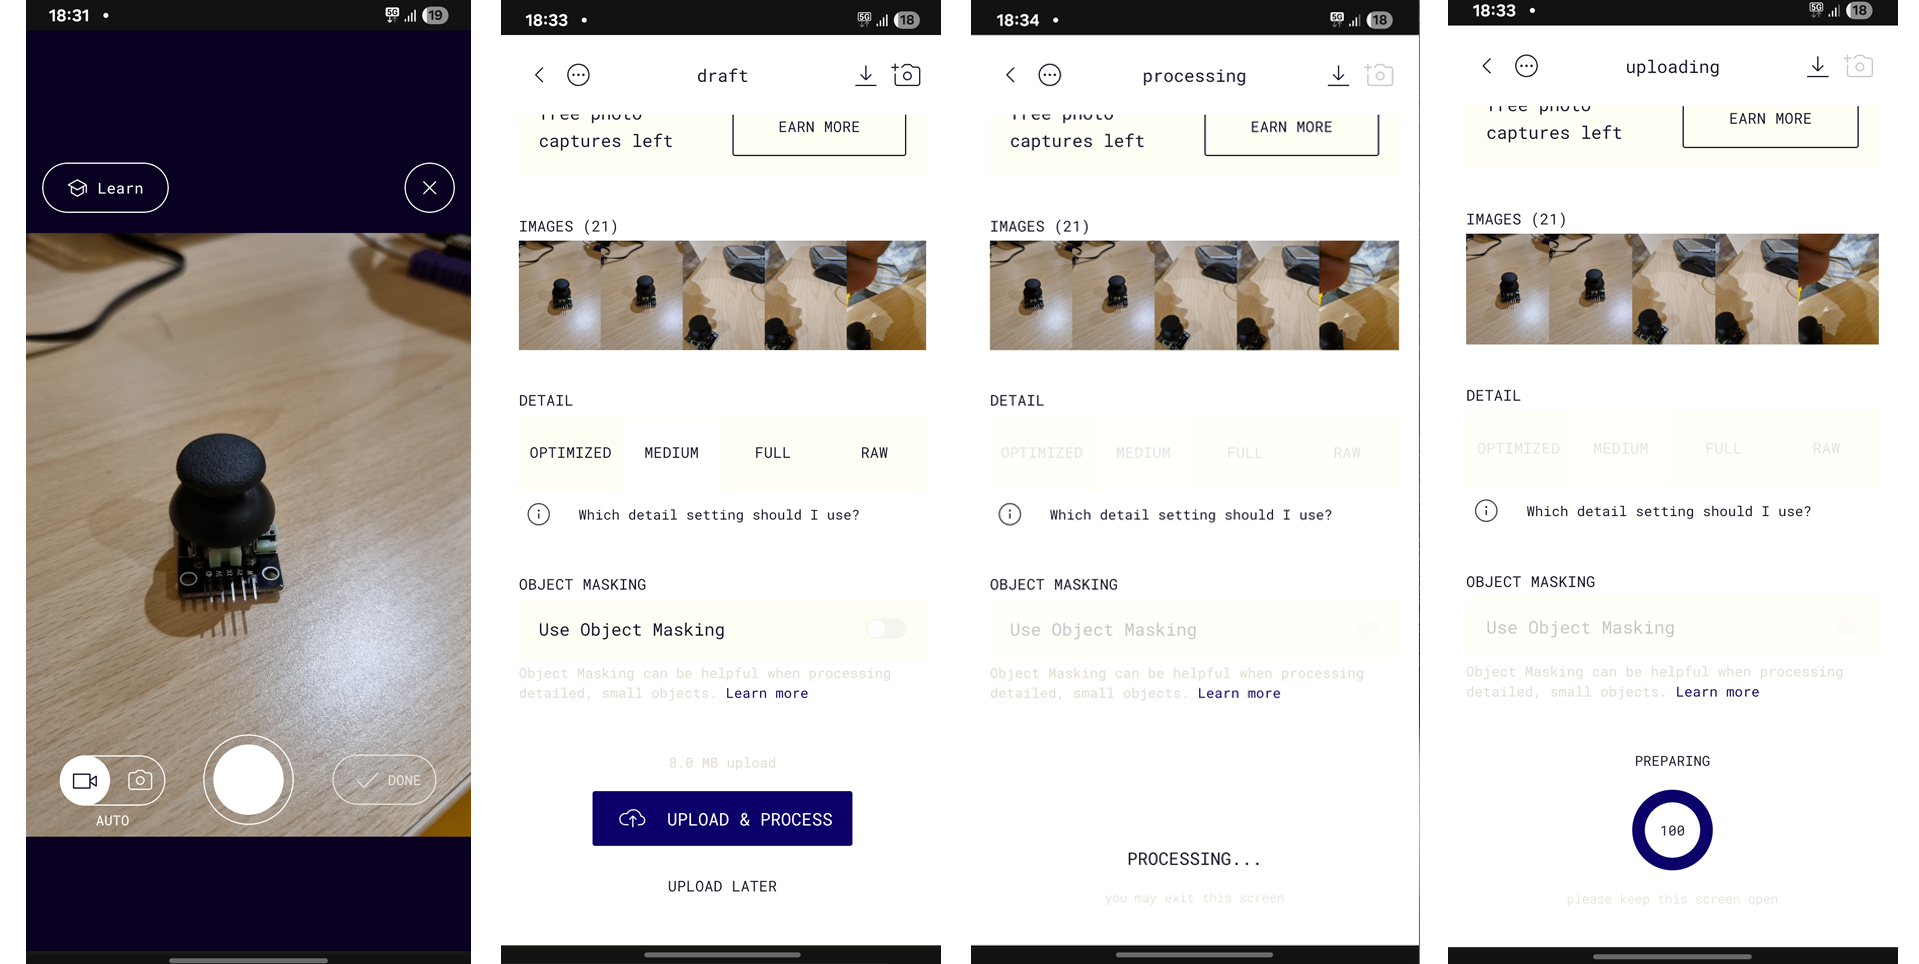
- Scanning Process:
- Calibrated the scanner to ensure accuracy before beginning the scan.
- Performed multiple passes around the object to capture all details and eliminate blind spots.
- Used alignment markers or software tools to stitch together scans from different angles.
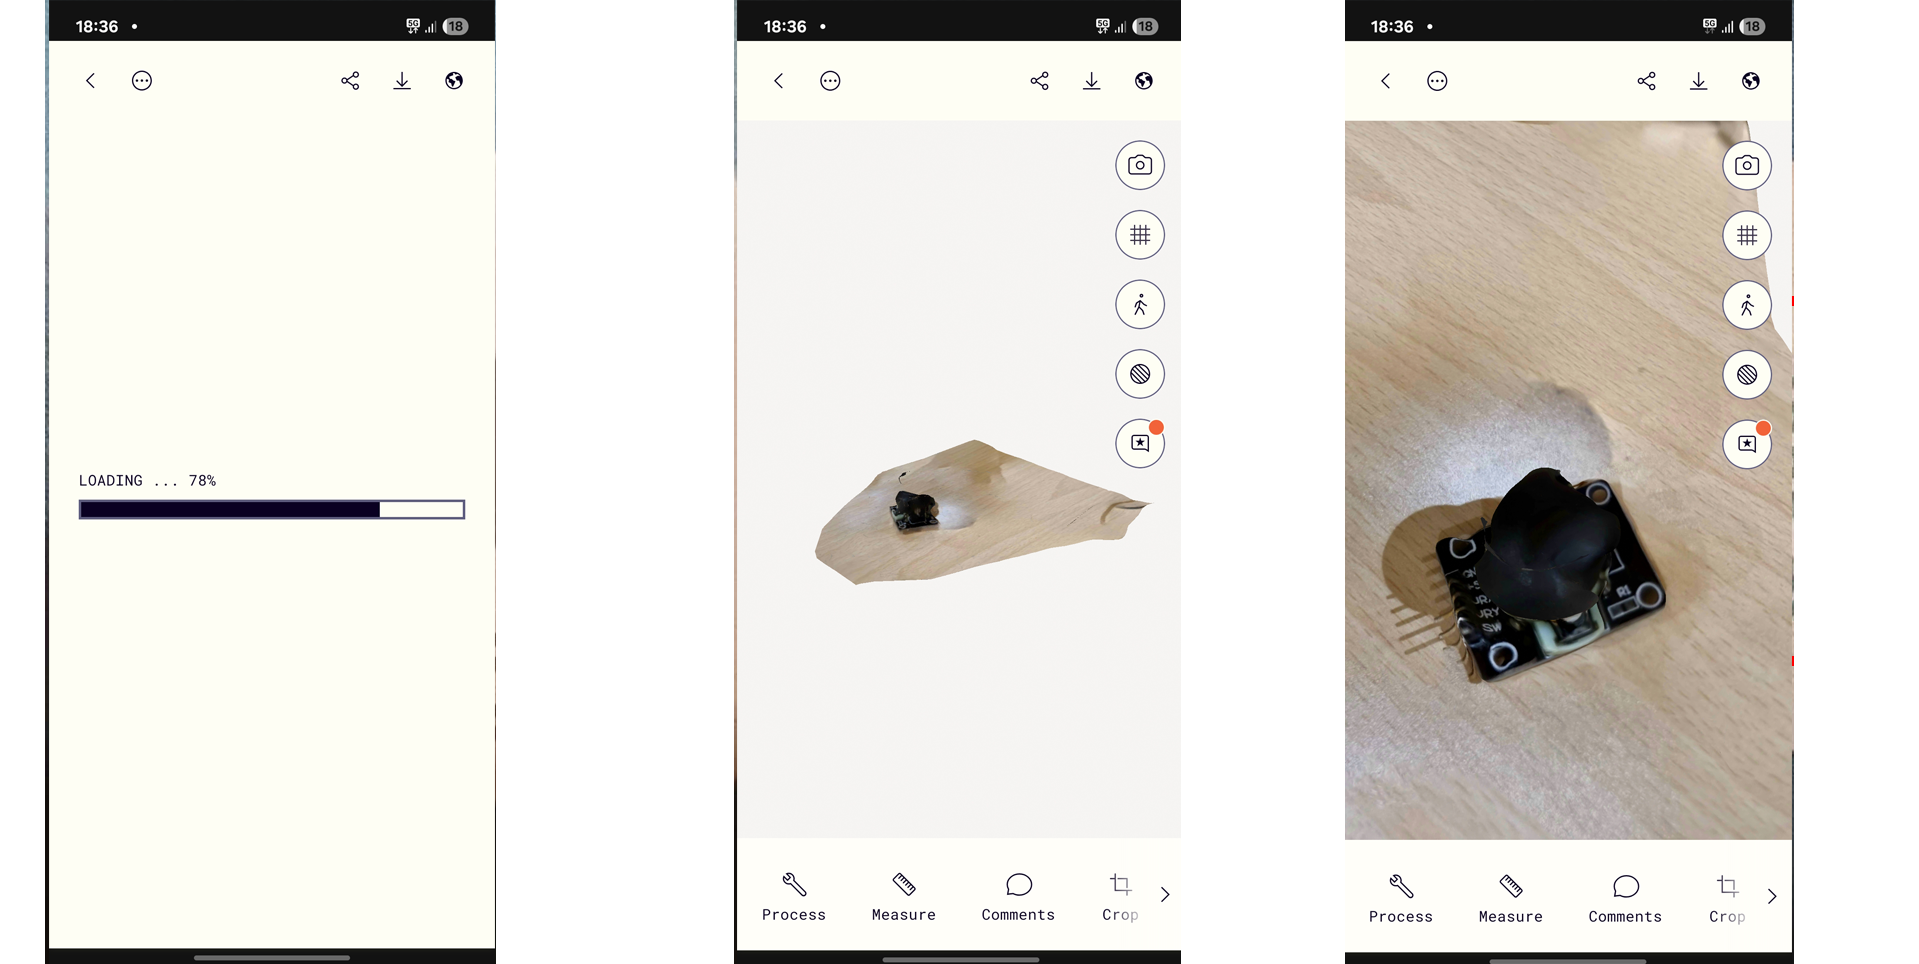
- Post-Processing the Scan Data:
- Imported the scan data into 3D modeling software such as MeshLab or Blender.
- Cleaned the scan by removing noise, filling holes, and refining the mesh.
- Simplified the mesh if necessary to make it suitable for 3D printing or further modeling.
- Challenges Encountered:
- Handling shiny or transparent surfaces, which required additional preparation to capture accurately.
- Dealing with small details that required higher resolution scans and careful alignment.
- Ensuring the scanner's field of view was appropriate for capturing the entire object without distortion.
- Applications of Scanned Data:
- Used the scan data to replicate the object via 3D printing, preserving its shape and functionality.
- Modified the scanned model to create custom or enhanced designs.
4. Including Design Files
Attach or link your original design files for 3D printing. Mention the file formats and briefly describe the files.
5. Hero Shots