Week 2: Computer-Aided Designing Assignment
1. Modelled Experimental Part of a Final Project in 3D Software
For this assignment, I chose to design an enclosure for my final project. The design process involved the use of SolidWorks for 3D modeling.
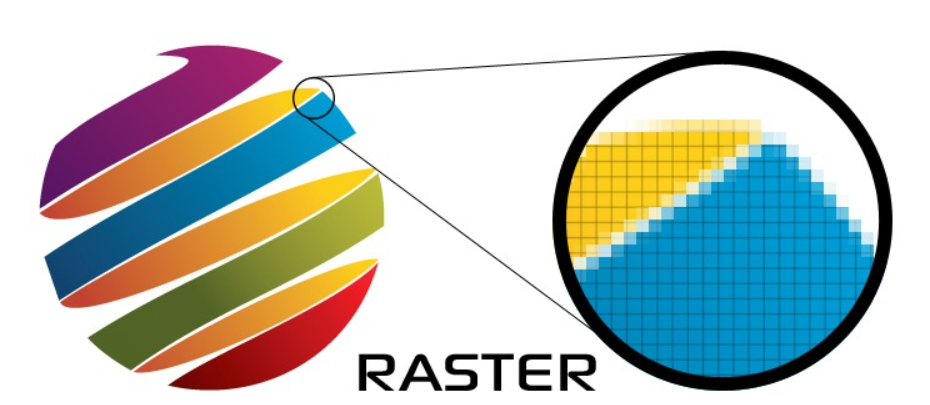
Raster Images
Raster images, also referred to as bitmap images, are composed of a grid of tiny rectangular cells called pixels. Each pixel represents a specific color and brightness value, contributing to the overall visual representation of the image. This pixel-based structure makes raster images highly detailed and capable of capturing intricate color variations.
- Resolution-dependent: Raster images are resolution-dependent, meaning they have a fixed resolution defined by the number of pixels per inch (PPI). Scaling raster images beyond their original resolution results in pixelation, where individual pixels become visible, leading to a loss of quality. This characteristic makes them ideal for static images but less suitable for scalable designs.
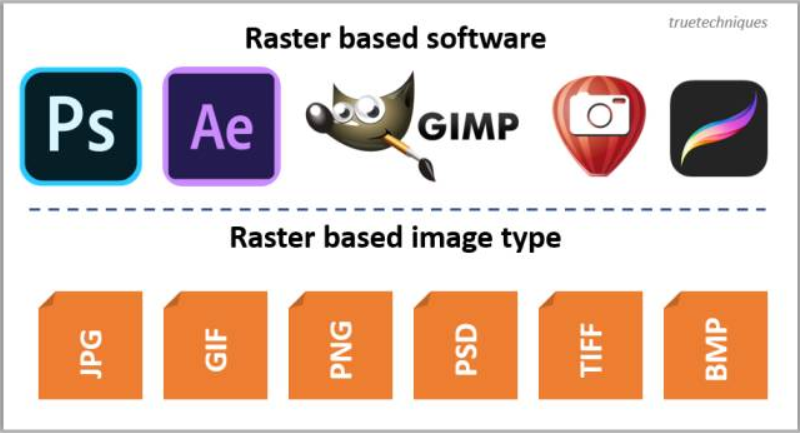
- File Formats: Raster images are saved in various formats, each tailored to specific needs:
- JPEG (Joint Photographic Experts Group): A widely used format for photographs and web graphics due to its efficient lossy compression, which reduces file size but sacrifices some quality.
- PNG (Portable Network Graphics): A lossless format supporting transparency, making it ideal for web graphics and images requiring clear backgrounds.
- GIF (Graphics Interchange Format): A format best known for animations and images with limited color palettes.
- BMP (Bitmap): A raw image format with no compression, resulting in larger file sizes and straightforward color data storage.
- TIFF (Tagged Image File Format): Common in professional photography and printing for its ability to retain high-quality image data with lossless compression.
- Applications: Raster images excel in scenarios requiring fine detail and color accuracy:
- Photography: Capturing lifelike details in photographs with high resolutions.
- Digital Art: Creating intricate designs with gradients, textures, and shading.
- Web Design: Enhancing user experience with detailed graphics, banners, and images.
- Printing: Producing high-quality prints where color fidelity is critical.
- Editing: Editing raster images involves manipulating individual pixels using software such as Adobe Photoshop, Corel Photo-Paint, or GIMP. These tools provide extensive capabilities for retouching, adding effects, and creating composite images. However, pixel-based editing requires careful precision to avoid disrupting the image’s integrity.
- Advantages:
- High level of detail and realism.
- Ability to represent complex color gradients and textures.
- Compatibility with various file formats tailored for different applications.
- Limitations: Despite their strengths, raster images have notable drawbacks:
- Scalability issues: Enlarging a raster image results in quality degradation.
- File size: High-resolution images often consume significant storage space.
- Editing complexity: Modifying pixel-based images can be time-consuming and intricate.
In summary, raster images are a cornerstone of digital graphics, offering unparalleled detail and versatility for a wide range of applications. However, their resolution dependency and larger file sizes make them less suited for scalable designs, where vector graphics may be a better choice.
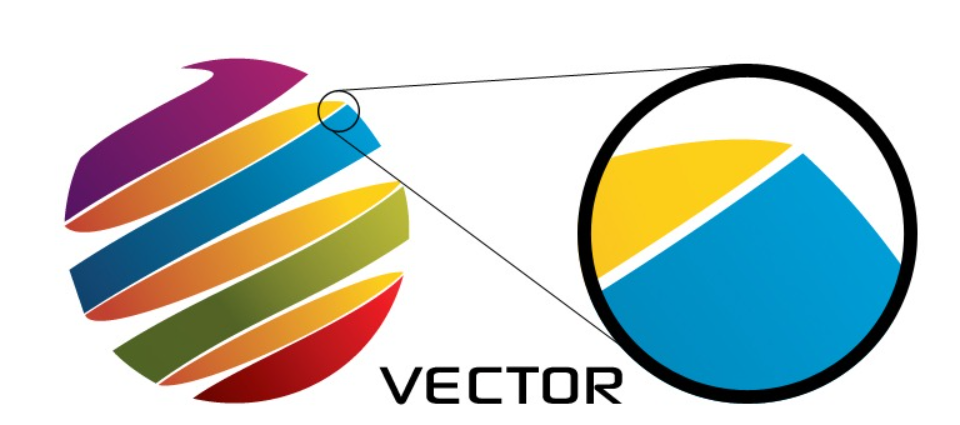
Vector Images
Vector images are created using mathematical equations to define geometric shapes like points, lines, curves, and polygons. Unlike raster images, vector graphics are resolution-independent, allowing them to be scaled infinitely without any loss of quality. This makes them ideal for designs that require flexibility and precision.
- Resolution-independent: Vector images are not tied to a specific resolution. They maintain sharpness and clarity regardless of how much they are scaled, making them ideal for applications like logos, icons, and typography.
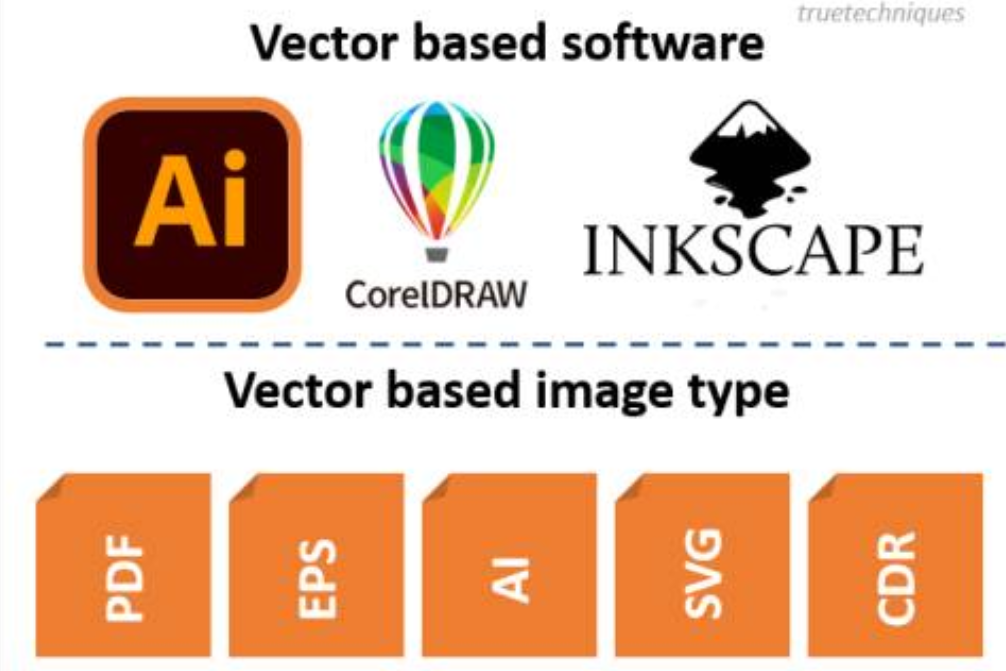
- File Formats: Common vector file formats include:
- SVG (Scalable Vector Graphics): A web-friendly format that supports interactivity and animation.
- AI (Adobe Illustrator): A proprietary format used by Adobe Illustrator for creating and editing vector graphics.
- EPS (Encapsulated PostScript): A format widely used in professional printing and graphic design.
- PDF (Portable Document Format): Often used for documents that include vector graphics.
- Applications: Vector images are particularly suited for:
- Logos: Ensuring consistent quality across different media sizes.
- Icons: Maintaining clarity at various resolutions for UI/UX design.
- Print materials: Scalable graphics for business cards, banners, and posters.
- Illustrations: Creating clean, stylized, and professional artwork.
- Editing: Vector graphics are edited using specialized software such as Adobe Illustrator, CorelDRAW, or Inkscape. These tools allow designers to manipulate shapes, colors, and layouts with precision. Since vector images rely on mathematical equations, editing is non-destructive and doesn’t compromise the image’s quality.
- Advantages:
- Infinite scalability without loss of quality.
- Smaller file sizes compared to raster images of equivalent complexity.
- Ideal for simple, clean designs and sharp-edged graphics.
- Limitations: Despite their benefits, vector images are not suitable for every application:
- Not ideal for photographs: Lacks the detail and color complexity of raster images.
- Limited to stylized or geometric designs: Complex textures and gradients are harder to achieve.
- Compatibility: Requires vector editing software for creation and manipulation.
In conclusion, vector images are a powerful tool for scalable and precise graphics. Their resolution independence and efficient file sizes make them essential for branding, printing, and digital design. While less suited for detailed or photorealistic artwork, they excel in applications requiring clarity and adaptability across different mediums.
Key Differences
| Aspect | Raster Images | Vector Images |
|---|---|---|
| Structure | Pixel-based | Formula-based |
| Scalability | Loses quality when resized | Infinite scalability without quality loss |
| File Size | Larger for high-resolution images | Smaller for simple designs |
| Best For | Photographs and detailed graphics | Logos, illustrations, and scalable art |
Steps for Creating a 2D Design in Photoshop
Photoshop is a powerful raster graphics editor widely used for creating and editing 2D designs, illustrations, and digital artwork. While it differs from CAD software, Photoshop offers versatile tools for drawing, layering, and detailing your design. Below are the steps for creating a 2D design in Photoshop:
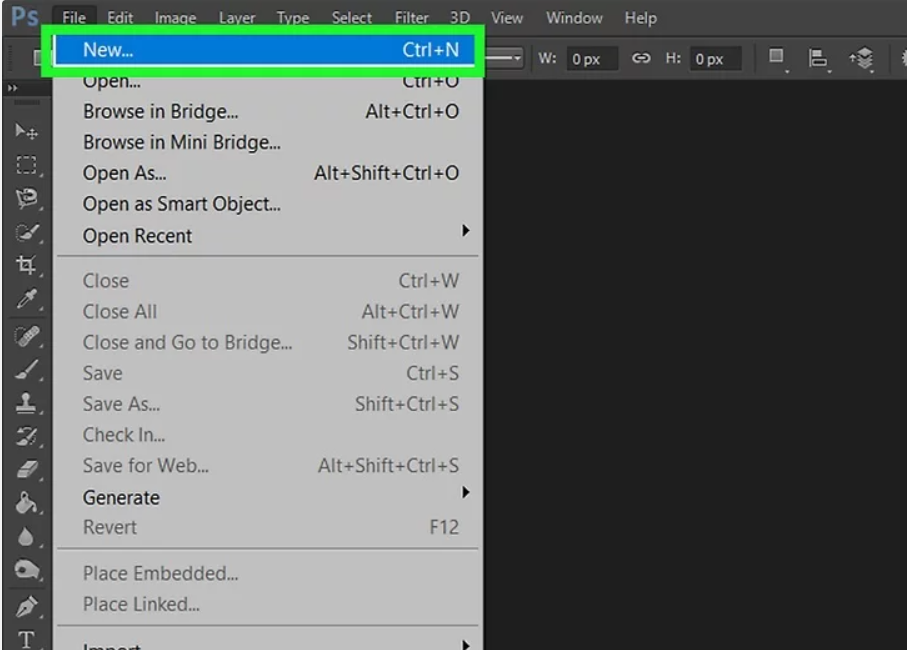
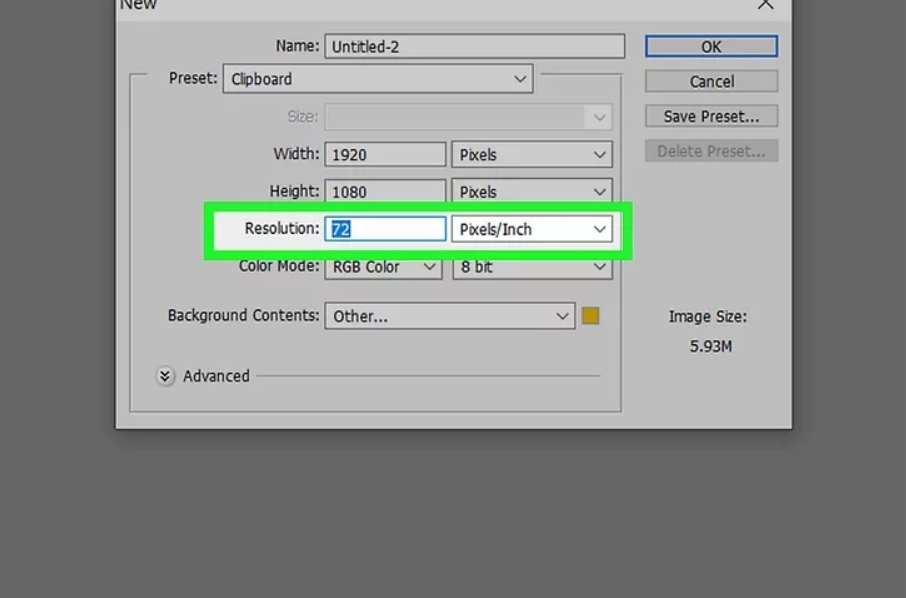
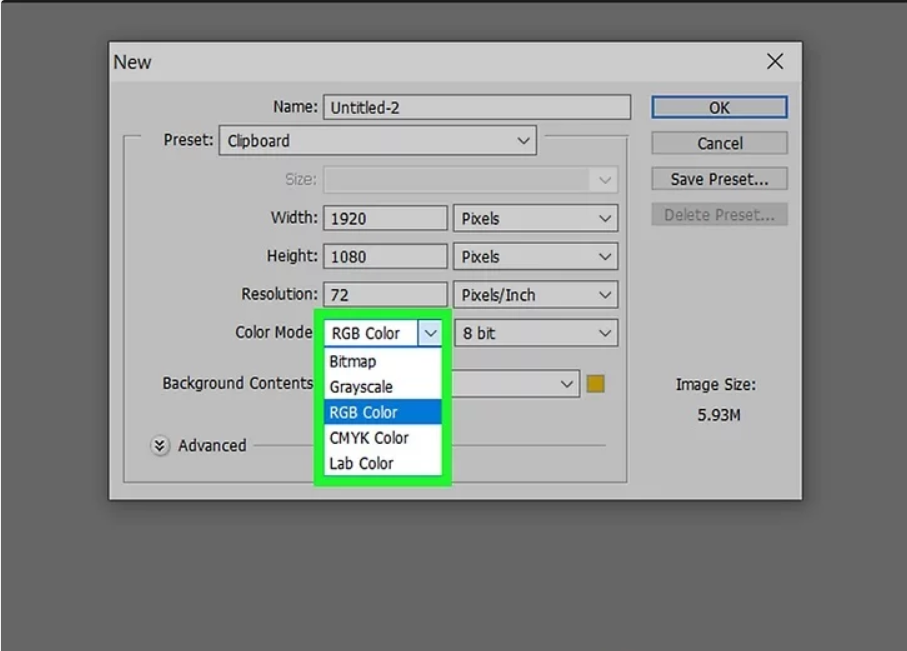
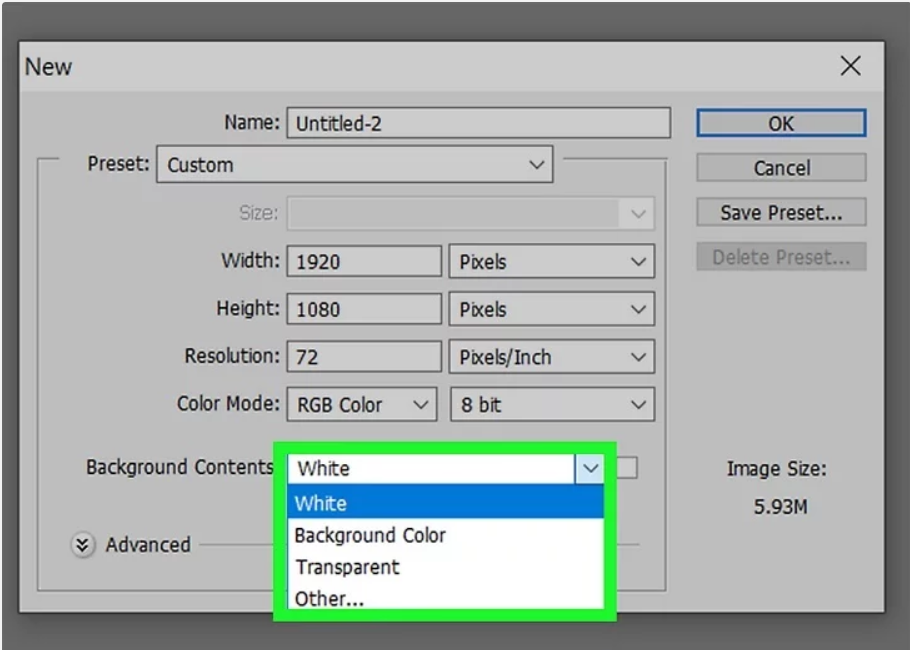
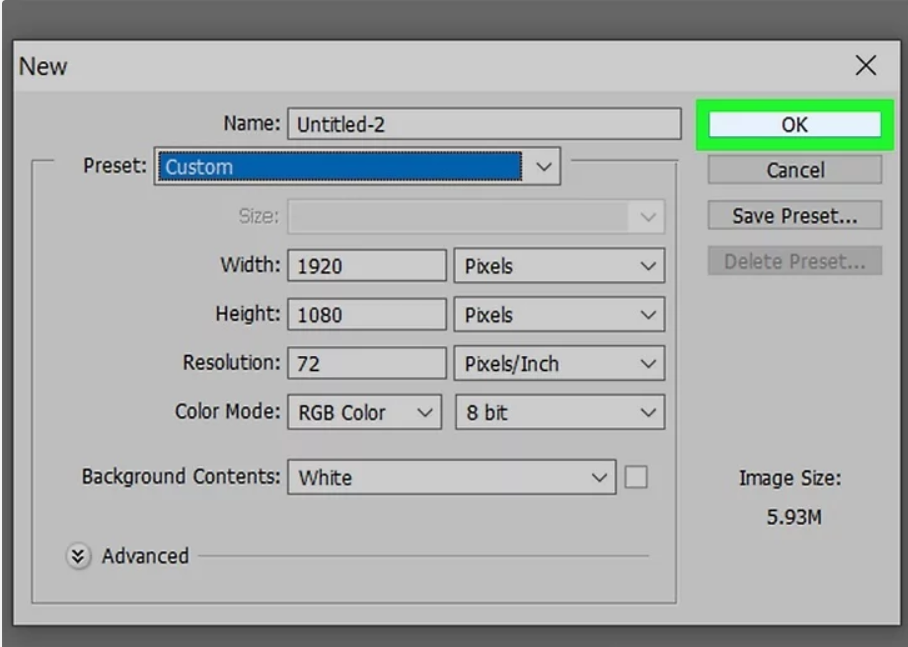
Step 1: Launch Photoshop and Create a New DocumentOpen Photoshop and go to File > New. Set your document dimensions (width, height) and resolution (usually 300 dpi for print, 72 dpi for web). Choose the color mode (RGB for digital or CMYK for print) according to your project needs.
Step 2: Configure the WorkspaceCustomize your workspace by enabling rulers (View > Rulers), grids (View > Show > Grid), and snapping options (View > Snap). This will help in aligning your elements precisely. Organize layers and panels such as Layers, Properties, and Brushes for efficient workflow.
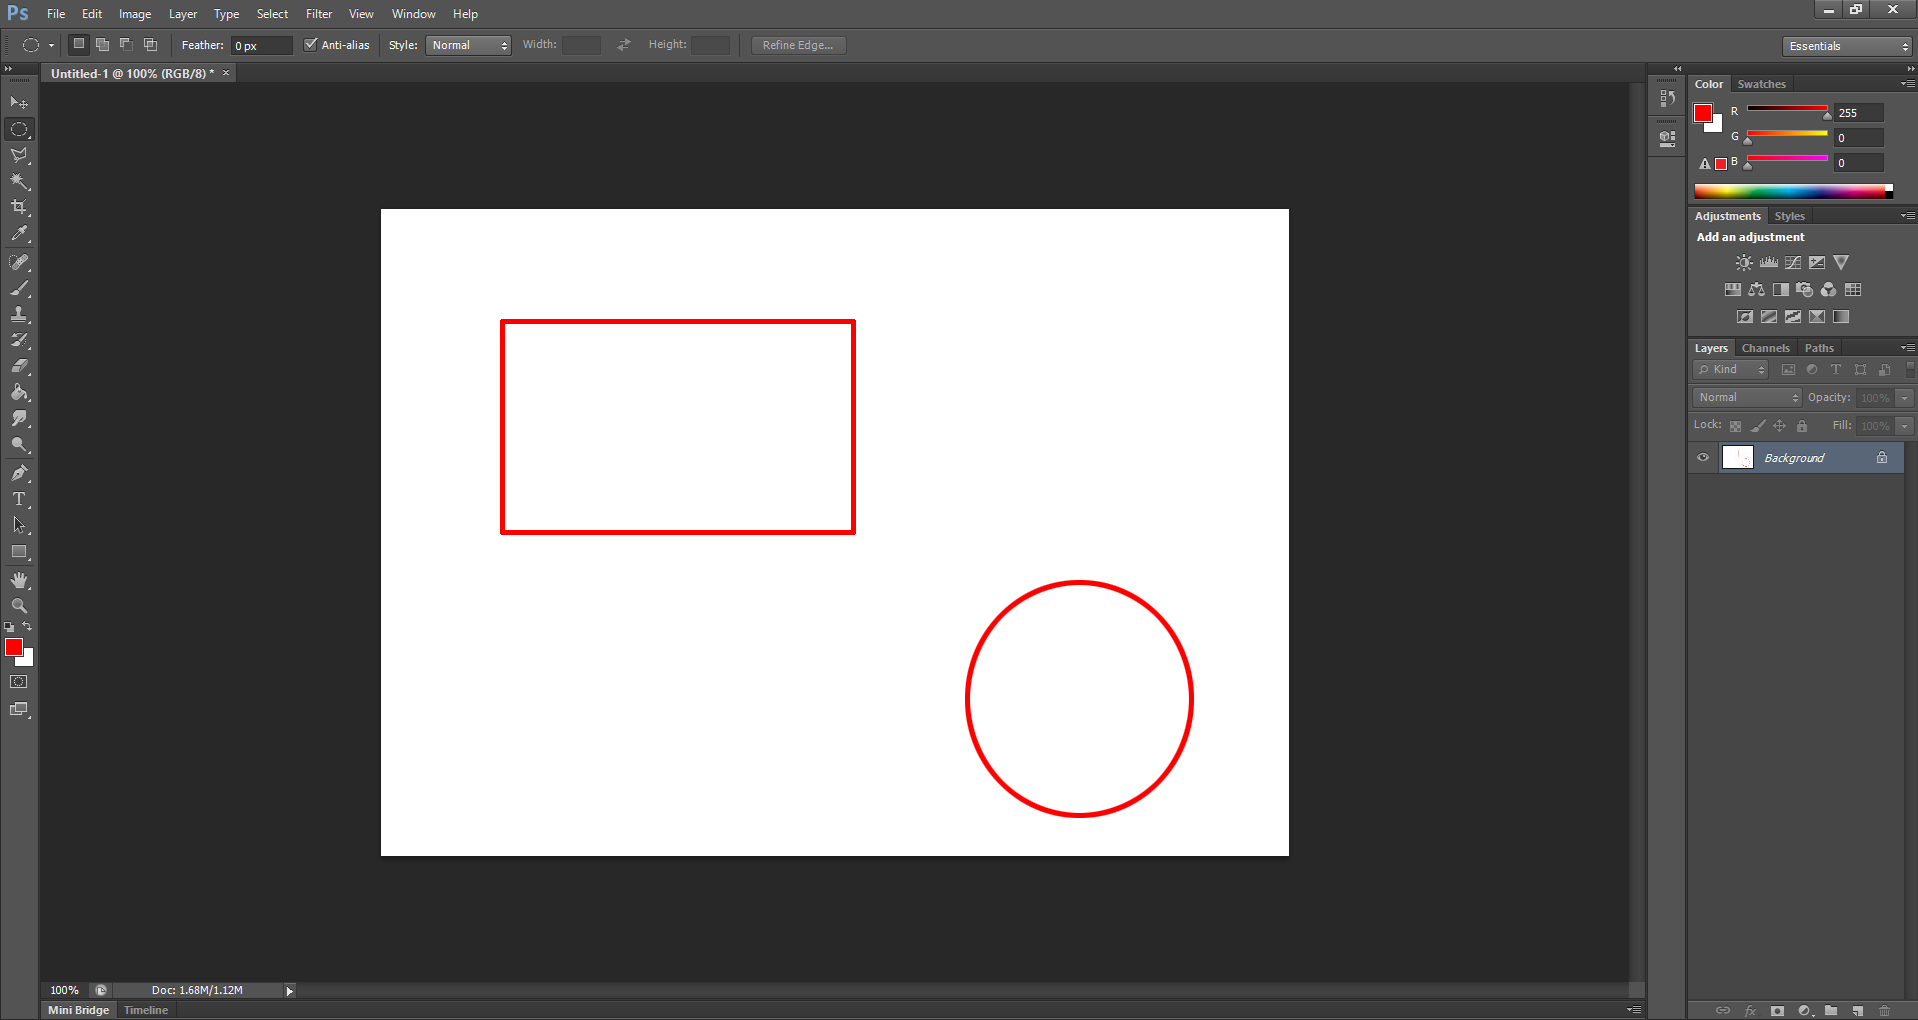
Step 3: Create Basic Shapes and LinesUse Photoshop’s Shape Tools (Rectangle, Ellipse, Line, etc.) located in the toolbar to draw vector shapes:
- Select a shape tool and drag on the canvas to draw.
- Hold Shift to maintain proportions (e.g., perfect circle or square).
- Use the Pen Tool for custom paths and shapes.
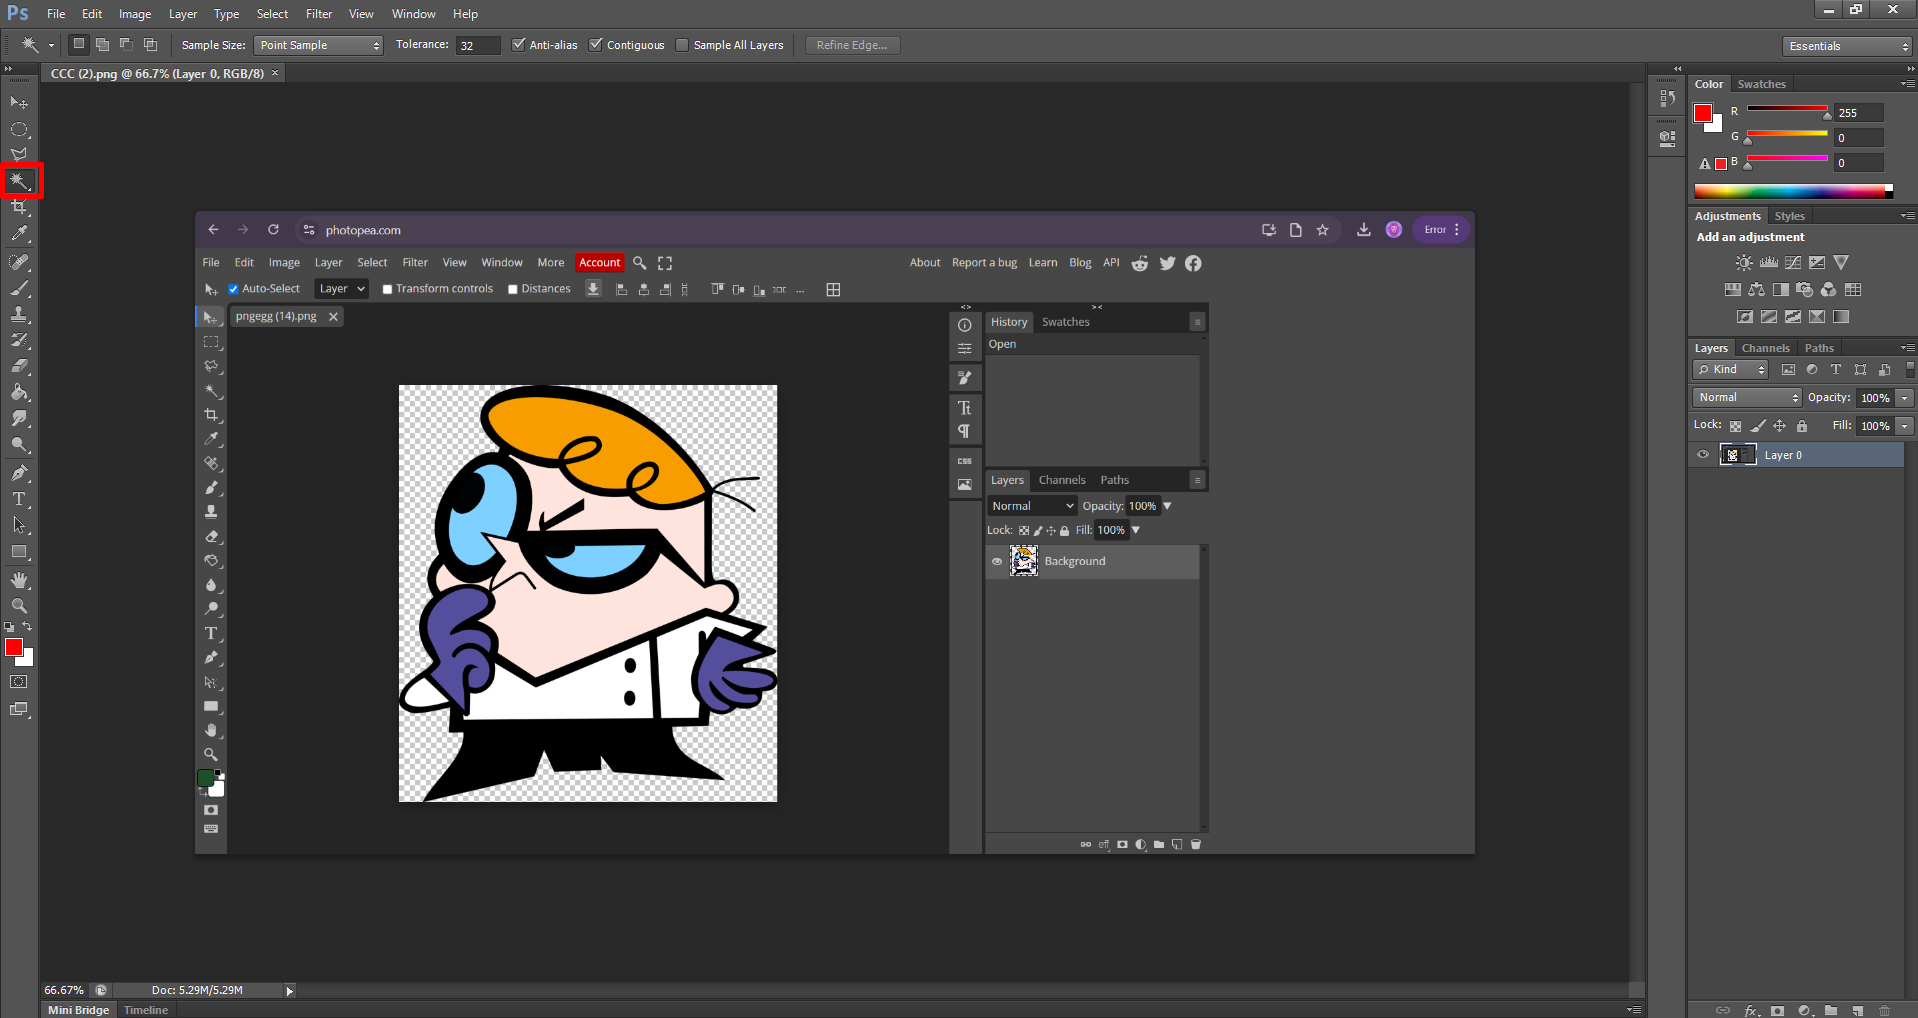
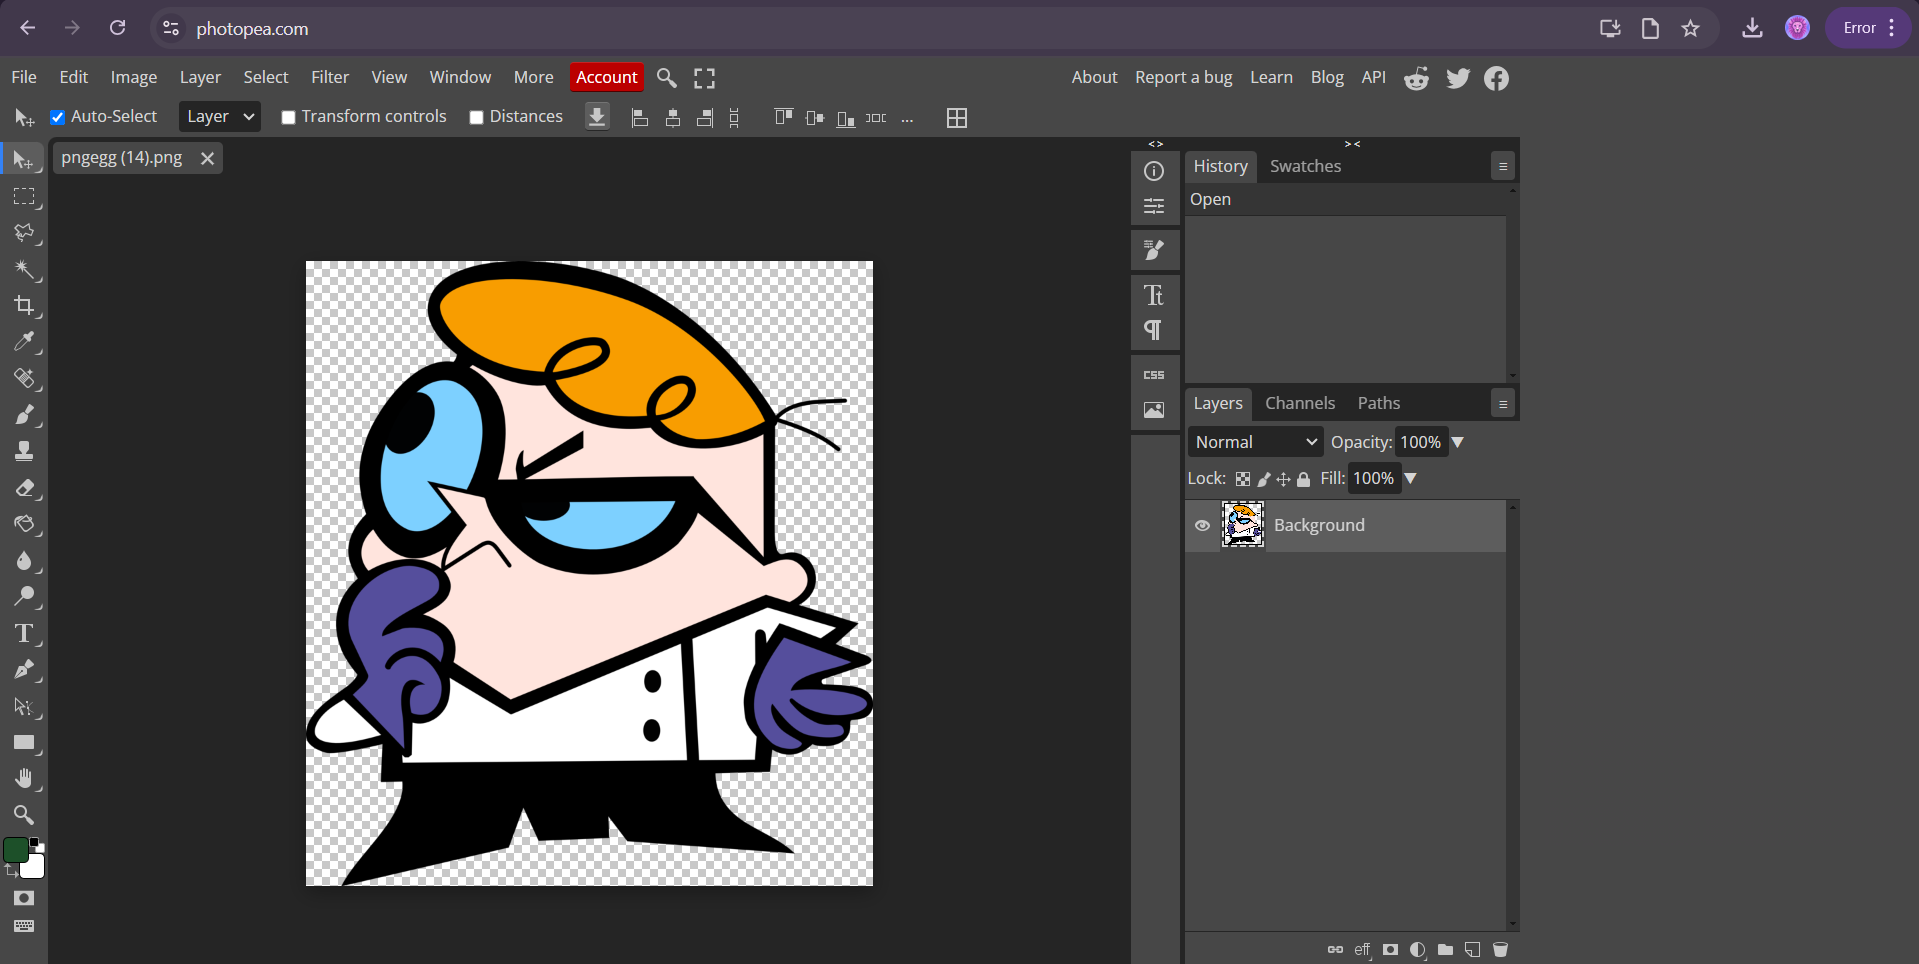
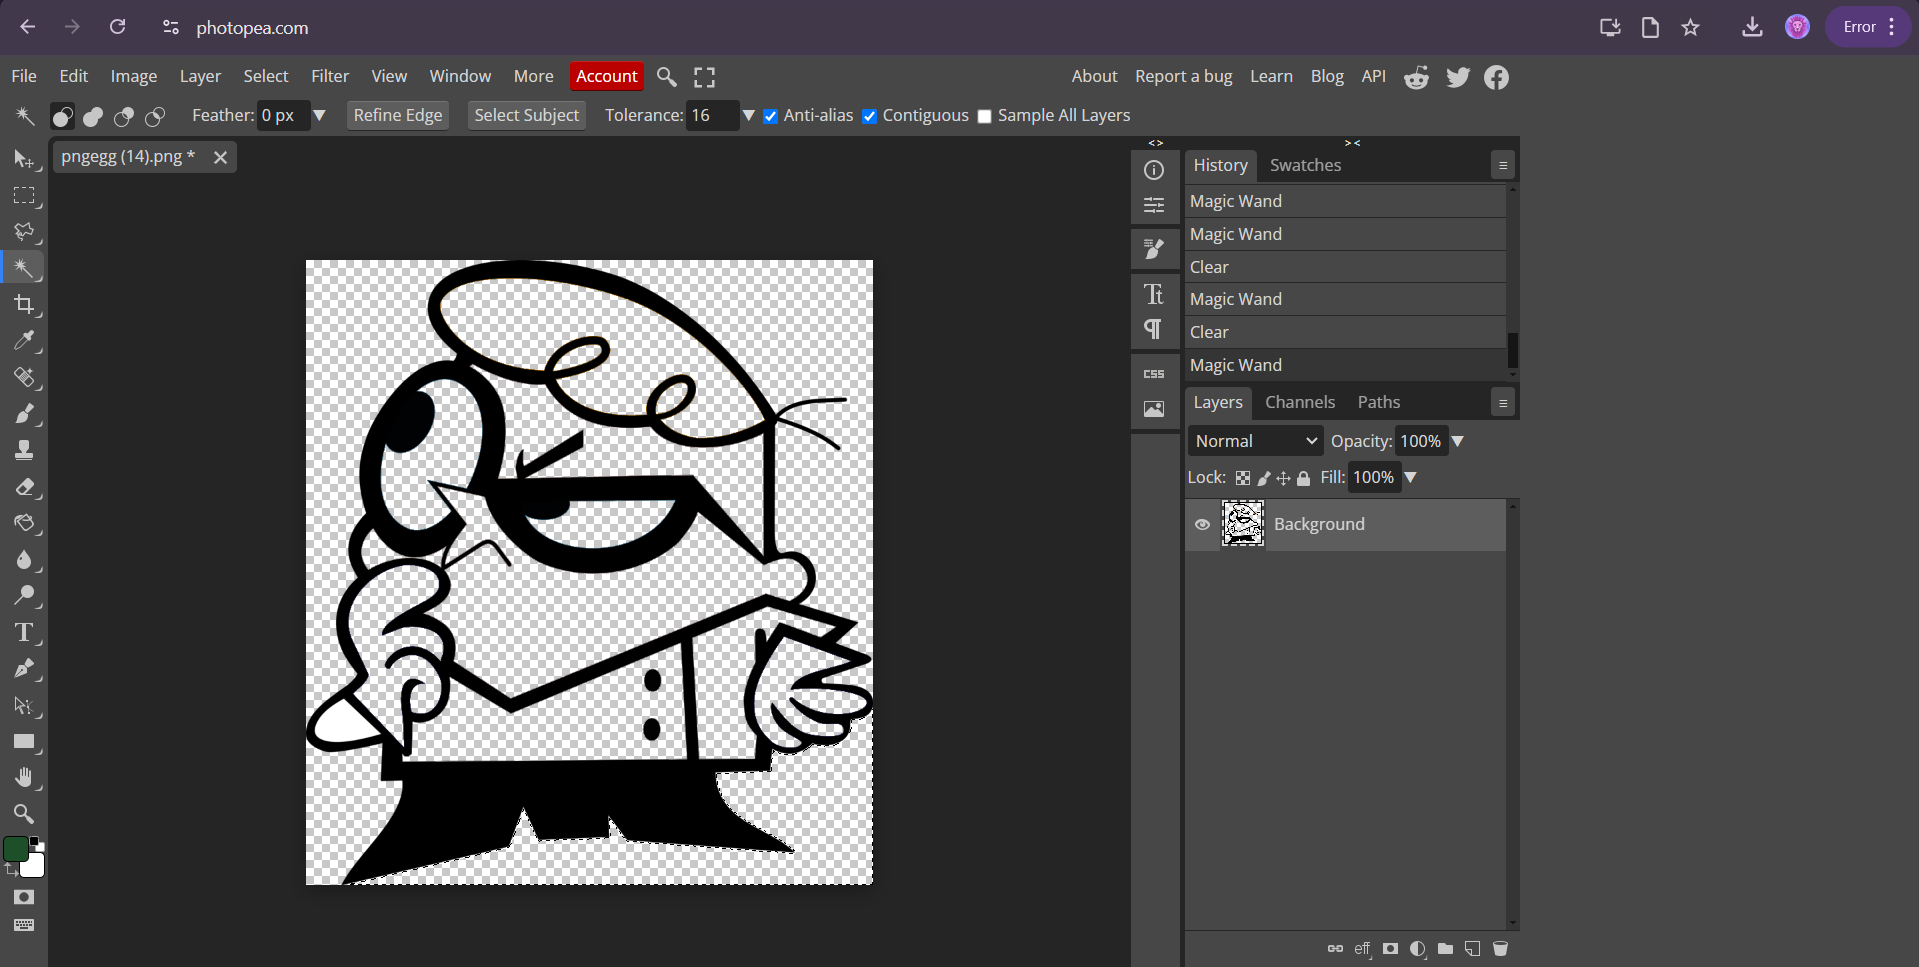
Step 4: Edit and Modify the imagesModify your shapes using Magic Wand Tool
Step 4: Delete all the parts seperately
Step 4: Now get a output like this
By following these steps, you can create detailed and visually rich 2D designs using Photoshop’s powerful raster and vector tools. It’s ideal for graphic design, digital art, and presentations.Steps for Creating a 3D Design in SolidWorks
SolidWorks is a leading CAD software known for its intuitive interface and powerful tools for 3D modeling. Designing in 3D involves creating sketches, defining features, and applying modifications to build a detailed and accurate model. Below are the steps to create a 3D design in SolidWorks:
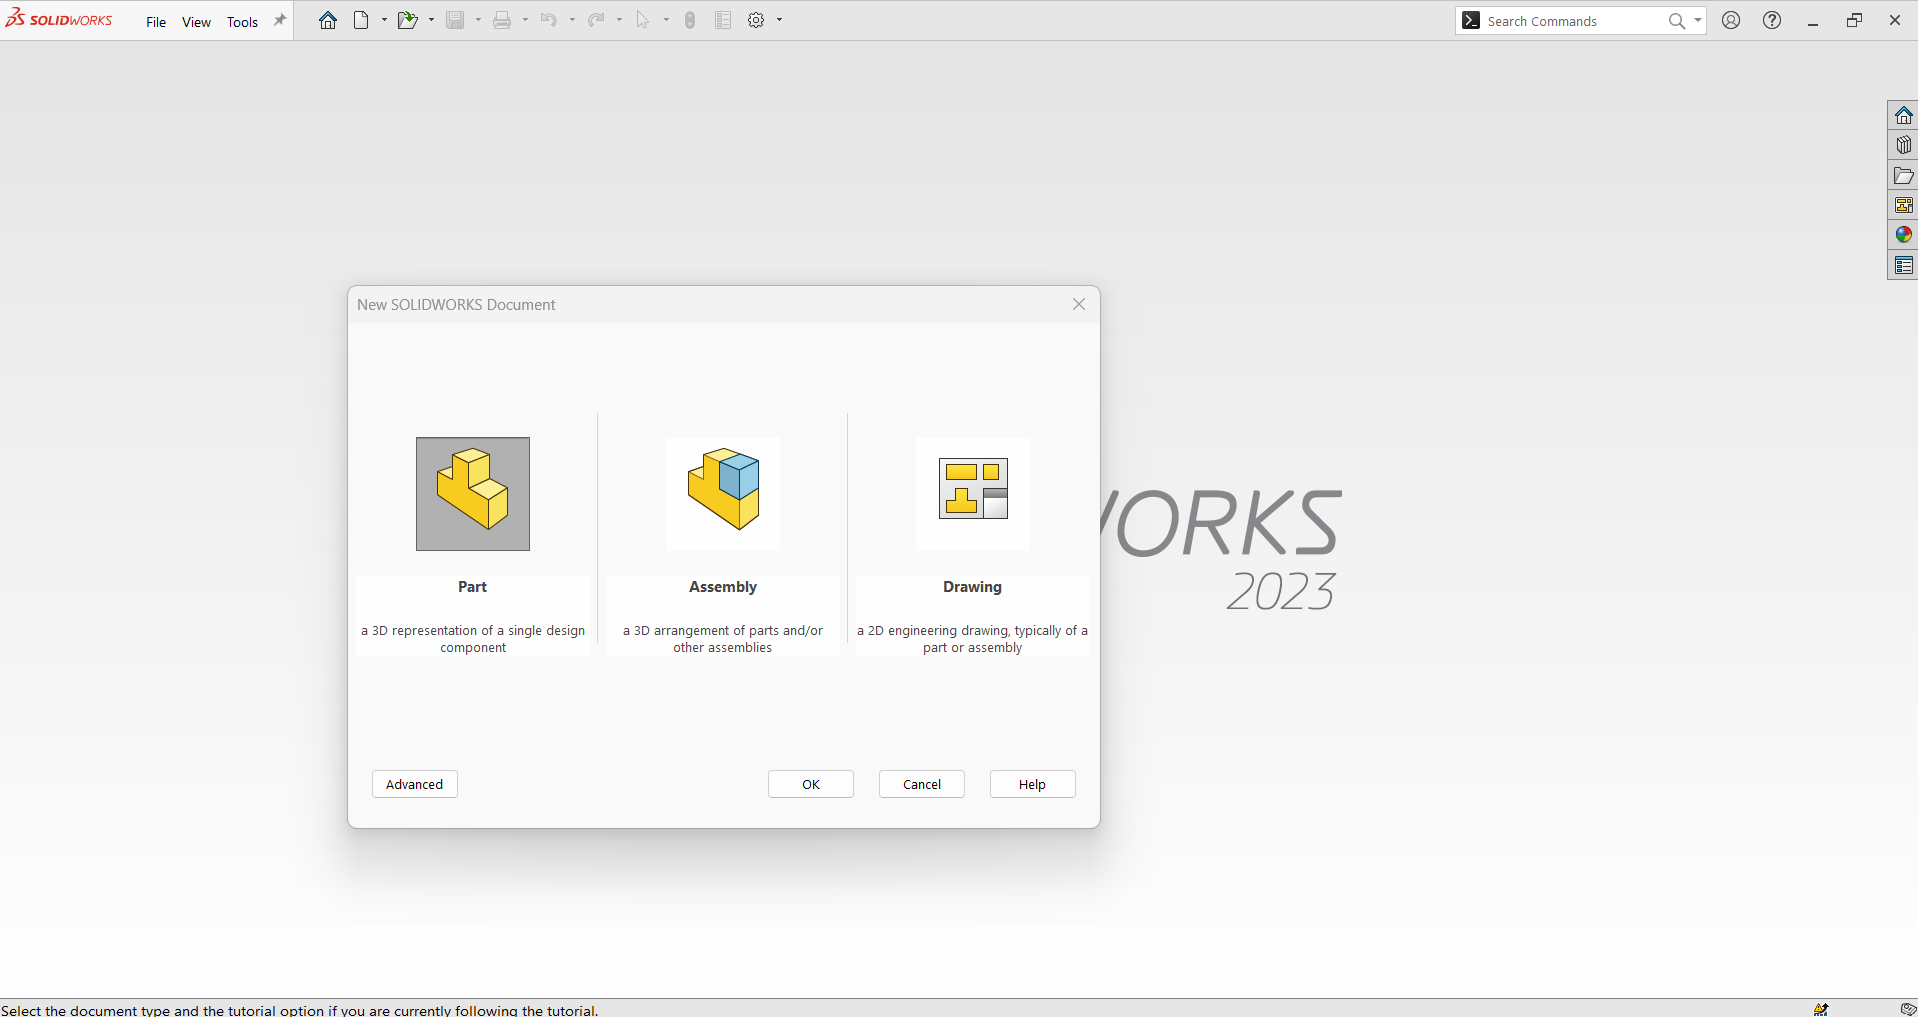
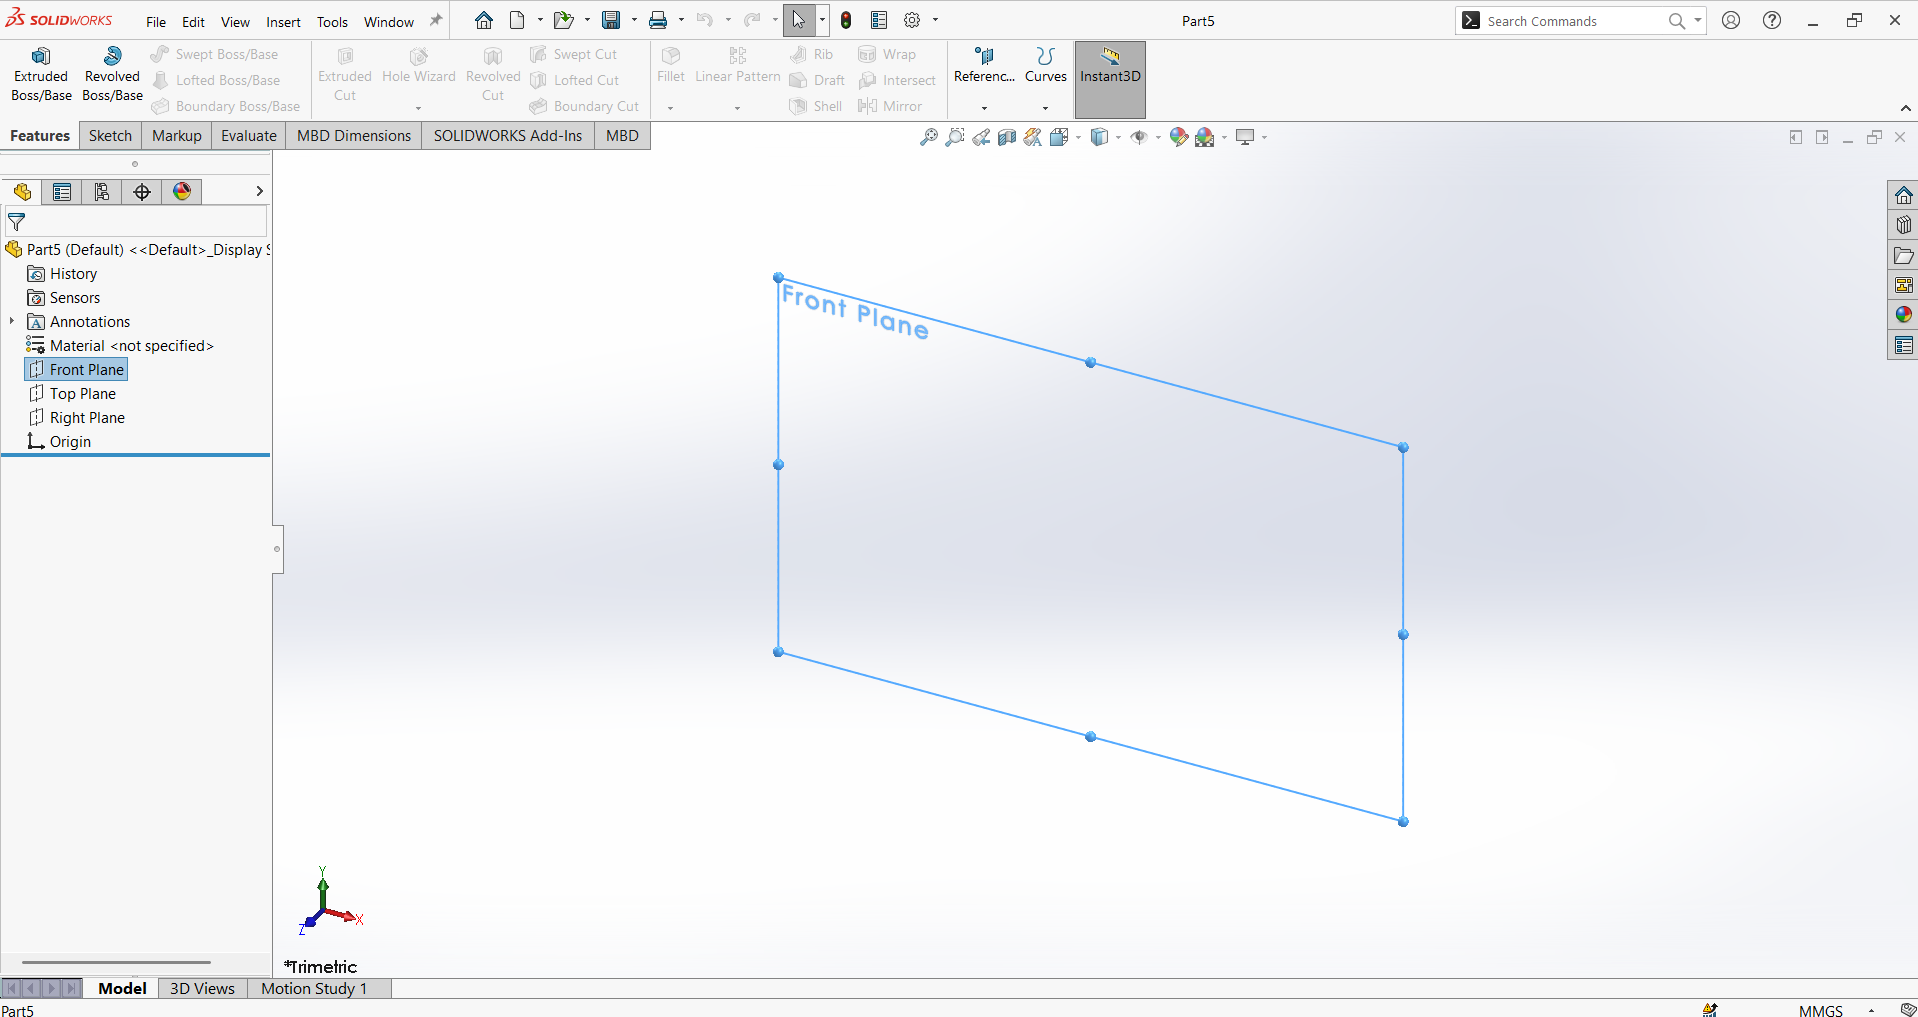
- Step 1: Launch SolidWorks and Start a New Part
Open SolidWorks and create a new part file. In the new part workspace, choose the desired plane (Front, Top, or Right) to begin your sketch. This 2D sketch will serve as the foundation for your 3D model.

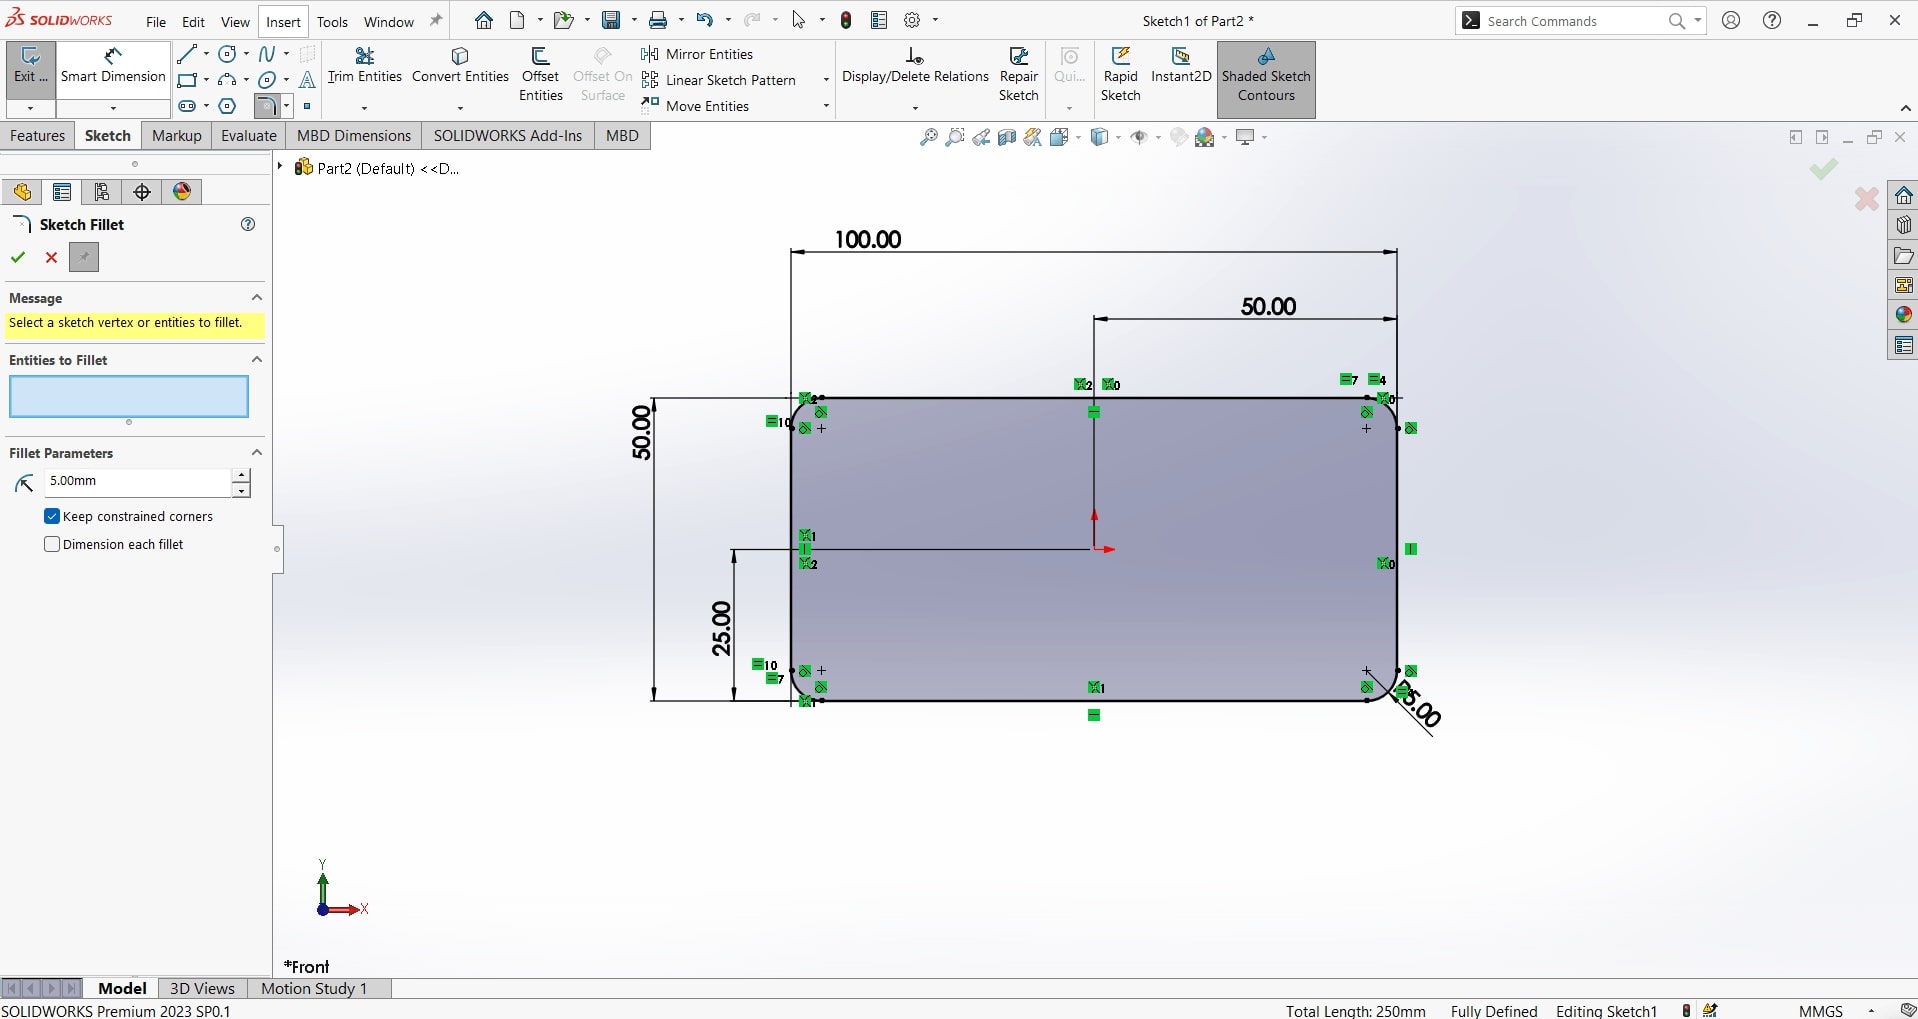
- Step 2: Create a 2D Sketch
Use the “Sketch” tools to draw the basic shapes of your model. Use lines, circles, rectangles, or arcs to outline your design. Apply dimensions and constraints to ensure accuracy and define the shape fully. Once your 2D sketch is complete, exit the sketch mode.
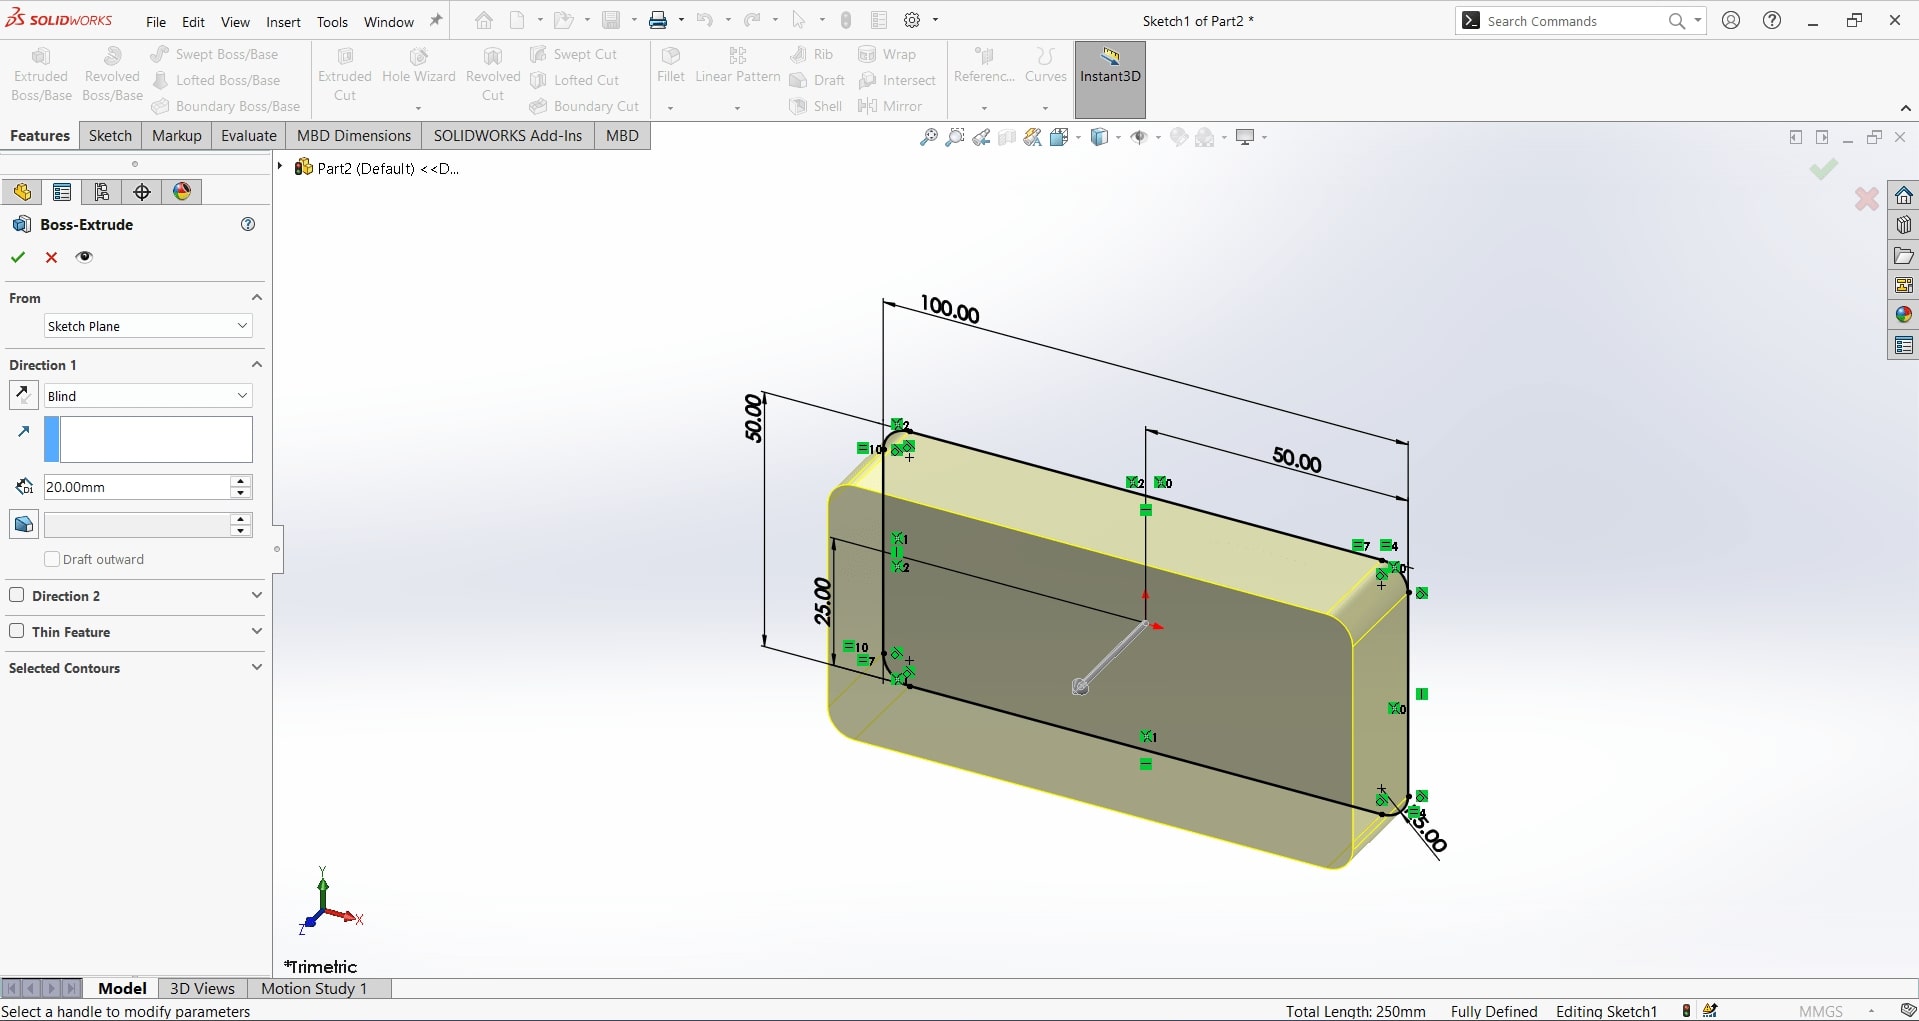
- Step 3: Use Features to Create 3D Geometry
SolidWorks offers various tools in the “Features” tab to convert your 2D sketch into a 3D model. Some common tools include:
- Extrude Boss/Base: Adds depth to a 2D sketch by extruding it into a solid 3D shape.
- Revolve Boss/Base: Creates a 3D object by rotating a sketch around an axis.
- Sweep: Generates a 3D shape by following a defined path.
- Loft: Connects multiple sketches to form complex shapes.
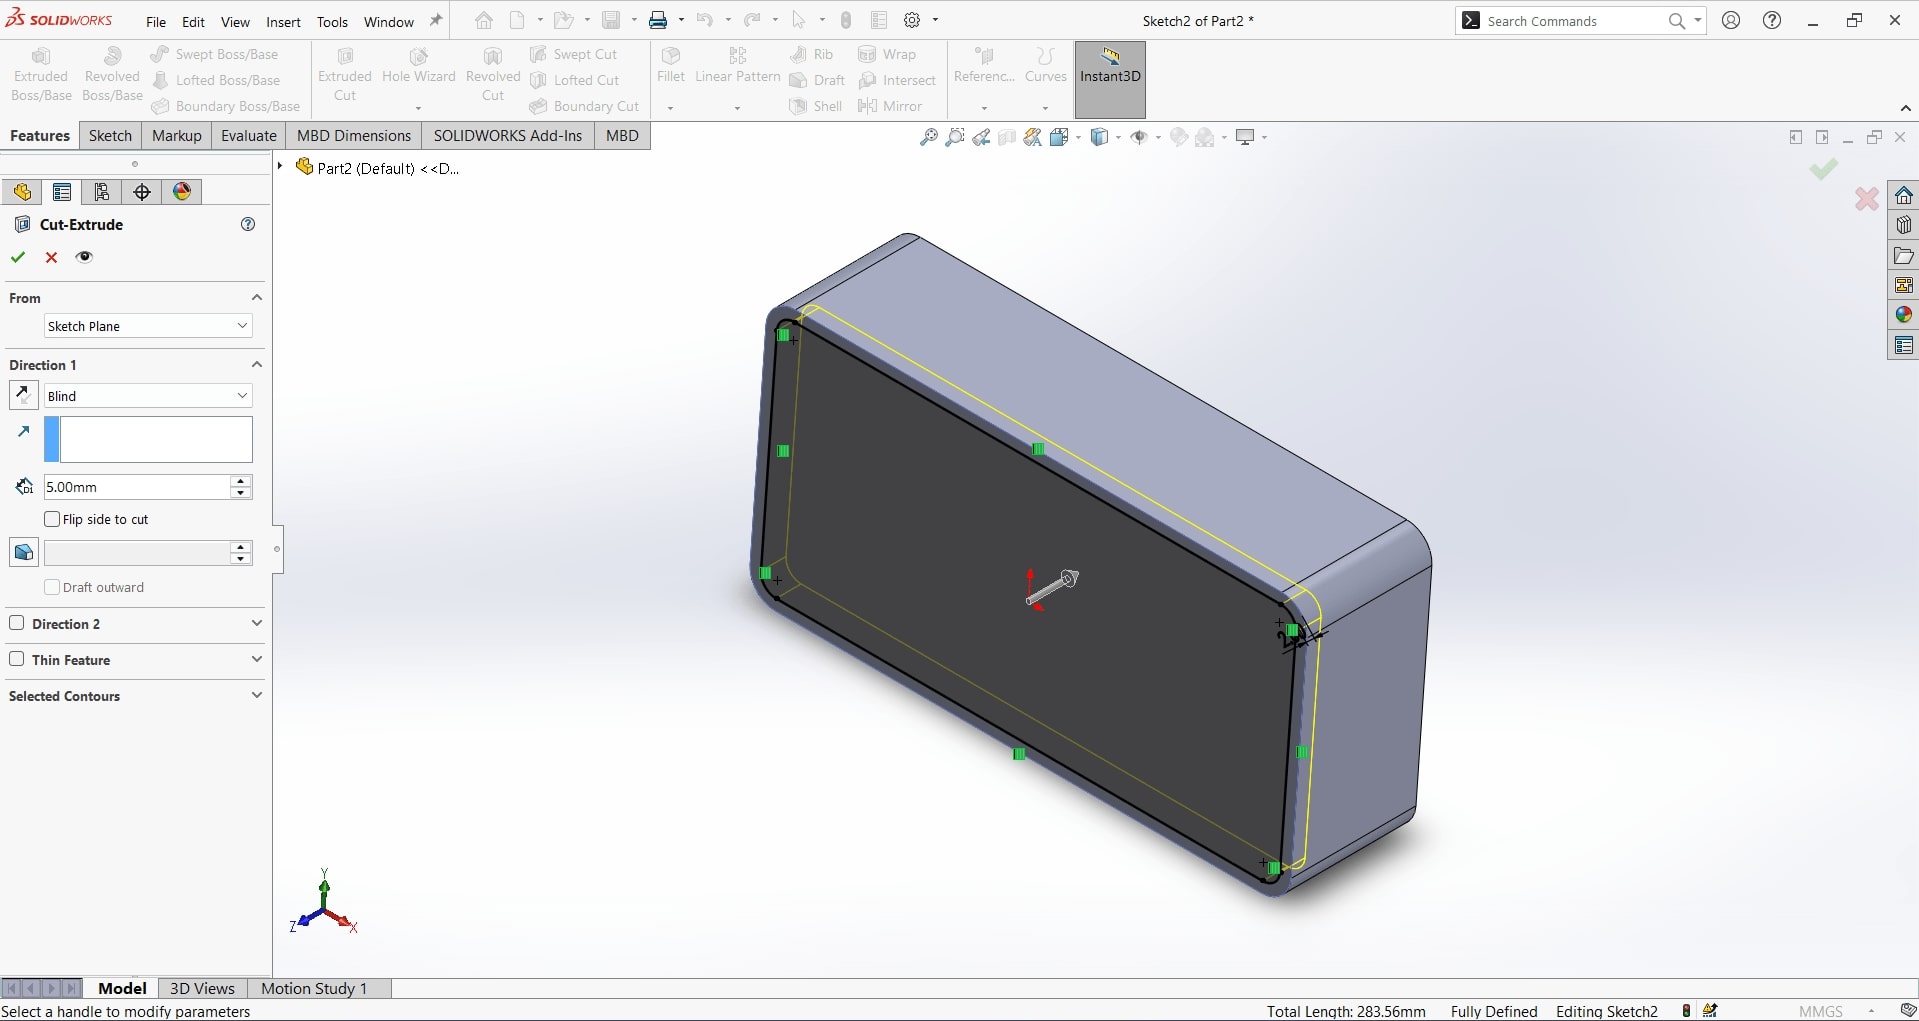
- Step 4: Add Additional Features
Enhance your 3D model by adding secondary features such as:
- Cut: Use the “Extruded Cut” or “Revolved Cut” tools to remove material.
- Fillets: Round off sharp edges for aesthetics and functionality.
- Chamfers: Create beveled edges for a cleaner design.
- Holes: Use the “Hole Wizard” to add predefined holes with specific dimensions.
- Step 5: Apply Materials and Appearances
Assign materials to your model to simulate its physical properties like weight and strength. Go to the “Material” section and select from the library. Enhance visual presentation by applying appearances, textures, or colors from the “Appearance” tab.
- Step 6: Validate the Design
Use analysis tools like “Measure” to check dimensions and “Simulation” to test the model’s performance under specific conditions. Ensure the design meets all functional and aesthetic requirements.
- Step 7: Save and Export
Save the completed design by selecting “File” > “Save As”. SolidWorks files can also be exported in various formats like STL for 3D printing, STEP for interoperability, or PDF for documentation.

By following these steps, you can create detailed and functional 3D designs in SolidWorks. The software’s versatile tools allow for efficient modeling, making it a preferred choice for engineers, designers, and architects worldwide.
- Step 1: Launch SolidWorks and Start a New Part
3. Compressed Images
How to Compress PNG Images Using CompressPNG
CompressPNG is a user-friendly online tool that allows you to reduce the file size of PNG images without compromising quality significantly. This tool is ideal for web designers, photographers, and anyone looking to optimize images for faster loading times or limited storage. Below are the steps to compress PNG images using CompressPNG:
- Step 1: Access the CompressPNG Website
Open your web browser and visit the CompressPNG website (compresspng.com). The homepage provides a clean interface, making it easy to navigate and use the tool.
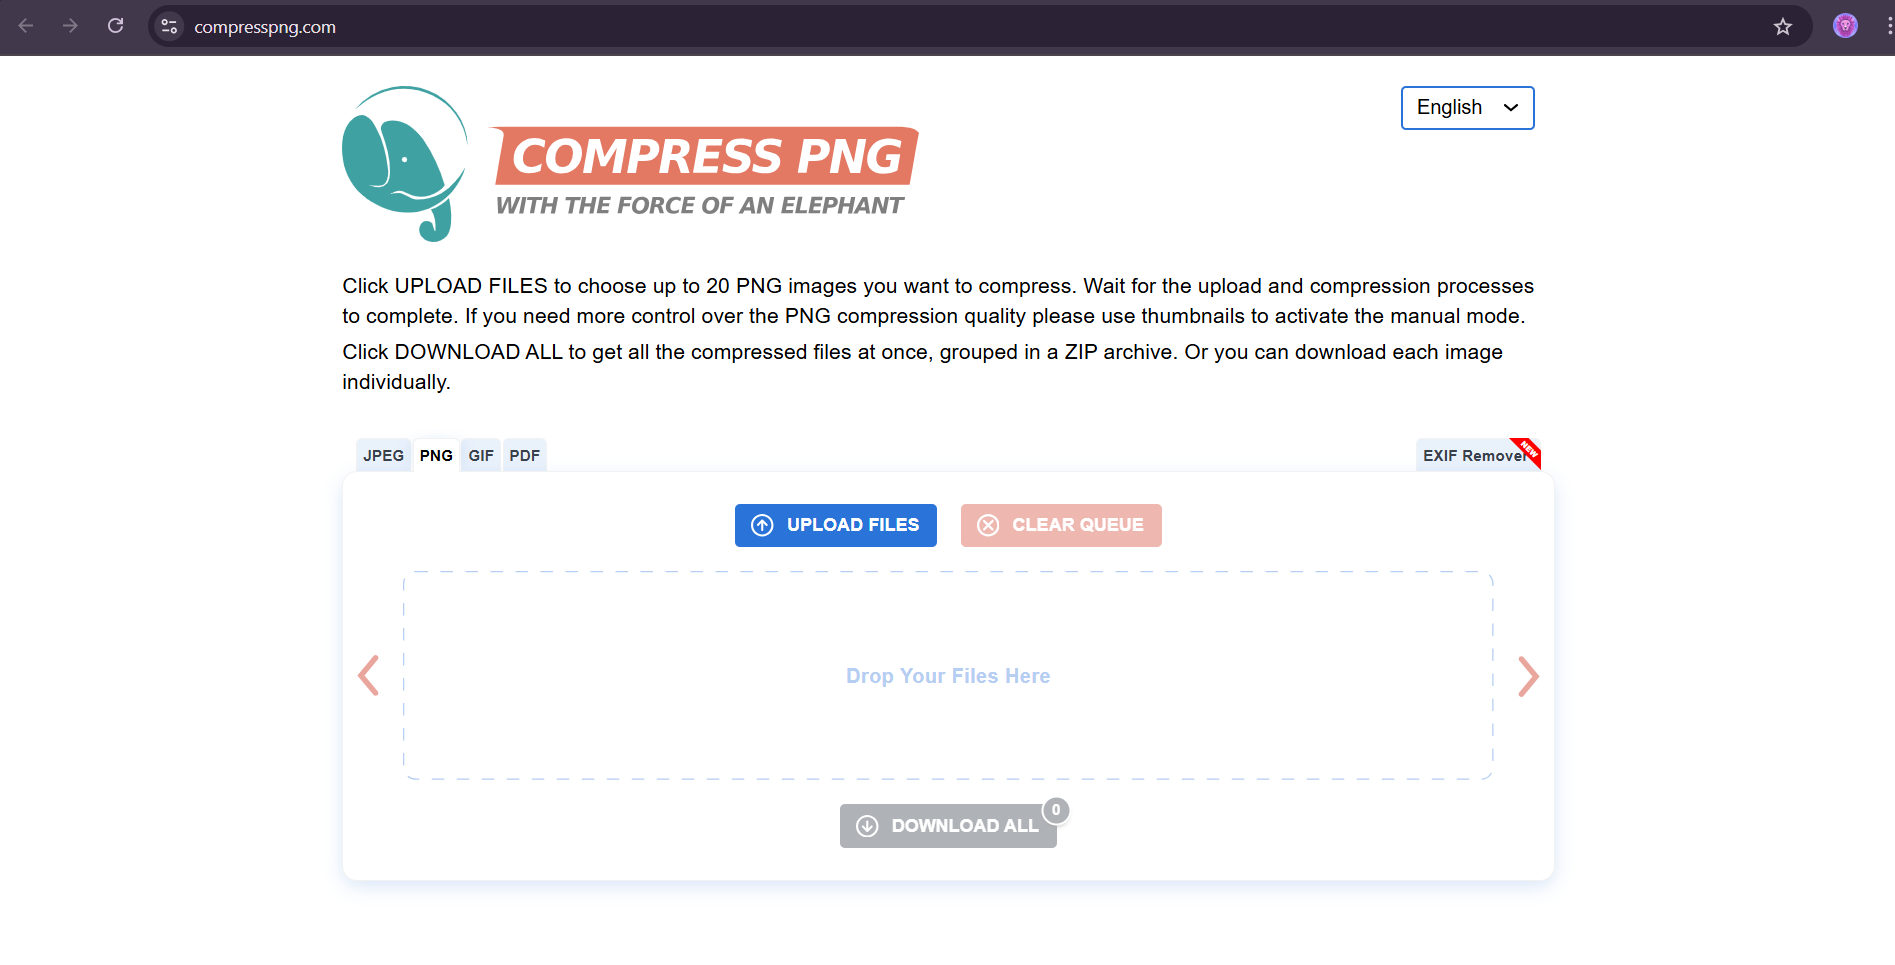
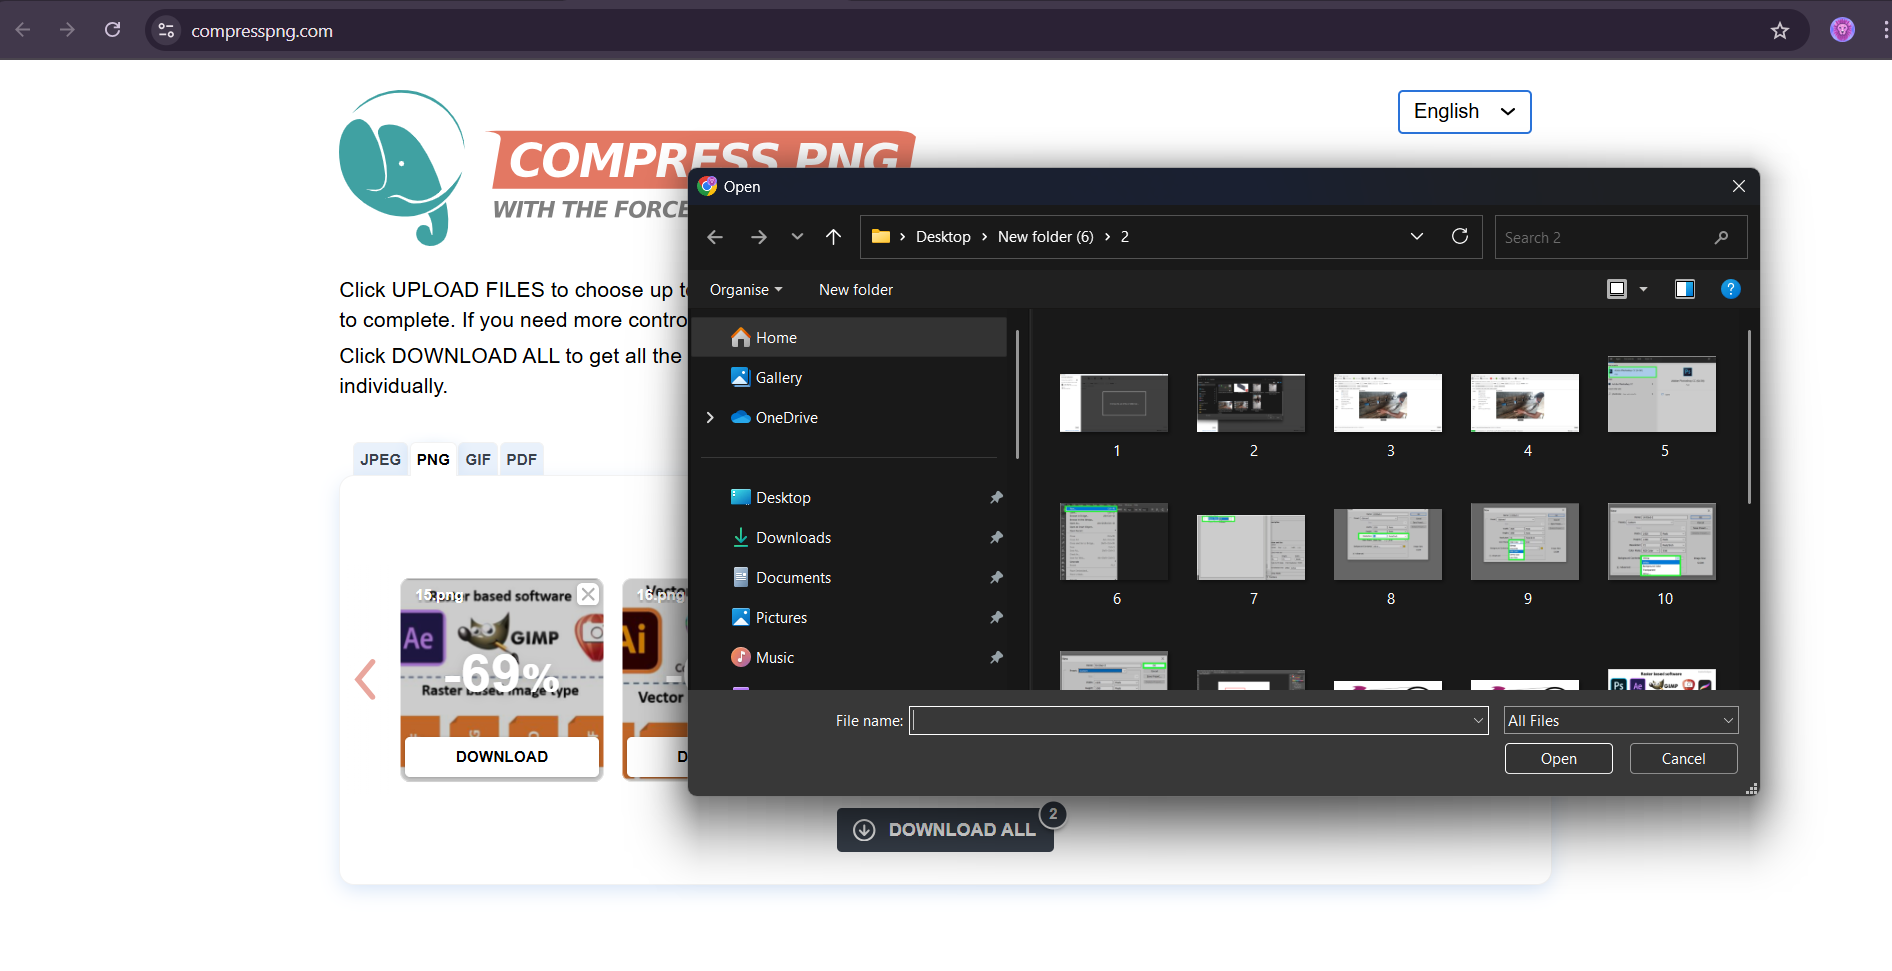
- Step 2: Upload Your PNG Files
Click on the “Upload Files” button to select PNG images from your device. Alternatively, you can drag and drop the files directly onto the designated area on the website. CompressPNG supports batch uploads, allowing you to compress multiple images simultaneously.
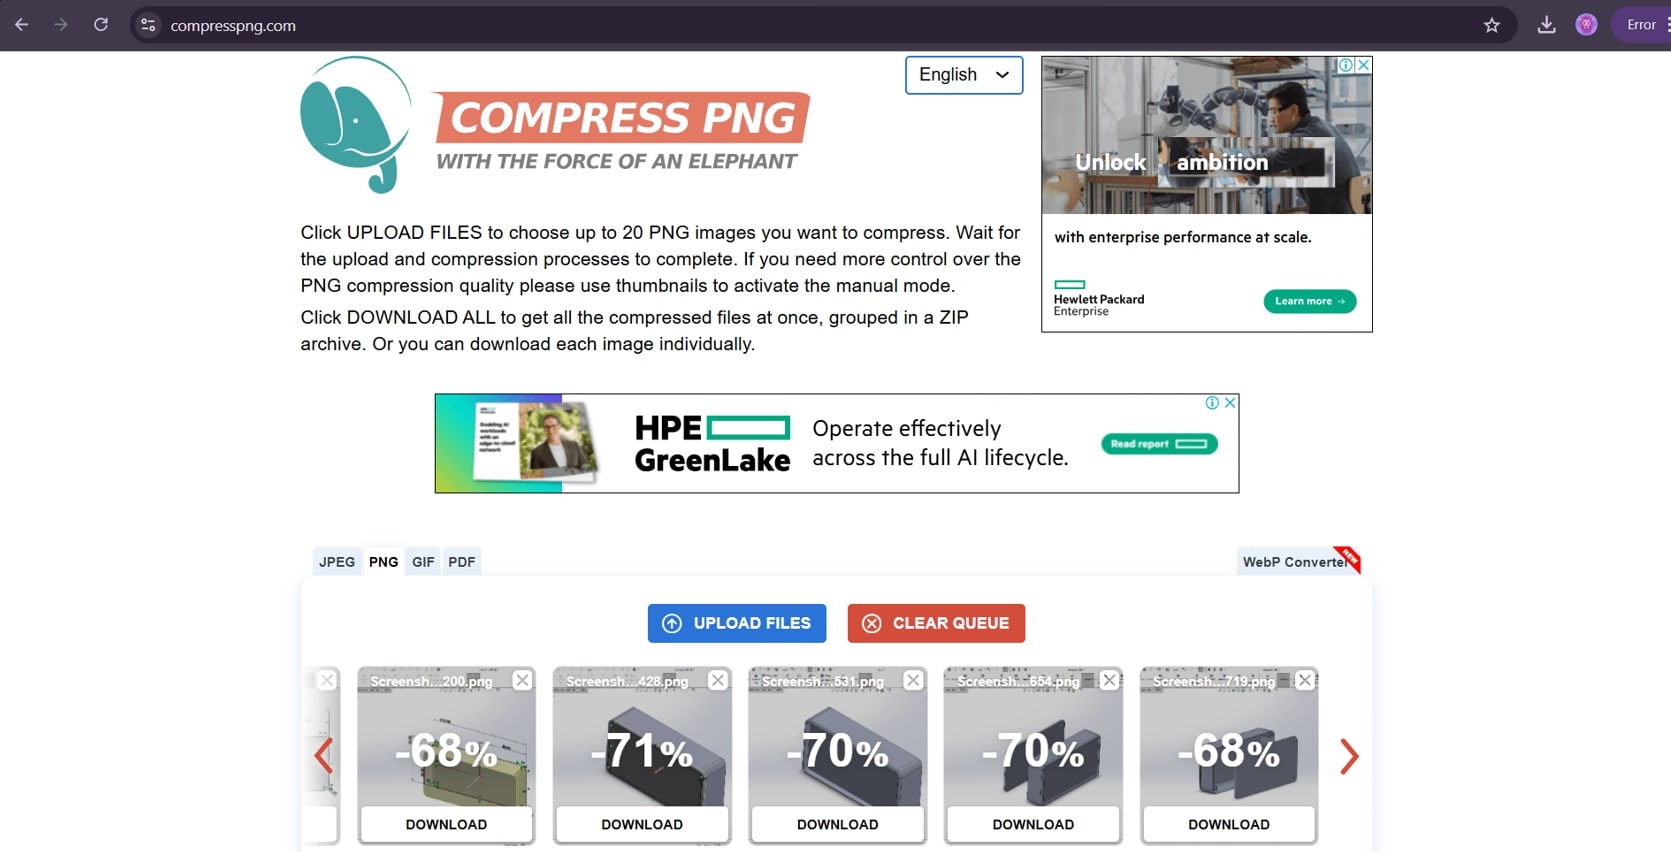
- Step 3: Wait for the Compression Process
Once the images are uploaded, CompressPNG will automatically start compressing them. The tool uses advanced algorithms to reduce file size while preserving the quality of the images. The progress bar or status indicator shows the ongoing process, which typically takes a few seconds to complete, depending on the file size and internet speed.
- Step 5: Download the Compressed Images
Click the “Download” button next to each image to save the compressed file to your device. If you uploaded multiple images, you can use the “Download All” button to save all files in a ZIP archive for convenience.
In summary, CompressPNG is an efficient tool for reducing PNG file sizes without requiring software installation. Its straightforward interface and reliable performance make it an excellent choice for quick and effective image optimization. By following these steps, you can easily compress PNG images and achieve faster uploads, better storage management, and enhanced web performance.
- Original Size: 5 MB
- Compressed Size: 1.2 MB
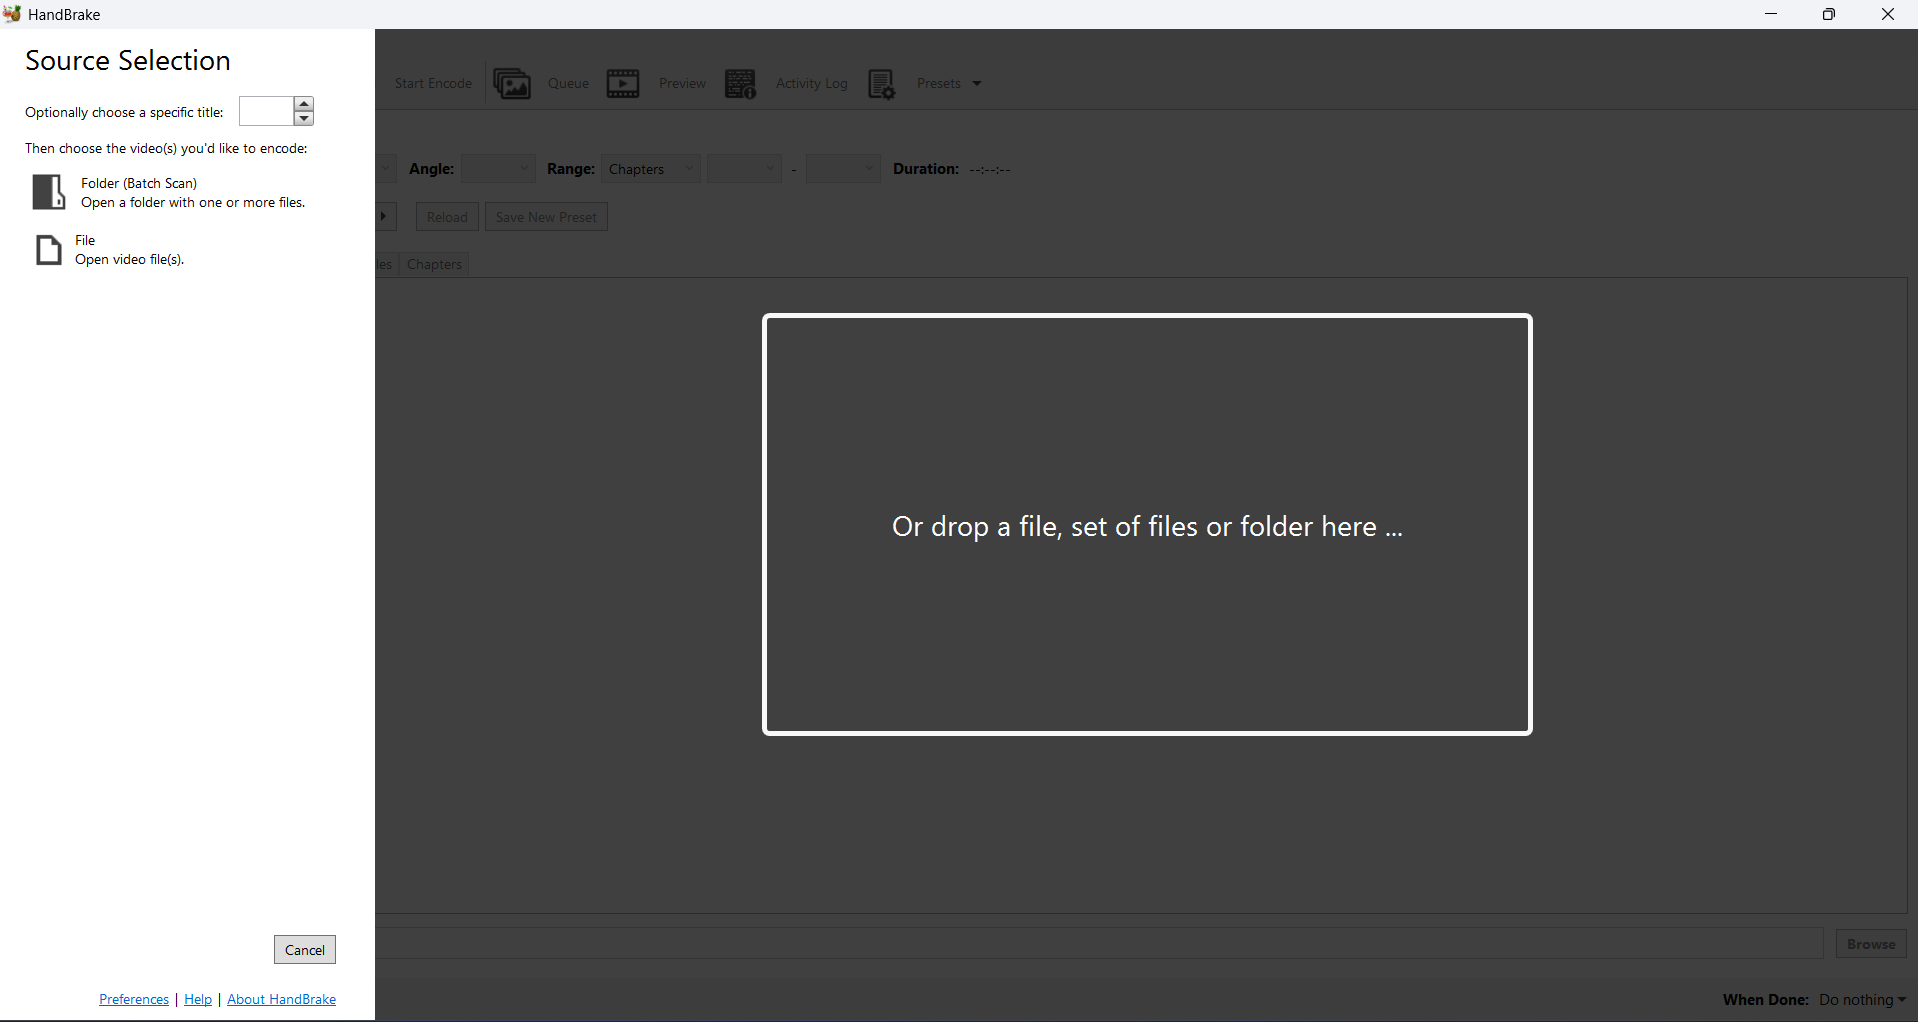
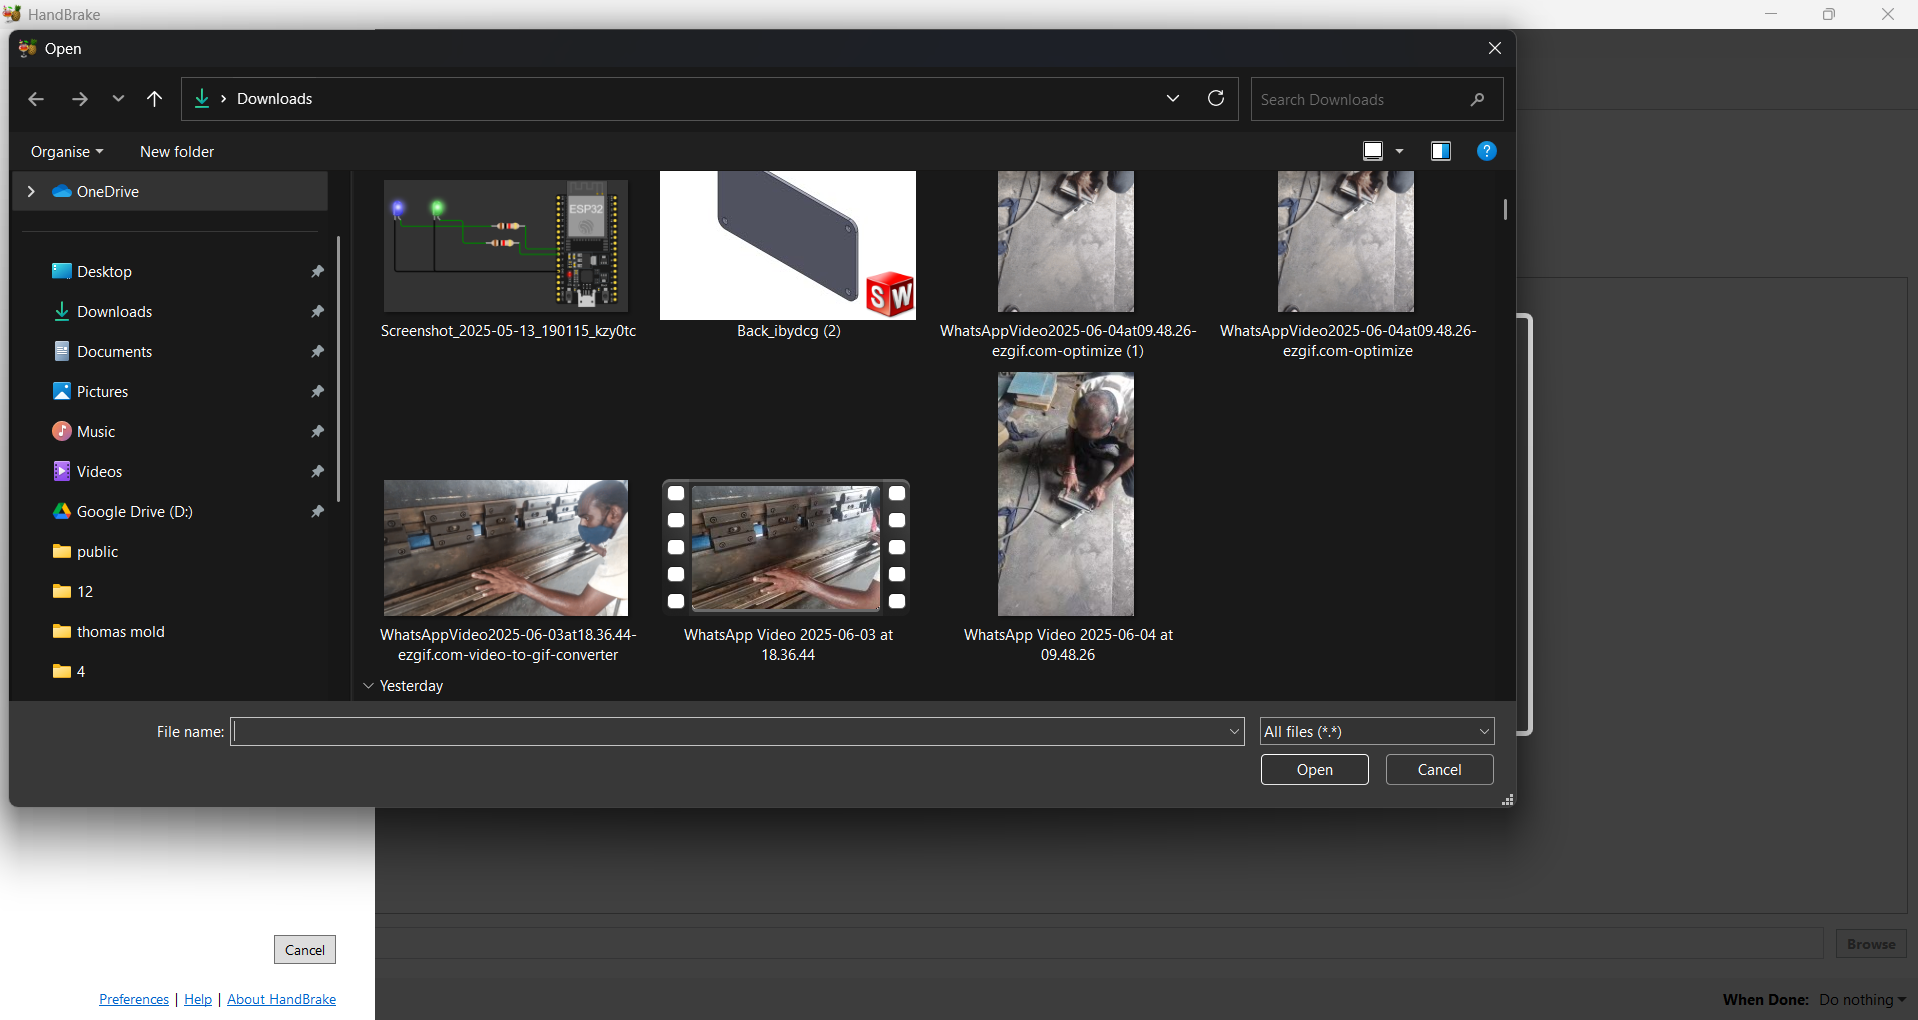
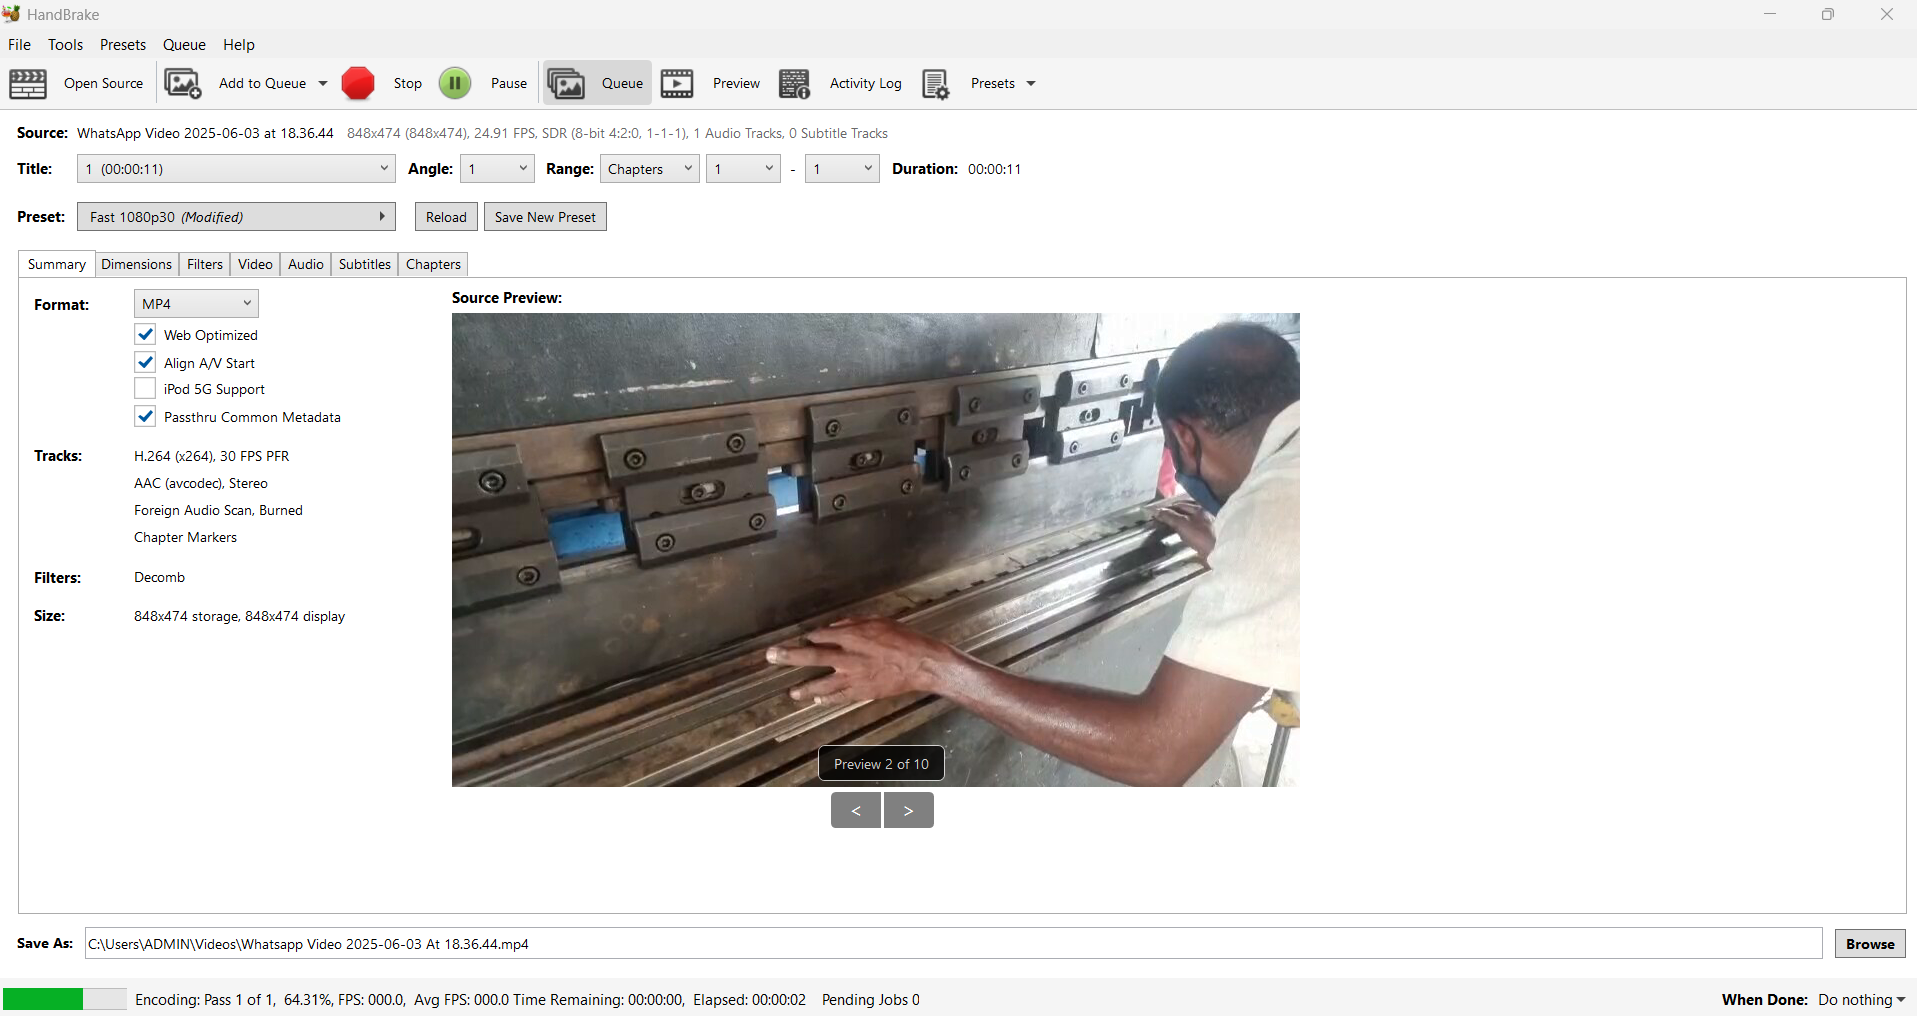
Exploring HandBrake Software
HandBrake is a powerful, open-source video transcoding tool that enables users to convert multimedia files into a variety of formats. Known for its intuitive interface and robust feature set, HandBrake is ideal for optimizing videos for different devices and reducing file sizes while maintaining quality.
Downloadable 3D Files
Conclusion
This assignment provided hands-on experience in SolidWorks for 2D and 3D modeling, as well as file optimization practices.