Week13: Moulding and casting
This project involves exploring the processes of moulding and casting through both group and individual assignments. The goal is to design, create, and use moulds to cast parts while adhering to safety protocols and achieving high-quality surface finishes.
Group Assignment
The group assignment focused on gaining an understanding of moulding and casting materials and techniques. Tasks included:
- Reviewing the safety data sheets (SDS) for each moulding and casting material.
- Making and comparing test casts using various materials.
- Comparing the advantages and limitations of printing versus milling moulds.
These activities provided insights into material properties, application techniques, and the importance of choosing the right method for mould creation.
Visit our Group Assignment Page to explore our findings and methodologies.
Individual Assignment
In the individual assignment, the objective was to design and fabricate a mould, ensuring it met specific criteria, including smooth surface finish and usability for casting parts.
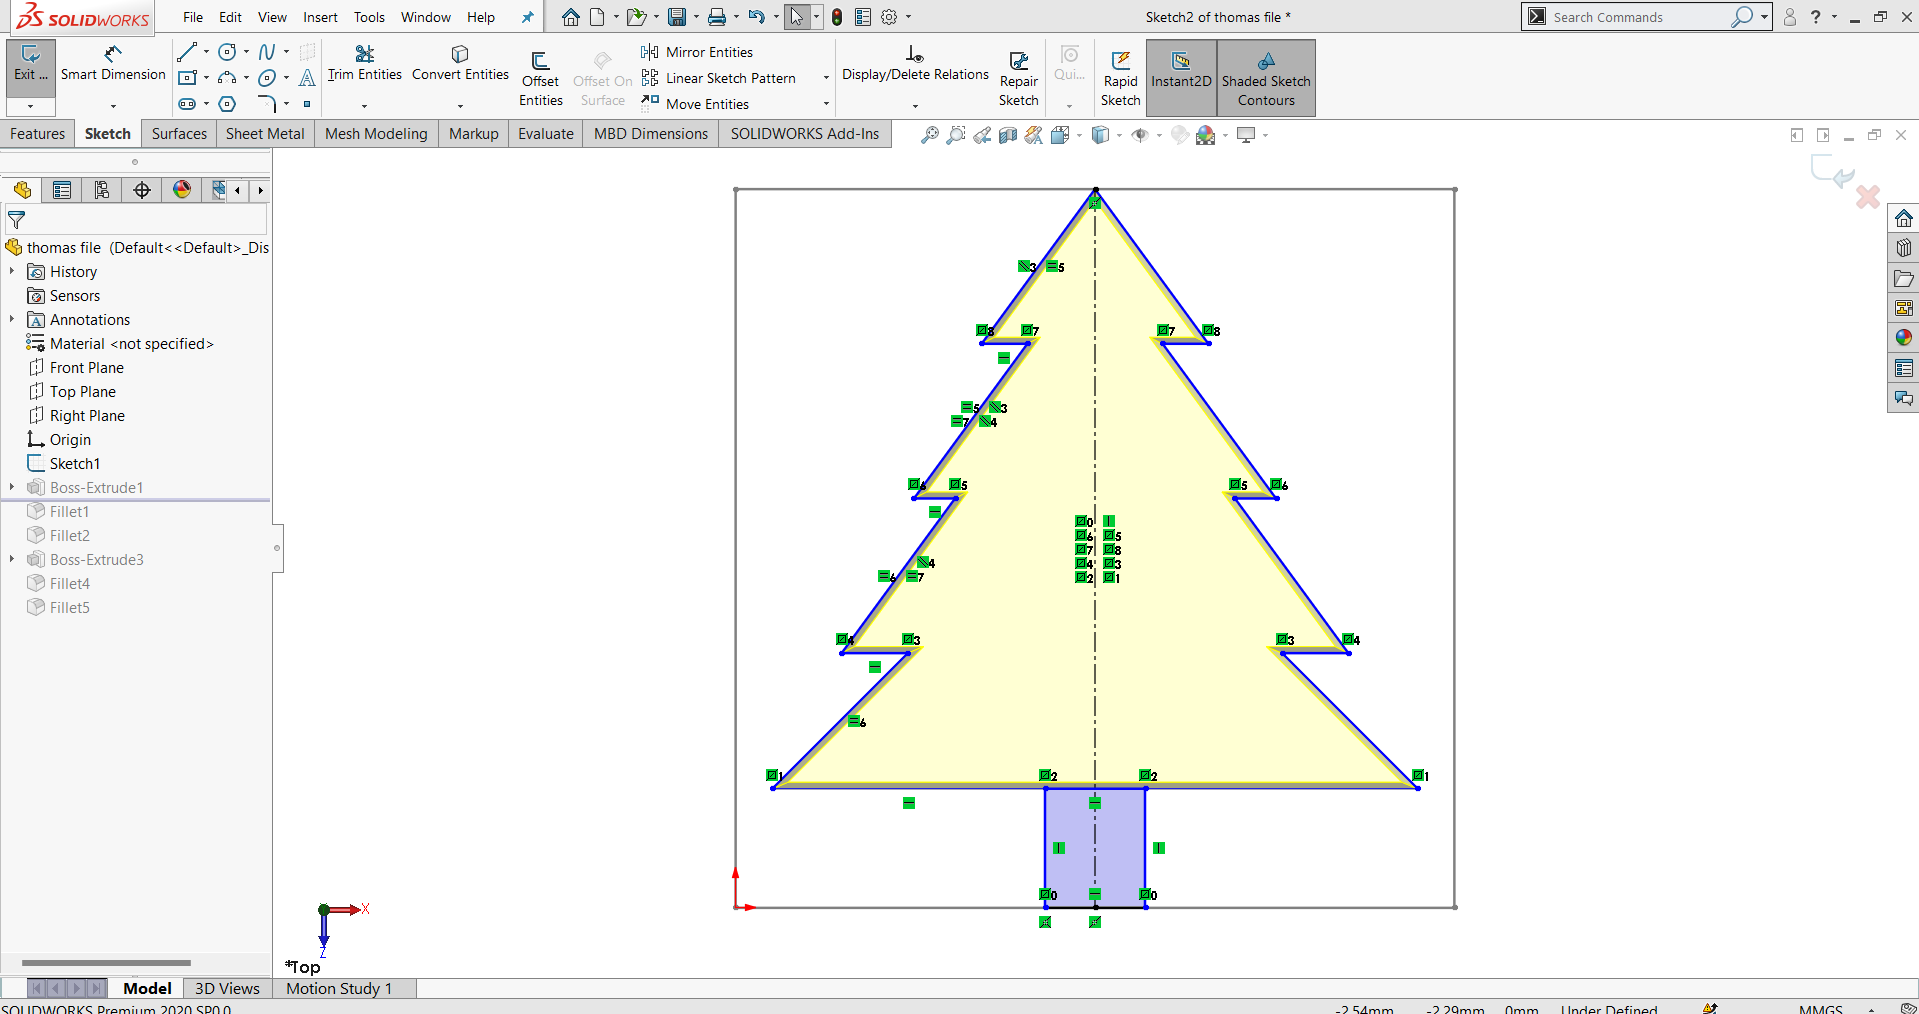
Designing the Mold
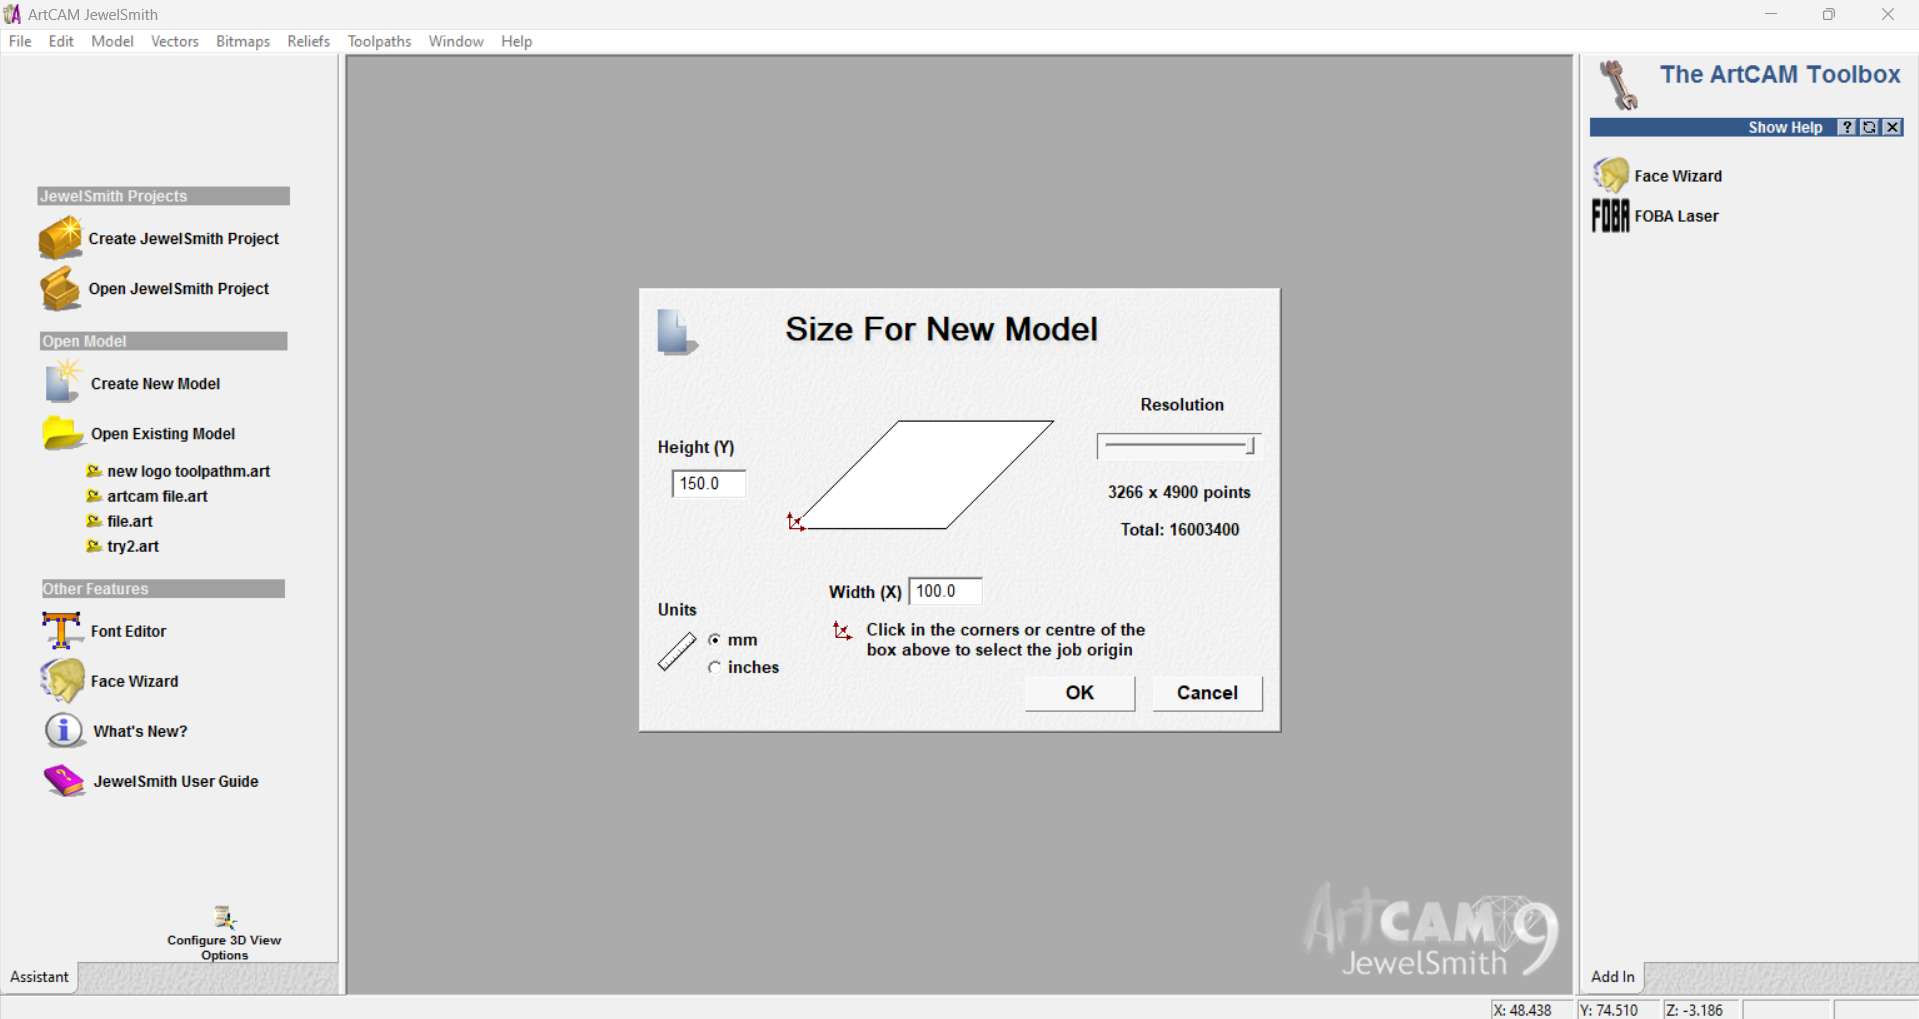
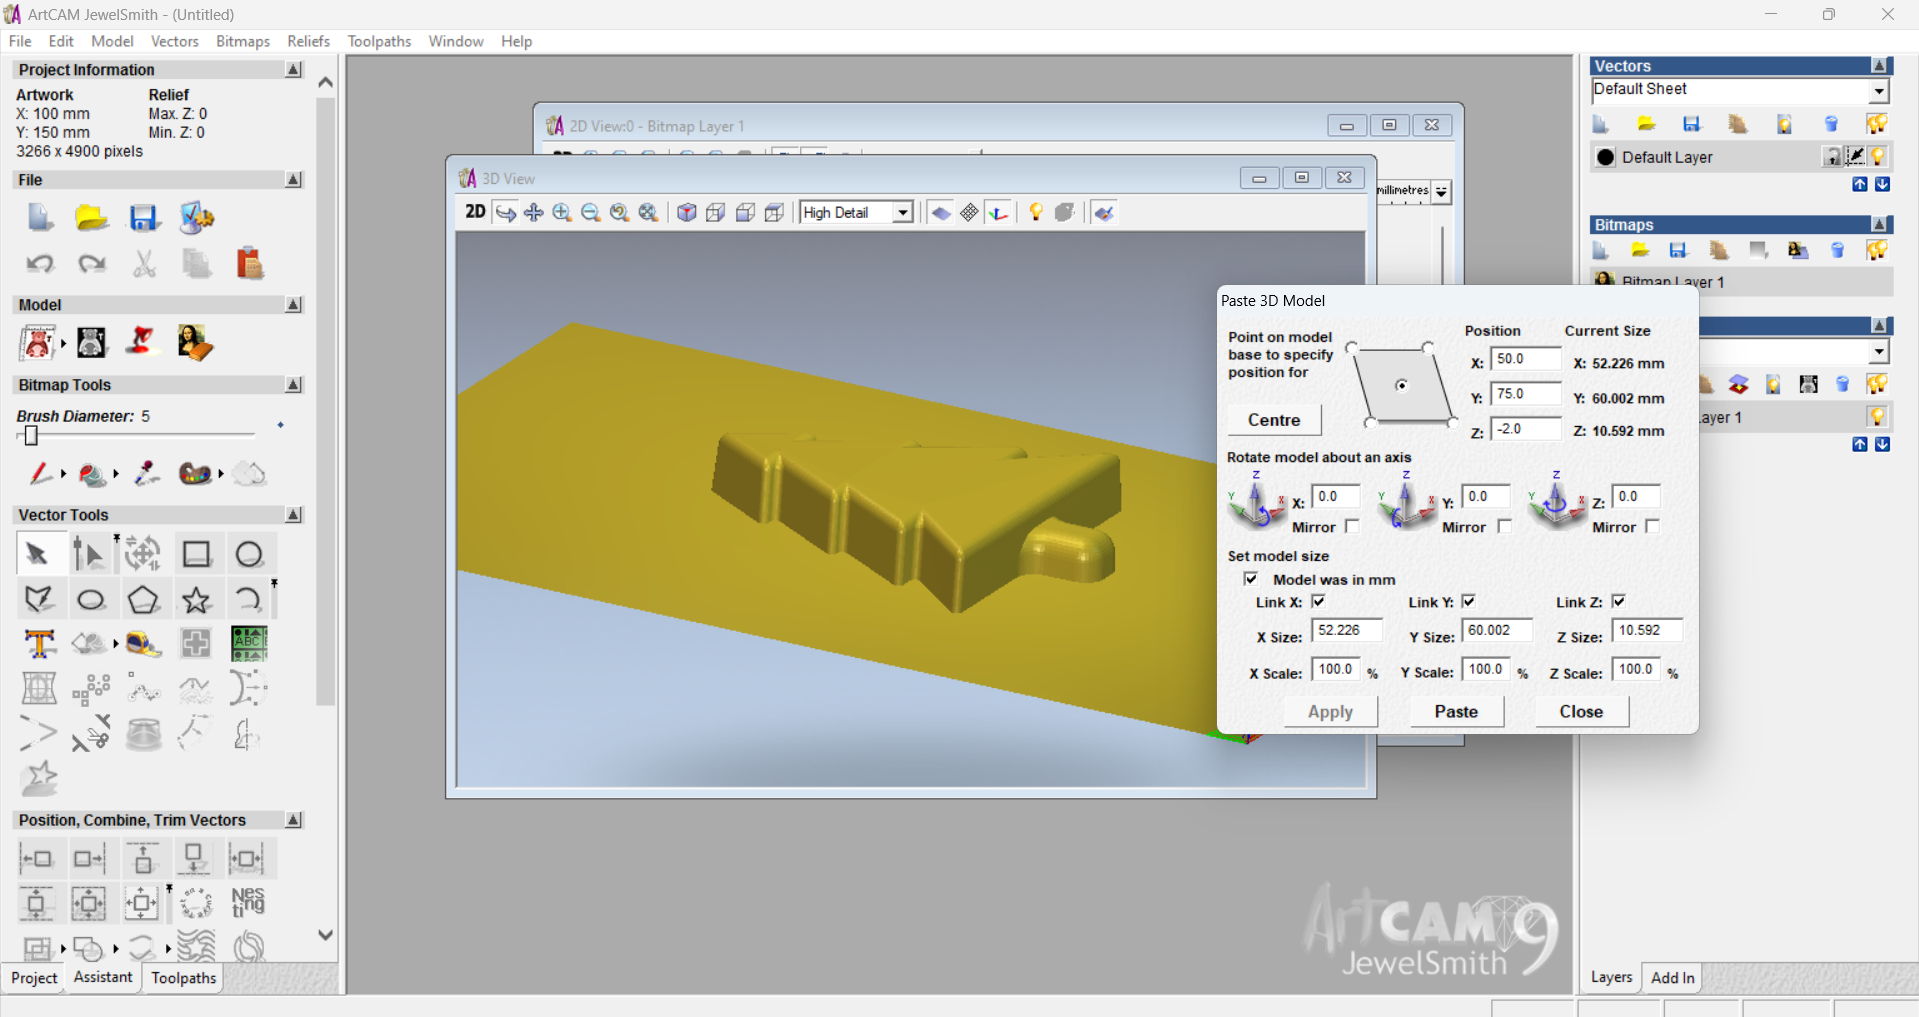
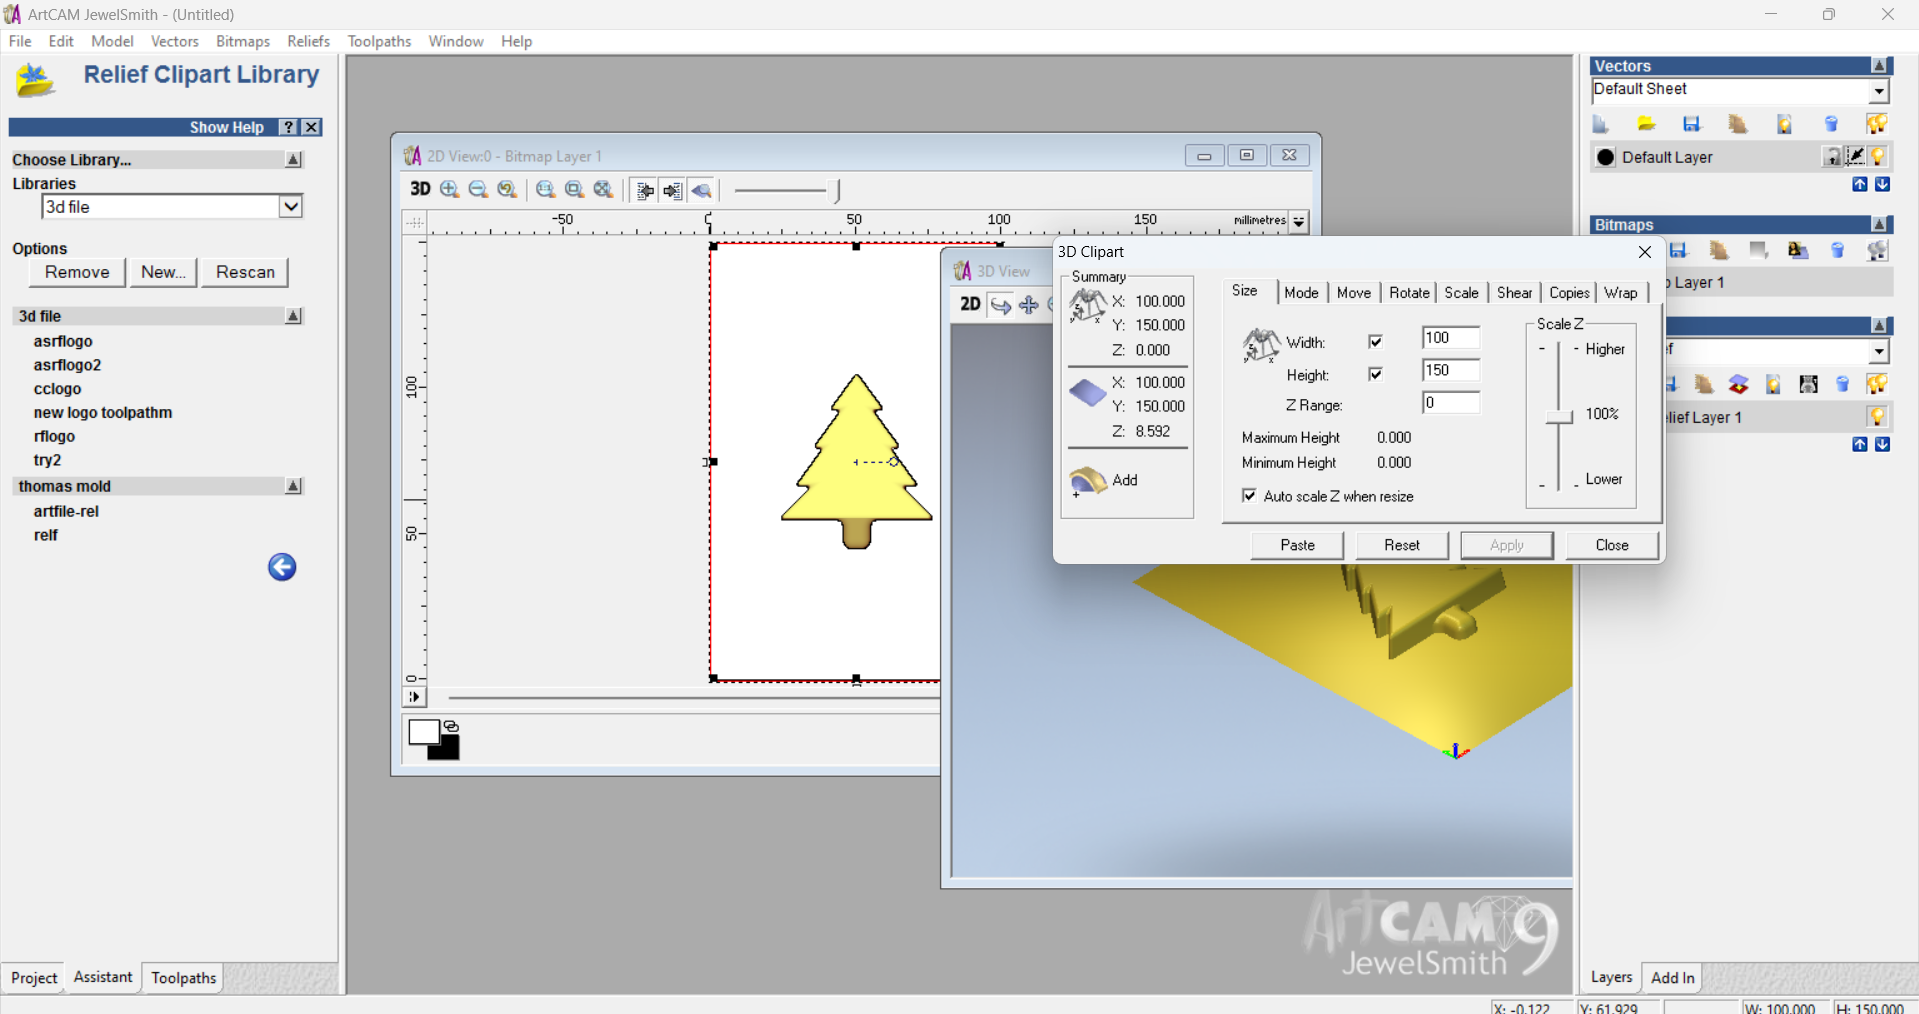
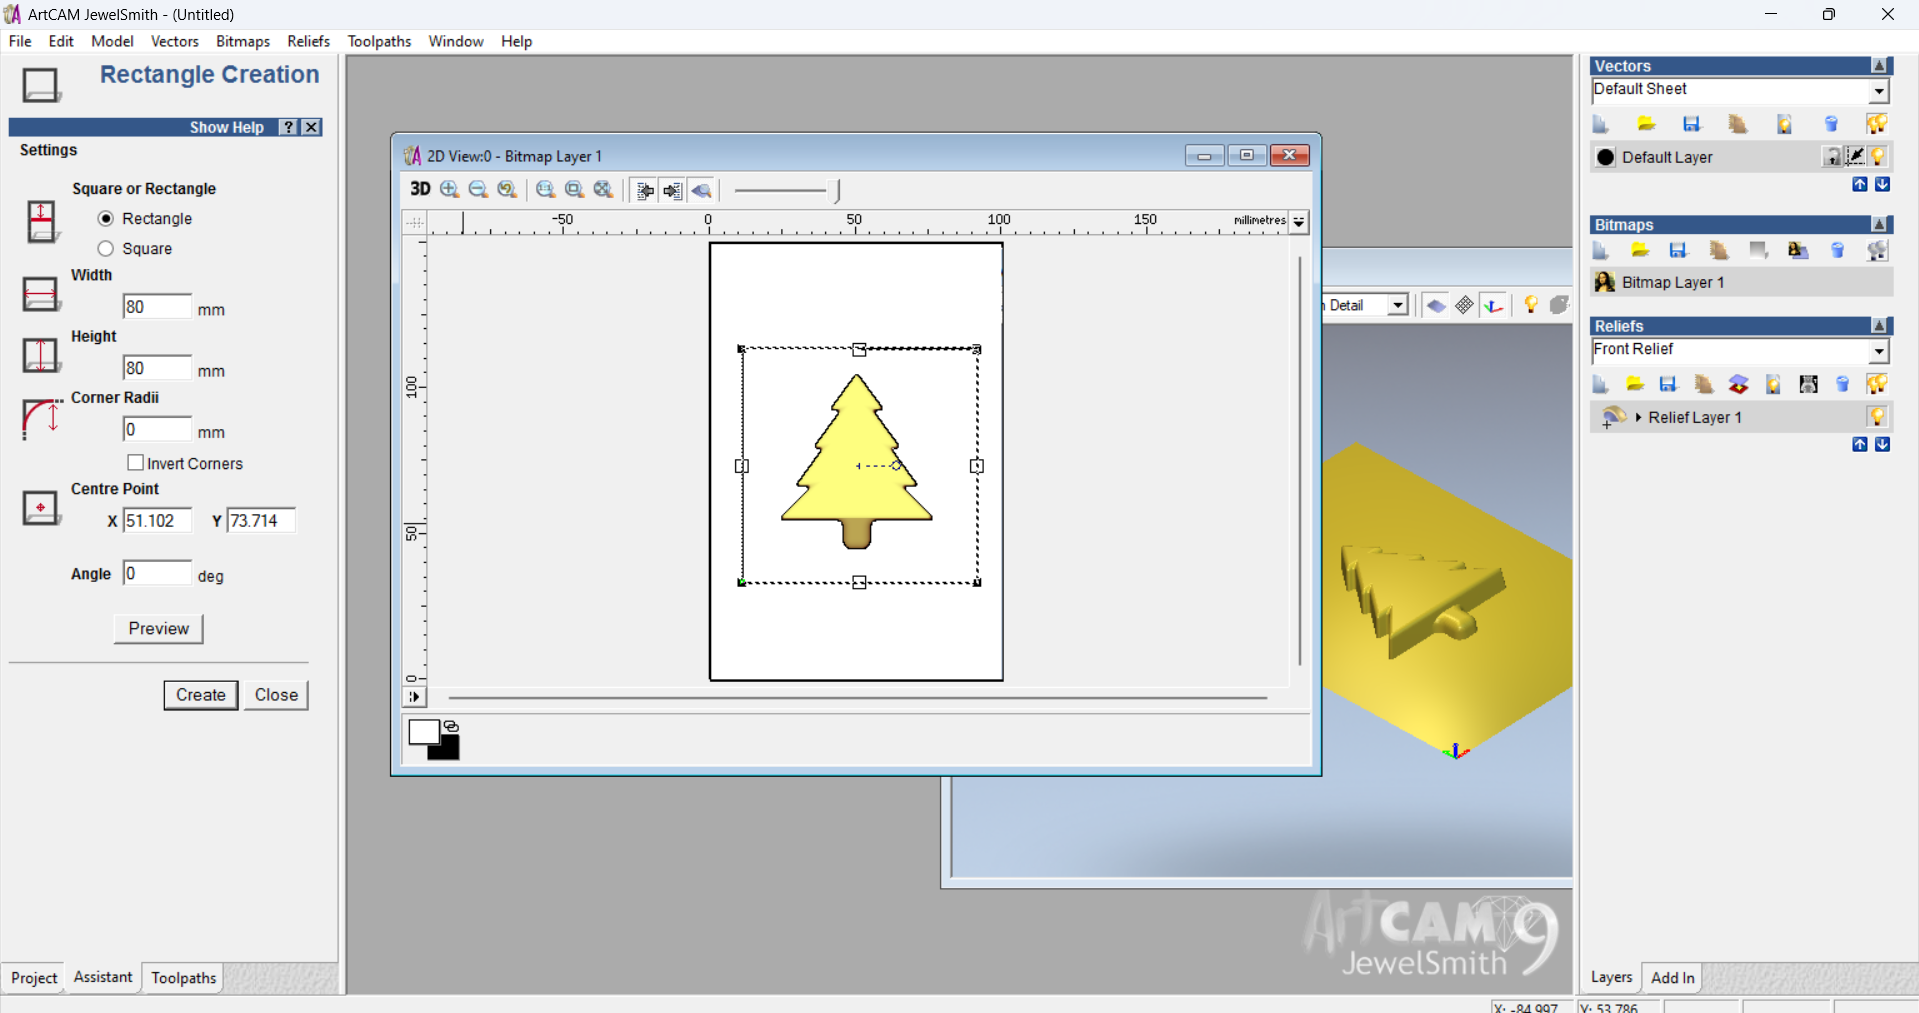
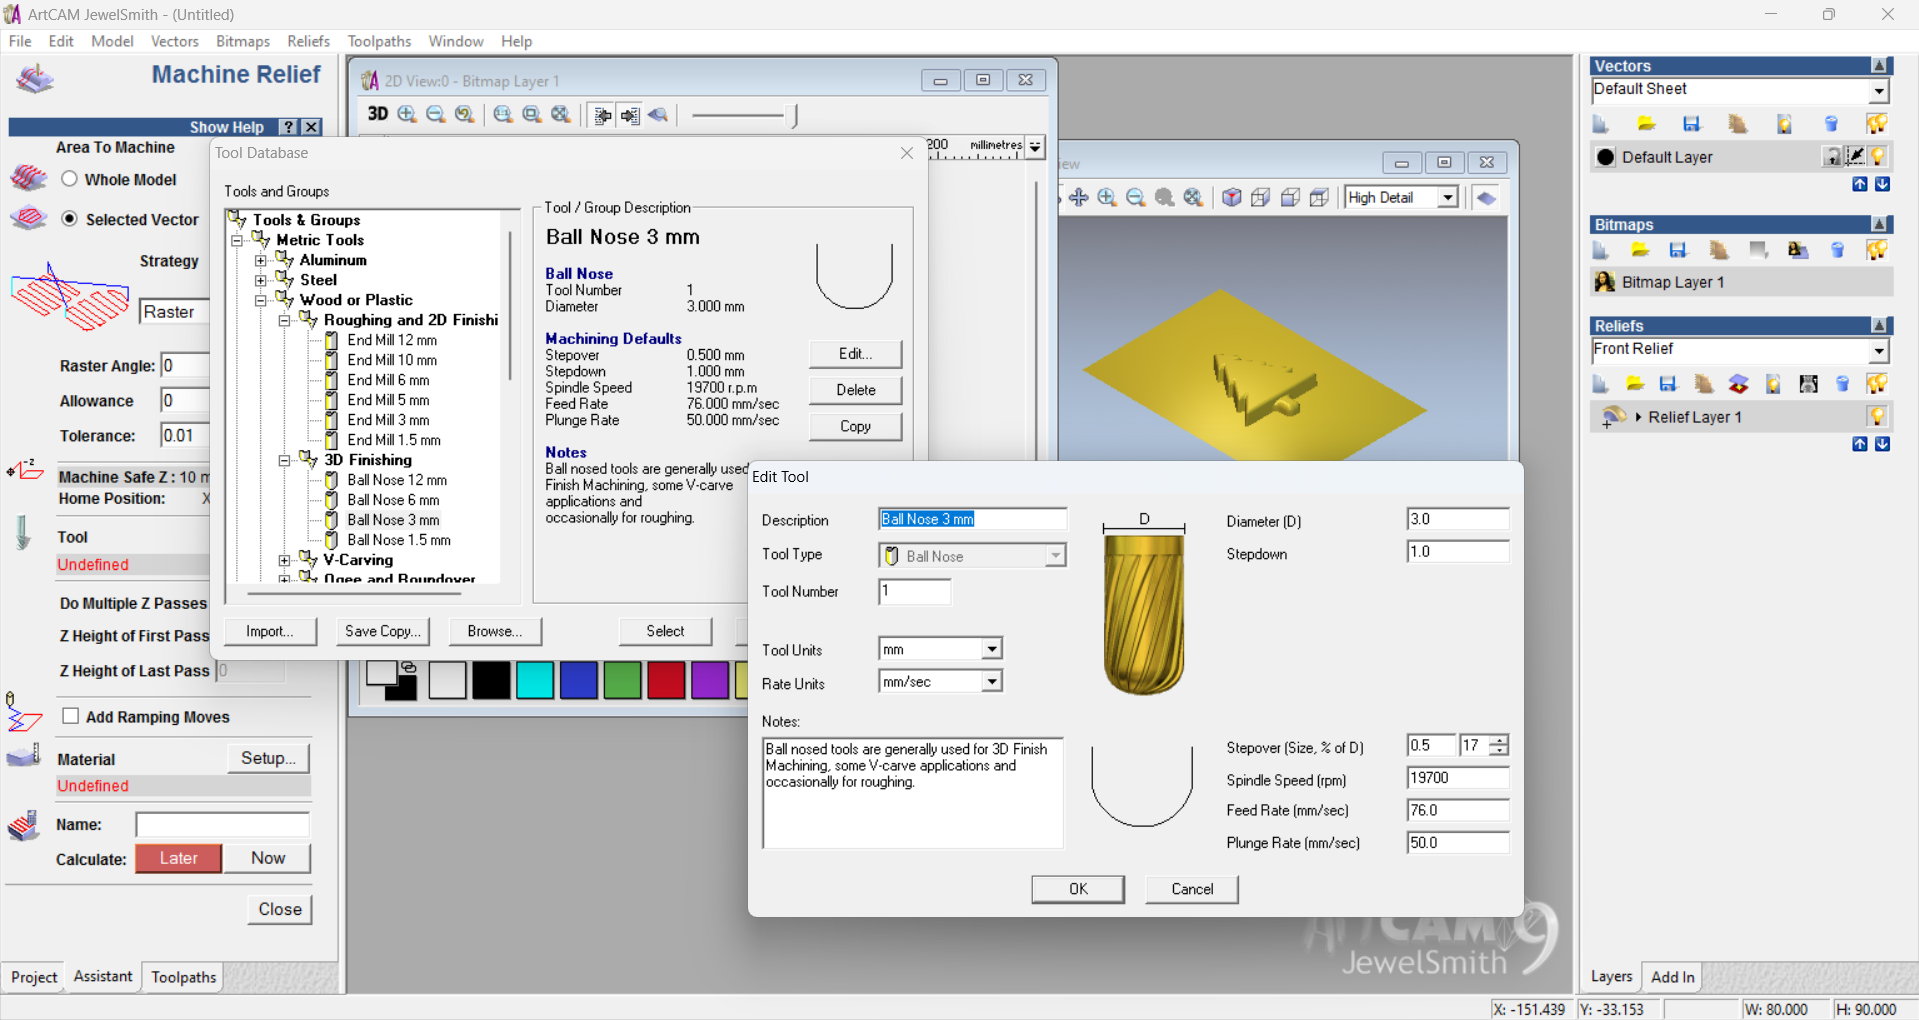
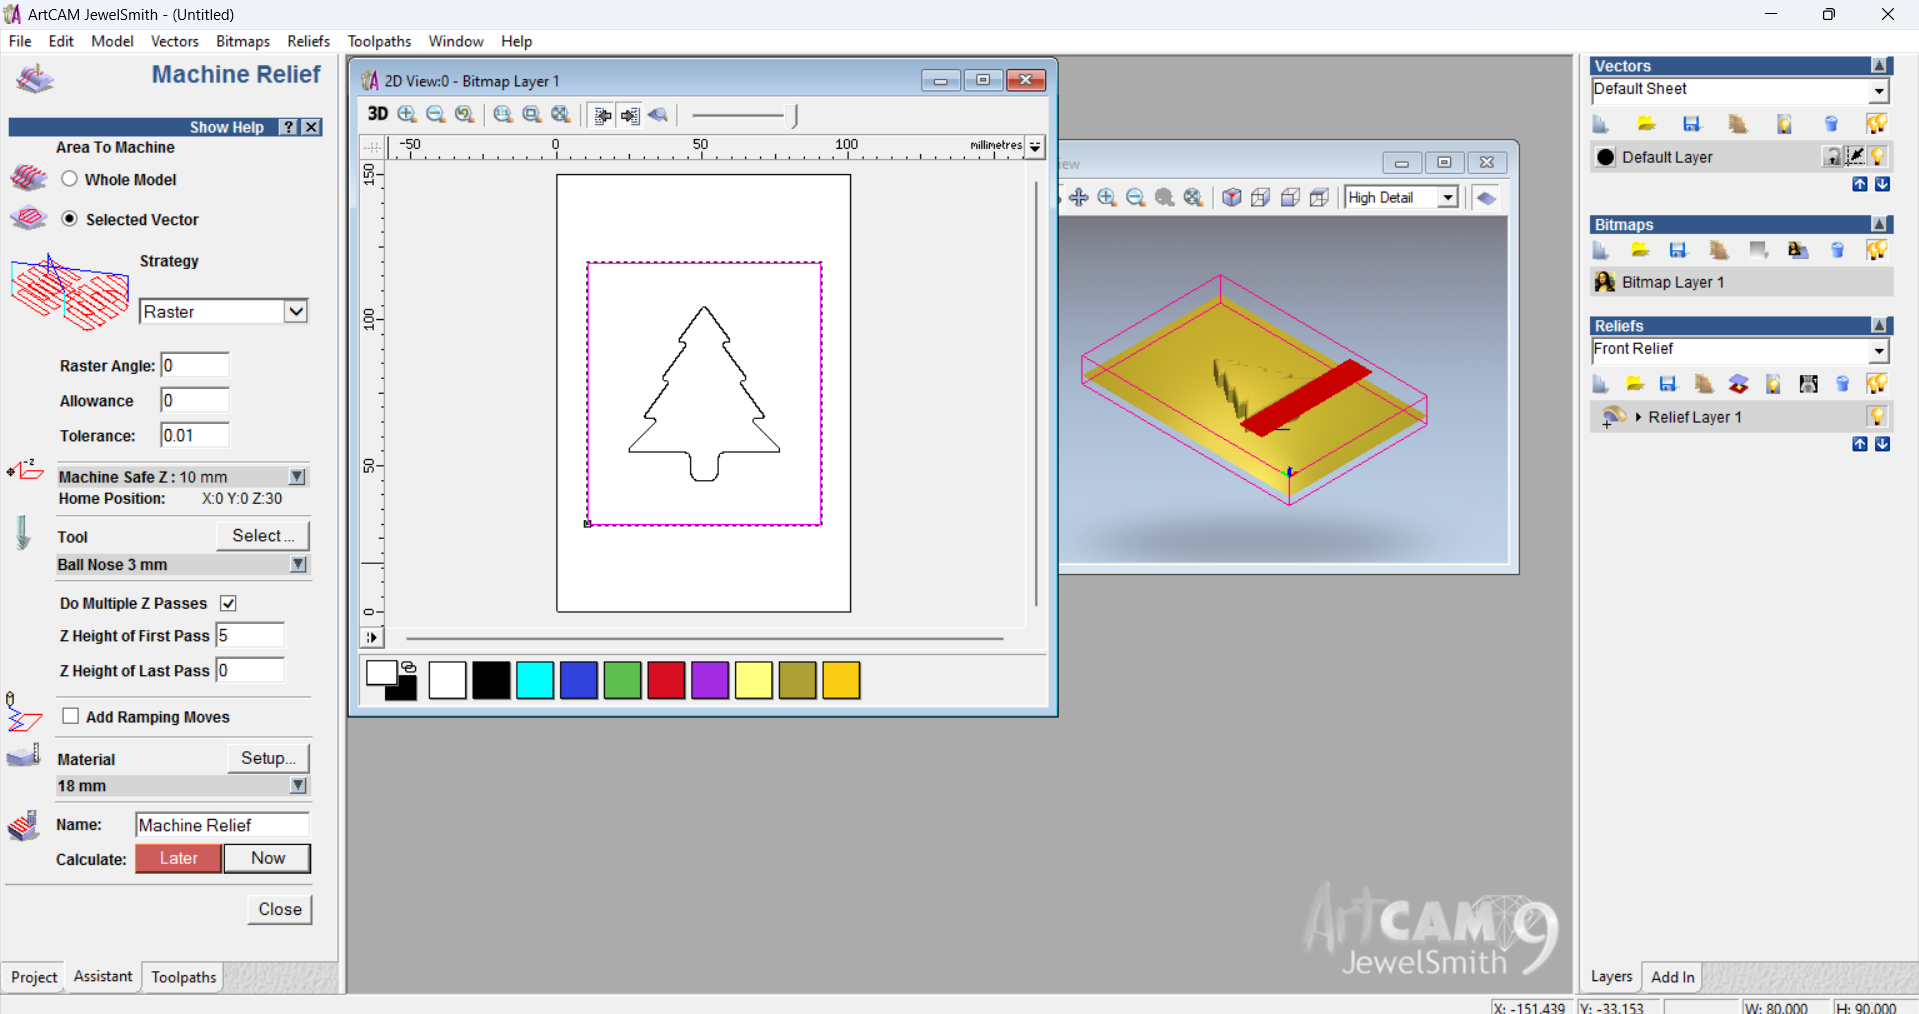
I started by conceptualizing the part to be cast and its intended use. Using CAD software, I designed a mould that would effectively capture the required details. The design process considered the limitations of the chosen moulding process, such as the need for draft angles to facilitate part removal.
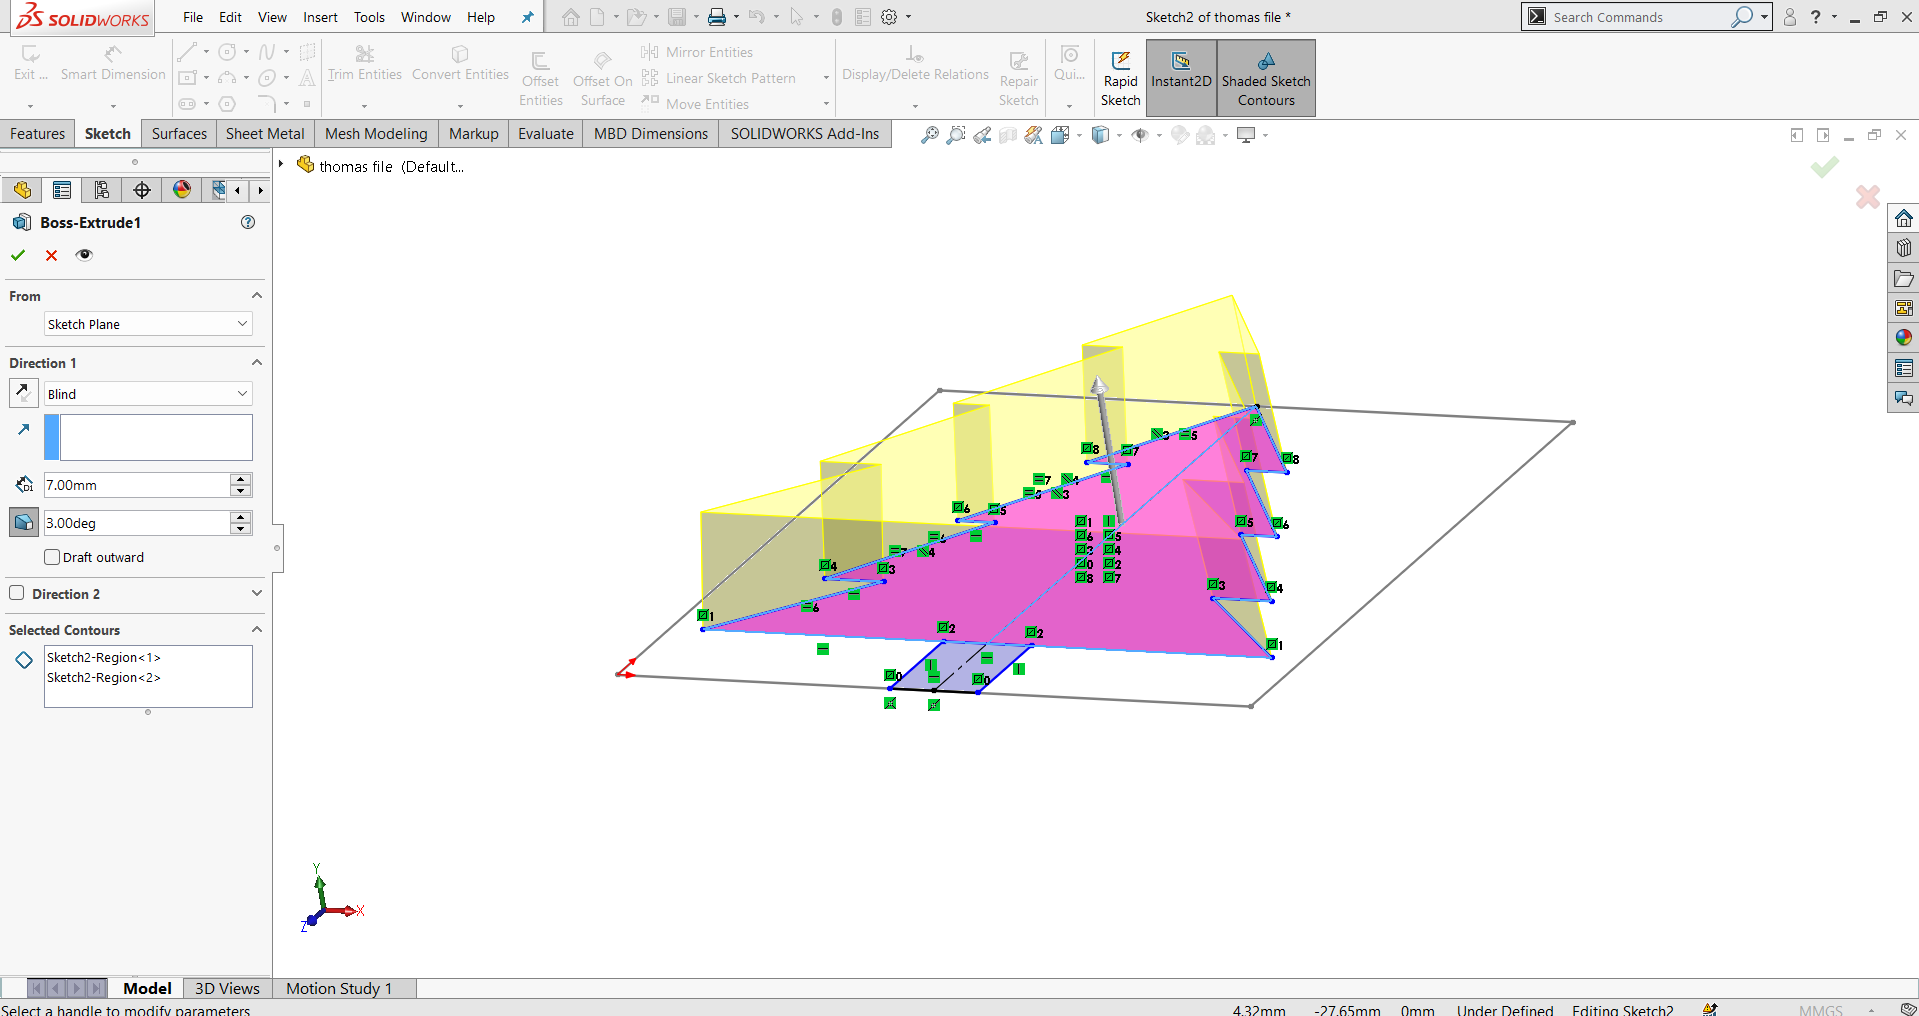
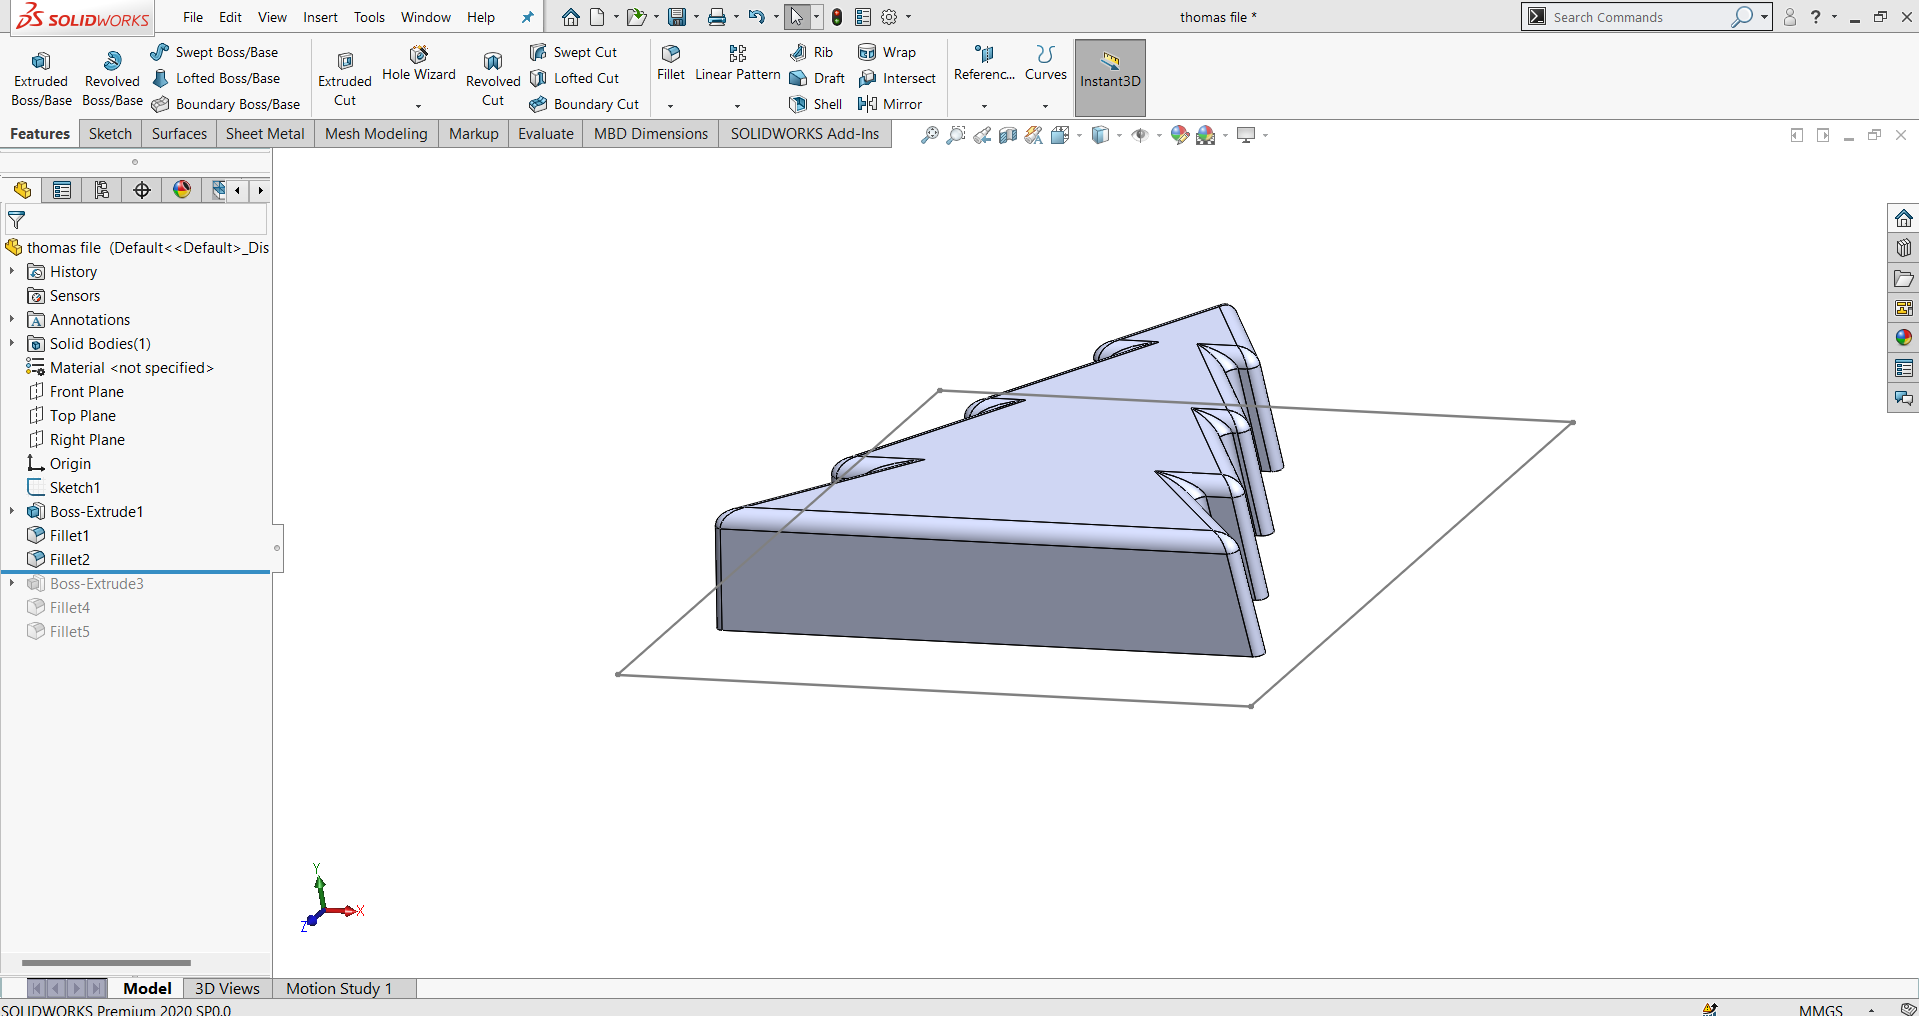
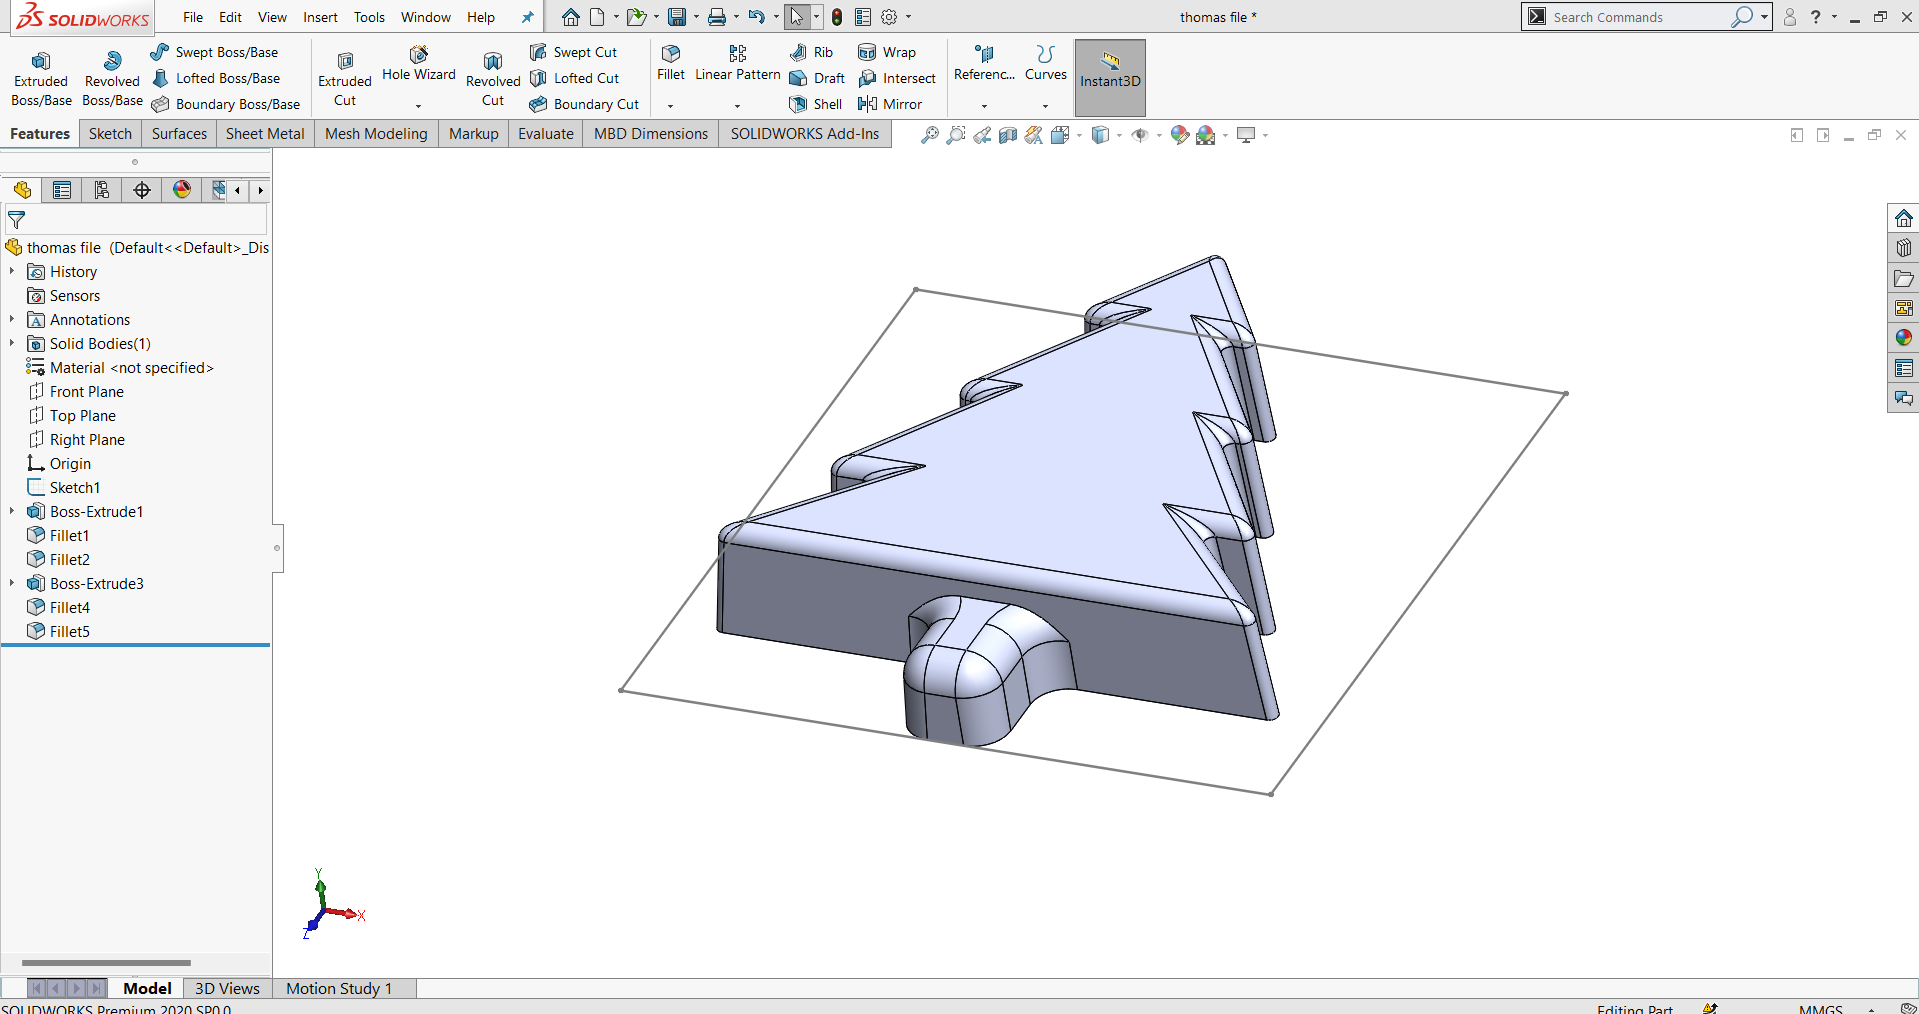
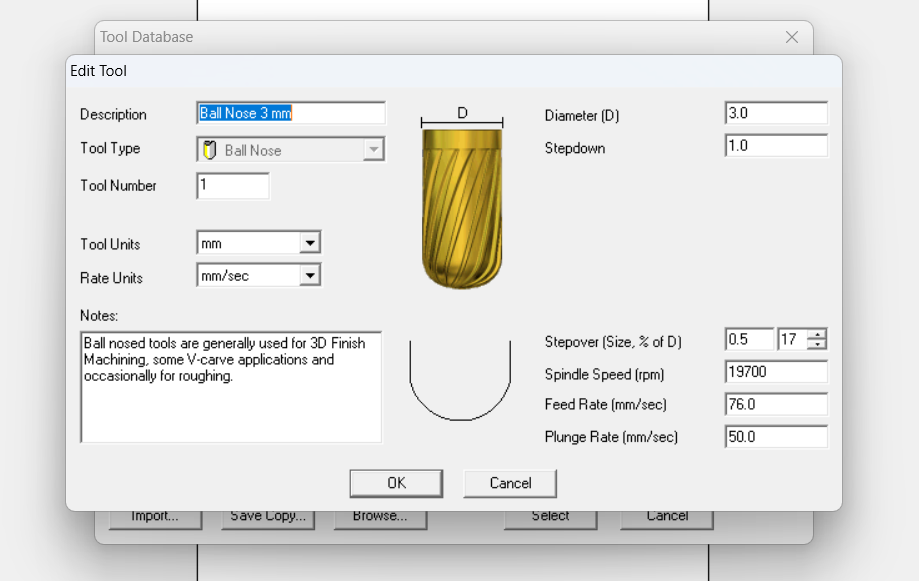
The mold design was optimized for either 3D printing or milling, depending on the level of detail and material requirements. For this assignment, I chose to use milling to achieve a high-quality finish and robust mould structure.
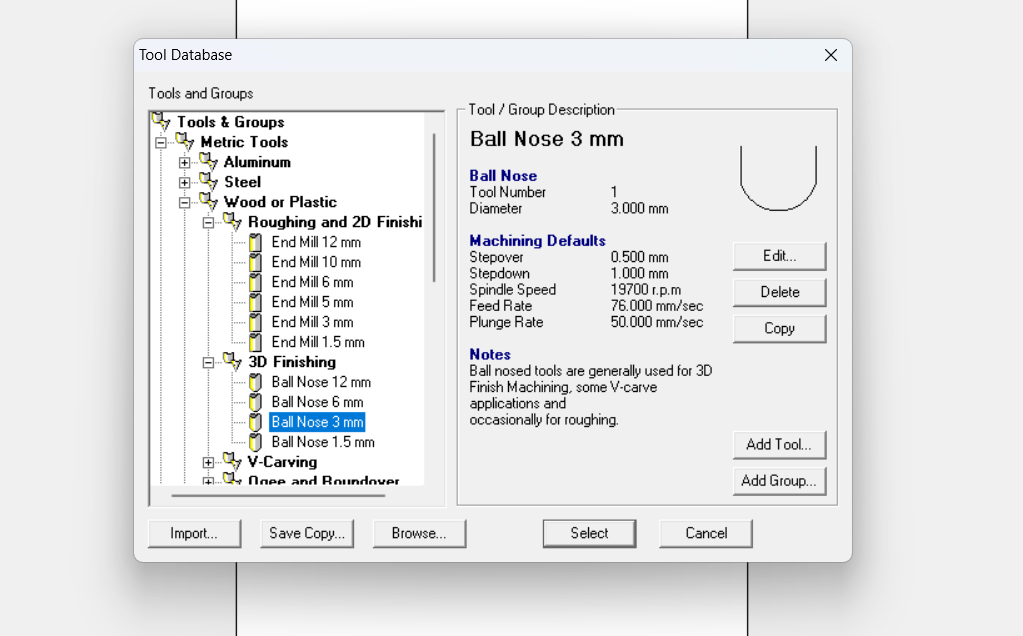
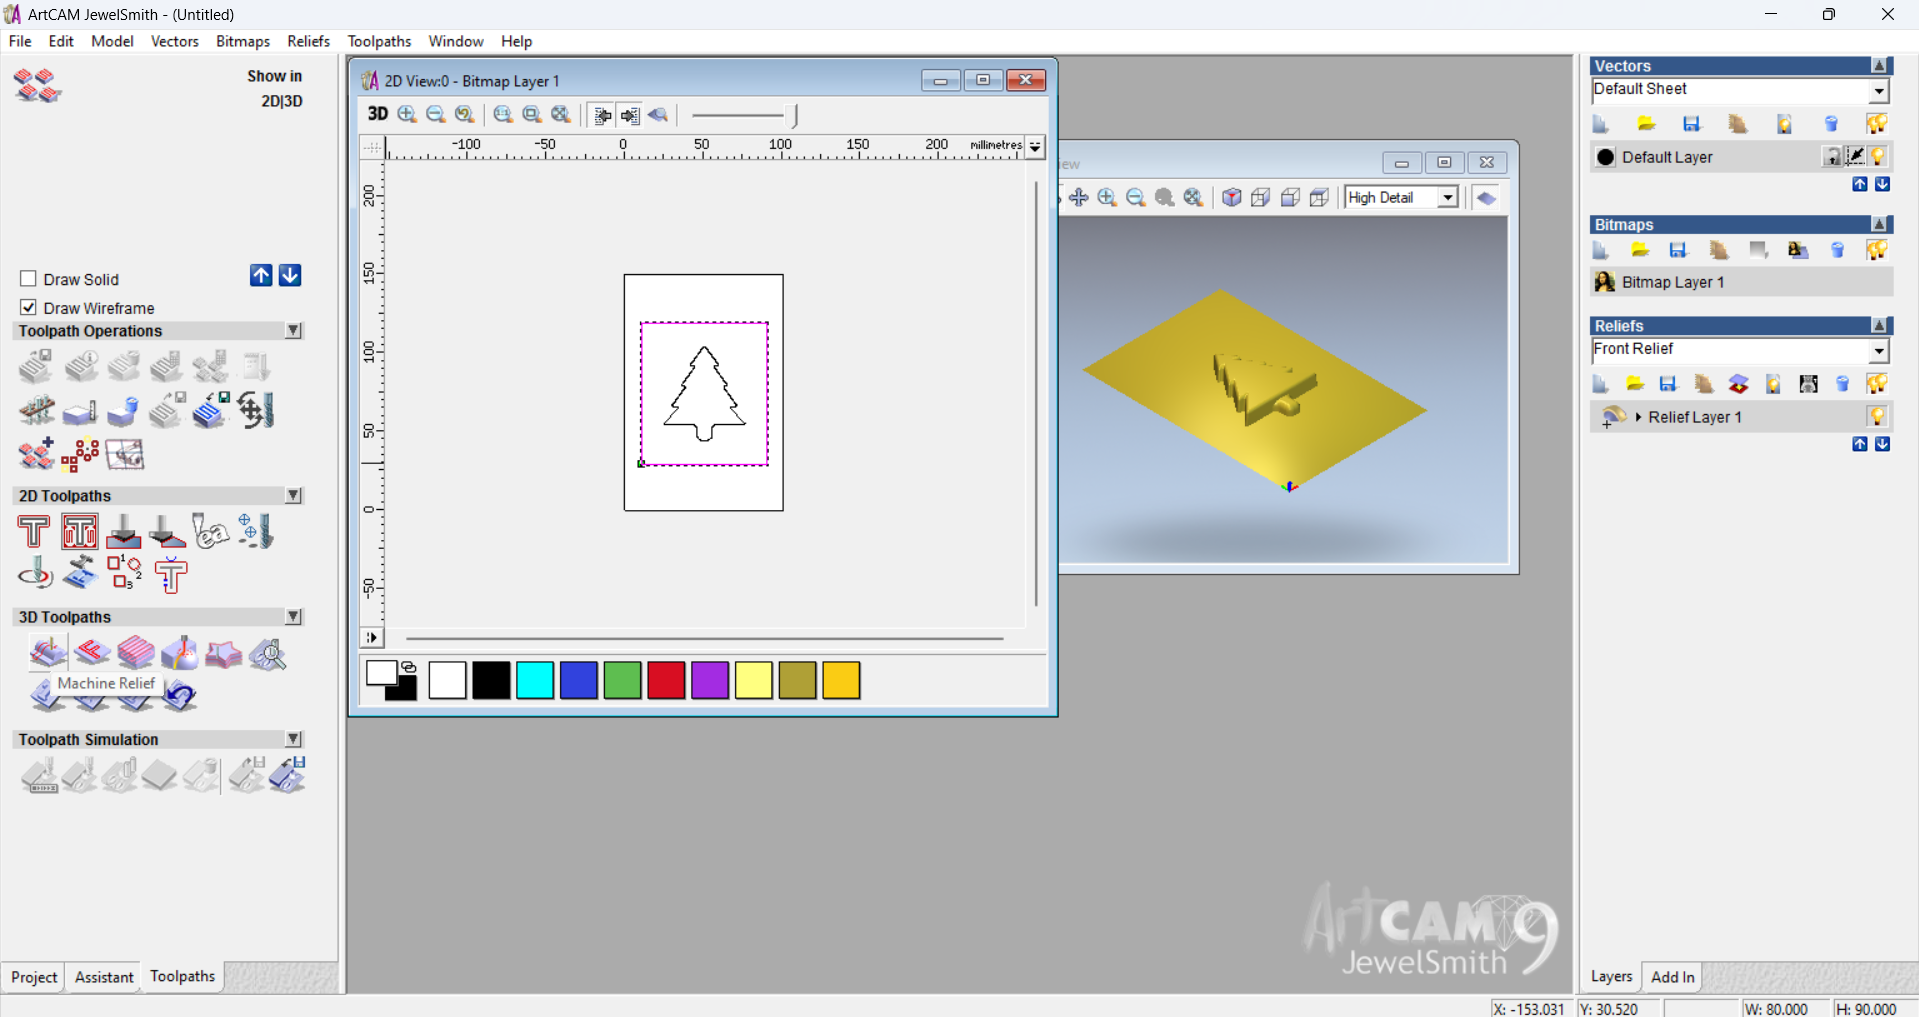
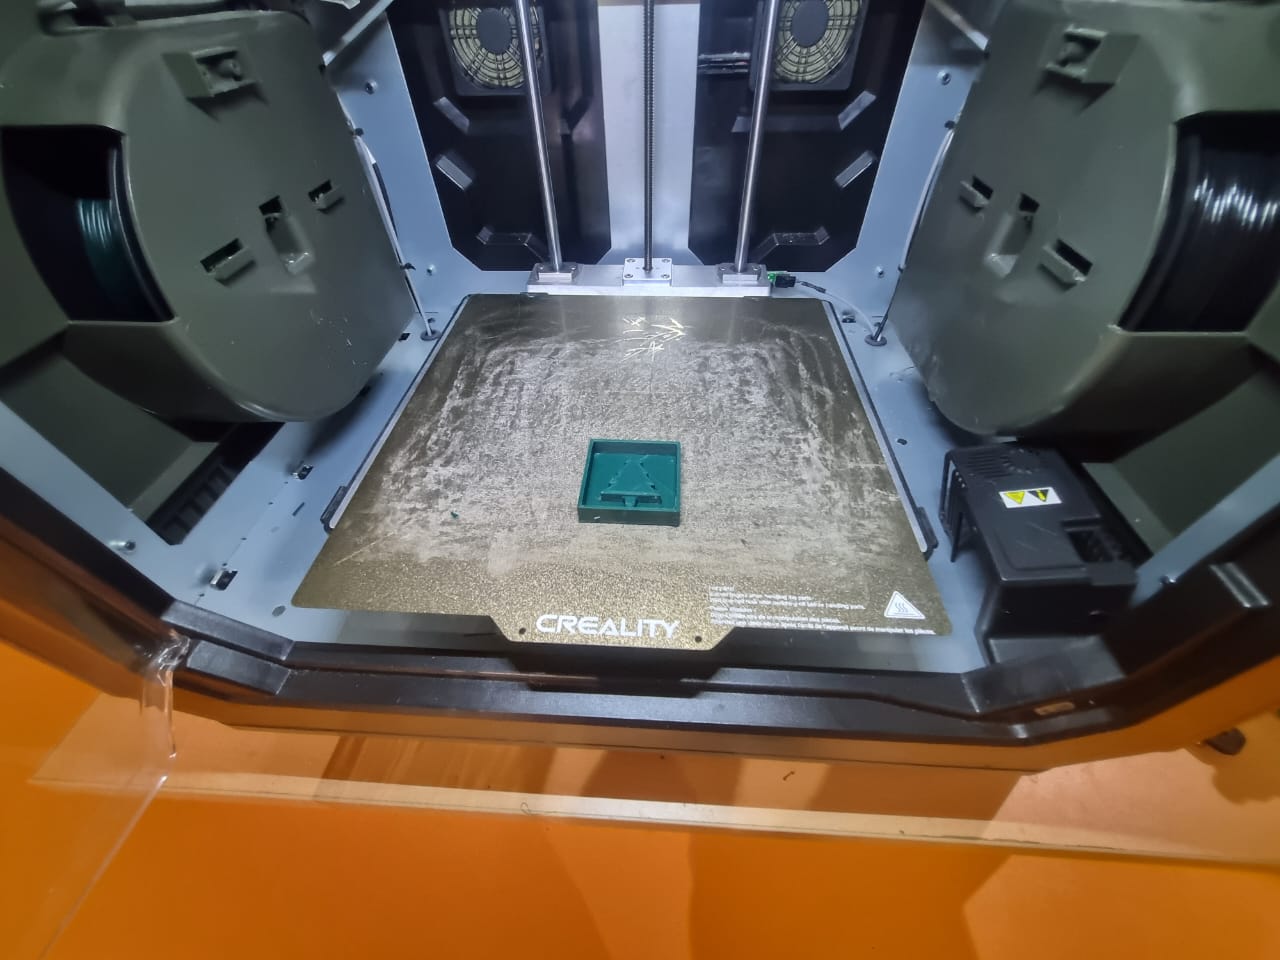
Why Switched to 3d Printing
Initially, I attempted to create my mold using the milling process. However, due to technical issues such as precision challenges and tool compatibility, I switched to 3D printing. This change allowed for better design flexibility and faster production.
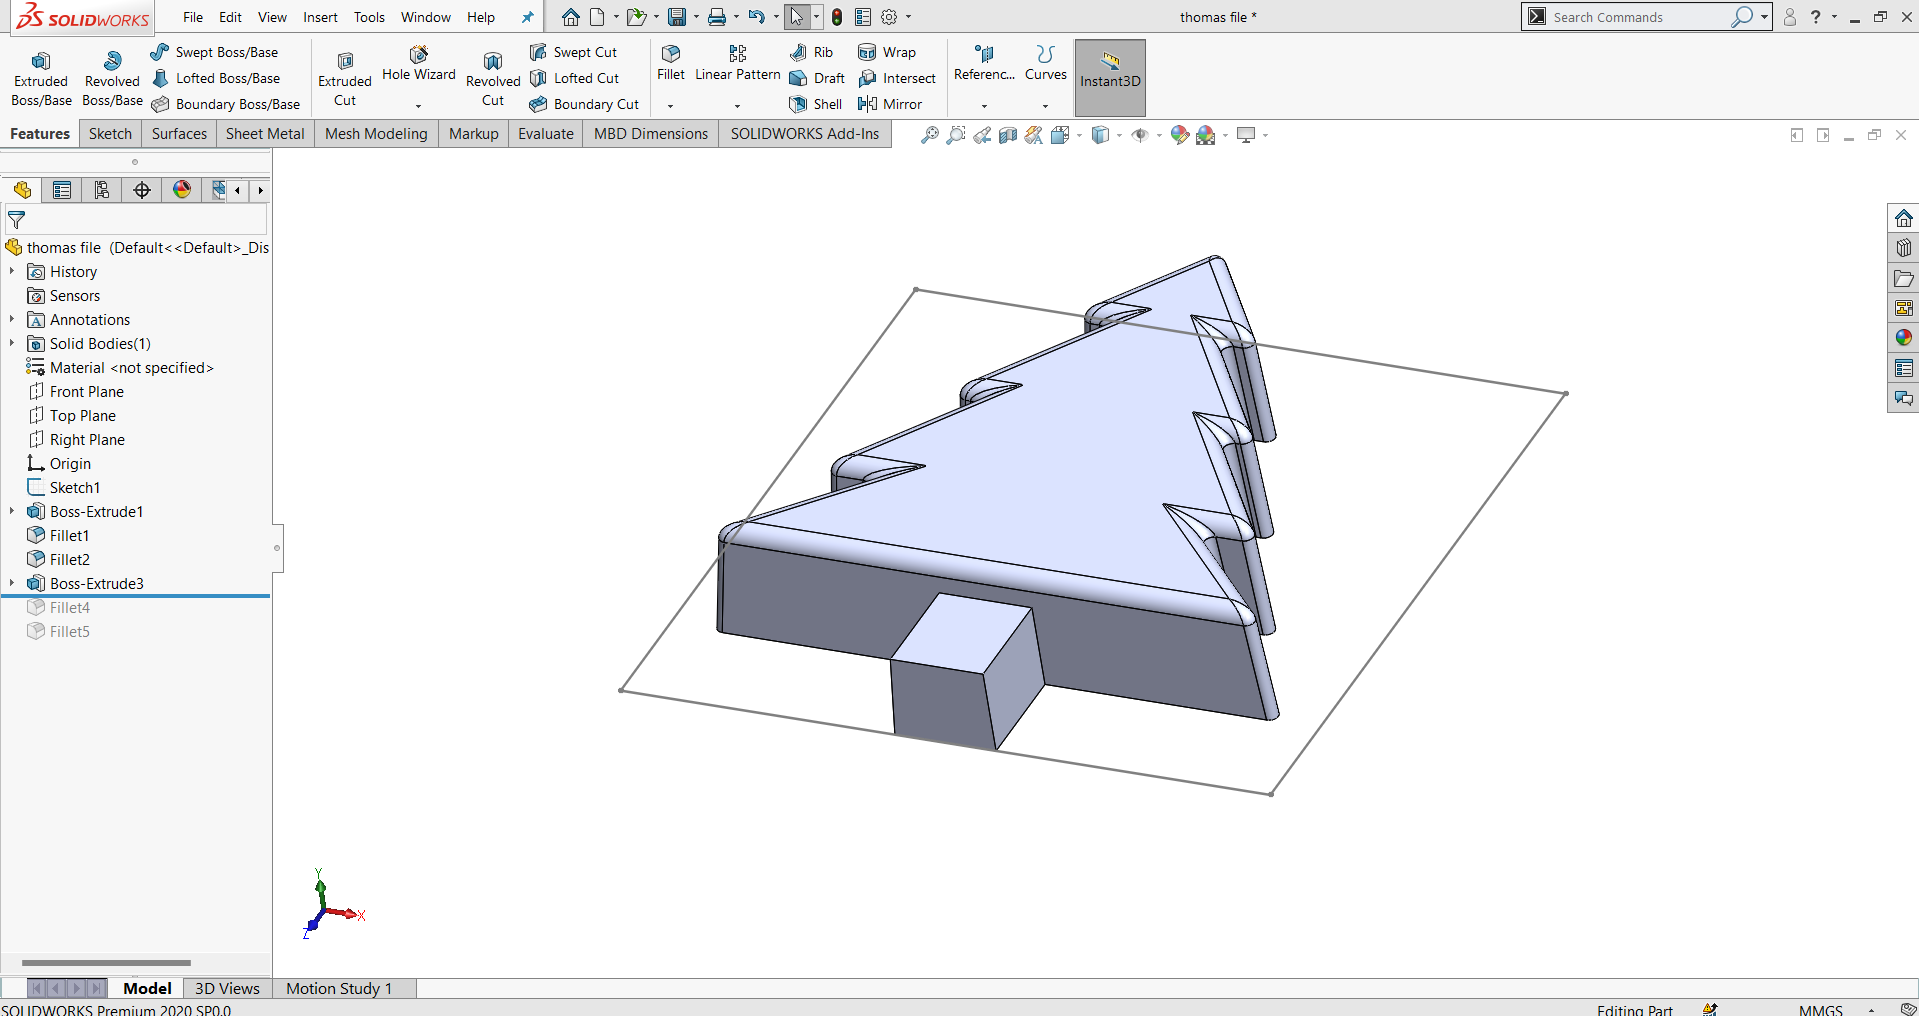
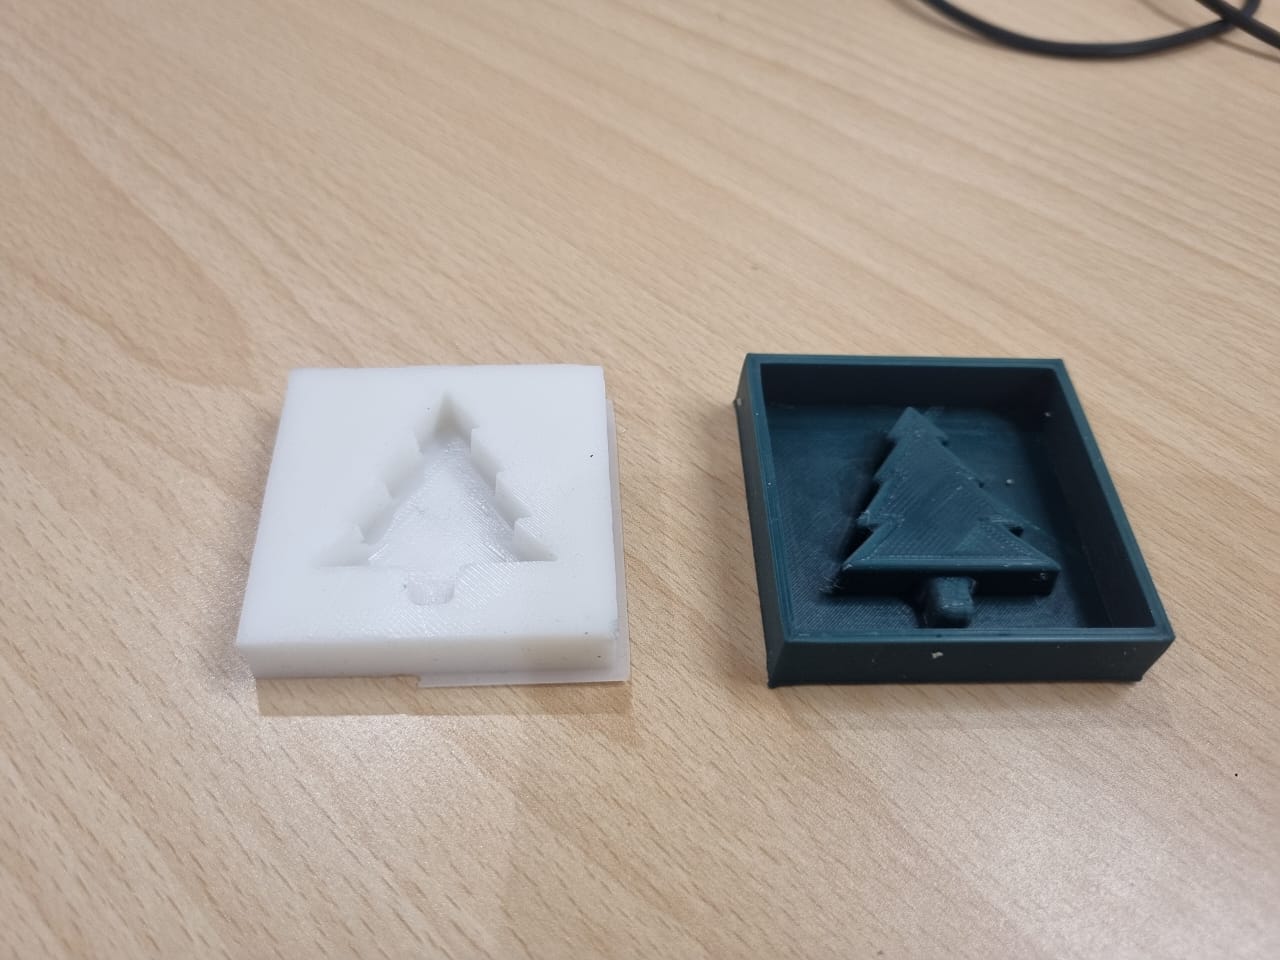
Production and Surface Finish
After finalizing the design, I fabricated the mold using a 3D printing process. The printer settings were carefully adjusted to ensure precision and a smooth surface finish. Parameters such as layer height, print speed, and extrusion temperature were optimized based on the material properties and printer capabilities.
Post-processing techniques, including sanding, priming, and painting, were employed to eliminate visible layer lines and achieve a seamless surface finish that masked the production process. This ensured that the final product met aesthetic and functional requirements.
Calculator for Mixing the Moulds
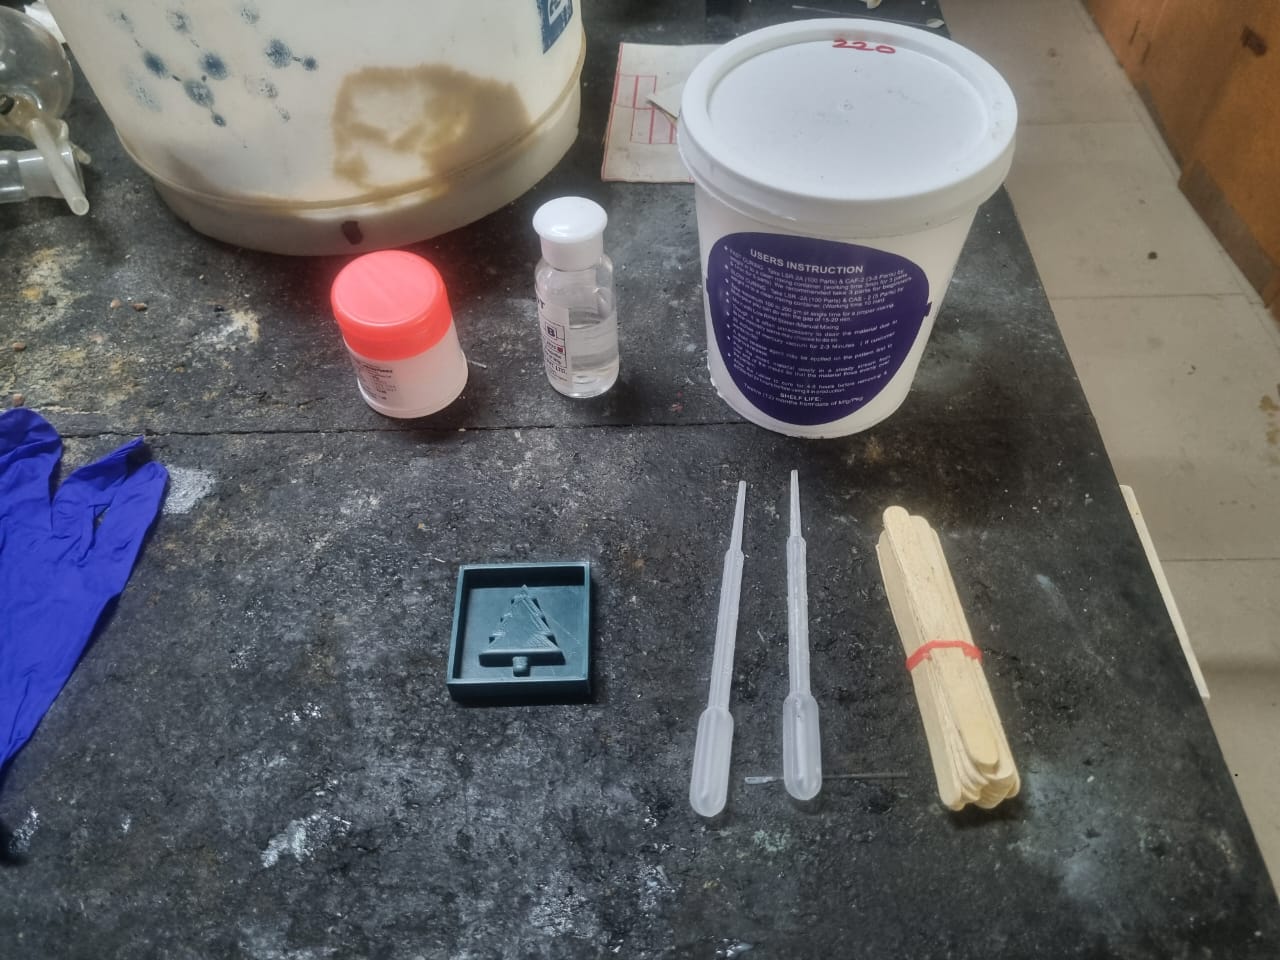
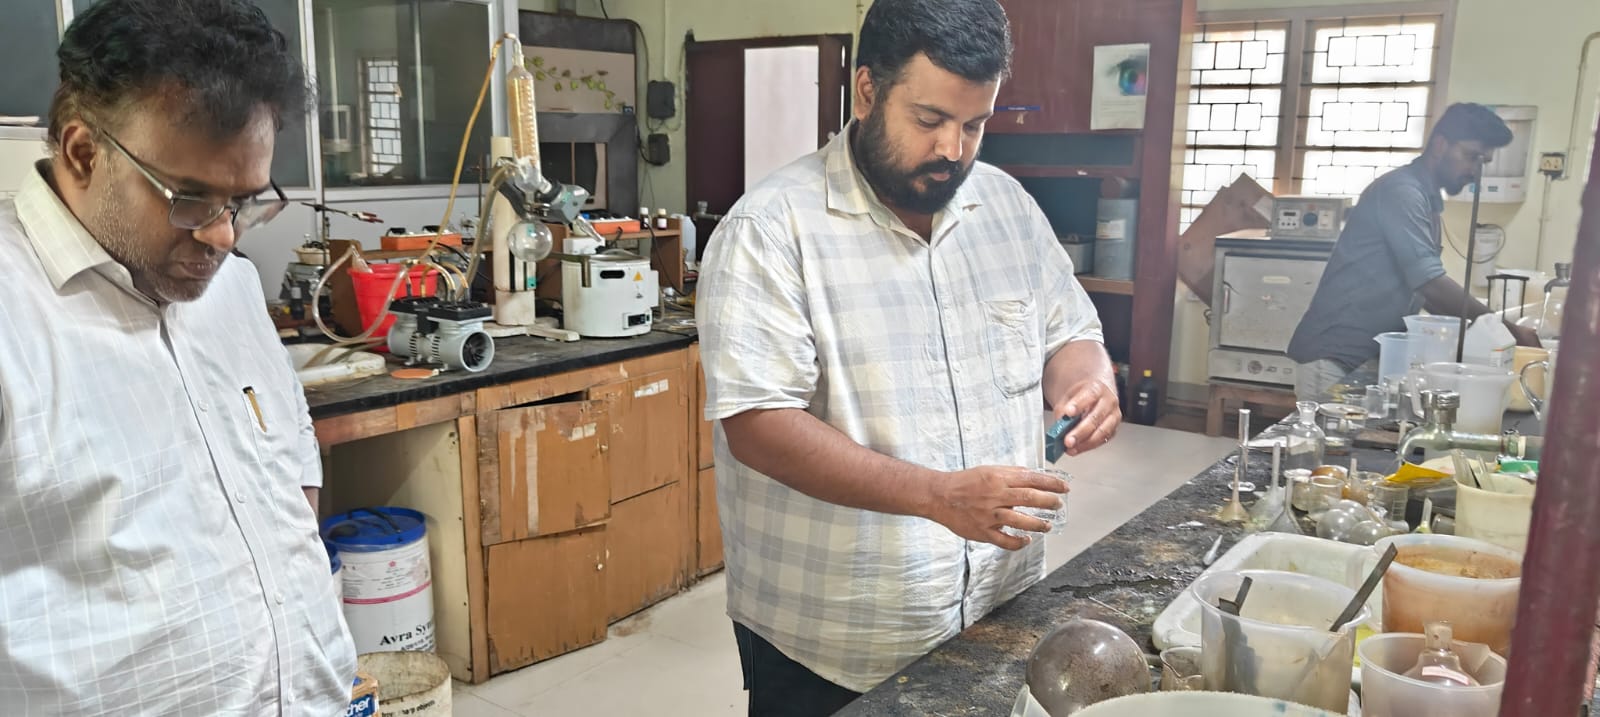
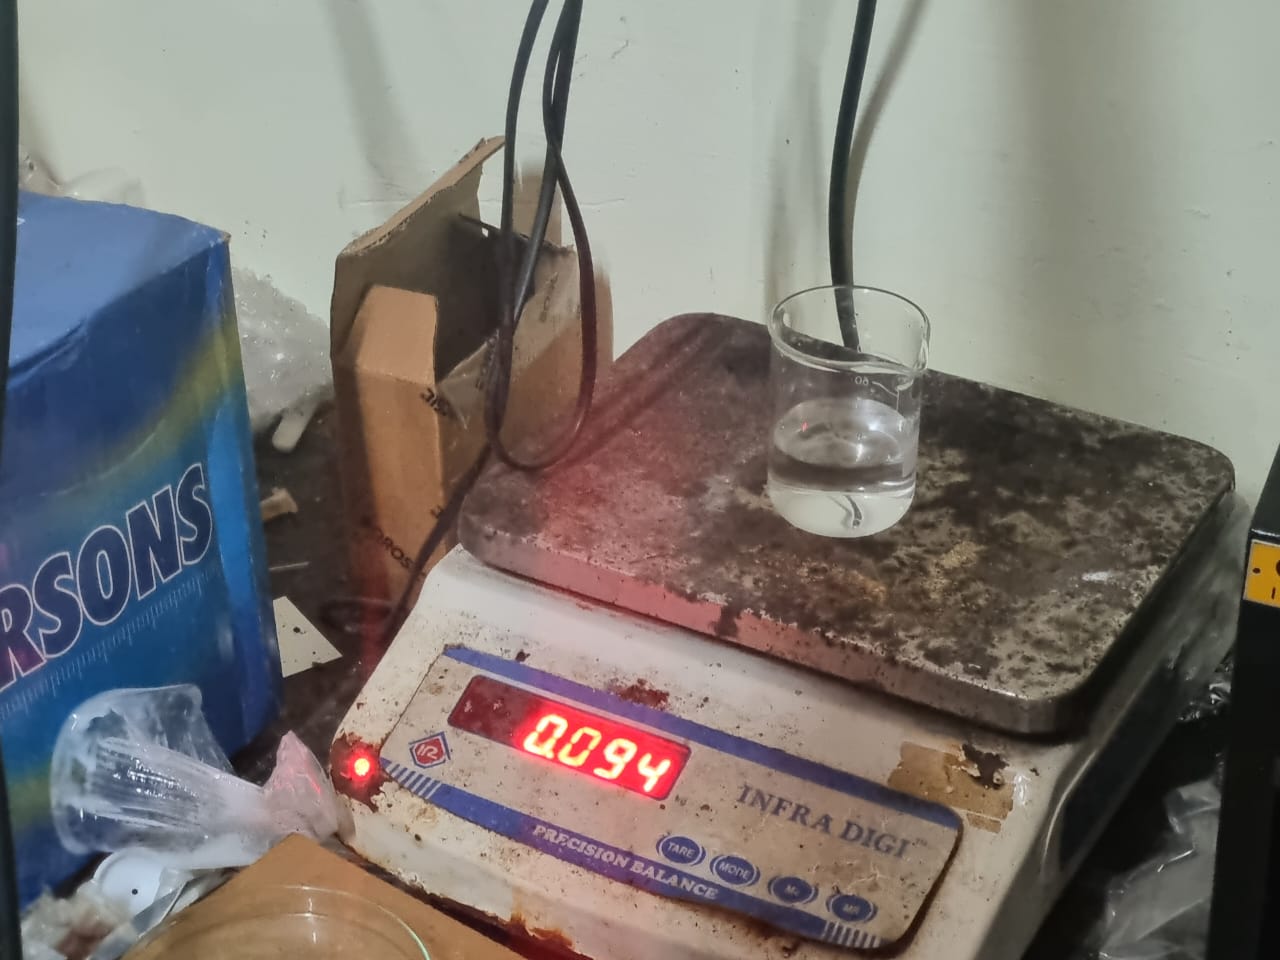
I have mixed the moulds according to the calculation below and utmost care was taken to avoid bubbles while mixing.

Using the Mold for Casting
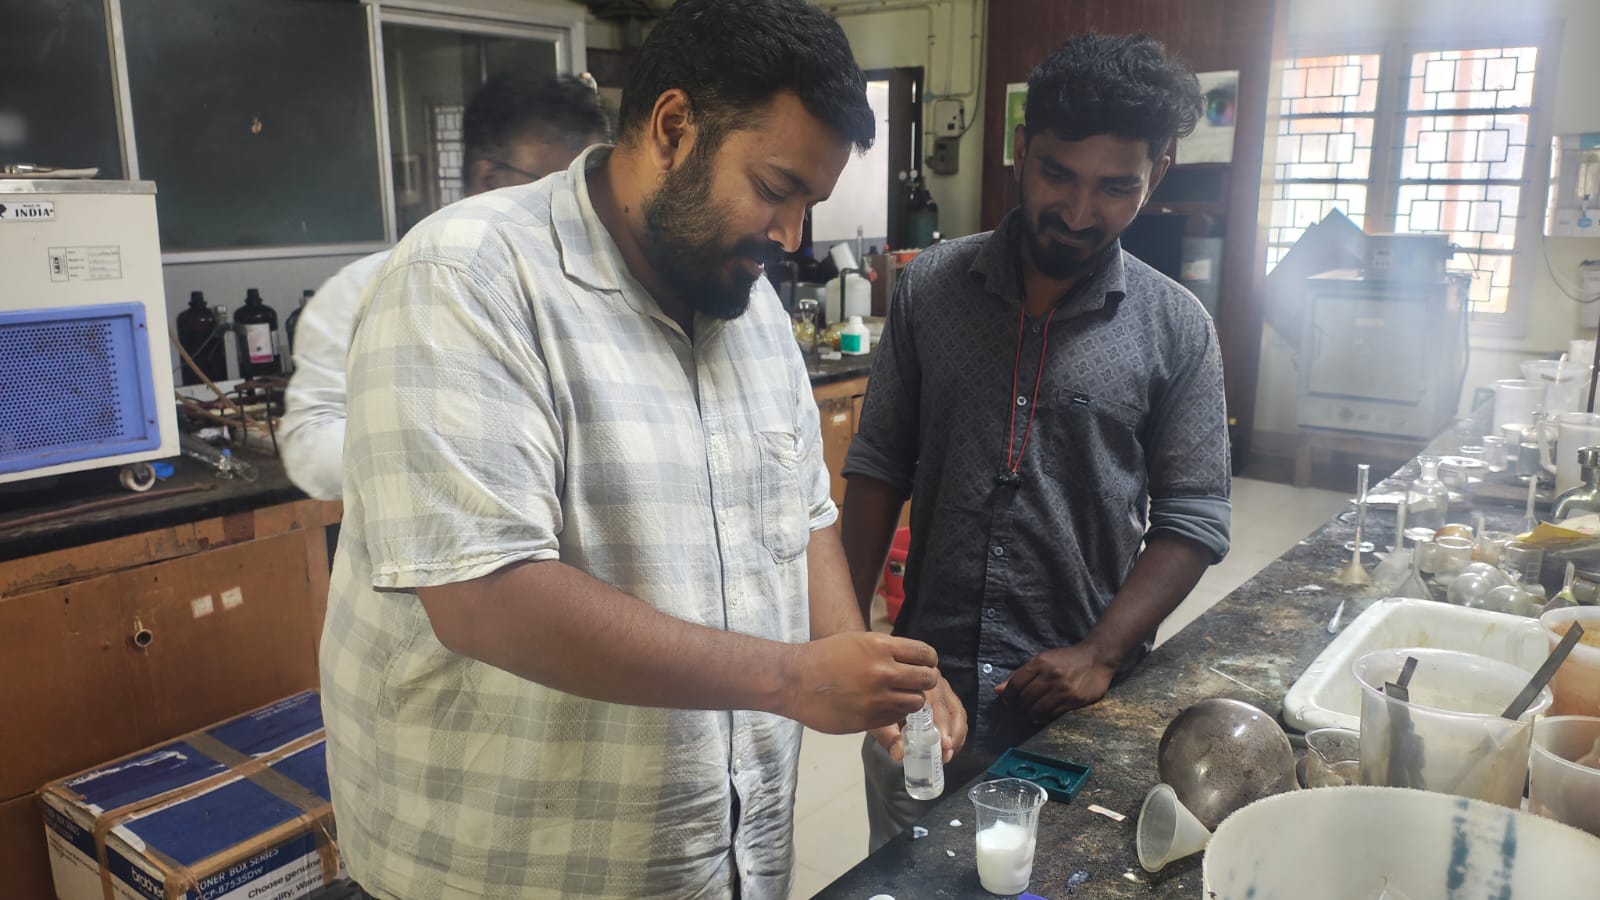
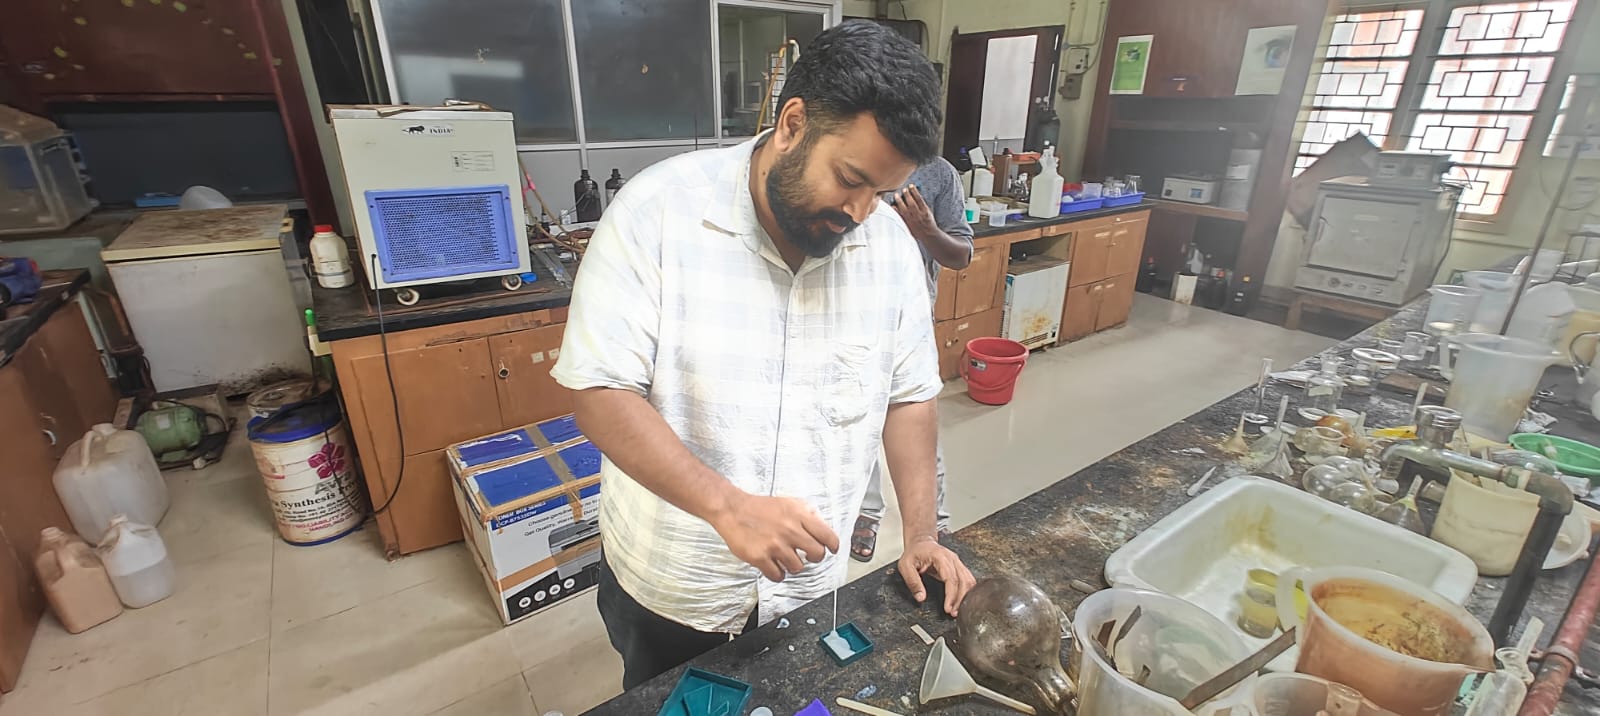
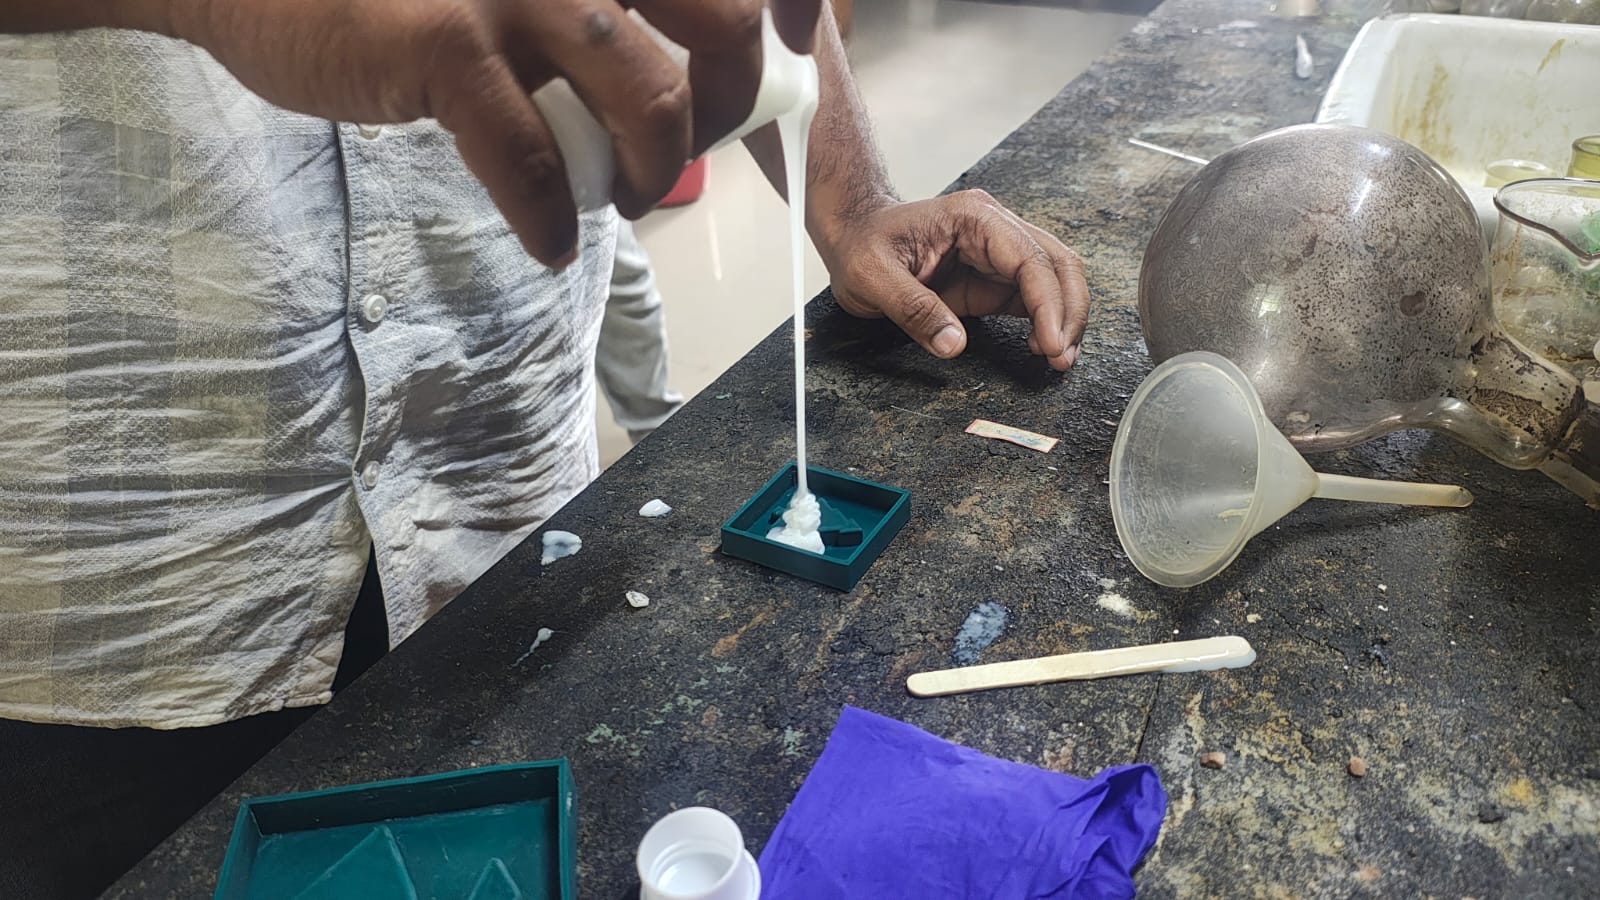
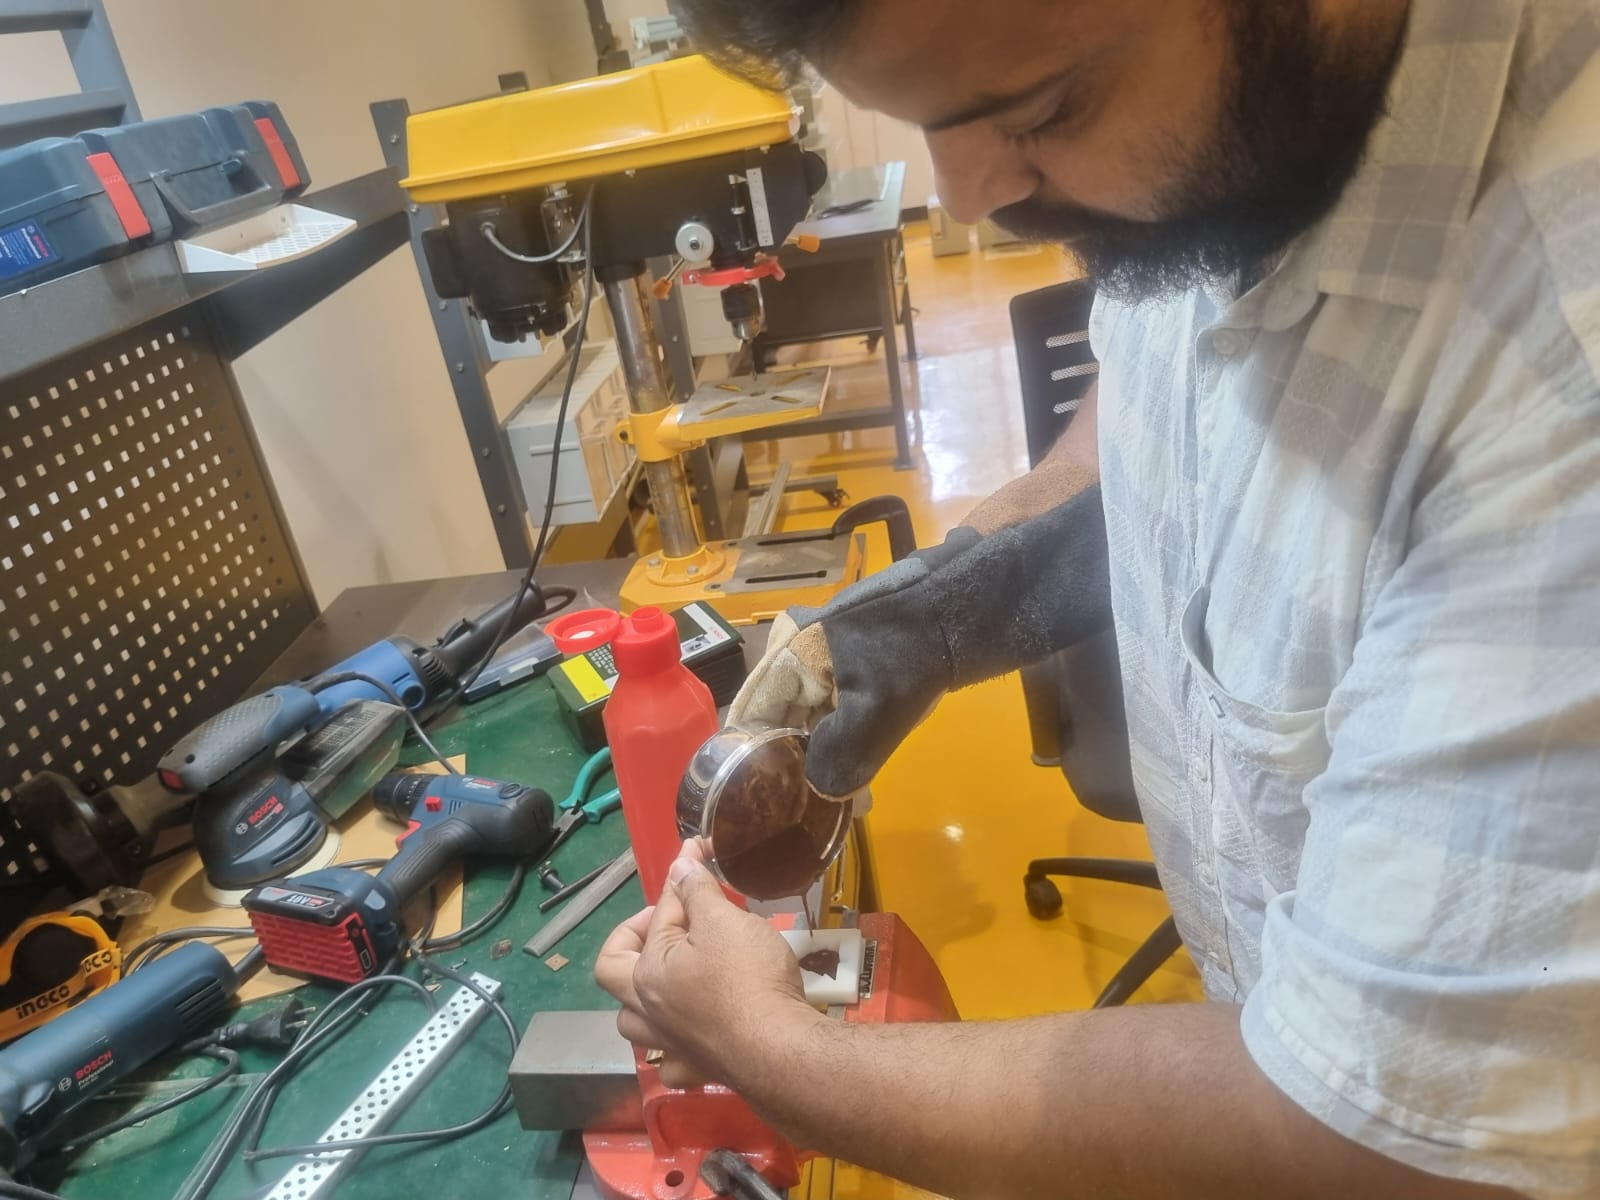
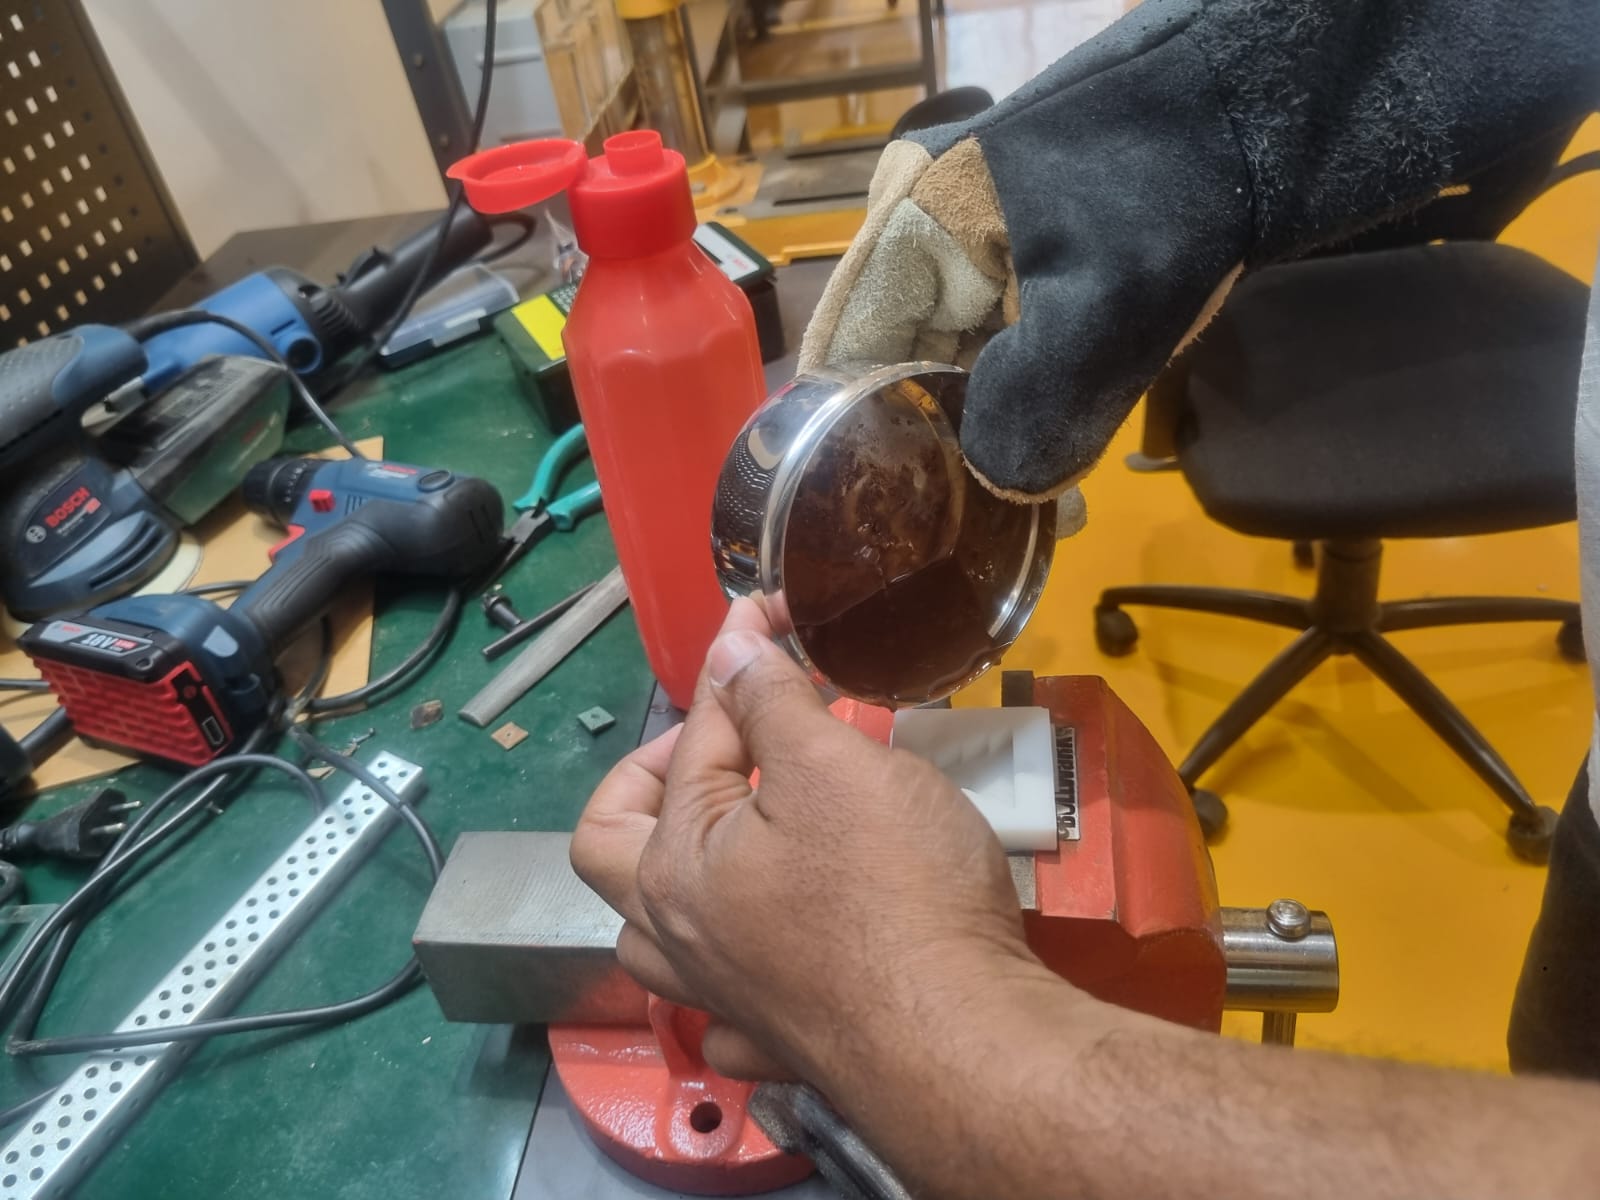
The mould was prepared for casting by applying a release agent to prevent the cast part from sticking. The chosen casting material was thoroughly mixed according to its safety data sheet instructions, ensuring accurate ratios for consistency and strength.
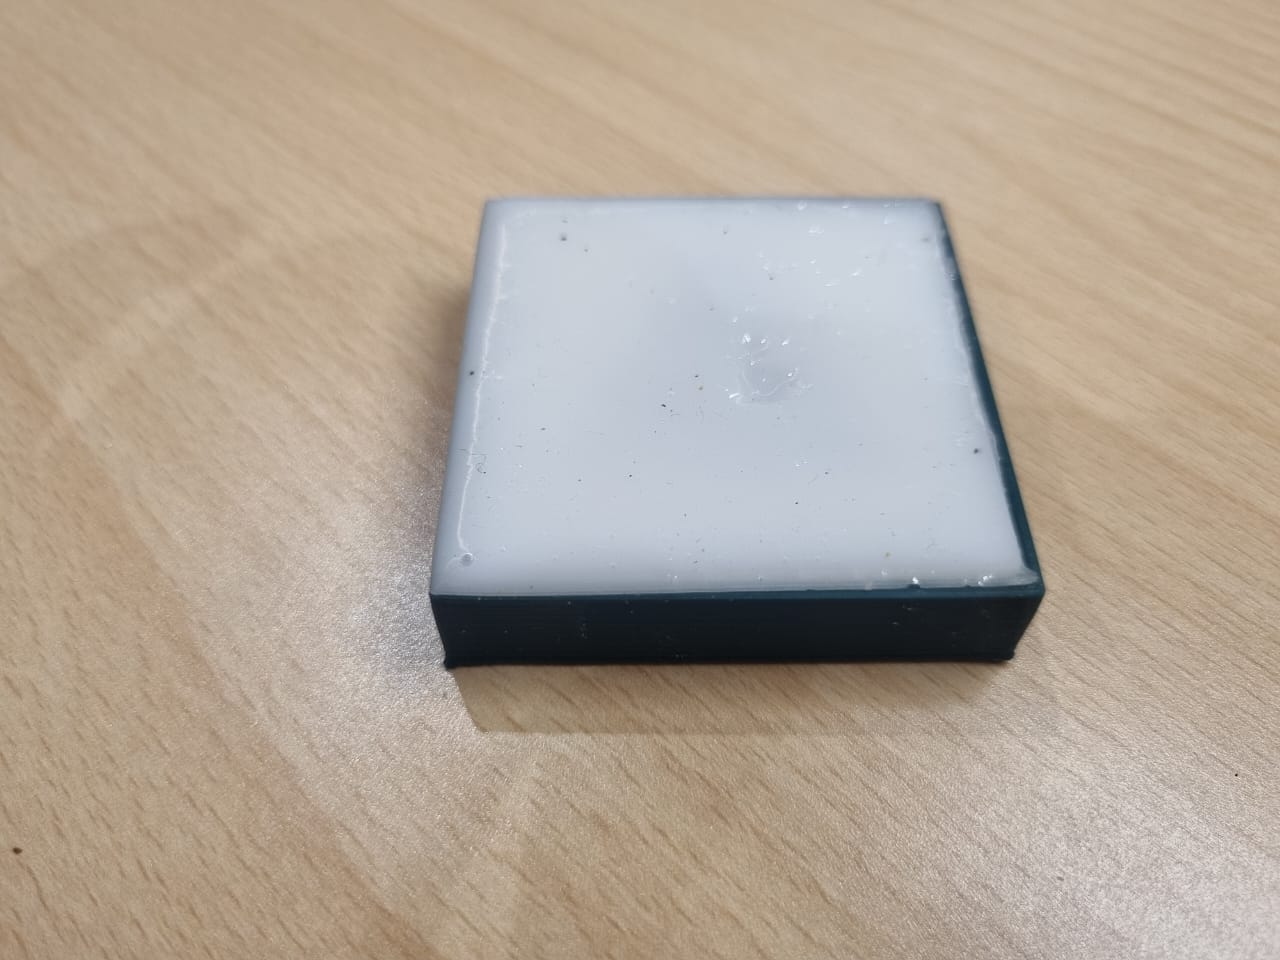
The casting material was poured into the mould carefully to avoid air bubbles. After curing, the cast part was removed and inspected for defects. Minor imperfections were resolved by adjusting the process for subsequent casts.
Reflections and Challenges
The assignment highlighted the importance of understanding material properties and process limitations. Reviewing the safety data sheets for each material ensured that the moulding and casting processes were conducted safely. Comparing test casts provided a clear understanding of material suitability for various applications.
Challenges encountered during the assignment included achieving a perfect surface finish and avoiding air bubbles during casting. These issues were addressed through careful process adjustments and attention to detail in preparation and execution.
Conclusion
This project was a comprehensive exploration of moulding and casting processes, from material selection to final part production.
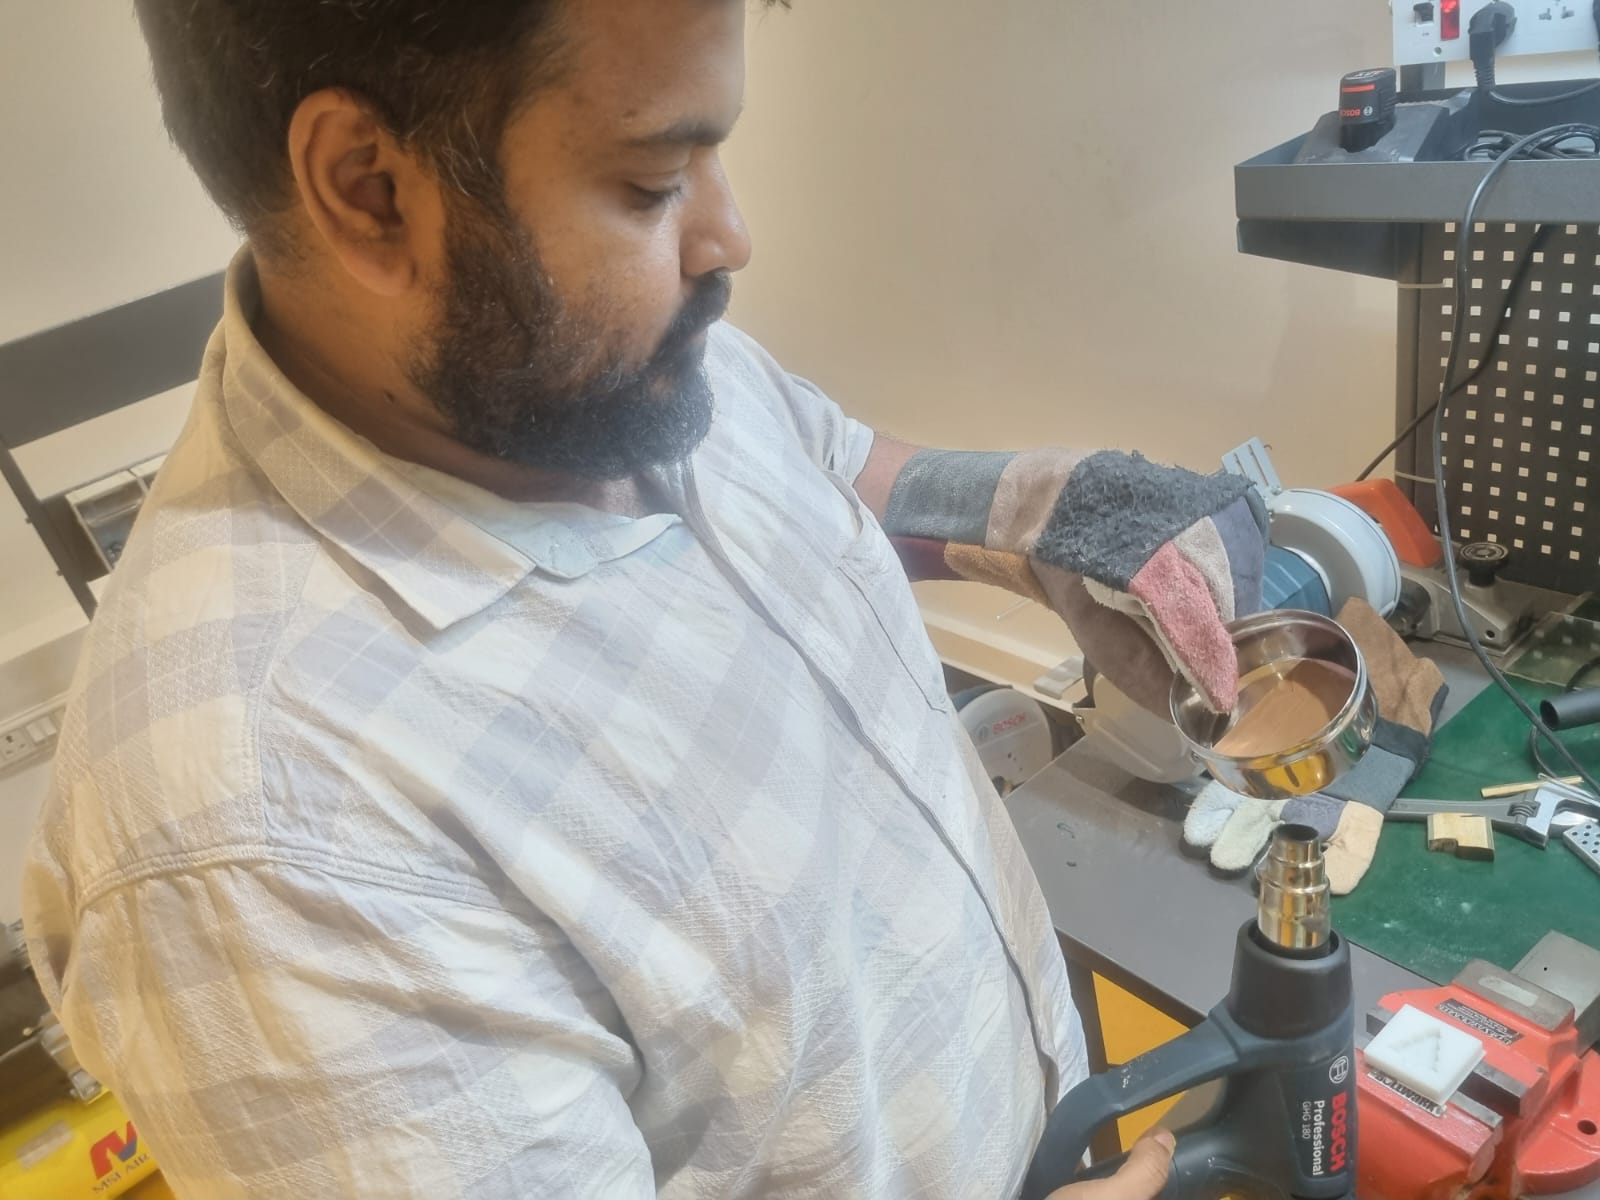
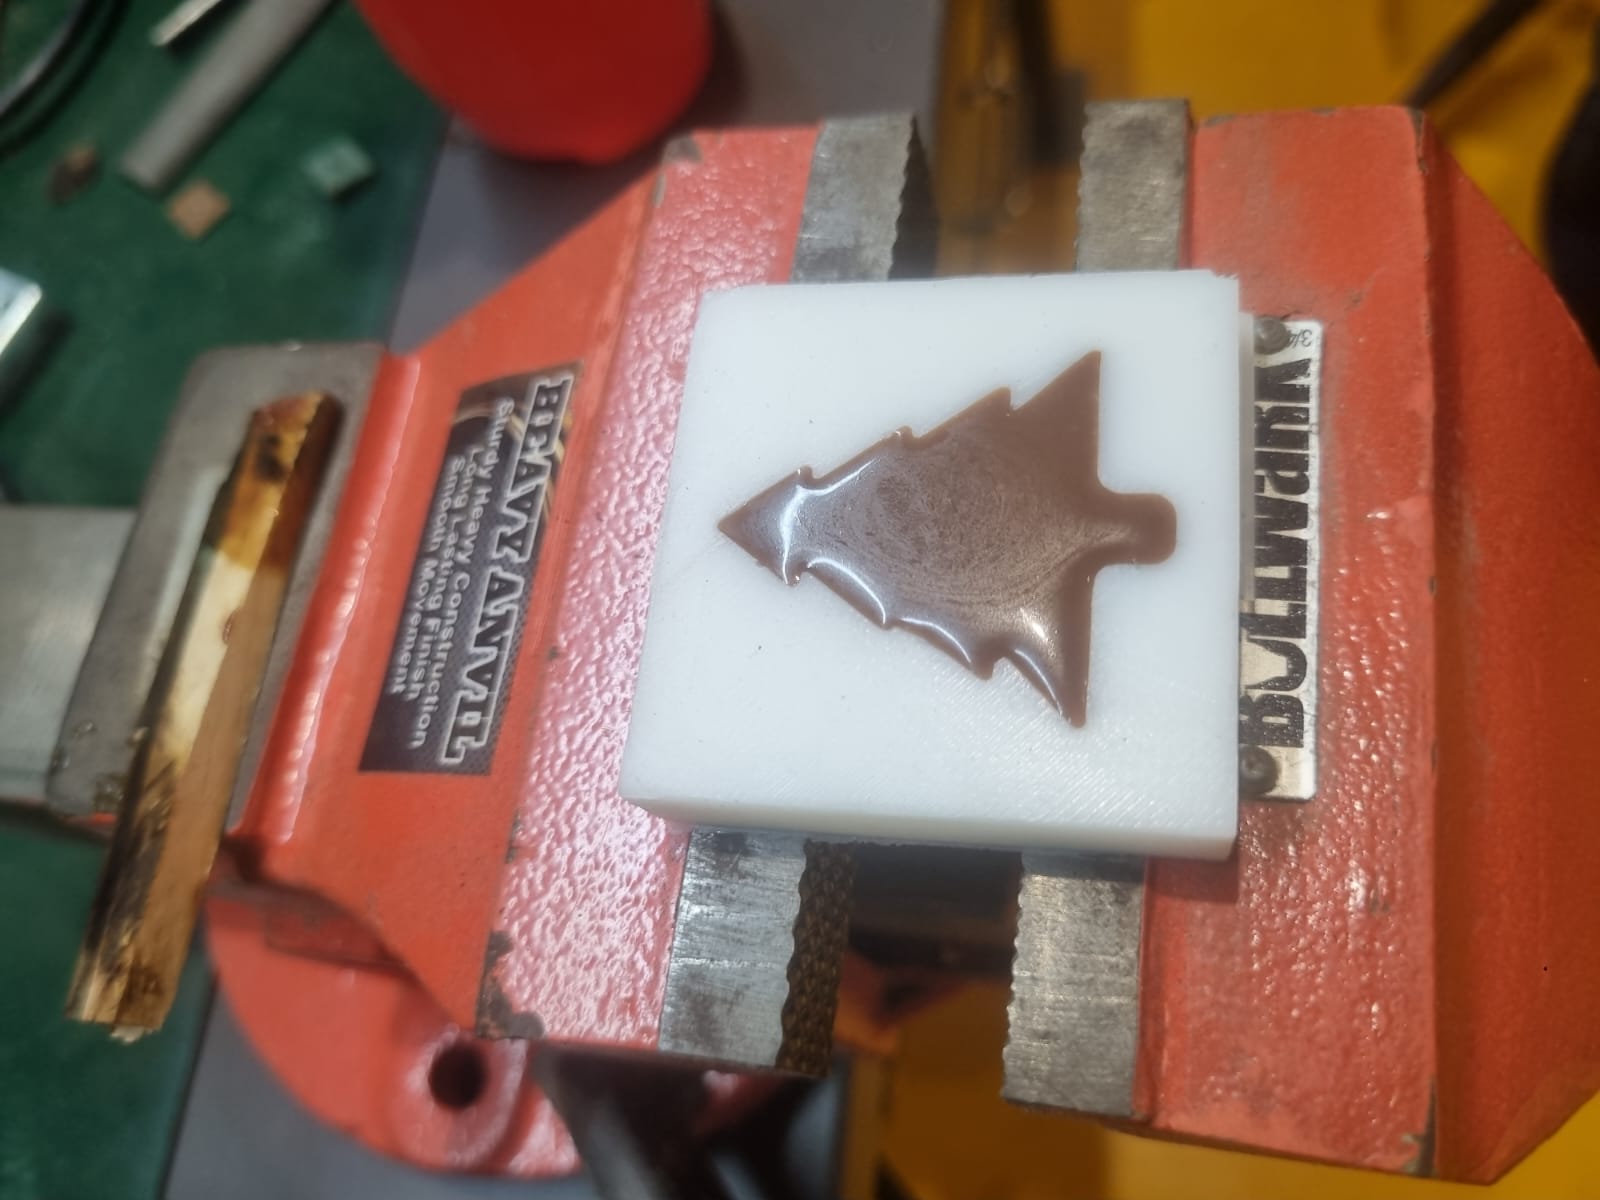
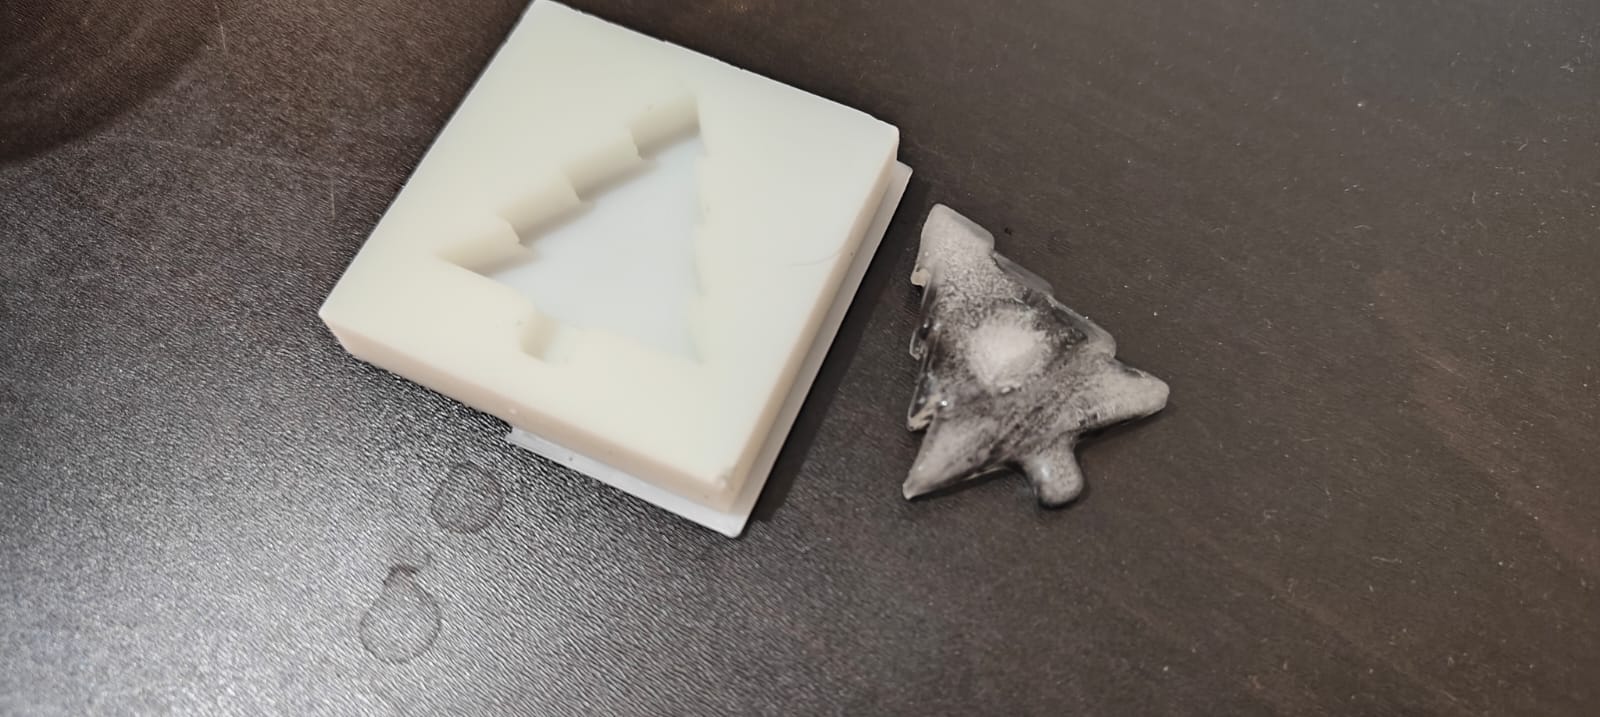
The knowledge and skills gained will be invaluable for future projects requiring custom parts and precise manufacturing techniques.Unfortunately i couldn't get the chocolate mould to solidify even after several attempts later learned that the moulding chocolate for moulding should have certain charcteristics for it to get moulded so i did a mould in water and it came out really well loved these Xmas ice cubes.

Project Files