The goal of this project is to demonstrate the use of multiple output devices — a SG90 servo motor, an SSD1306 OLED display, and a buzzer — using the Seeed Studio XIAO ESP32-C3 microcontroller. This setup showcases how mechanical movement, visual feedback, and audio indication can be combined to create an interactive embedded system.
Component | ESP32-C3 Pin | Power |
SG90 Servo (Orange) | D3 (GPIO 3) | Signal |
SG90 Servo (Red) | External 5V | VCC |
SG90 Servo (Brown) | GND (shared) | GND |
OLED SDA | D4 (GPIO 4) | 3.3V |
OLED SCL | D5 (GPIO 5) | 3.3V |
Buzzer | D7 (GPIO 7) | 3.3V (active buzzer) |
Important: The servo must be powered externally, not from the 3.3V ESP32 pin. Ensure GND is common between ESP and the power source.
#include <Wire.h>
#include <Adafruit_GFX.h>
#include <Adafruit_SSD1306.h>
#include <ESP32Servo.h>
// OLED display setup
#define SCREEN_WIDTH 128
#define SCREEN_HEIGHT 64
#define OLED_RESET -1
Adafruit_SSD1306 display(SCREEN_WIDTH, SCREEN_HEIGHT, &Wire, OLED_RESET);
// Pin Definitions
#define BUZZ D7
#define SERVO_PIN D3
Servo myServo;
void setup() {
Serial.begin(115200);
pinMode(BUZZ, OUTPUT);
digitalWrite(BUZZ, LOW);
// Attach servo
myServo.attach(SERVO_PIN);
myServo.write(0); // Start at 0 degrees
// OLED setup
if (!display.begin(SSD1306_SWITCHCAPVCC, 0x3C)) {
Serial.println("OLED init failed");
while (true);
}
display.clearDisplay();
display.setTextSize(2);
display.setTextColor(SSD1306_WHITE);
centerText("Servo + Buzzer", 0);
}
void loop() {
// Move to 0°
myServo.write(0);
buzzBeep();
updateDisplay("0 deg");
delay(1000);
// Move to 90°
myServo.write(90);
buzzBeep();
updateDisplay("90 deg");
delay(1000);
}
// Play a beep
void buzzBeep() {
digitalWrite(BUZZ, HIGH);
delay(150);
digitalWrite(BUZZ, LOW);
}
// Update the display text
void updateDisplay(const char* text) {
display.fillRect(0, 30, SCREEN_WIDTH, 20, BLACK); // Clear area
centerText(text, 30);
}
// Center text function
void centerText(const char* text, int y) {
int16_t x1, y1;
uint16_t w, h;
display.getTextBounds(text, 0, y, &x1, &y1, &w, &h);
int x = (SCREEN_WIDTH - w) / 2;
display.setCursor(x, y);
display.print(text);
display.display();
}
Servo myServo;
Uses the ESP32Servo library to control a PWM signal for the SG90.
display.getTextBounds()
Calculates the width/height of the text to allow horizontal centering.
buzzBeep()
Turn the buzzer on and off for a short time to create a beep sound.
updateDisplay()
Clears a specific portion of the OLED and writes updated text.
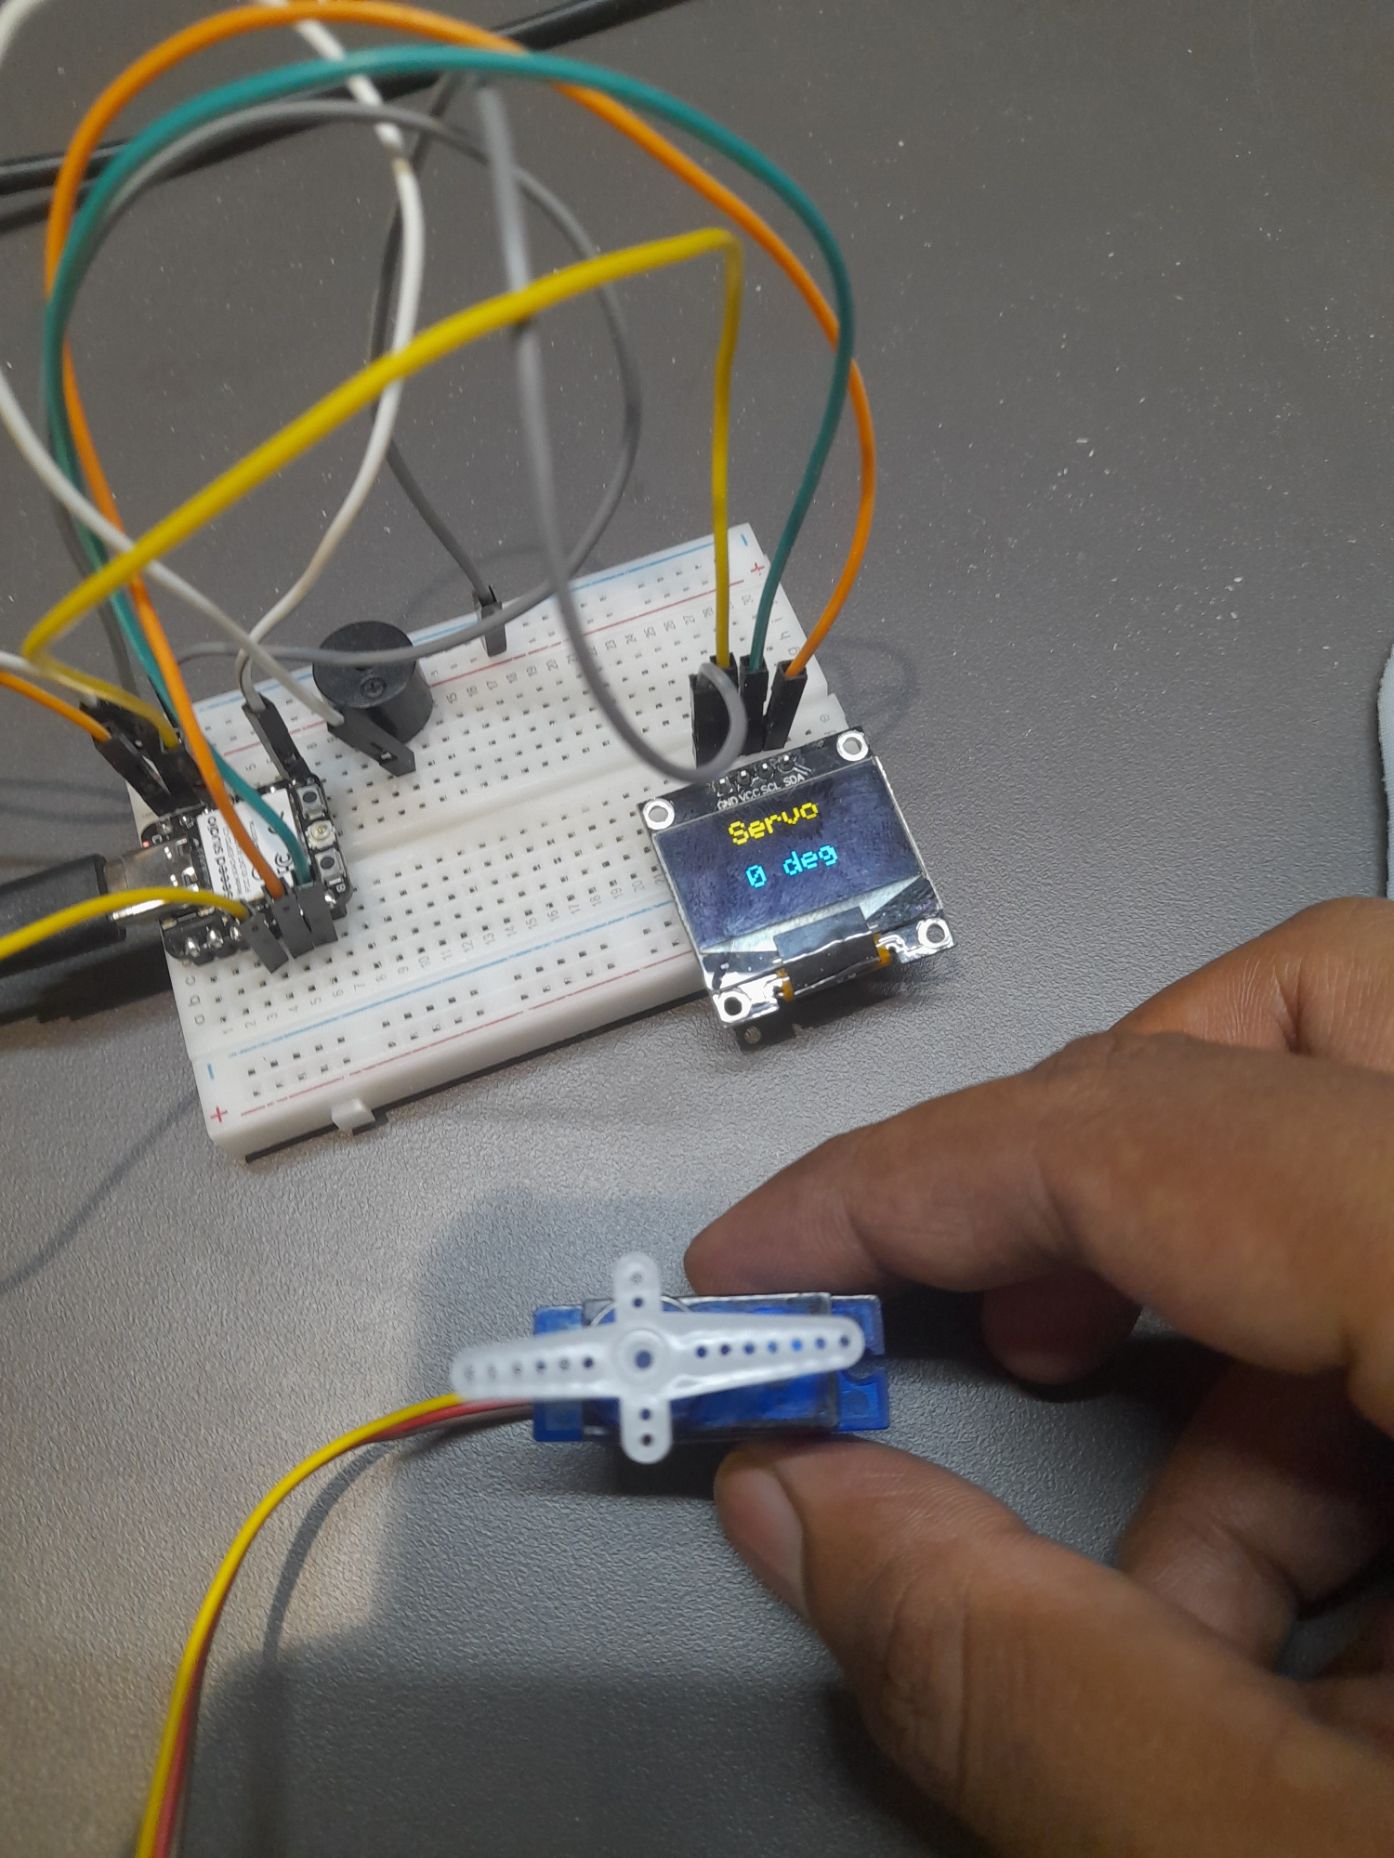
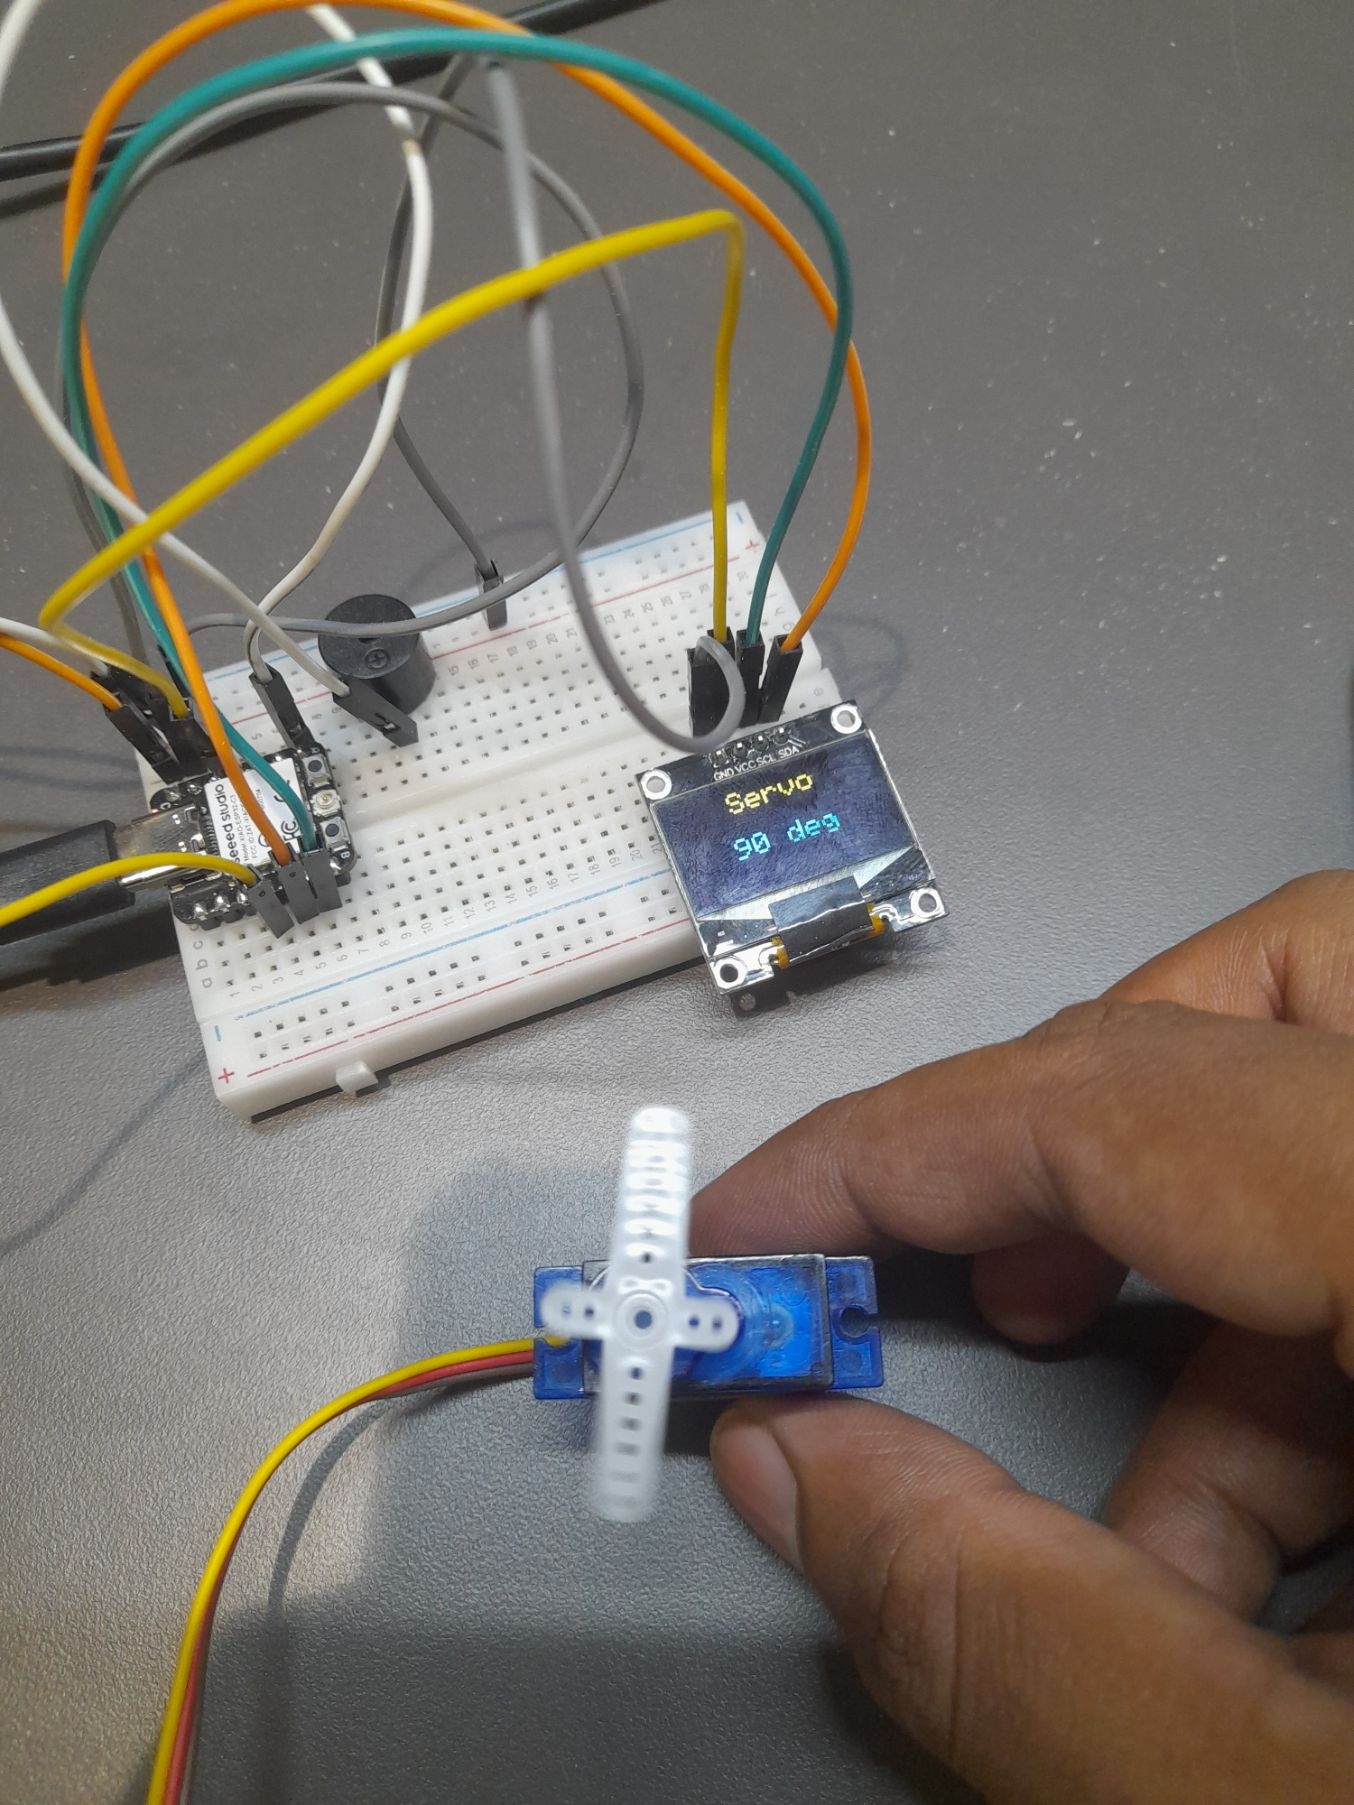
This code has been implemented and successfully tested on the XIAO ESP32-C3 board, images08 were taken on both the 0° and 90° turn of the servo, with indication of buzzer. The Working video is also given in this link.
This project helped in understanding how to: