3D-scaning-and-printing
This is the fifth week, and I was supposed to work on key tasks for 3D-scaning-and-printing. I worked on designing something that can not be made by inject molding and I also scanned a 3D object to see how 3D scanner works and operate.
Description of group assignment
-
Test the design rules for your 3D printer(s)
-
Document your work on the group work page and reflect on your individual page what you learned about characteristics of your printer(s)
-
Design and 3D print an object (small, few cm3, limited by printer time) that could not be easily made subtractively
-
3D scan an object (and optionally print it)
Goup assignment
Individual assignments
Group assignment
In this week 3D Scanning and Printing group assignment, I explored the capabilities and limitations of 3D printers, focusing on design rules such as resolution, overhangs, and tolerances. Through our Gorup assignment link, we tested the performance of different printers and analyzed their characteristics. This hands-on experience enhanced my understanding of print accuracy, material behavior, and optimization for successful 3D prints.
Individual assignment
this is how I designed my 3D model
I thought about designing a charger holder that can increase the height of cable and decrease it
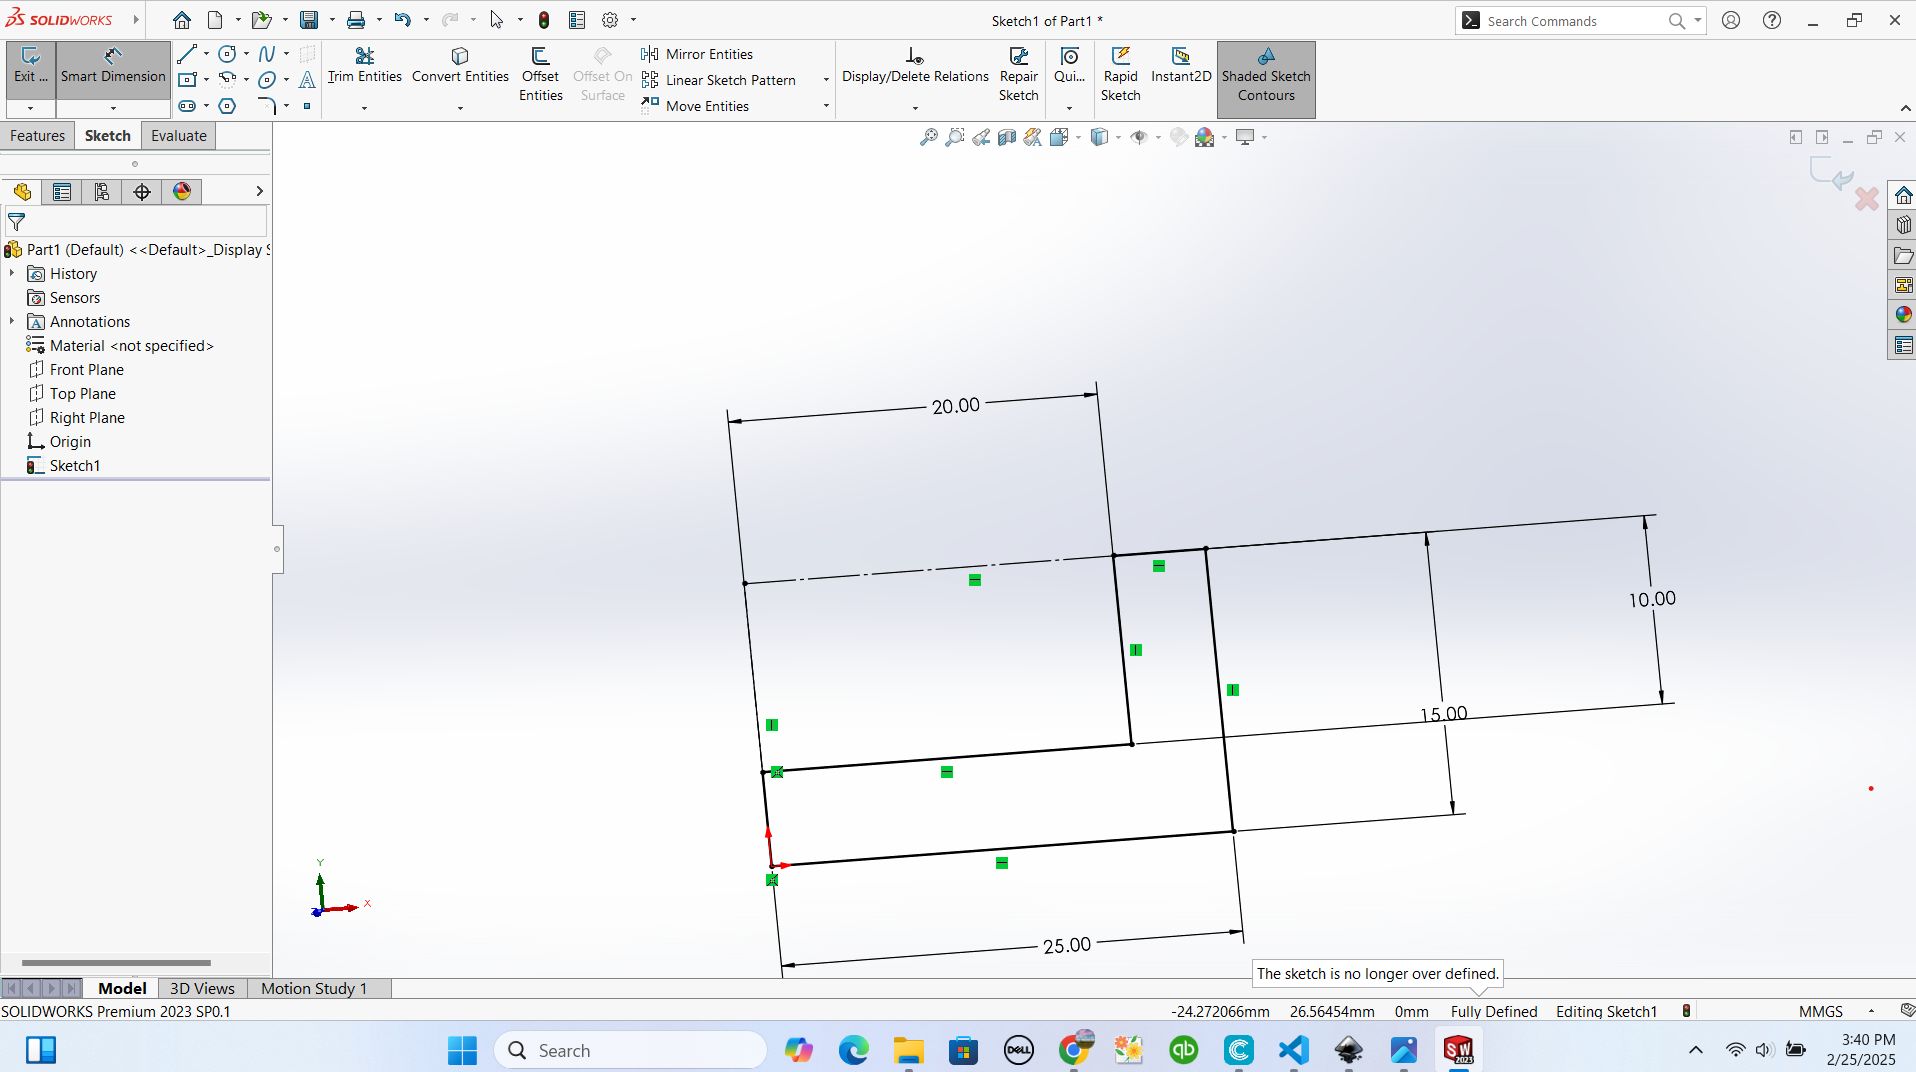
I used solidworks as my favorite 3d designing software and I started by creating planes and measurements that would help me to design revolved design top and bottom design
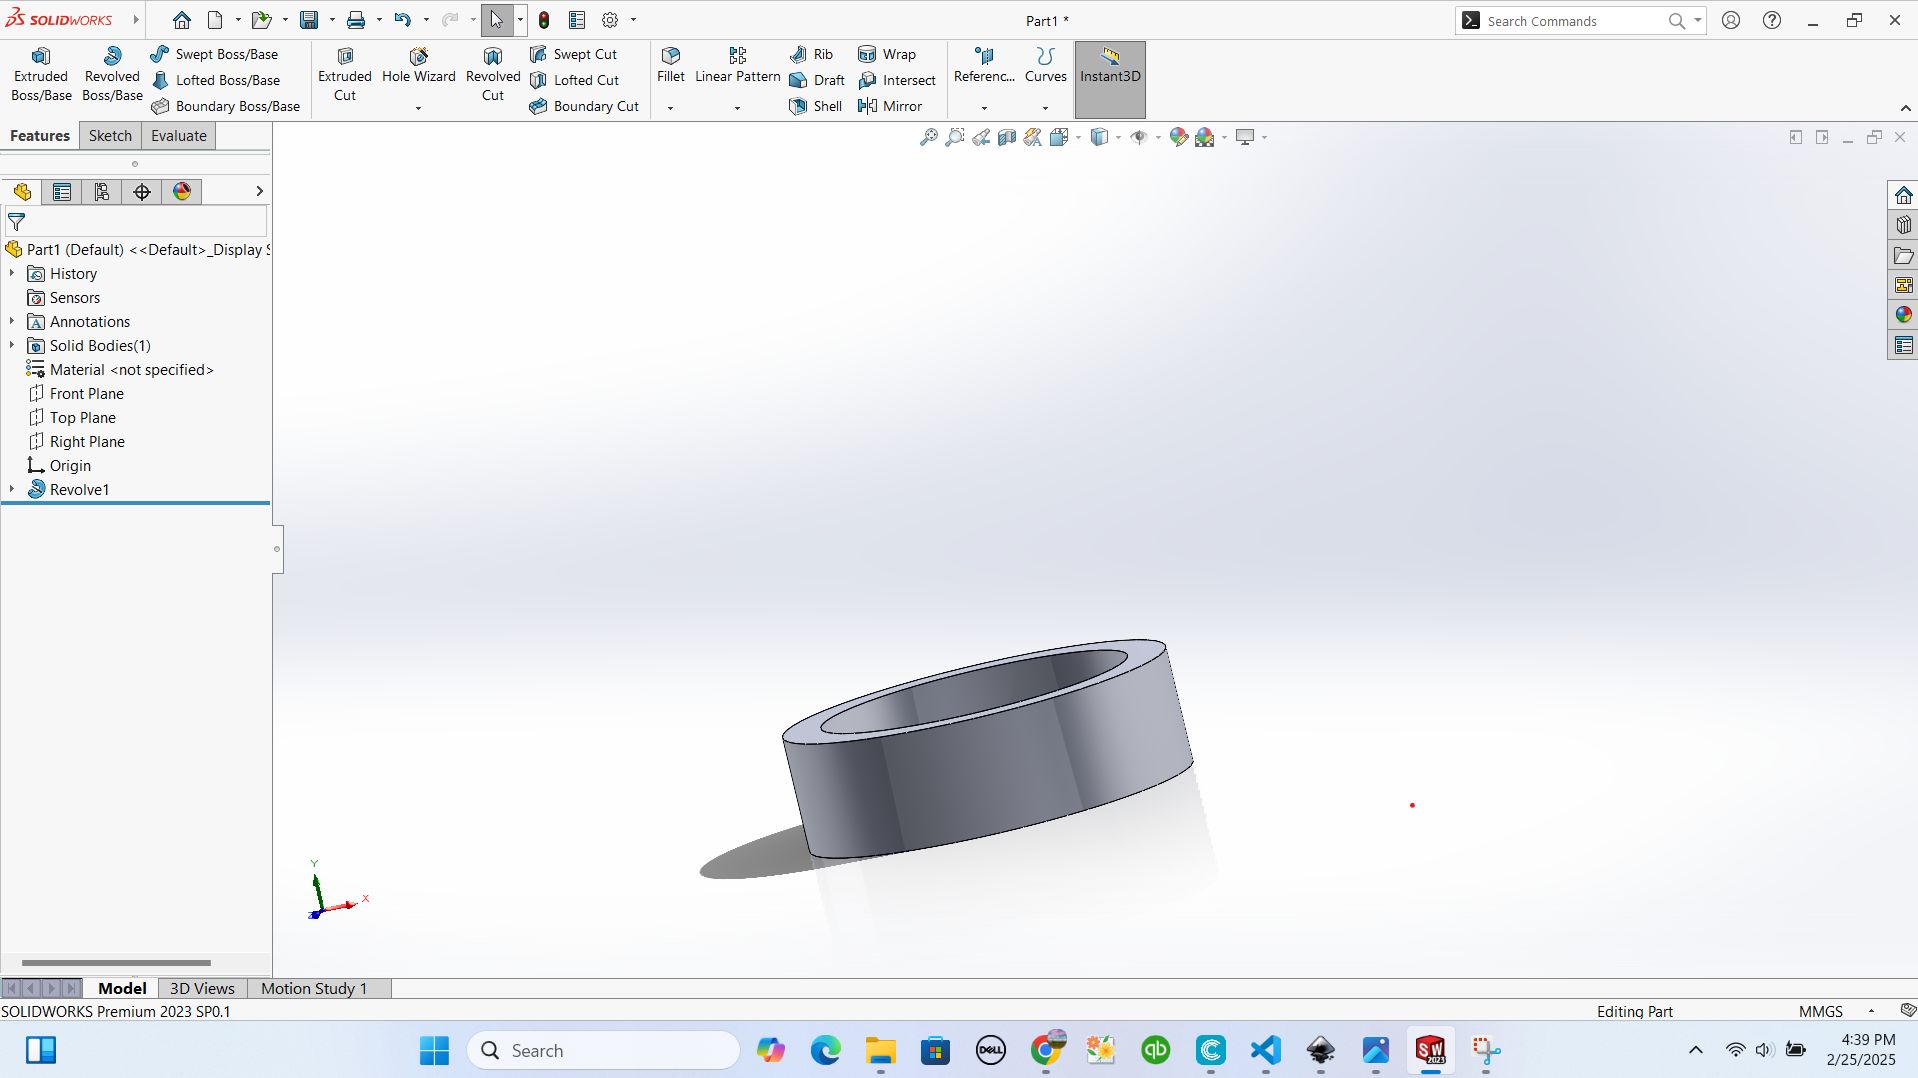
after that I revolved my designinorder to have a rounded box
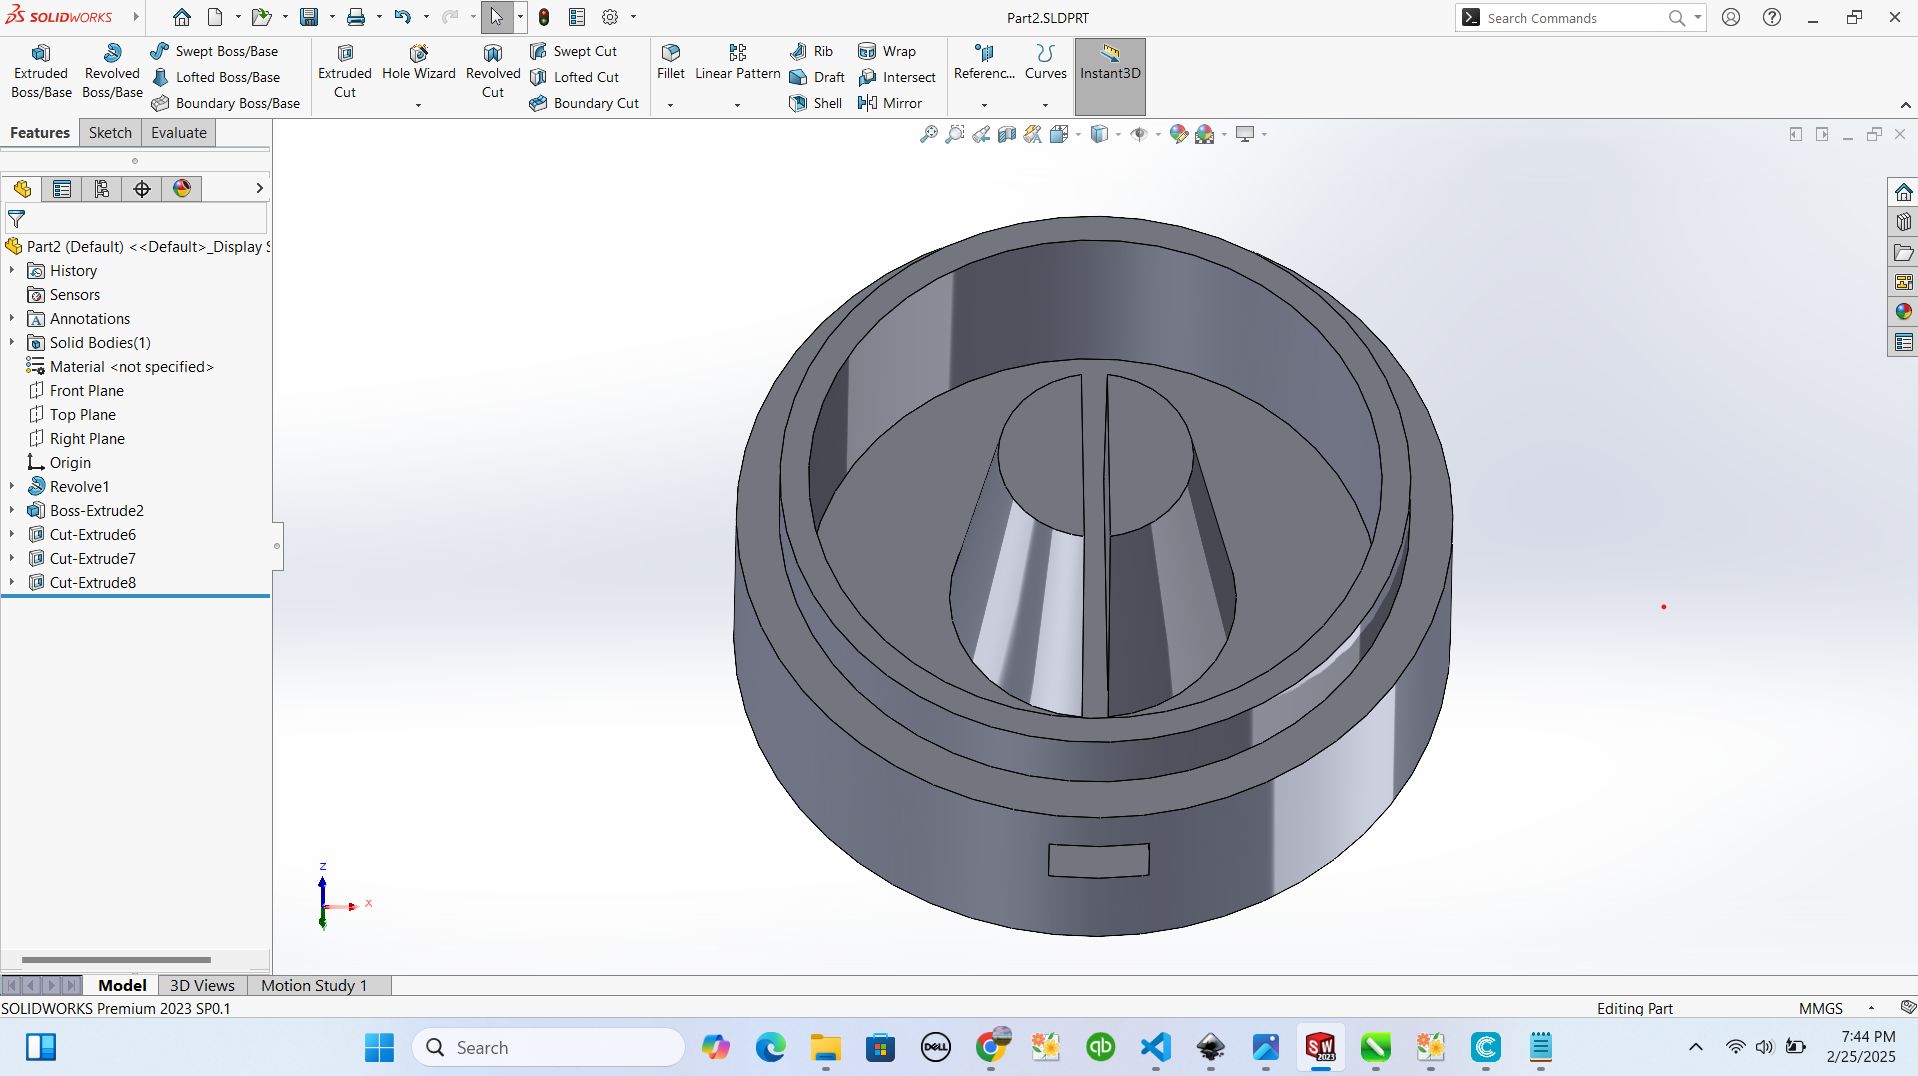
after ending by designs of parts, I go to assembly stage
I selected the new file and go to assembly environment in solidworks
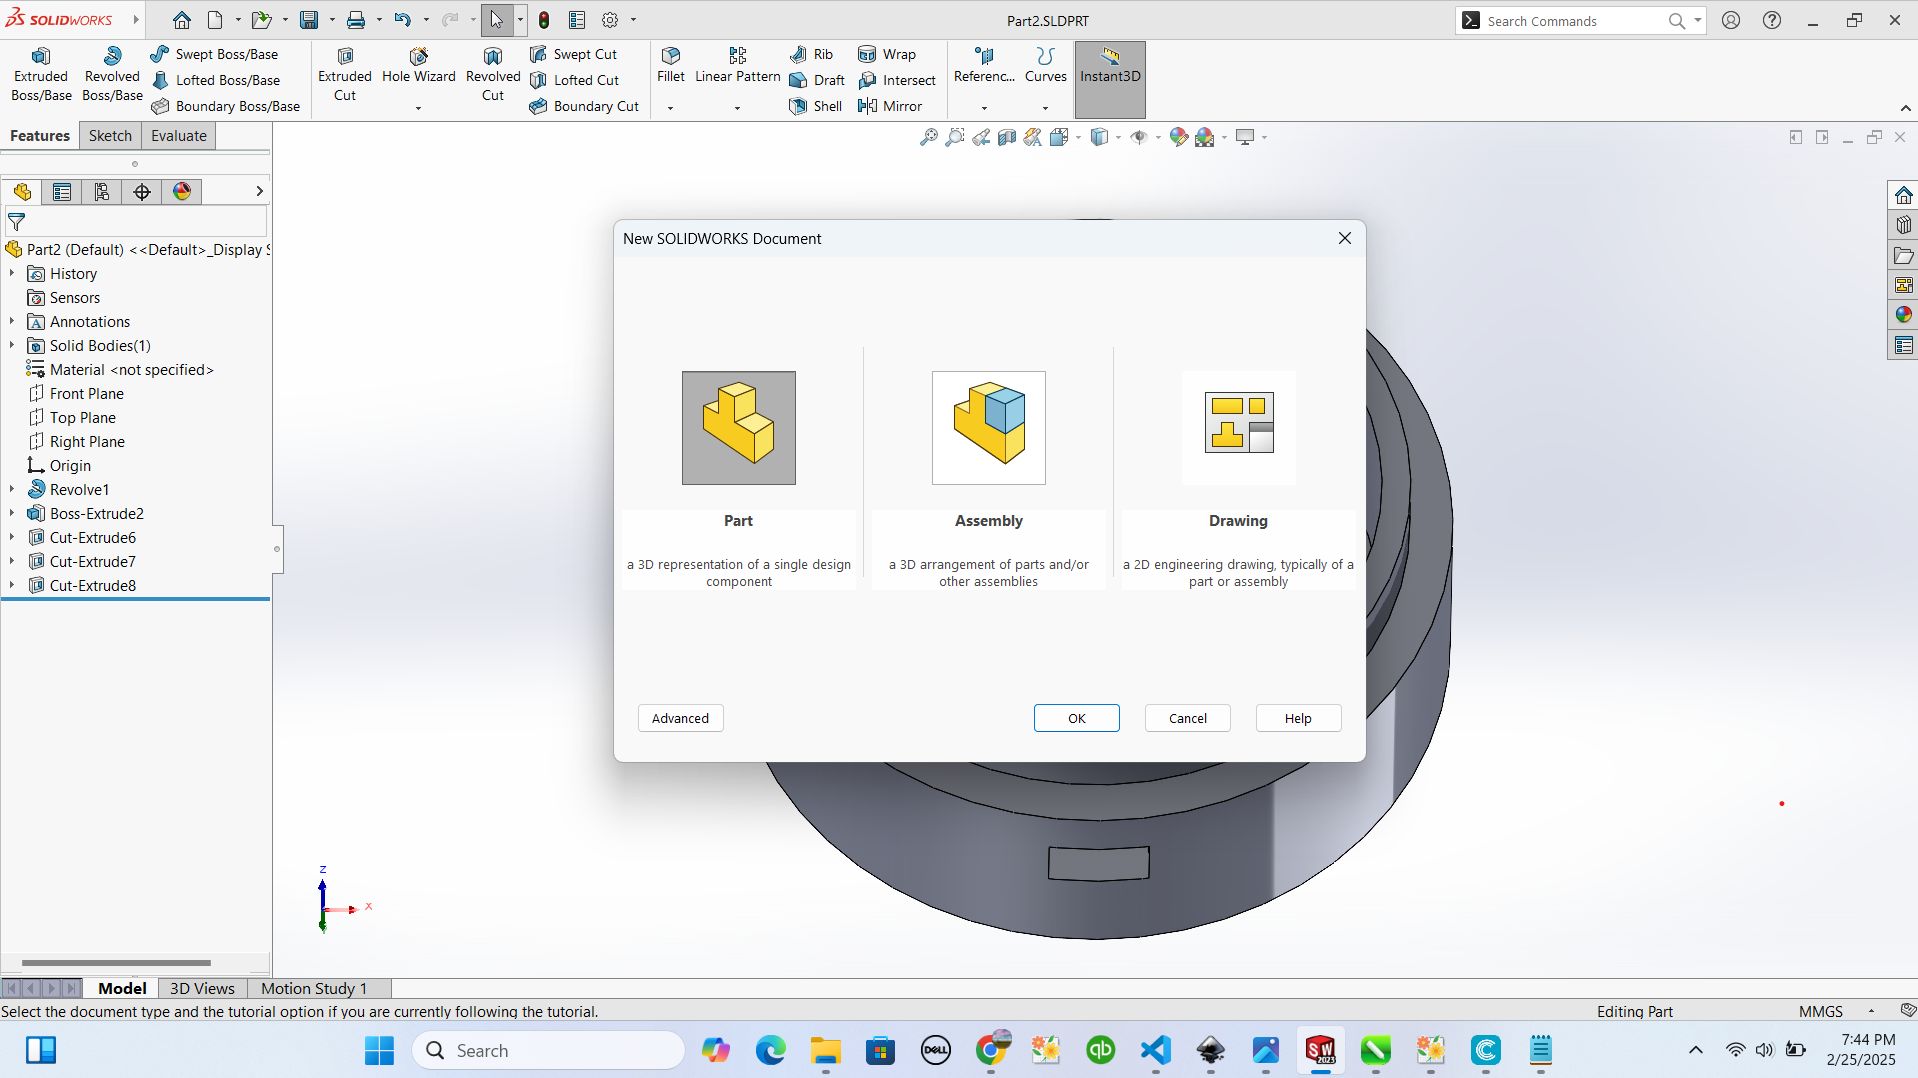
on this step we deal with two main components insert component and mate where insert component helps to insert the design part you've made before and saved on your local computer disc and the Mate helps to merge the parts so that you get the assembly ready and done
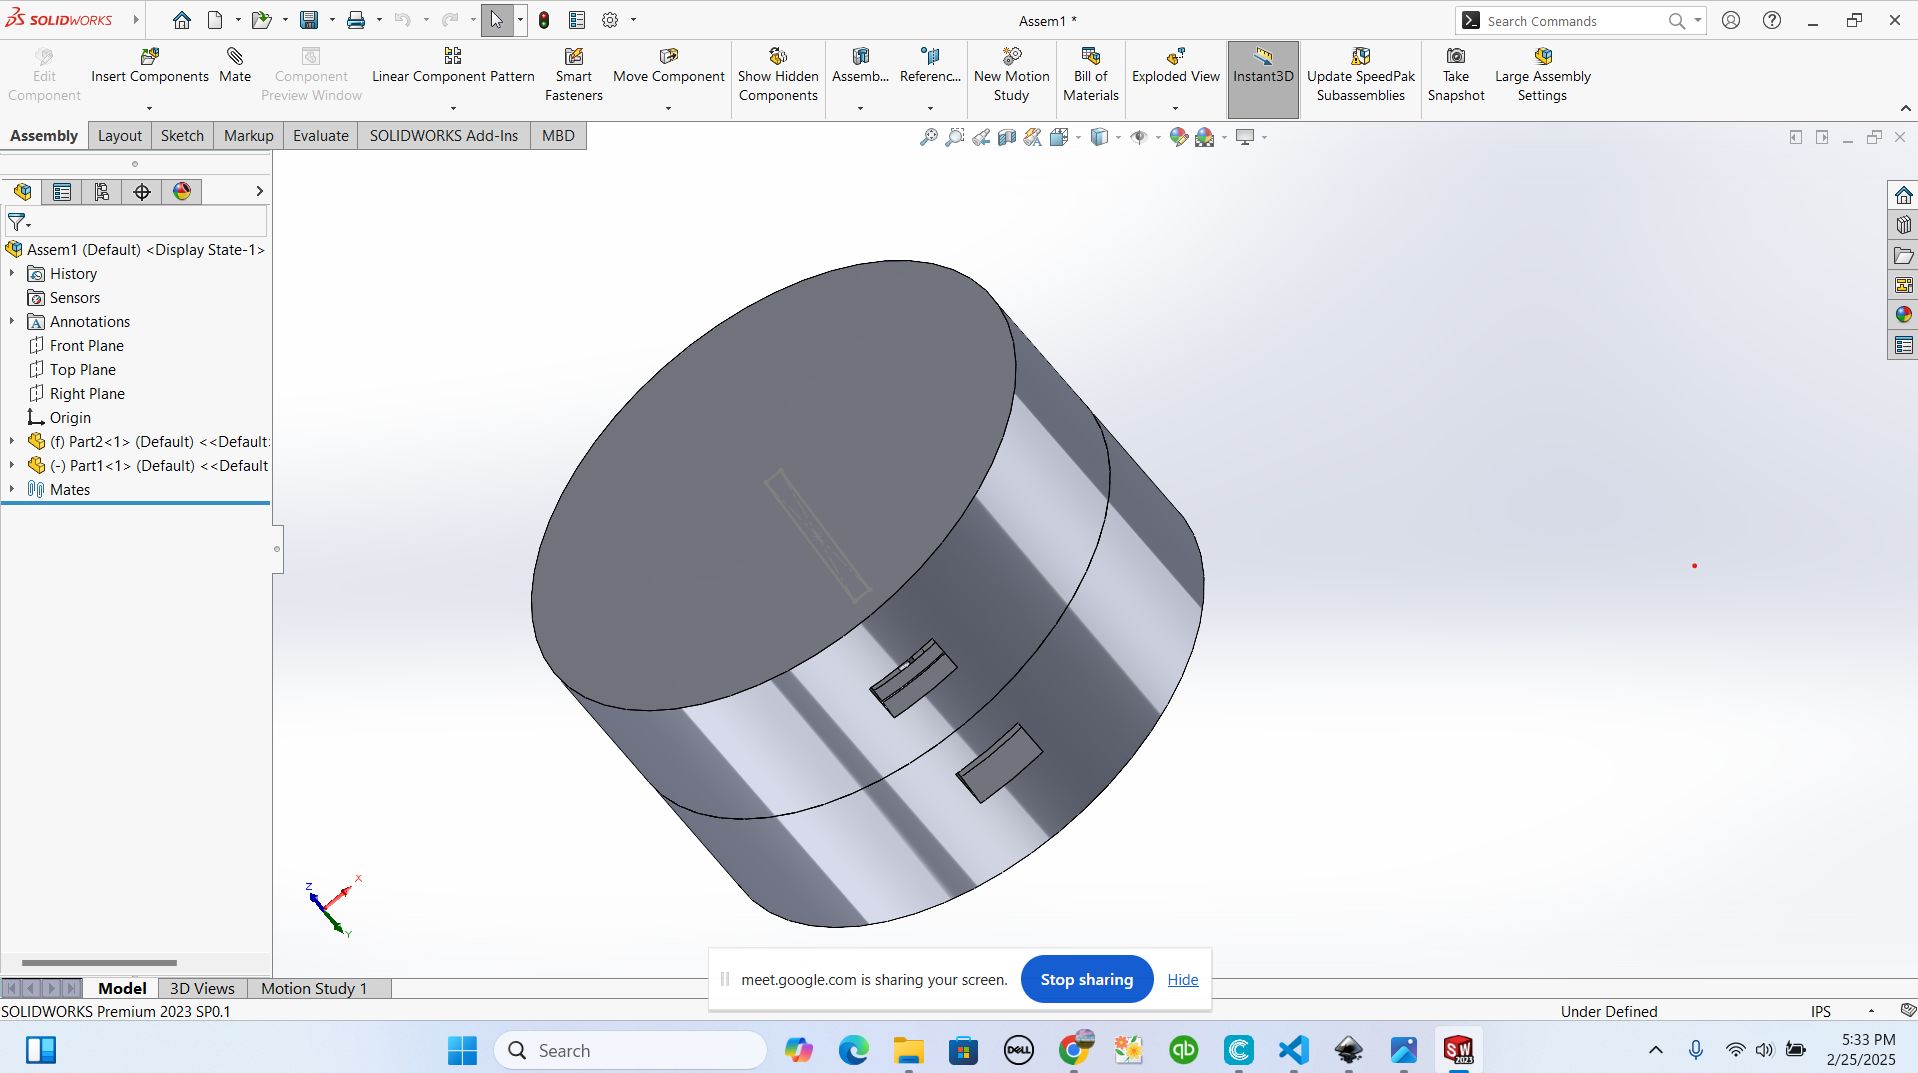
by now you can see that assembly was done but I would check if the assembly goes well, that why I can't forget to use component called section view which help to see how inner part of your design looks like. this help to confirm the dimensions you made if it's accurate to what you want to do.
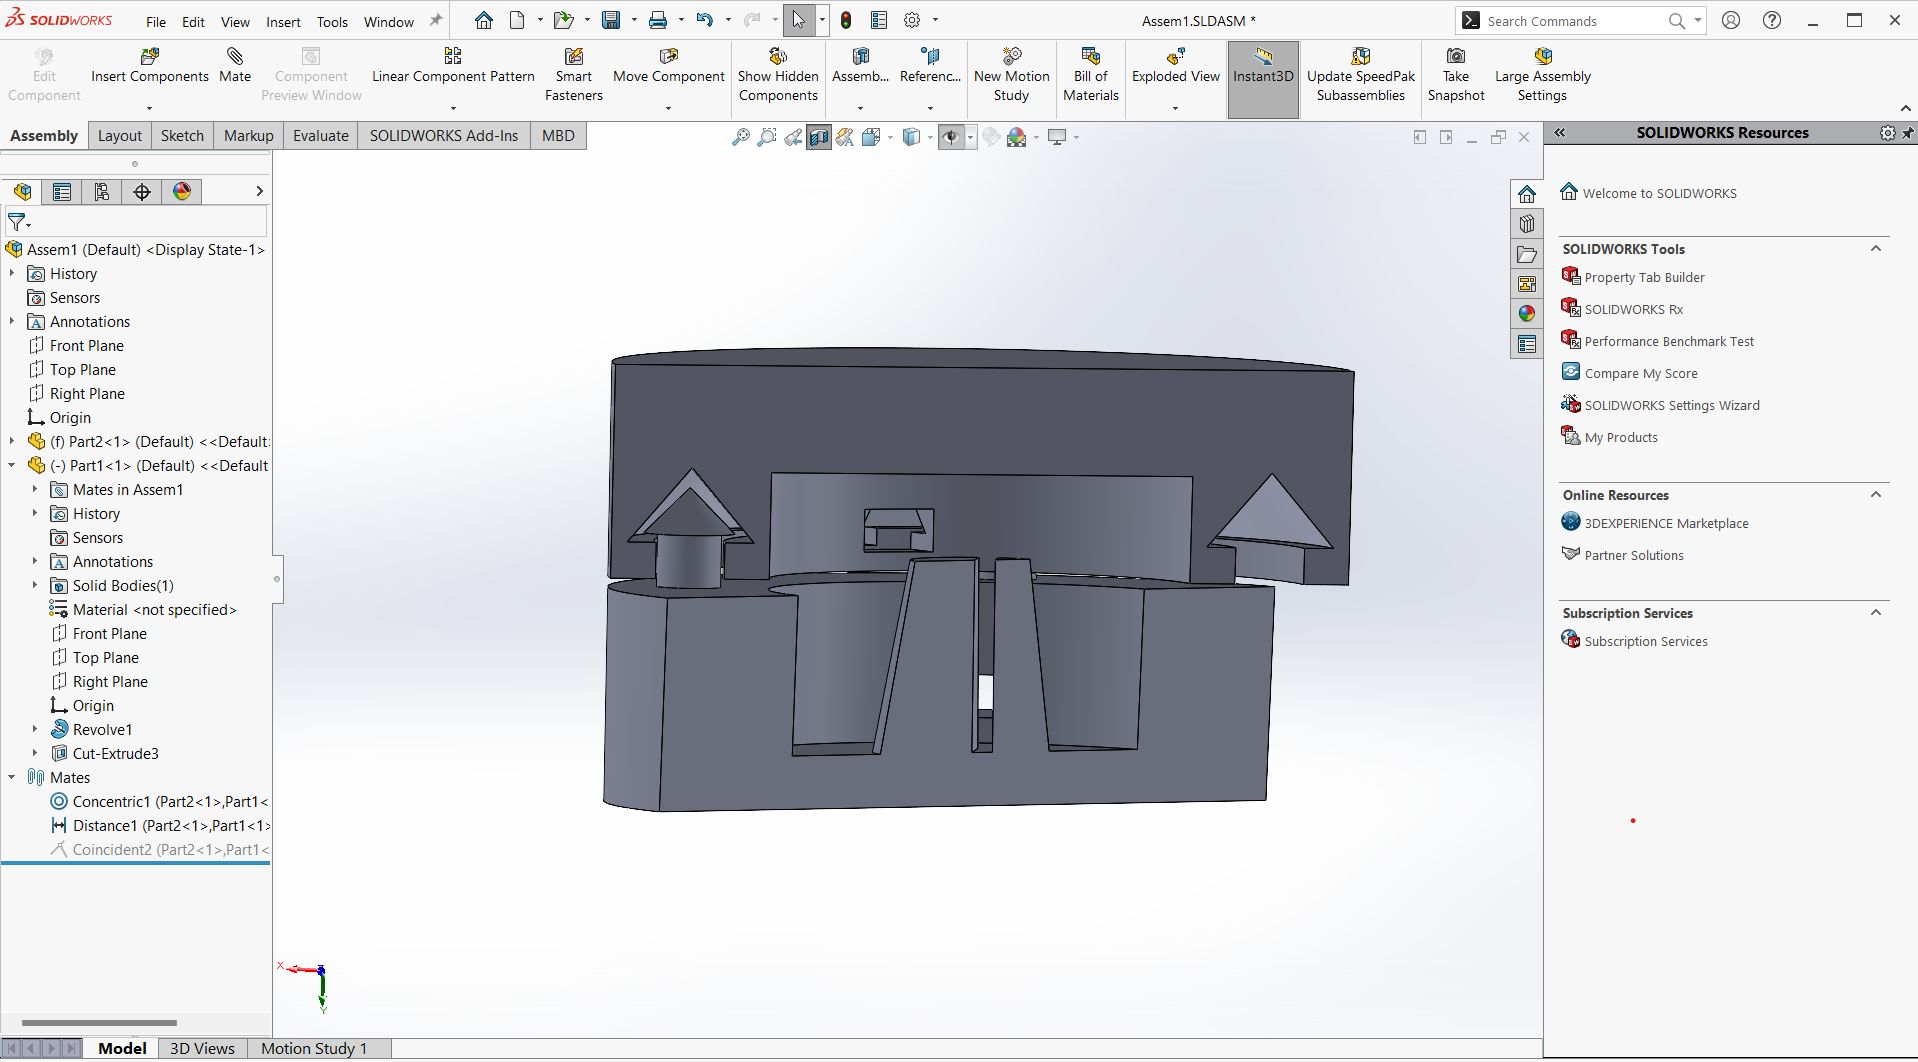
after confirming my dimensions and the fitness of my design, I saved my design as stl format to get the print from slicer software. I used creality slice which work with our printers called creality and imported the designs in it as stl format in order to be readable in creality software
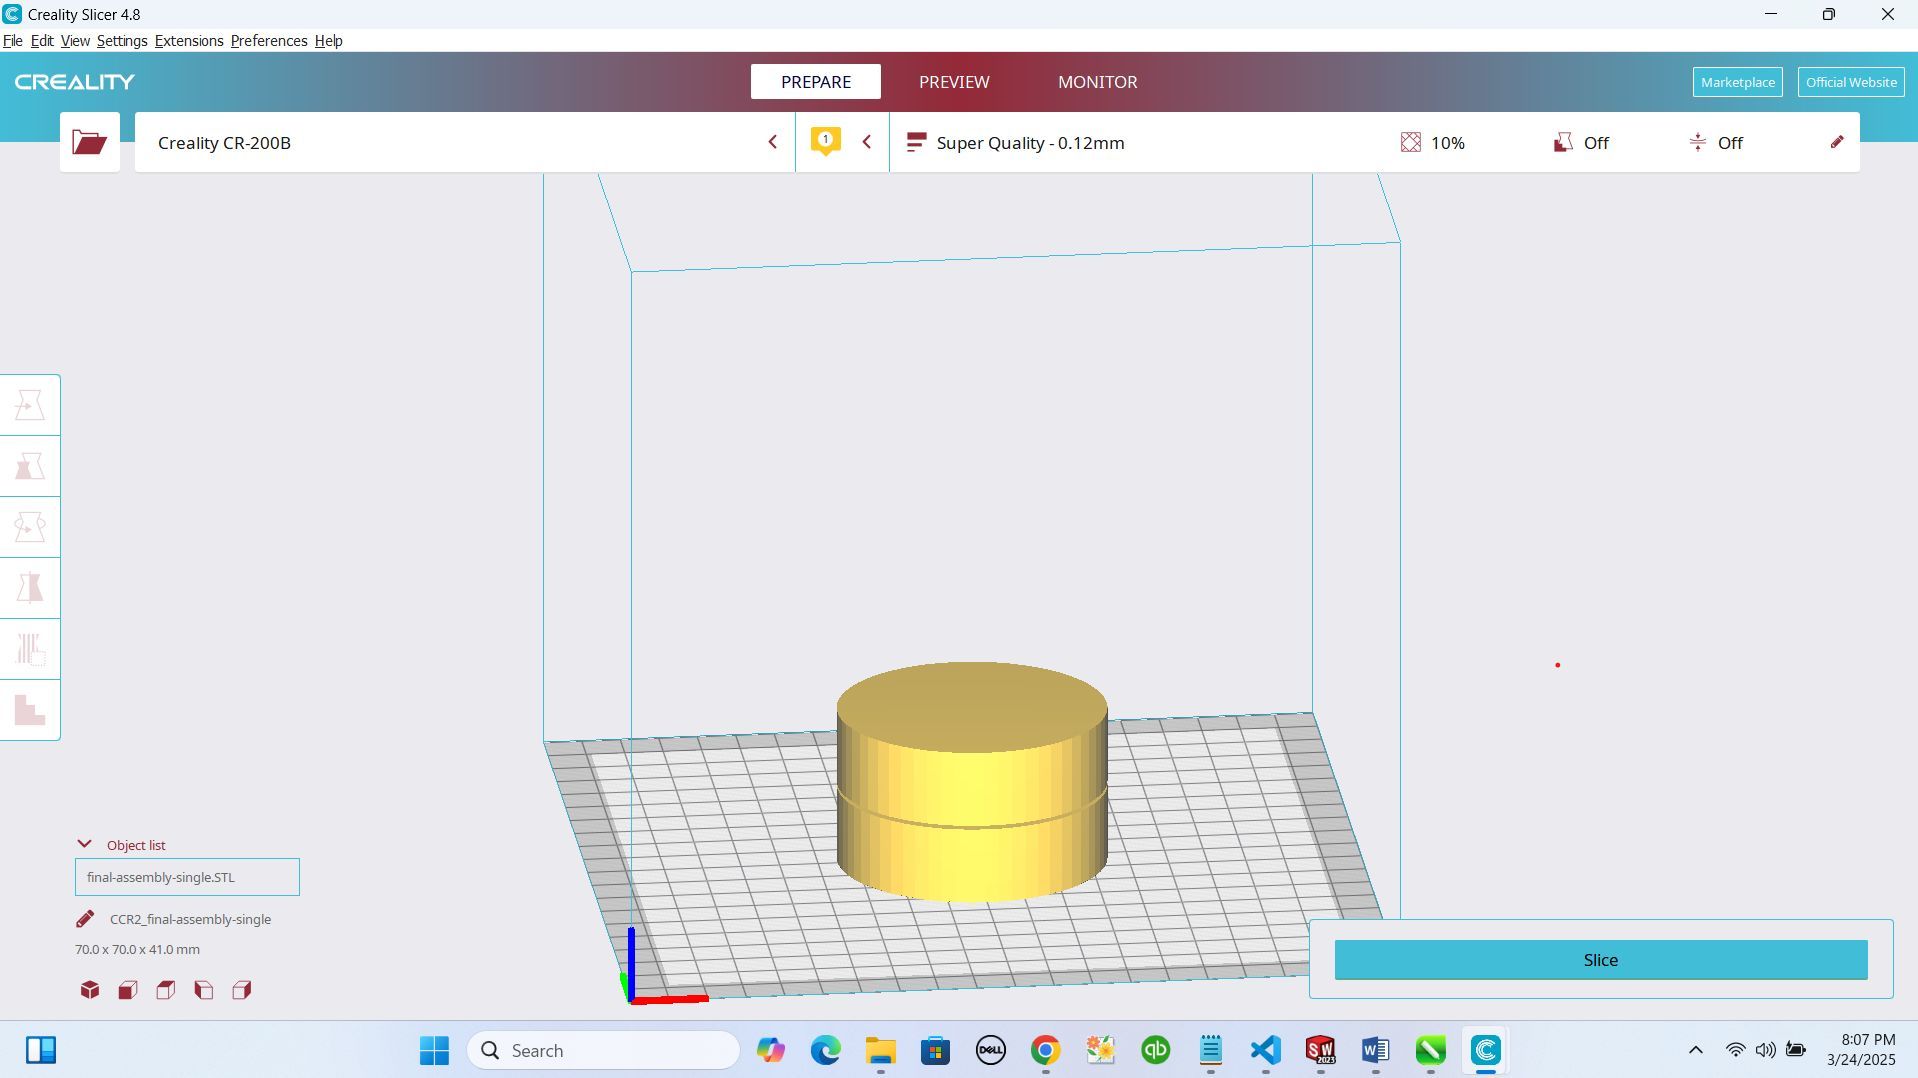
what I focussed on is to check the temperature that the filament we have require us which 220 printing temperature and also the layer height to be set on 0.2mm to prit efficiently.
after that I sliced my design then I uploaded the sliced file to sd card and I uploaded to the printer to start the job.
by here I focused also on how my bed is leveled to trust the accuracy of my printer while printing, after confirming I started printing
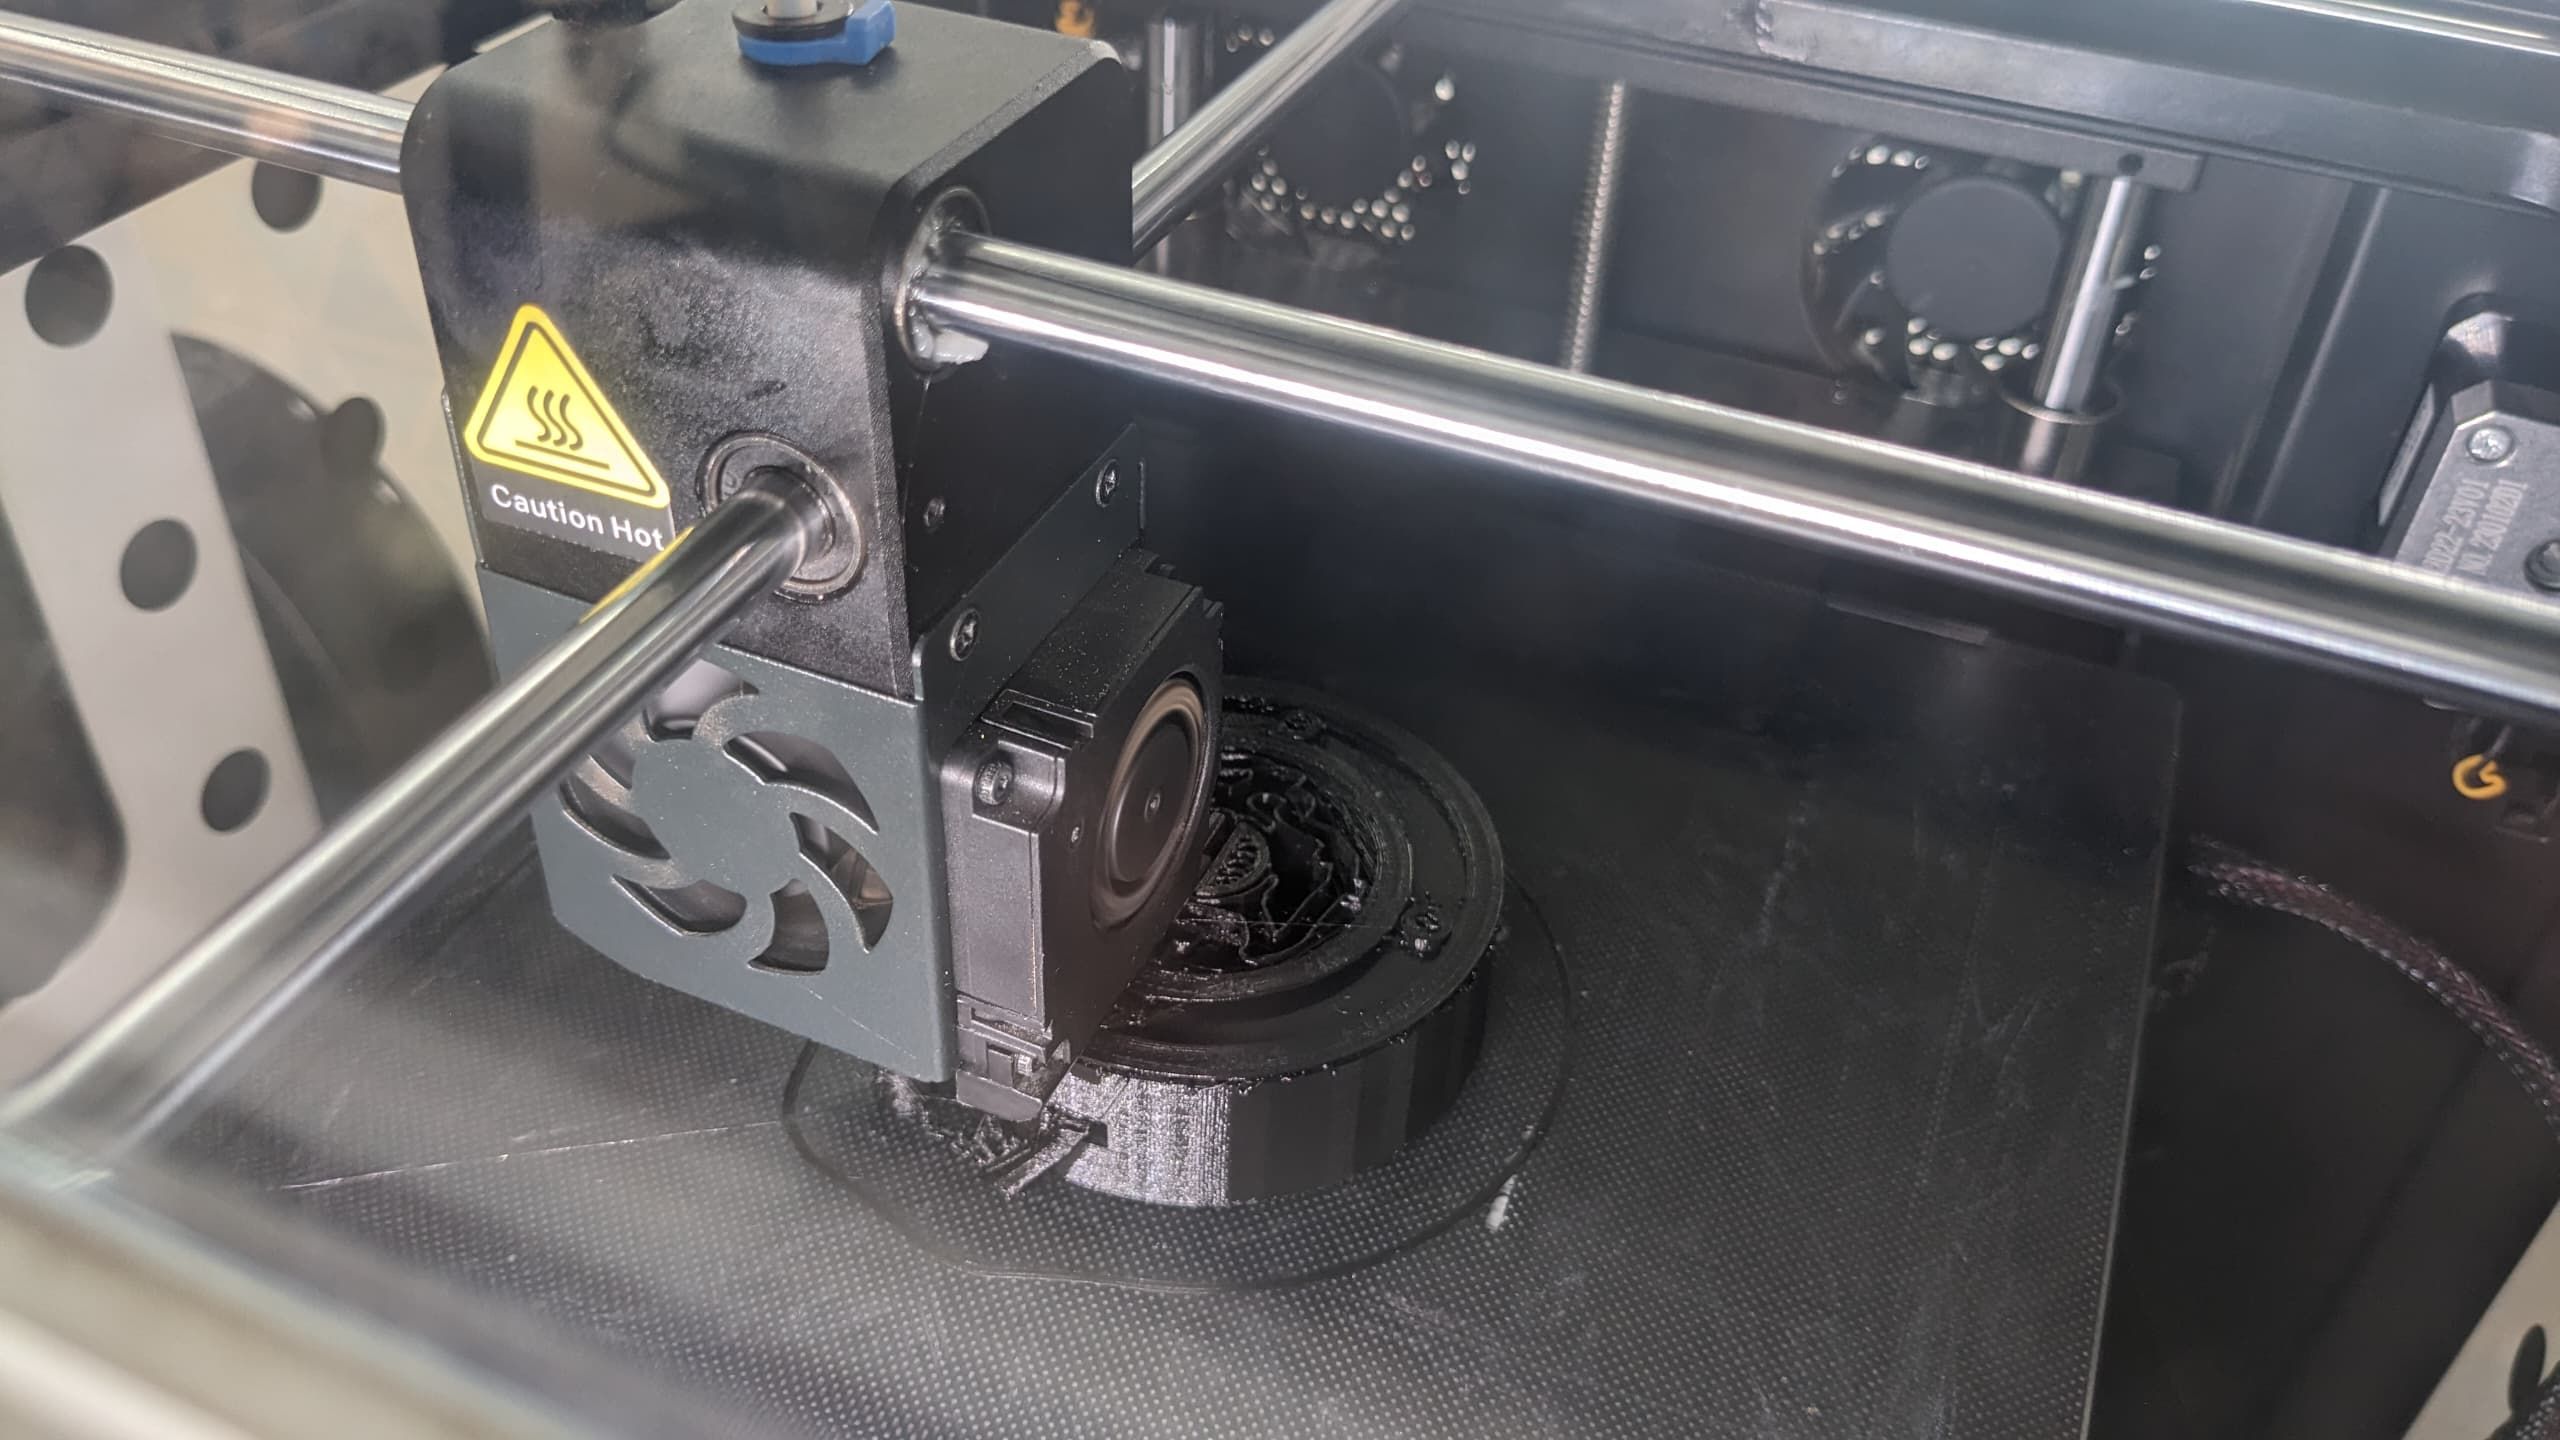
this was the printing journey
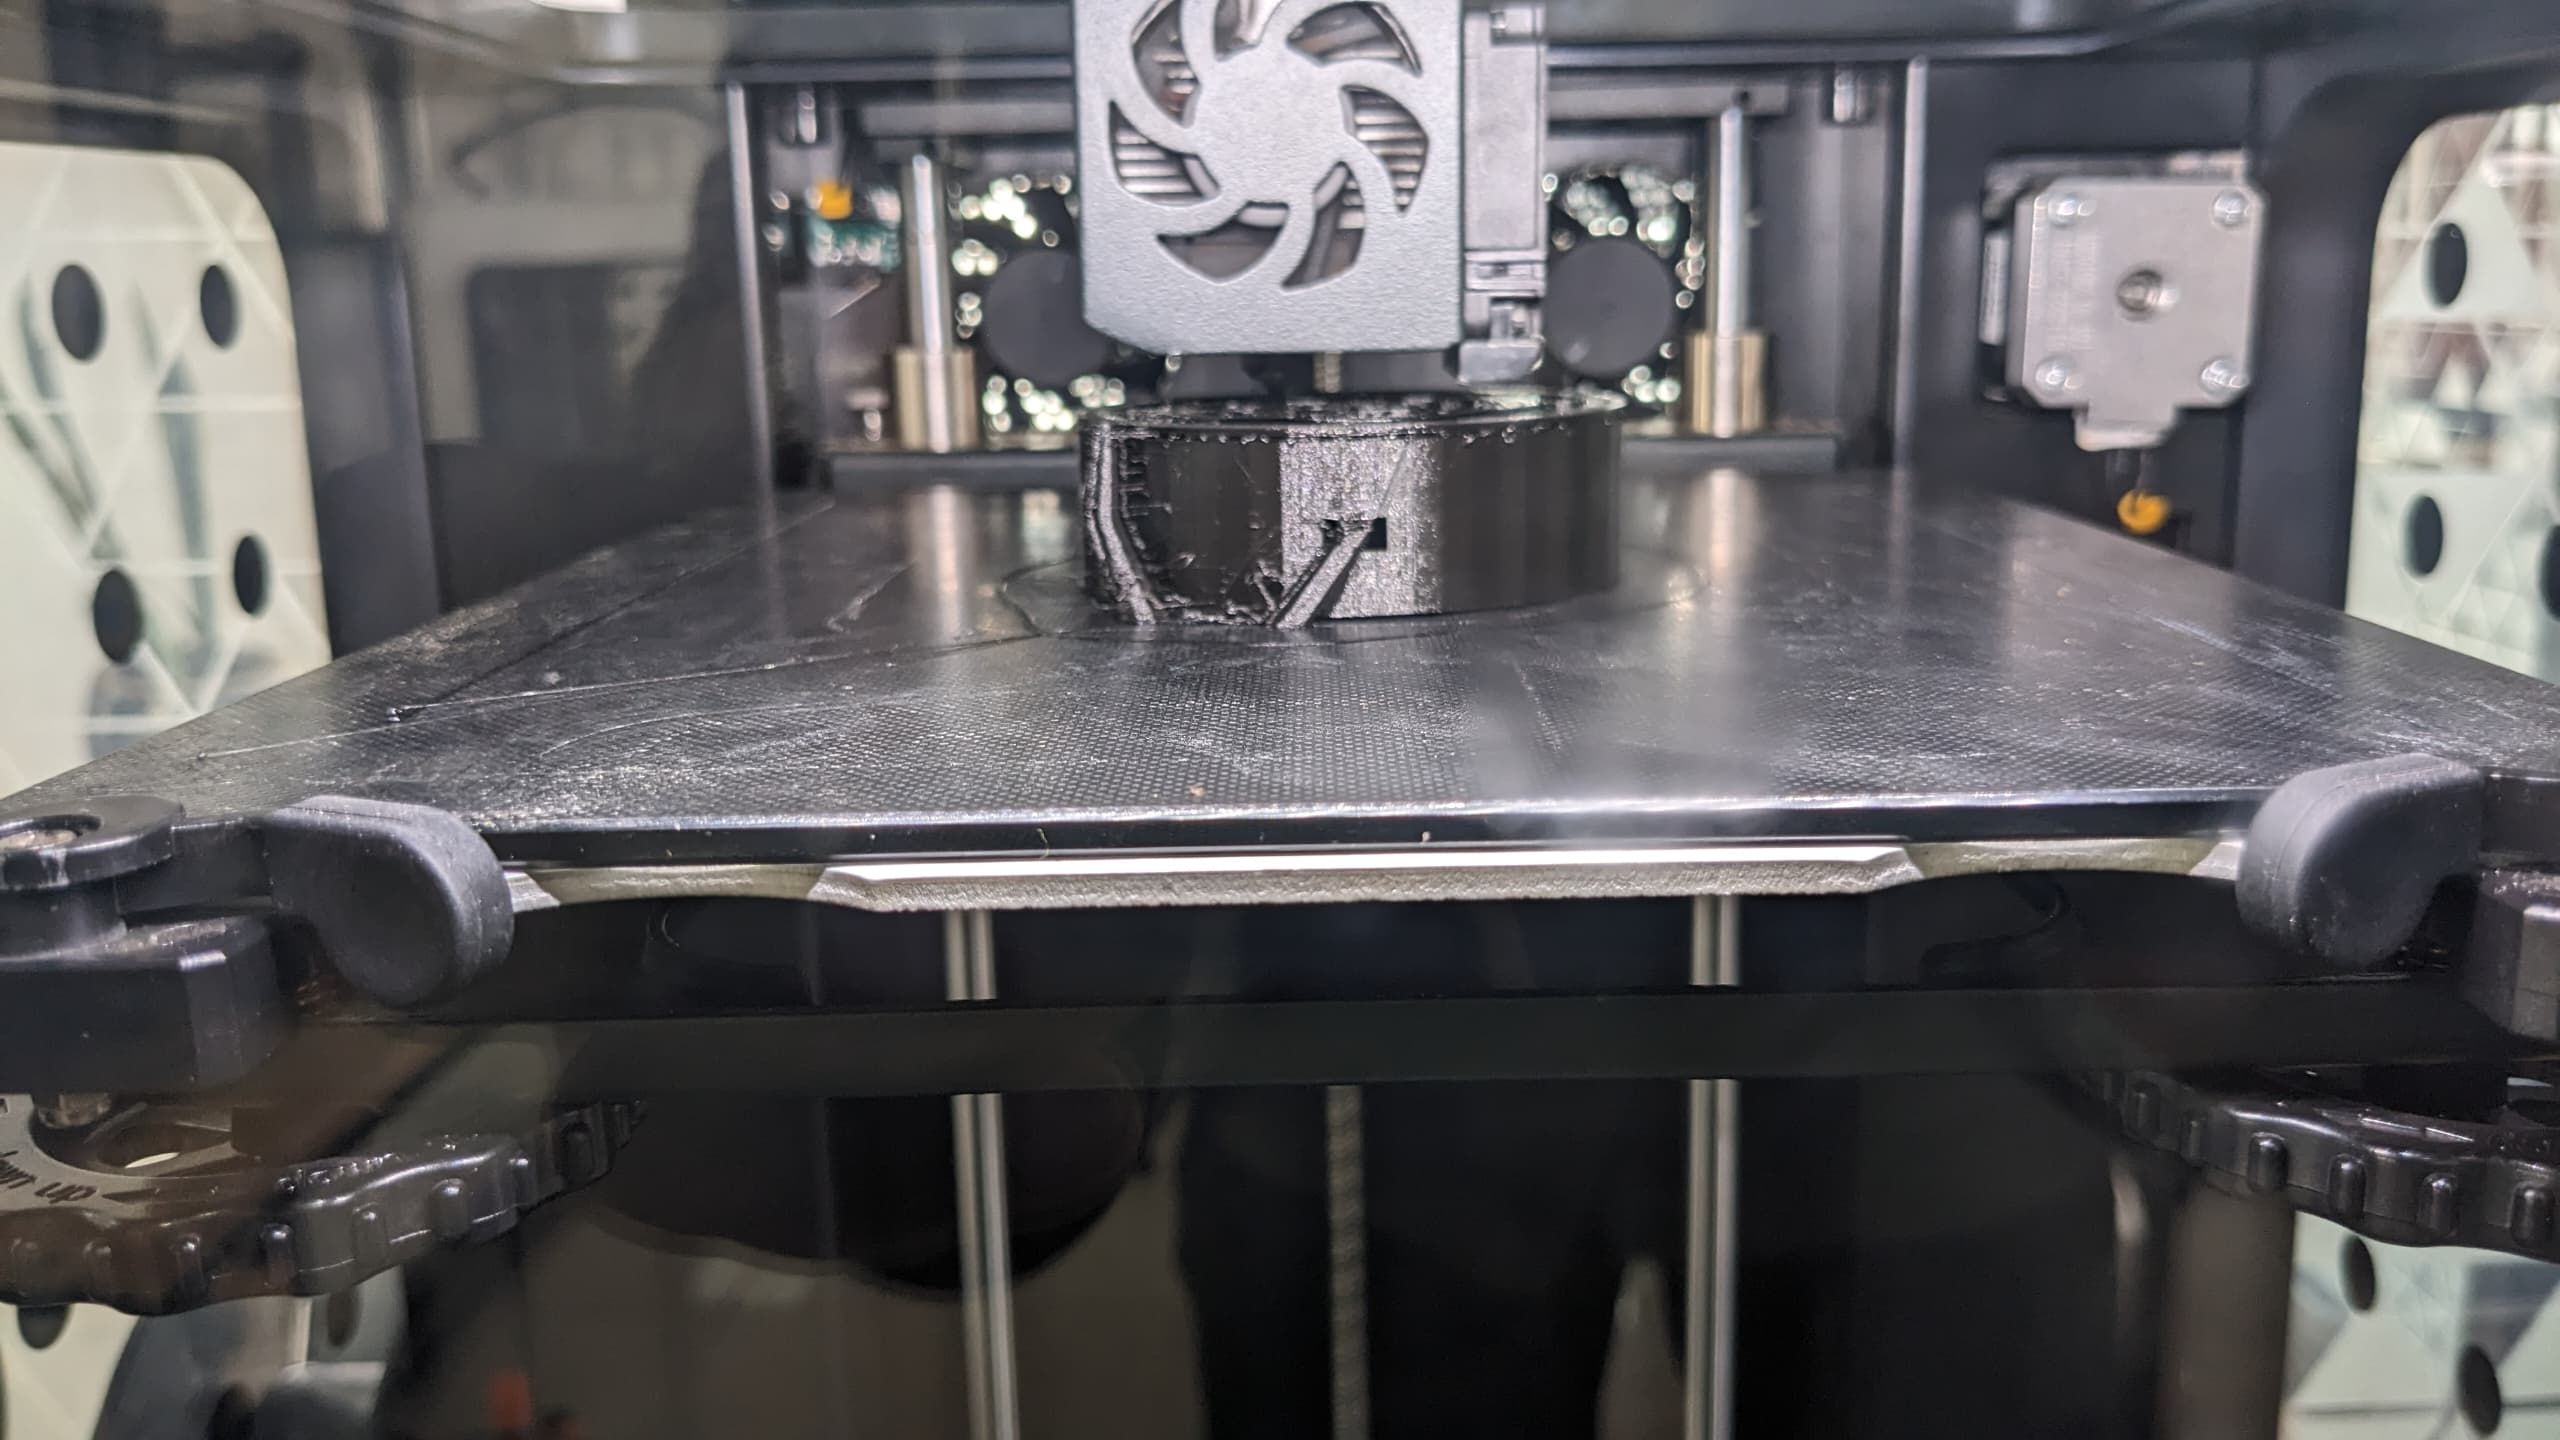
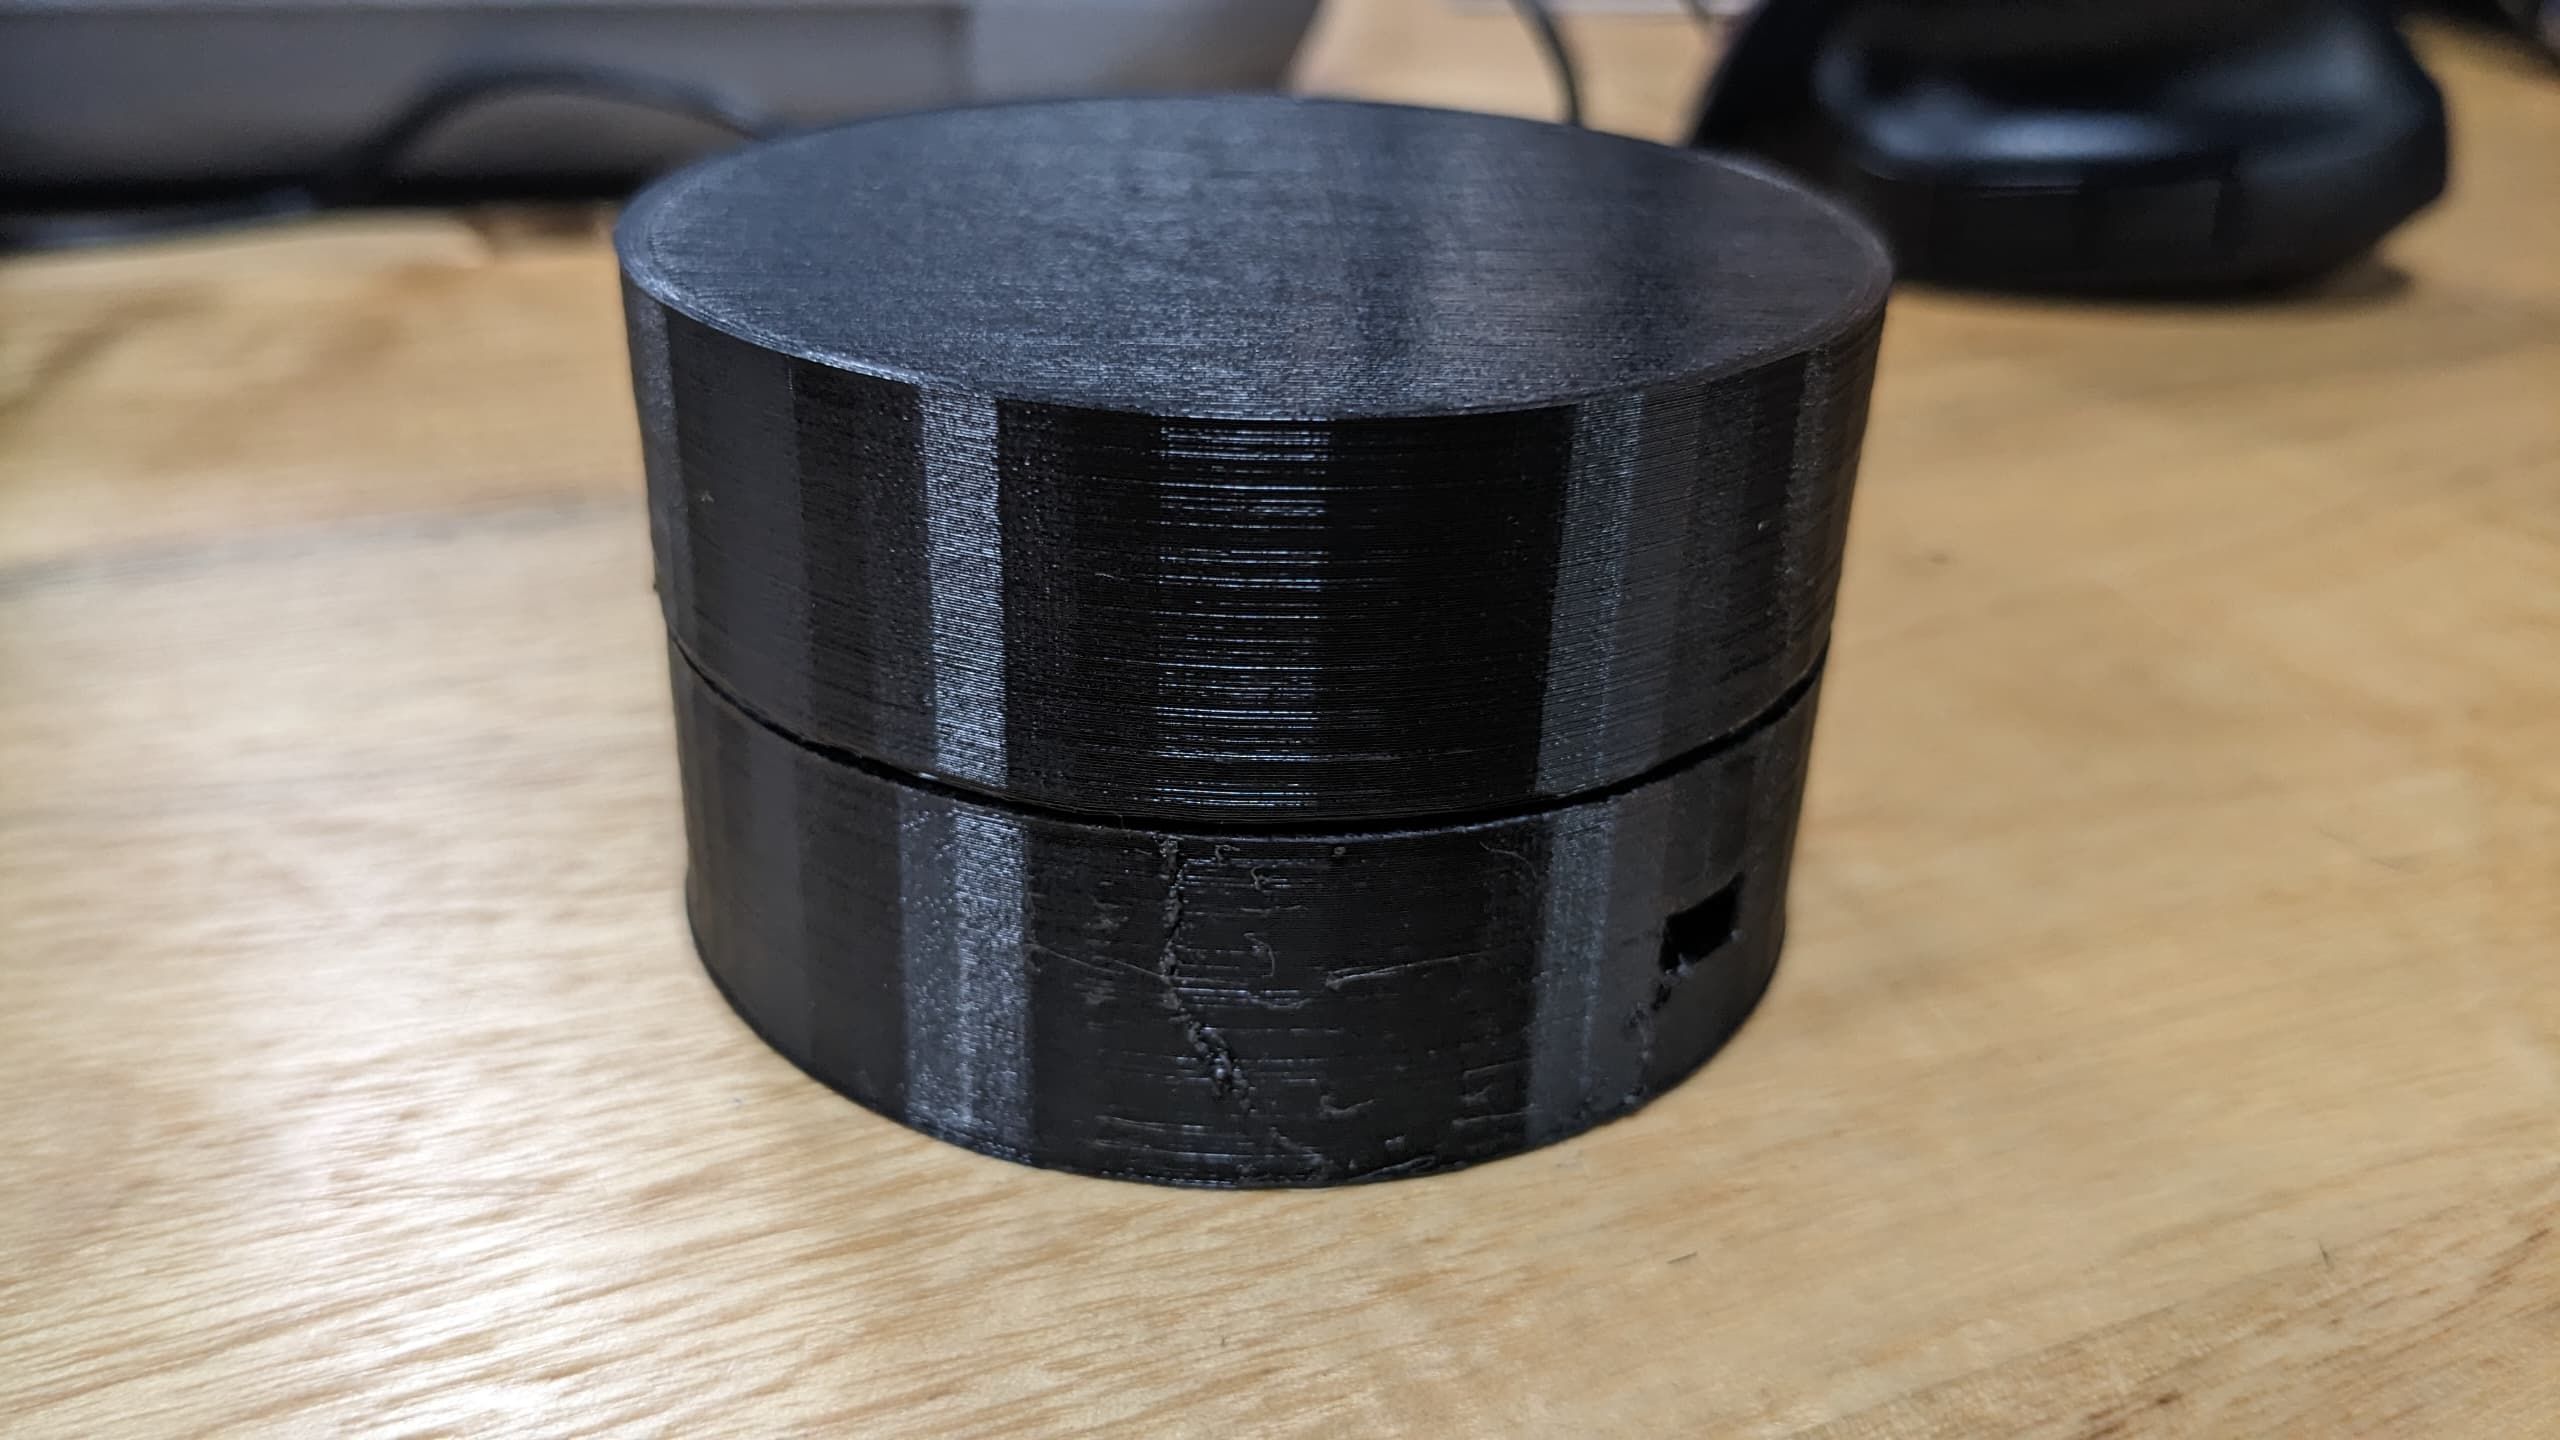
and here is the final result that is accurate and rotating closely to each other
3D scanning
3D scanning is process of scanning objects in 3 Dimension and this required me to have a 3D scanner to help me to get that 3D model from the object I want to scan
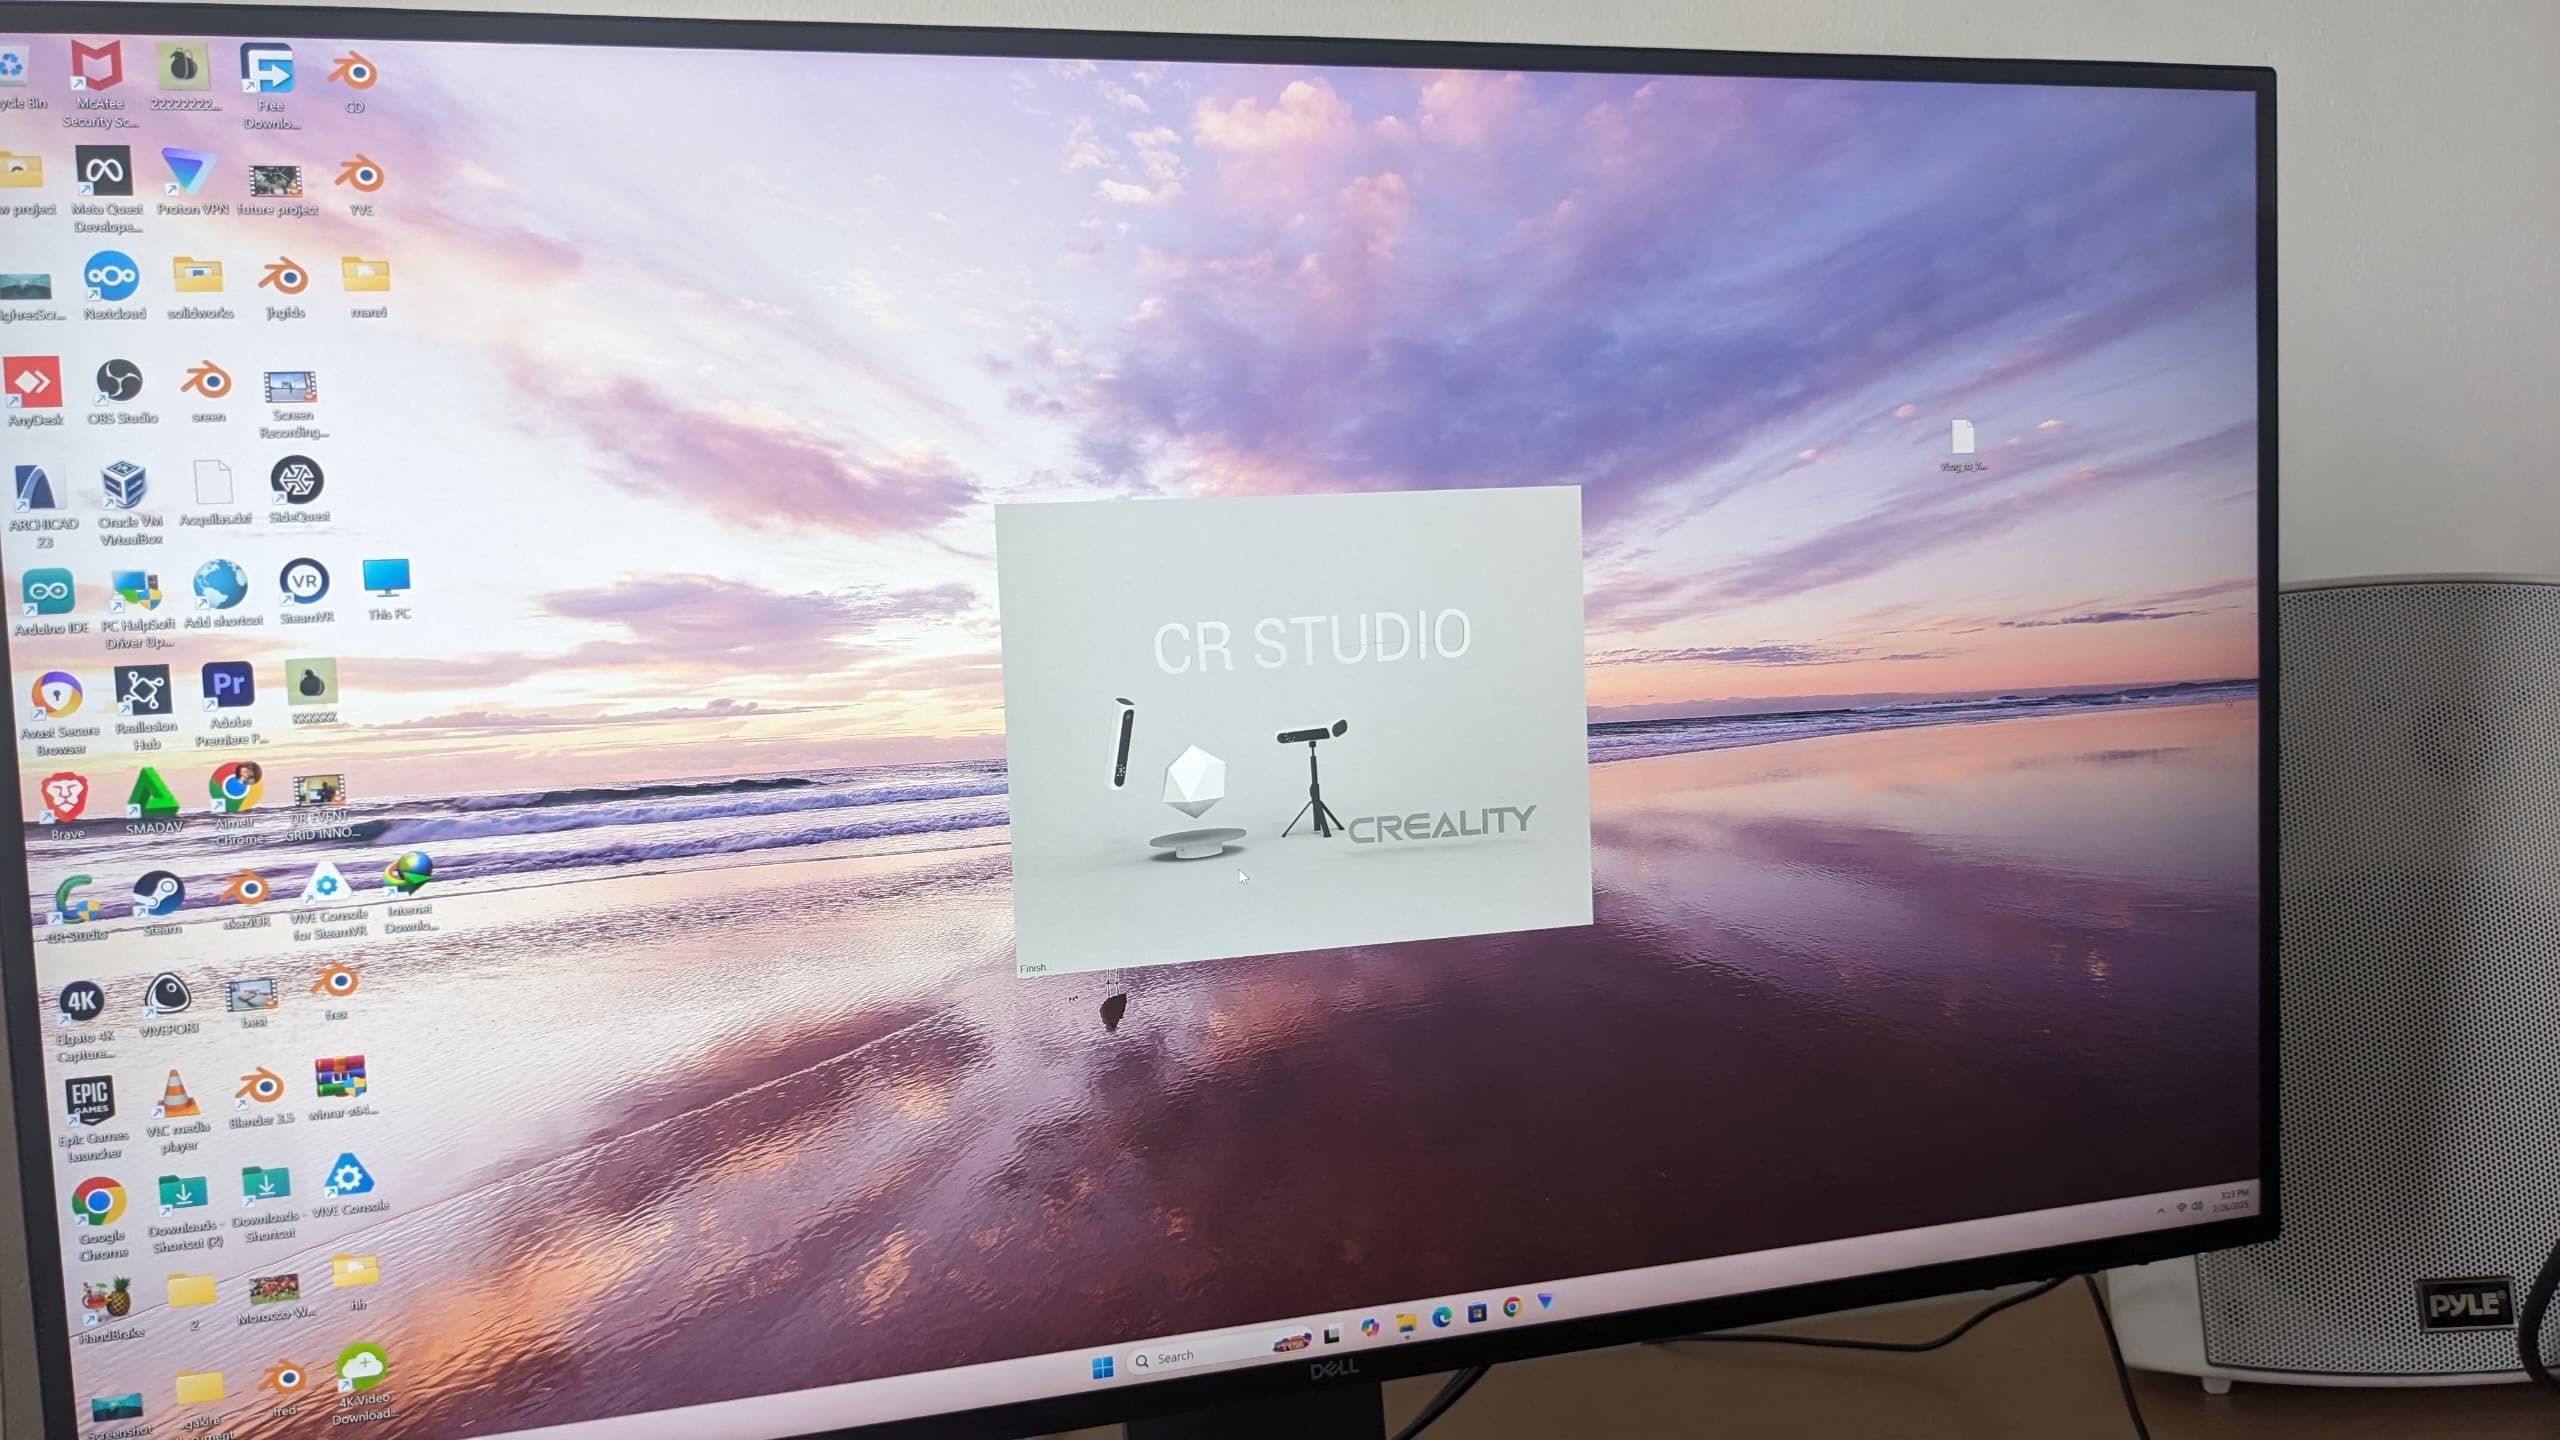
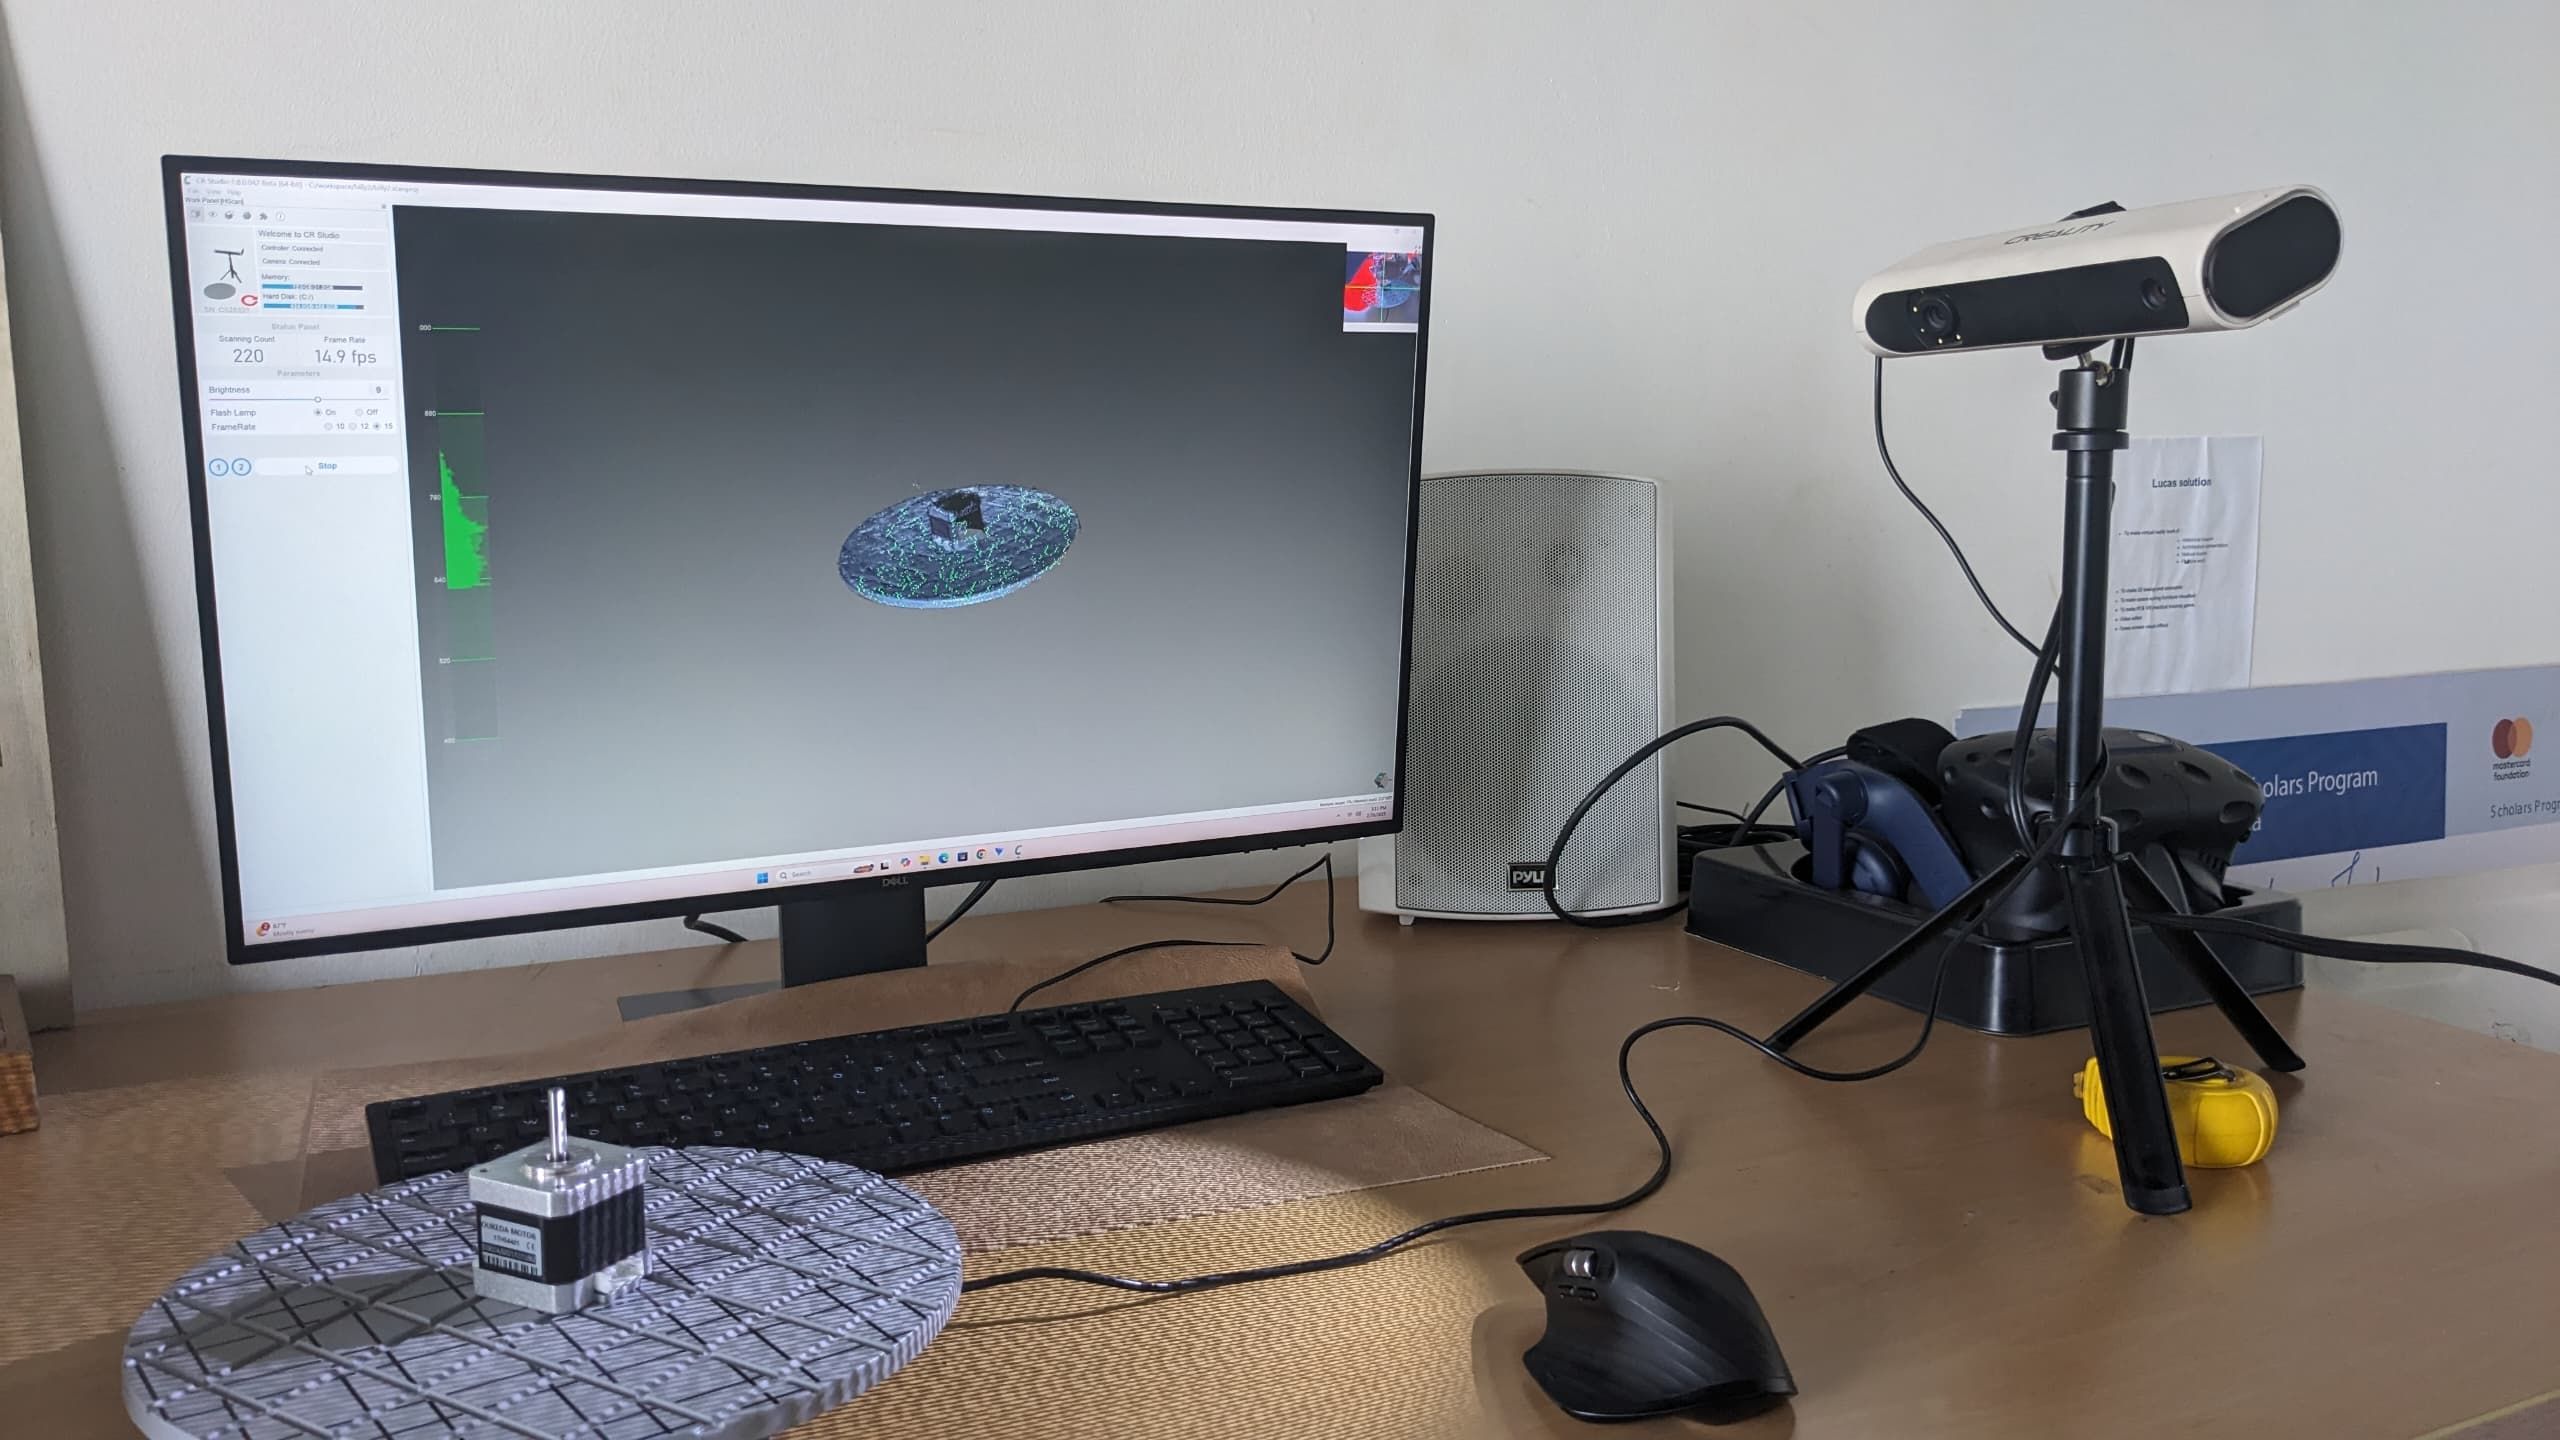
I used Creality Scanner which is found in our Lab where I started by opening creality scanner
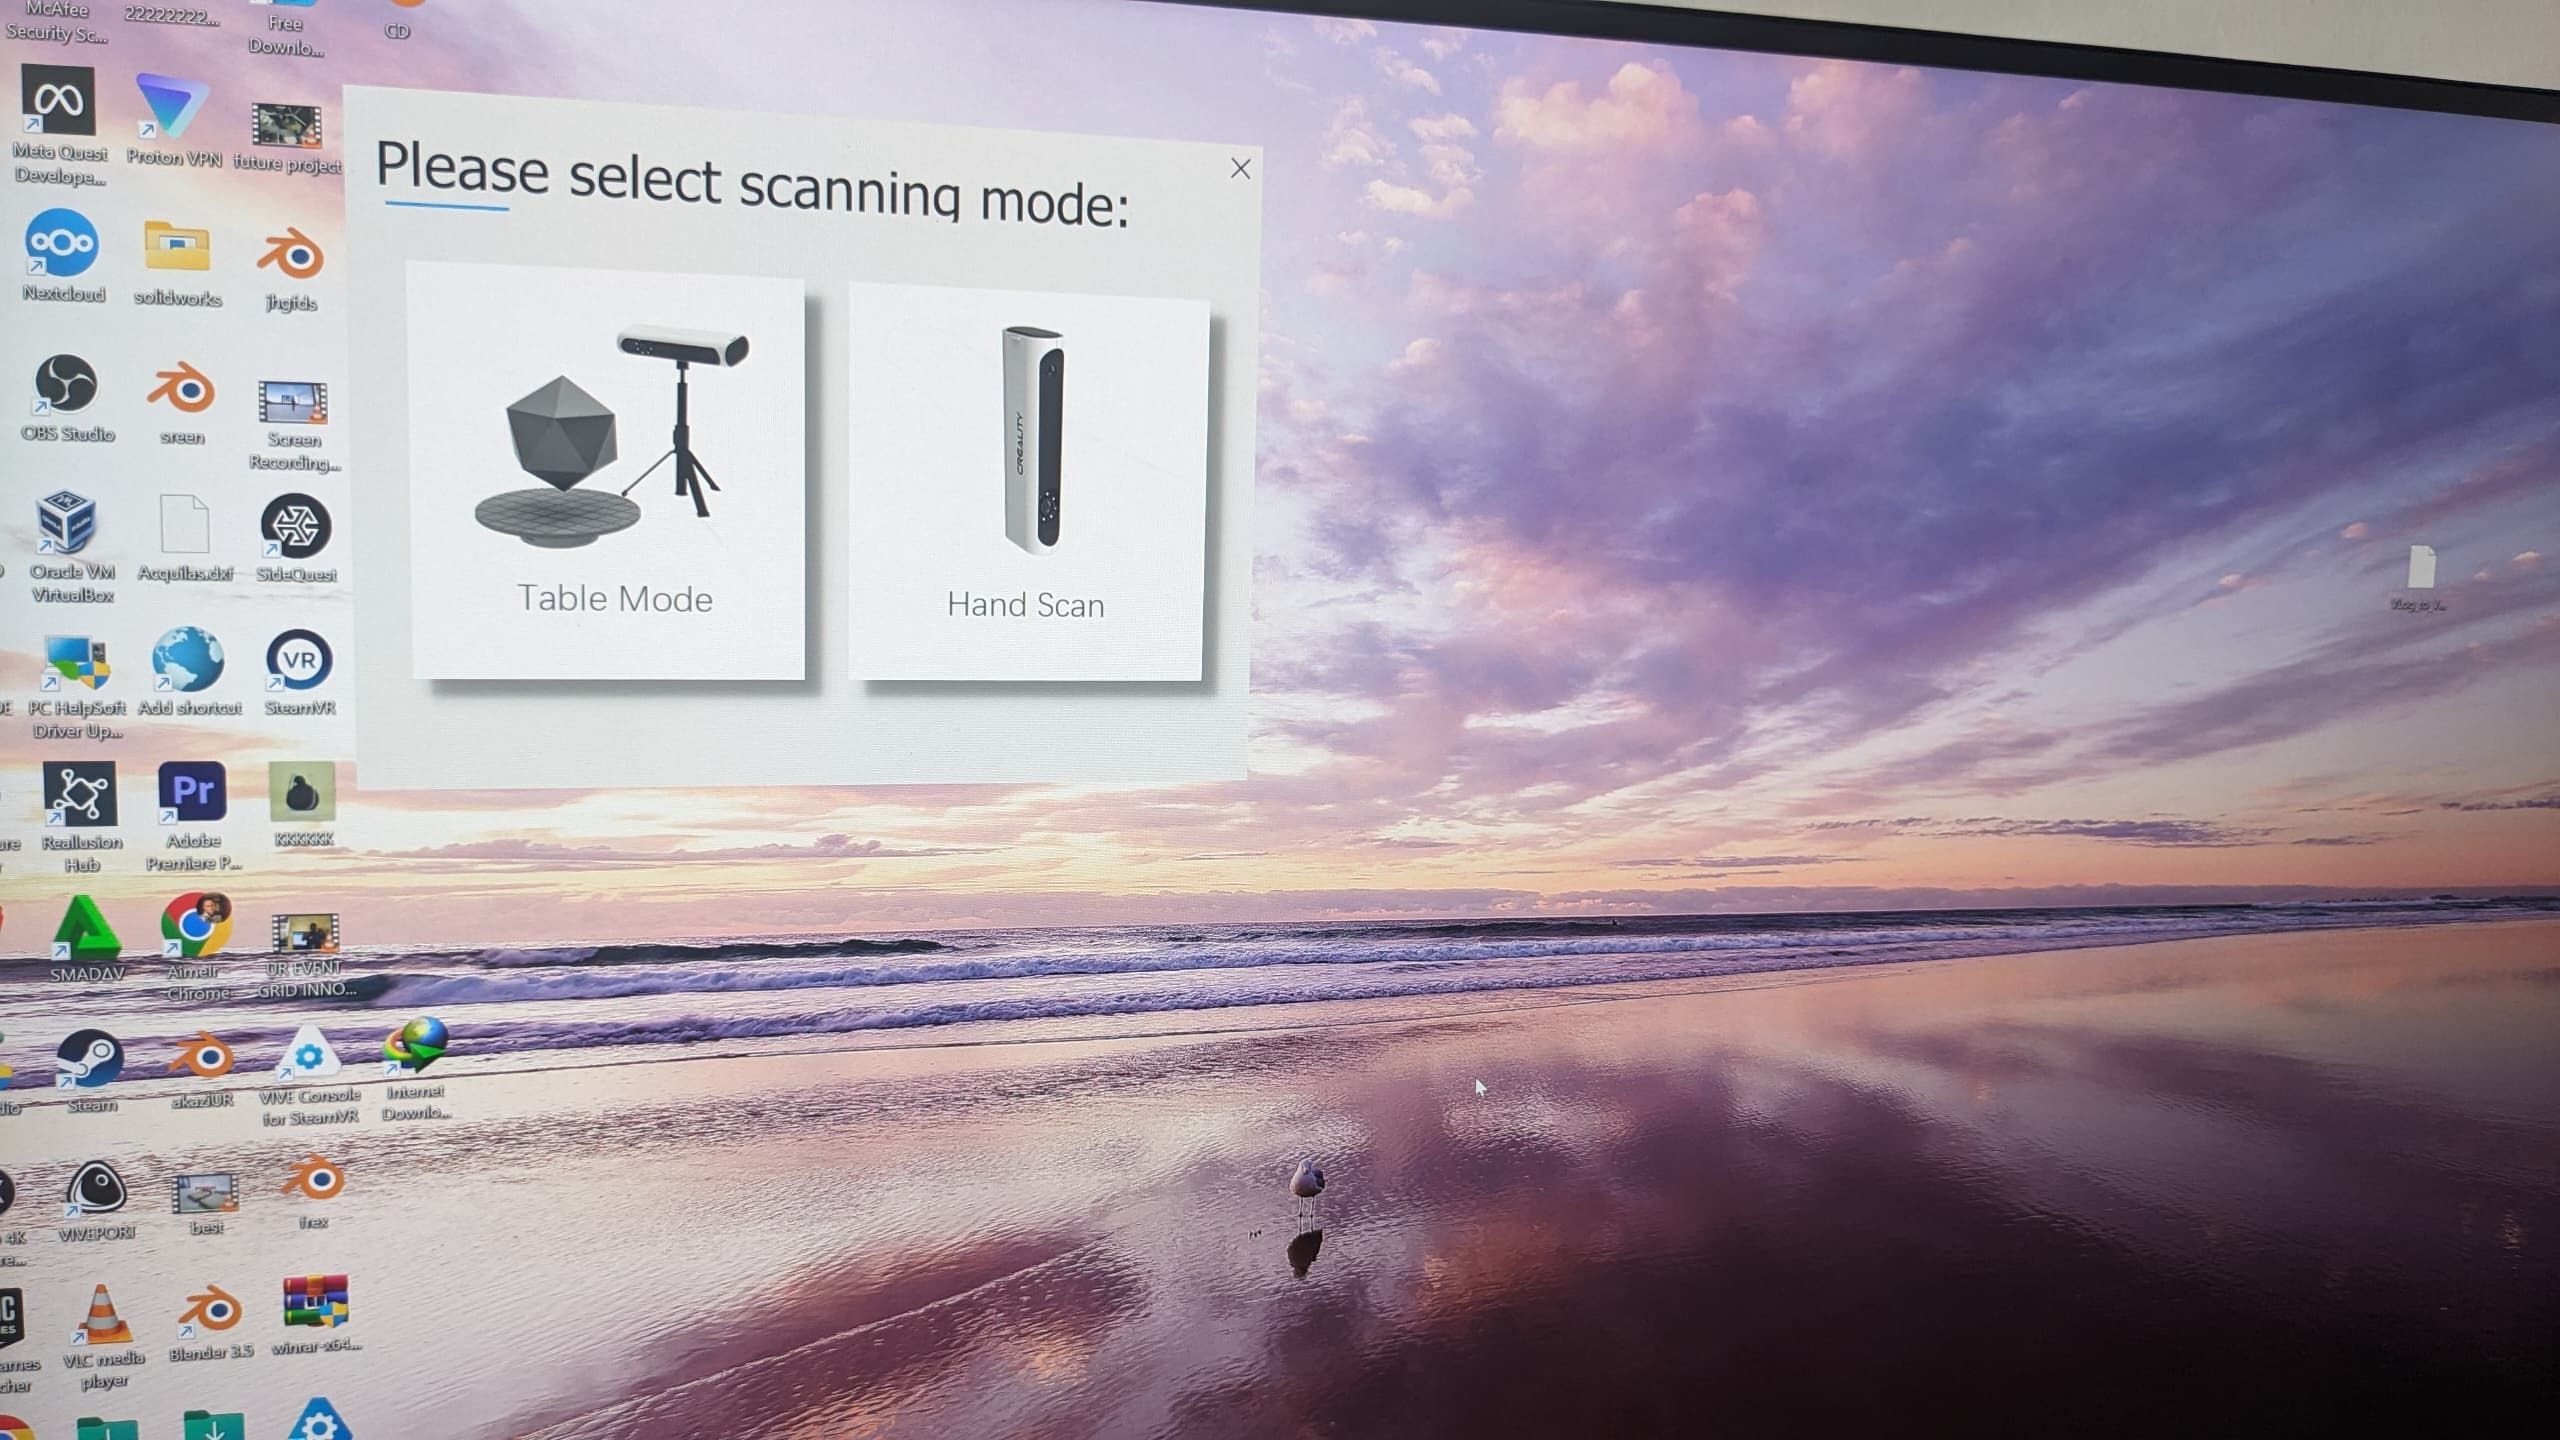
then I selected the mode to be used while scanning and I had two options which are table mode and hand scan. I choosen table mode because thats the scanner we have
so, I had to start from the software interface where I started by previewing my setup considering the distance between the scanner and the table of object I wanted to scann and it was in the distance of 6ocm from scanner and rotates around 360 degrees while scanning
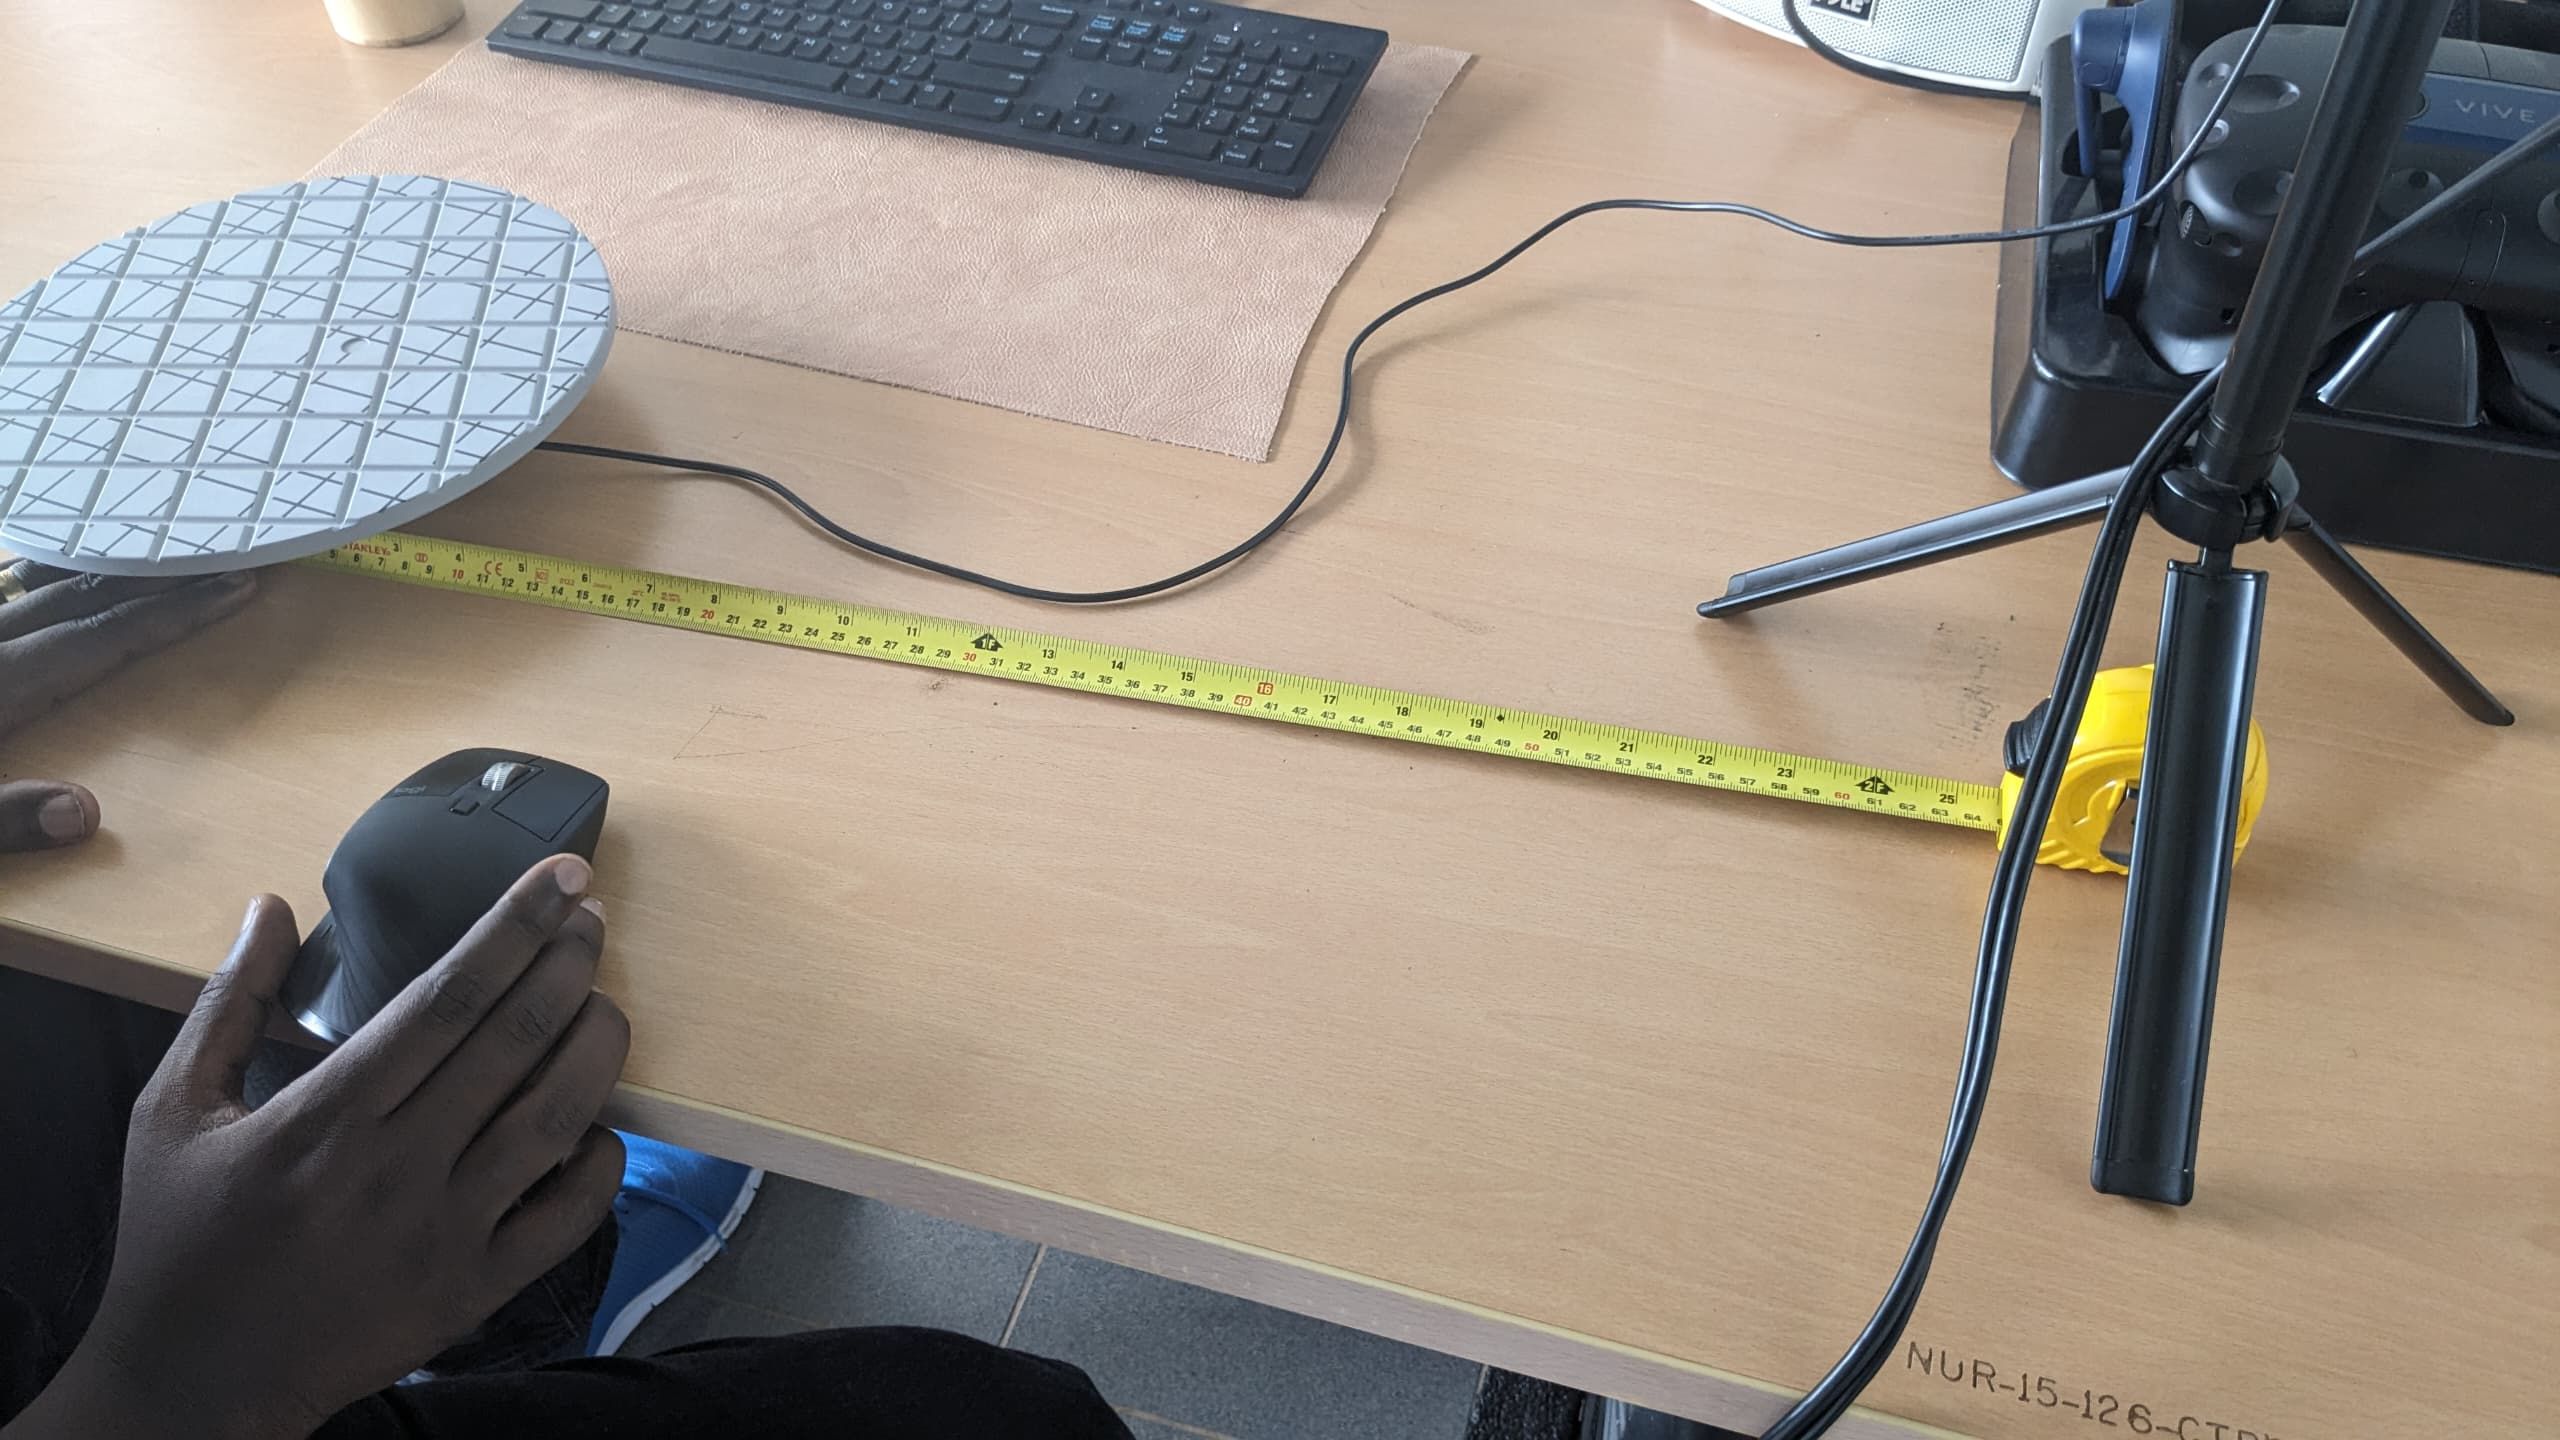
after keeping the distance, I previewed the table with scanning device and also checking in the software how it is looking like
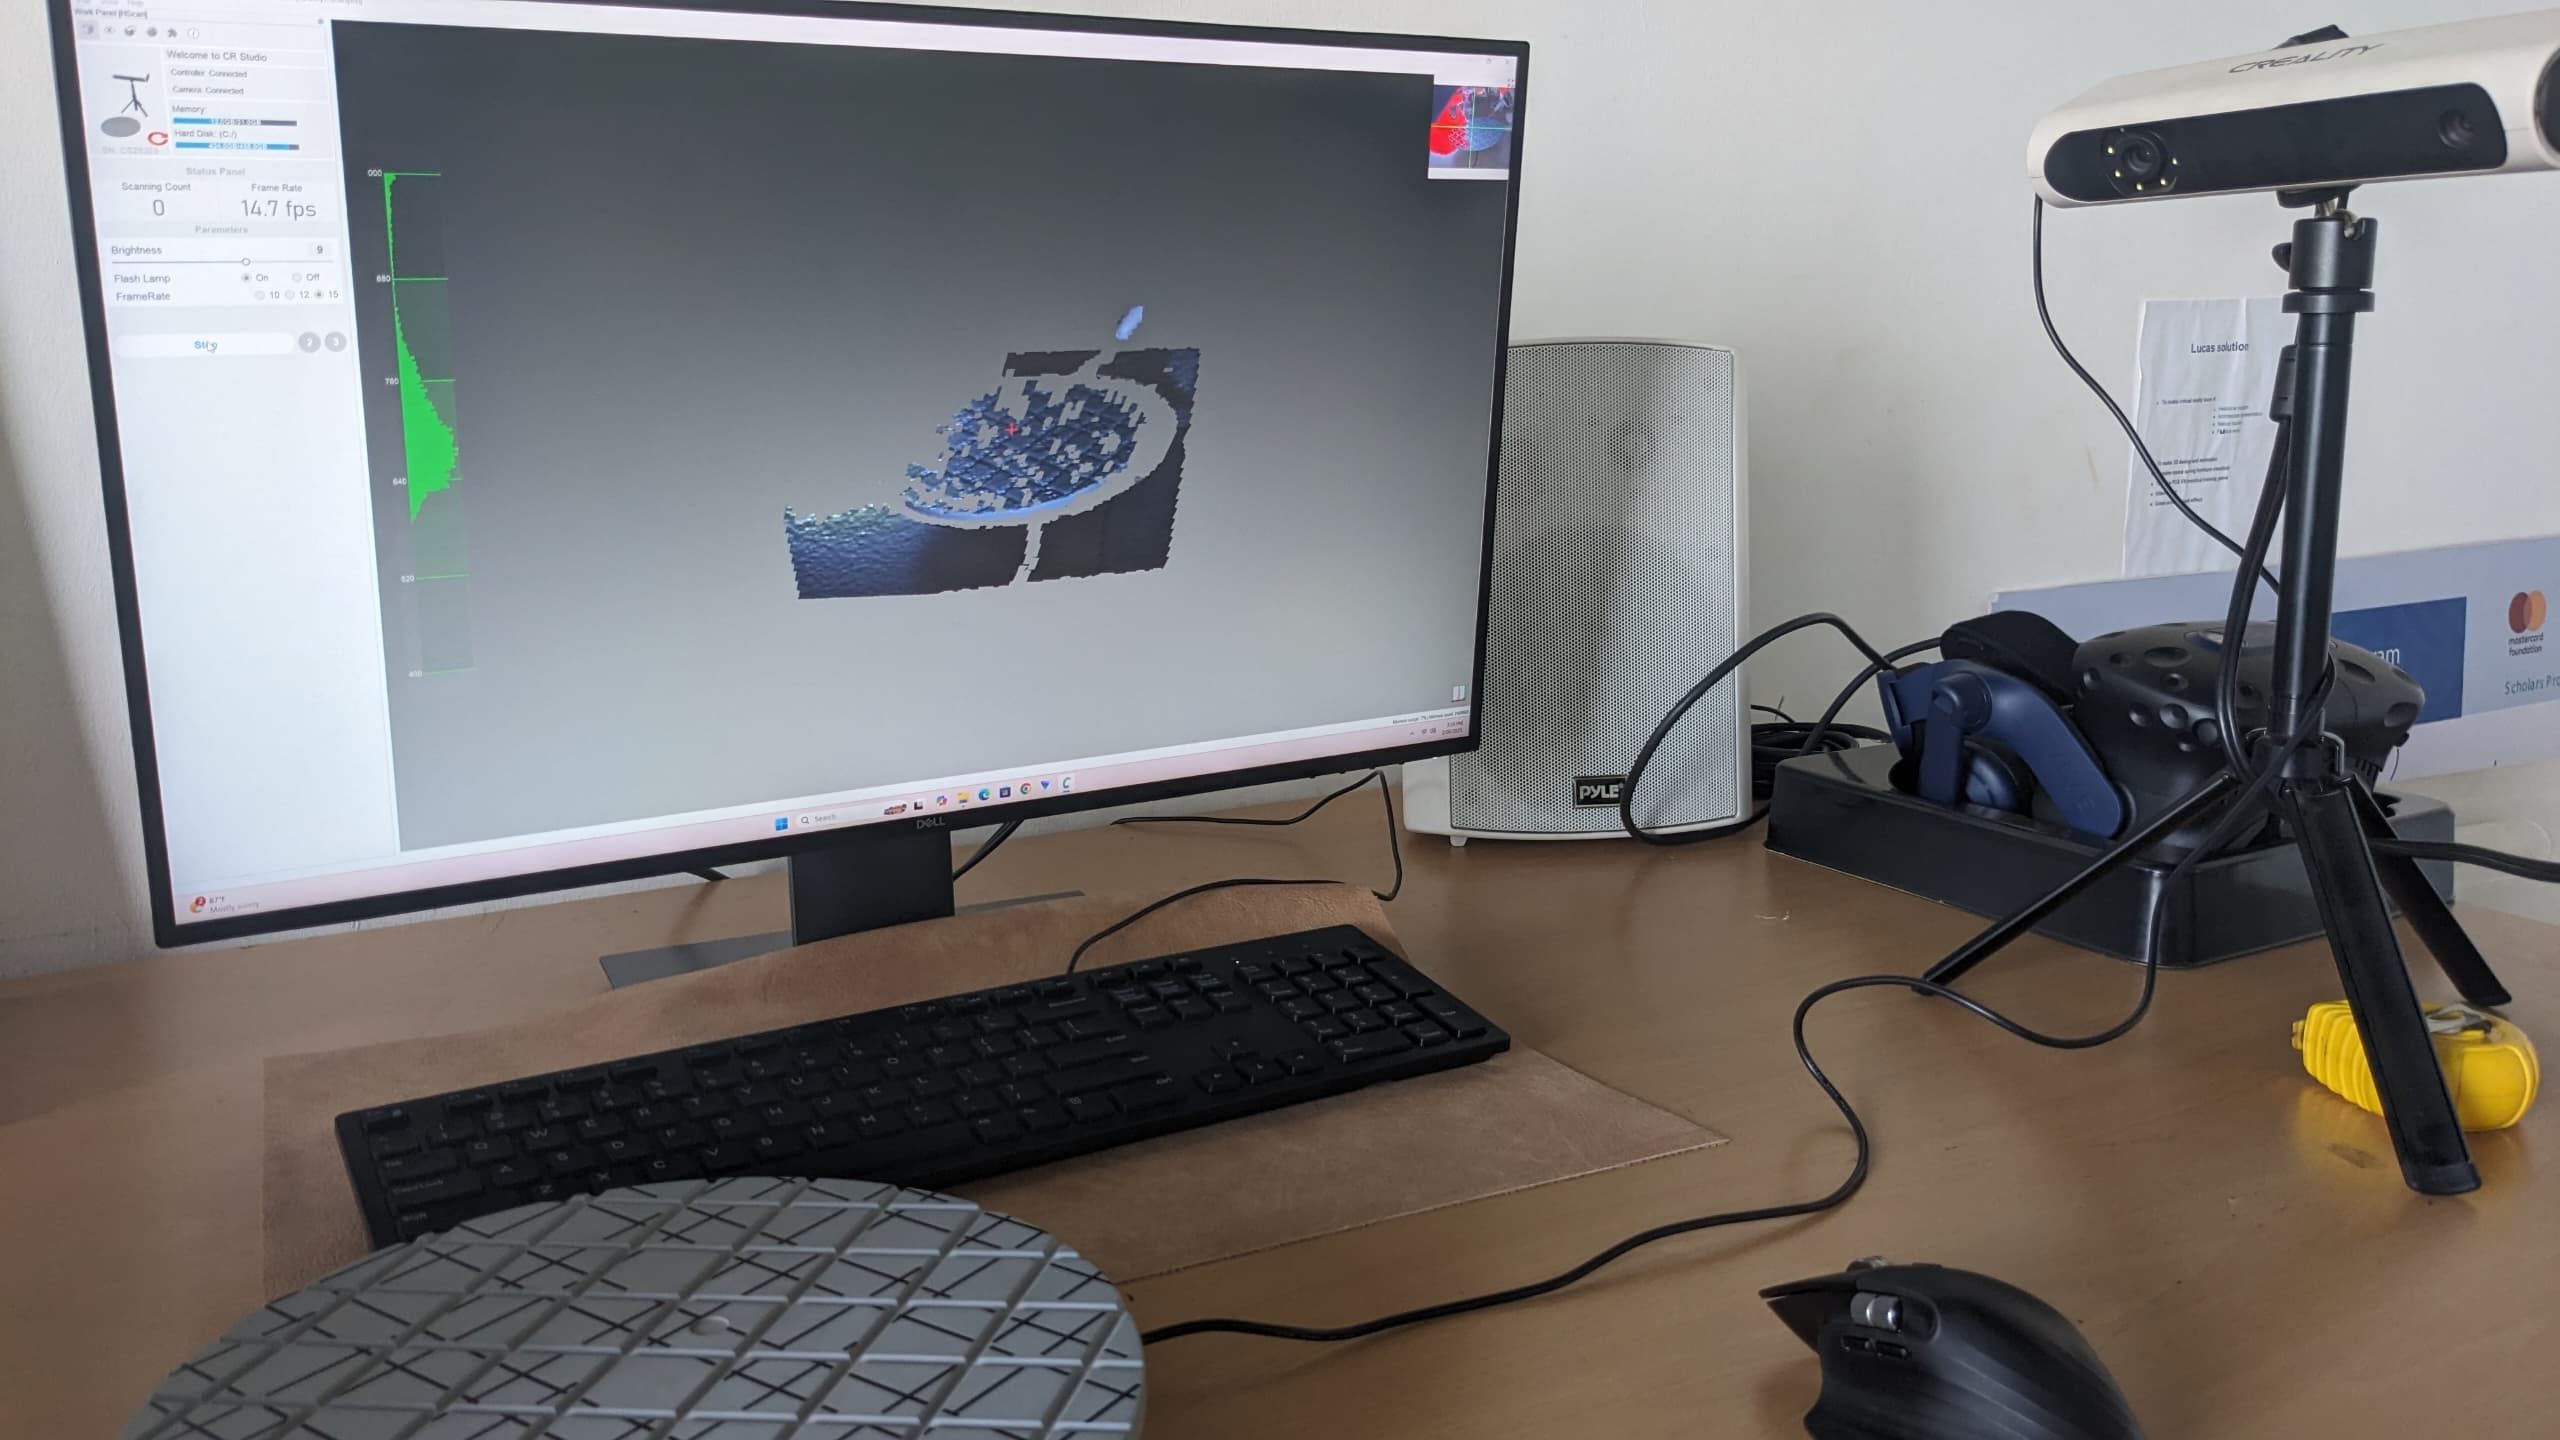
from the preview mode, I went to set my job throught 3 steps, first was to set bed and scanned by creality scanner, second is to set my object in the center of the scanner view. i choosen to scan server motor
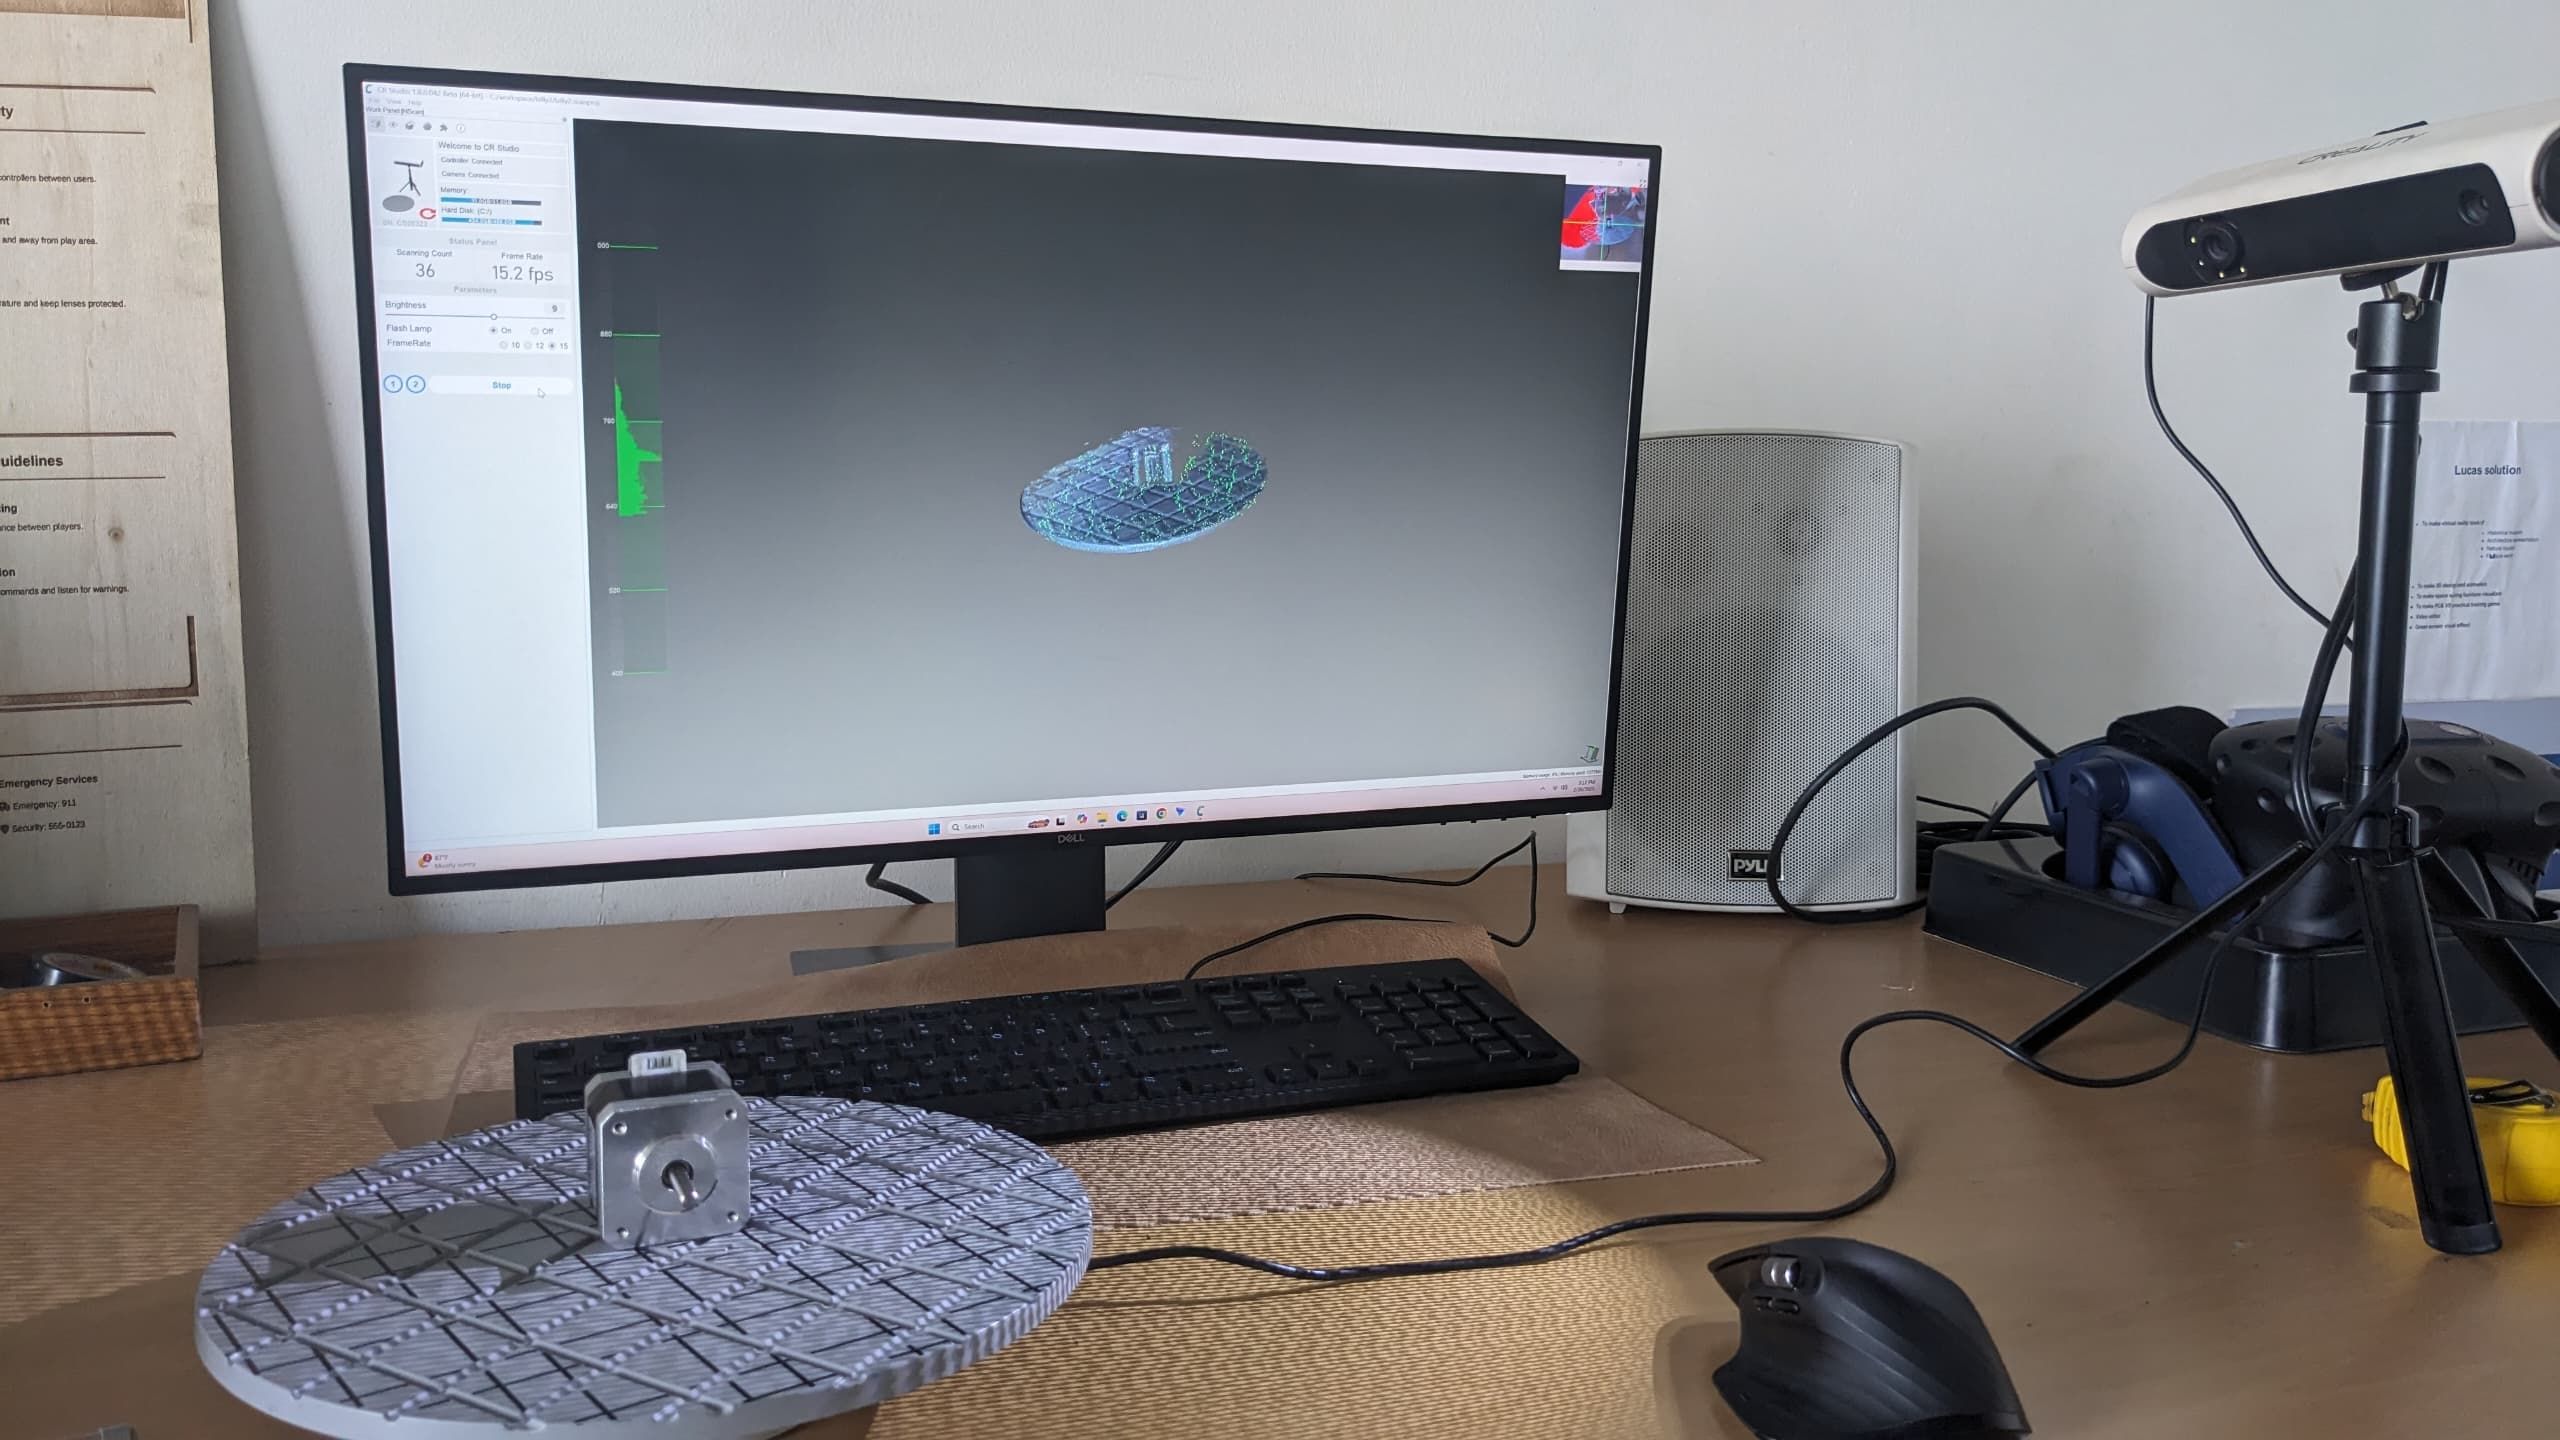
after setting I selected scan button to let creality scanner start scanning
these are some images while scanning
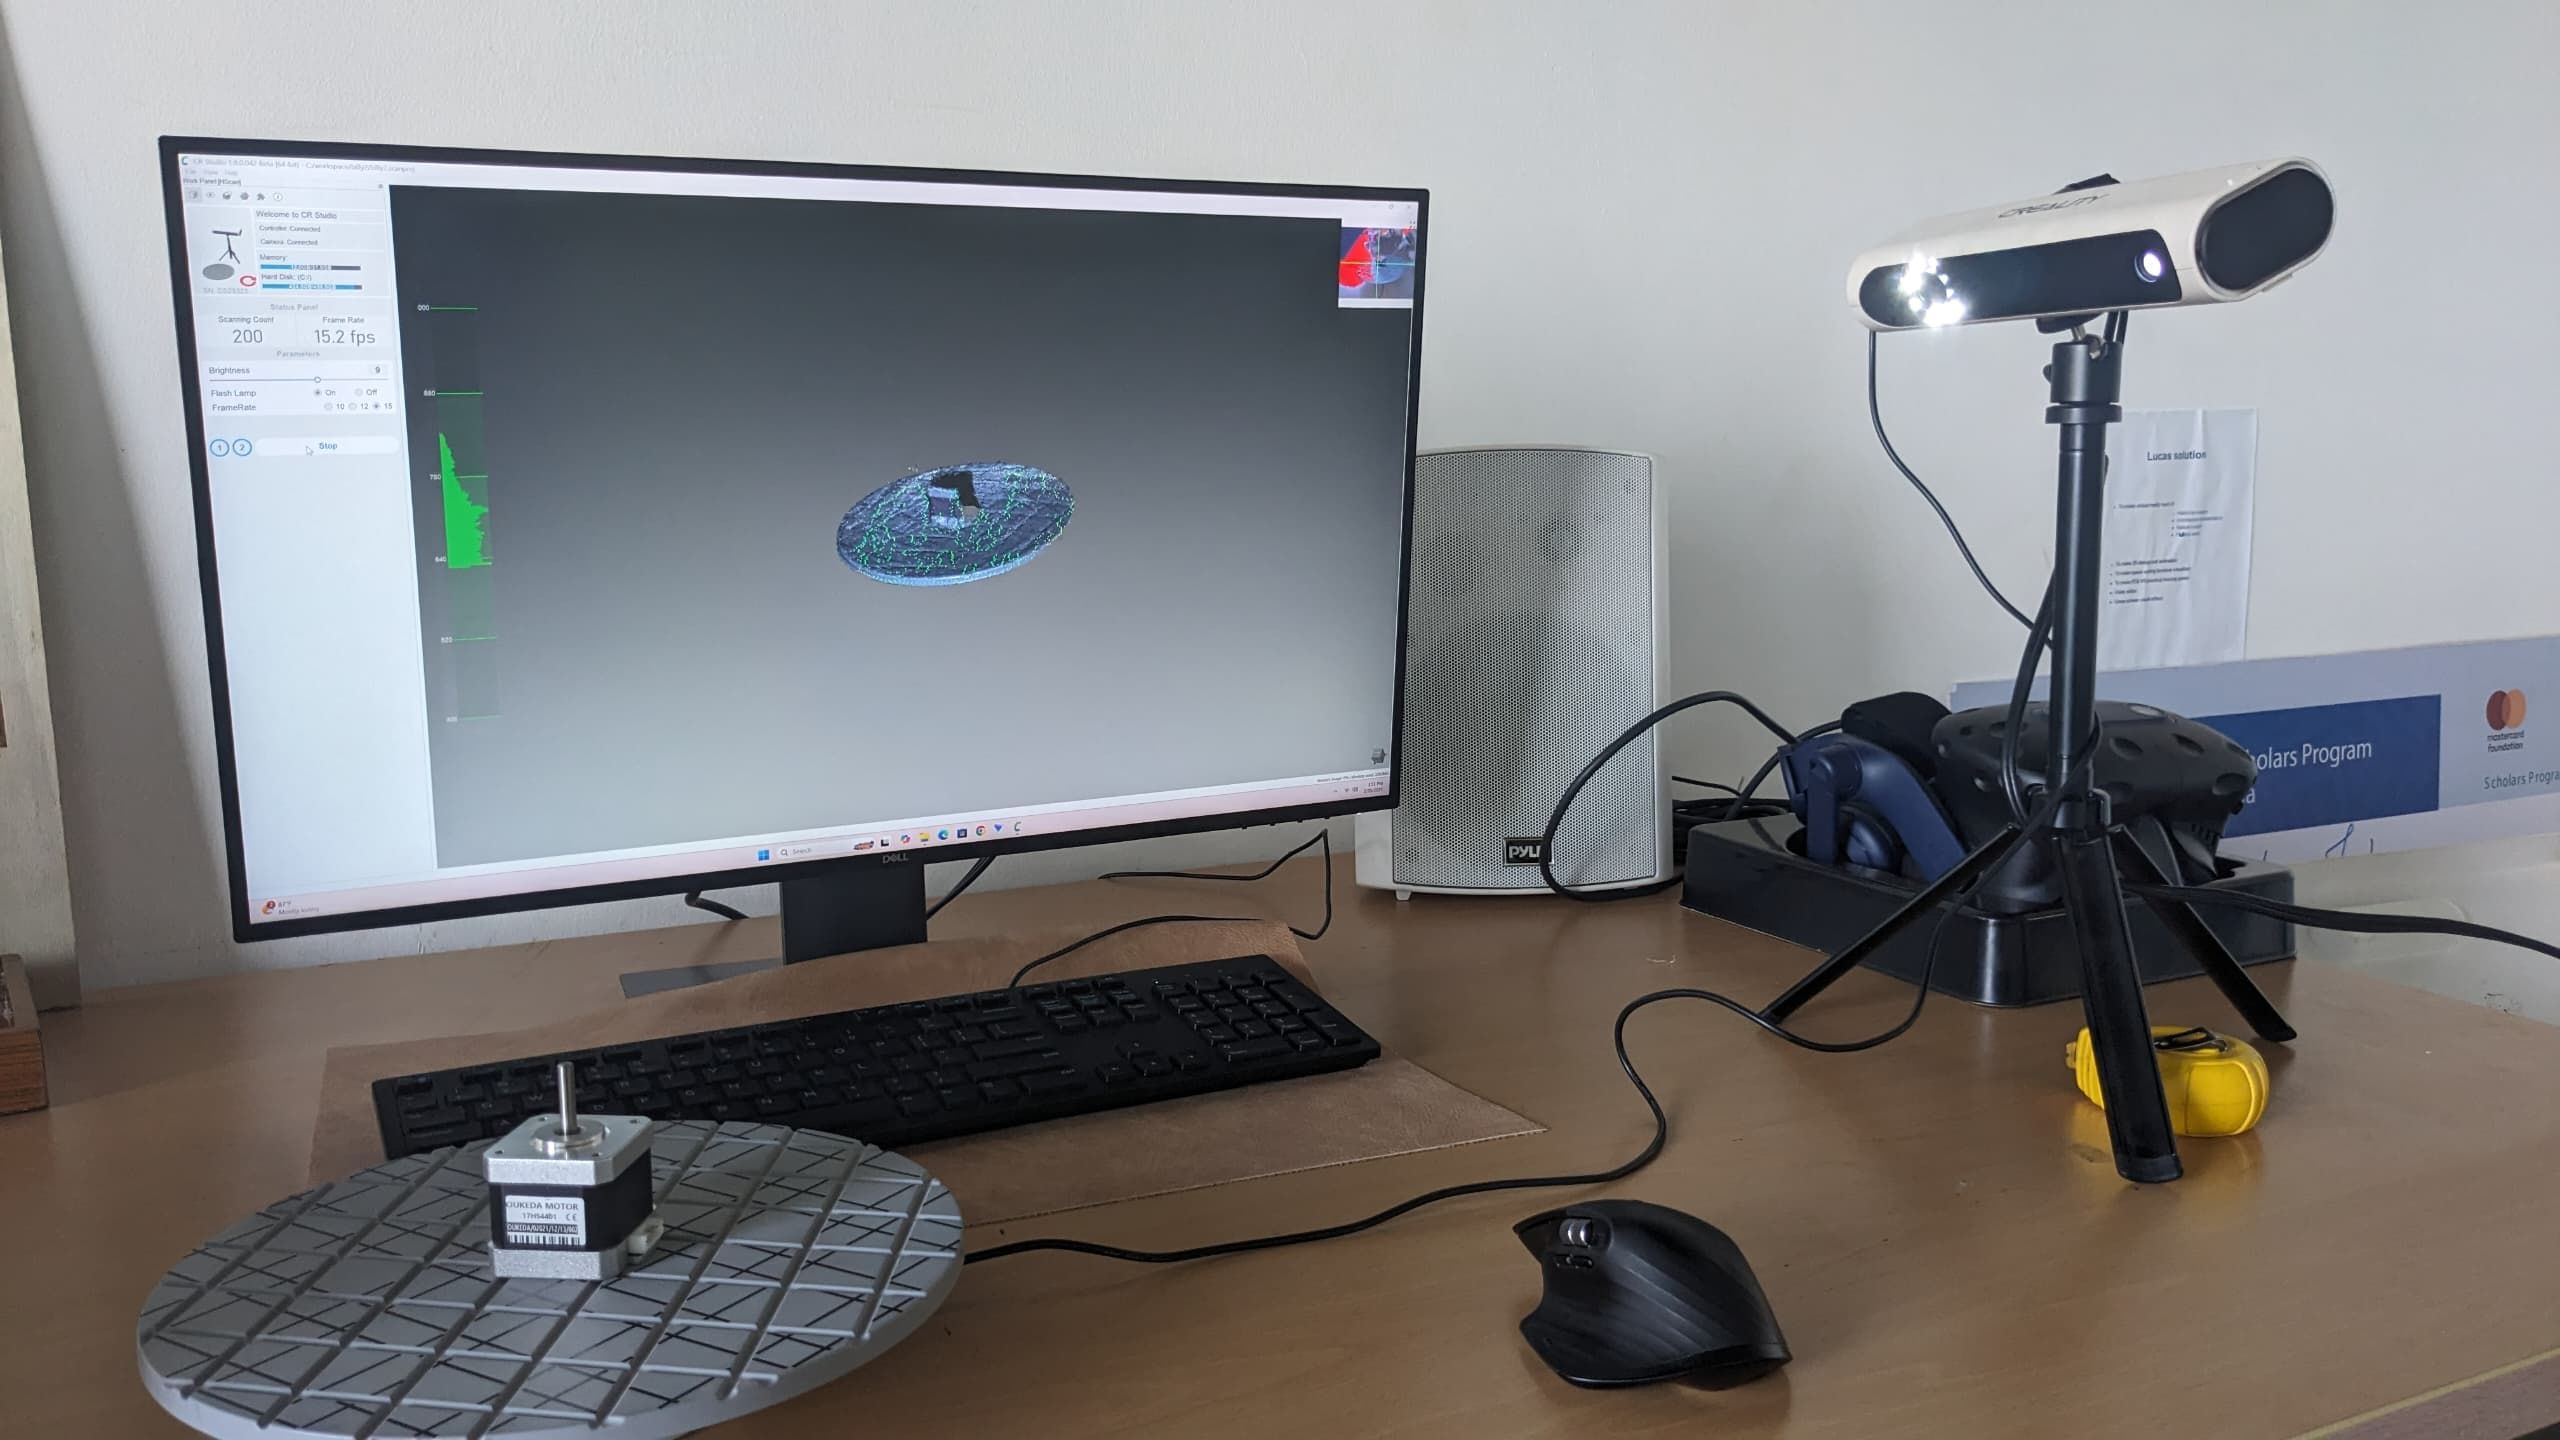
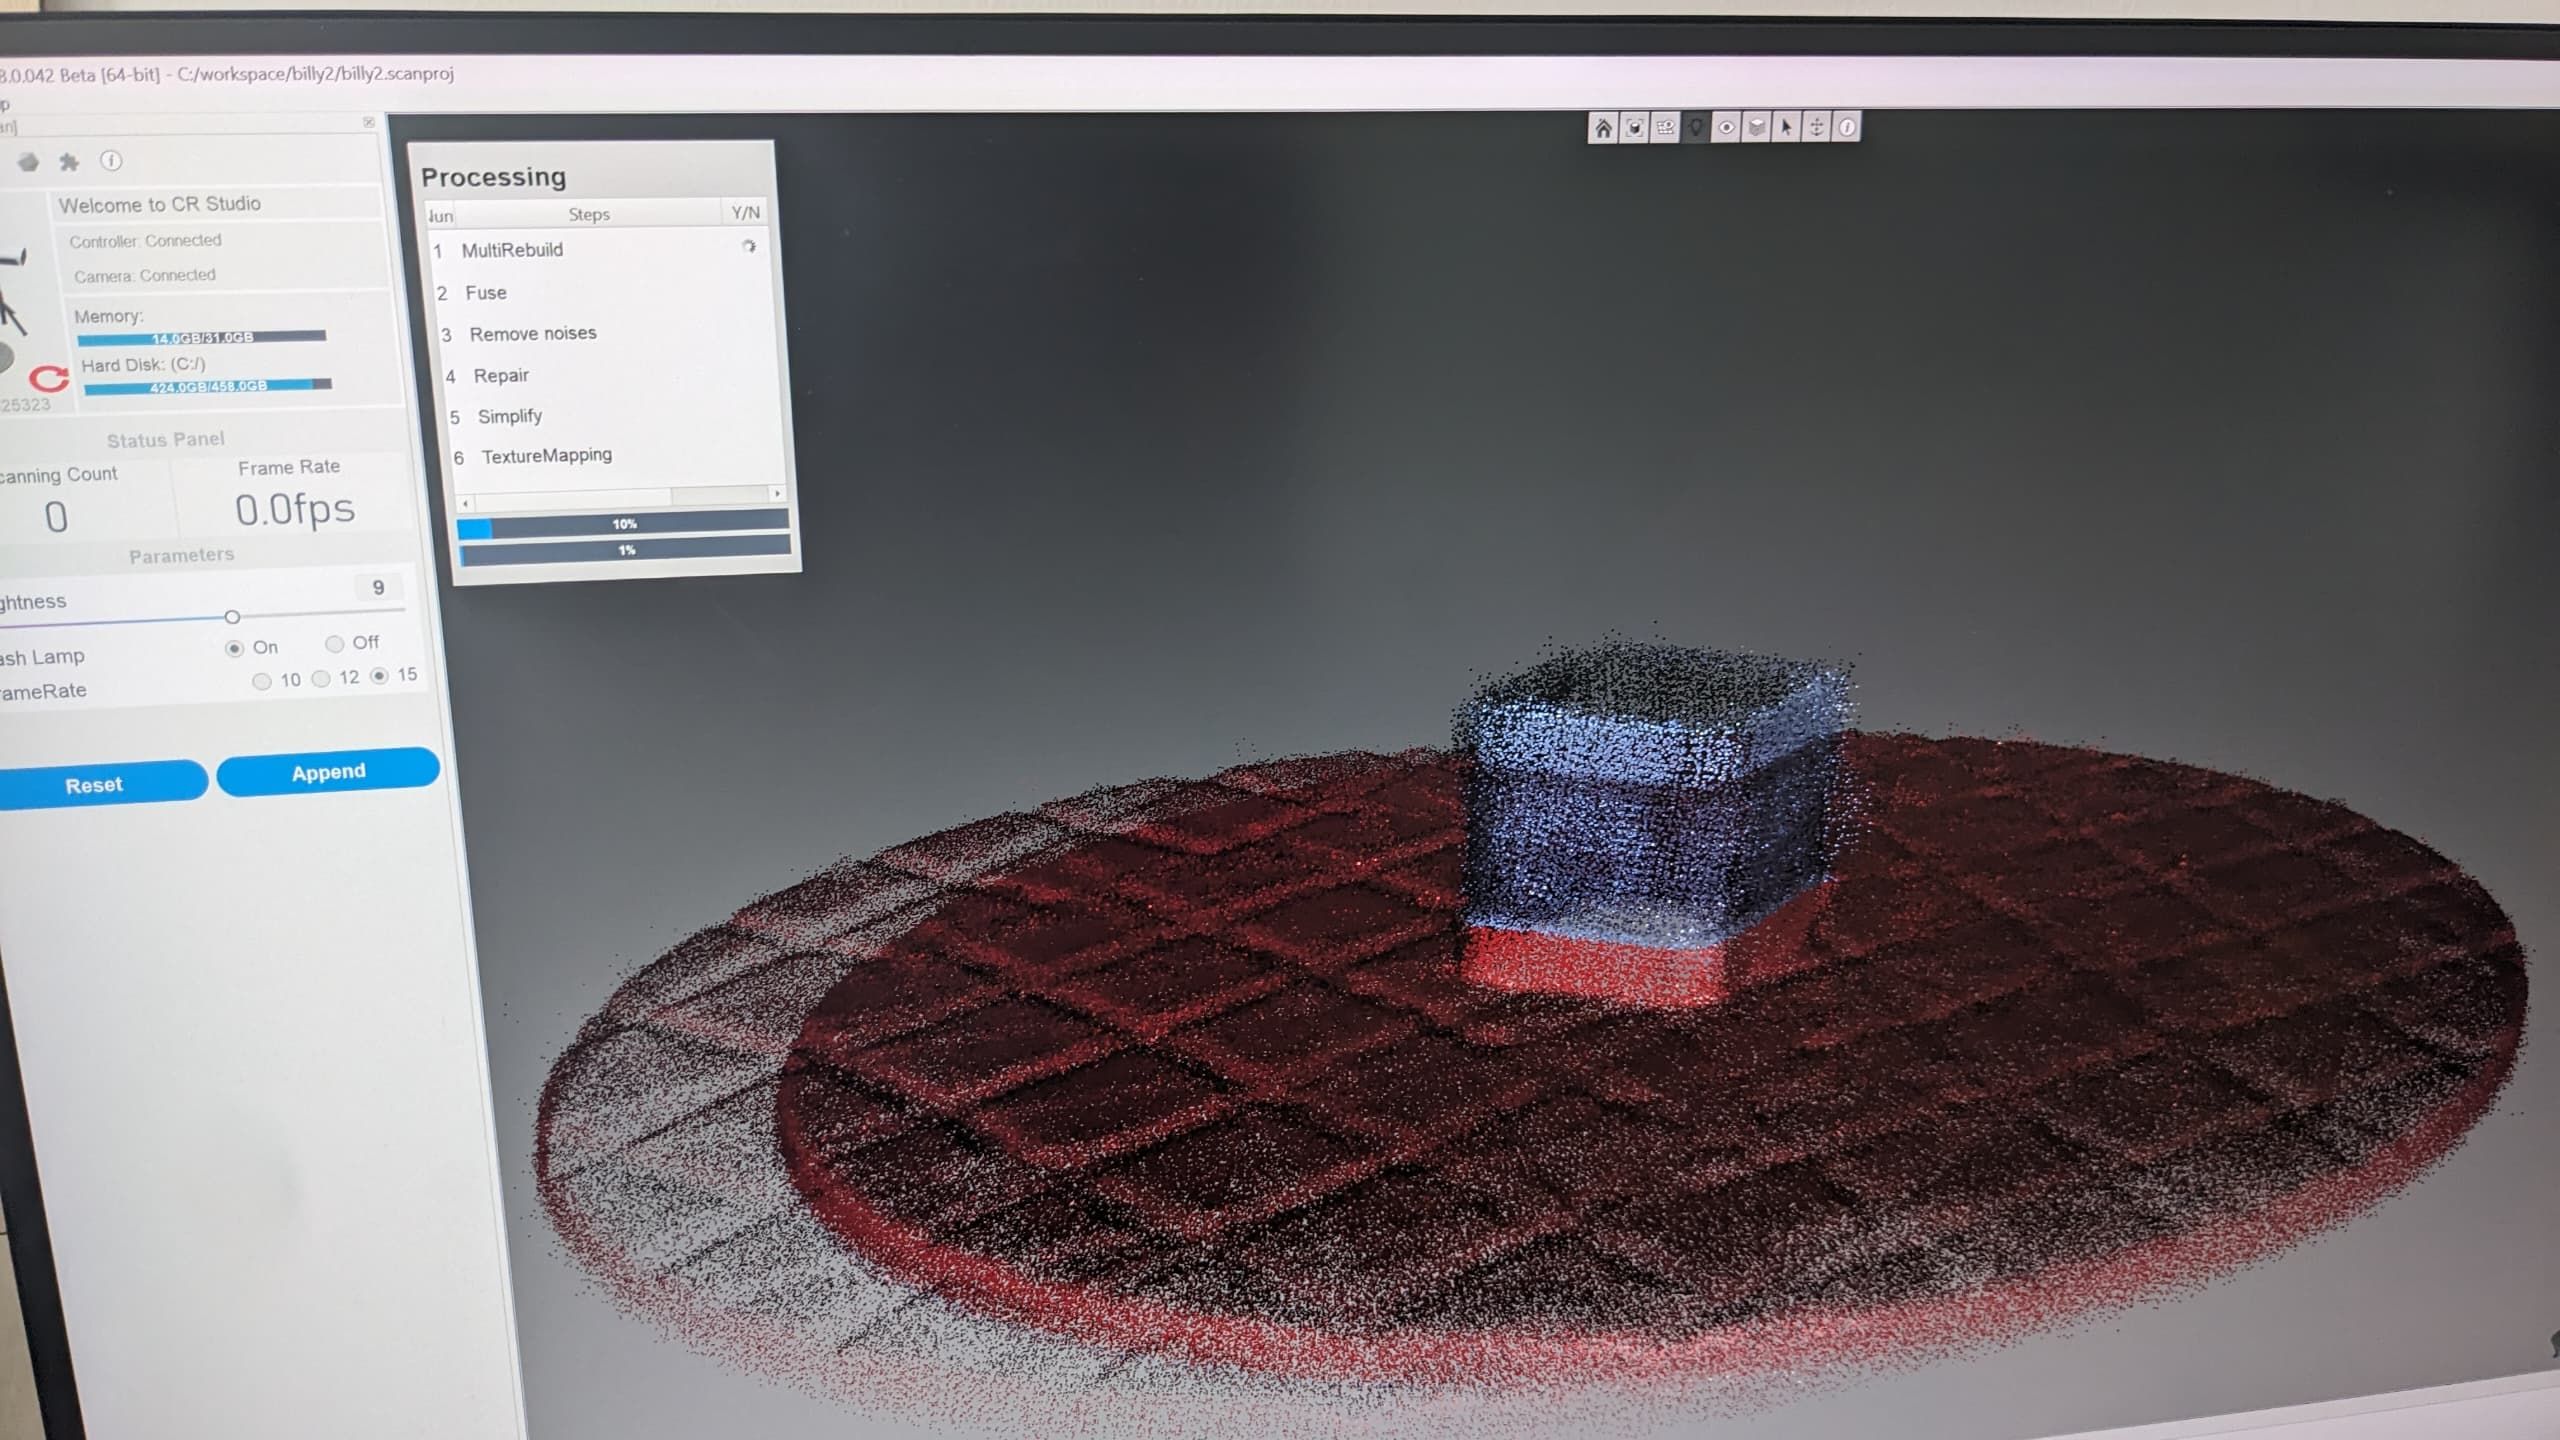
after loading the scanning process about 100% I checked the result and save them where I merged the two results from top scanned object and the right scanned object
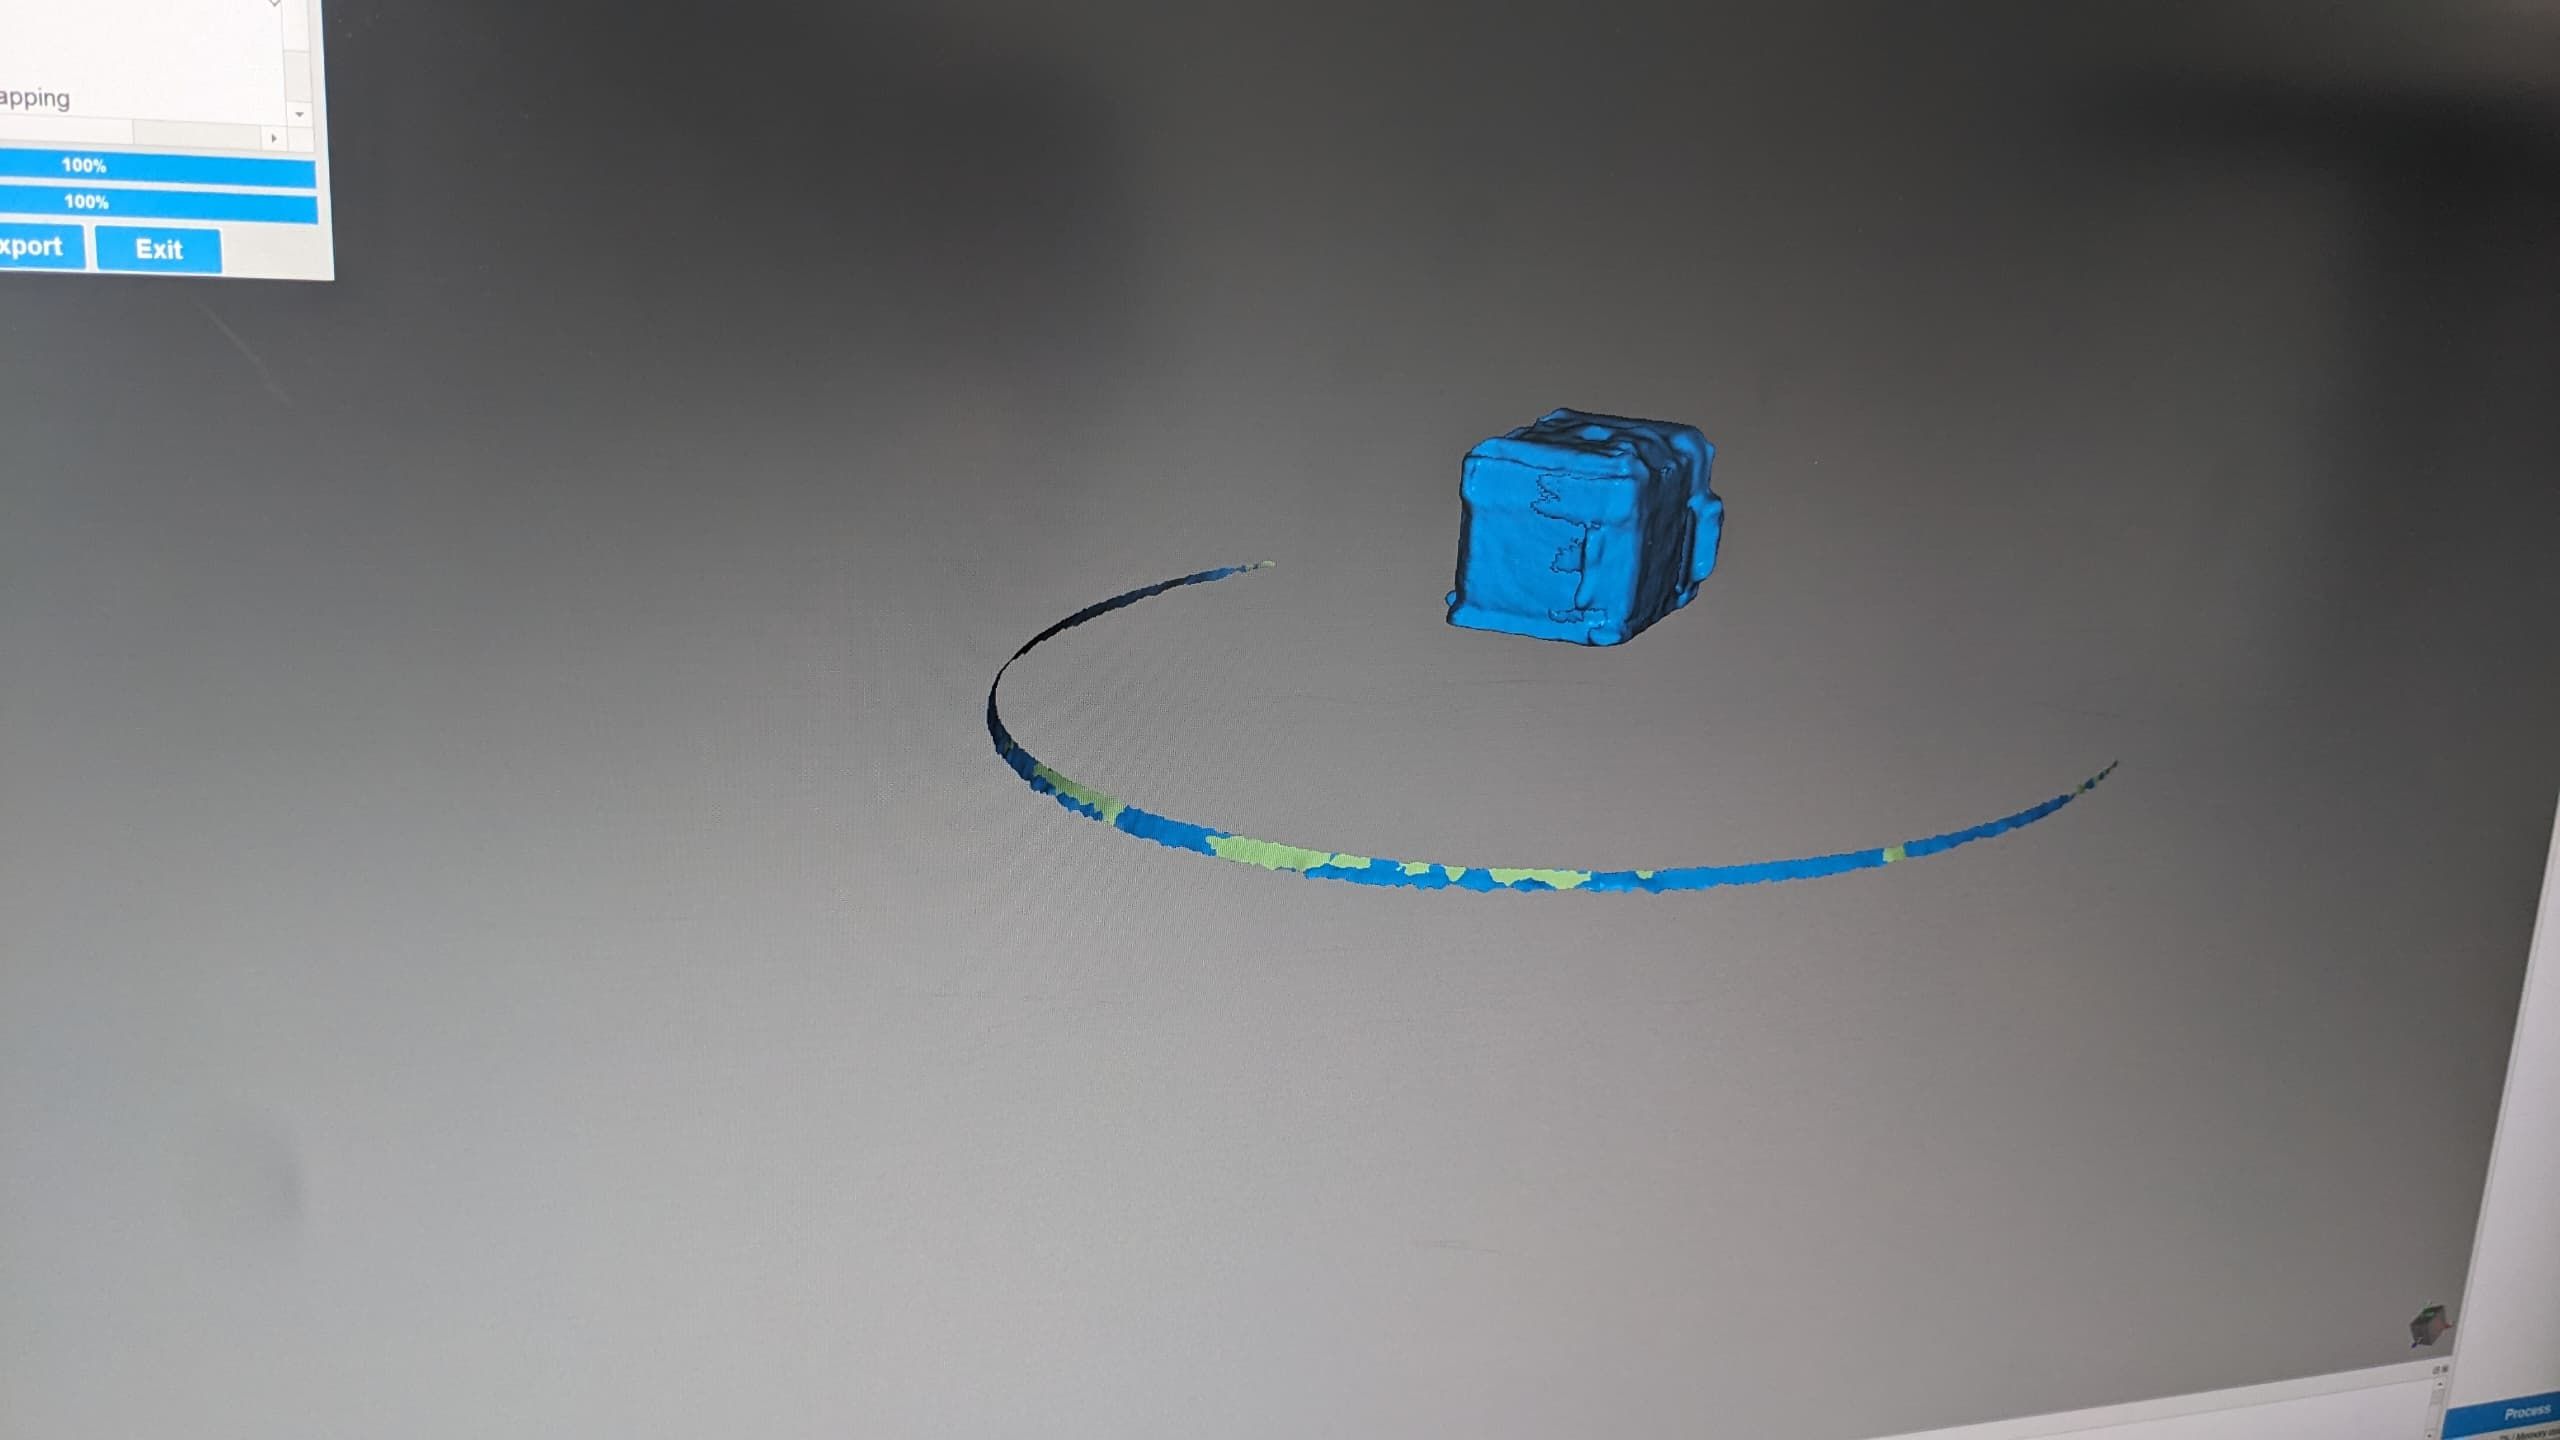
after that I saved my file in OBJ format to readable by any CAD software
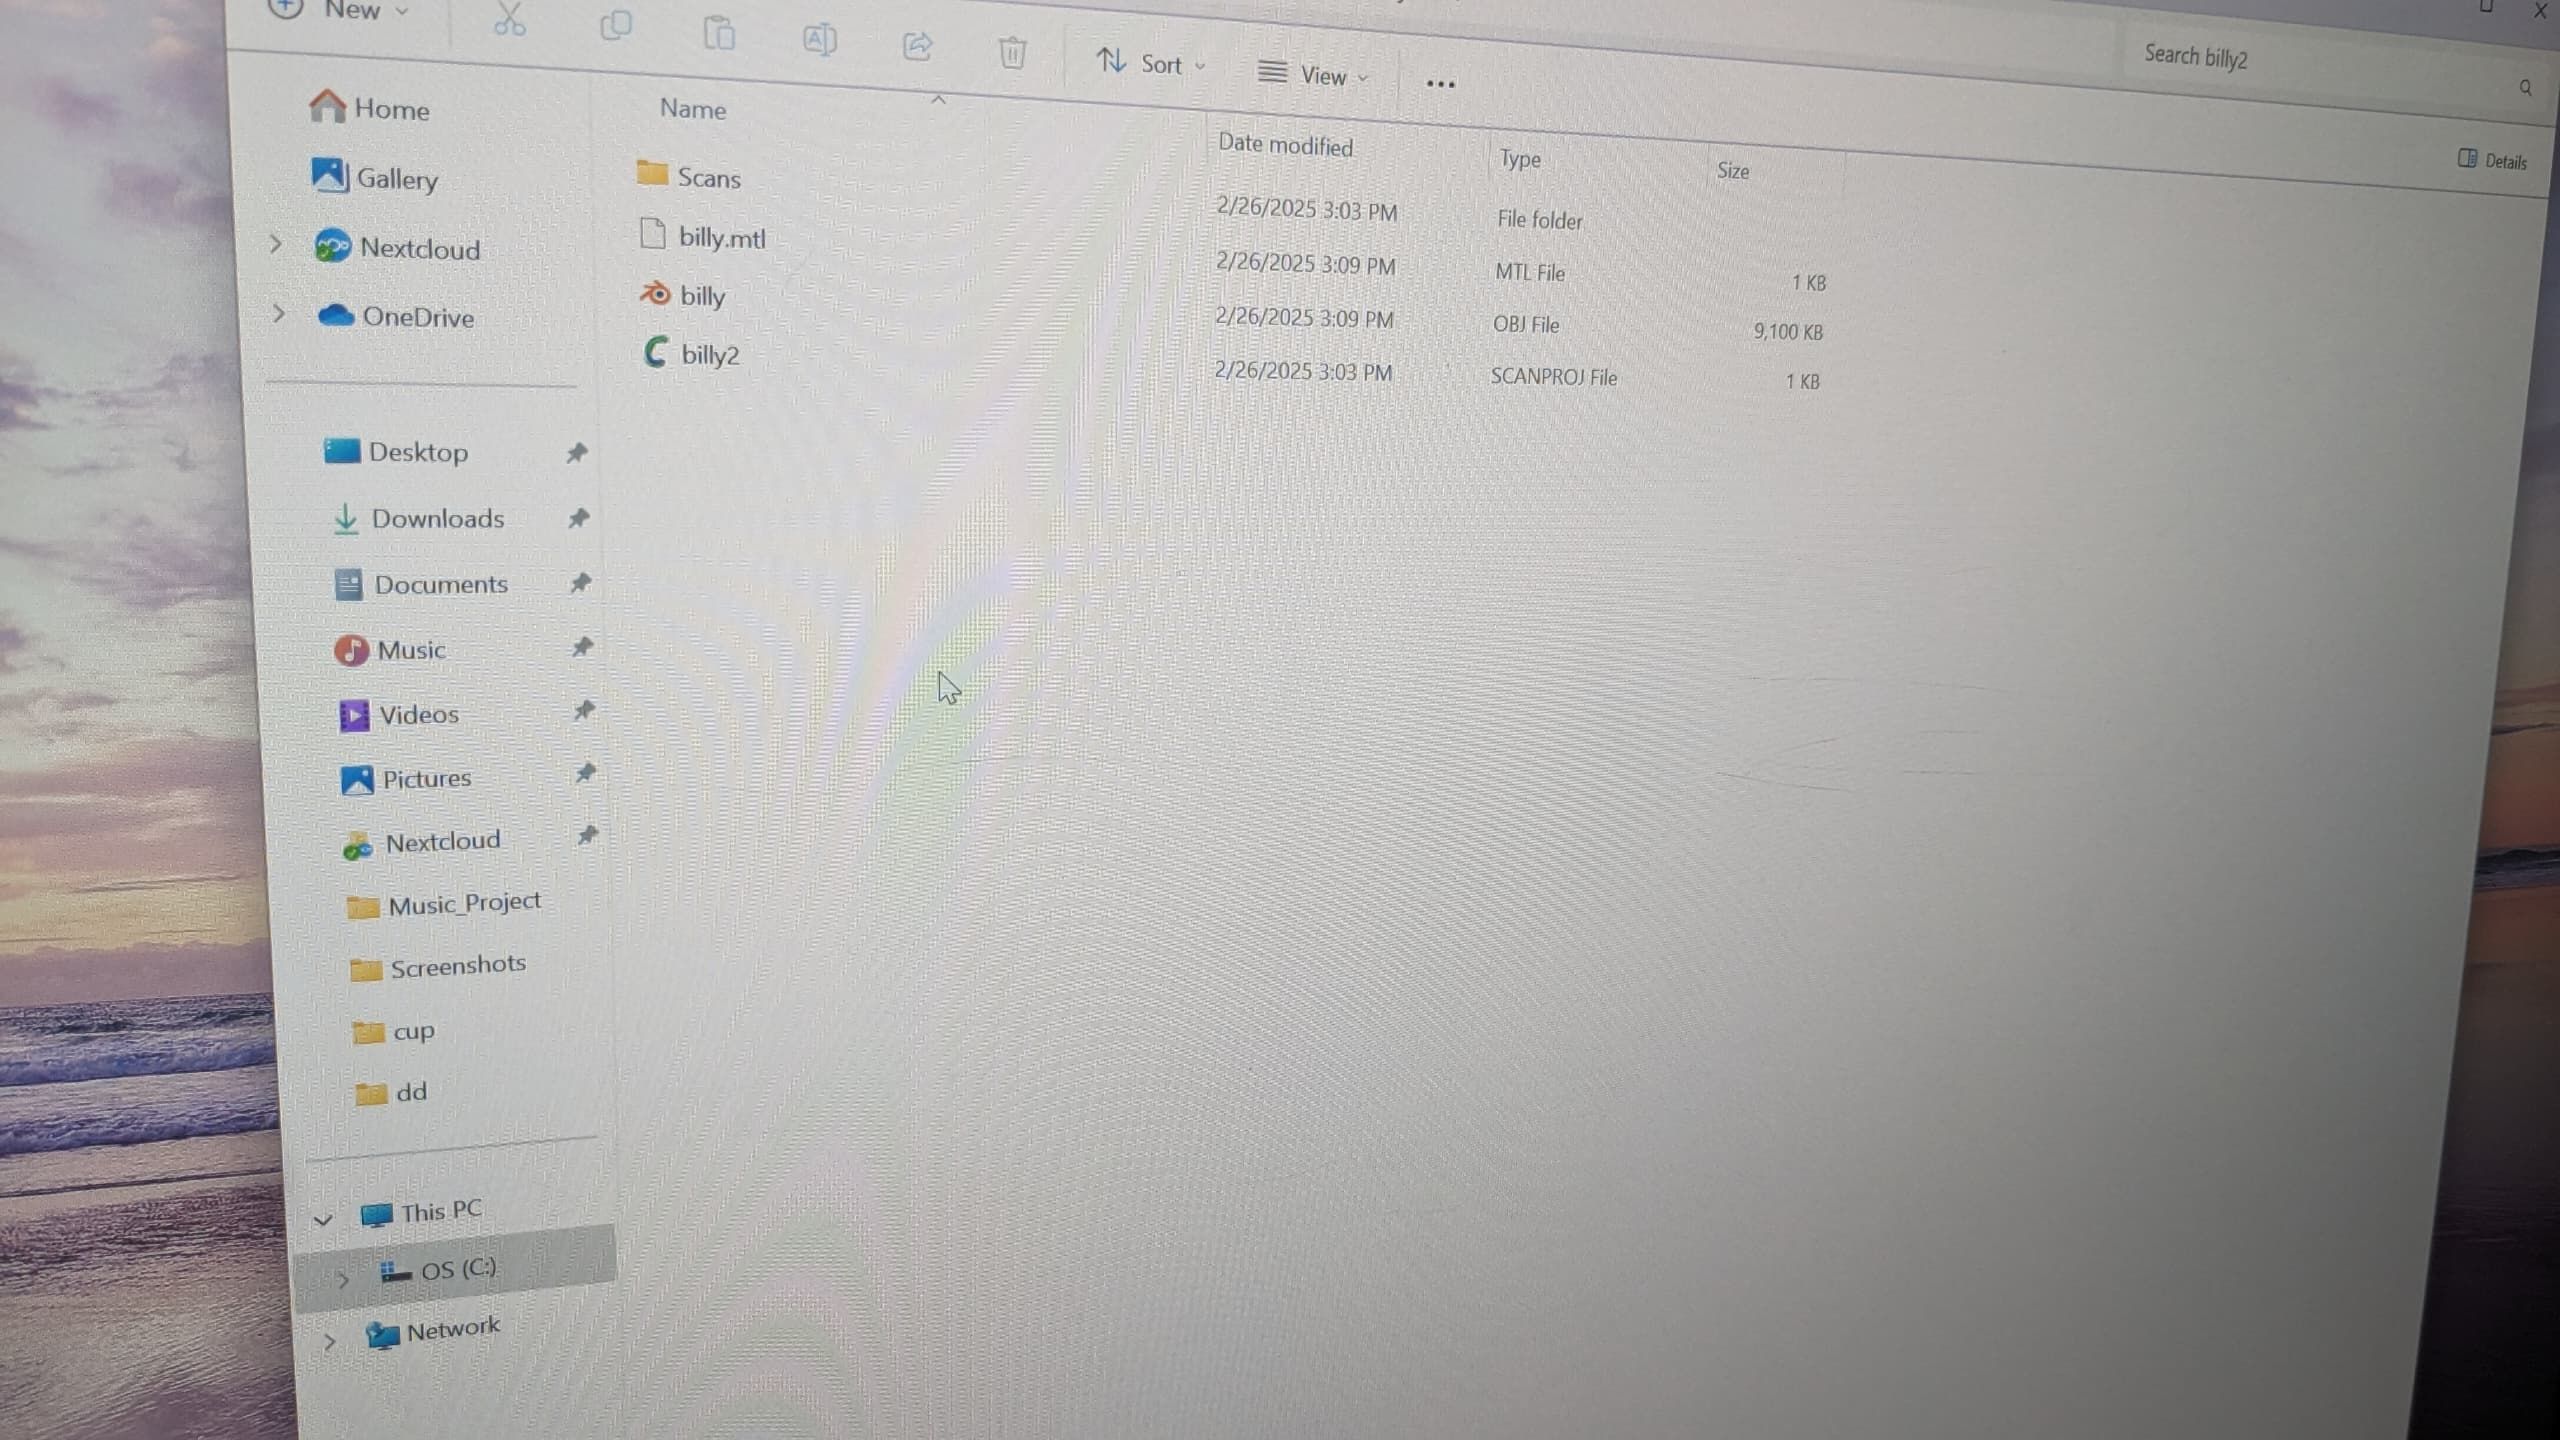
Here is the original files
3D scanning and Printing
all original files for scanning and printing are compressed in this folder
3D scanning and Printing