vector and raster assignment
2D vector using CorelDraw
Step 1: downloading and installing CorelDraw
I went on google through https://www.coreldraw.com/en/free-trials/ to download CorelDraw.
I downloaded this software to help to make vectors and design vectorised images and graphics
Step 2: opening and using CorelDraw
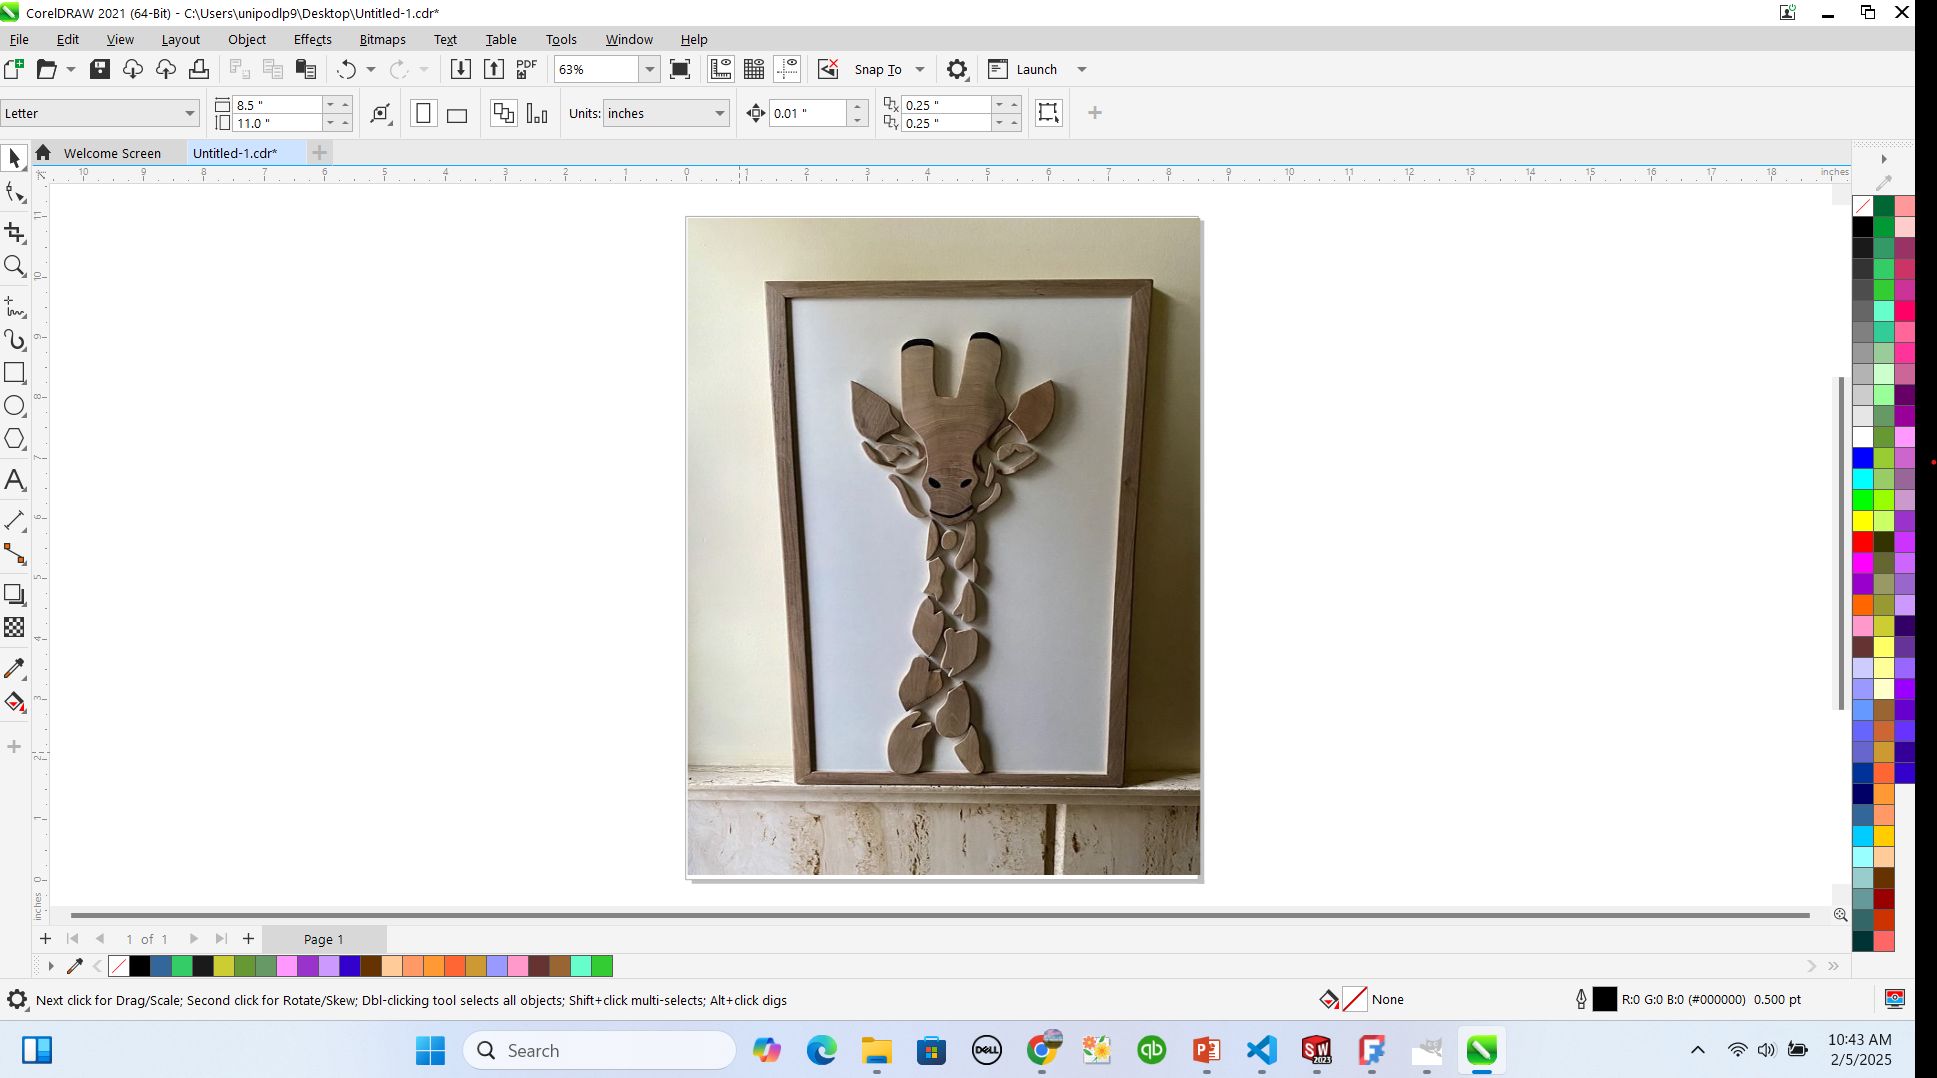
I started my vectorization journey in CorelDRAW by first searching for an image on Google that I wanted to convert into a vector. After selecting a high-quality image, I downloaded it to my computer.
Next, I opened CorelDRAW and created a new document. Then, I imported the image by draging and droping method on the picture I had downloaded. Once the image was placed on my workspace, I resized it and positioned it centrally for better visibility.
With my image ready, I began the vectorization process using CorelDRAW’s PowerTRACE tool. To do this, I selected the image and clicked on Bitmaps > Outline Trace, which opened different tracing options. I experimented with various presets, such as Detailed Logo, Line Art, and High-Quality Image, to see which one produced the best result for my image.
I finall used b-spline tool to trace my image
After using b-spline tool to trace my image, I adjusted the Smoothing and Detail settings to refine the edges and capture intricate details. I also toggled the Remove Background option to eliminate unnecessary parts of the image, making the final vector cleaner.
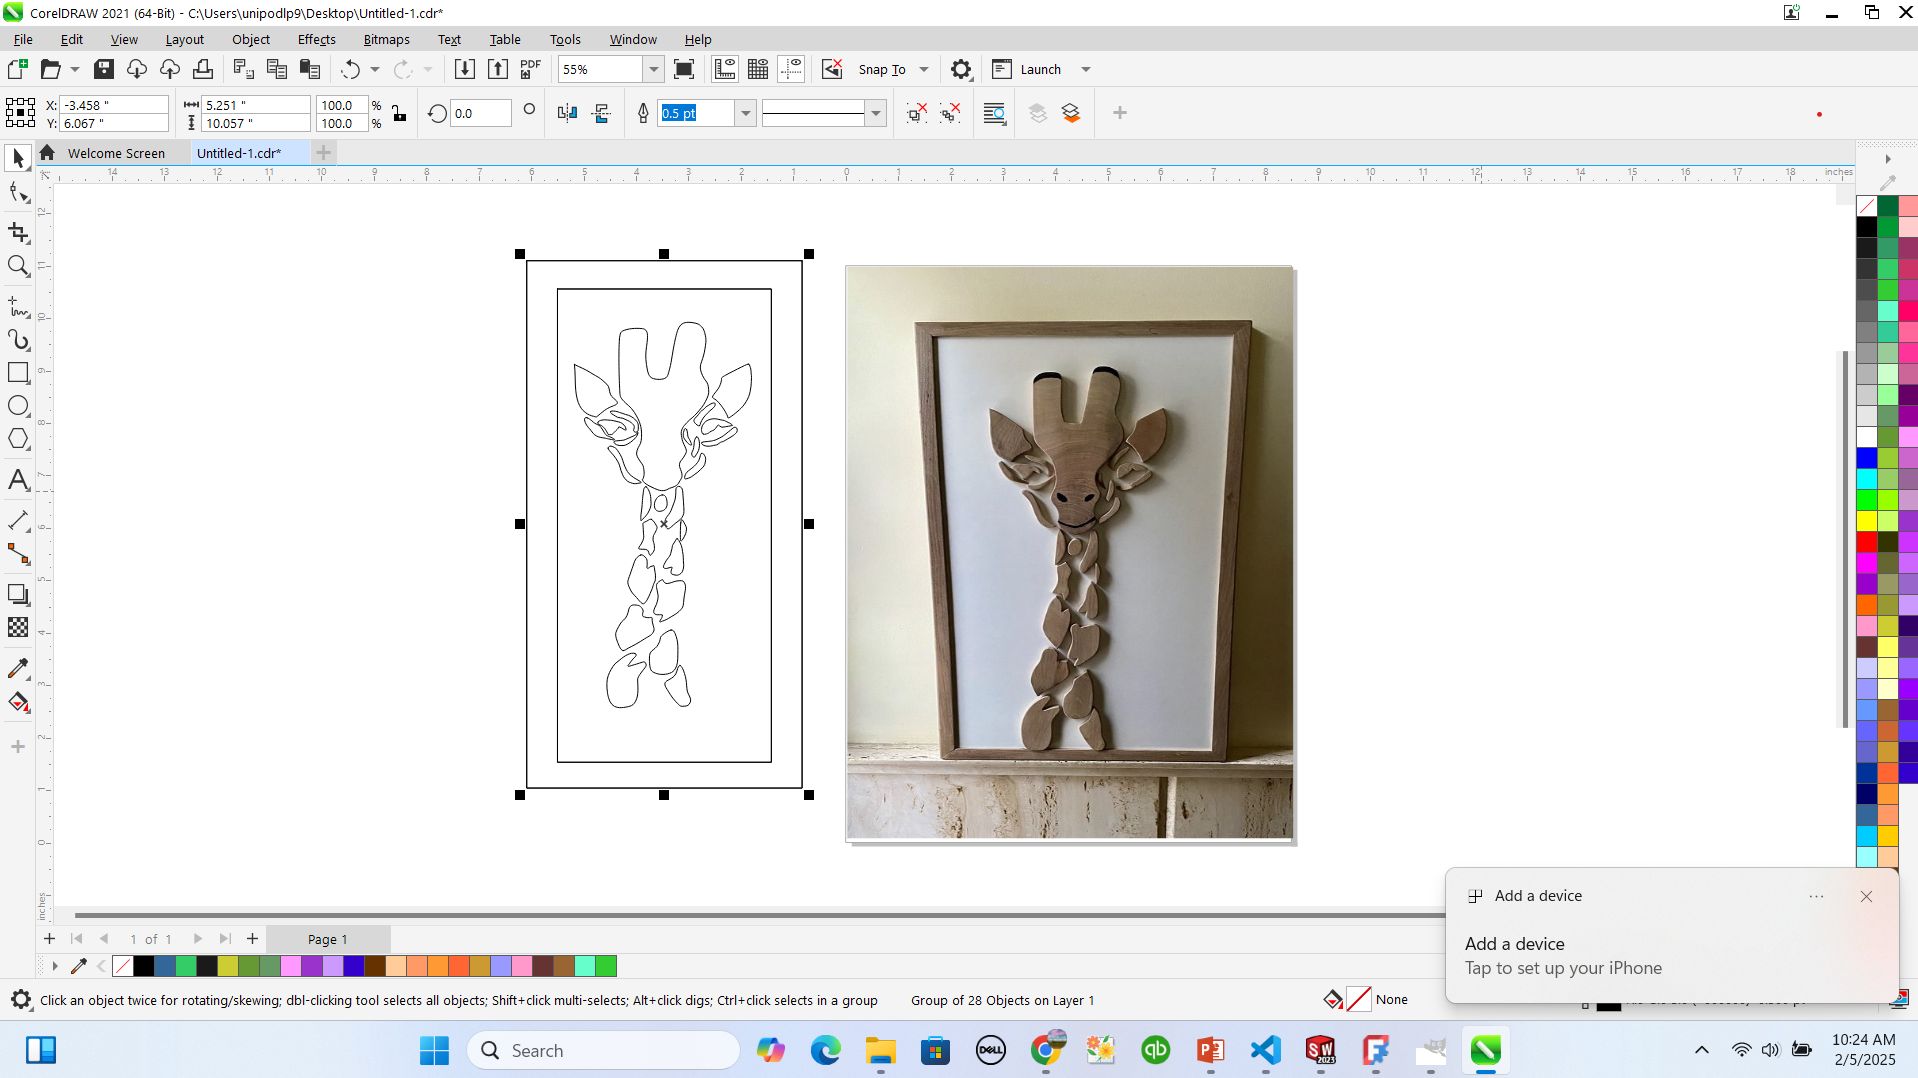
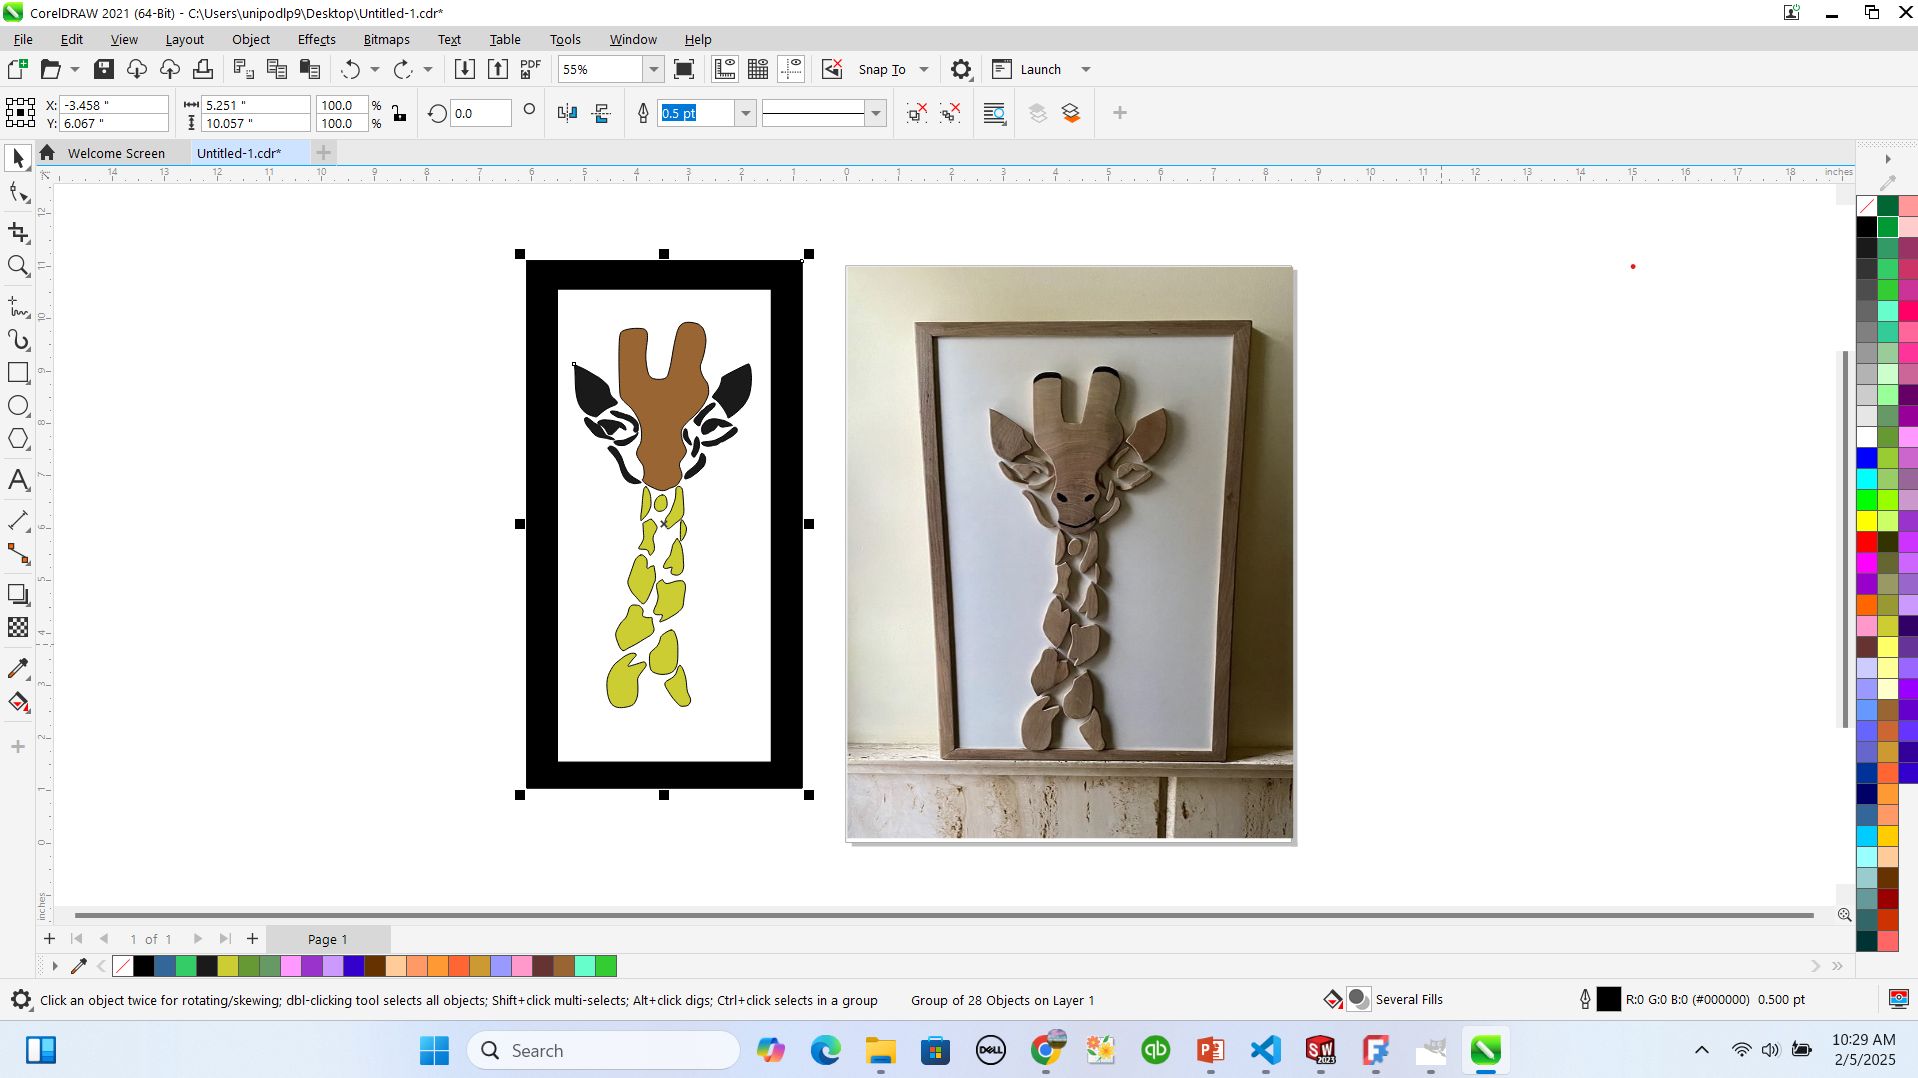
After selecting the appropriate tracing method, I adjusted the Smoothing and Detail settings to refine the edges and capture intricate details. I also toggled the Remove Background option to eliminate unnecessary parts of the image, making the final vector cleaner. I added also colors based on my wish
Once I was satisfied with the trace, I clicked OK to finalize the conversion. The new vector object appeared over the original image, so I moved the original to the side for comparison. I noticed that some details required minor adjustments, so I used the Shape Tool to fine-tune curves and smooth out any rough edges.
To enhance the vector, I ungrouped the elements by selecting Object > Ungroup, which allowed me to edit individual parts of the image. I adjusted the colors using the Eyedropper Tool and Fill Tool, ensuring a vibrant and polished result.
Finally, I saved my vectorized image in different formats: CDR for further editing, SVG for web use, and EPS for compatibility with other design software. I also exported it as a PNG with a transparent background in case I needed to use it in other projects
By the end of this process, I had successfully transformed a raster image from Google into a scalable, high-quality vector graphic using CorelDRAW. It was an exciting experience, and I felt confident in my ability to repeat the process for different images in the future!
2D Raster using Inkscape
after doing different research I found that I can do raster images using inkscape as one of the best softwares for rasterising images and objects
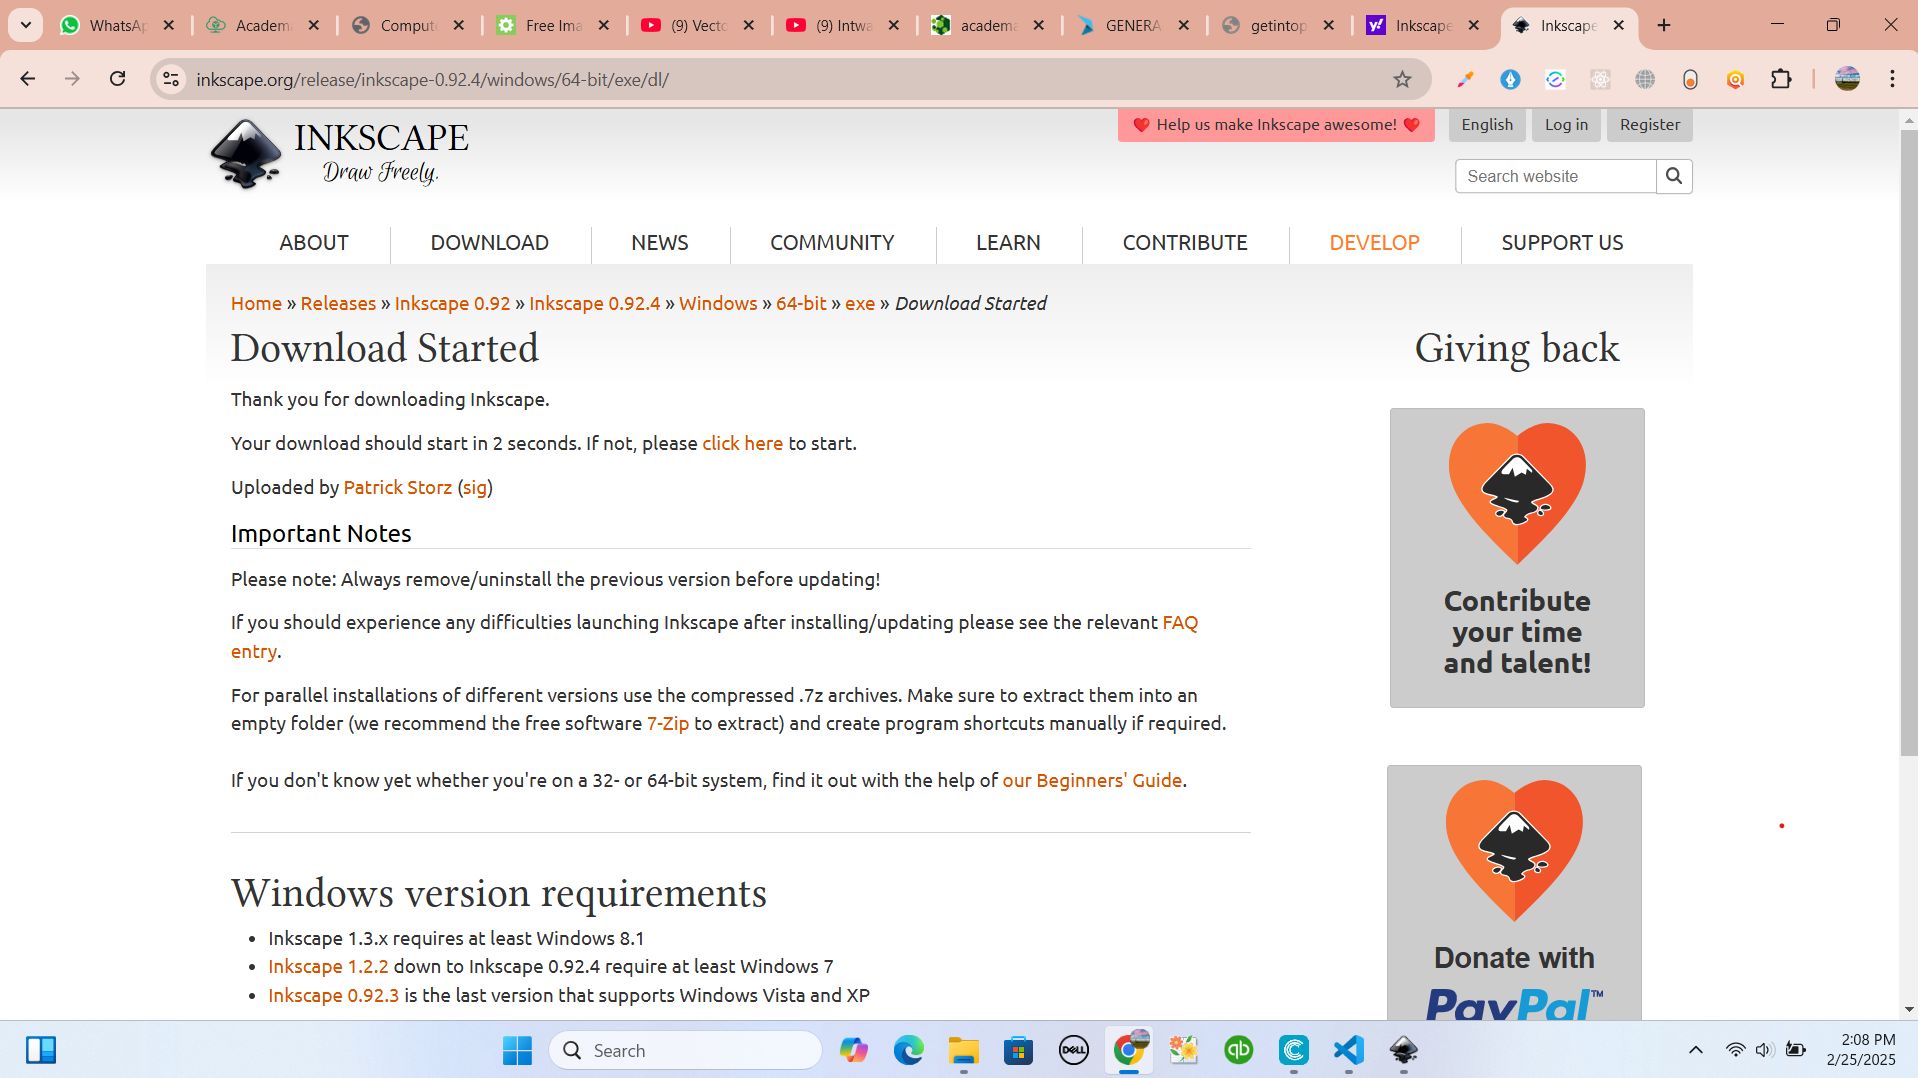
So this is how I downloaded incskape software via google link https://inkscape.org/release/0.92.4/windows/64-bit/
after downloading inkscape, I started to install and opened it
then, while I'm done by installing it, I visited different youtube chanels which talk about how to do raster using incskape and I found one hich explain it very well. I navigated through it via https://www.youtube.com/watch?v=UtI11aQ9ruk
after getting the main concept of rasterising, I started by drawing background of my design and after I used circles to sape my cartoon and words
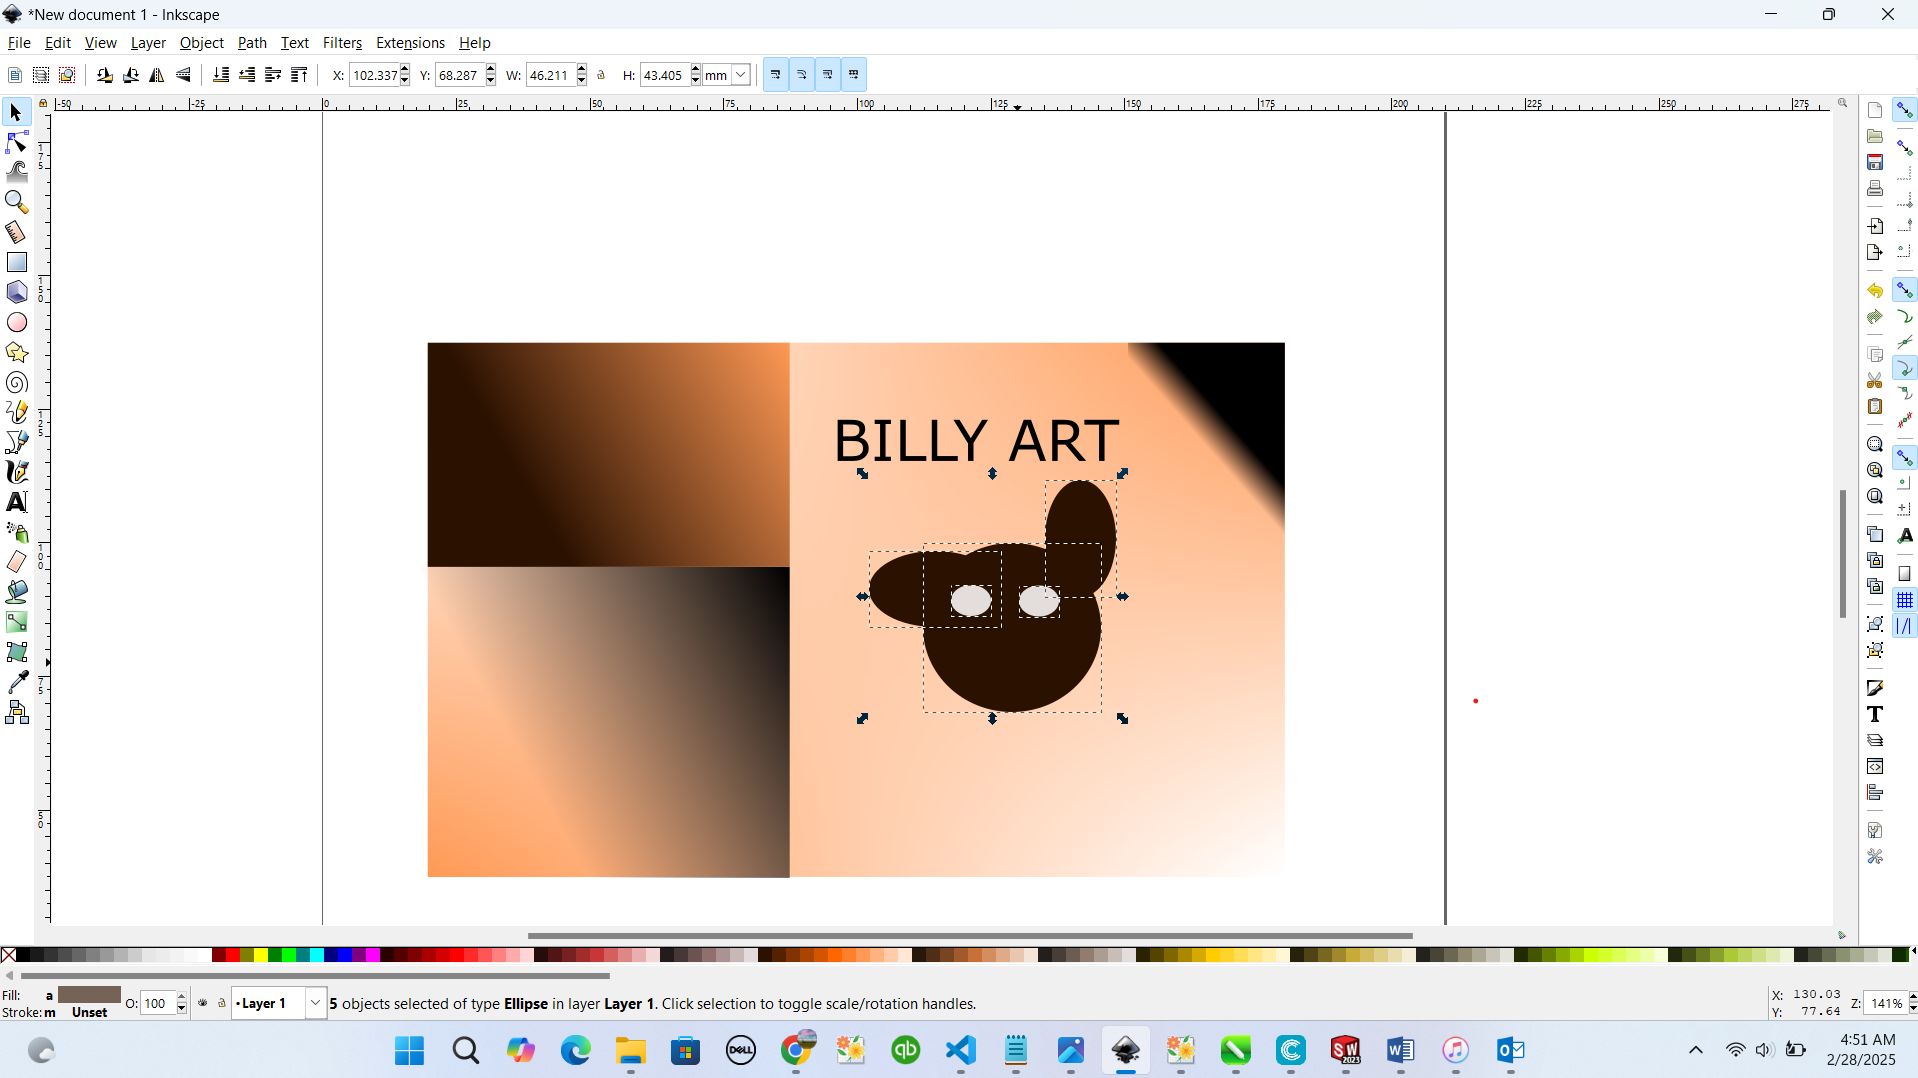
I added also legs and other part to have a beautiful cartoon

by here I was ready to get rasterised image from these merged layers and shapes of my cartoon
2D Raster using GIMP
As I was supposed to do raster using any 2D software, I choosen gimp for this tasK
So this is how I downloaded GIMP software via google link https://www.gimp.org/downloads/
after downloading, I started to install and opened it
then, while I'm done by installing GIMP, I started to see how I can use it where I visited youtube tutorials to help me and I choosen to watch how I can make my Image as raster via this link https://www.youtube.com/watch?v=uwVDKf4xbeo
I opened gimp and imported my picture
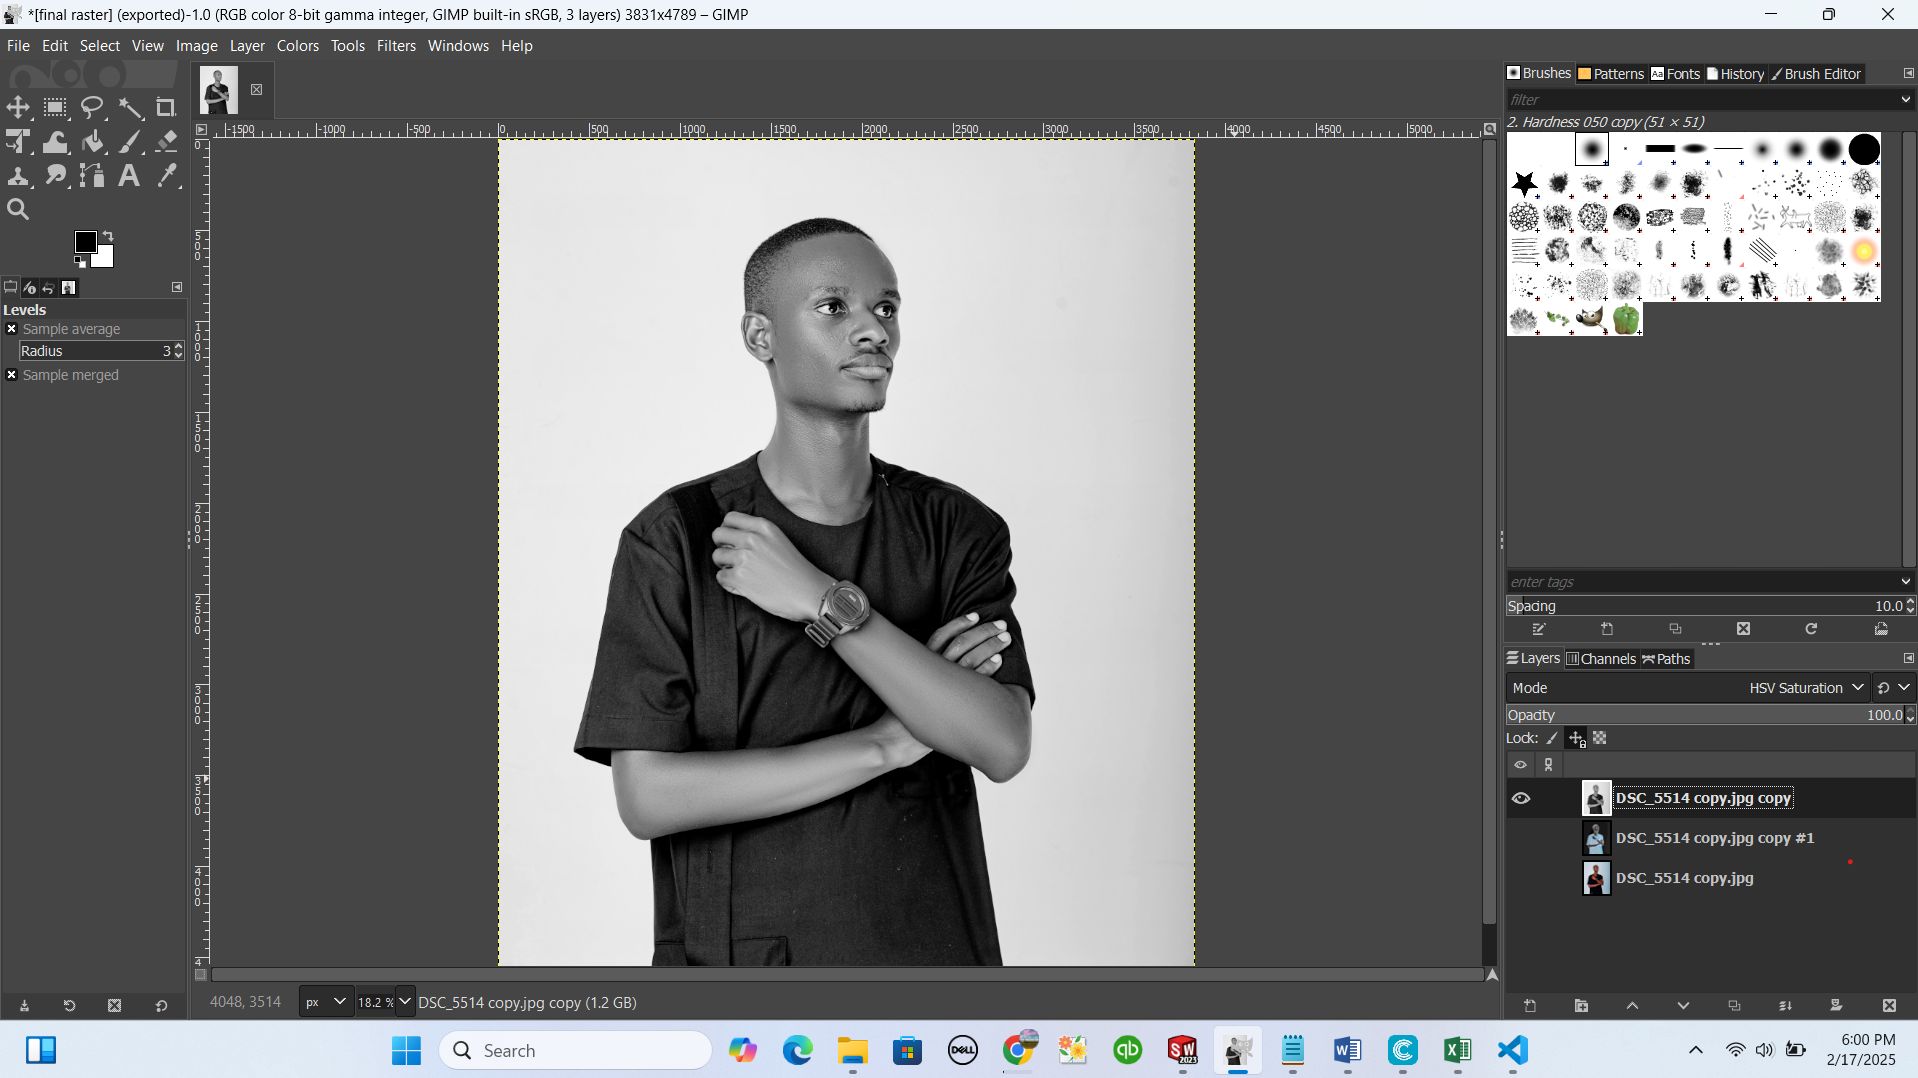
I started edditing by making it blur (gausian blur)
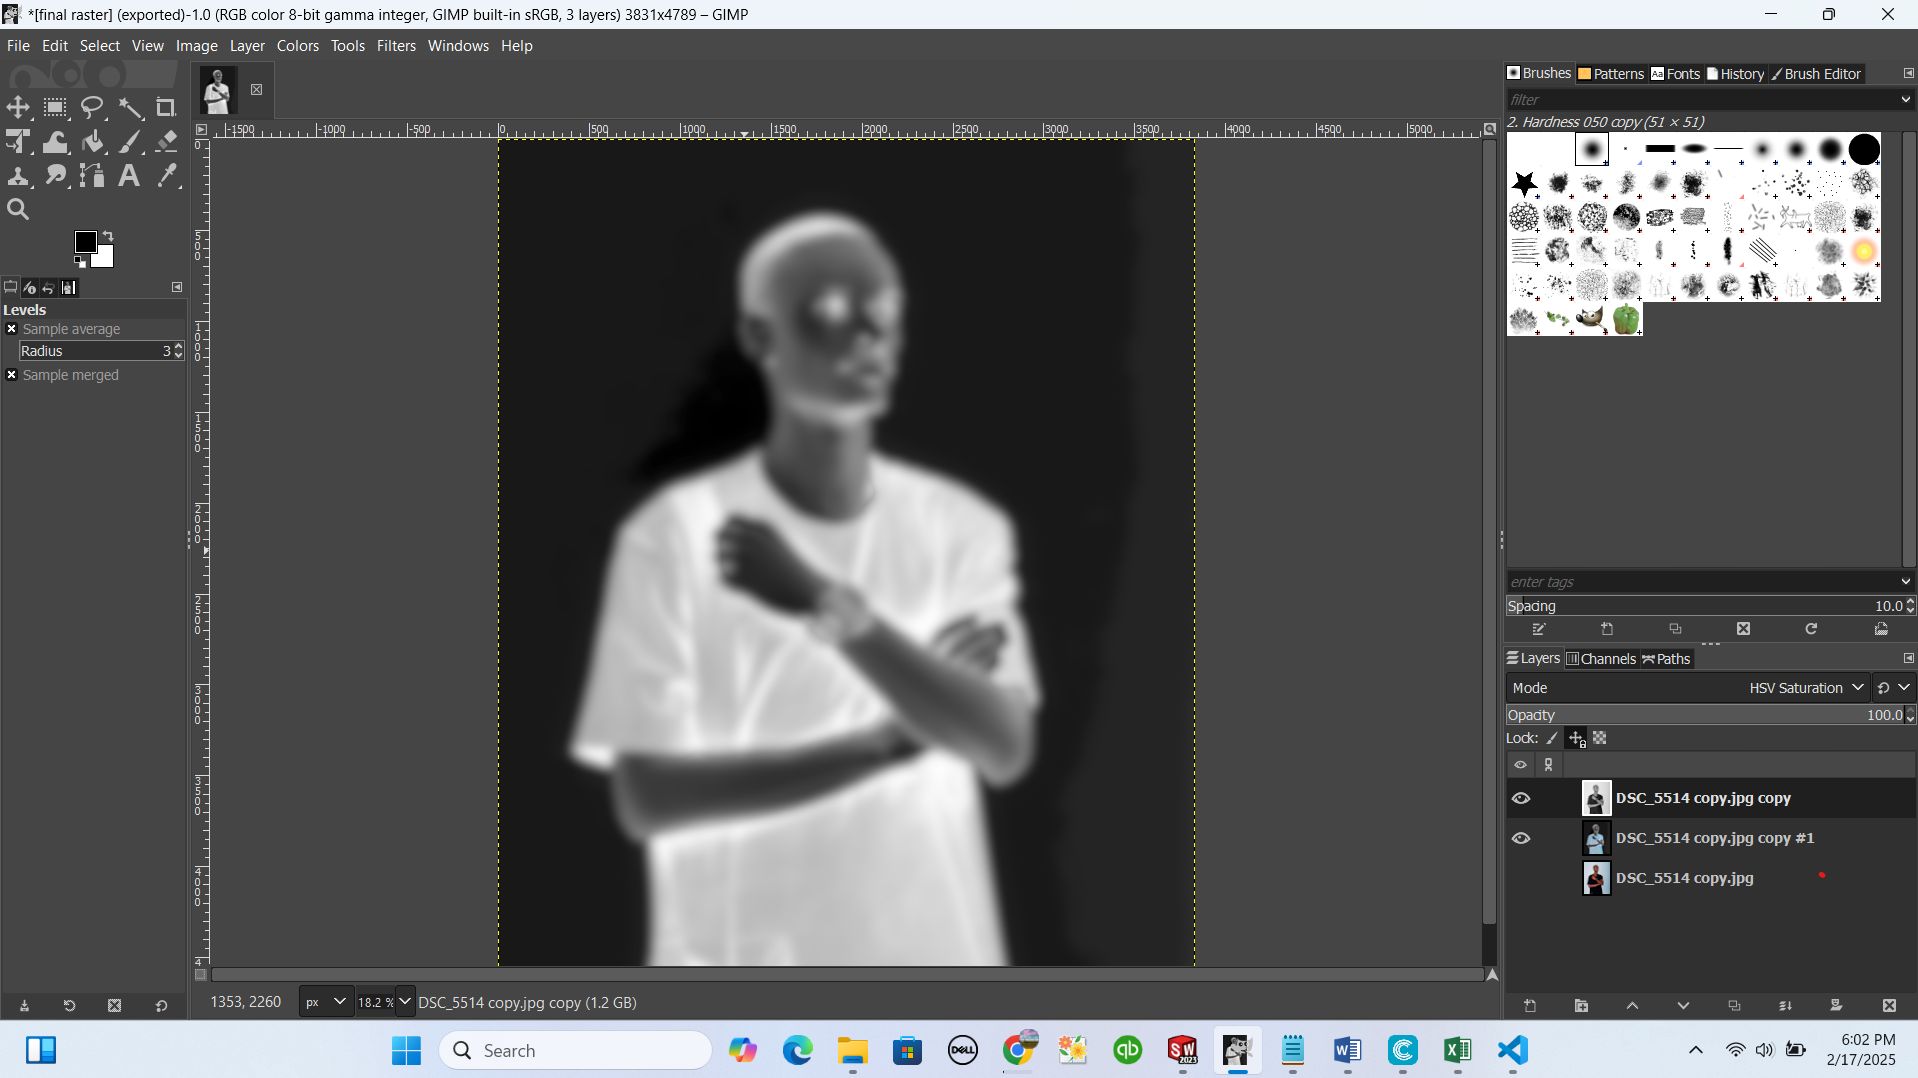
after making it blur, I created other layer with leveled colors
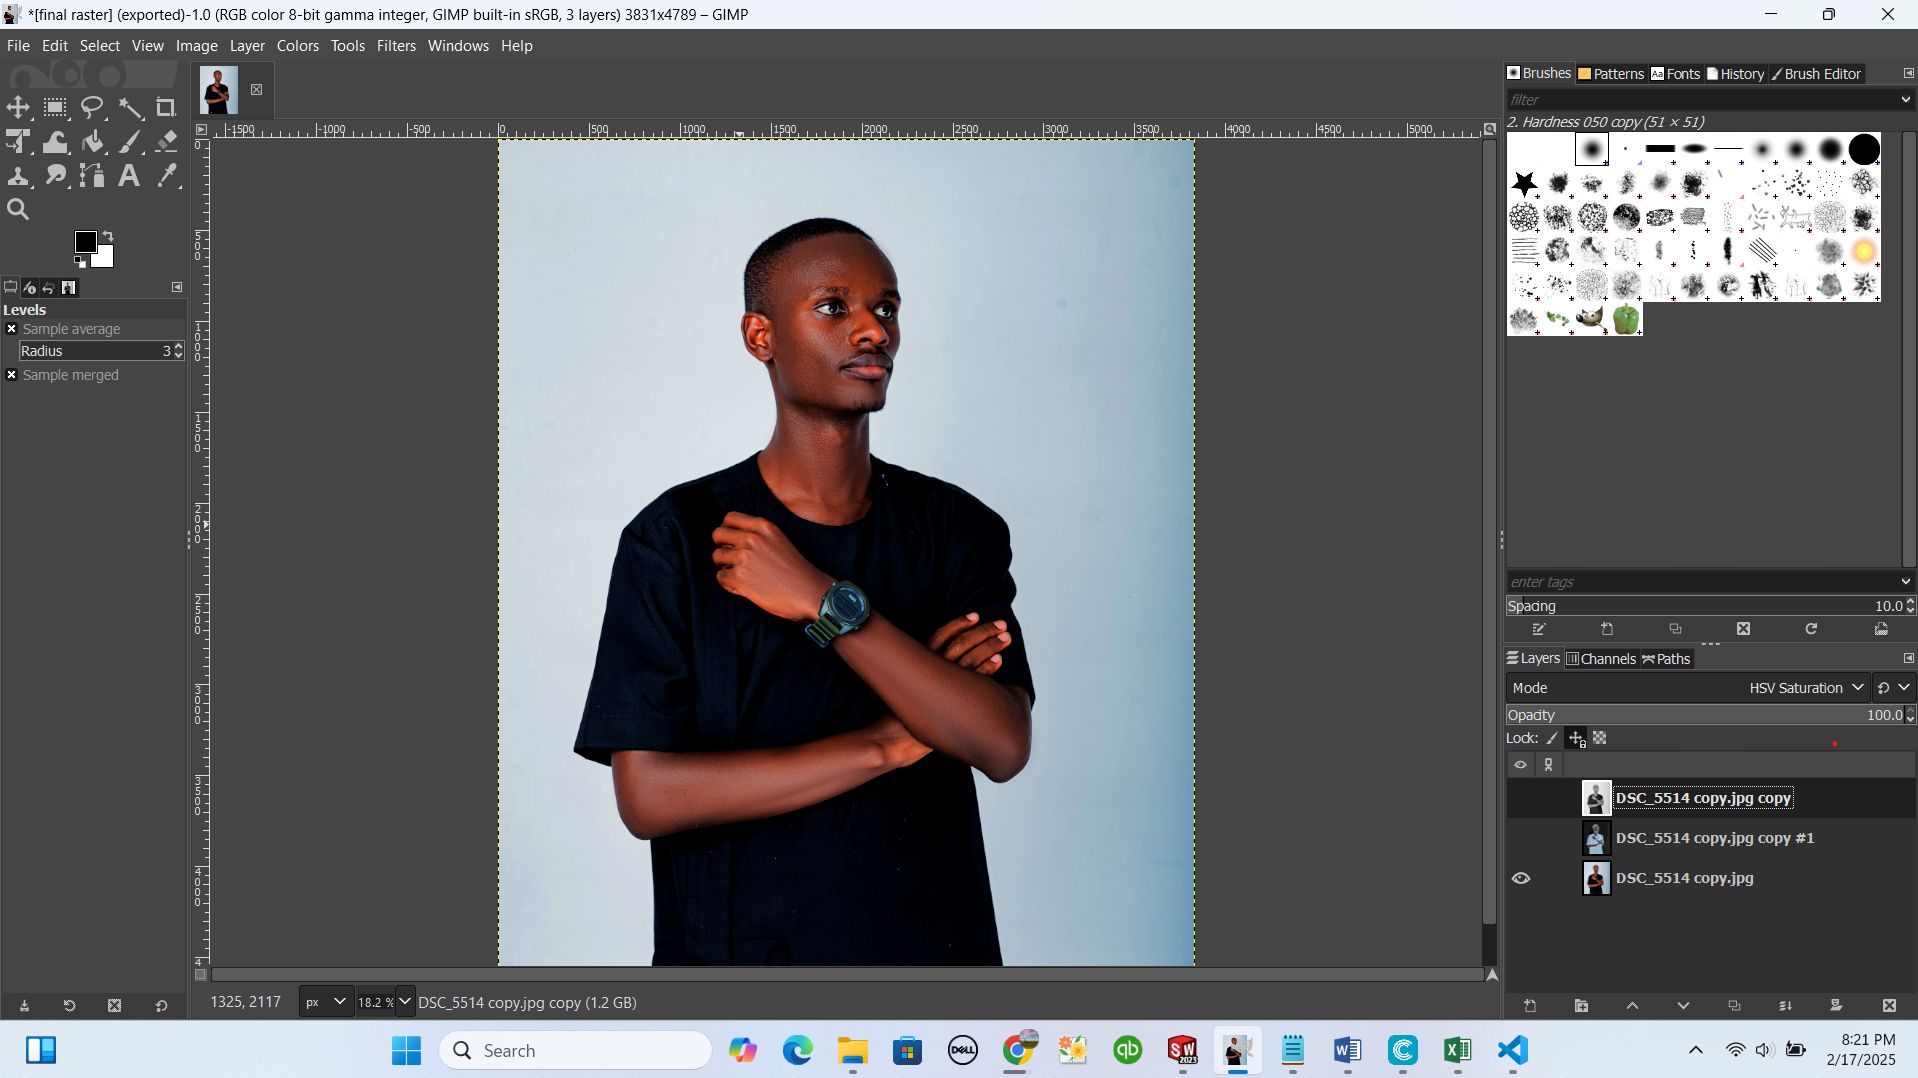
by here I was ready to get rasterised image from these merged layers of image

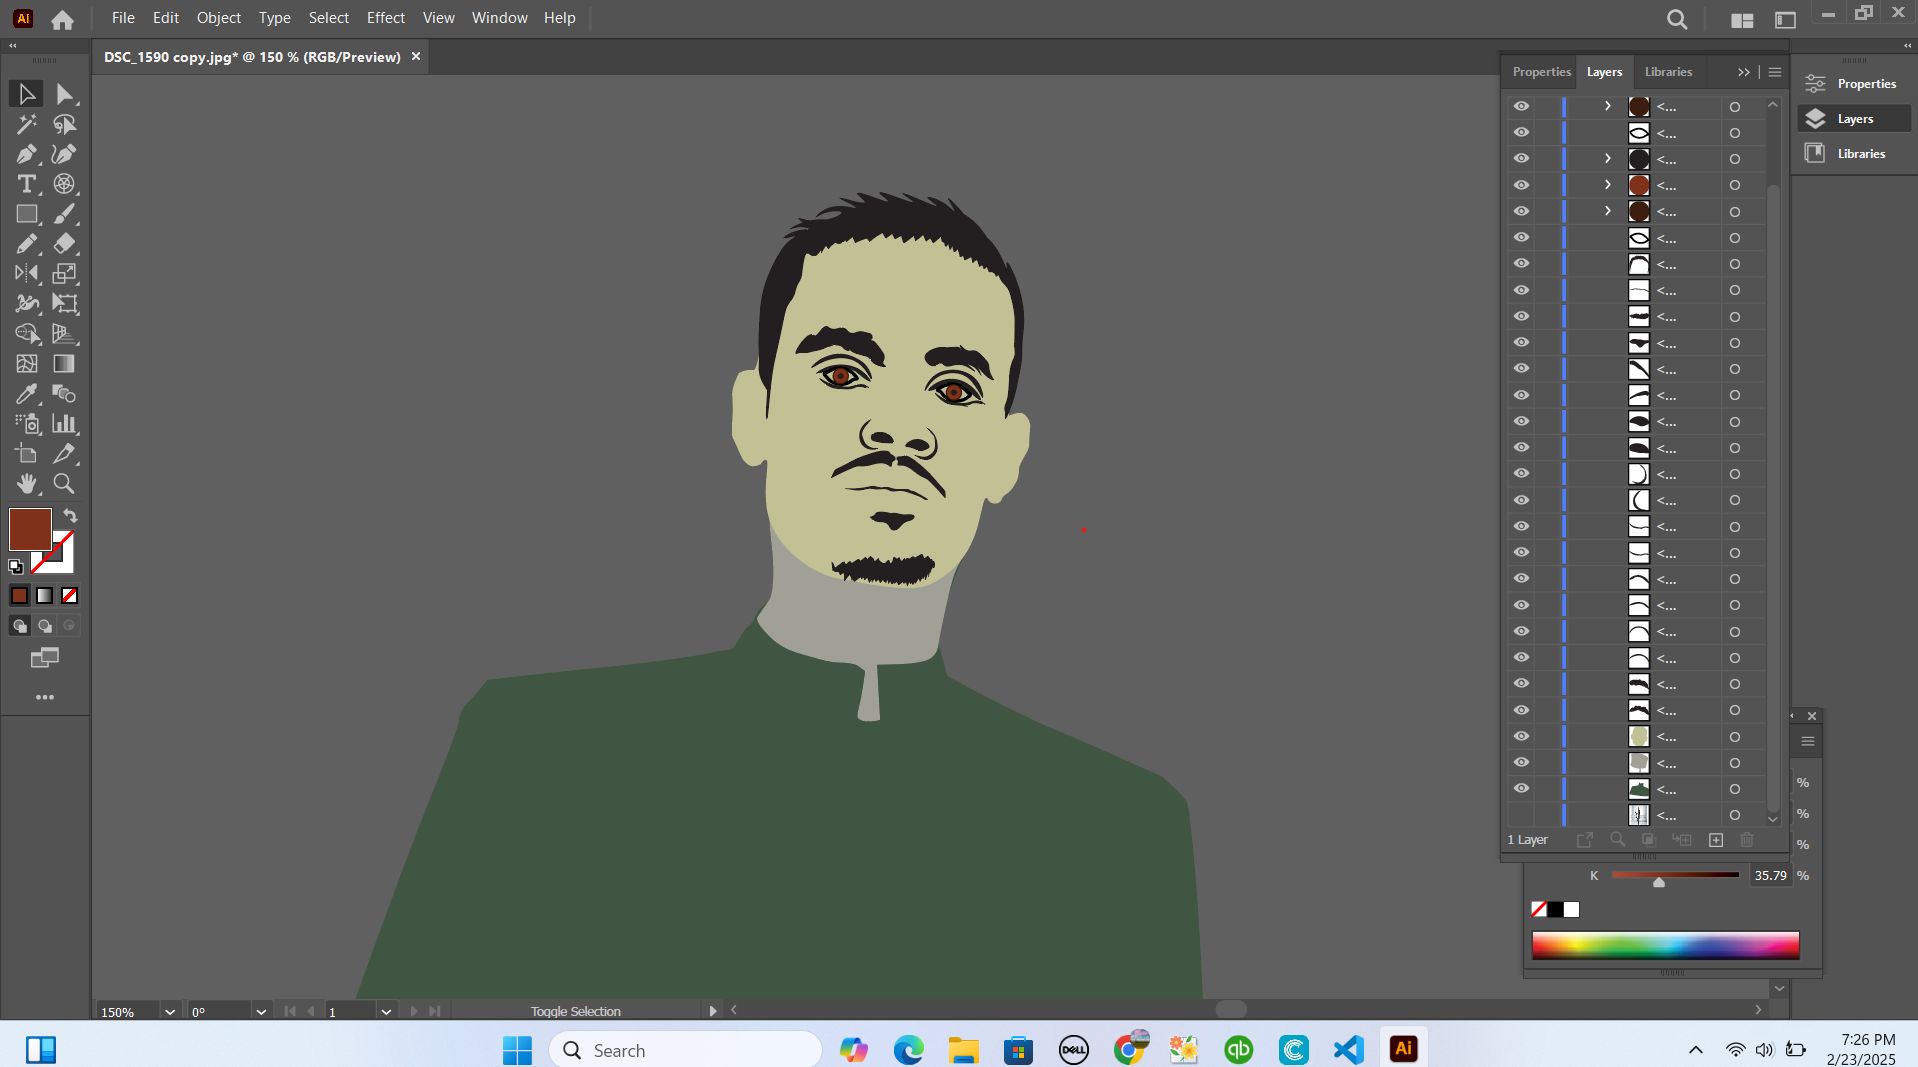
2D vector using Adobe Illustrator
Now I'm going to use Adobe illustrator as second software for rasterizing and see what's different from Gimp and any other software
So this is how I downloaded Adobe Illustrator software via google link https://www.adobe.com/products/illustrator.html?sdid=8WLD4V8C&mv=search&mv2=paidsearch&ef_id=a041da721724179a1d6cbdc99628296a:G:s&s_kwcid=AL!3085!10!79508633317145!20541716291 and after I installed it as free trial
after downloading, I started to install and opened it
then, while I'm done by installing Adobe Illustrator and opening it, I started by Importing my image
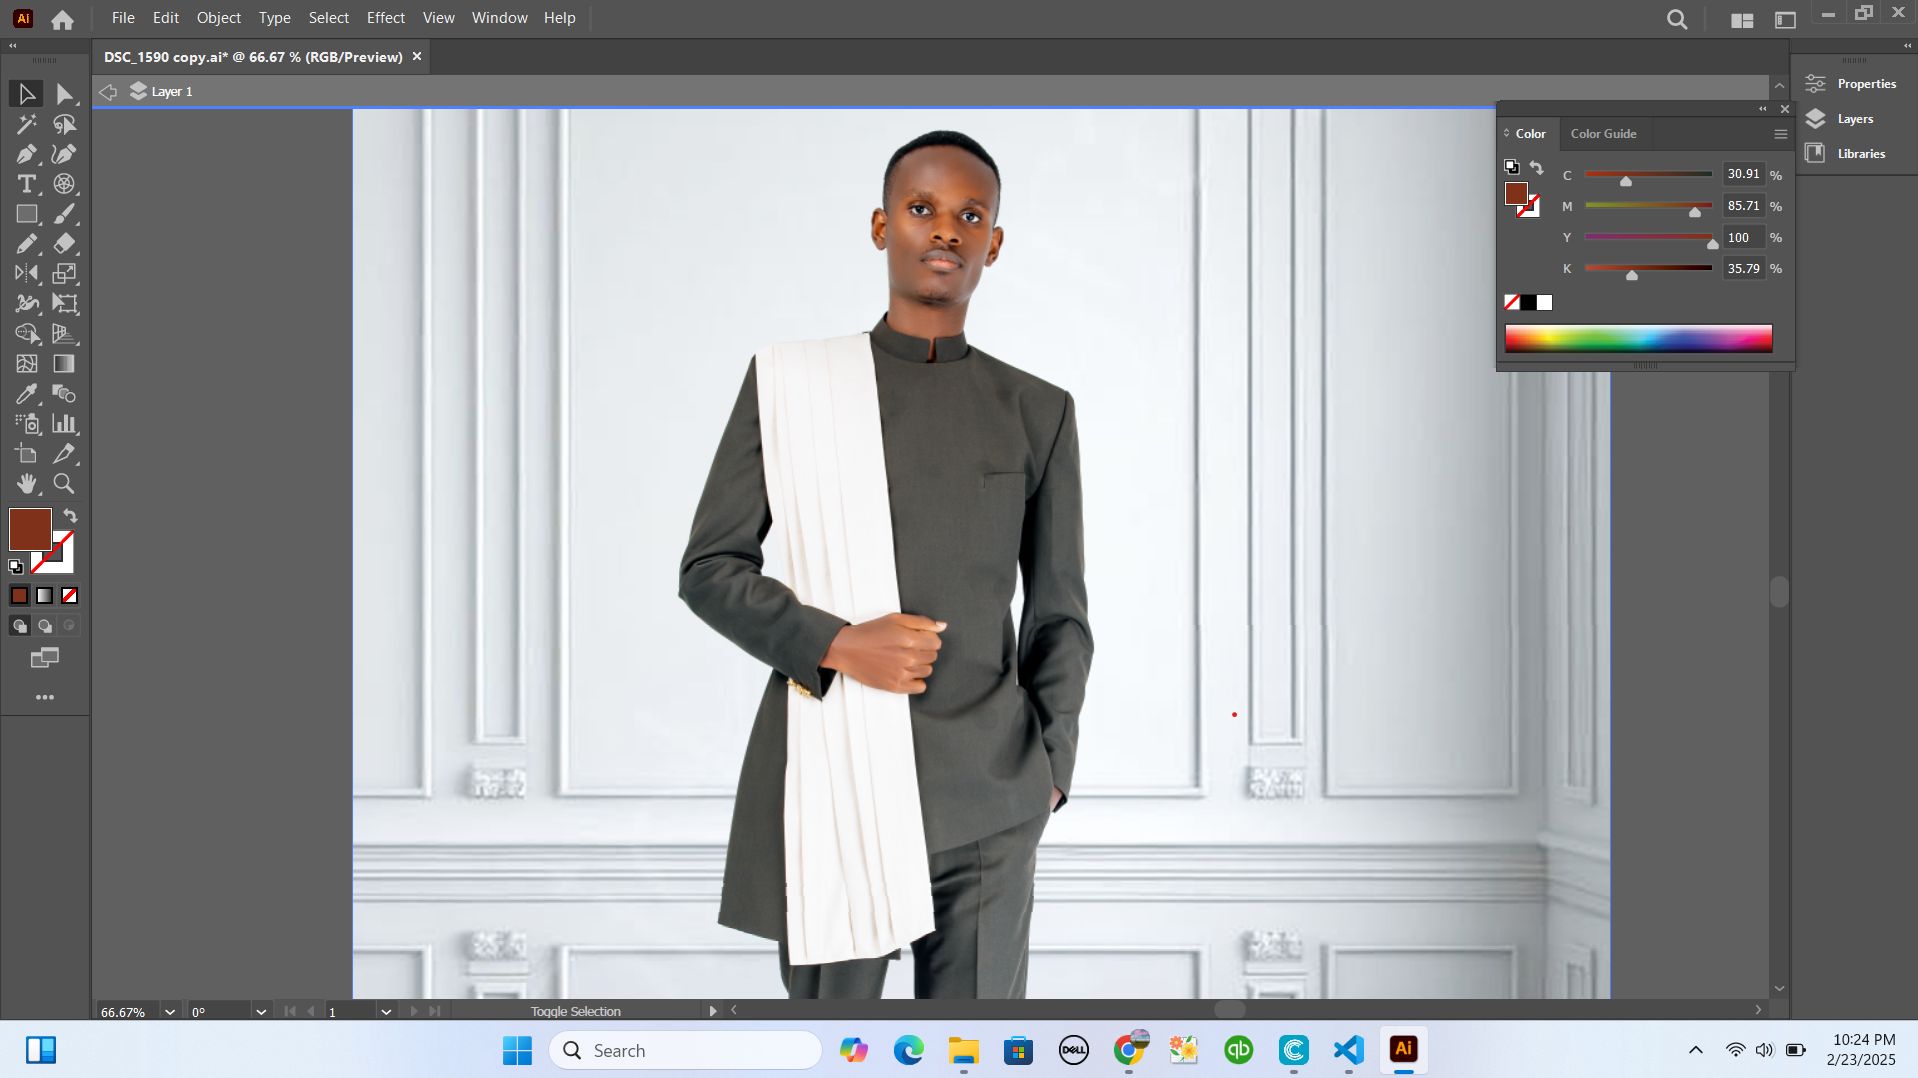
after that I created different layers to use while rasterizing different parts based on how I want my picture to be looking like after rasterizing.
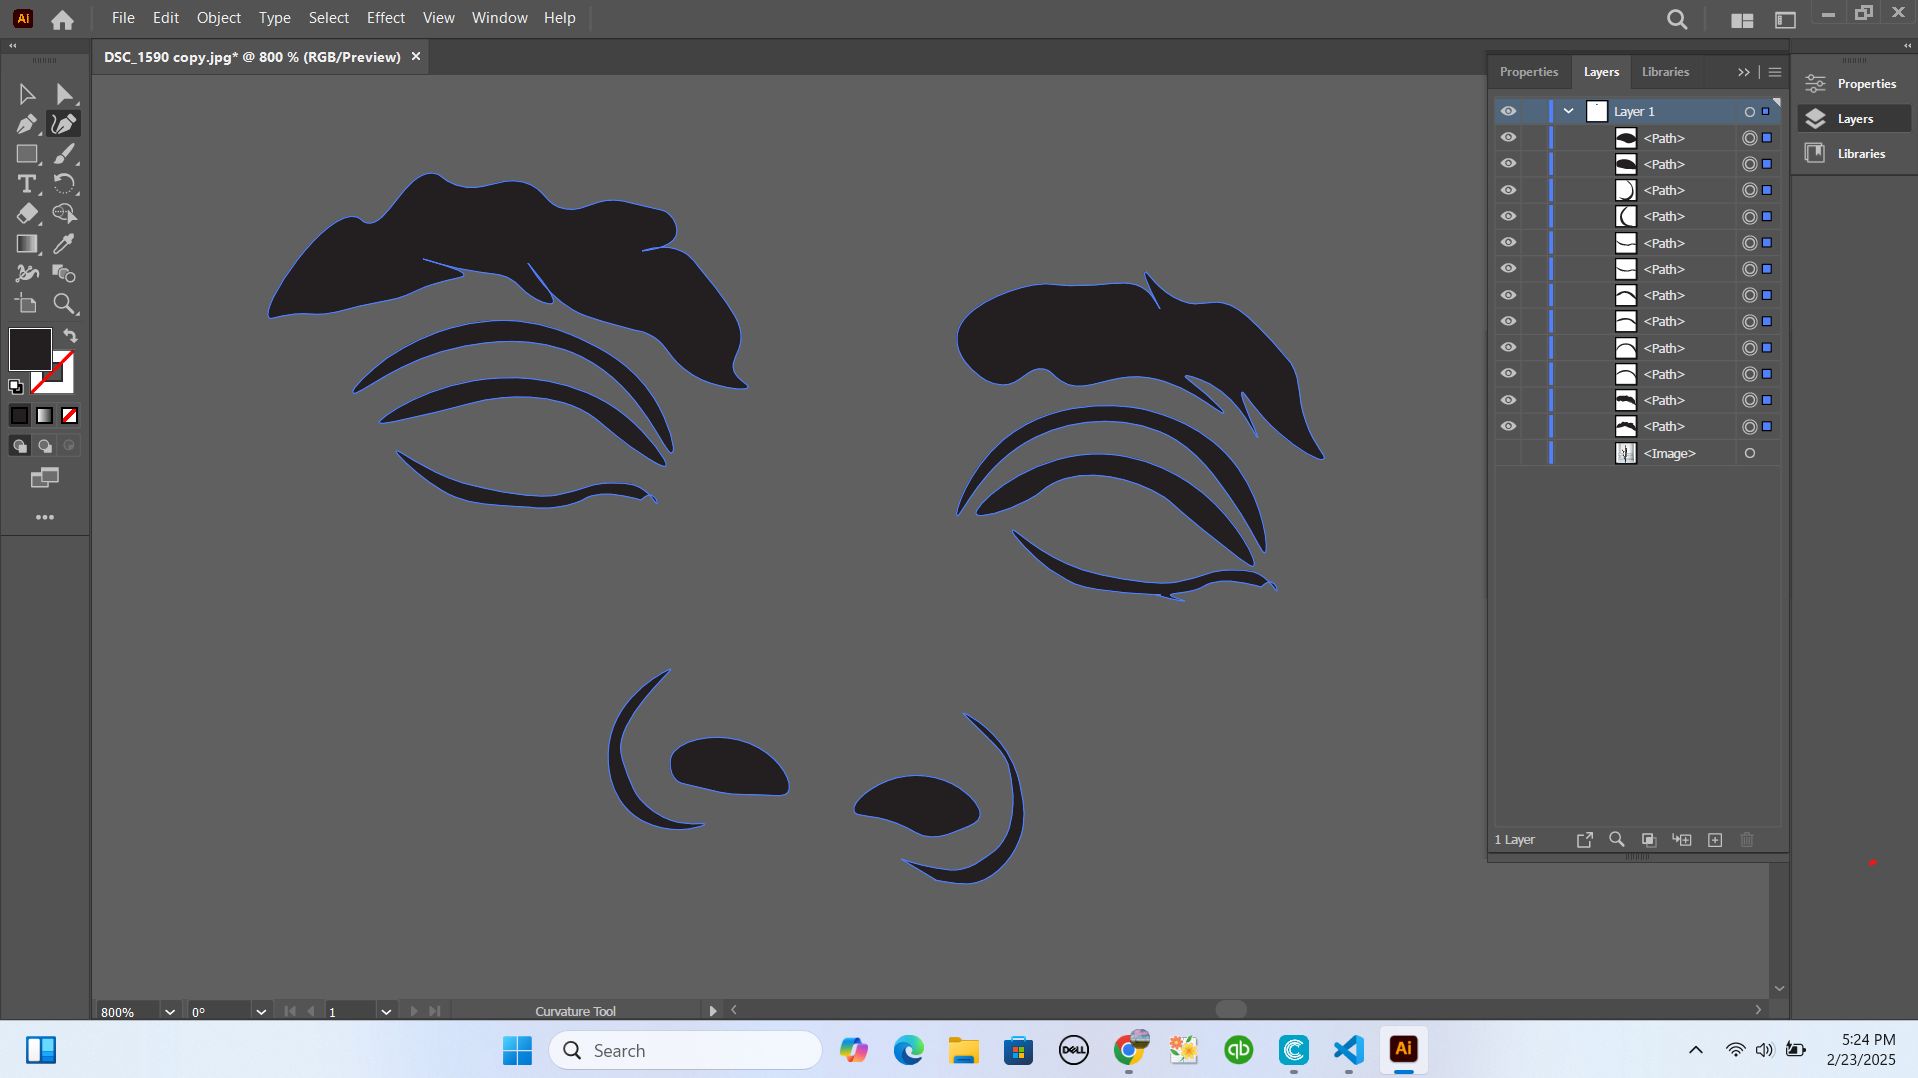
I was thinking of how I can make my cartoon using raster method
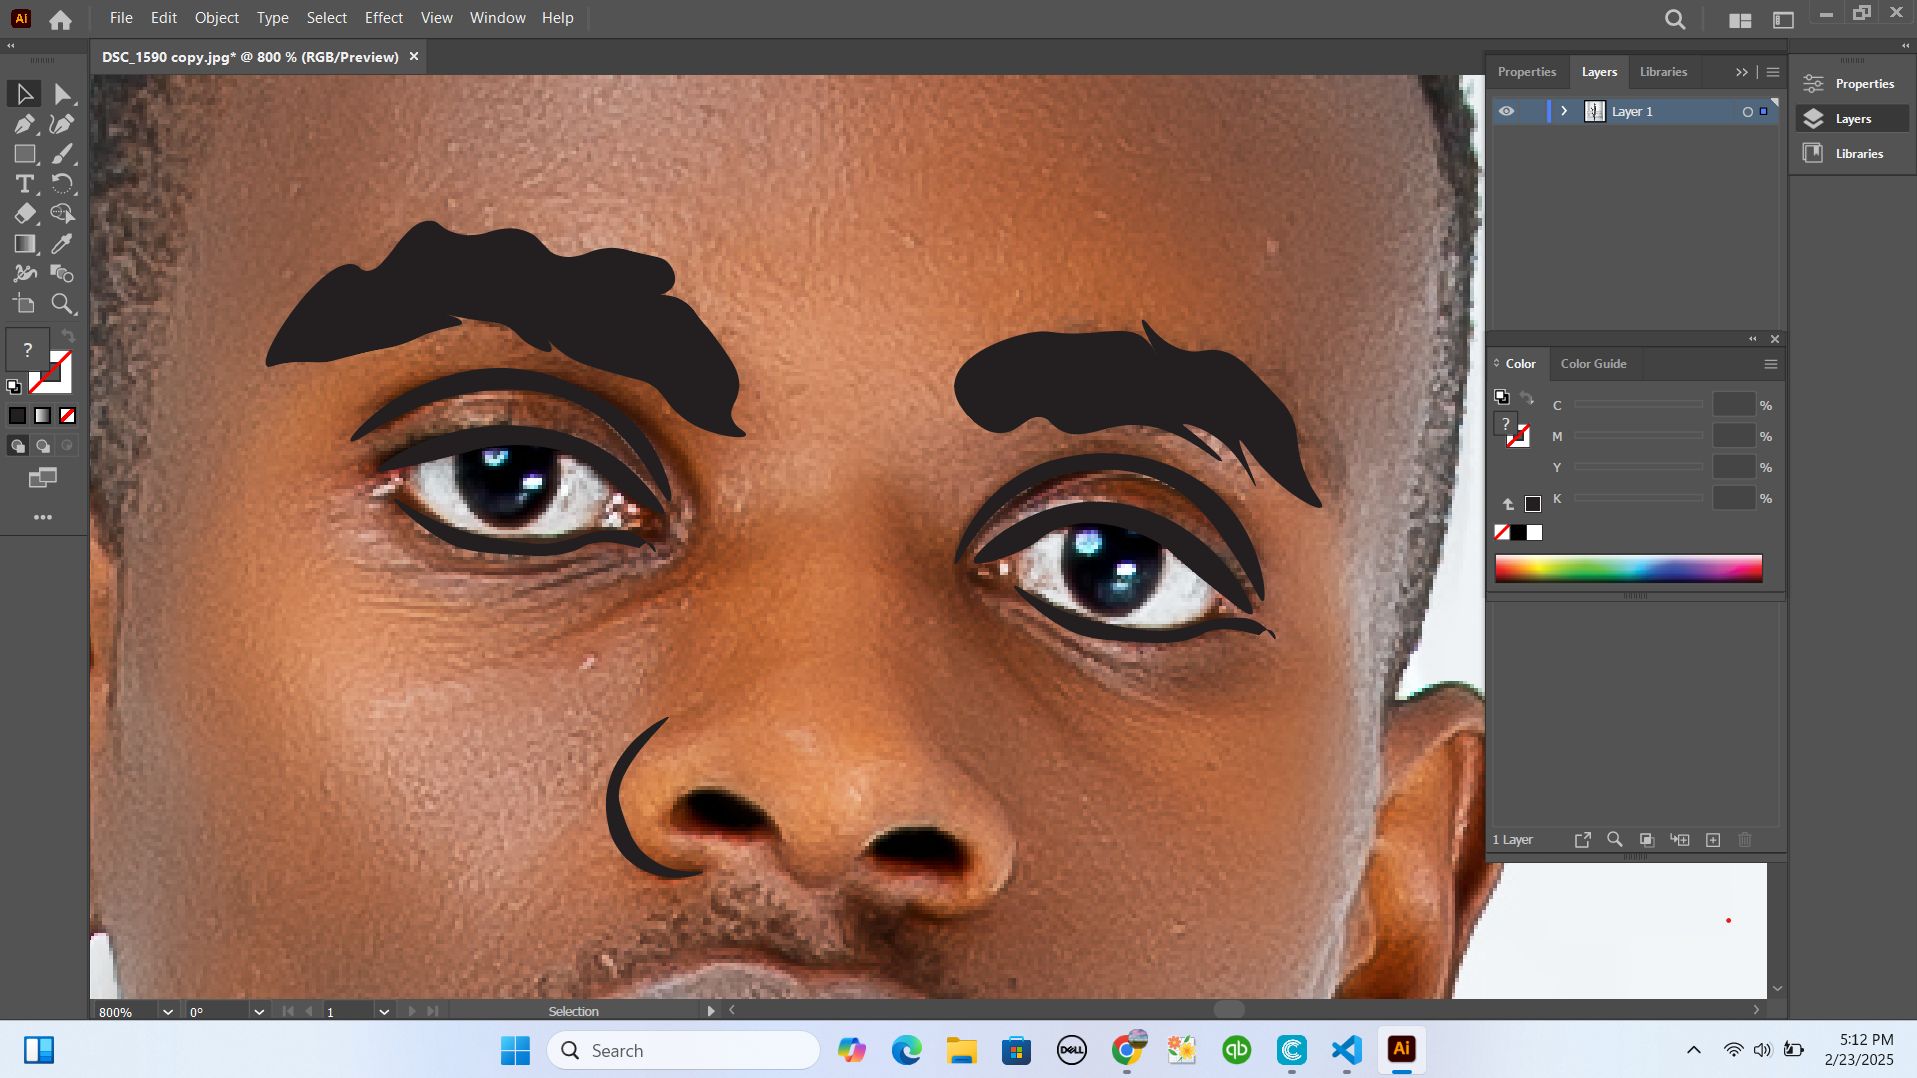
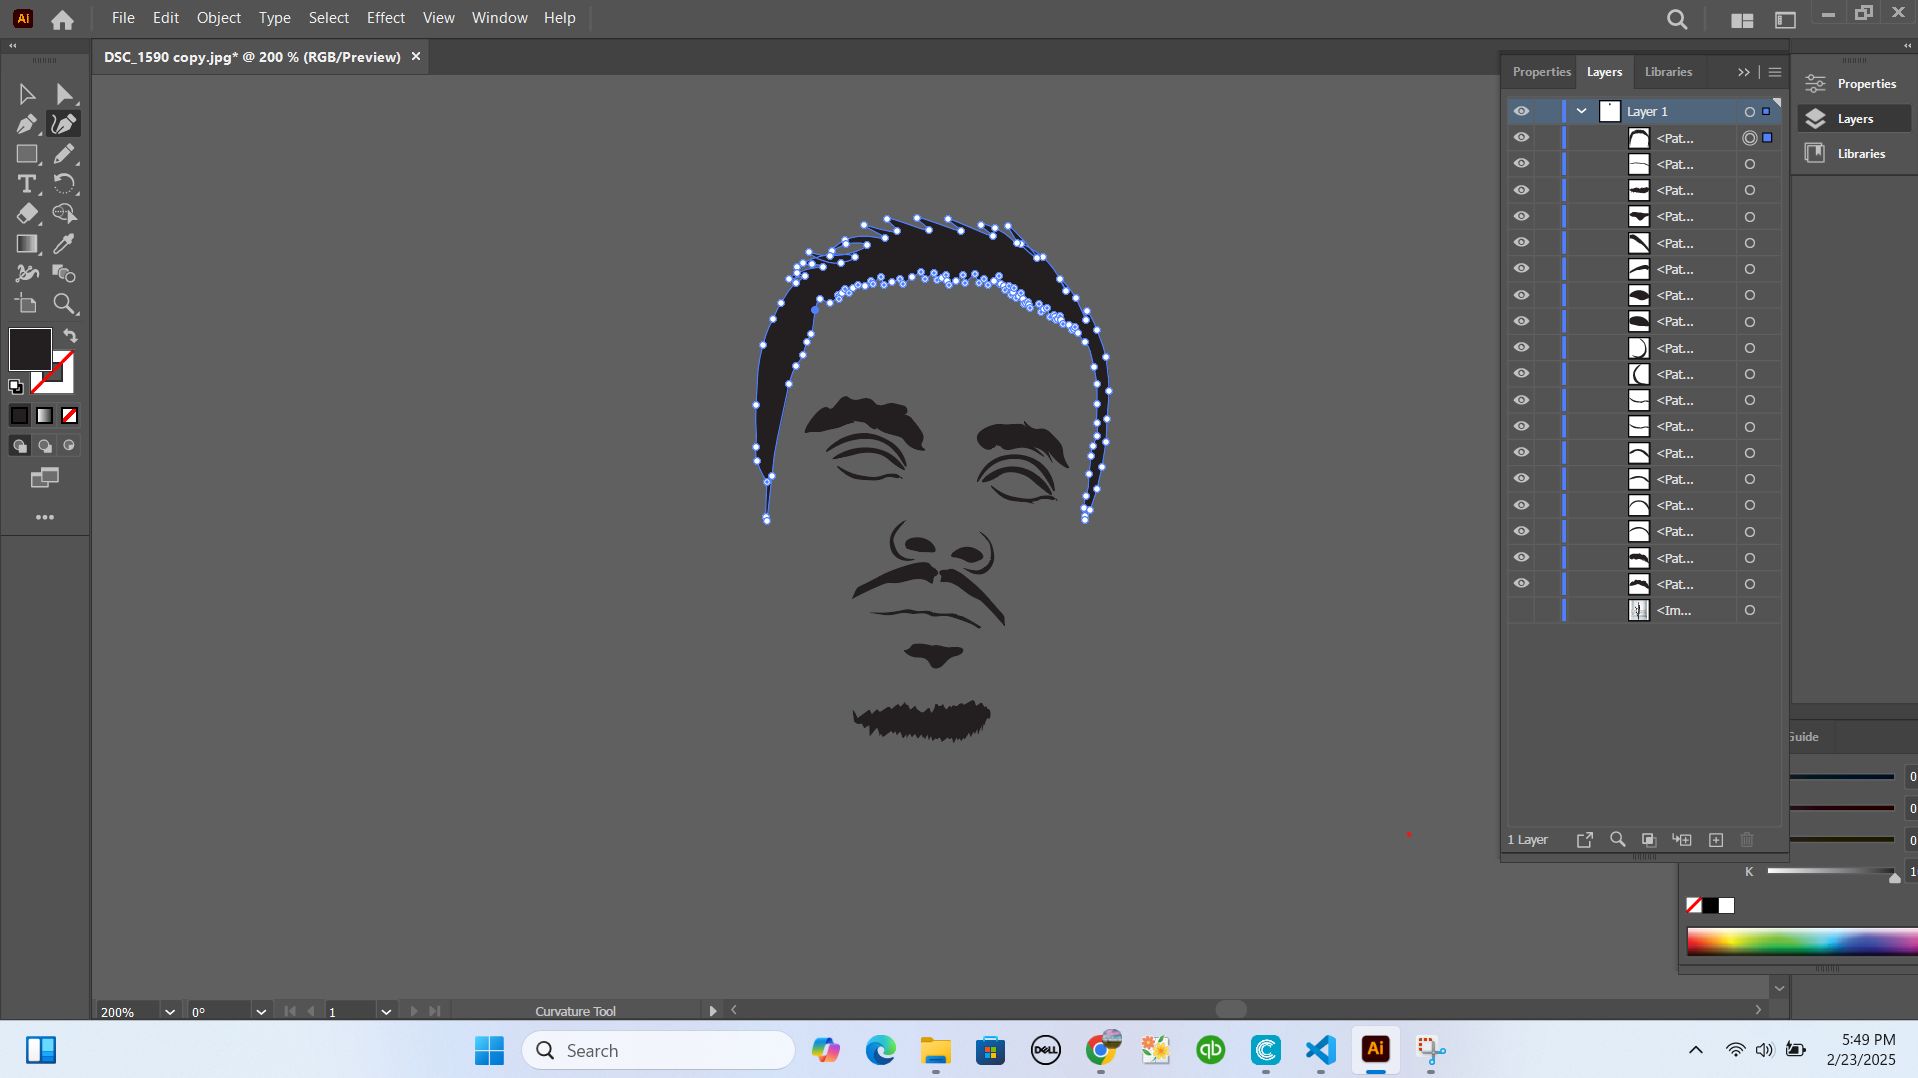
after making my eyeblows using bspline tool and also other parts, I arranged my layers and colored them to have an animated cartoon by hovering my orginal image in the background
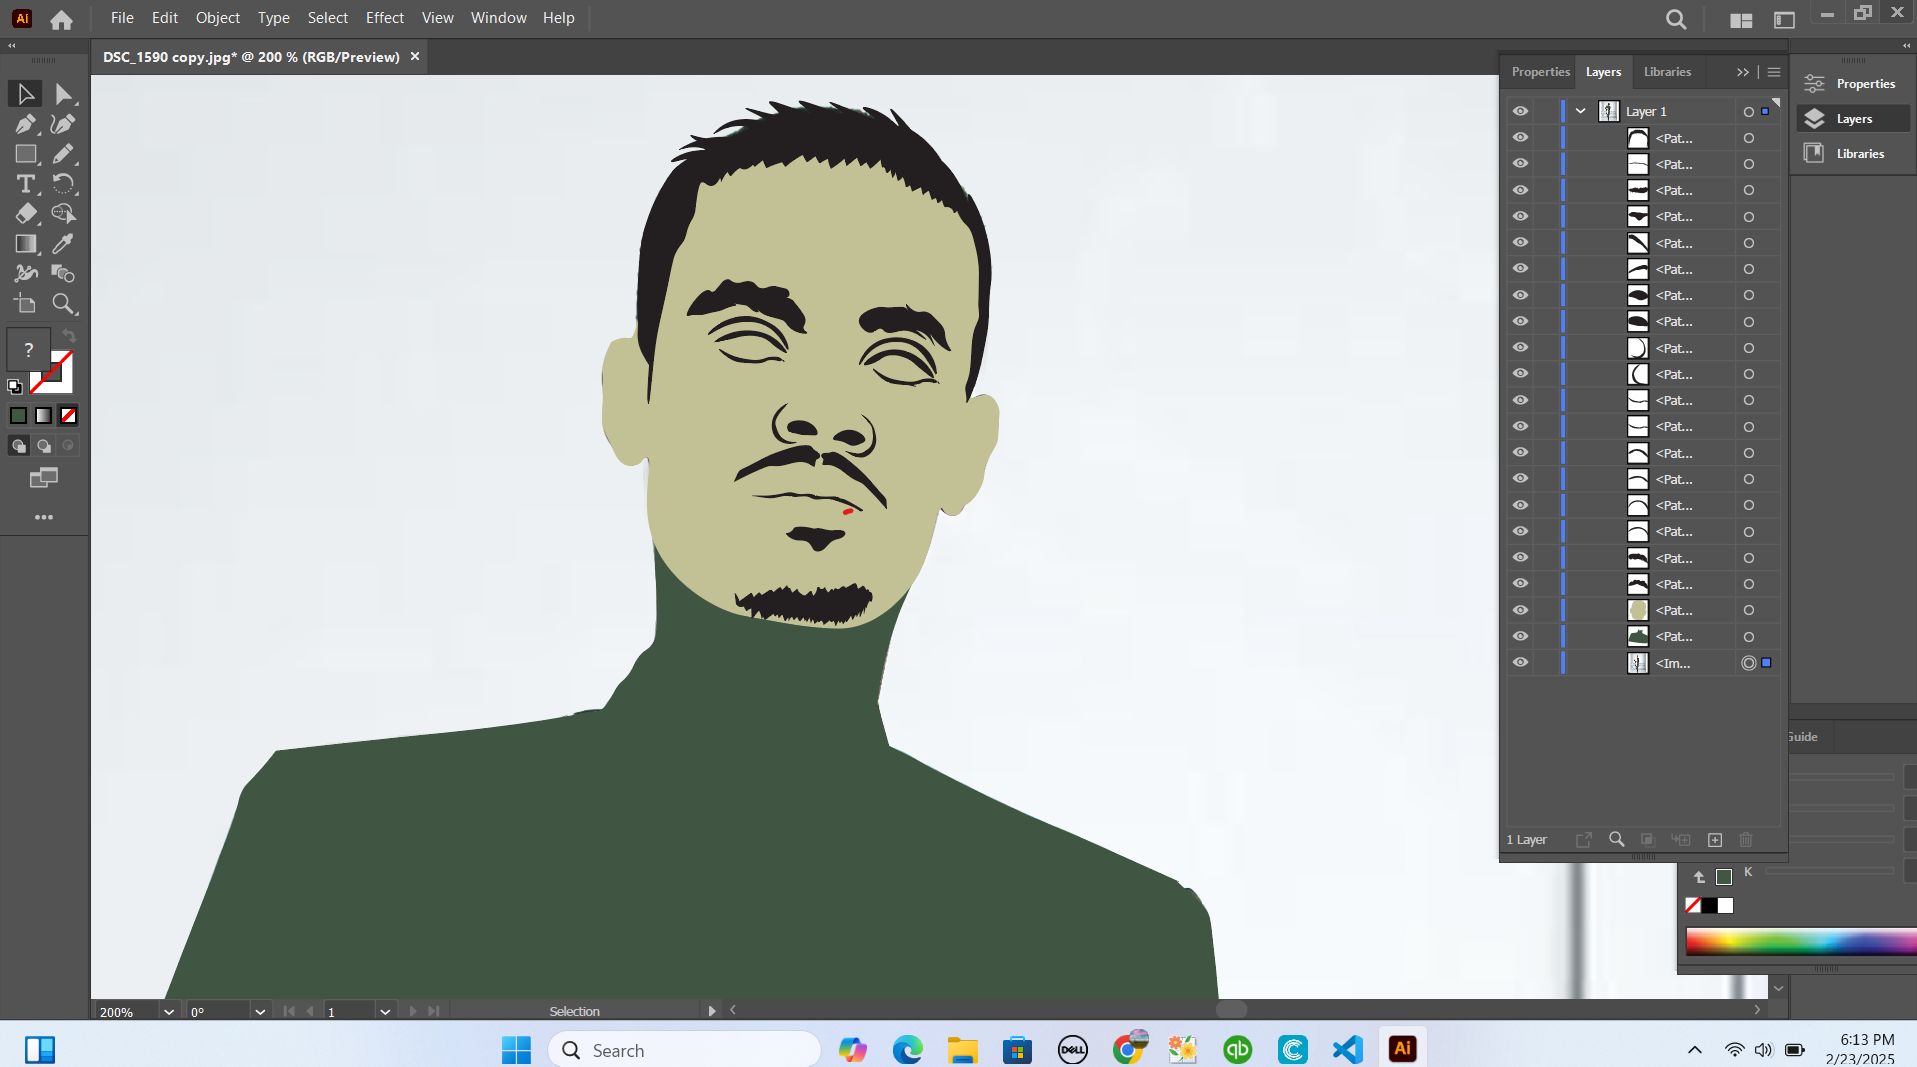
after making it animated, I created other layer with leveled colors and also including colored clothes so that you can see my animated cartoon
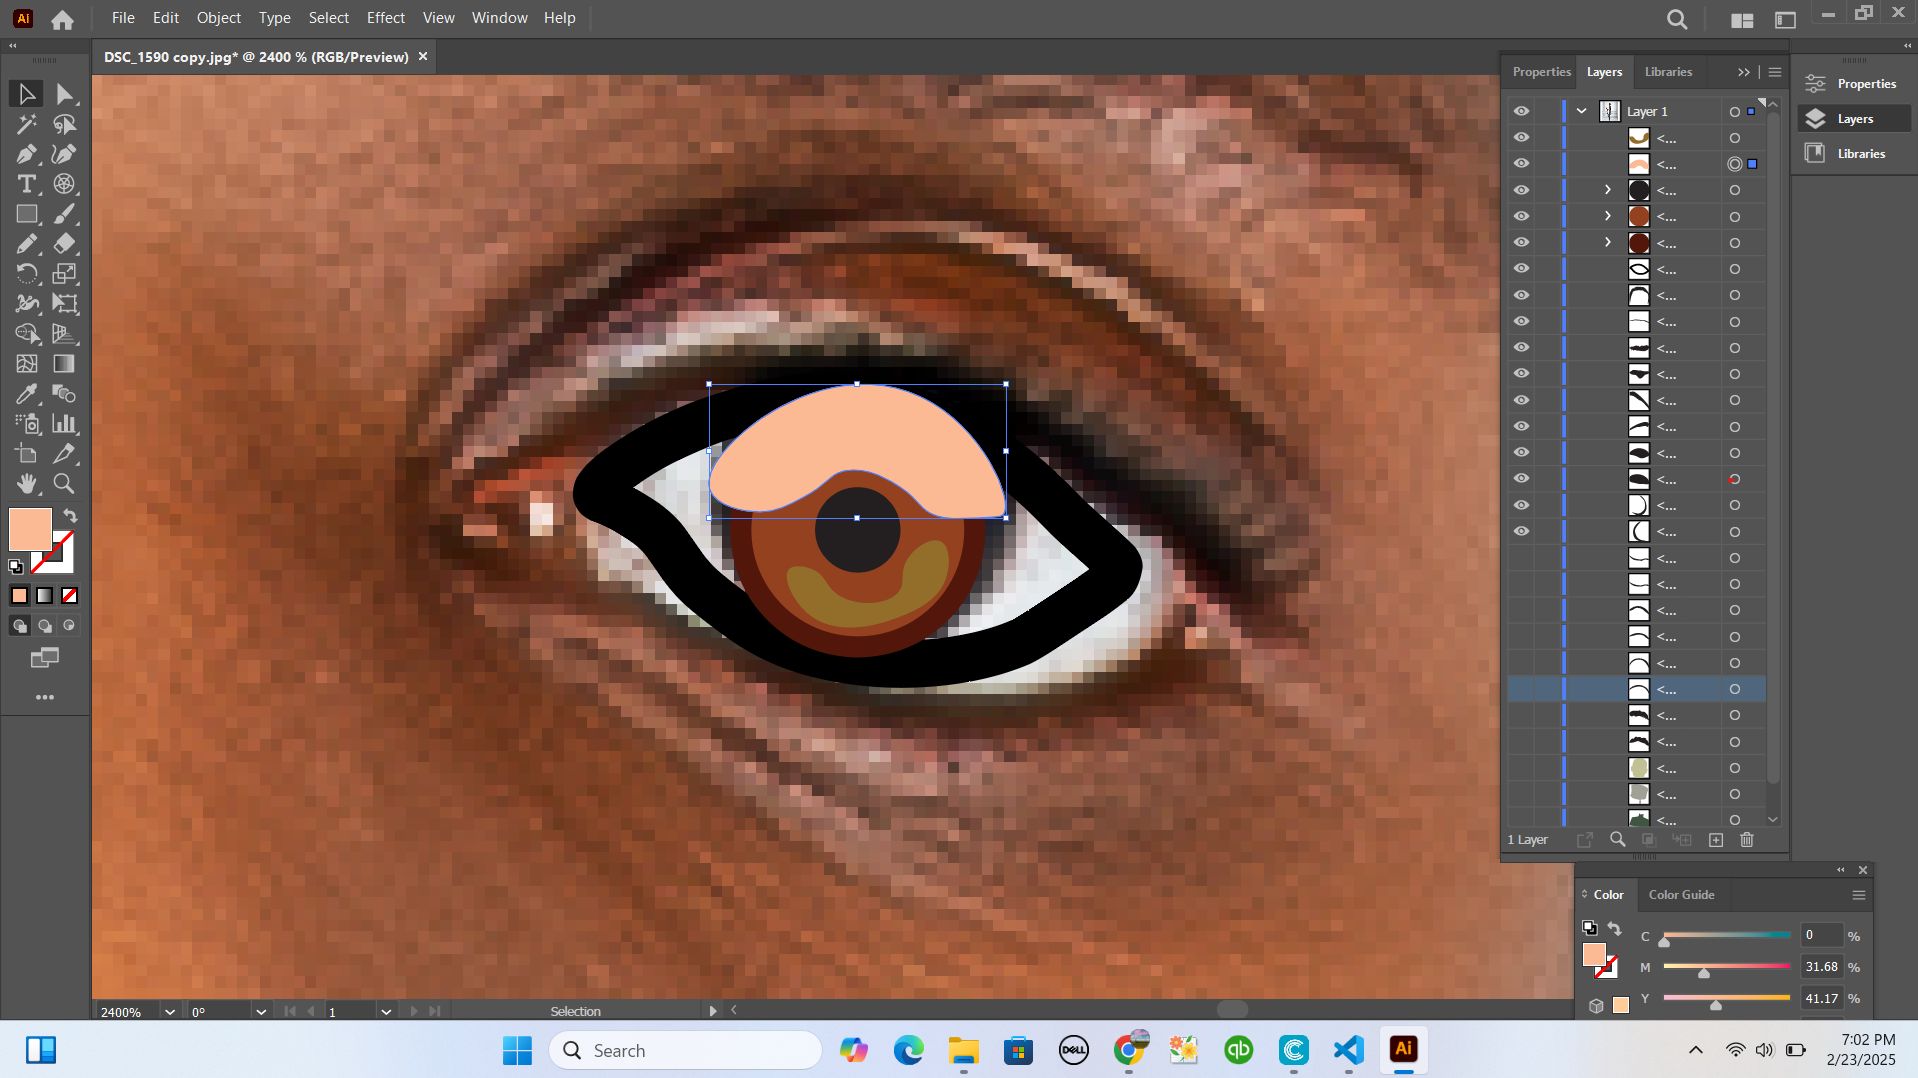
by here I was ready to get rasterised image from these merged layers of image by there is something that was remaining. my eyes was not defined in my cartoon, I selected all layers and hovered them the remain with my original Image and created new layer of eyes only where I used circular tool to shape my cartoon's eyes
then I merged all layers to have on cartoon image from my personal picture
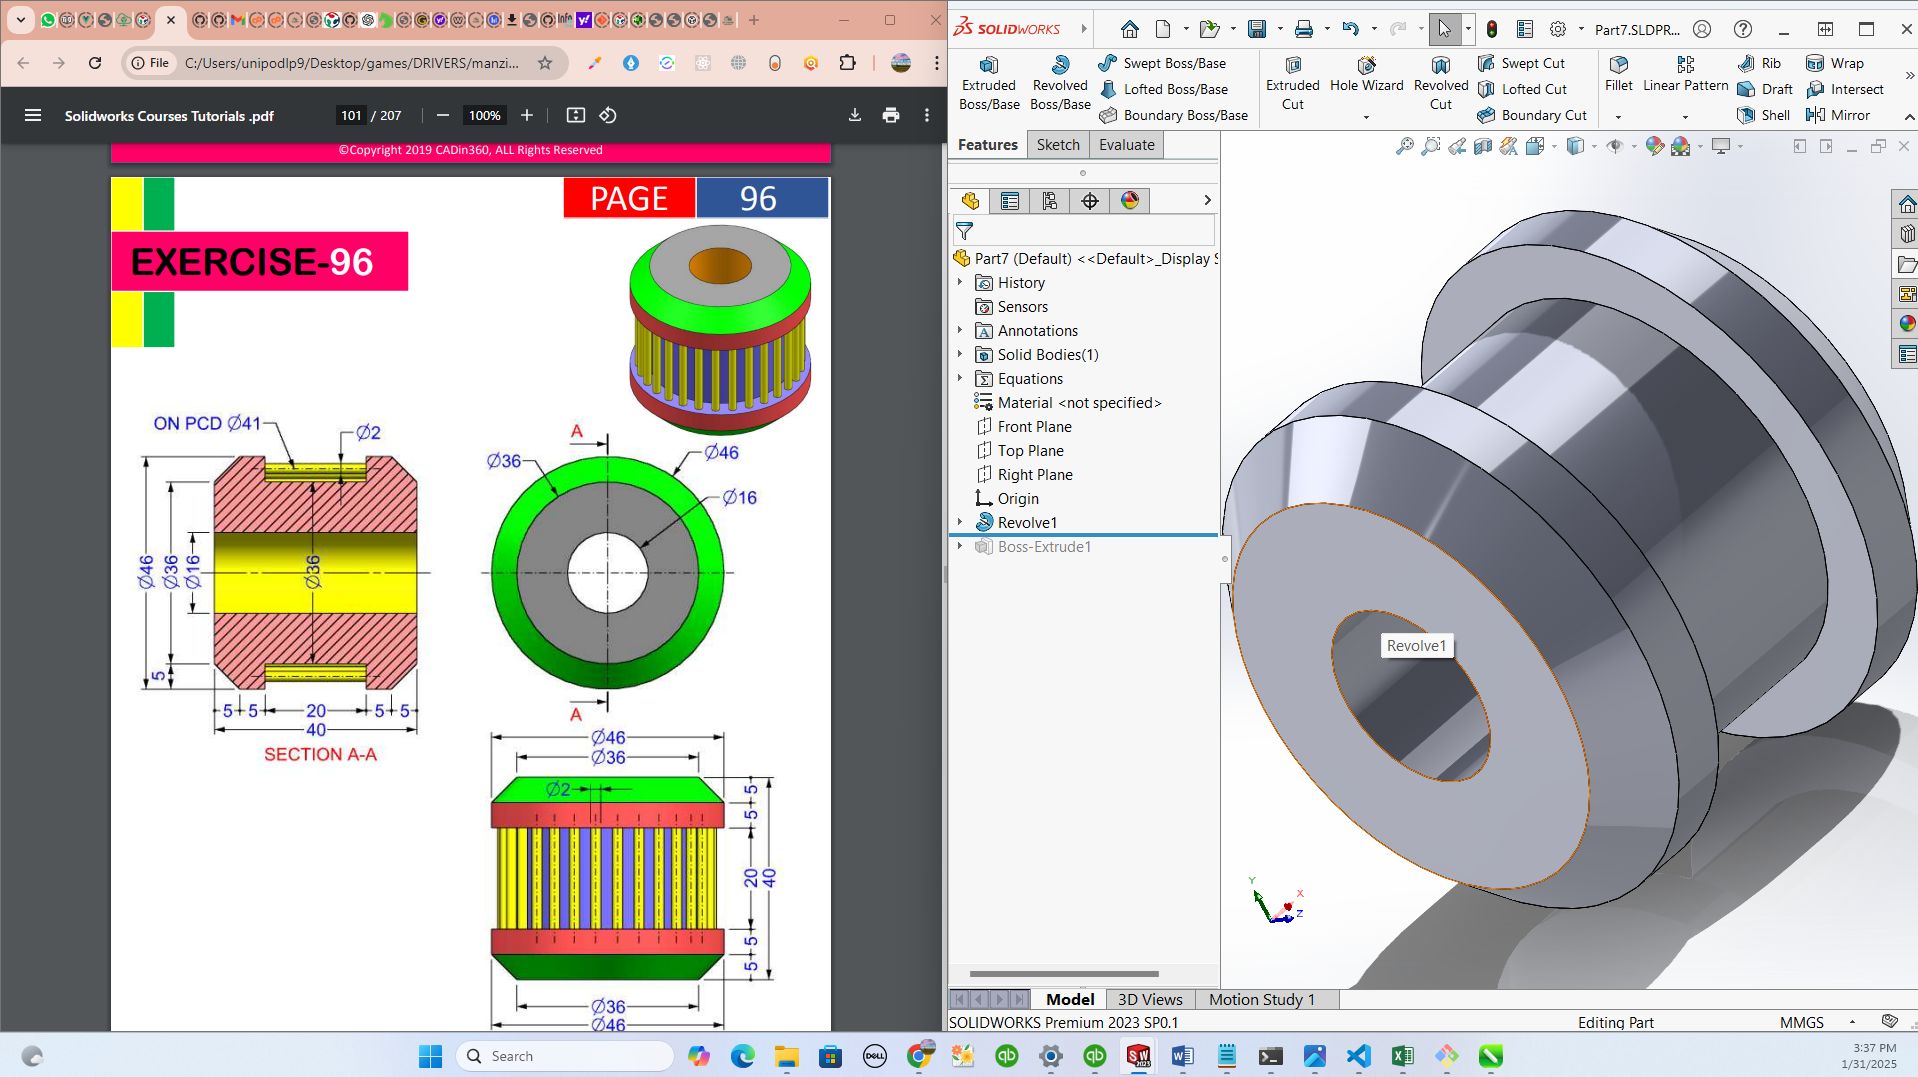
3D using Solidworks
Step 1: This is how I installed solidworks
I went on google through https://www.solidworks.com/sw/support/downloads.htm/ to Download the latest version of solidworks for windows.
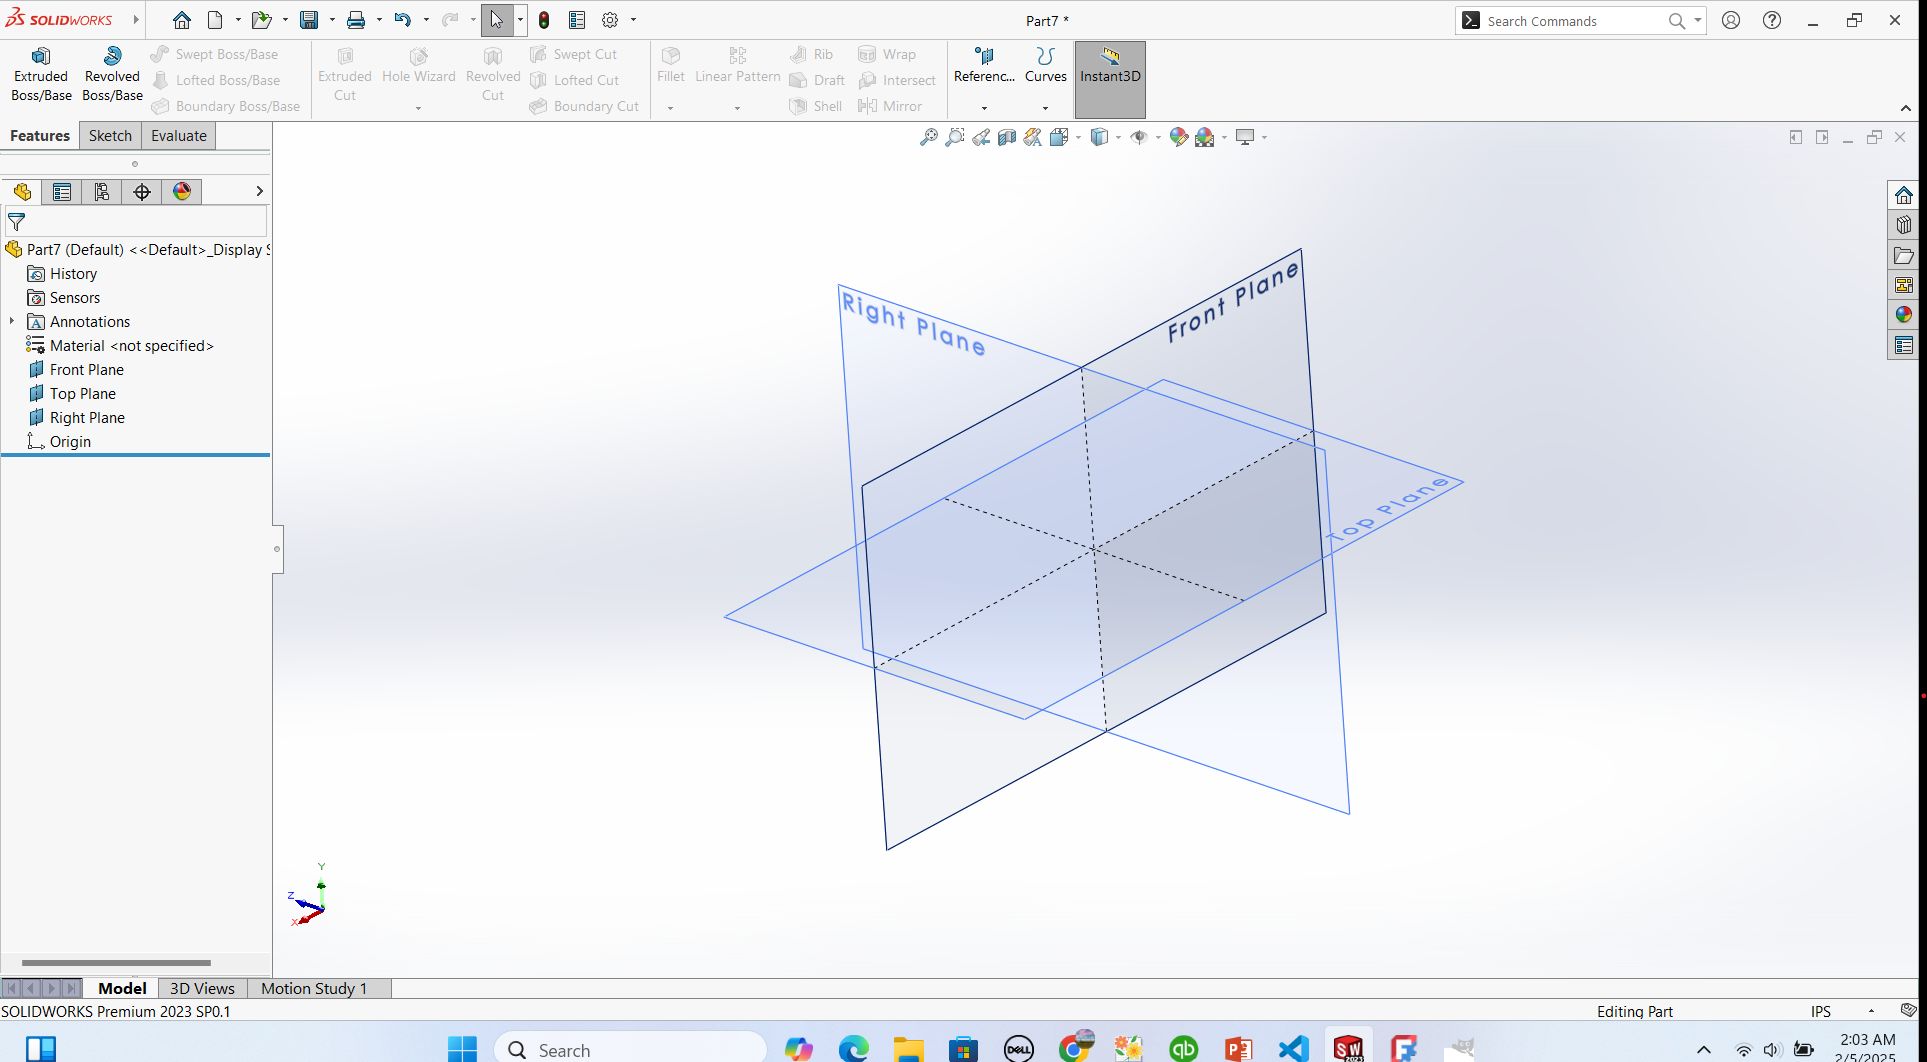
I started my journey with SolidWorks by first downloading and installing the software. Once the installation was complete, I opened SolidWorks, excited to dive into 3D modeling. The first thing I did was choose a plane to start my sketch. SolidWorks provides three default planes: the Front Plane, Top Plane, and Right Plane. I selected the Front Plane and then clicked on the Sketch tool to begin drawing.
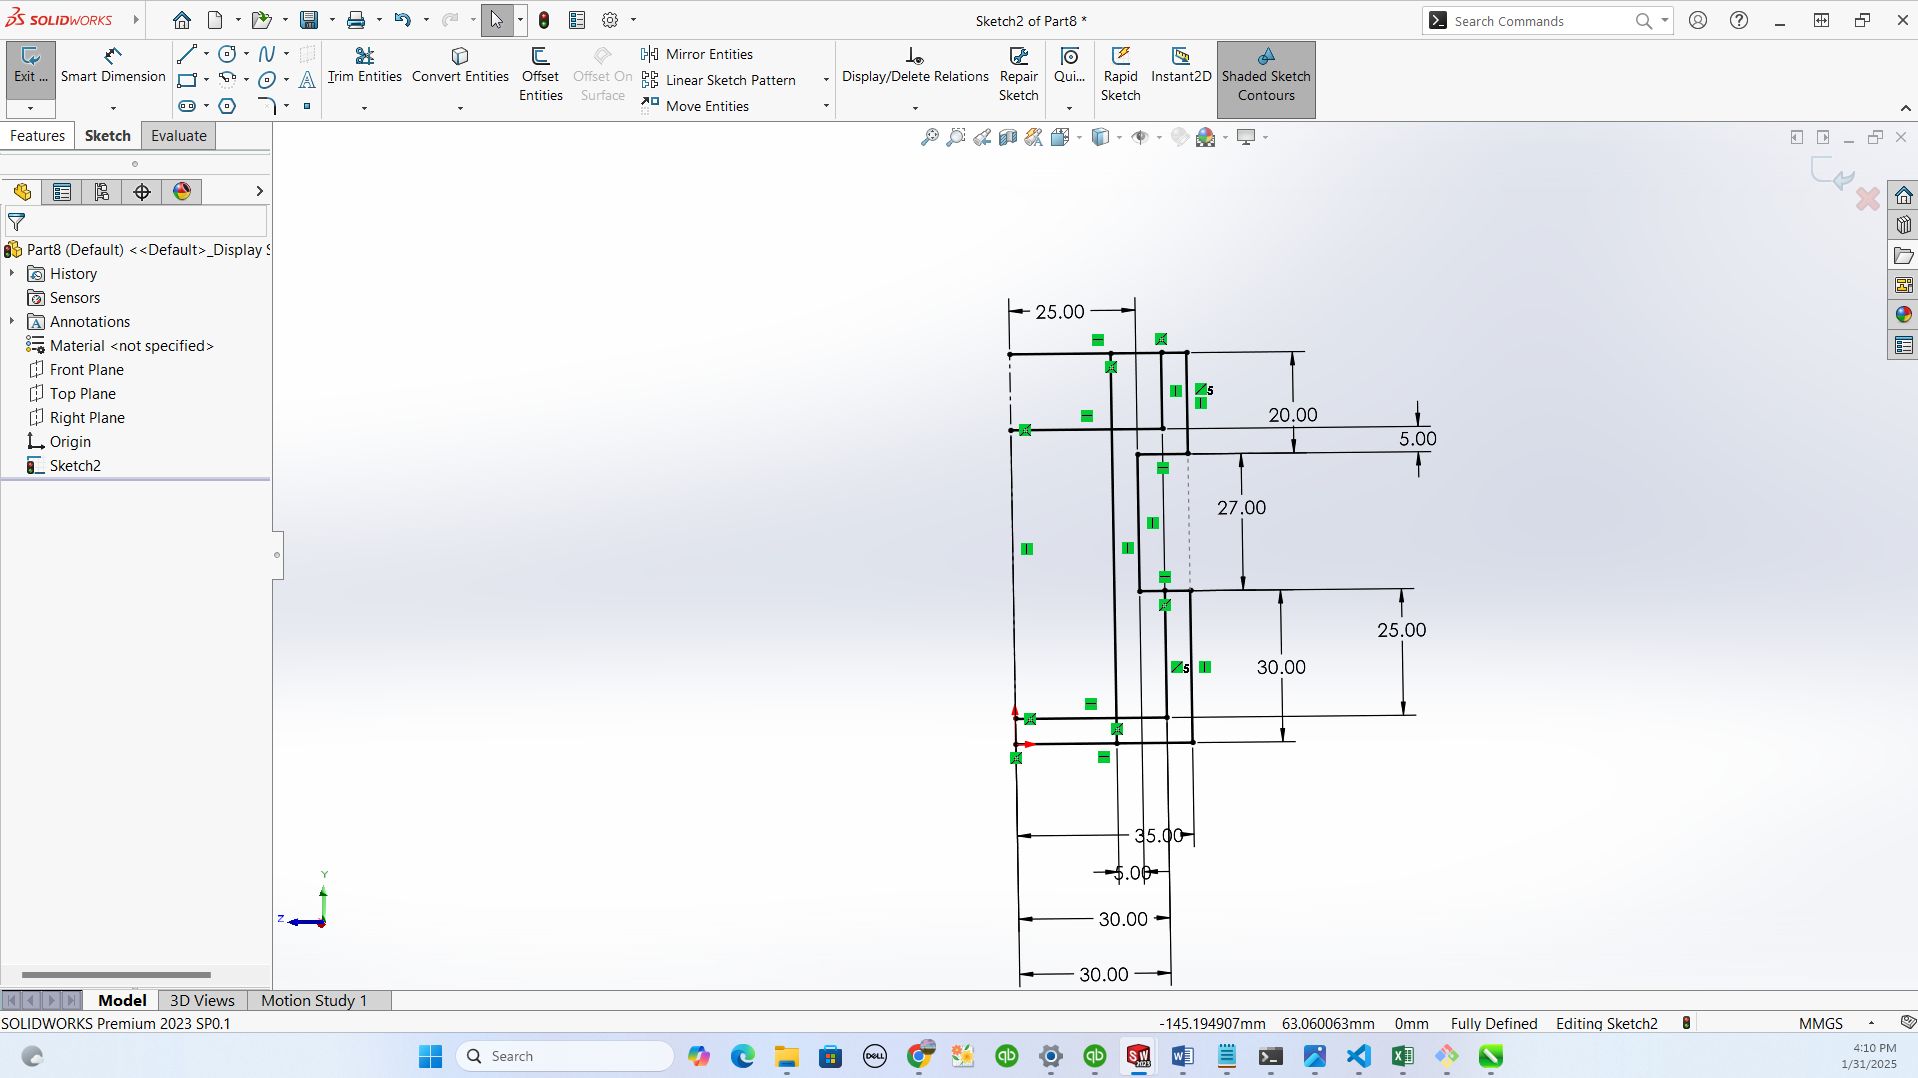
Next, I used the Line, Rectangle, and Circle tools to create my basic shapes. I quickly realized that using dimensions was crucial for accuracy, so I used the Smart Dimension tool to set precise measurements for my sketch.
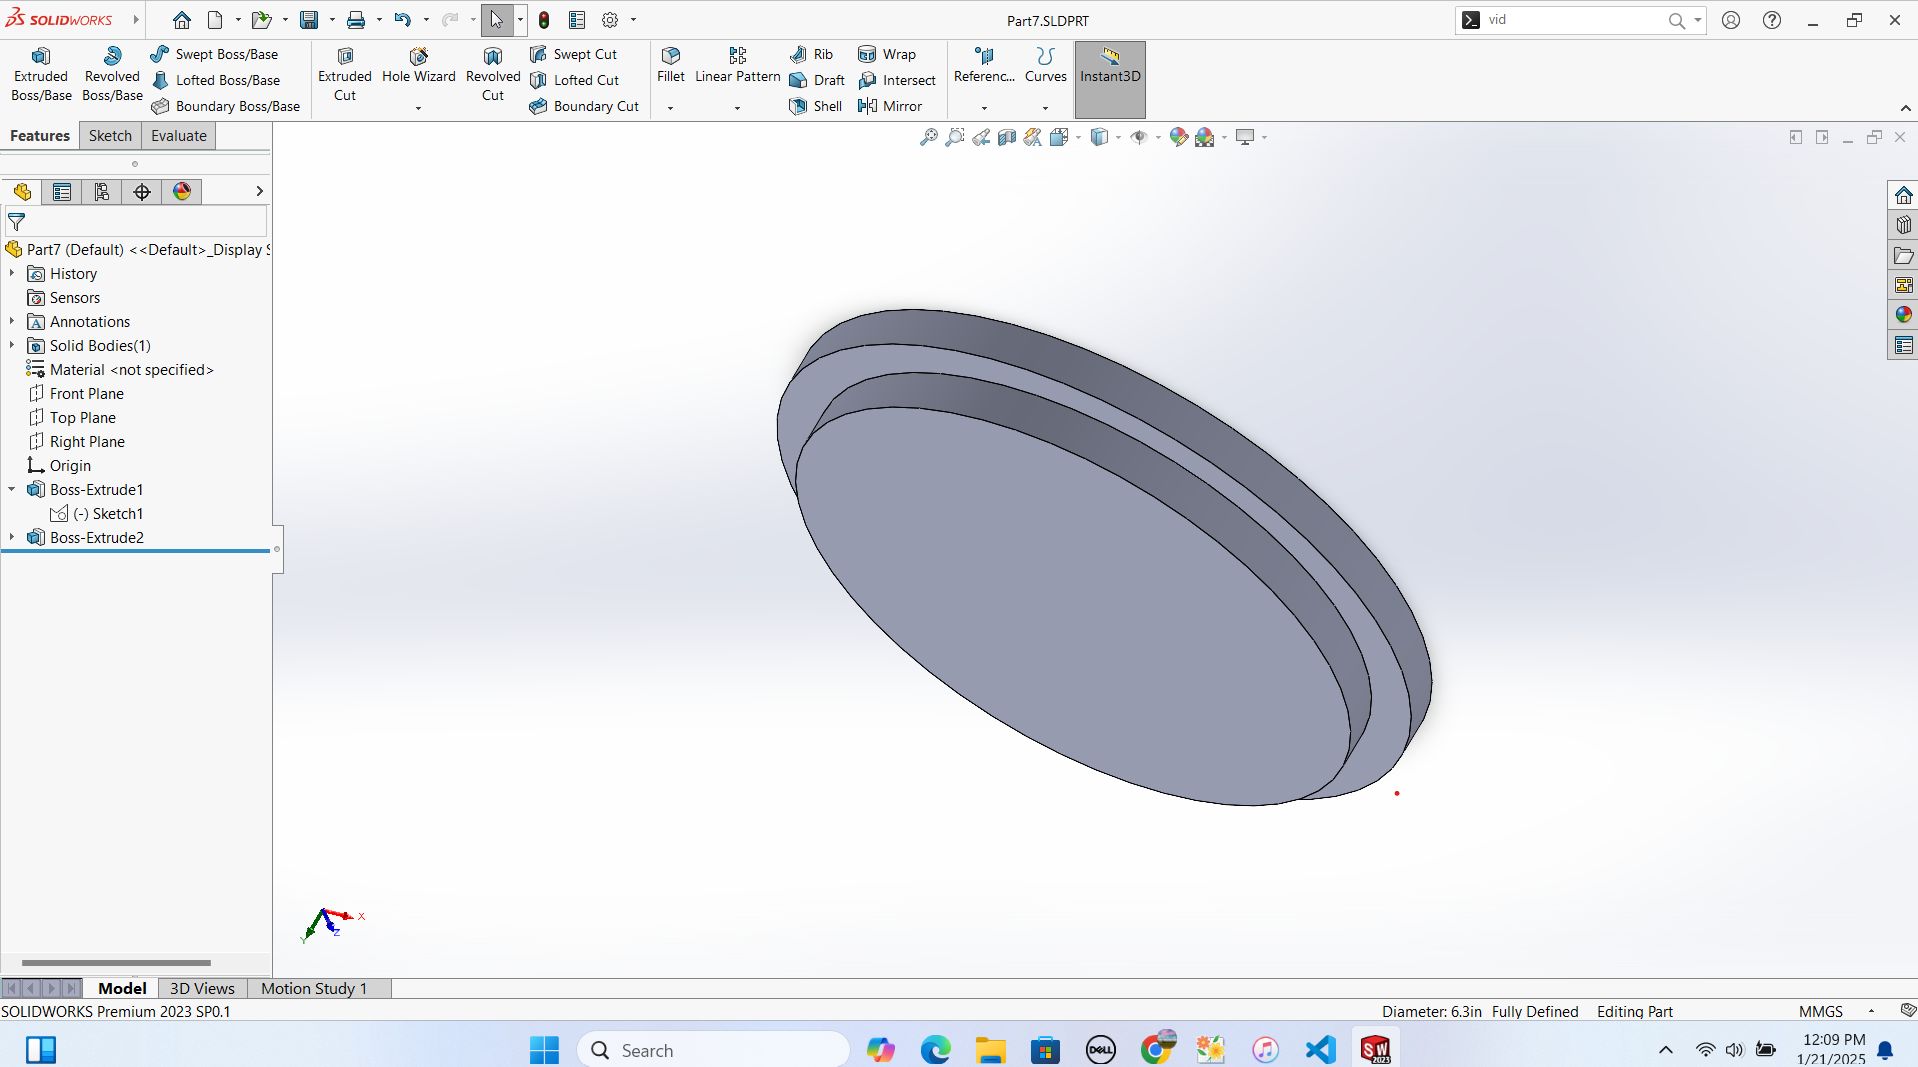
- Once I had my basic 2D sketch ready, I moved on to the Extrude Boss/Base feature. This tool allowed me to give depth to my sketch, turning it into a 3D object. I selected my sketch and extruded it to my desired thickness. Seeing my 2D drawing come to life in 3D was really satisfying!
- After that, I explored the Extrude Cut feature, which is useful for making holes or cutting out sections from a solid body. I sketched a shape on one of the faces of my 3D model and used Extrude Cut to remove material. This helped me refine the details of my design.

Step 2: How I used revolved boss/base, swept boss/base and lofted boss/base
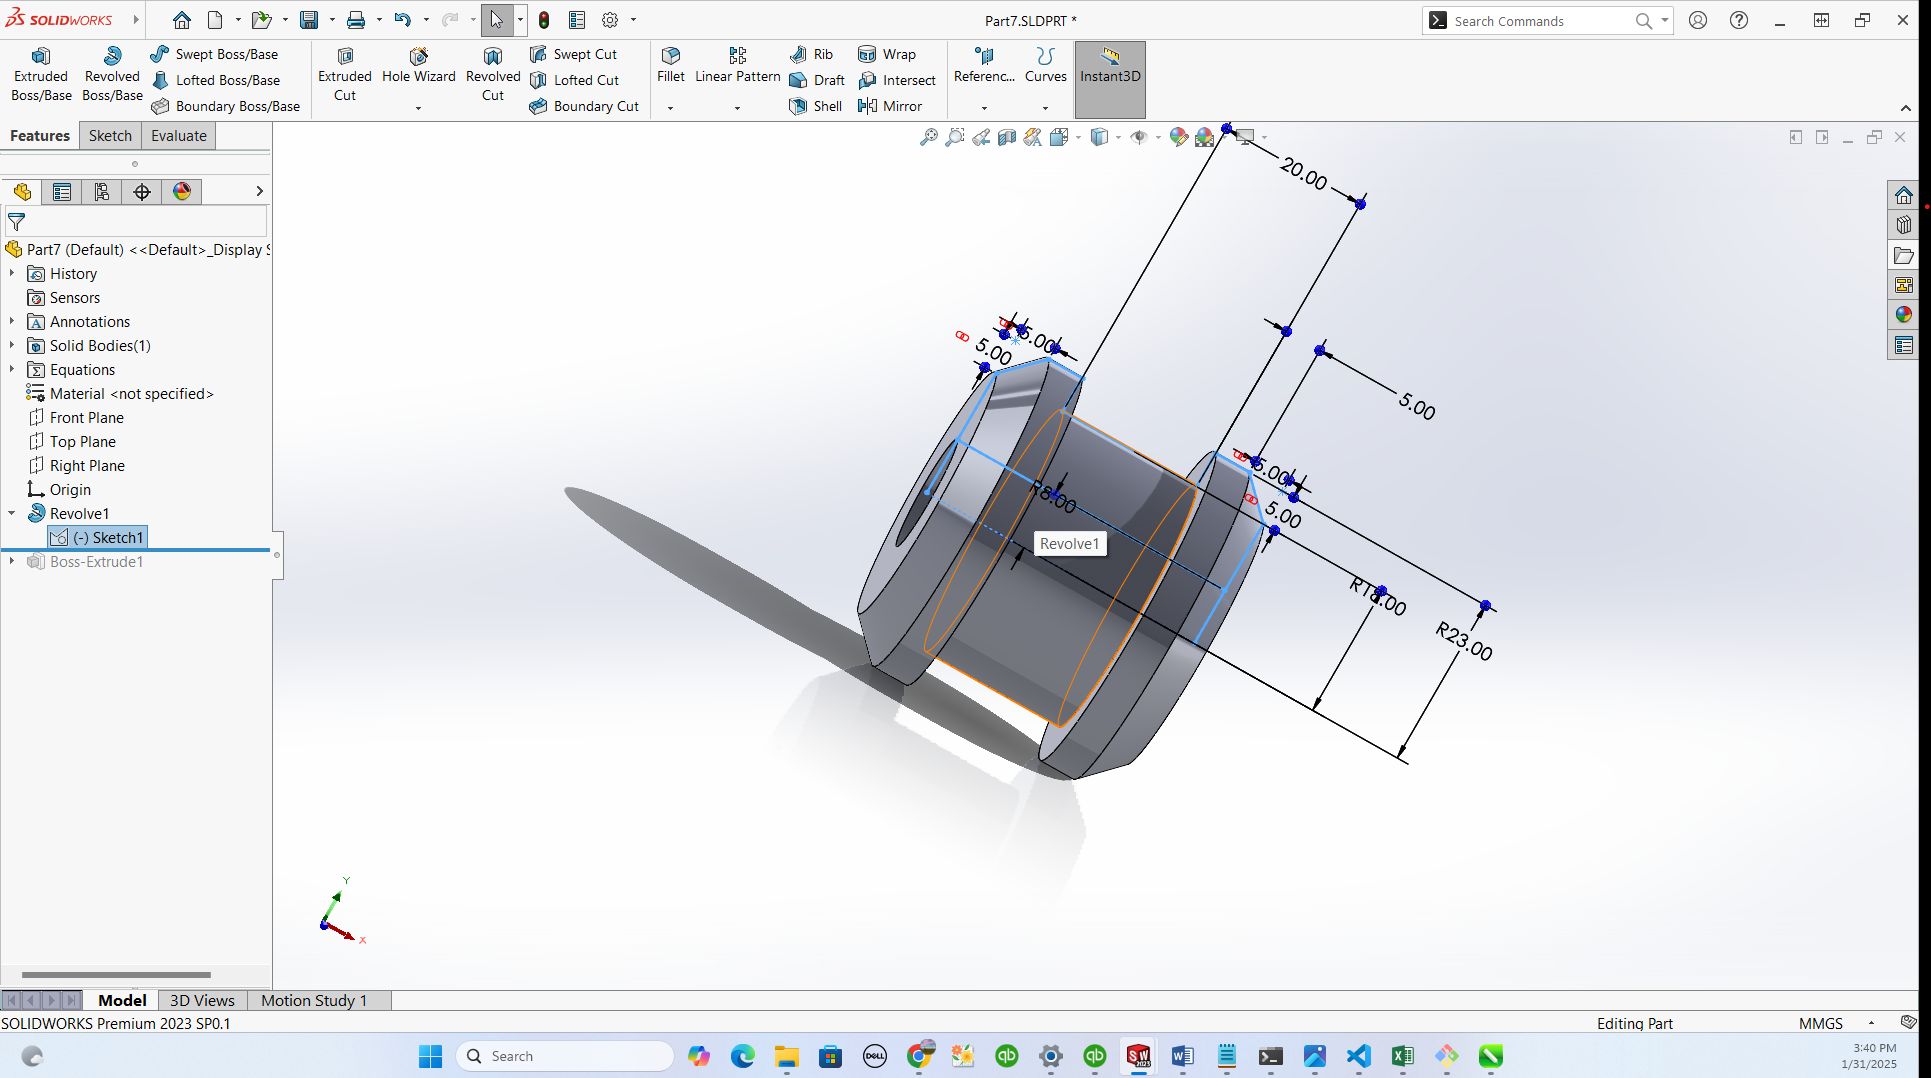
Revolved boss/base
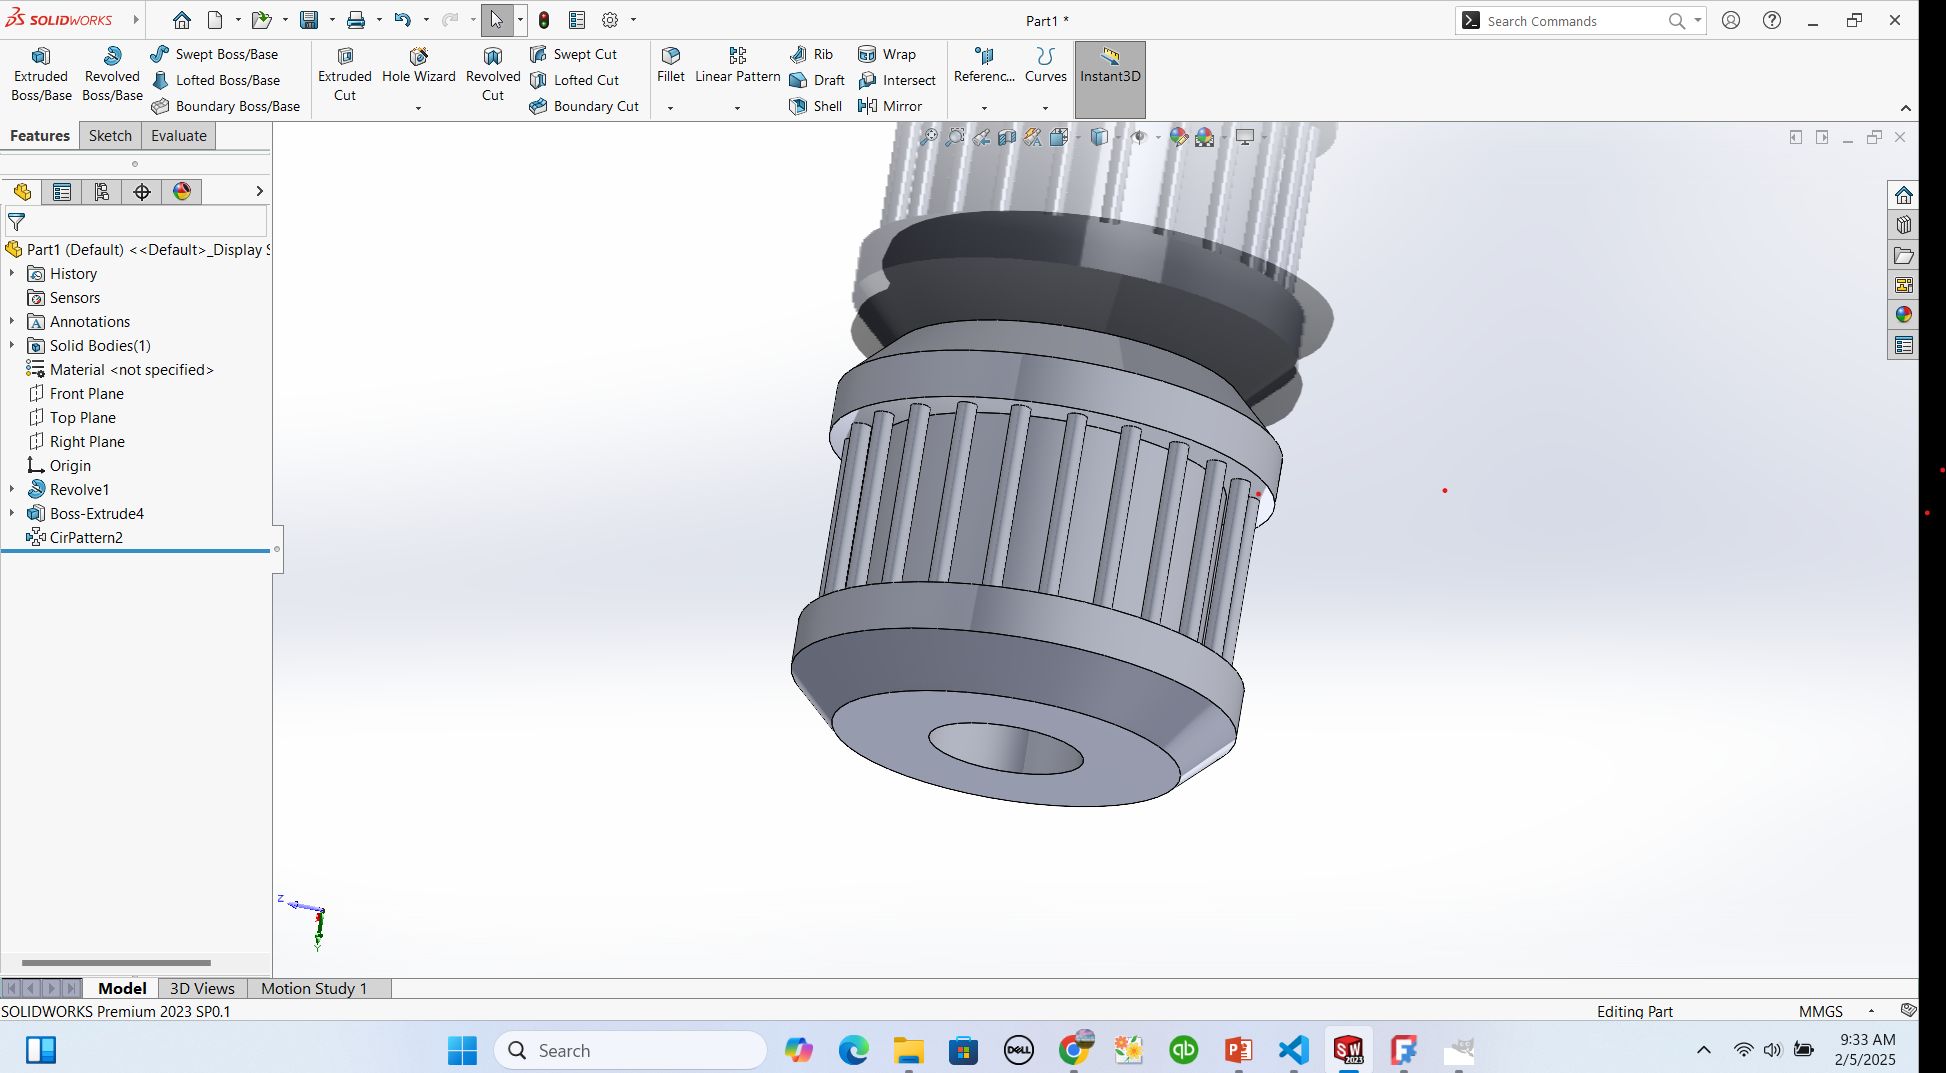
Wanting to try more advanced features, I experimented with the Revolved Boss/Base tool. Instead of just extruding straight, this tool allowed me to revolve a 2D sketch around an axis to create a symmetrical, rounded shape, like a bottle or a wheel.
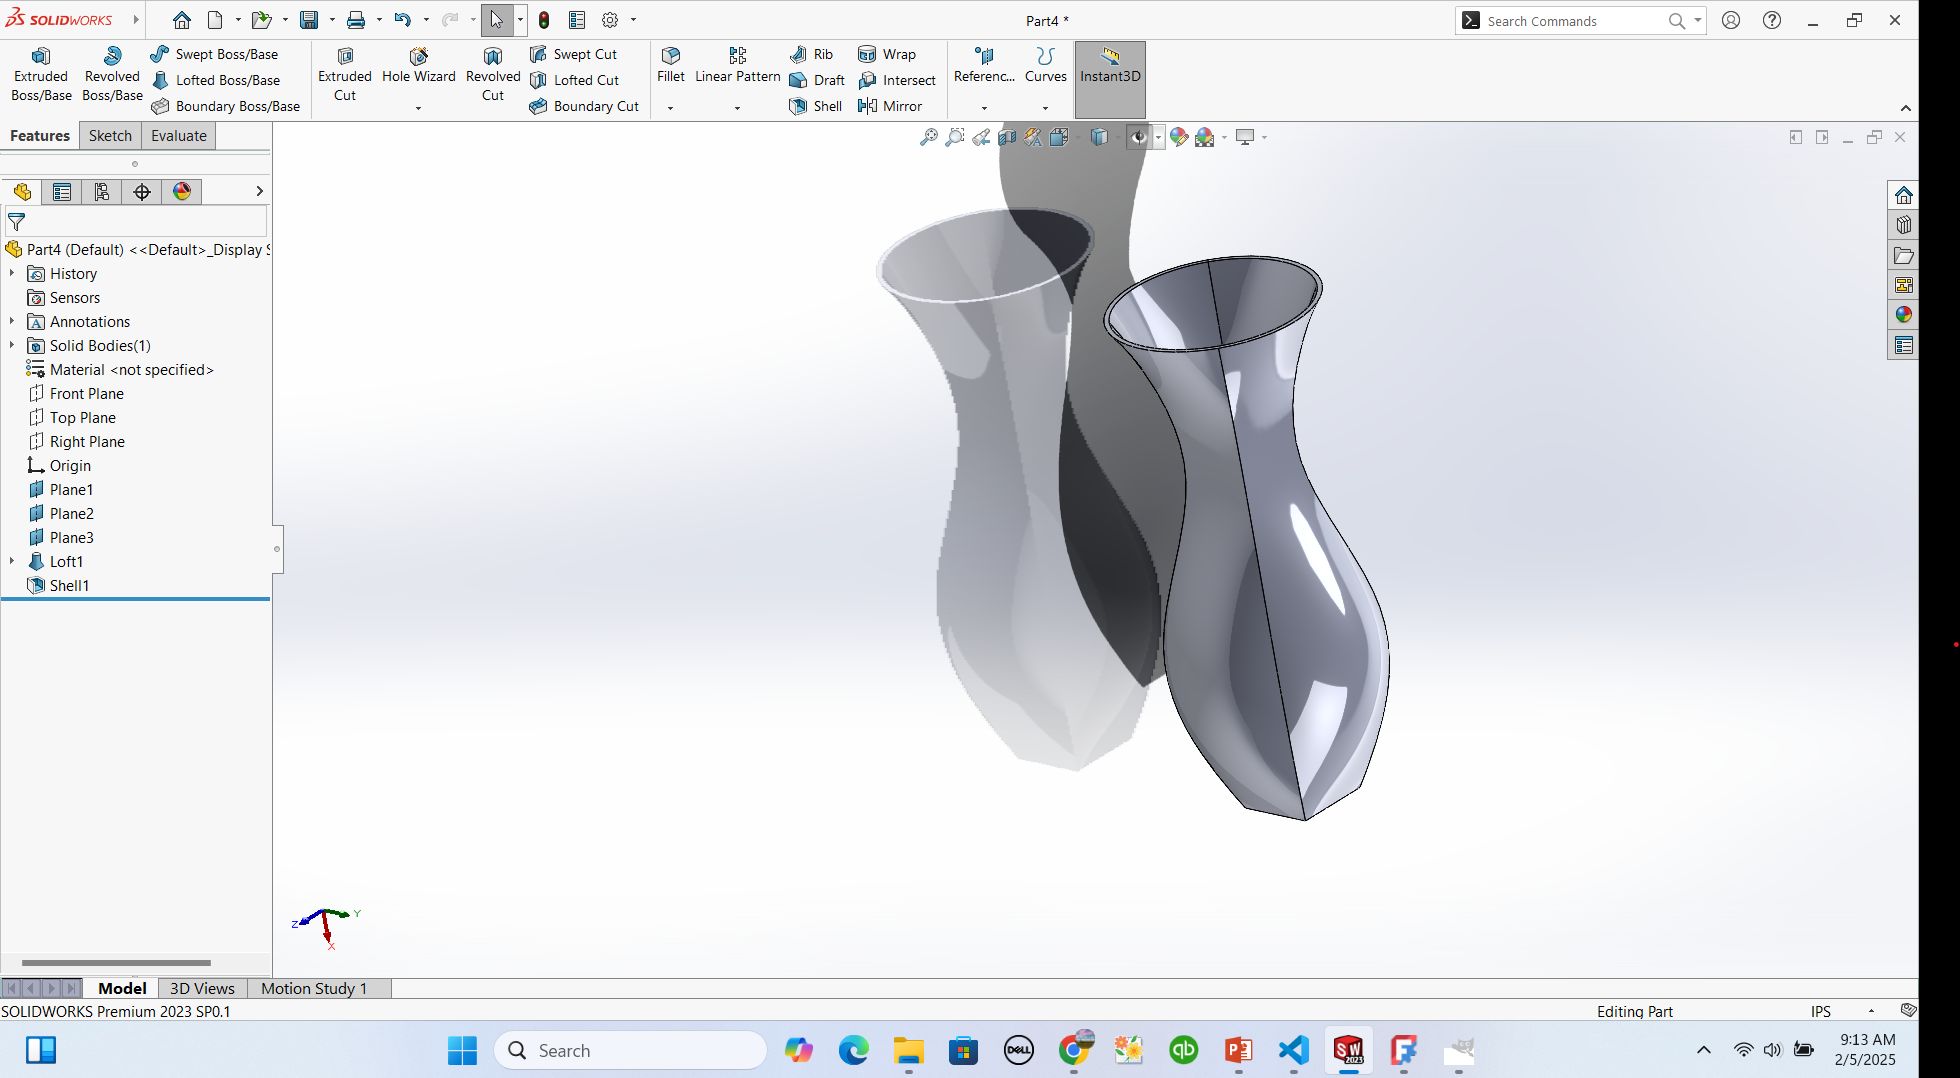
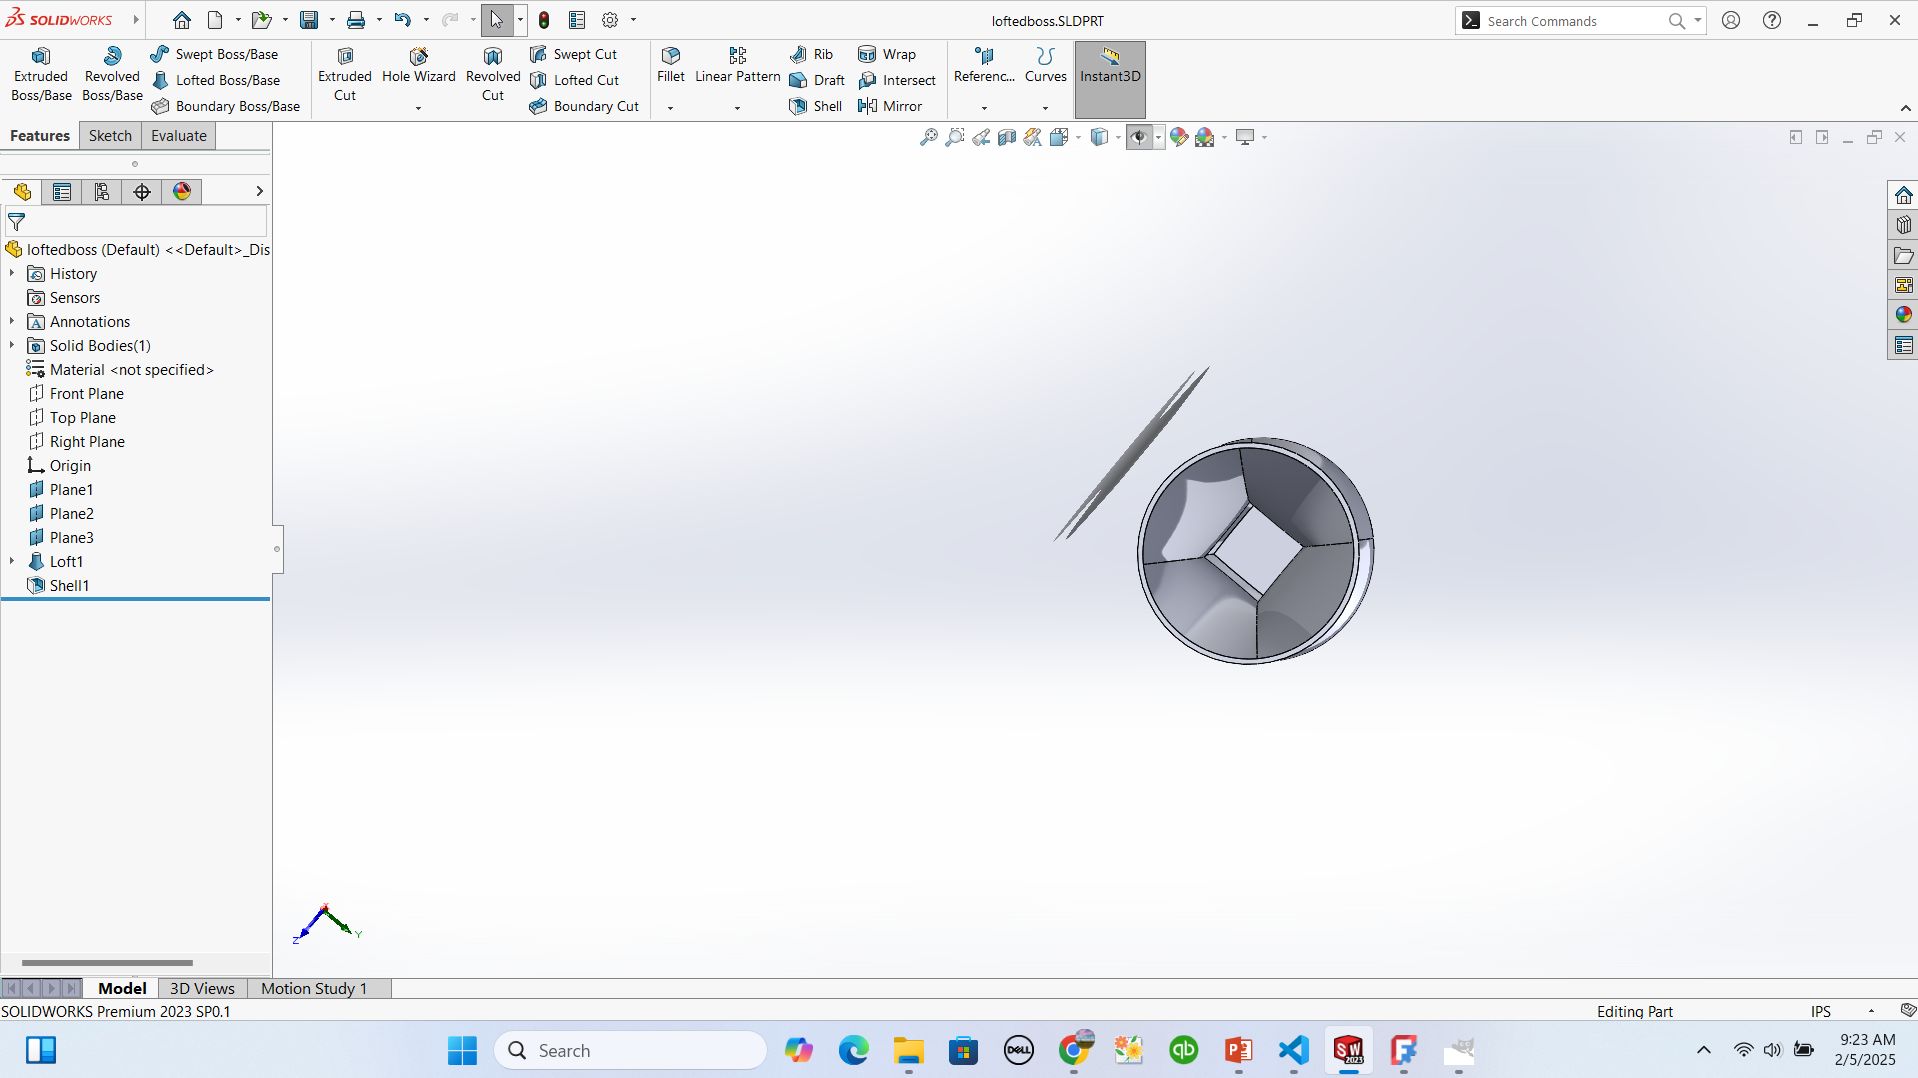
Lofted boss/base
I then played with the Lofted Boss/Base feature. This tool connects multiple sketches on different planes, smoothly transitioning from one shape to another. I used it to create complex and organic designs that weren’t possible with simple extrusions.
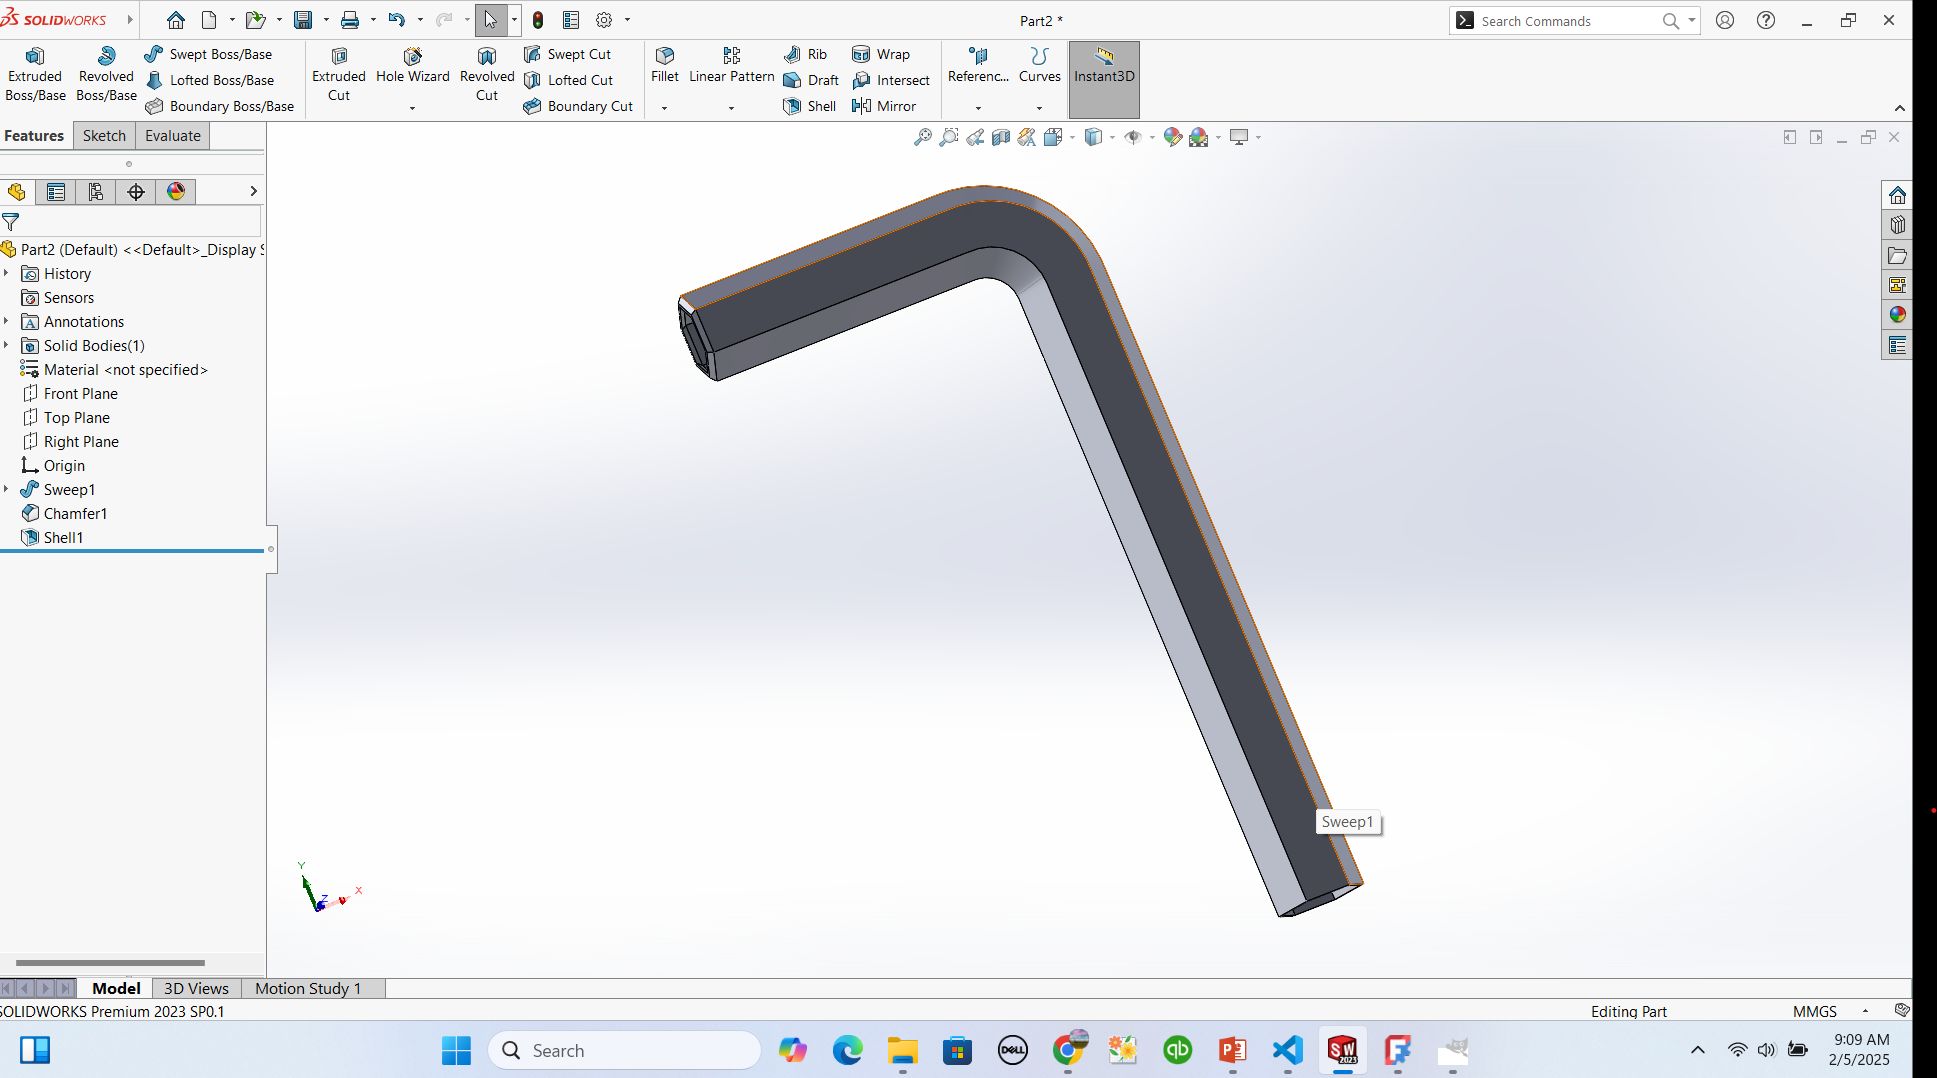
swept boss/base
Next, I explored the Swept Boss/Base tool. This was really fun because it allowed me to create curved shapes by sweeping a 2D profile along a defined path. I used it to make pipes and curved handles.
how I used shell
To make my design more lightweight, I used the Shell tool, which hollowed out the model while keeping a uniform wall thickness. This was helpful for creating enclosures and casings.
how I fillet and chamfer
I also learned about Fillets and Chamfers to smooth out sharp edges and make the model look more realistic. Fillets create rounded edges, while chamfers create slanted edges. These small details really improved my final design.
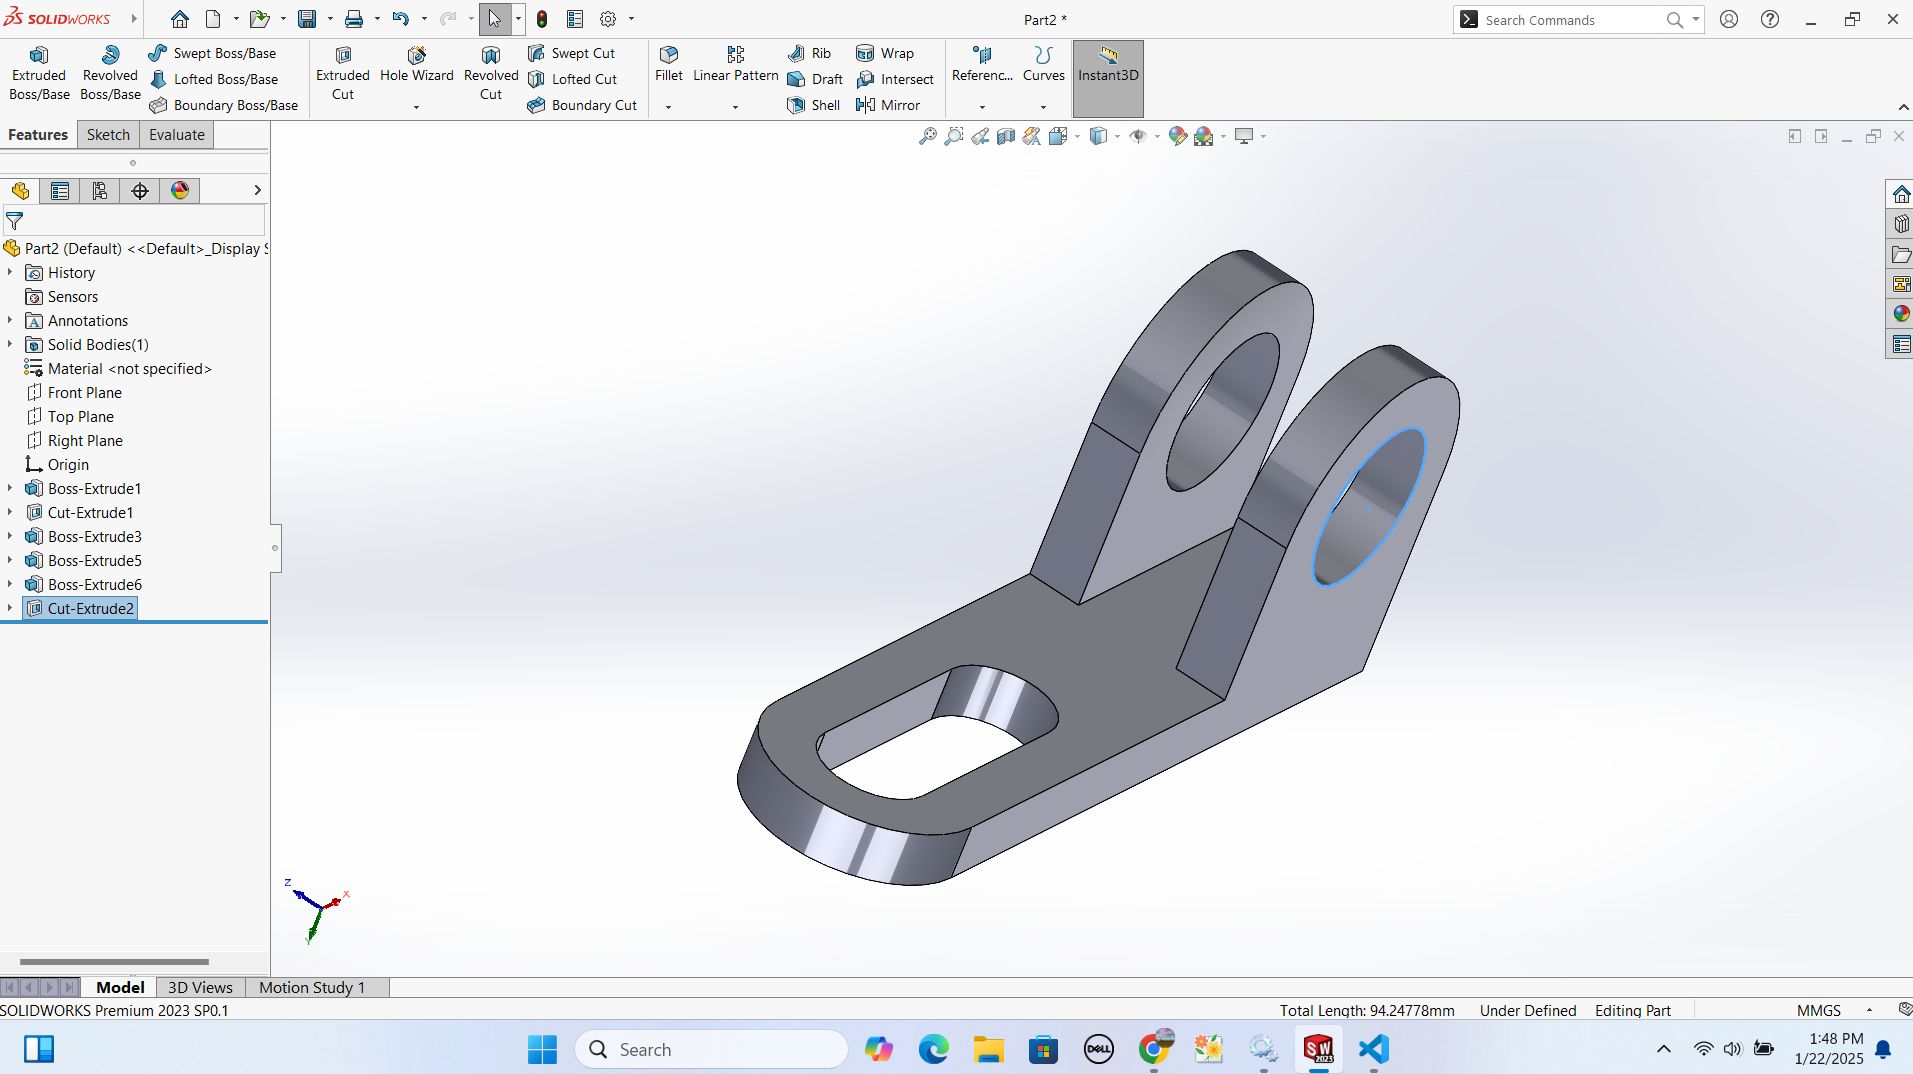
By the end of my session, I had successfully created a 3D model from scratch, using various SolidWorks tools and techniques. It was an incredible learning experience, and I realized how powerful this software is for designing anything from simple parts to complex assemblies.
Now, every time I open SolidWorks, I feel more confident and eager to try new features. If you’re just starting out, I encourage you to follow these steps, experiment with different tools, and have fun bringing your ideas to life in 3D!
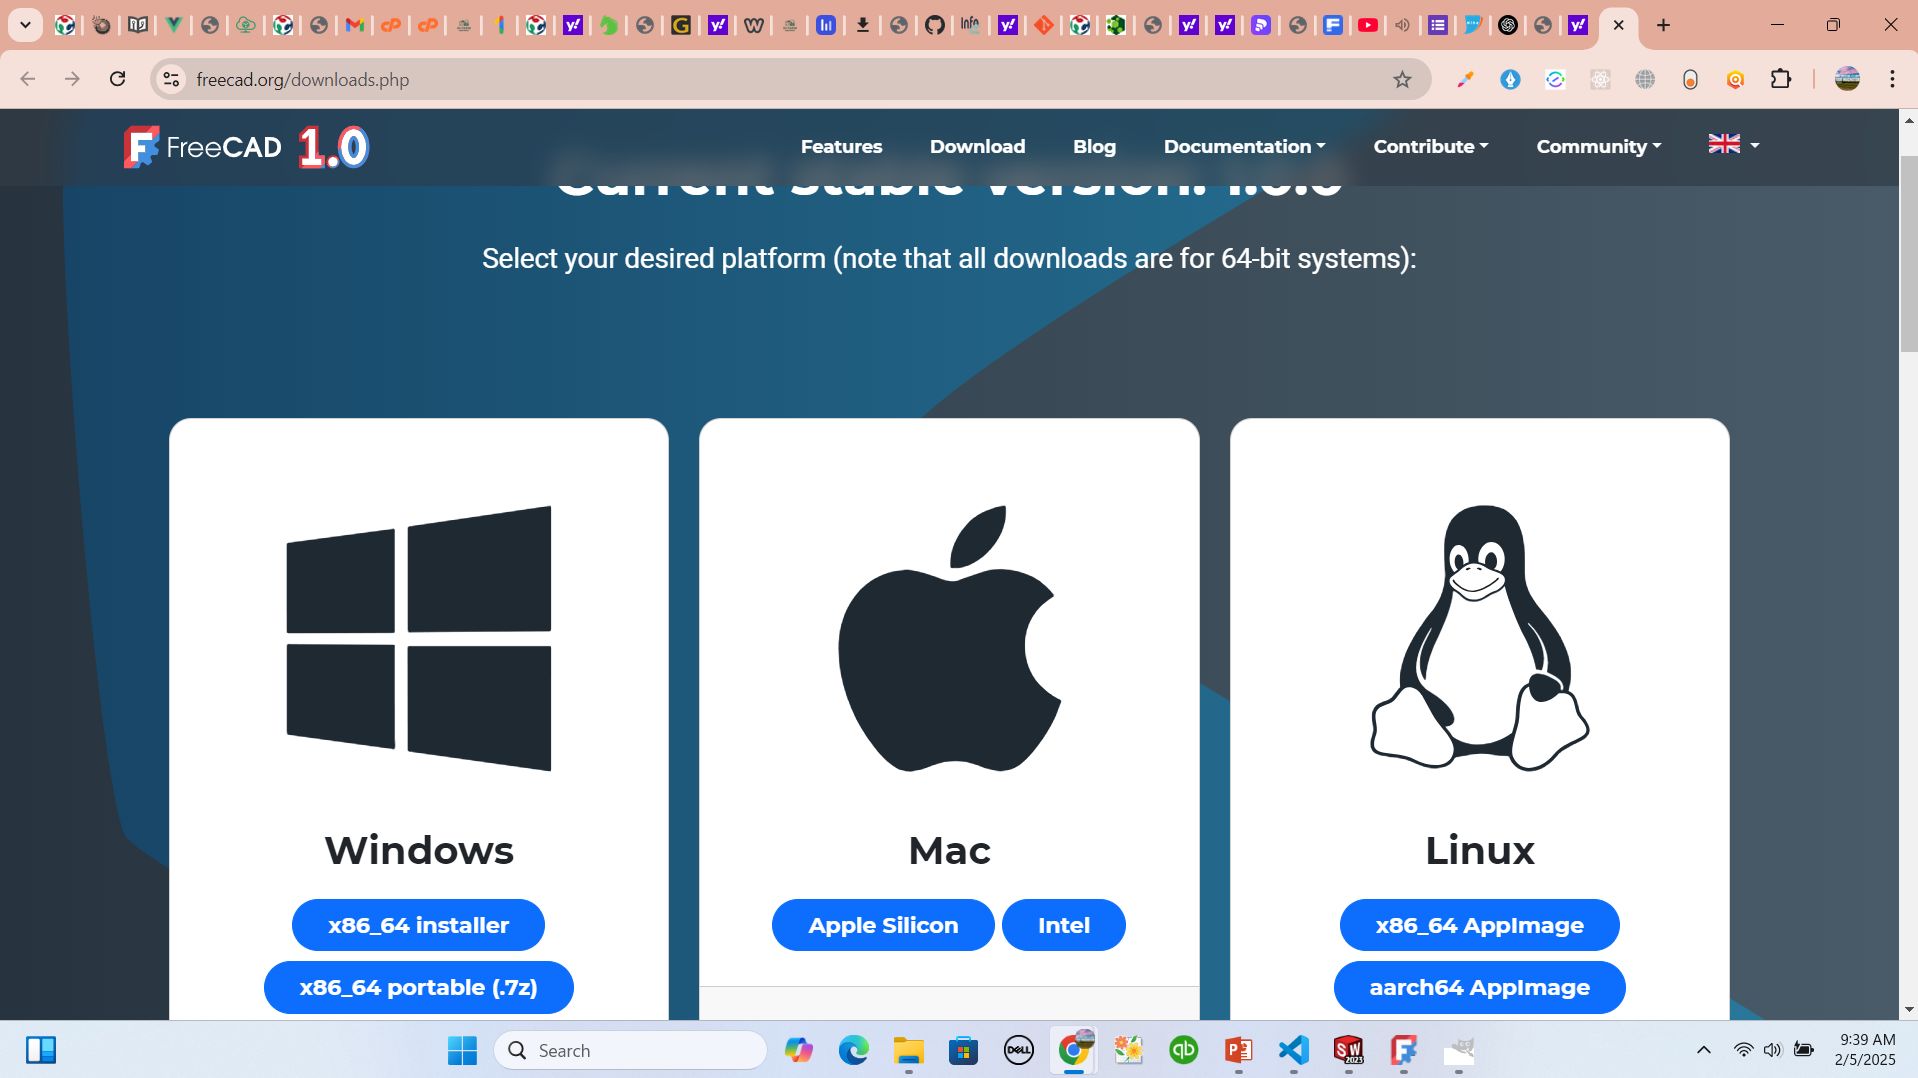
3D using FREECAD
Step 1: This is how I installed FREECAD
I went on google through https://www.freecad.org/downloads.php to Download the latest version of solidworks for windows.
I opened my installer file from downloads and I hit Run as administrator
now my freecad is ready to use after ending by installation

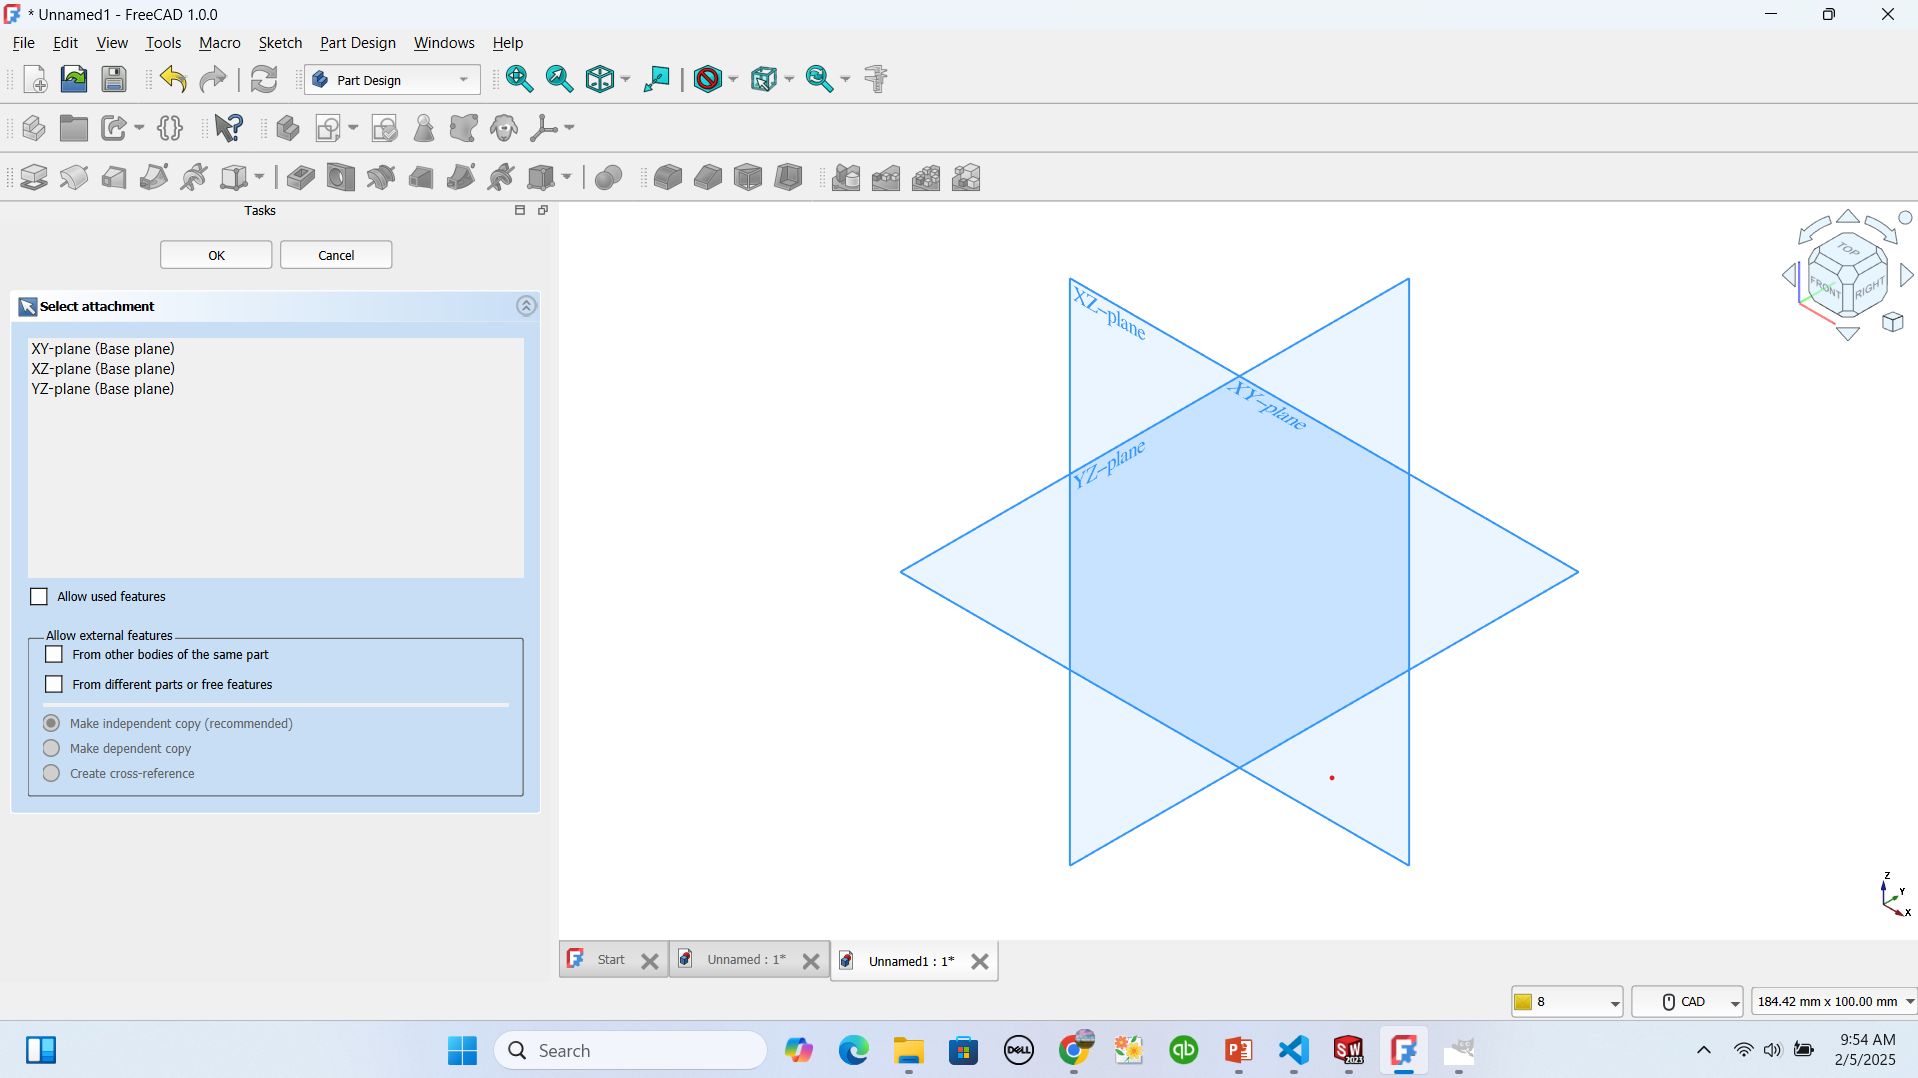
The first thing I did was to create a new project and I select the Part Design workbench. FreeCAD provided several workbenches to me, but for solid modeling, I used to choose the Part Design workbench which I thought my self that it is the best choice. Then, I choosen a plane to start my sketch. FreeCAD offered me three default planes: the XY Plane, XZ Plane, and YZ Plane. I selected the XY Plane and I clicked on Create a New Sketch to begin drawing
Next, I used the Line, Rectangle, and Circle tools to create my basic sketch. I quickly realized that adding constraints was crucial for accuracy, so I applied Horizontal and Vertical Constraints and used the Dimension Tool to set precise measurements for my sketch.

Changing to 3D in freecad
Once I had my 2D sketch ready, I moved on to the Pad tool, which is FreeCAD’s version of the Extrude Boss/Base feature as in SolidWorks. This tool gives depth to a sketch, transforming it into a 3D object. I selected my sketch and extruded it to my desired thickness, and just like that, my 2D drawing became a 3D shape!
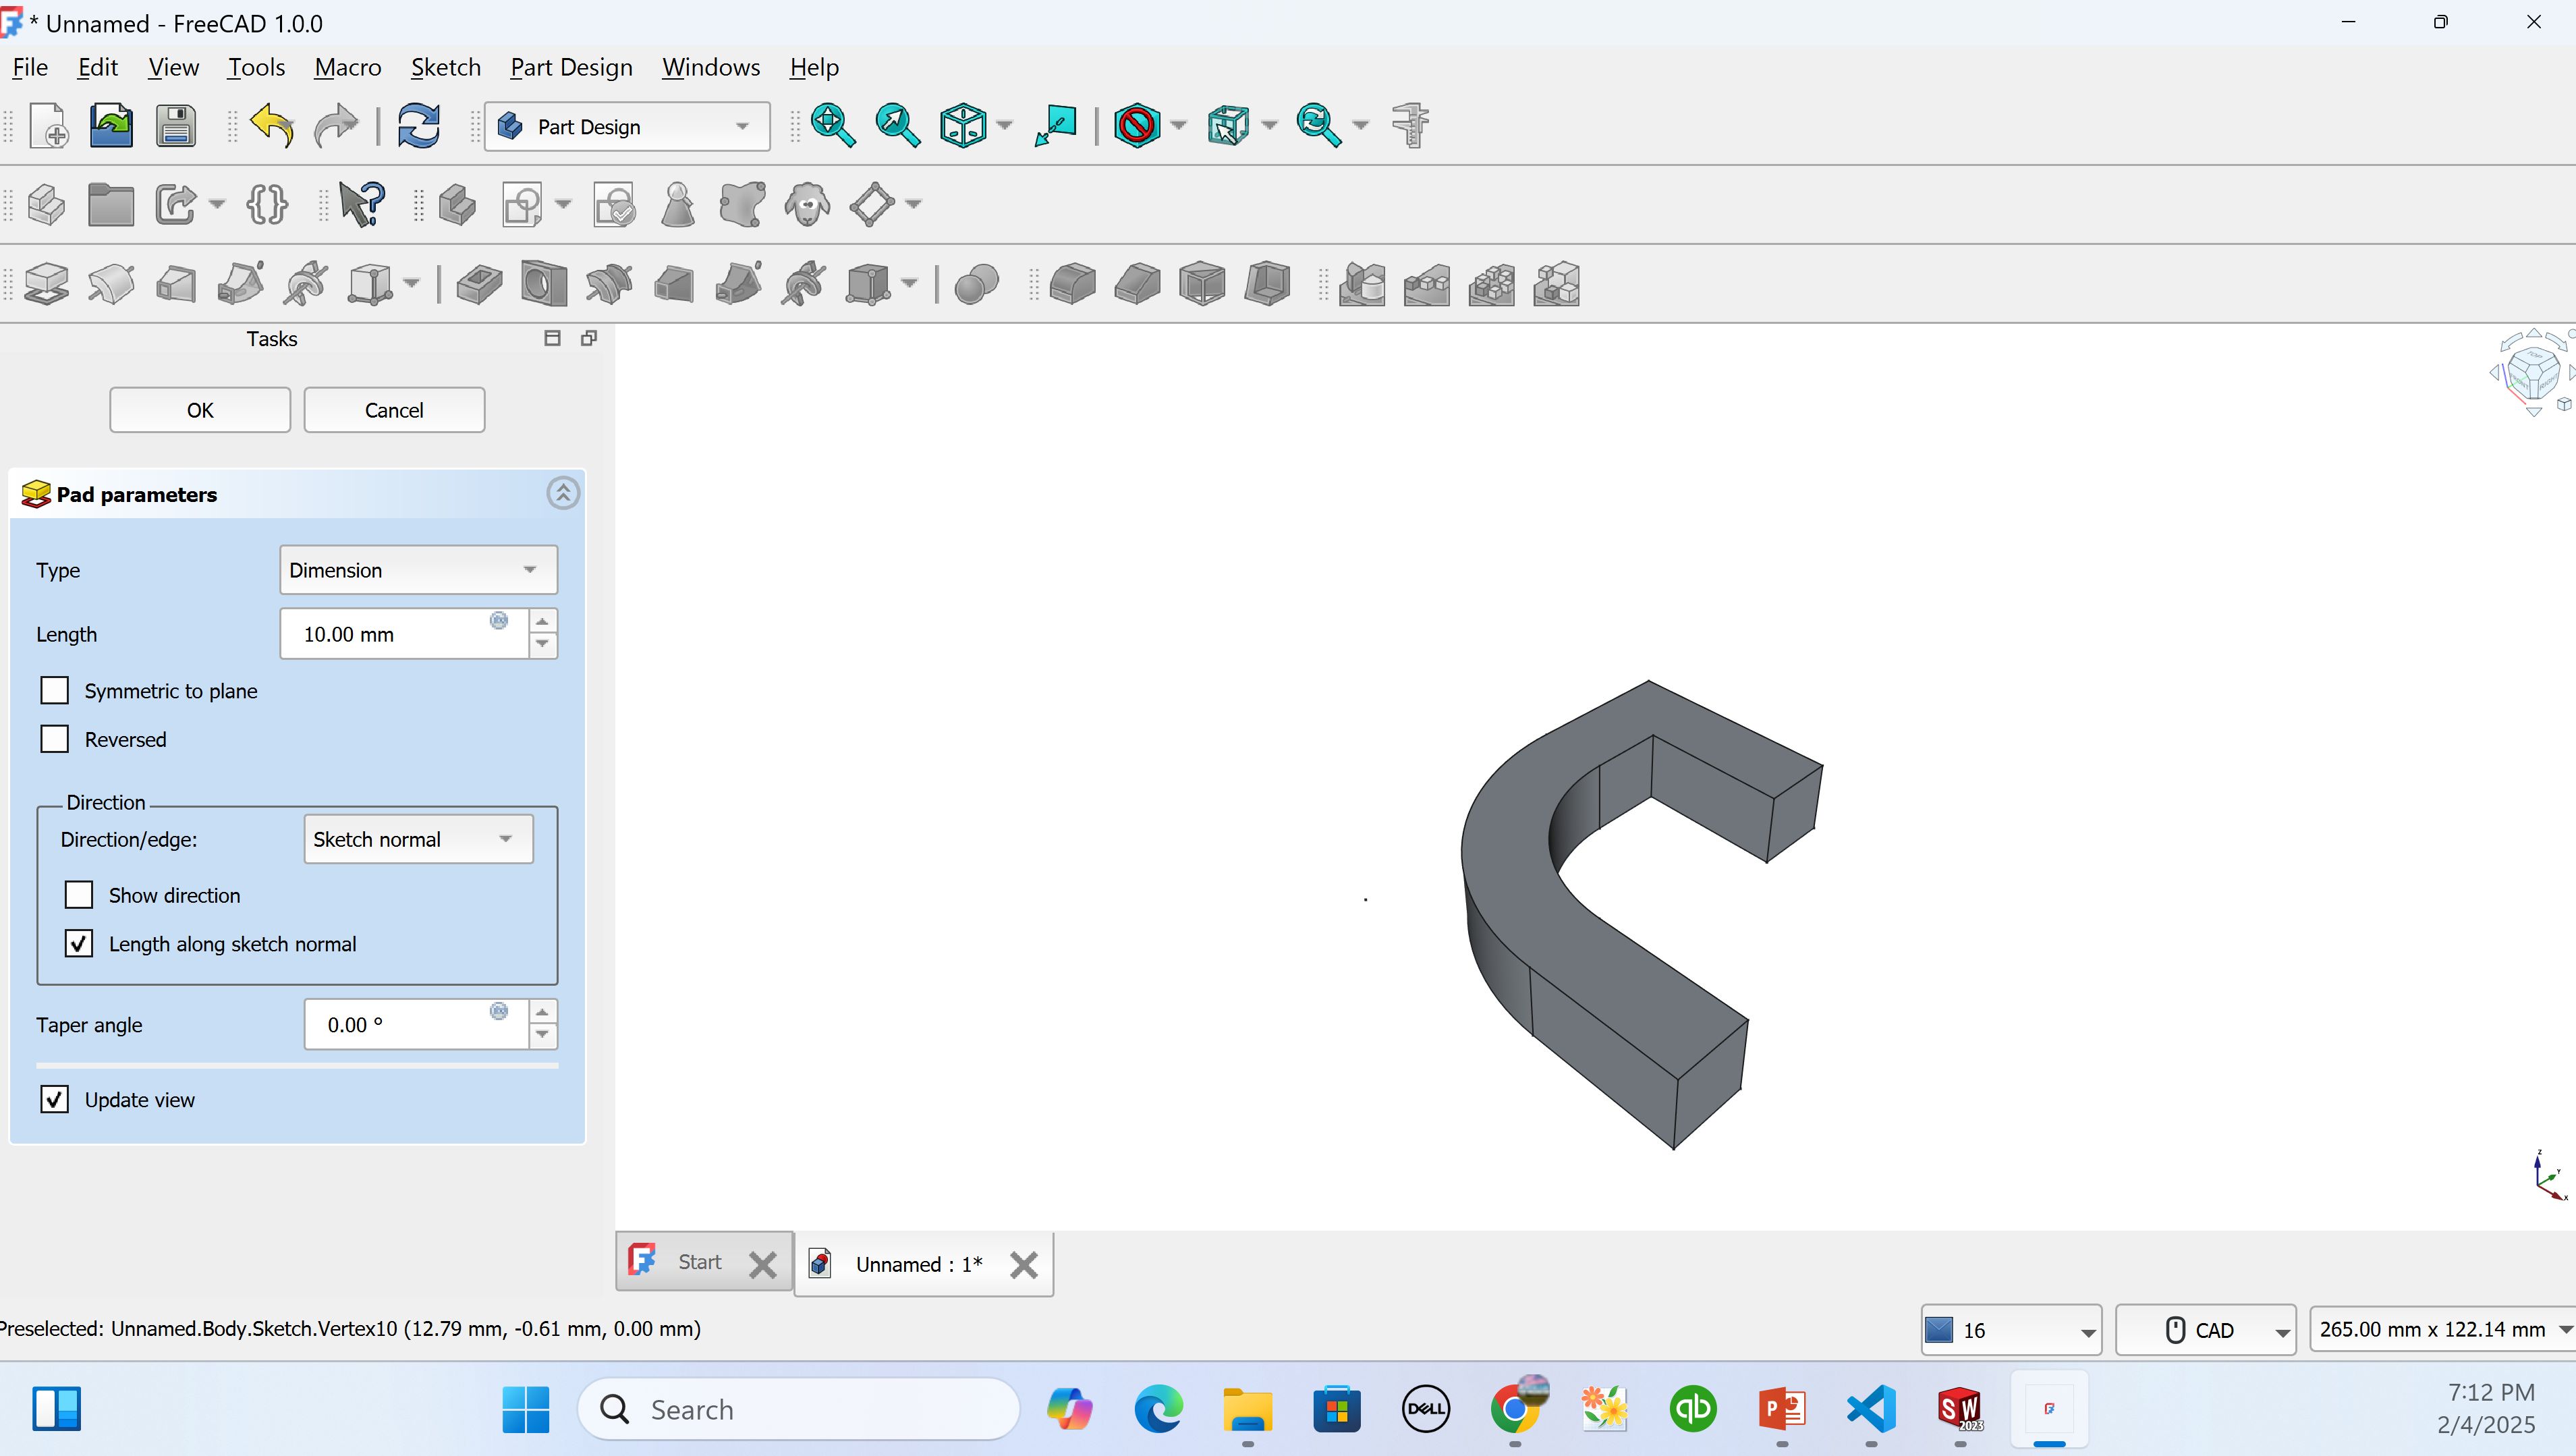
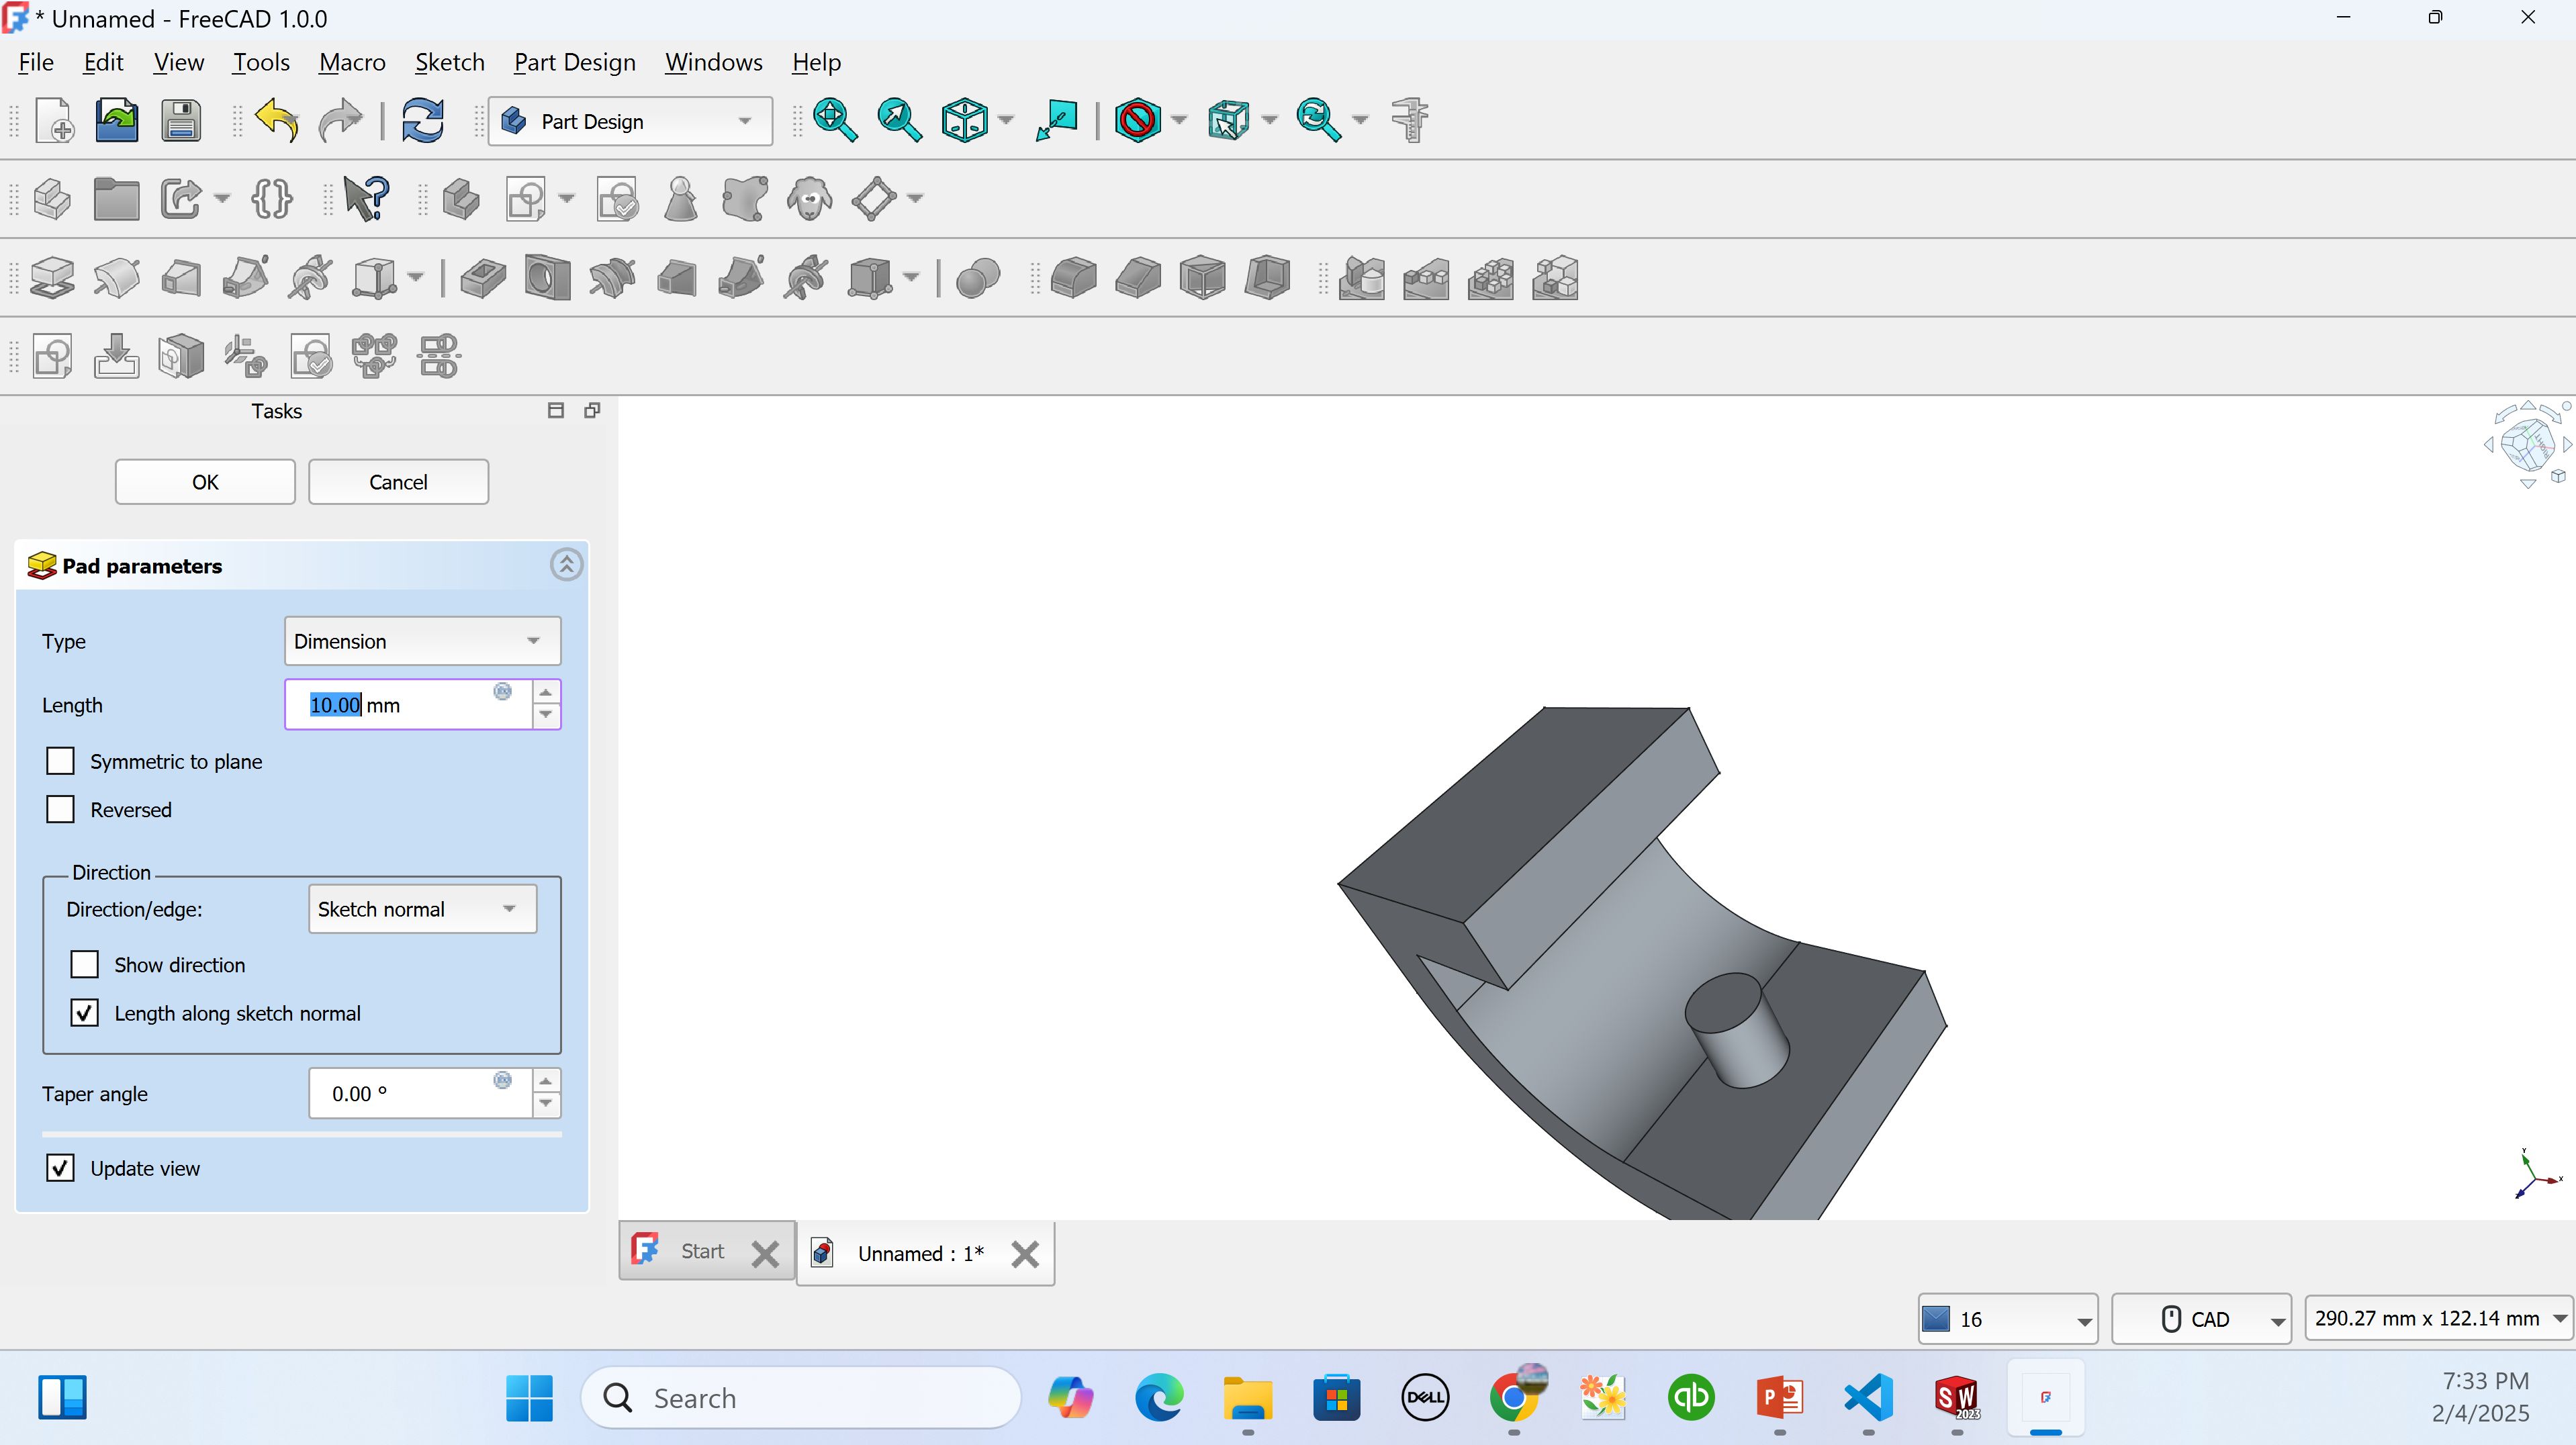
After that, I explored the Pocket tool, which is similar to the Extrude Cut feature in SolidWorks. This tool removes material from a solid body. I sketched a circular shape on one of the faces of my 3D model and used Pocket to create cutouts.
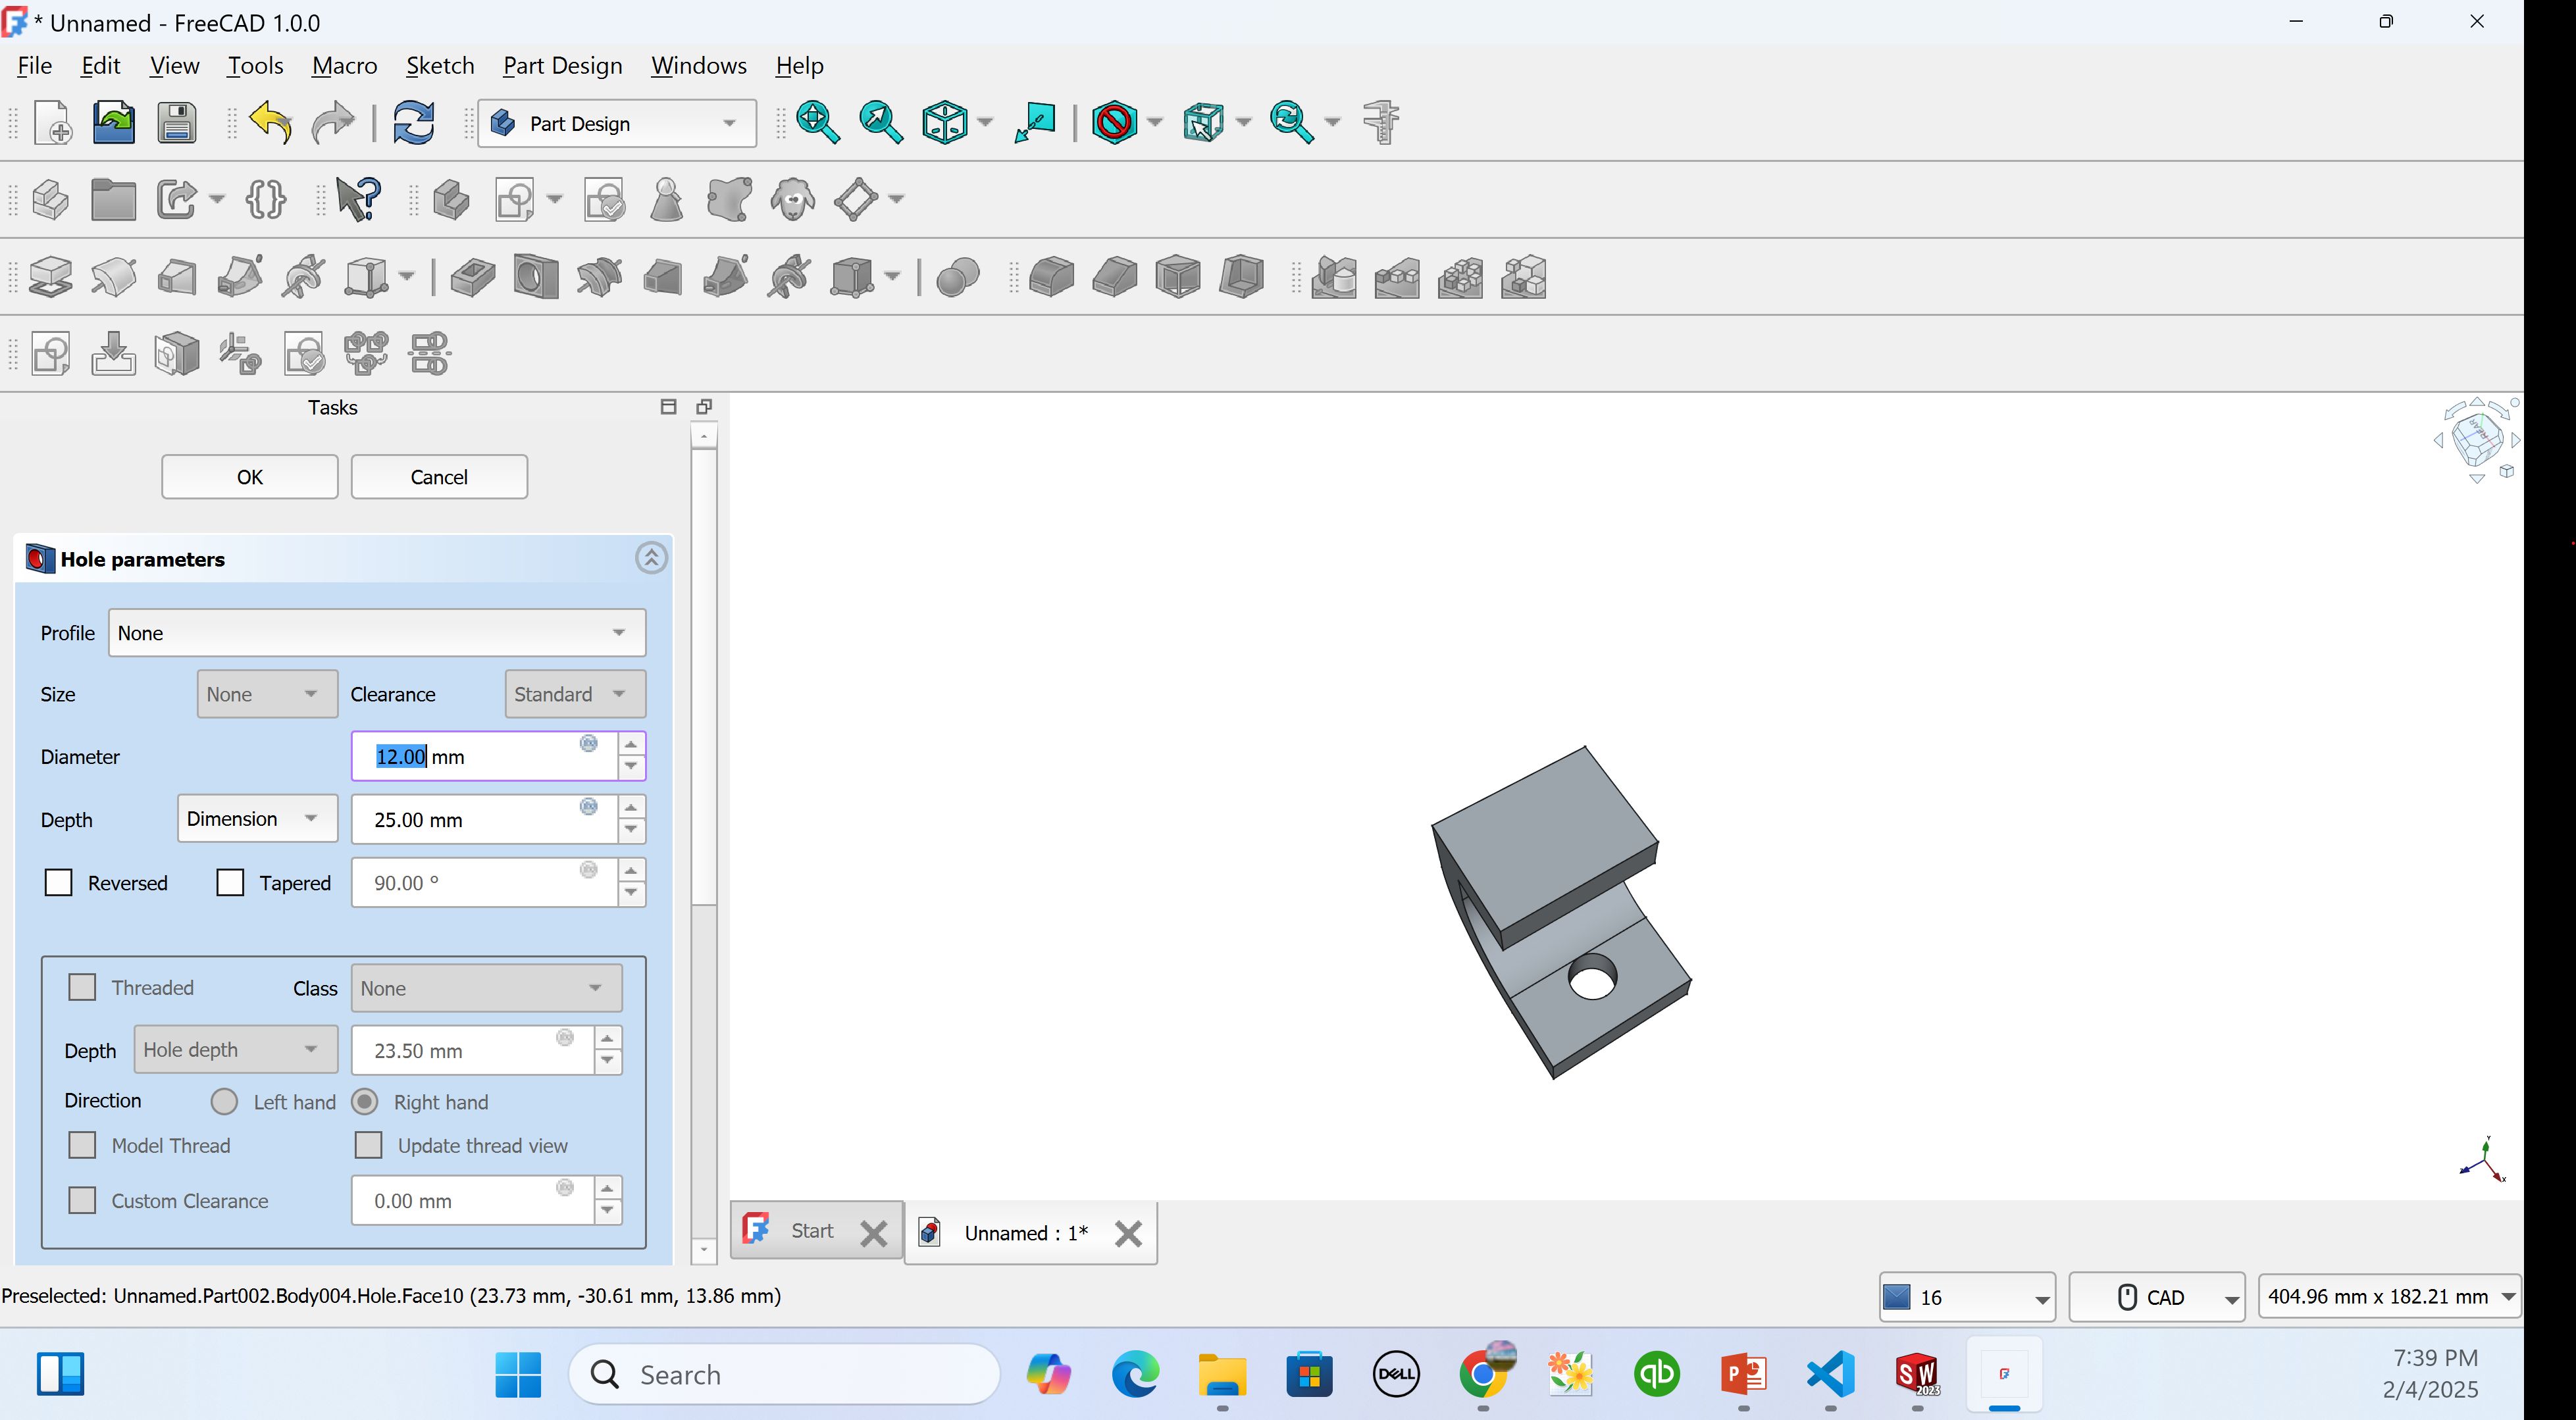
I also learned about Fillets and Chamfers to smooth out sharp edges and make the model look more refined. Fillets create rounded edges, while chamfers create slanted edges as it is in solidworks. These small details significantly improved my final design.
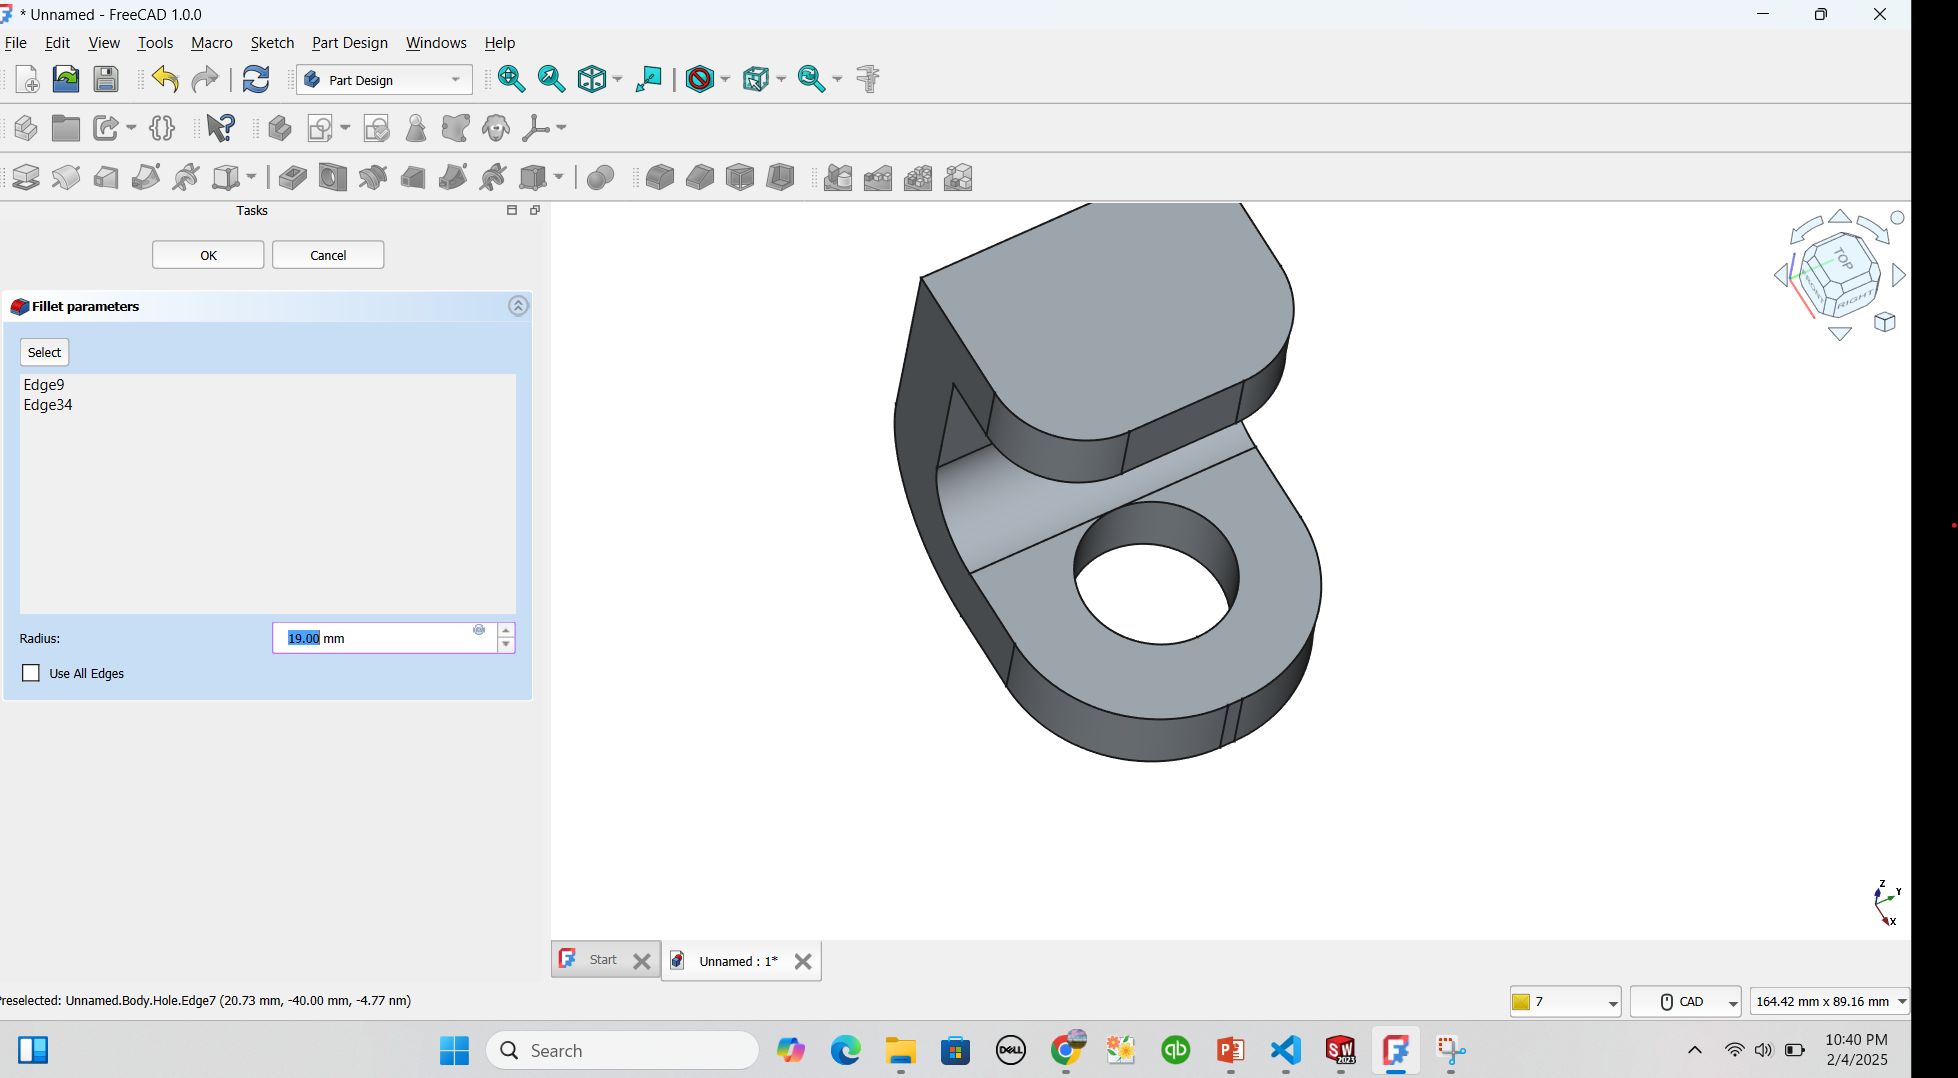
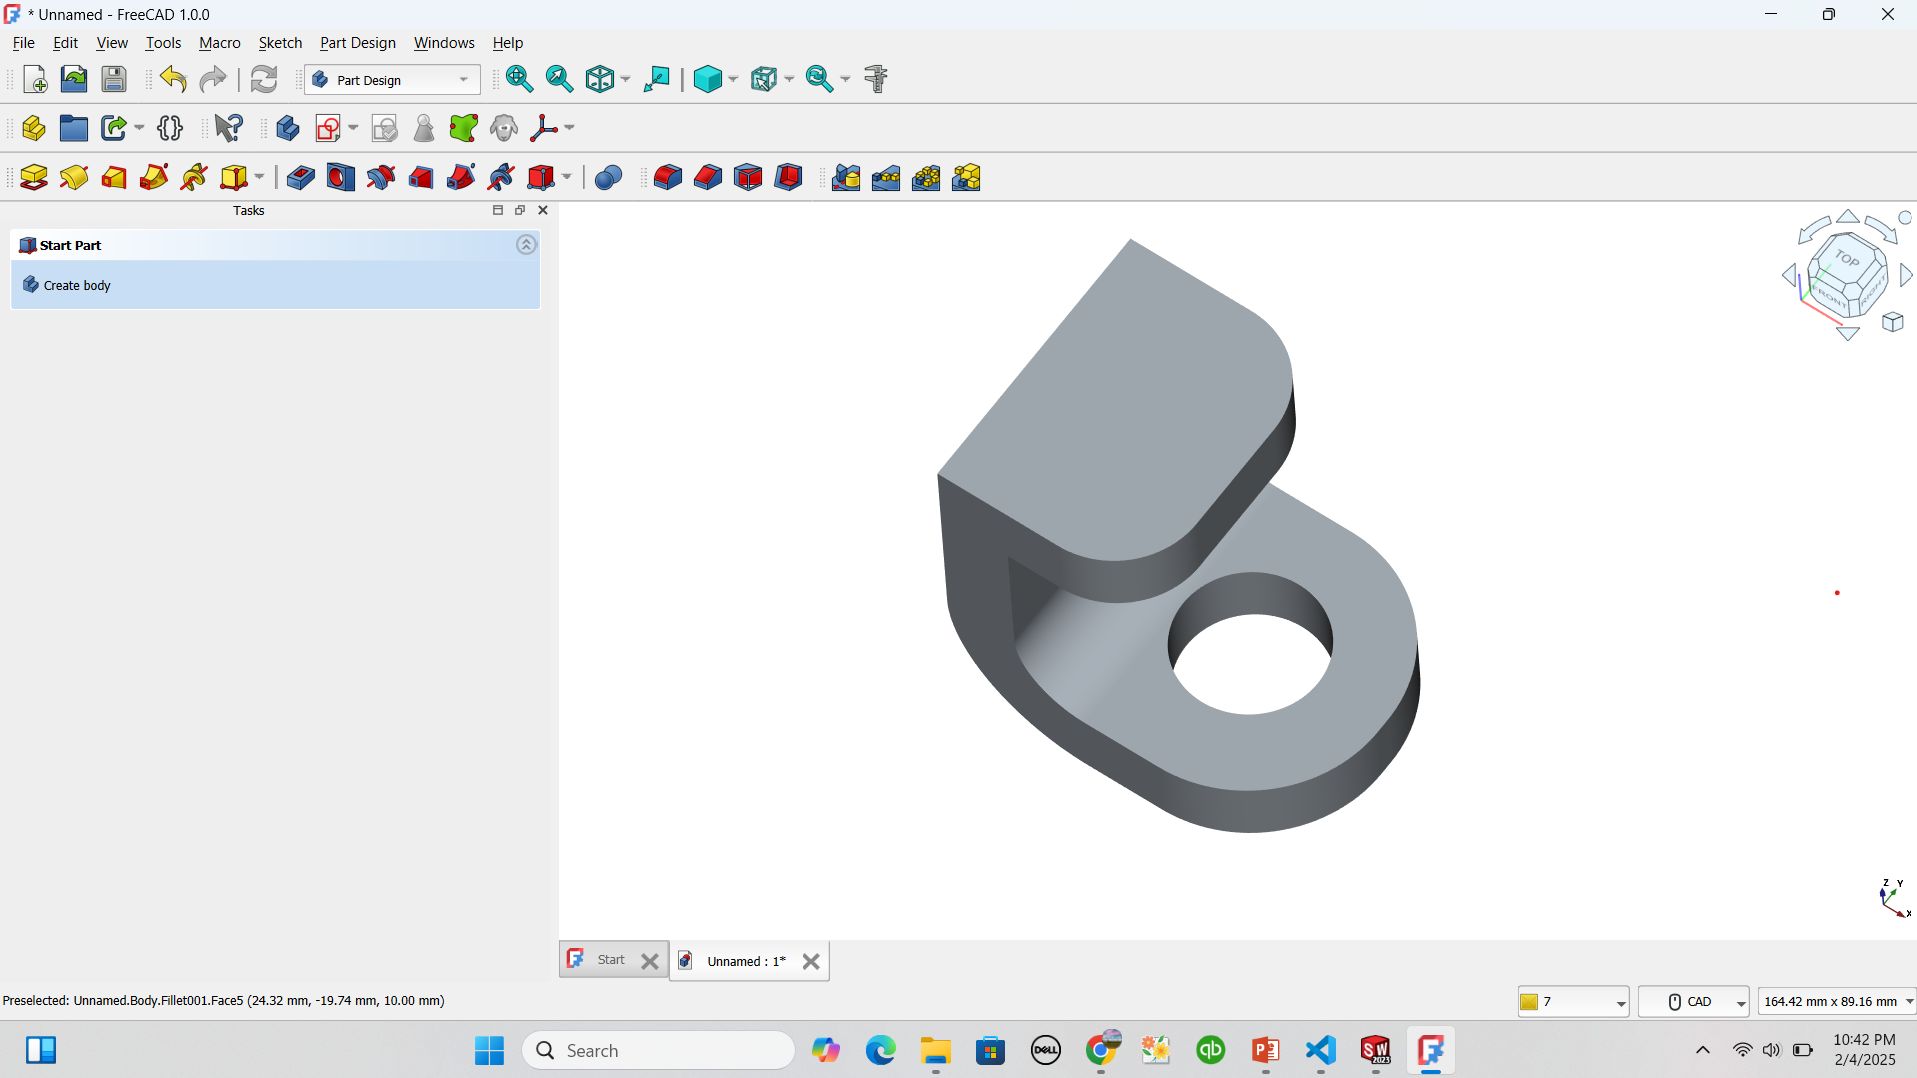
So, now my design looks good and presented linke this
Compressing images and videos
Once I was doen by documenting my week 2 assignment, I tried to add my changes and commit them but the terminal console informed me that I exceed the required size to push some changes per day and I asked my local instructor called Lambert asking him to offer me support and he told me that I heve to reset the commit that was latest befor I get that error
git reset --soft 3775dbf
this is to help to reset the commit you've made before on that hash you are resetting to (3775dbf).
after reseting the commit, I searched for webtool I can use to compress my images and I found https://miniwebtool.com/image-compressor/
after joining the web I uploaded all images the was of high quality and I clicked on compress and download
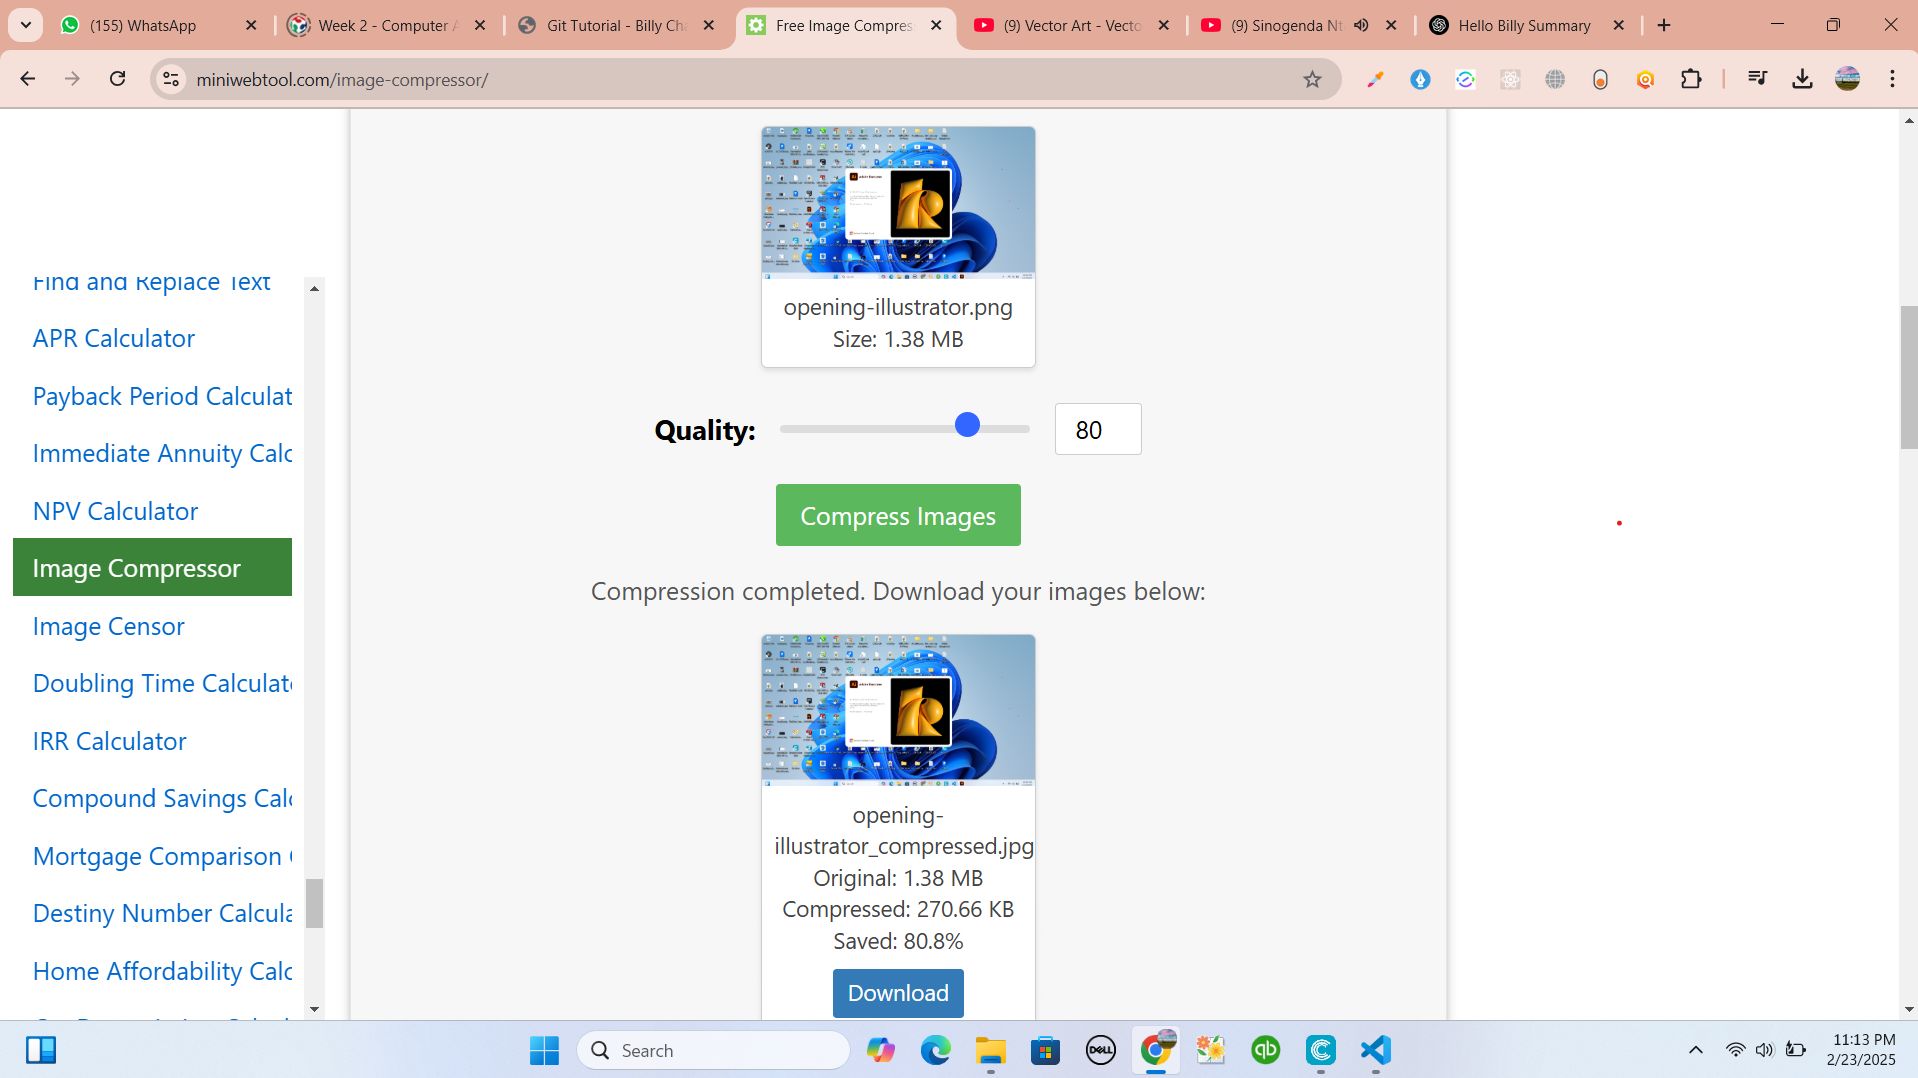
after compressing and downloading my images, I replaced all images in my documentation with compressed images to keep the size on server sustainable
So, I added, commit and pushed my changes on documentation smoothly
Here is the original files
incskape file
incskape drawingillustrator file
illustrator imagecoreldraw file
coreldraw imagesolidworks files
Freecad file
freecad drawing