4. Embedded programming
In this assignment I will begin to see programming principles, the objective is to develop programs that demonstrate the individual's knowledge and ability to program objects through a microcontroller. With this in mind, I will focus on programming, especially in my final project. Therefore, I decided to program a stepper motor, which will be one of the fundamental foundations for my assistant robot, more specifically the elevator and remote control of the motors with a joystick.
To understand the principles of programming, this week's group assignment was to investigate the architectures of different chip families, such as the ESP32, the ATTINY 85, the RP2040, to mention a few microcontrollers that we can use for programming practice. Here is the link to the group assignment:
Microcontroller data
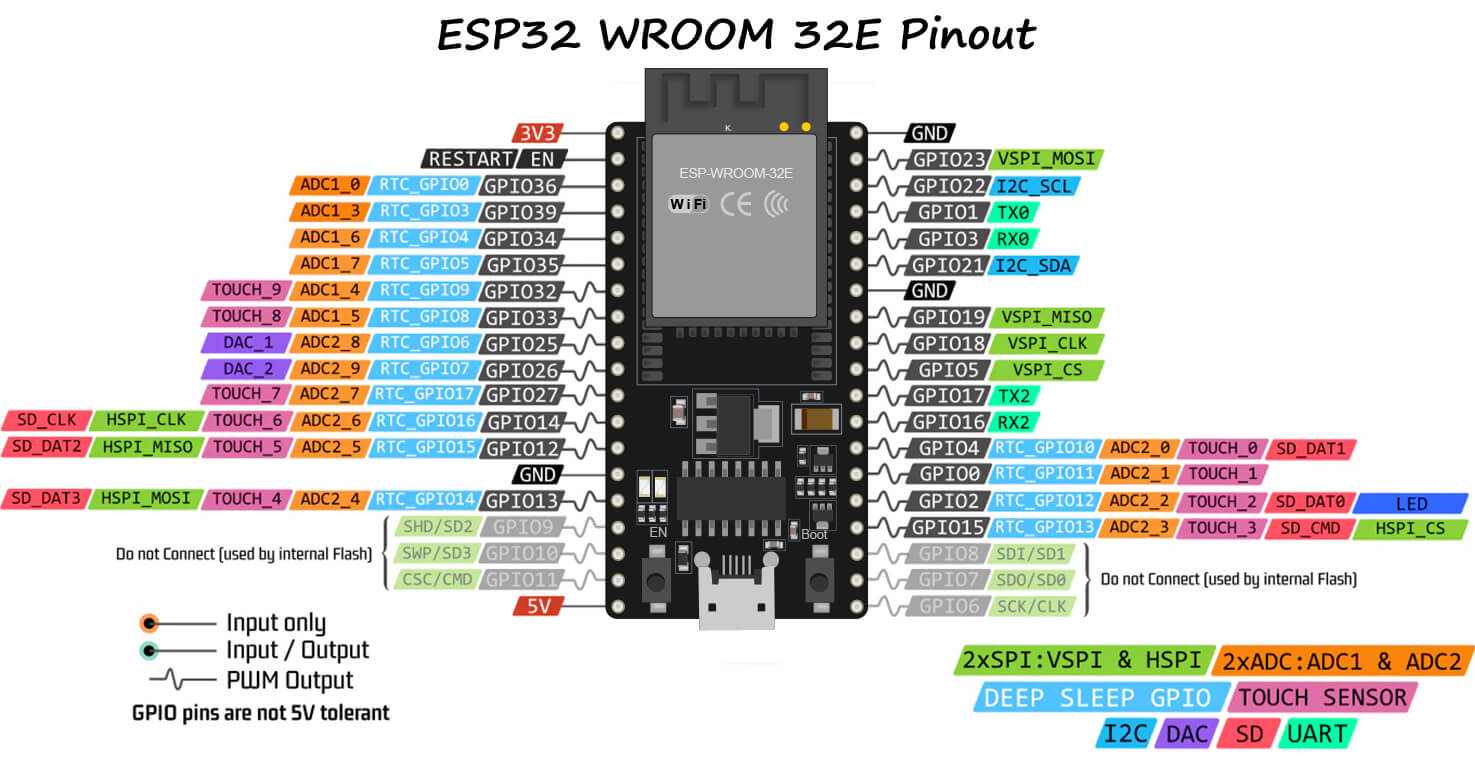
The first thing is to know the information about the microcontroller that I am going to use, the esp32, so, based on the datasheet on this page (Datasheet), and the information in this image, it will be easier to know the types of connections and where I have to connect the esp32 with the other elements
Programming
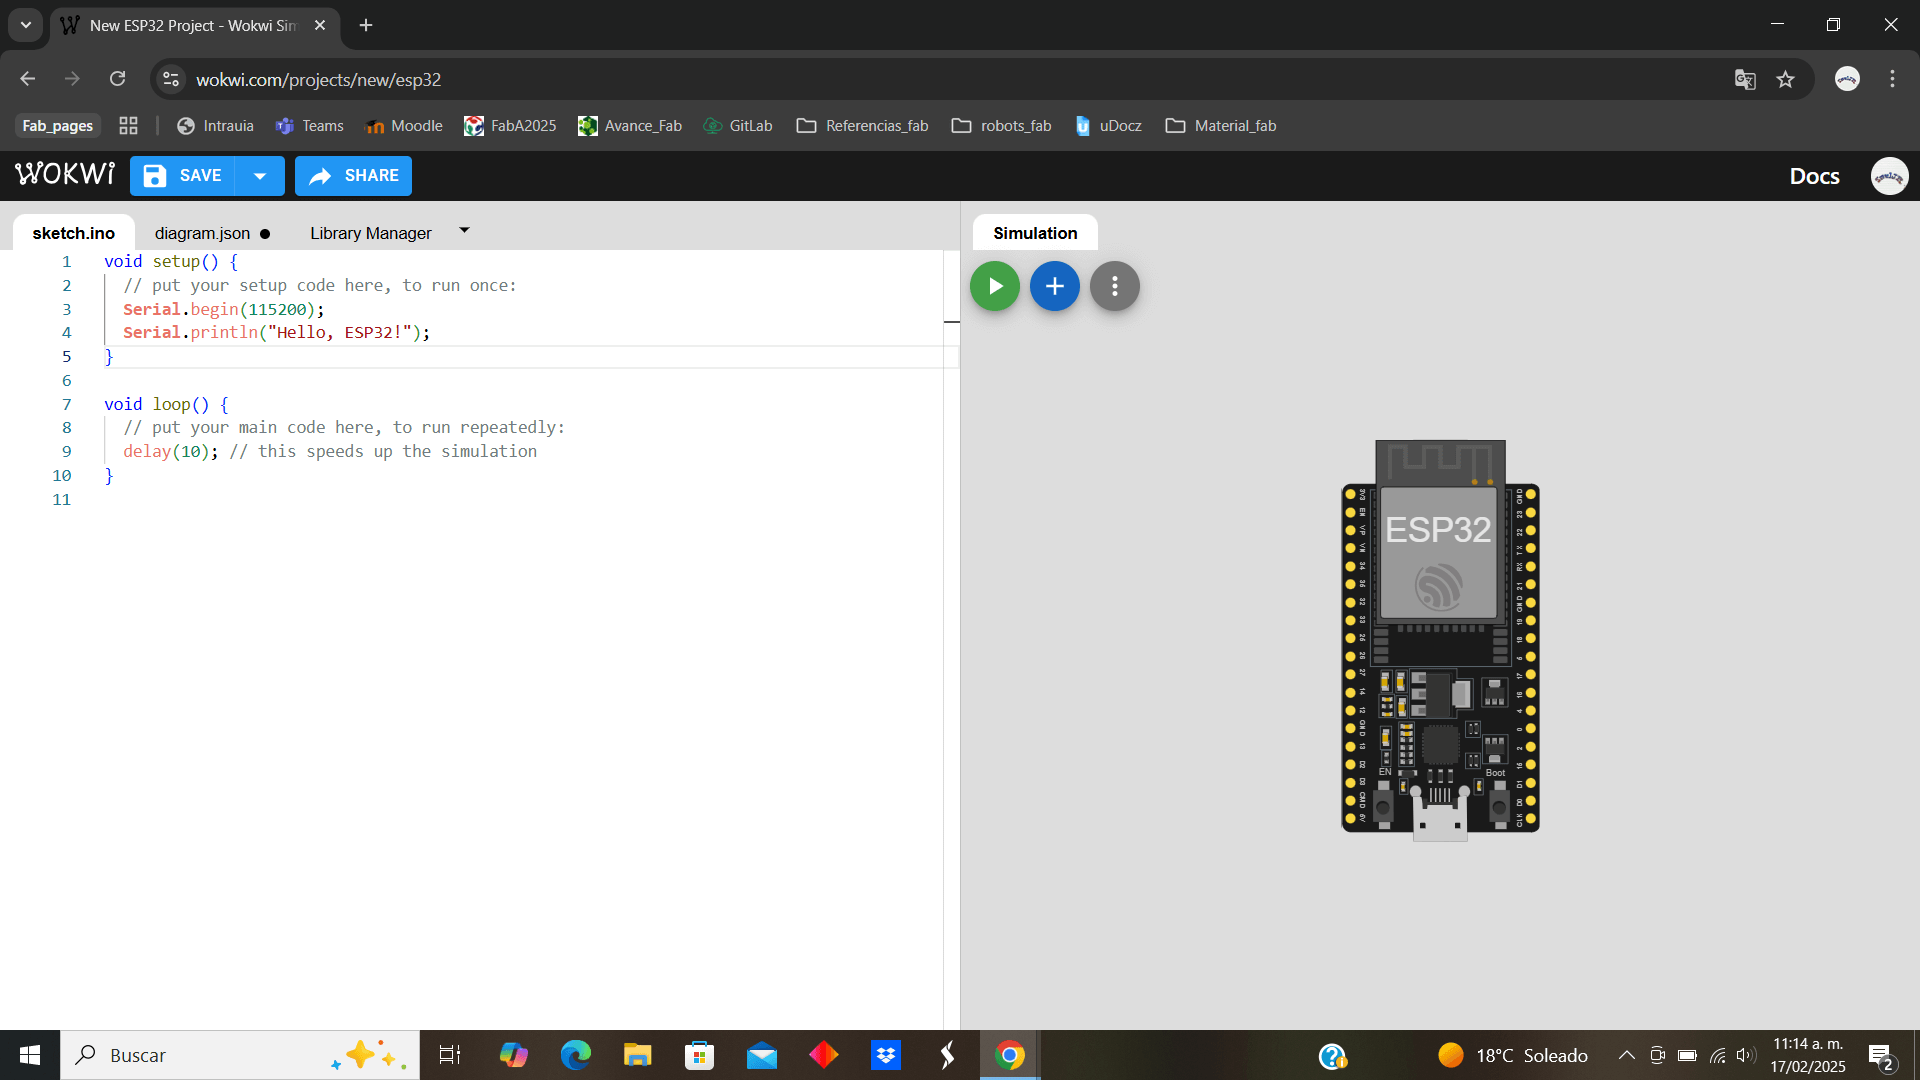
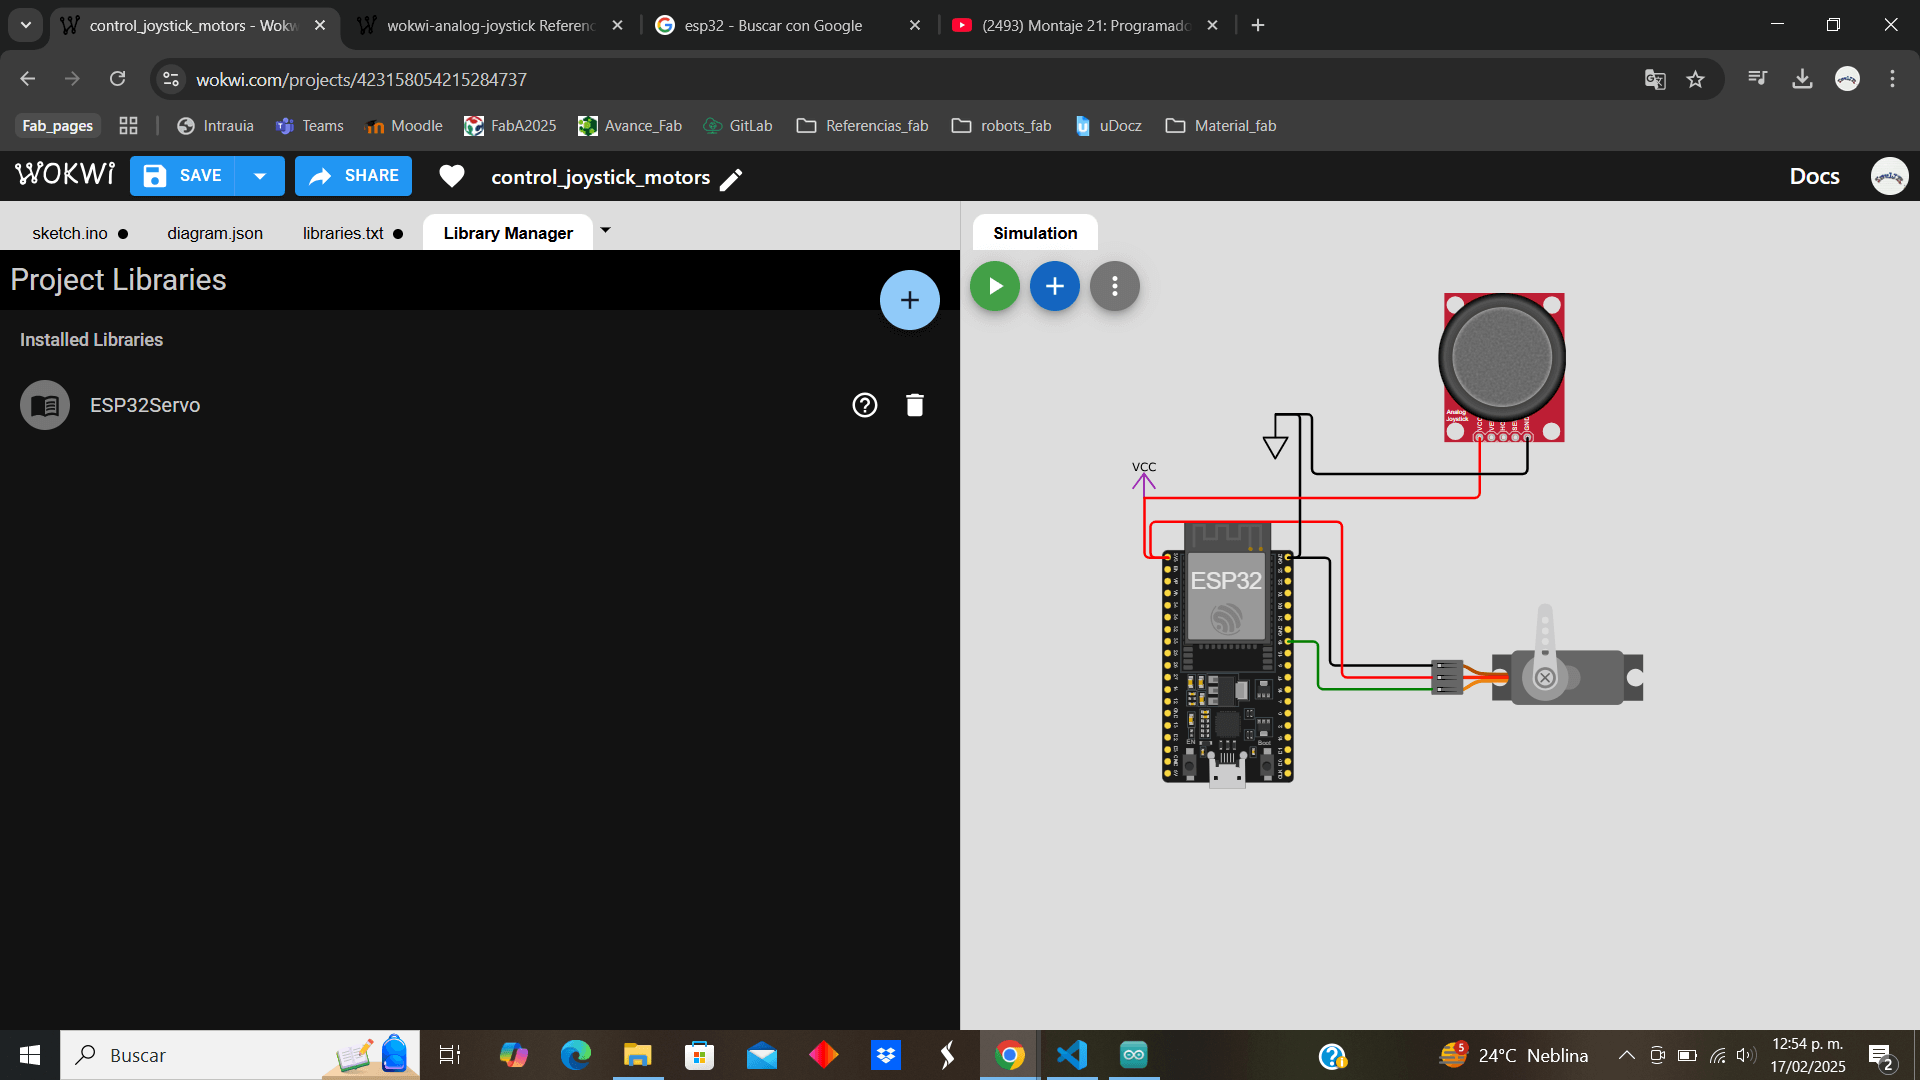
To simulate the program and in turn the connections of the esp32 and other components, I will be working on the wowki page that provides easy tools for the electronic section, in addition to using the c++ programming language adapted for Arduino that is compatible with the ESP32
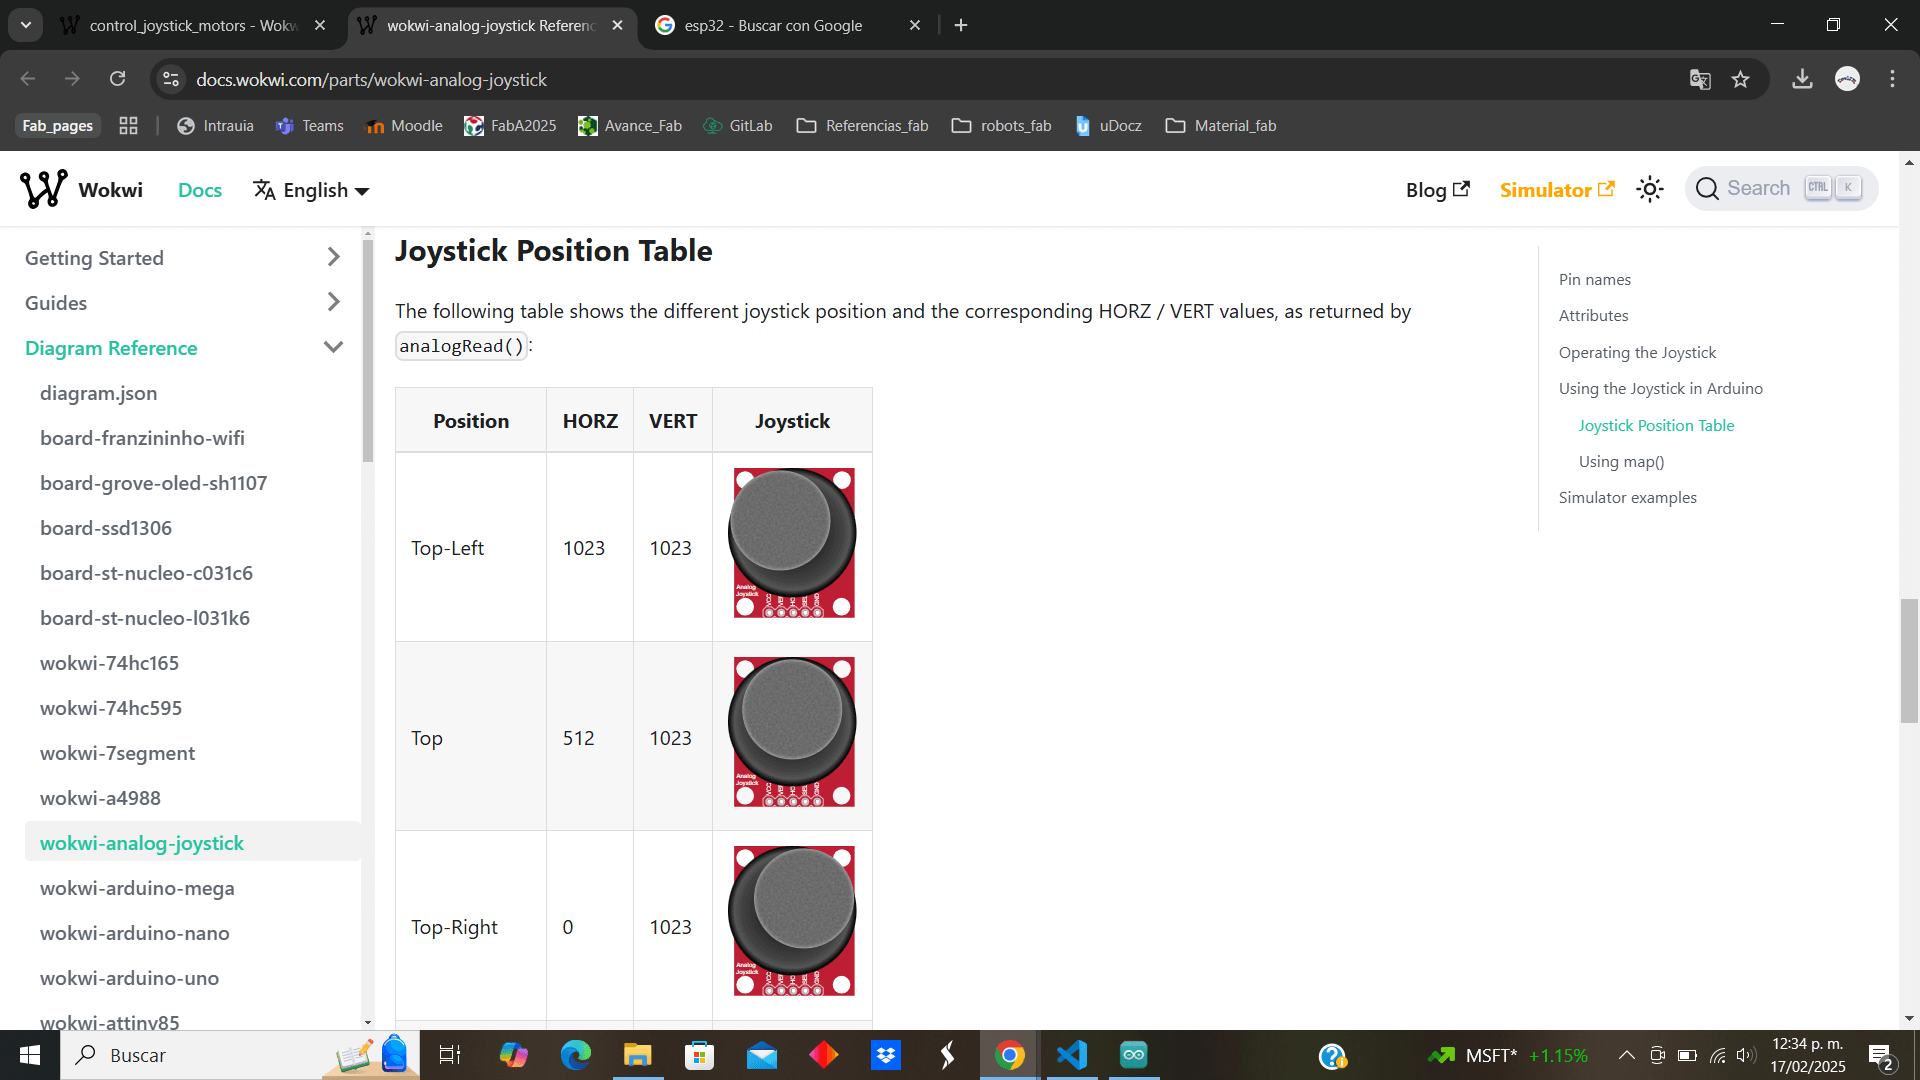
Another useful tool that "Wowki" offers us is information about the components that it provides us, providing information such as the connections of the component, its operation or even a certain programming base for it.
After making the connections of the components and making a test code, I get an error telling me that the library I use in the code does not exist.
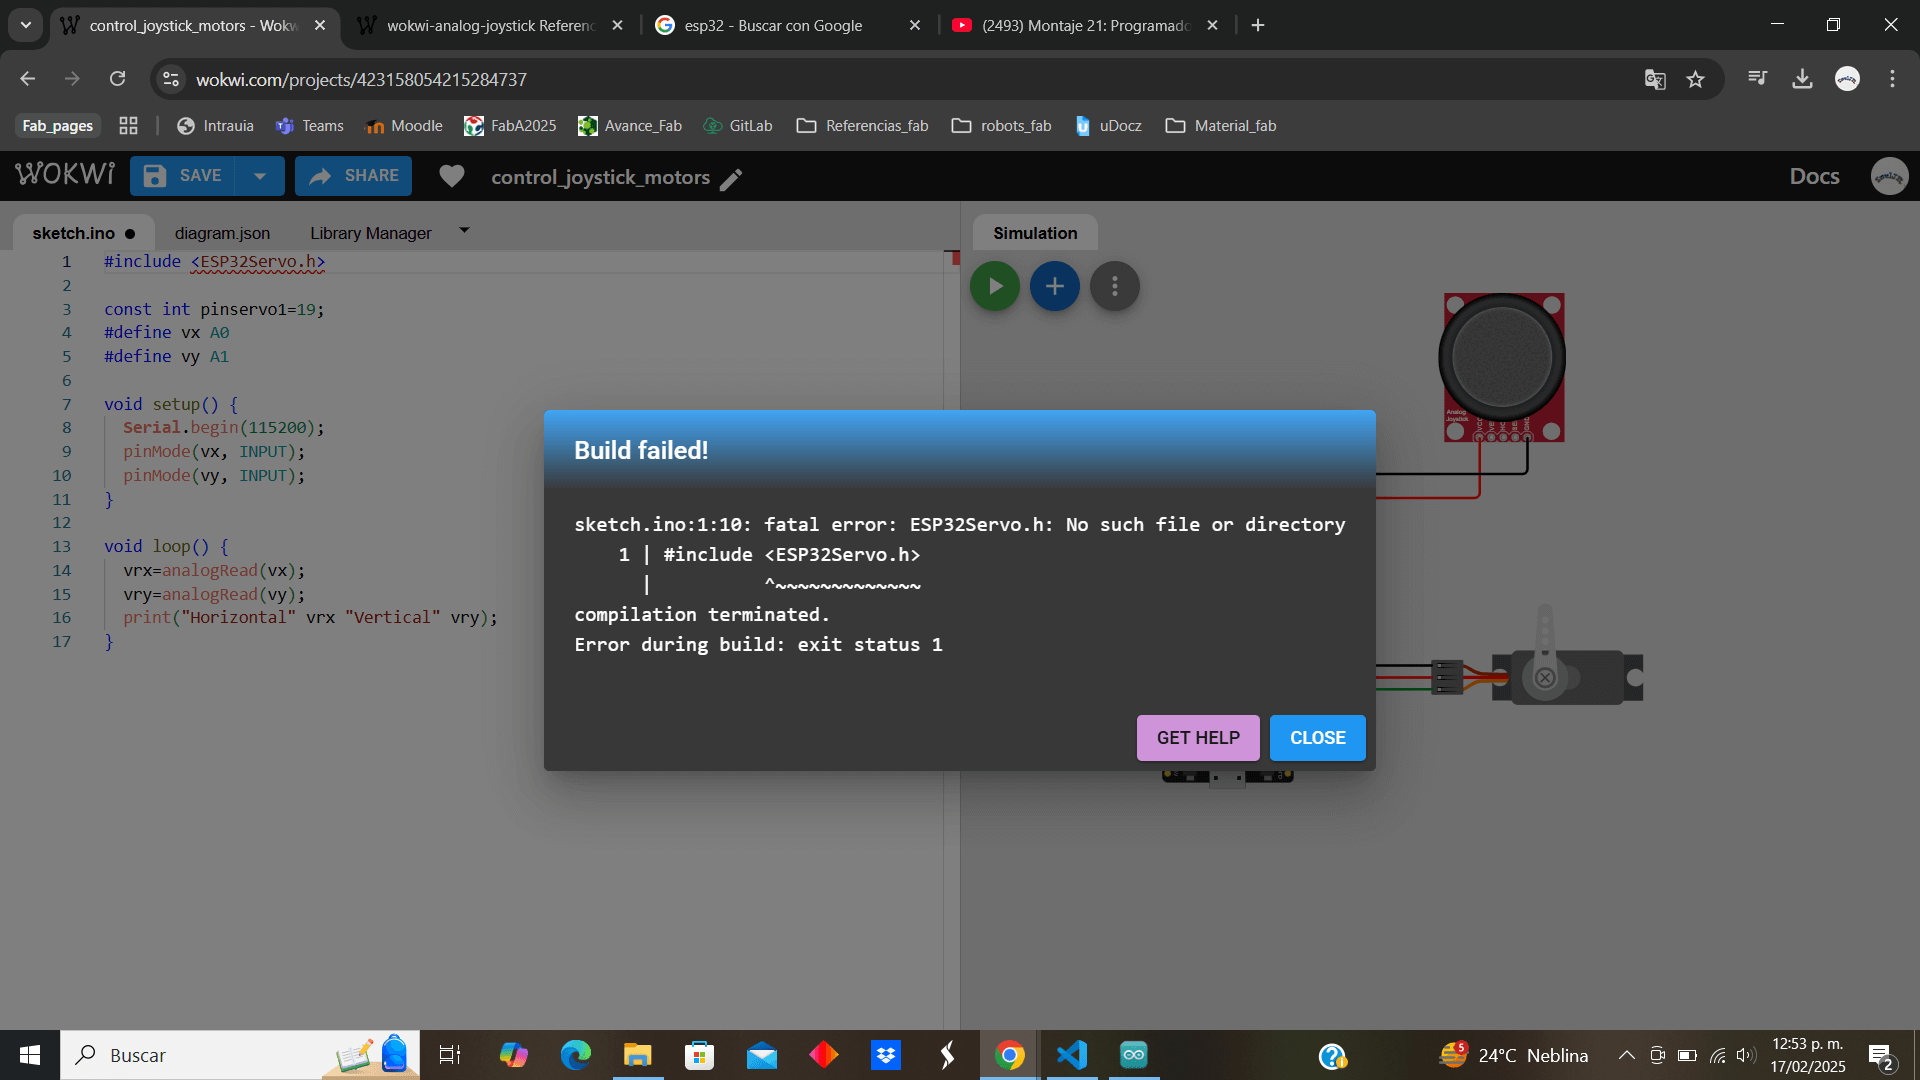
So, I go to the "Library Manager" section, look for the corresponding library (ESP32Servo) and add it
I return to the code, run the program and observe that I no longer get errors and that the console shows me the data that I request, and with this information I have an idea of the parameters with which I can delimit the actions of the joystick to activate the motor
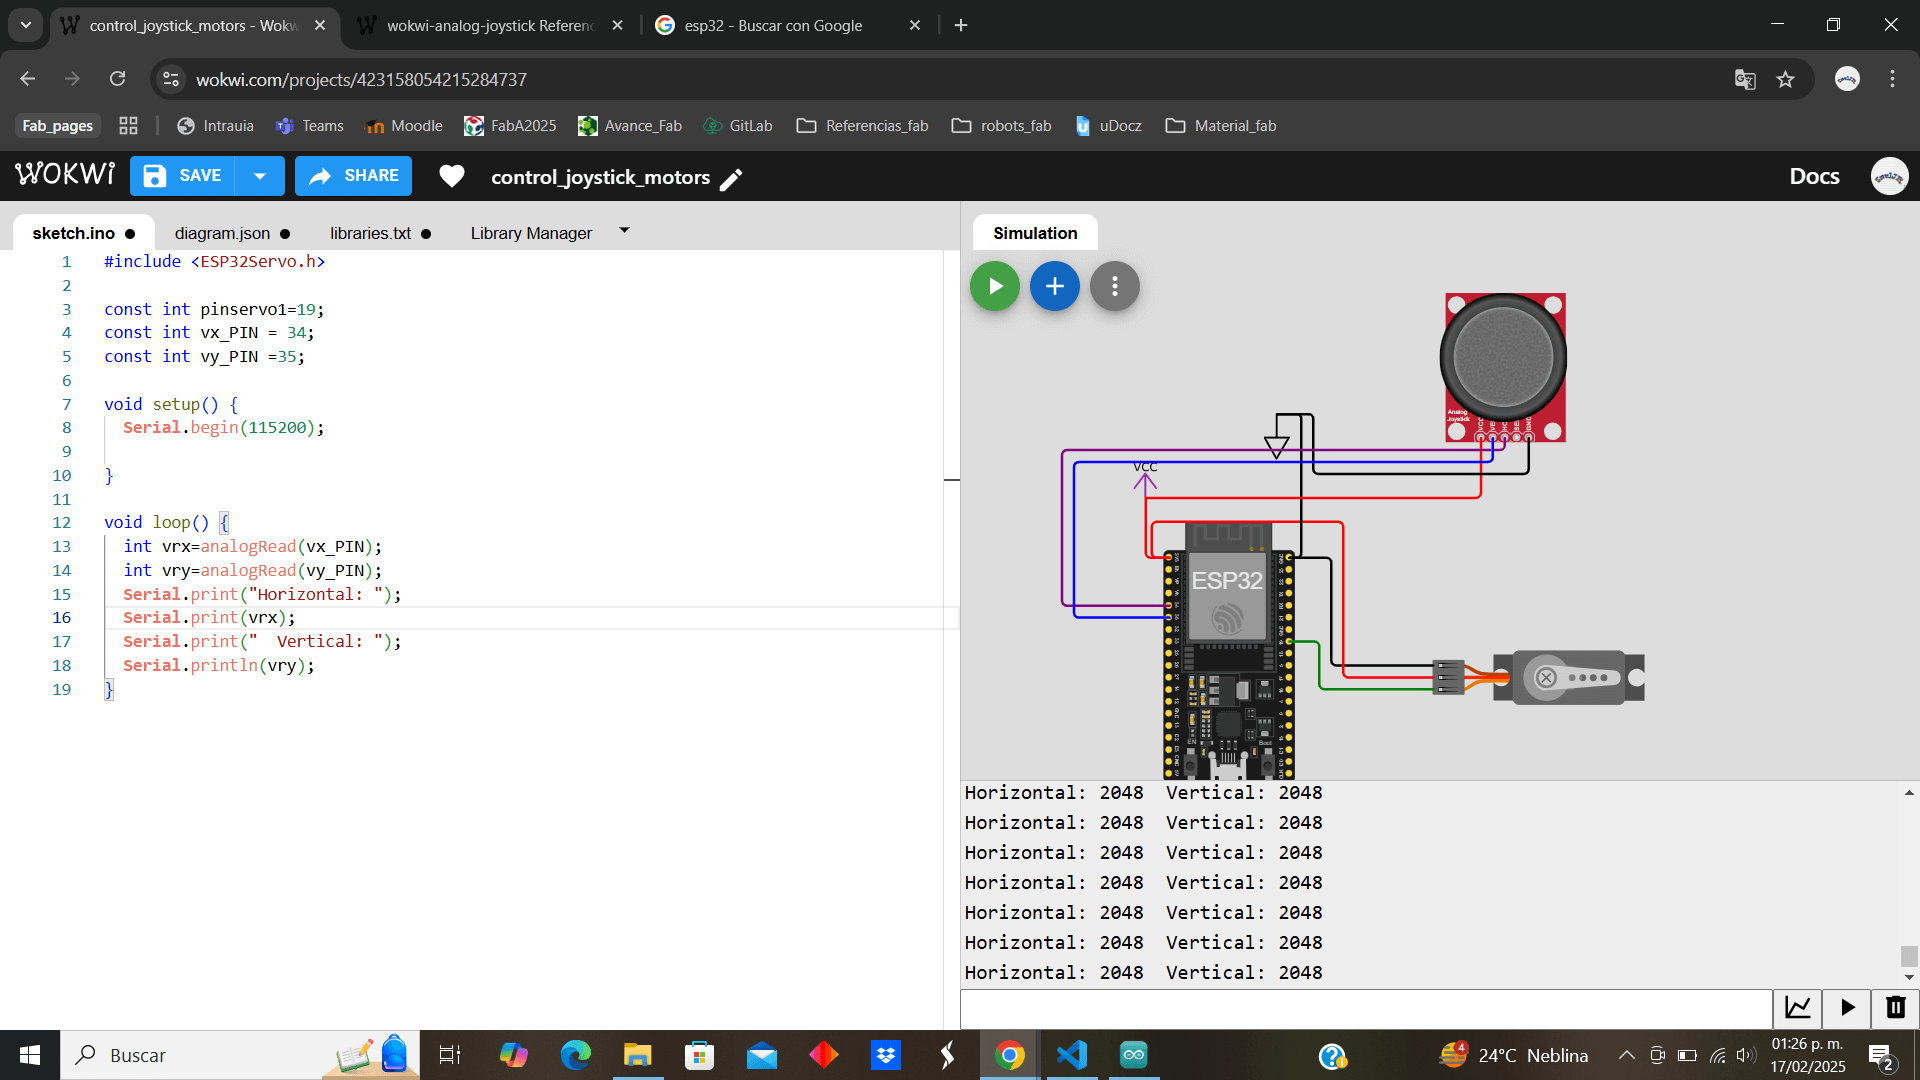
Once the data on the joystick inputs has been collected, I observe its maximum parameters, I add an "if" with the minimum that I want to exceed of those parameters, specifically the "vry" the upper part of the joystick and I add as an action that the position of the servomotor changes from 90 to 180 degrees when the joystick goes up and that it returns to its initial position when it is neutral
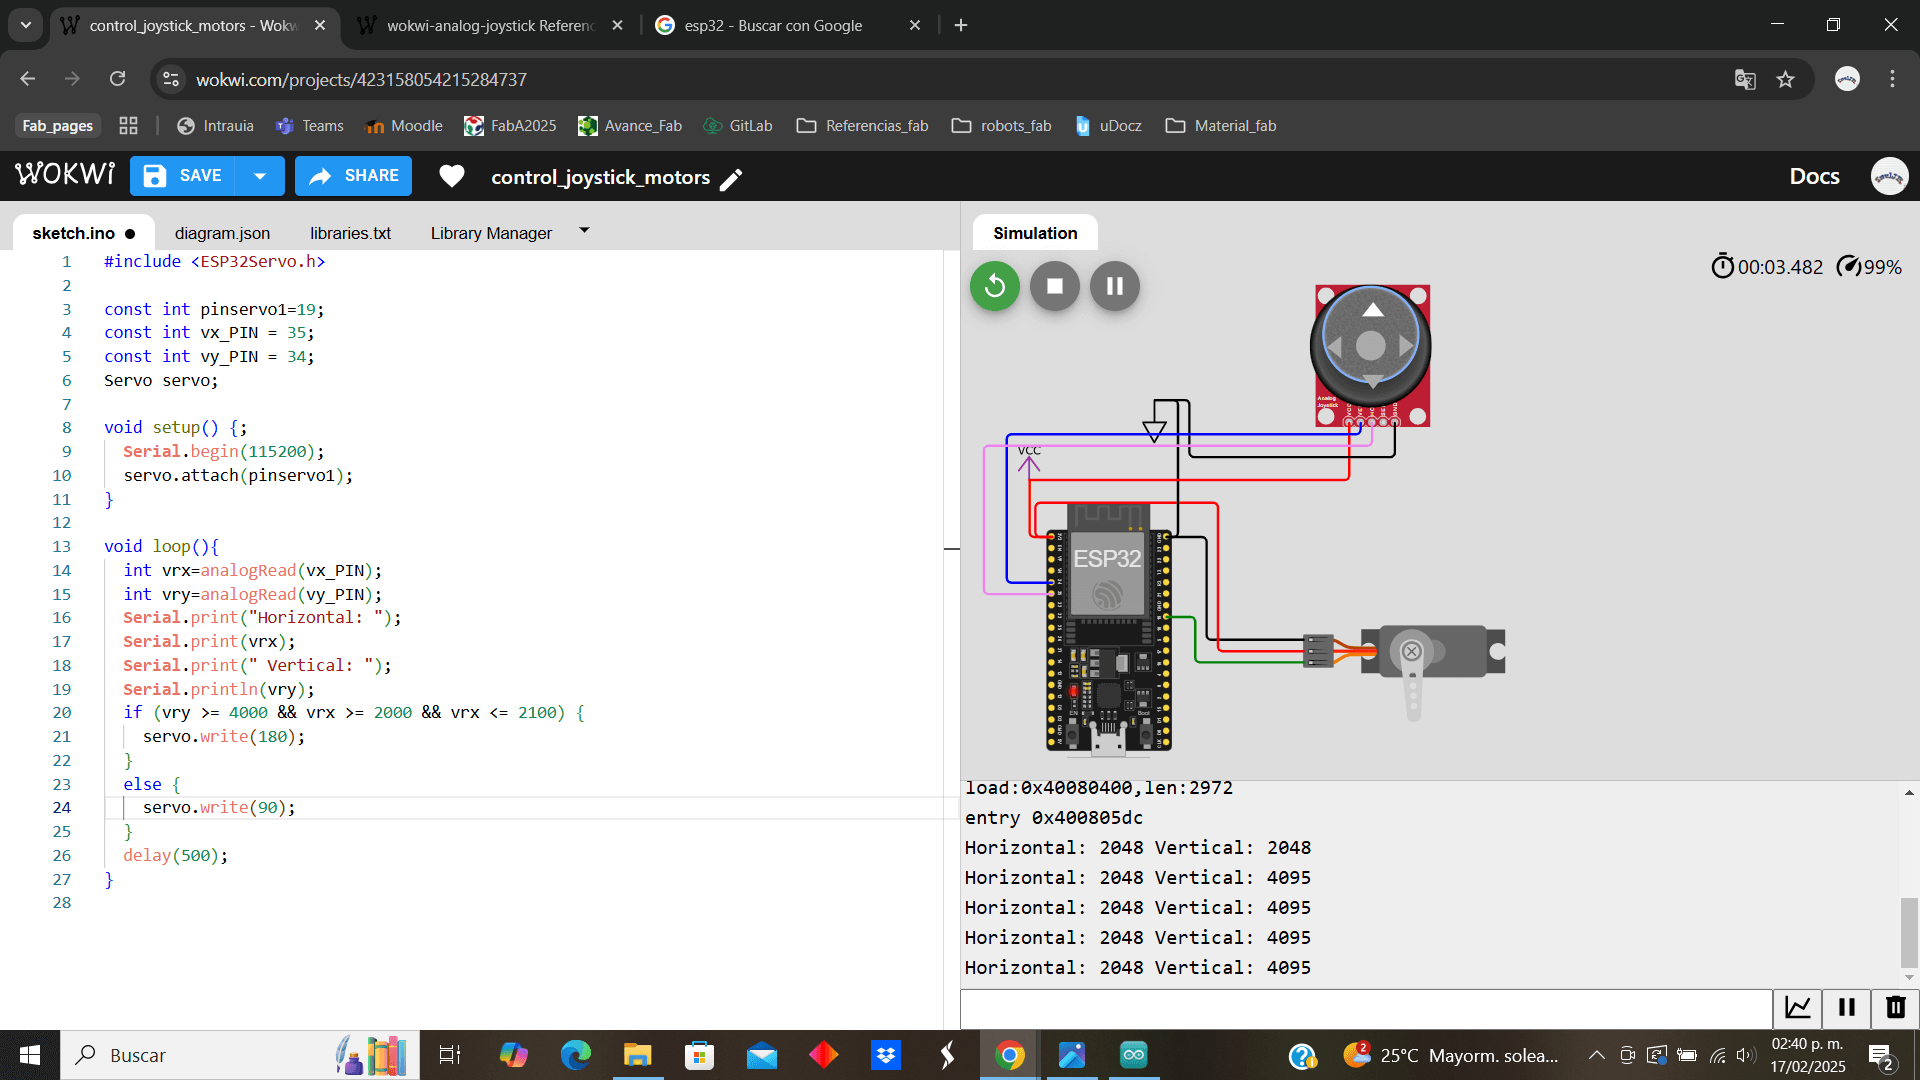

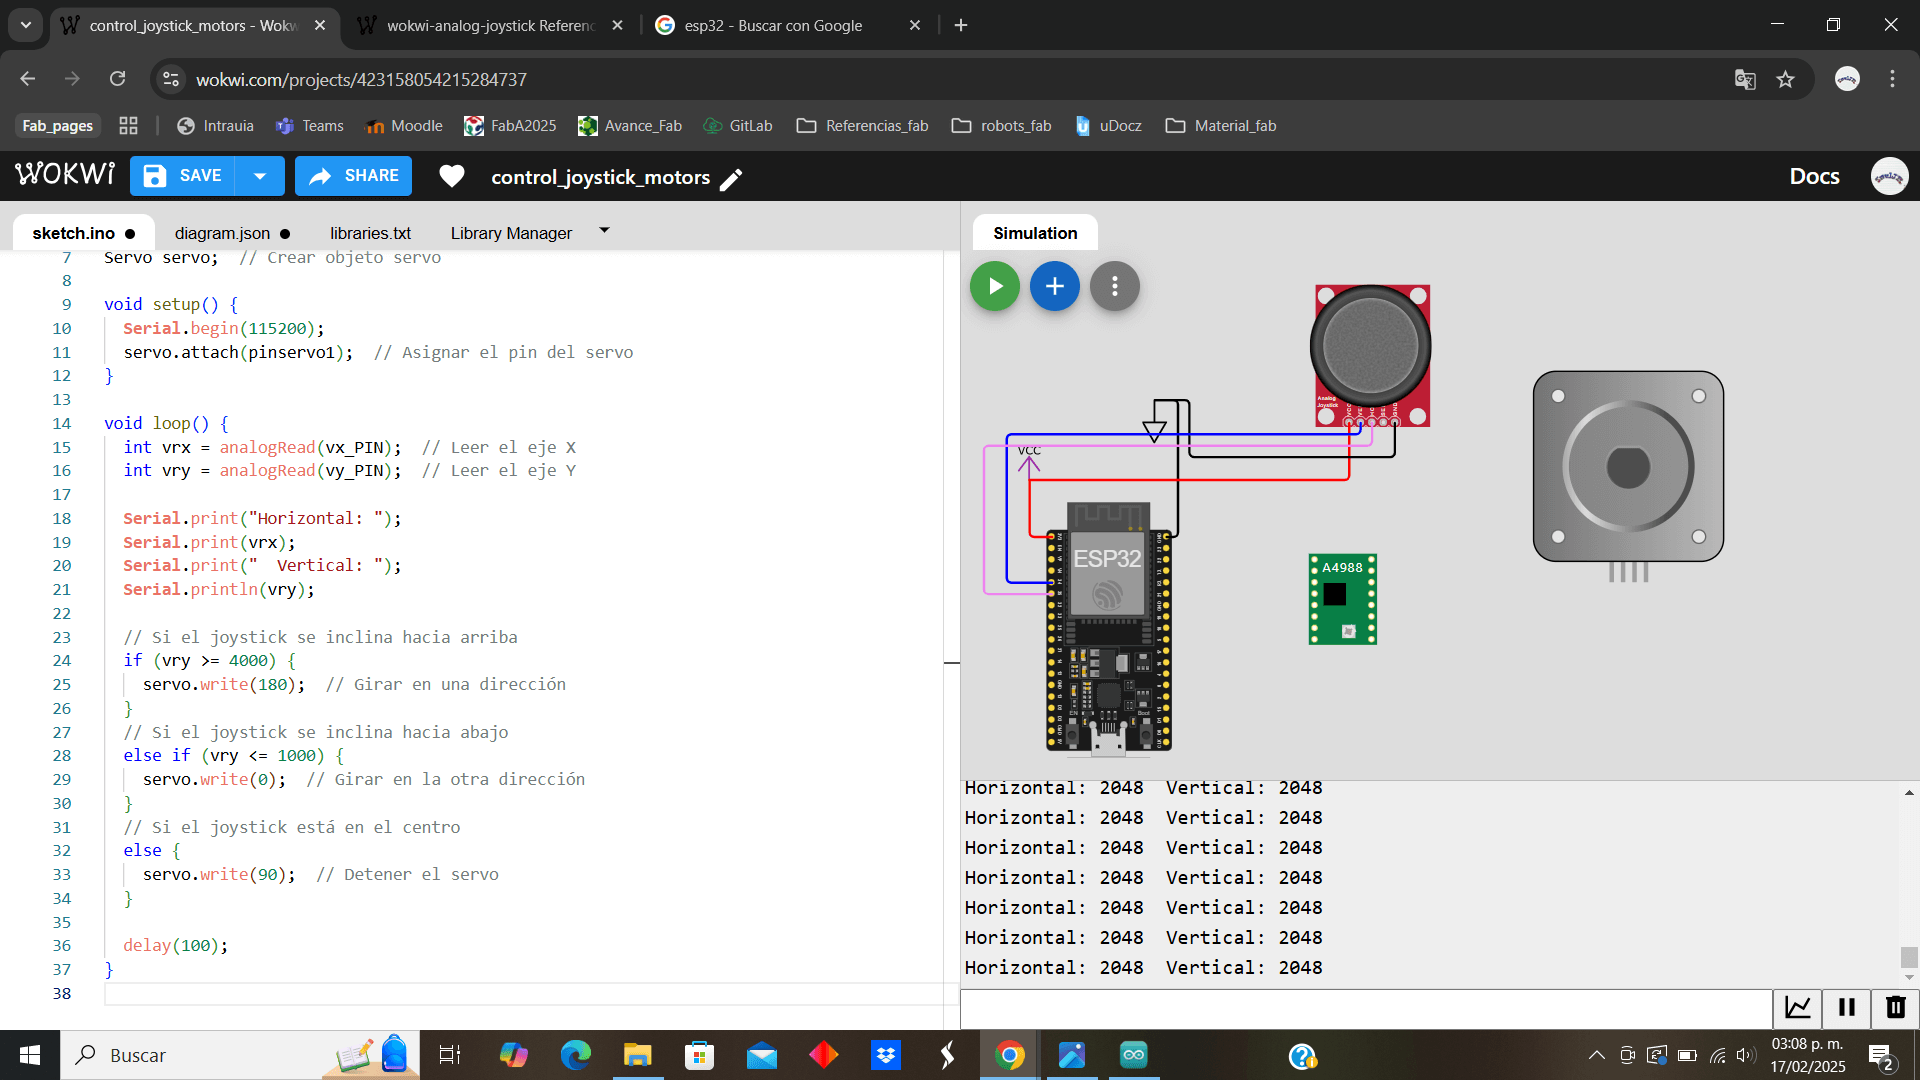
While programming my code, I realized that the servo motor might not be the best option to move my robot, since its rotation is limited, so I decided to use a stepper motor, but to control it I need a Driver for the connections with the motor, so I will use the A4988 component.
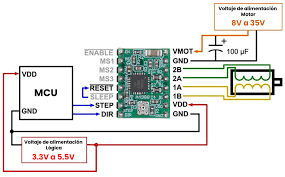
For the connections of the A4988 Driver I was guided by the following image, where I could see the connections for both the motor and to connect to the microcontroller and the power supply.
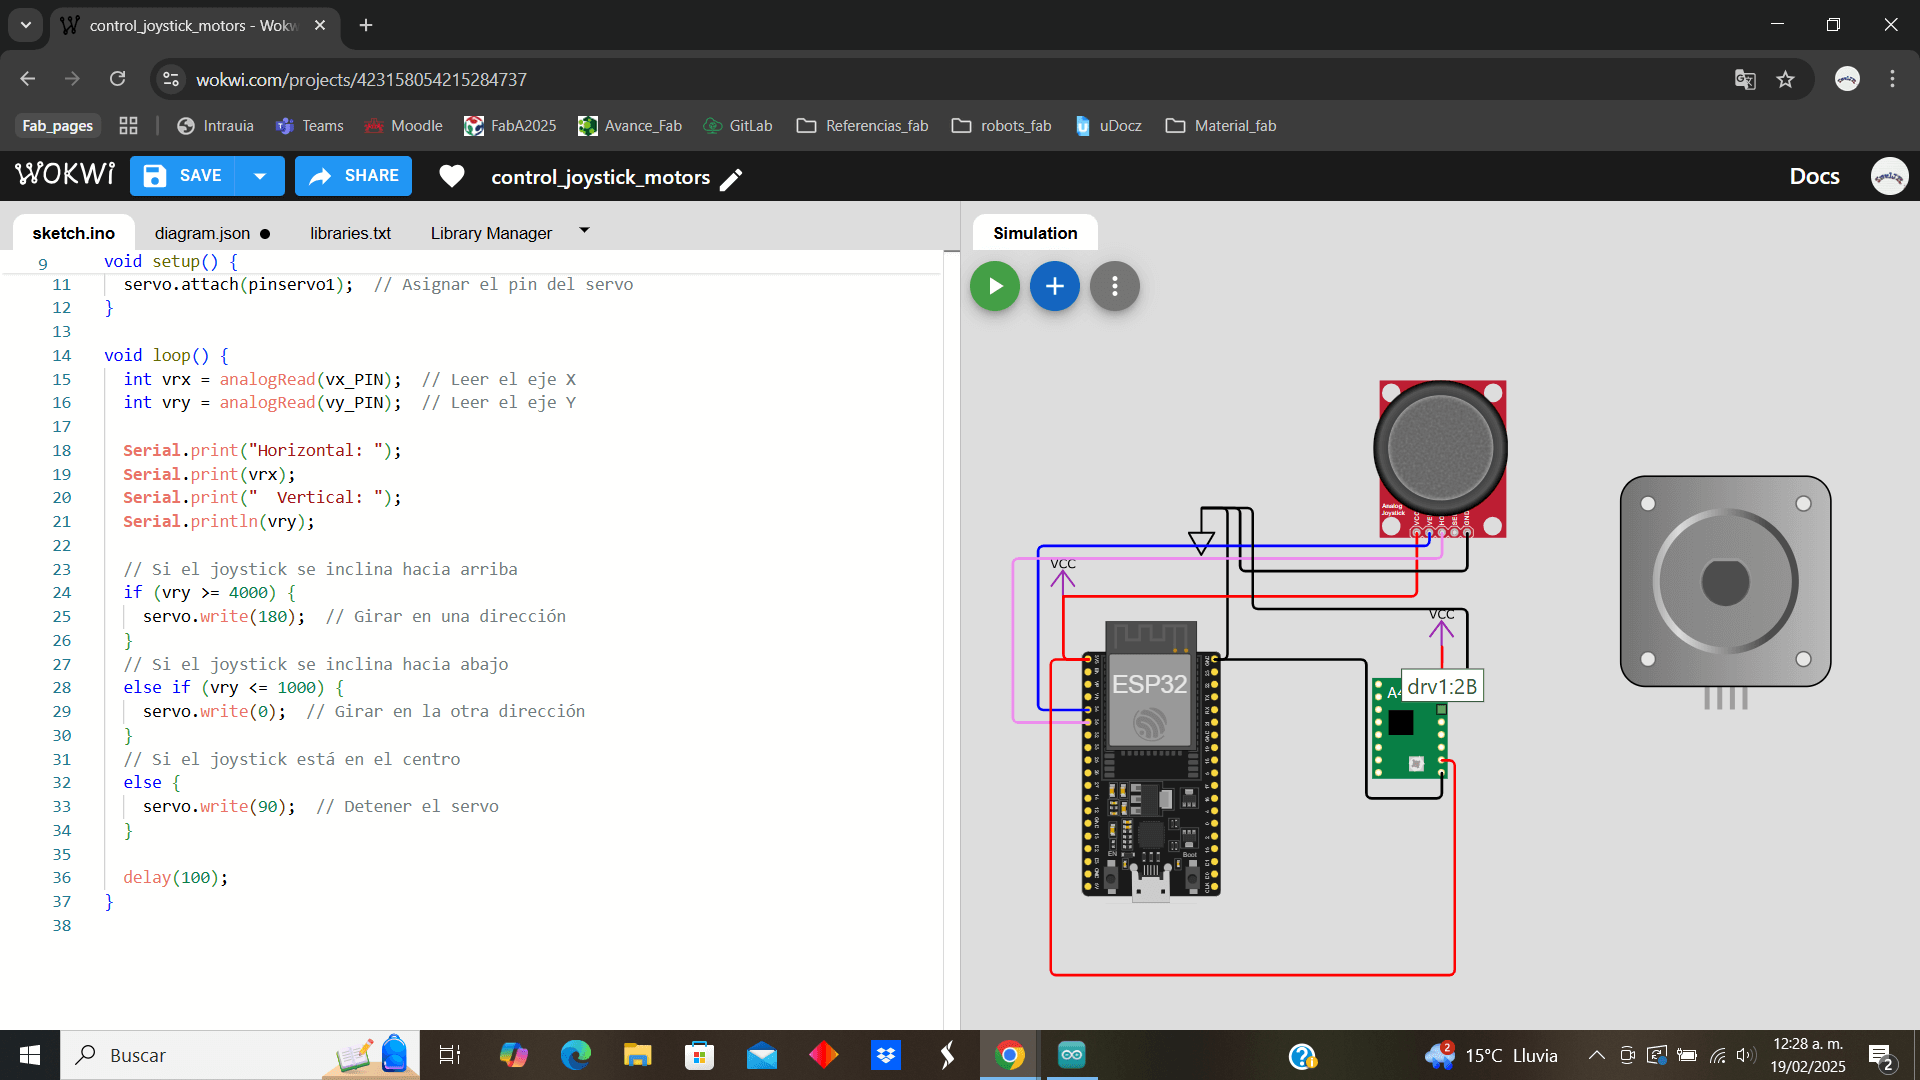
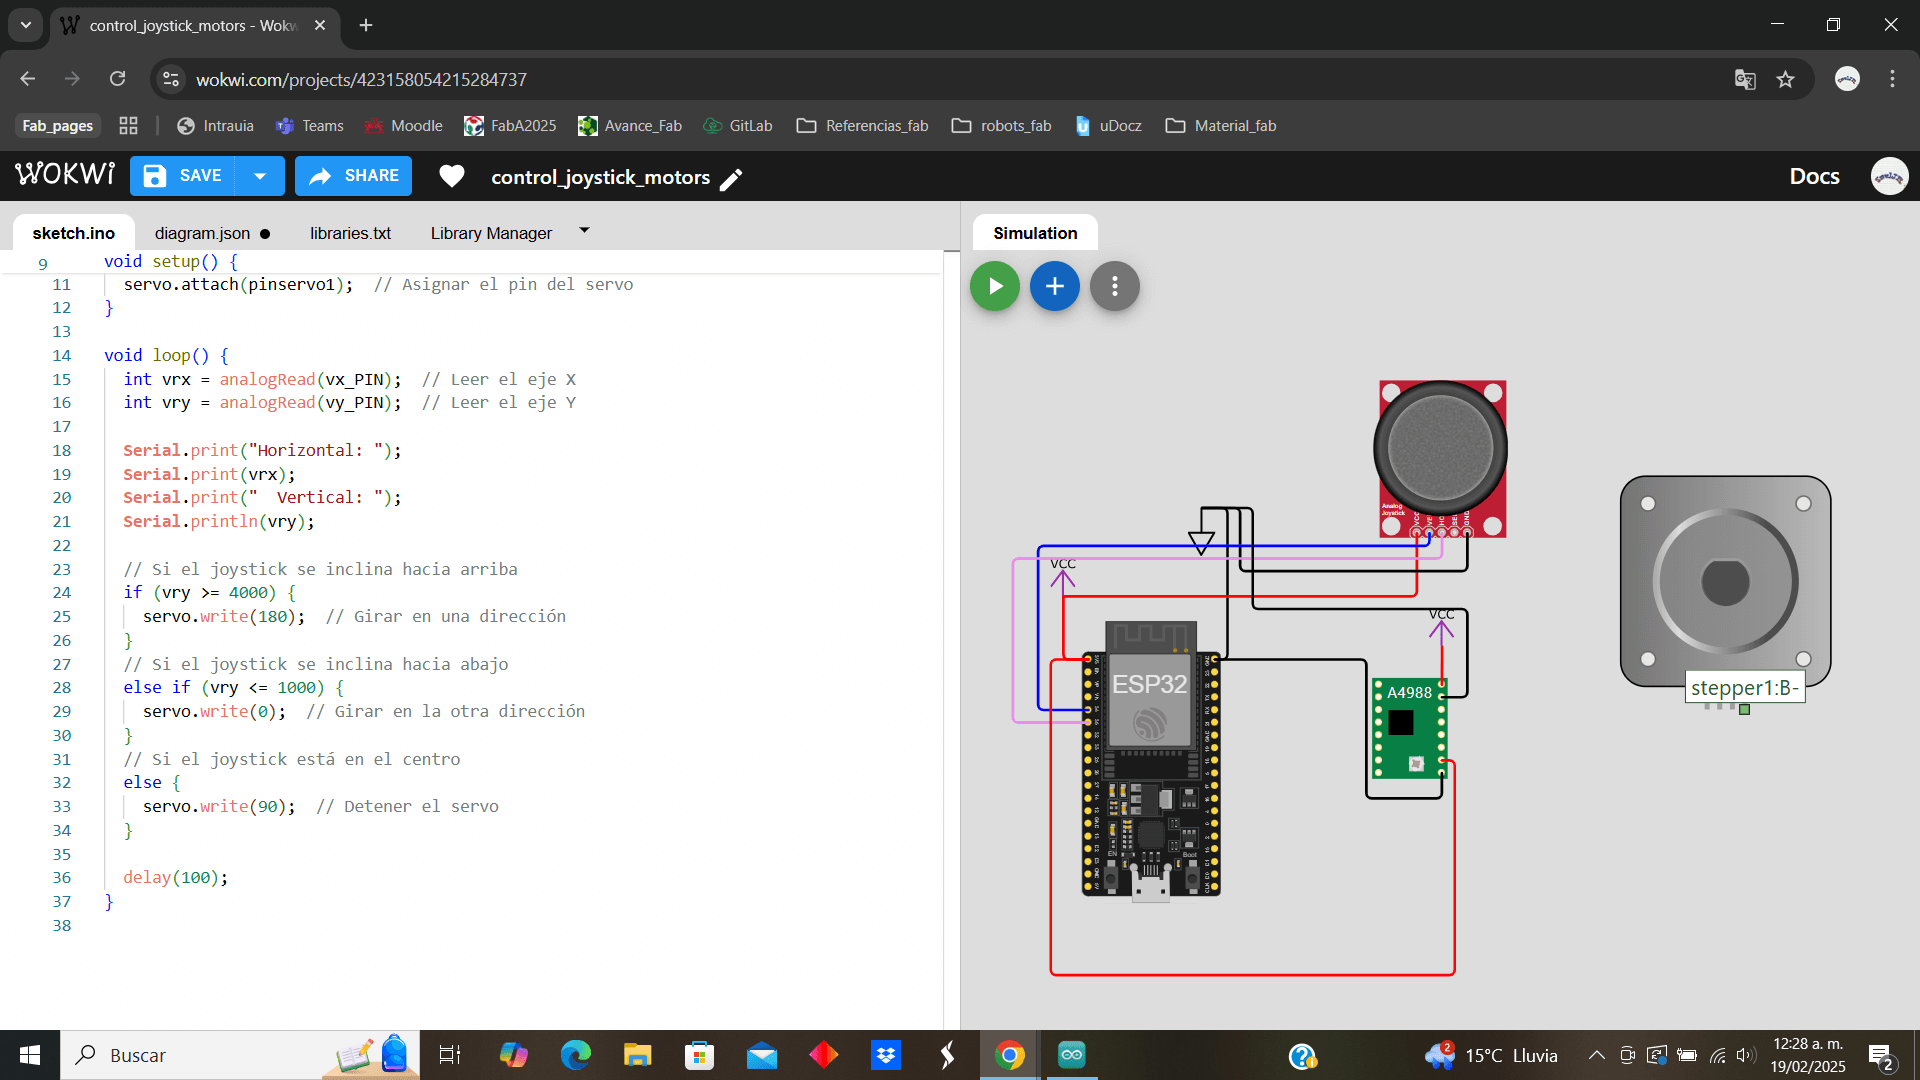
I started making the connections and looked at the pins I had to connect
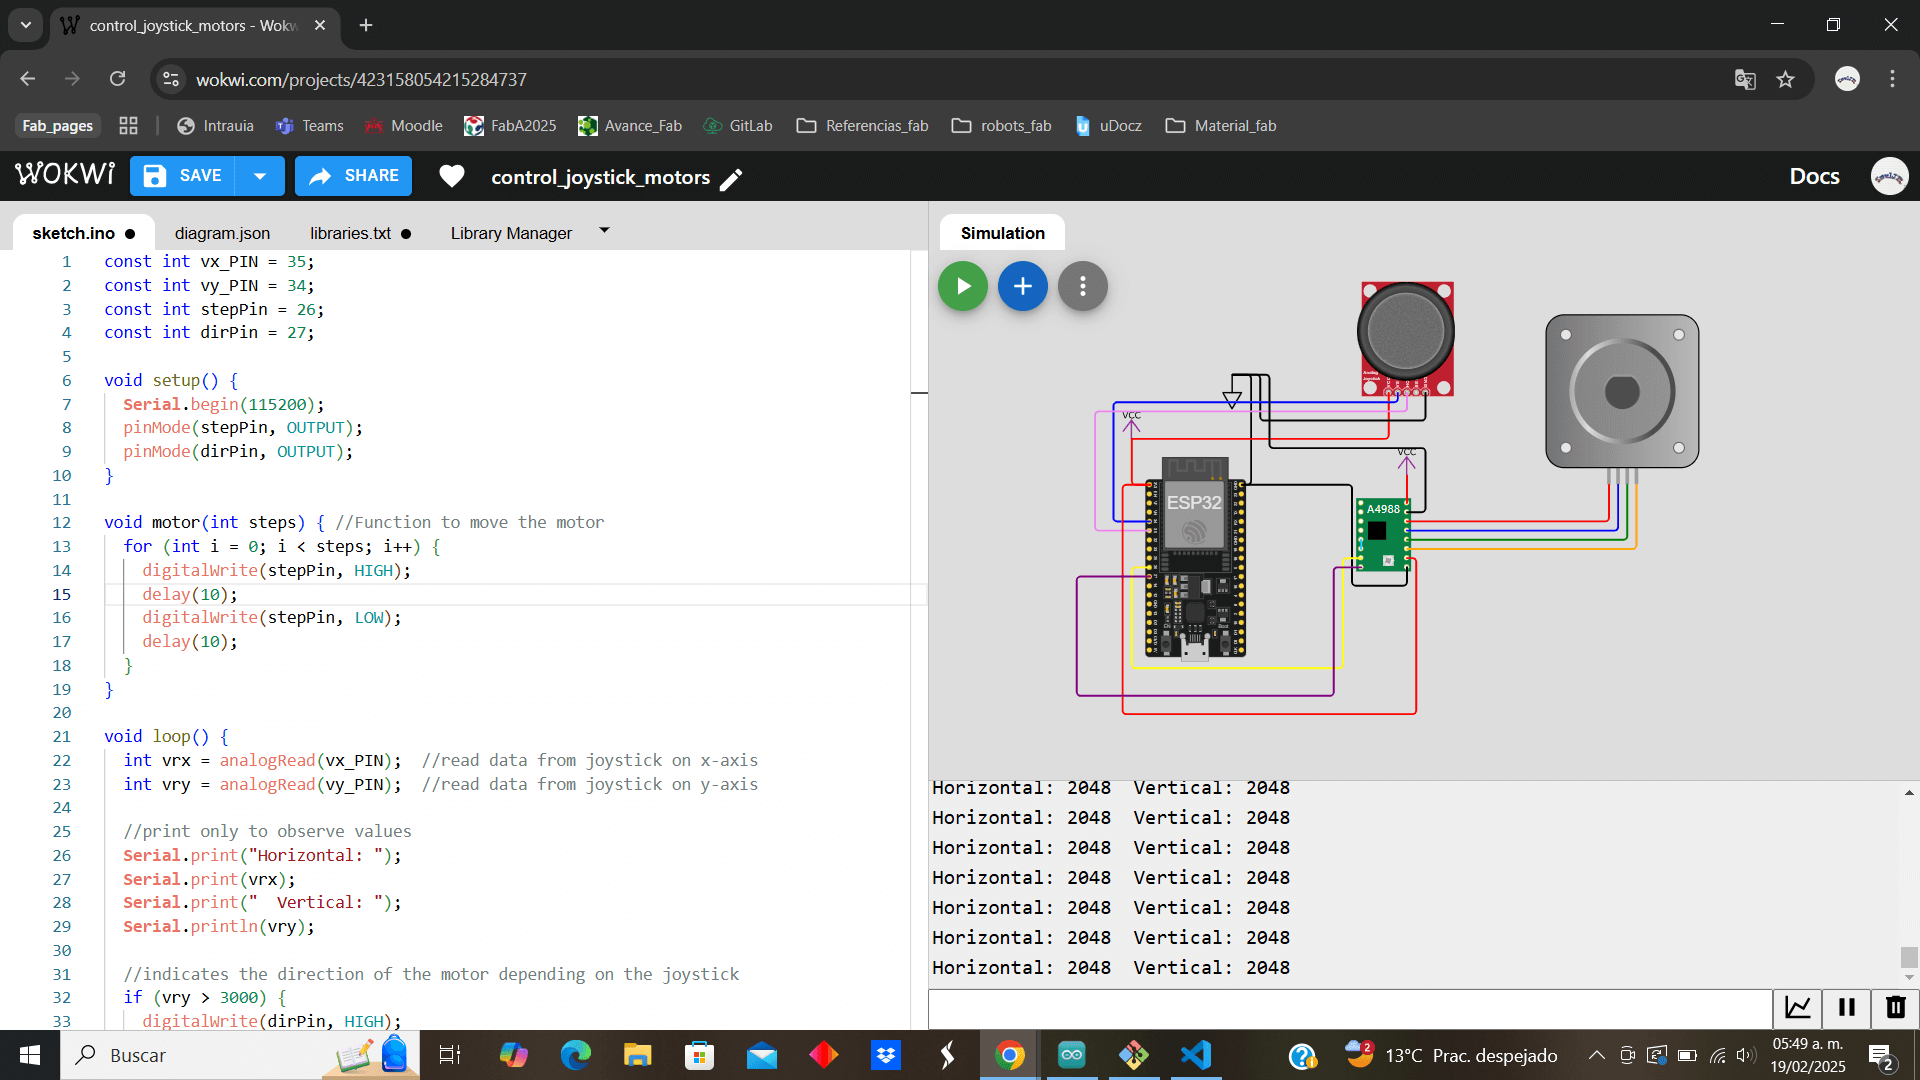
I finished connecting the components, and modified my code to adapt it to the requirements of the stepper motor, such as adding the STEP and DIR input pins, the "motor" function that indicates that the motor advances at a certain speed and of course, the conditions to indicate in which direction the motor should move
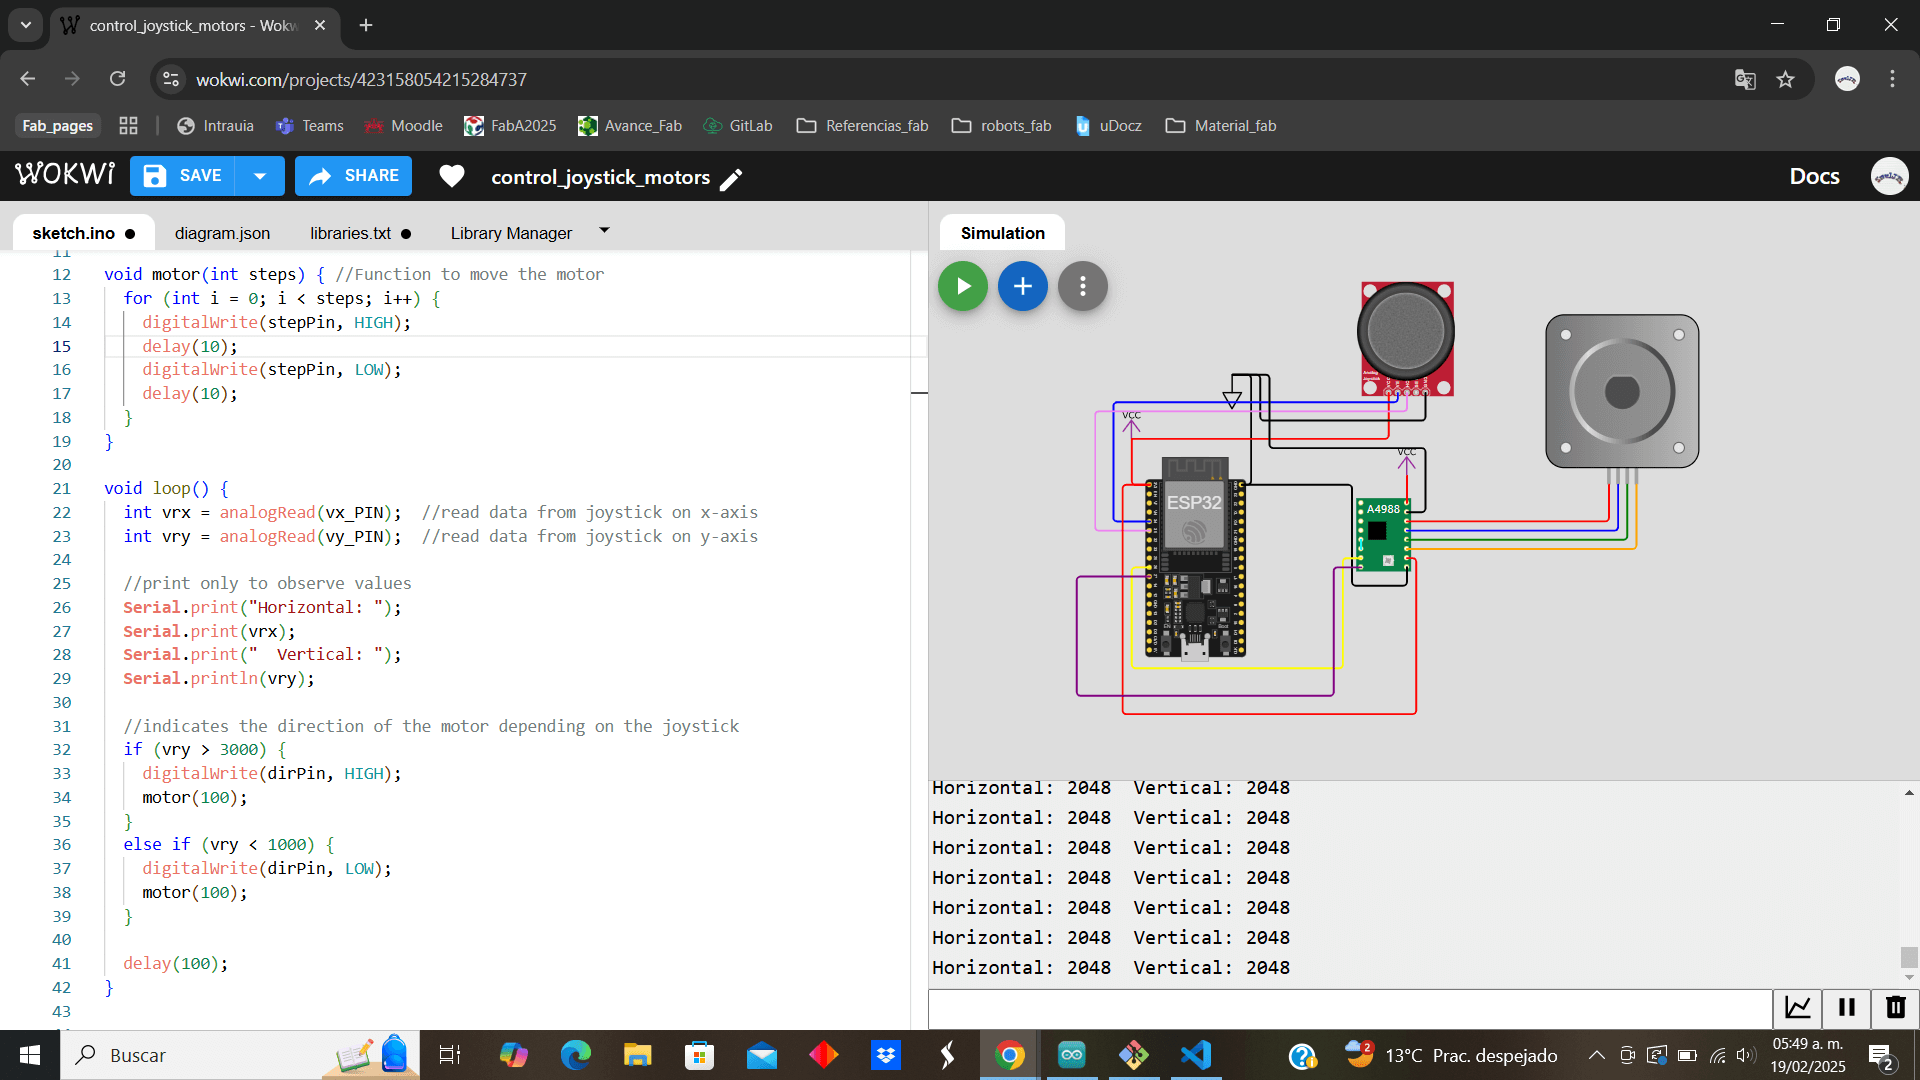
This is the final result of the programming practice that can be seen in the following video, you can see that when the joystick goes up, the stepper motor follows one direction, and when the joystick goes down, the motor direction reverses and turns in the opposite direction.
This week I reviewed programming, a branch I'd already practiced before, but it's always good to revisit previous knowledge. This week, I'd like to highlight the engine change I made based on the needs of my final project. I'd also like to mention that programming sometimes requires searching for libraries to make the code work. Finally, I'd like to highlight the Wowki website, which is quite useful for simulating and programming electronic systems, which makes it easier to run tests so that when the system is physical, there are fewer possible errors.