2. Computer Aided design
The main topic of the week was experimenting with 2D and 3D design software, along with tools such as rendering, object animation, video and image compression, etc.
Below I present my experience with some of these tools.
Inkscape
1. We open the Inkscape application with a new blank file

2. We start drawing, in this case I will use a rectangle since that will be the basis of my final project design, I will draw an improved sketch of my idea

3. Continue drawing my sketch, using tools like overlay or underlay drawings as seen below


4. I use the drawing tools to "clean up" areas so that my drawing remains white where I wa

5. I create a new layer to differentiate my base drawing and the robot "circuit" drawing.

6. I continue drawing my circuit idea using tools such as the pencil, the bucket or the predetermined figures


7. This would be the final result of my final project sketch

8. Finally I trim the sheet space so as not to have any excess space and save the file (it is at the end of the page)

Solidworks
1. We open solidworks in the section to design a piece, and we begin to make the sketch on a plane
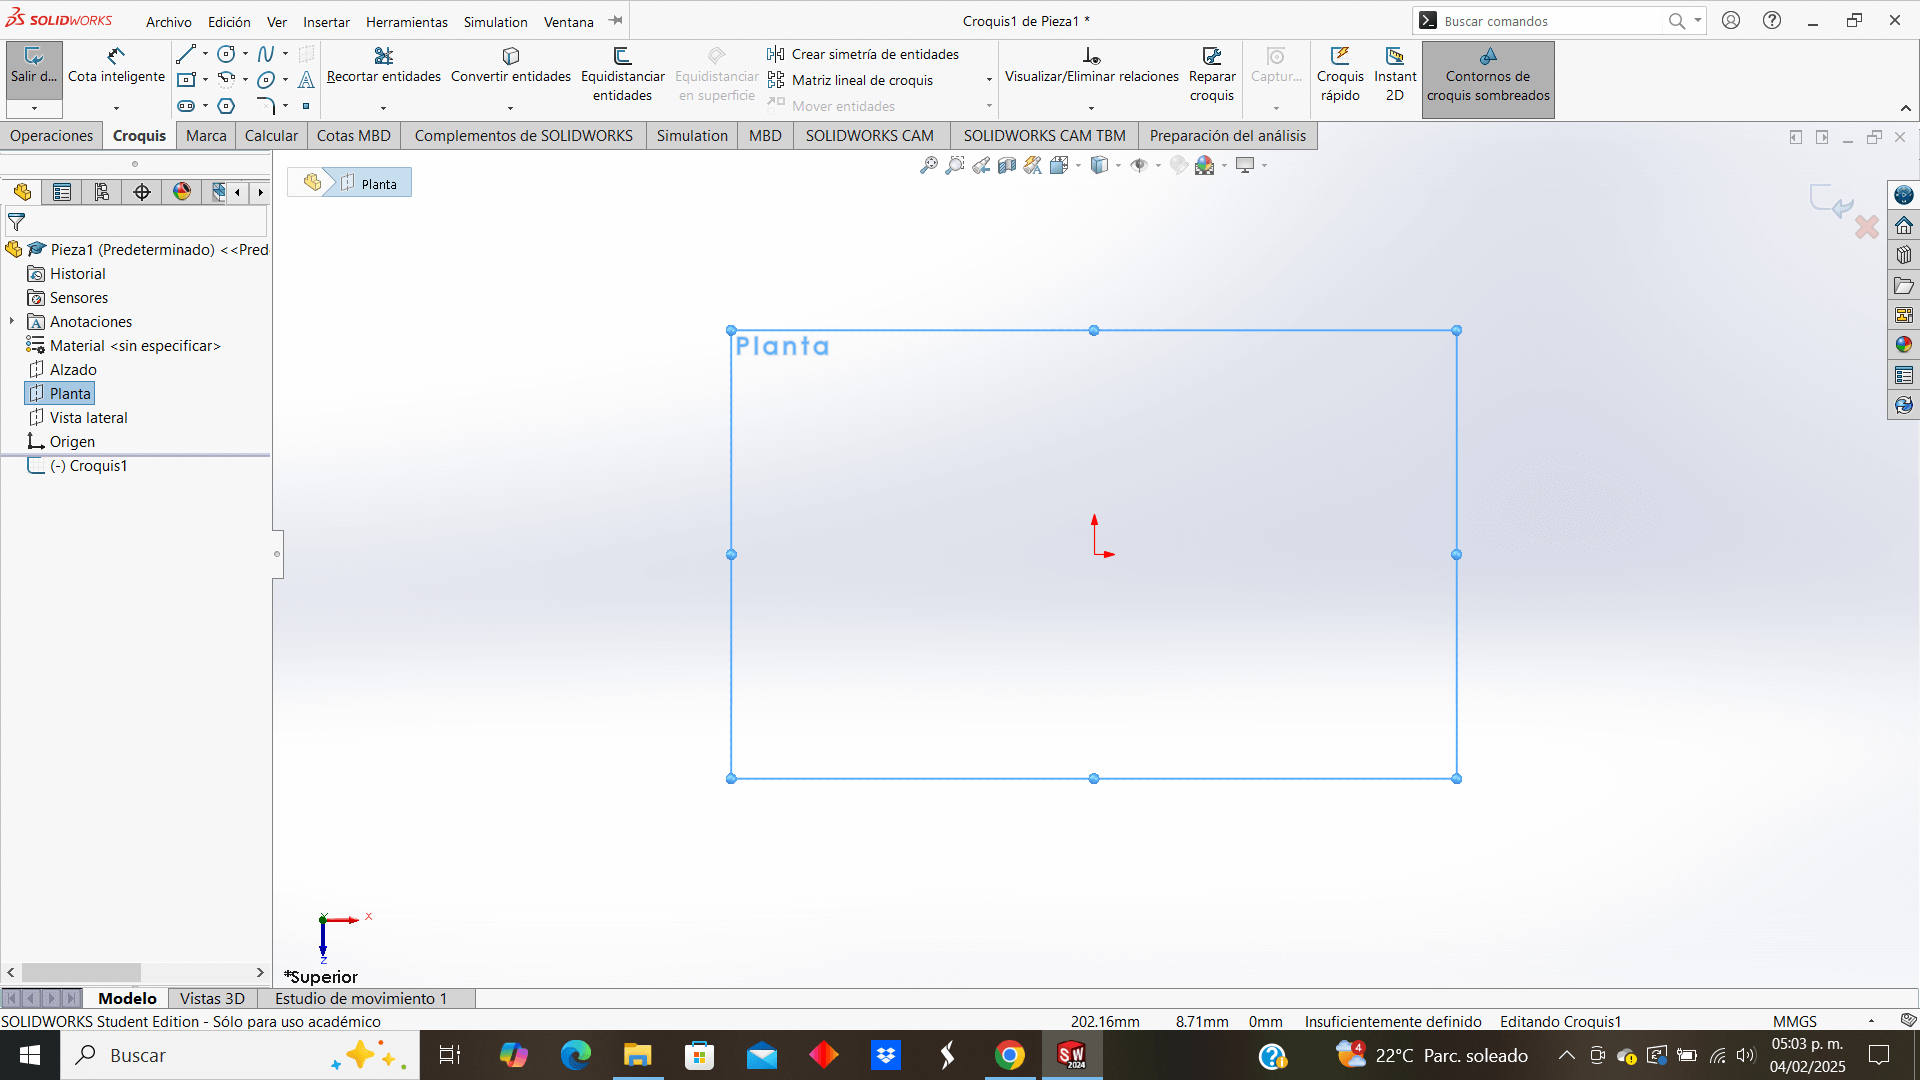
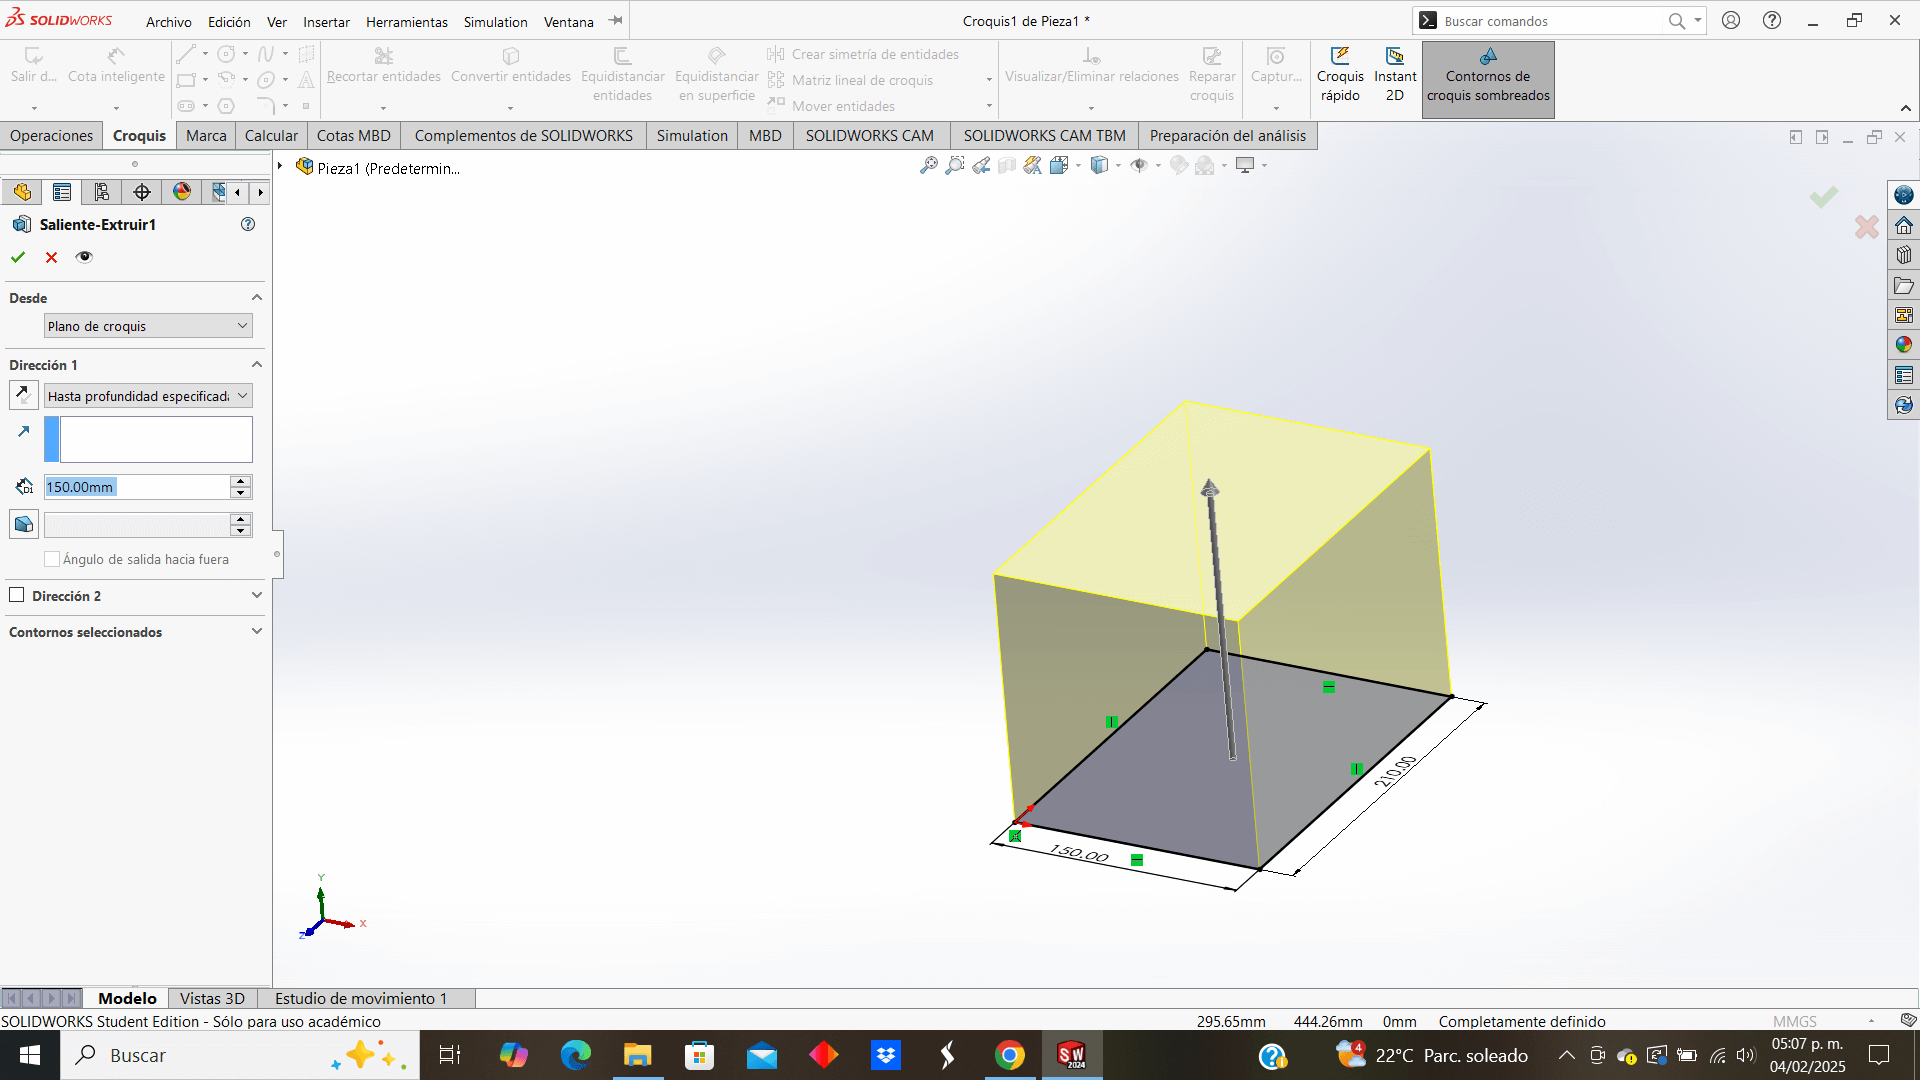
2. I draw a rectangle and extrude it, this will be my base to start designing the body of my robot, because this would be too big to print in full, I decided to divide the design into several parts, so the design of all the pieces will be oriented towards being divided but made to join together, assembling them at the end
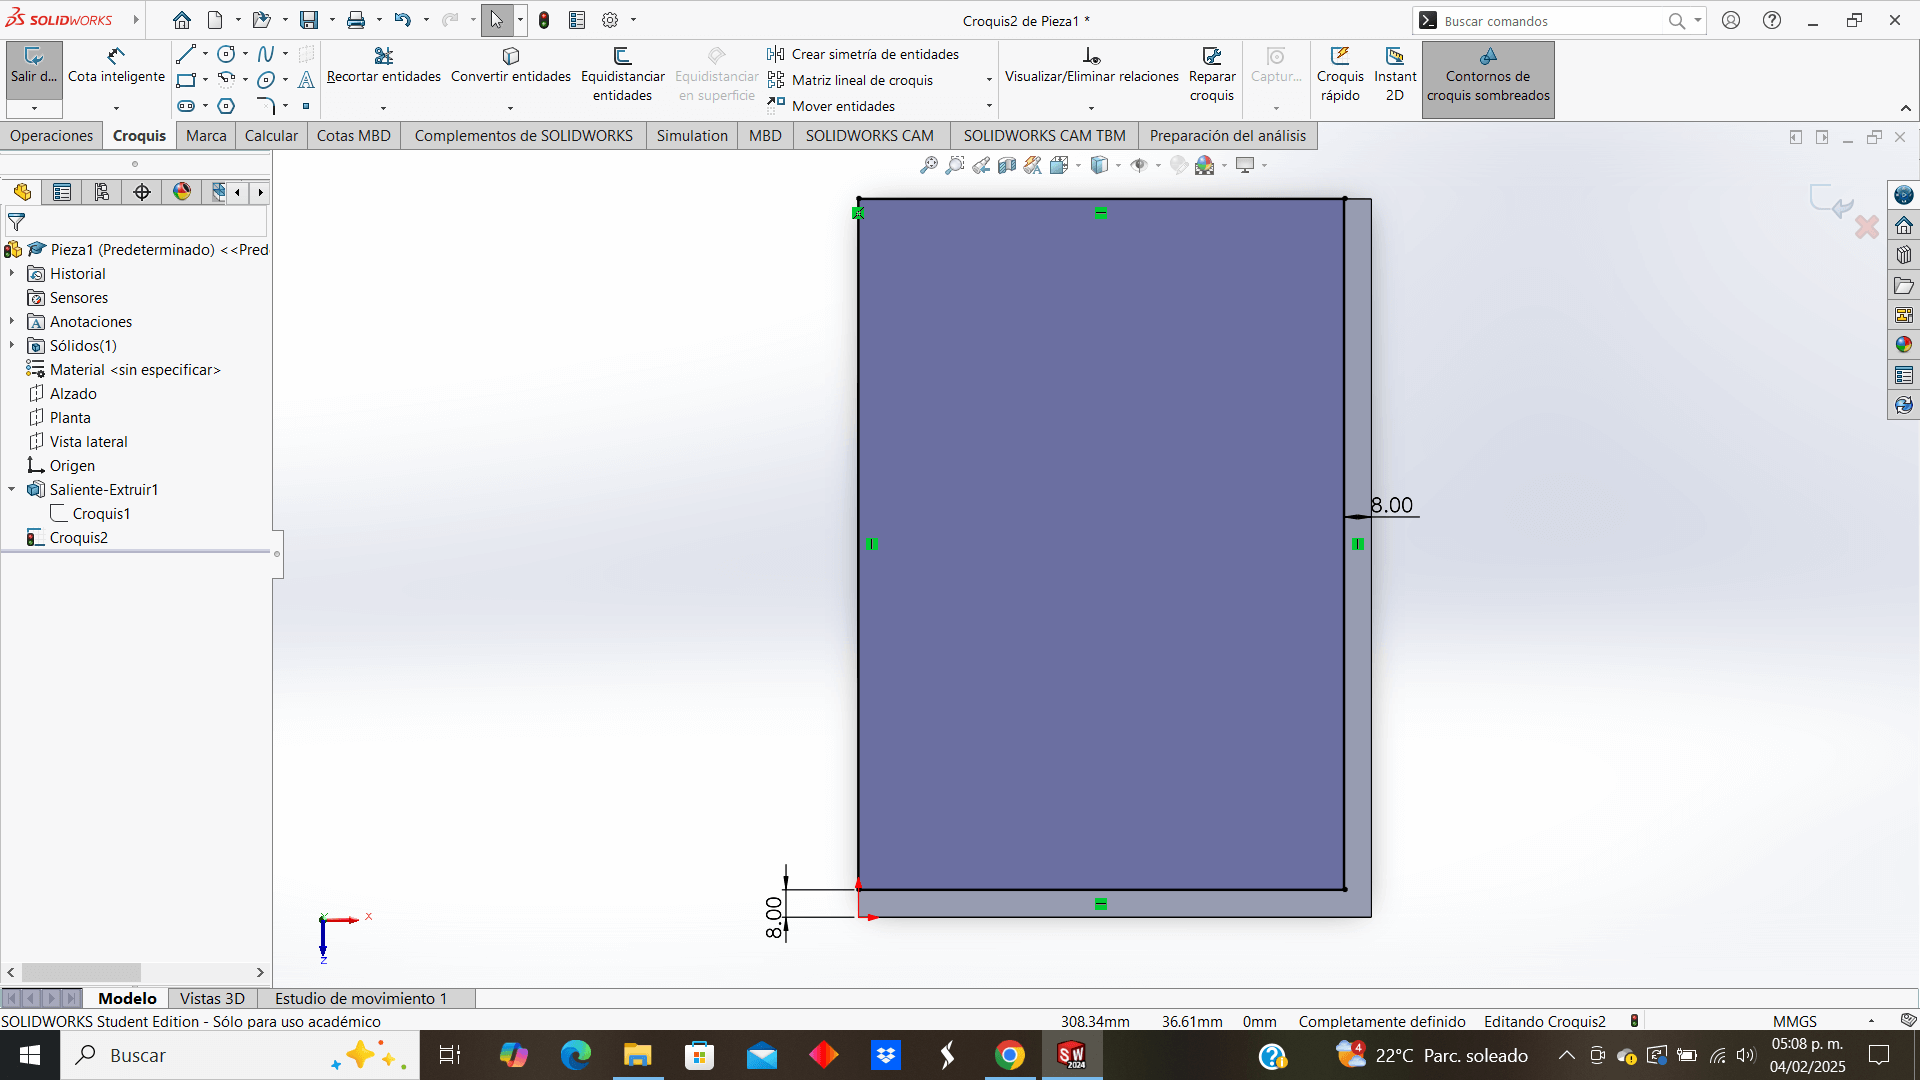
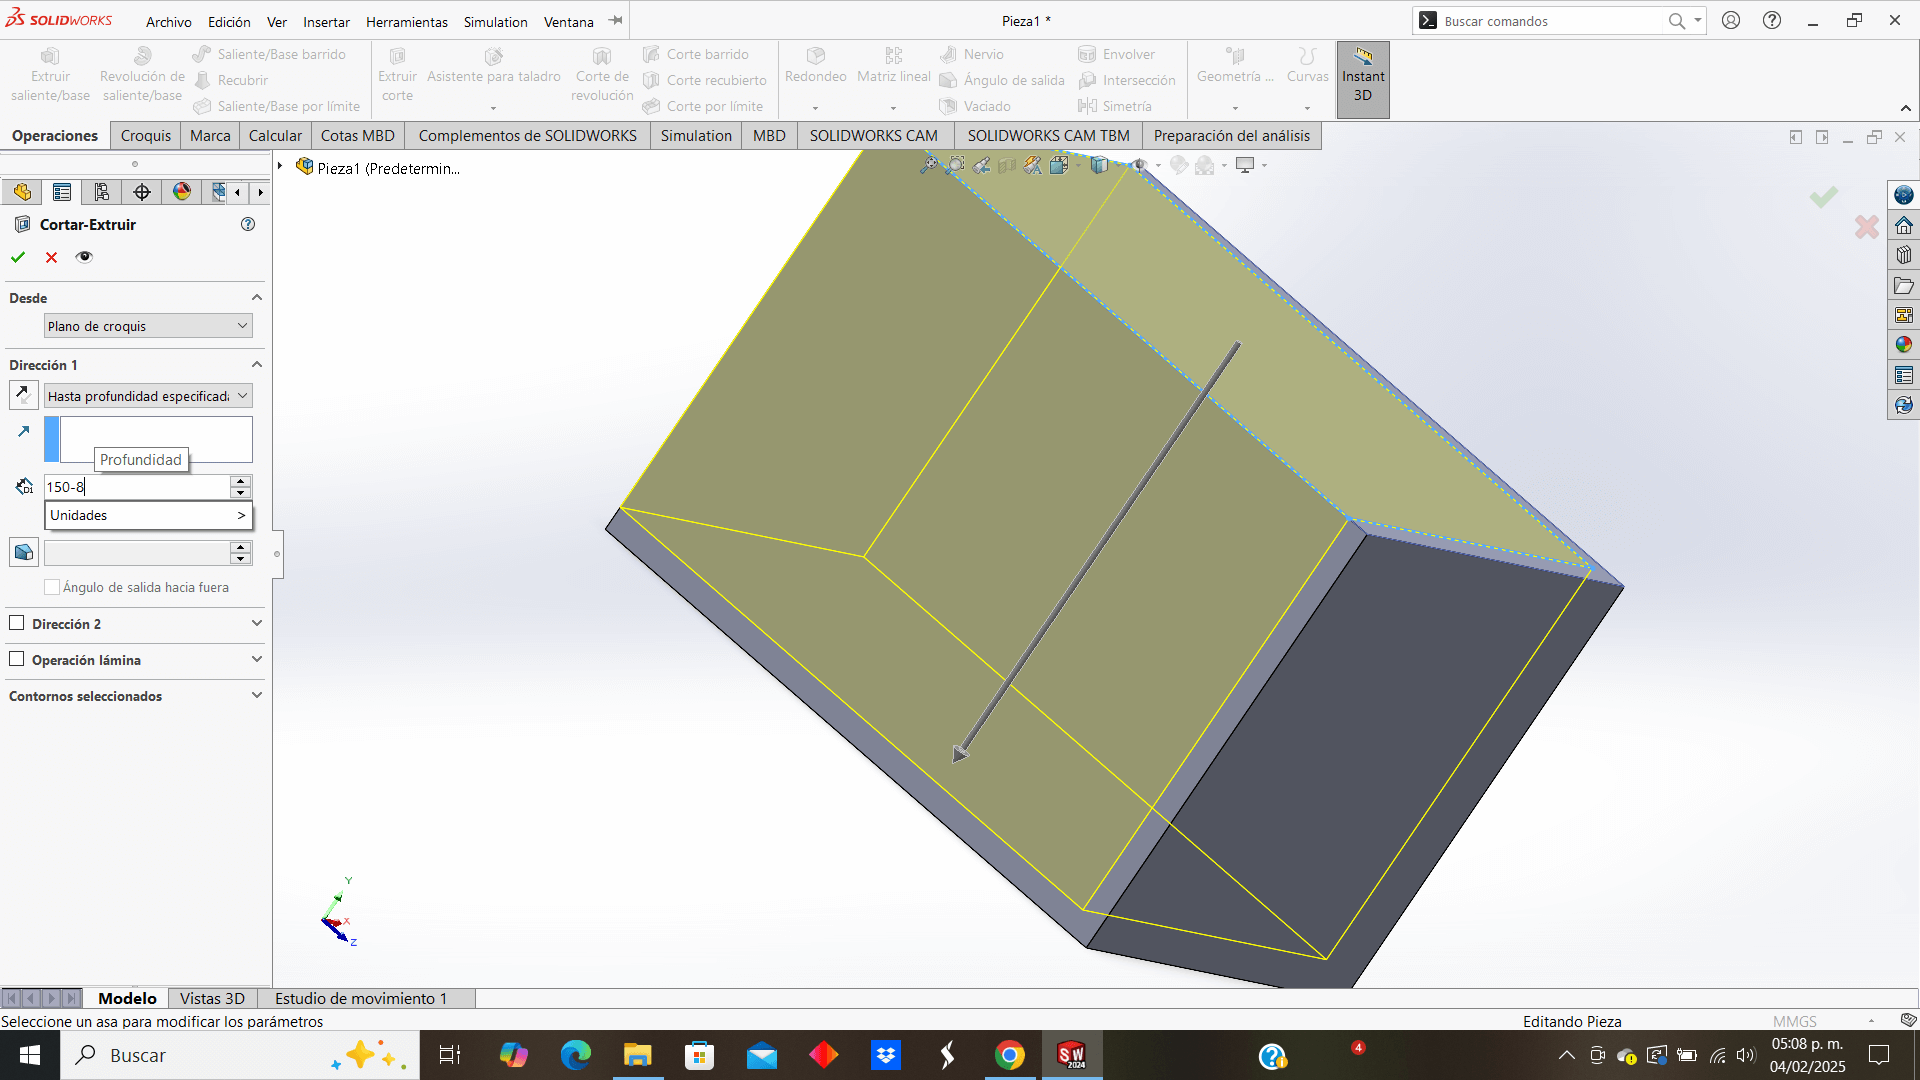
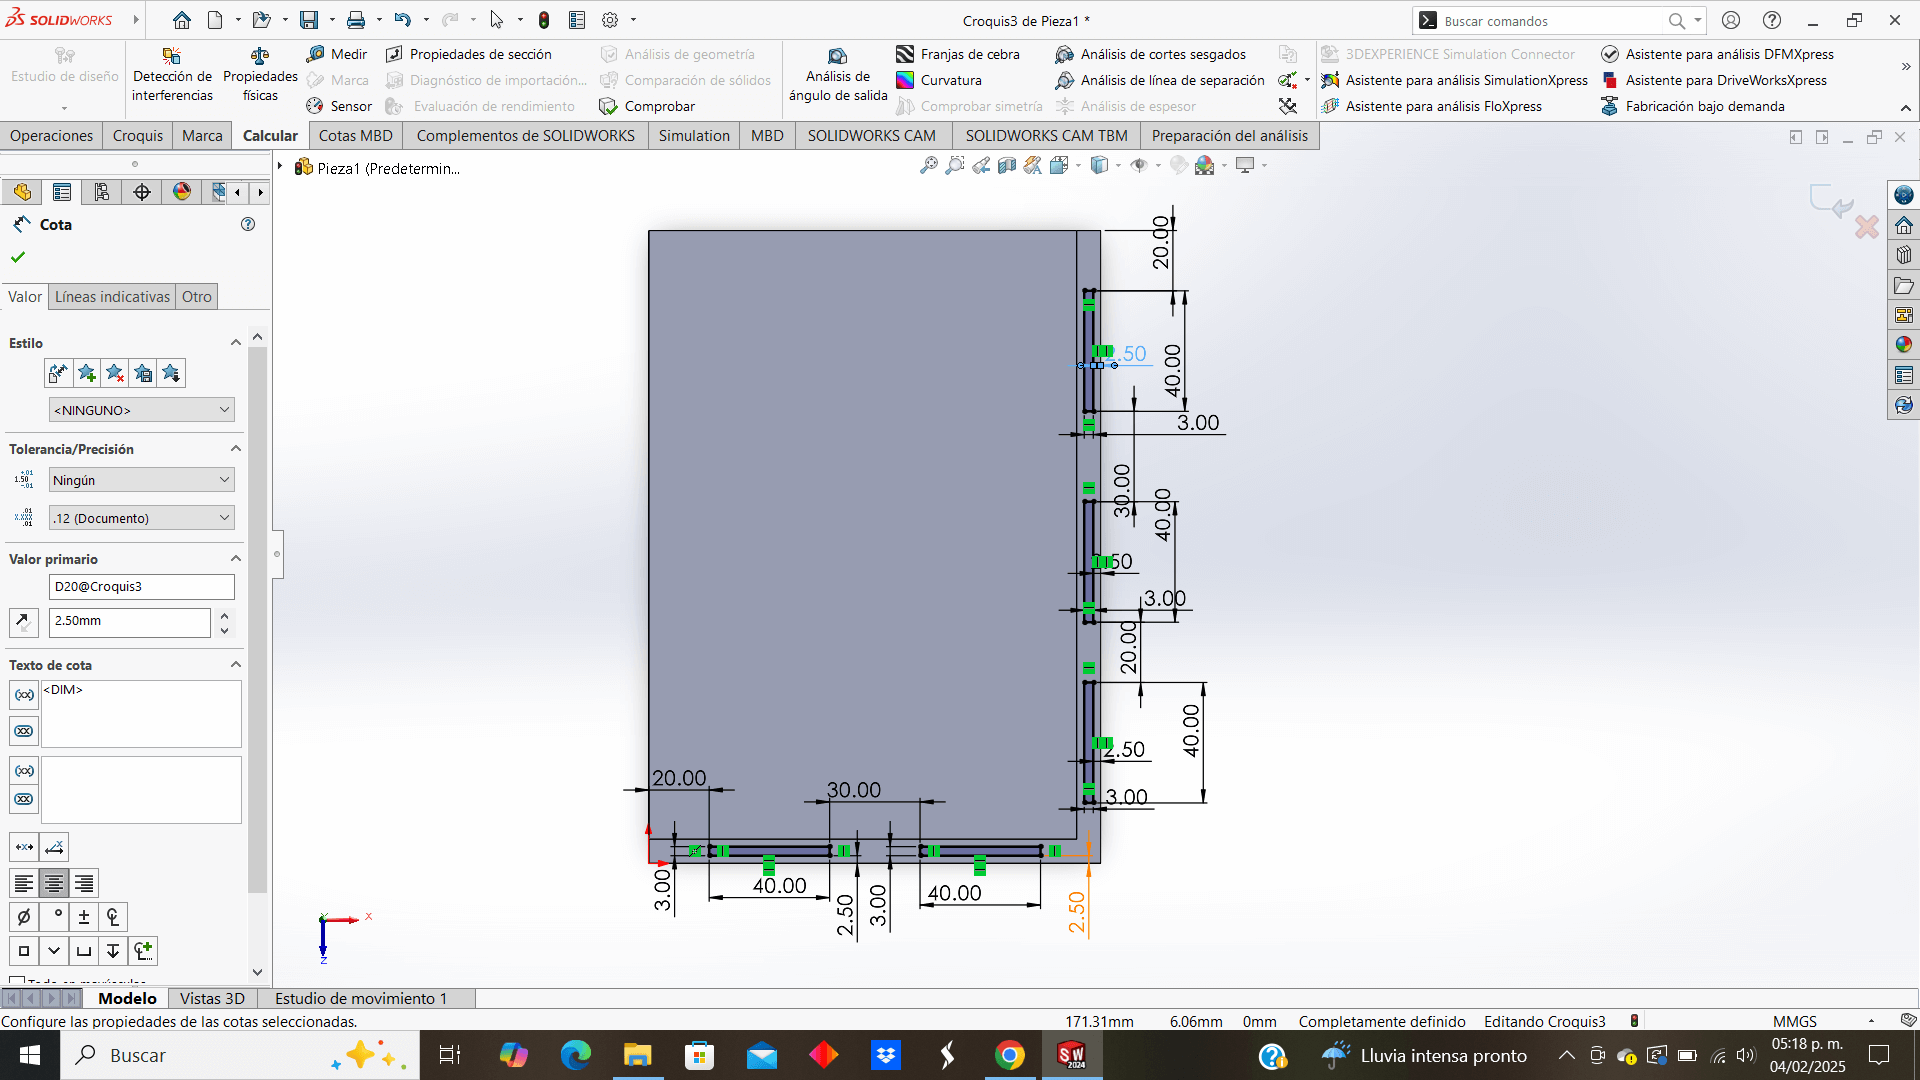
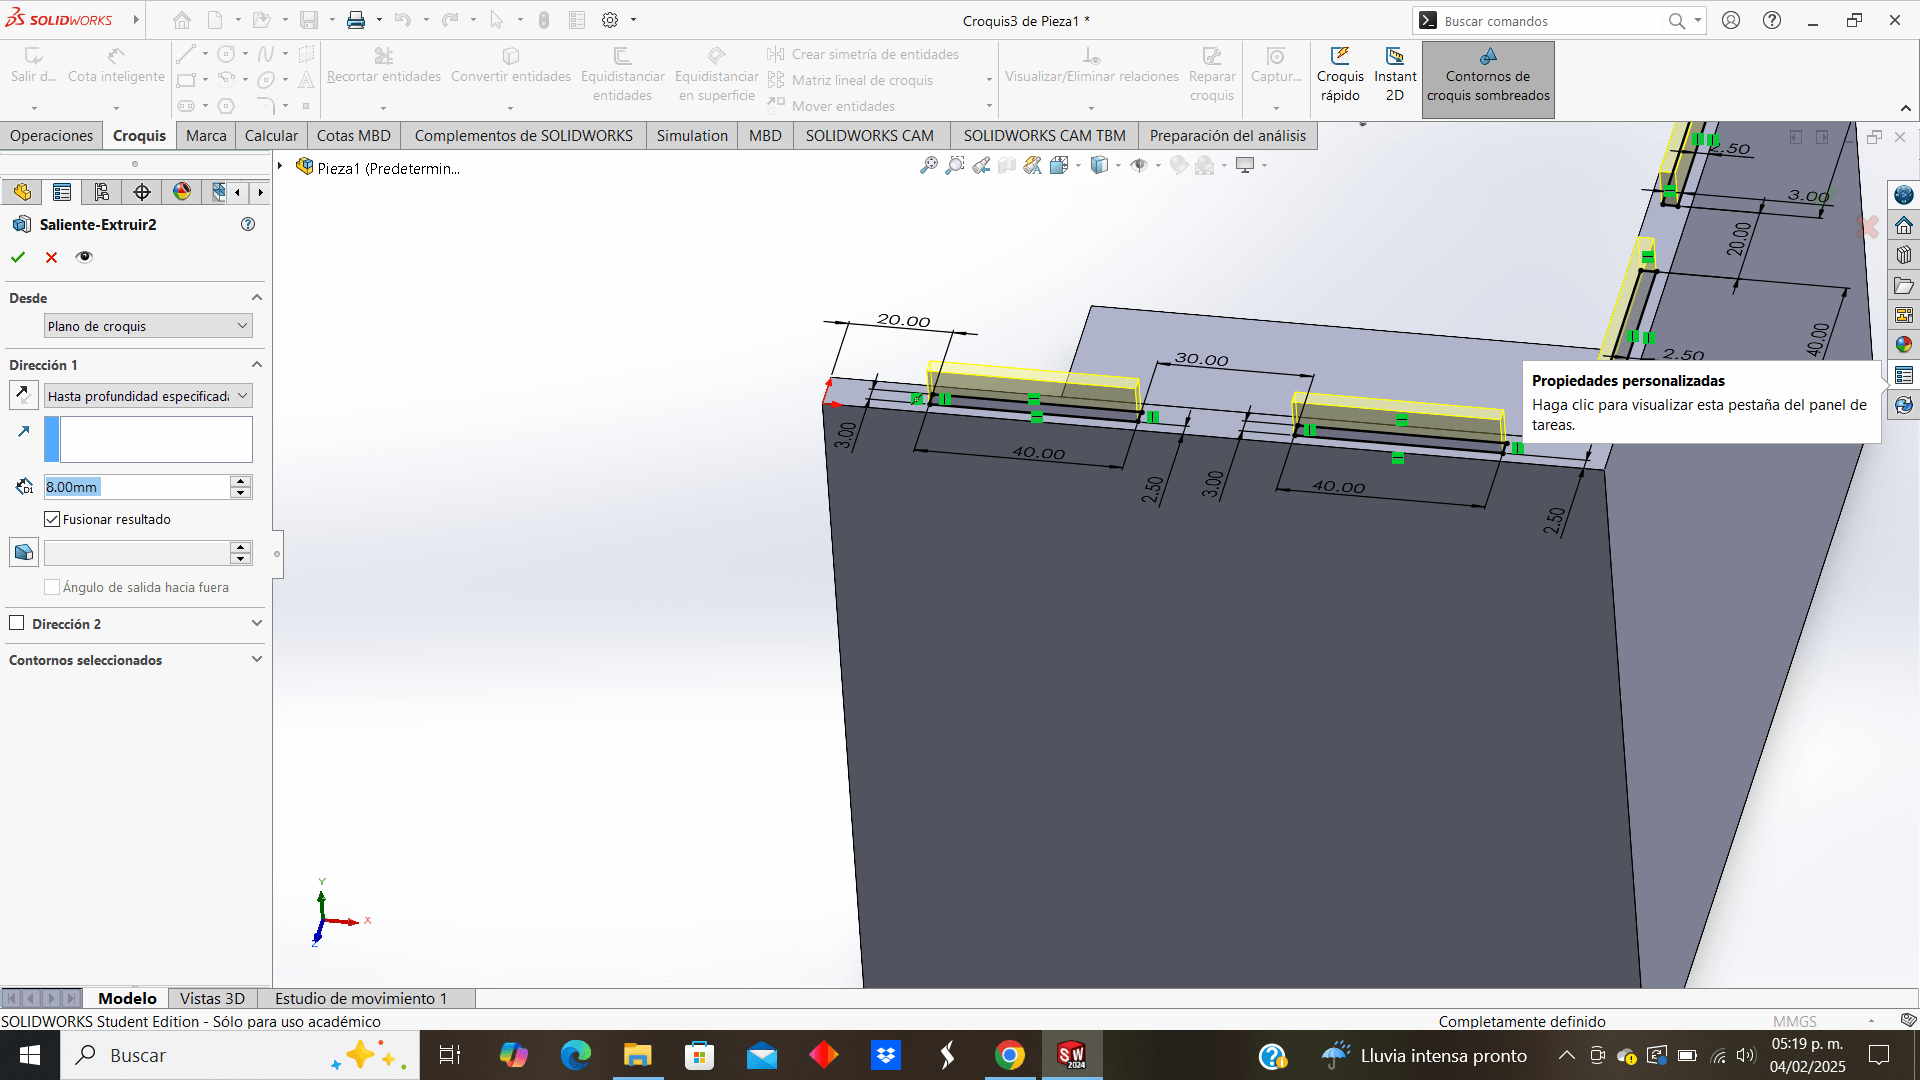
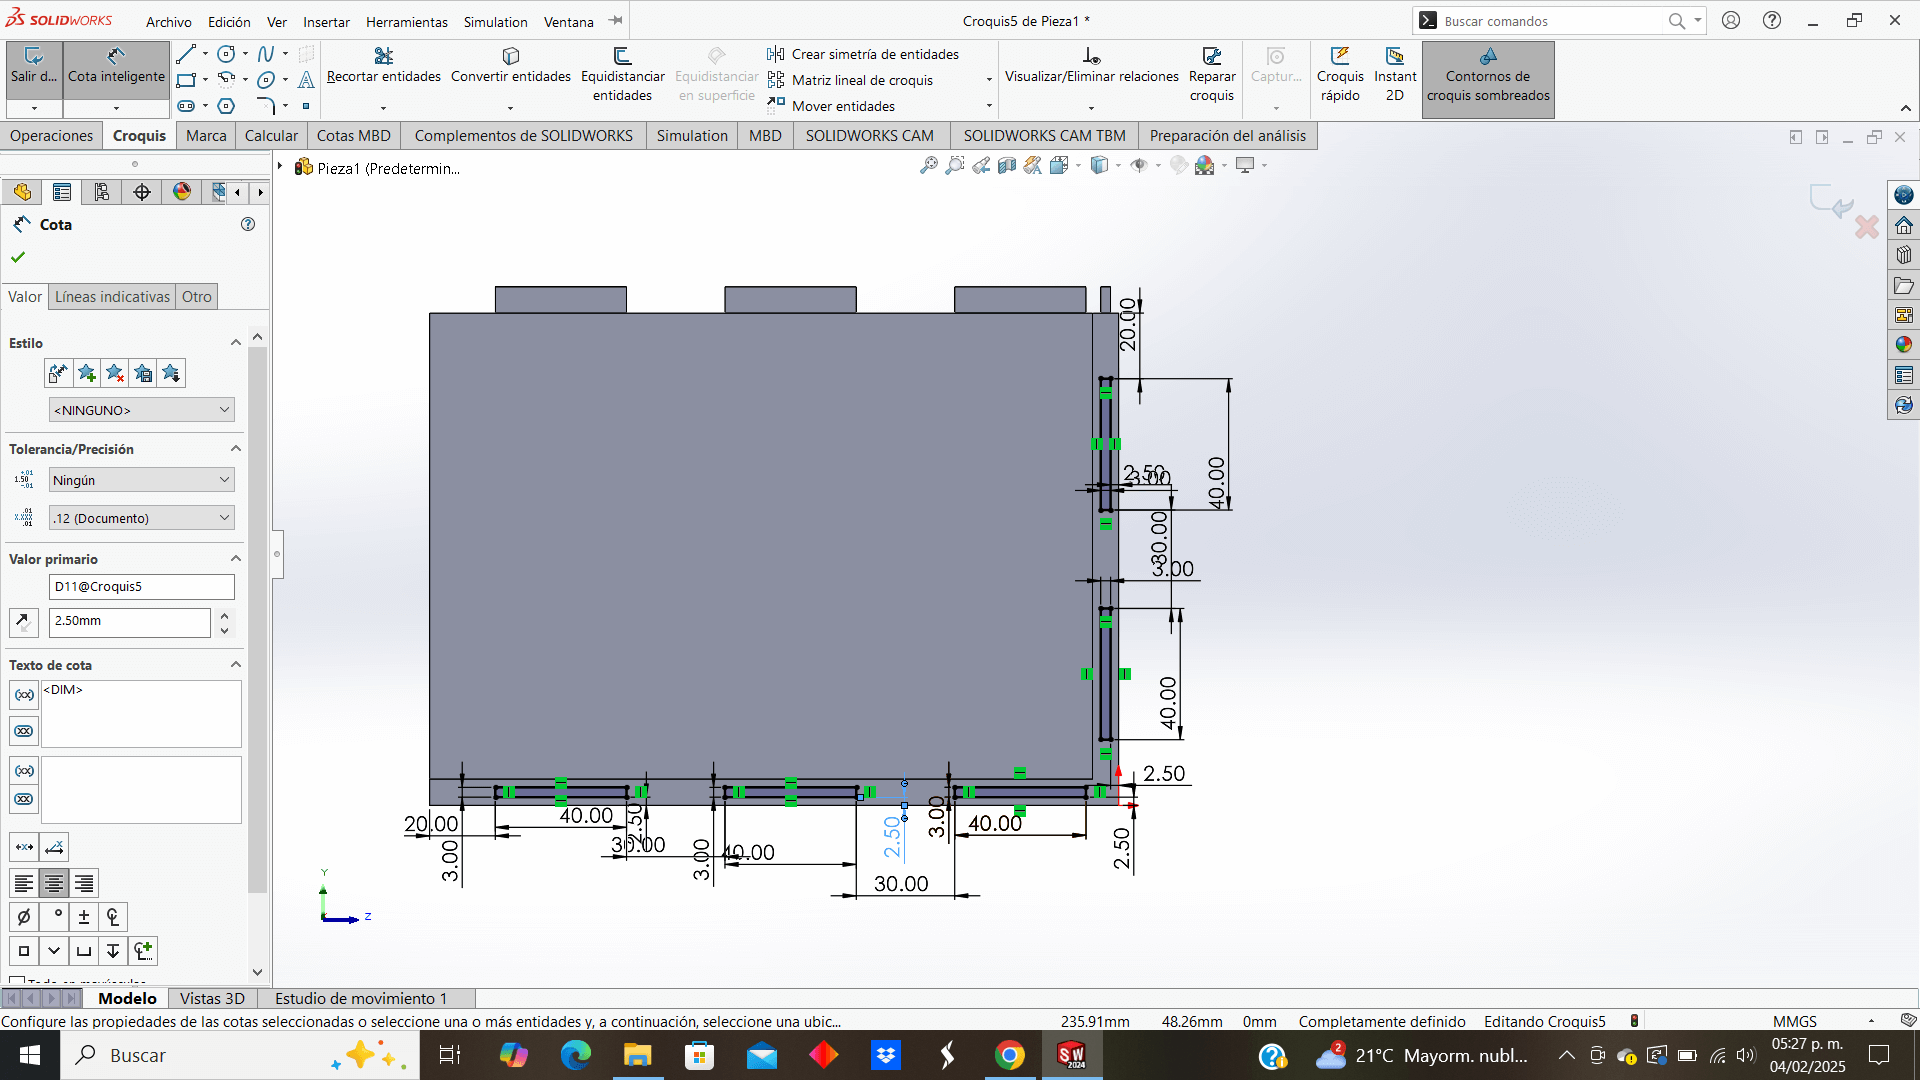
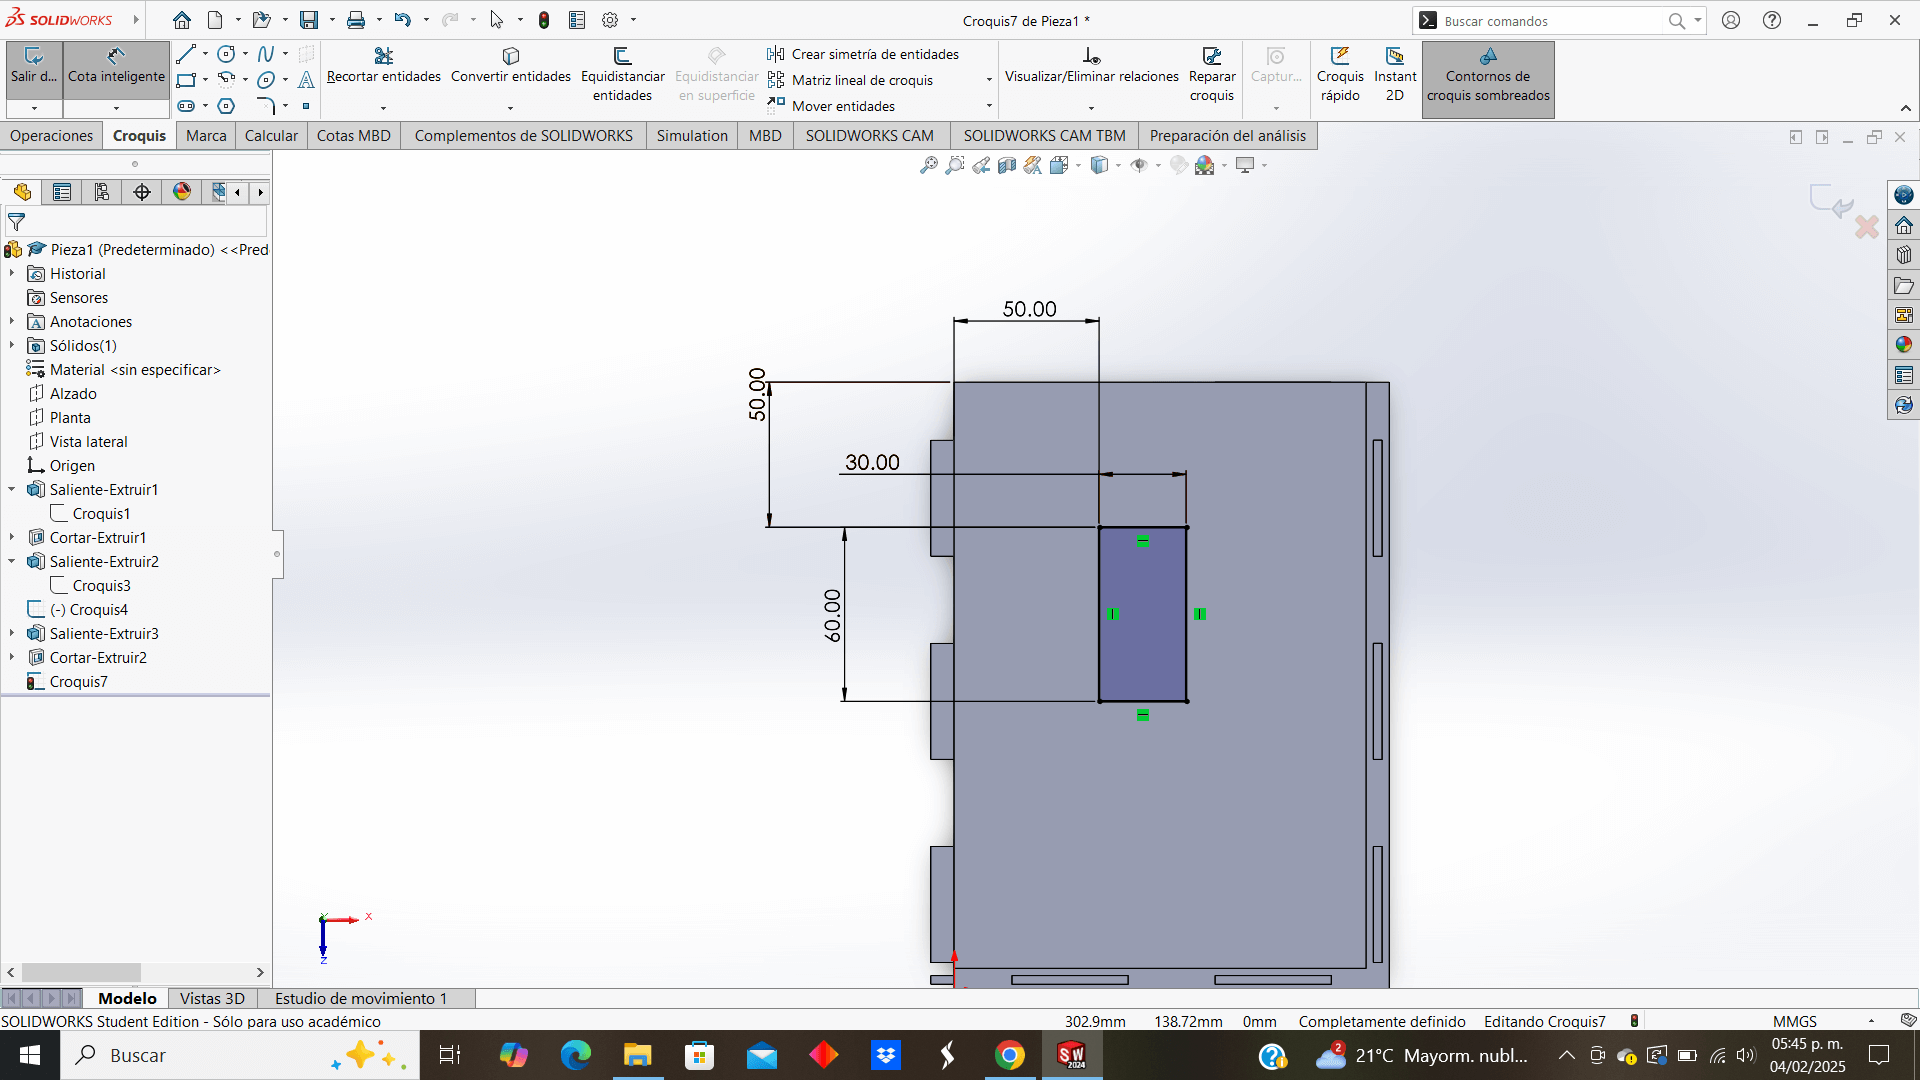
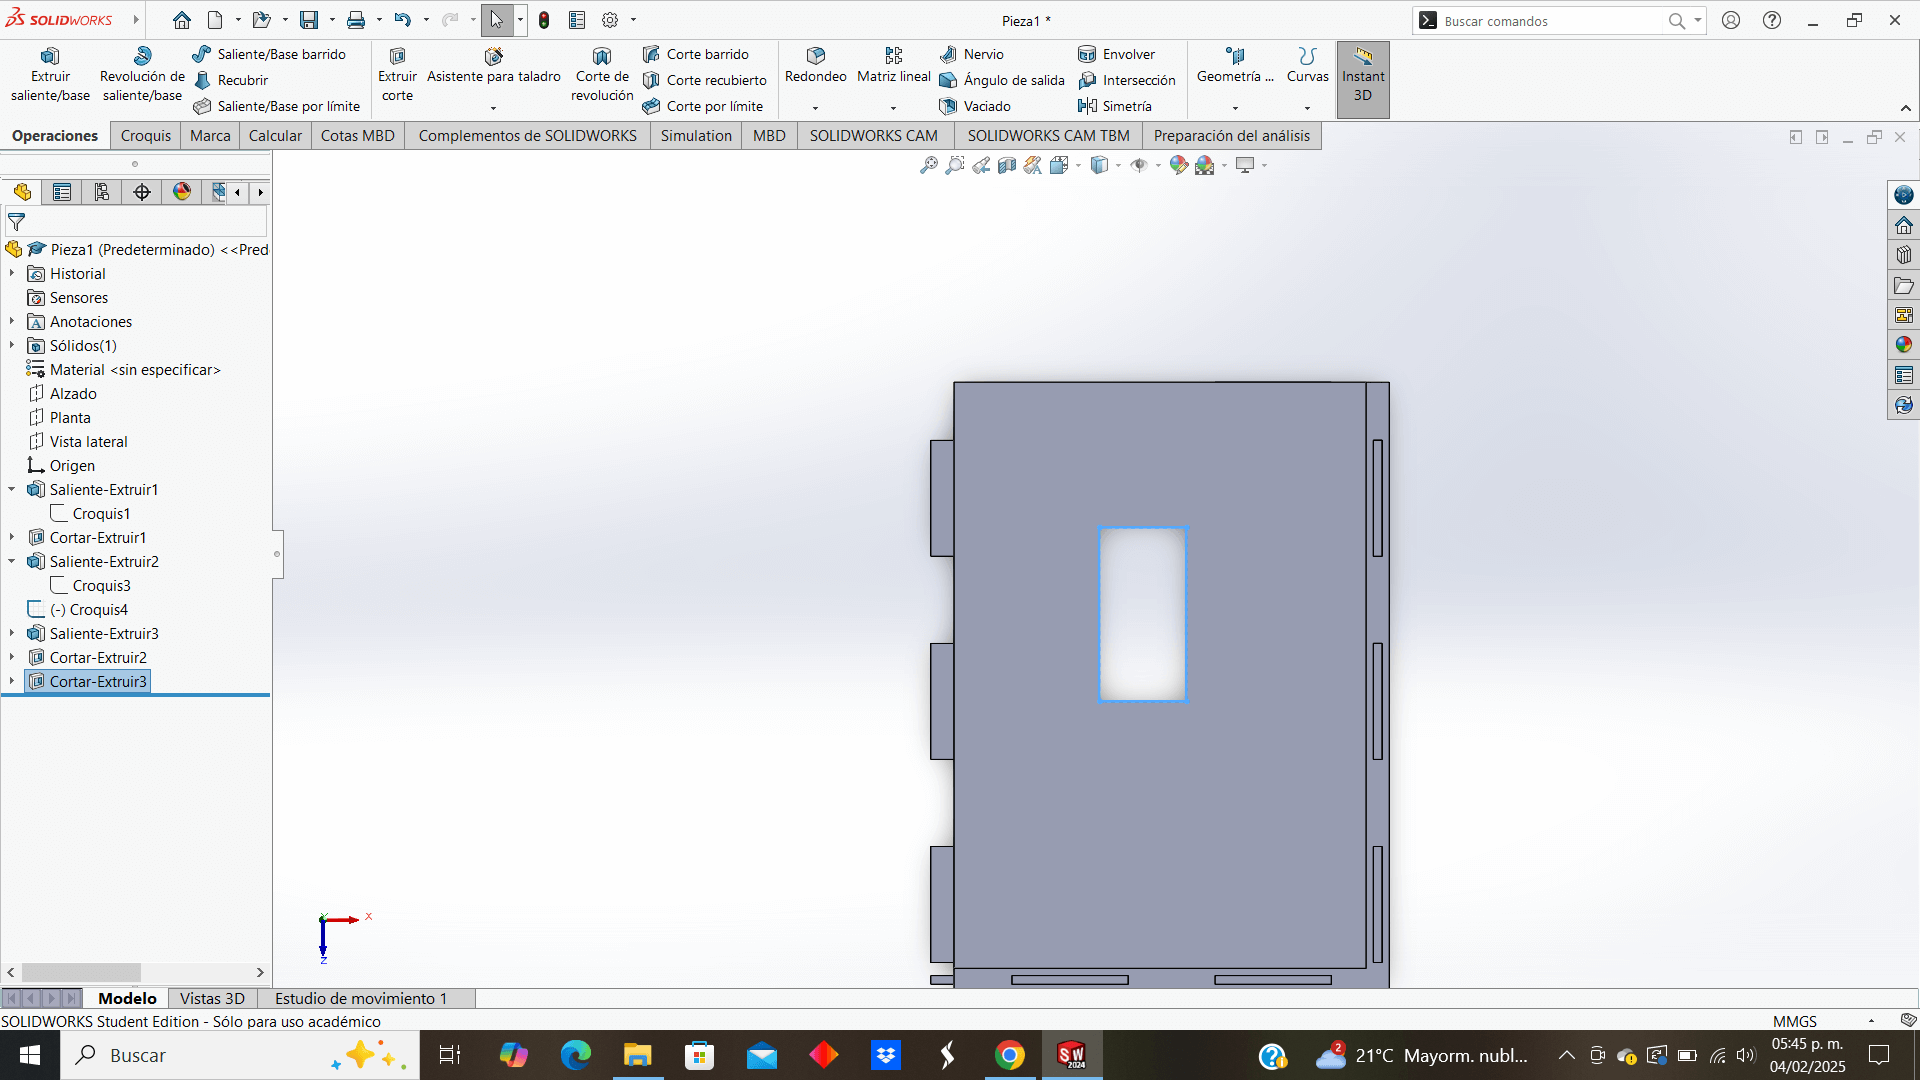
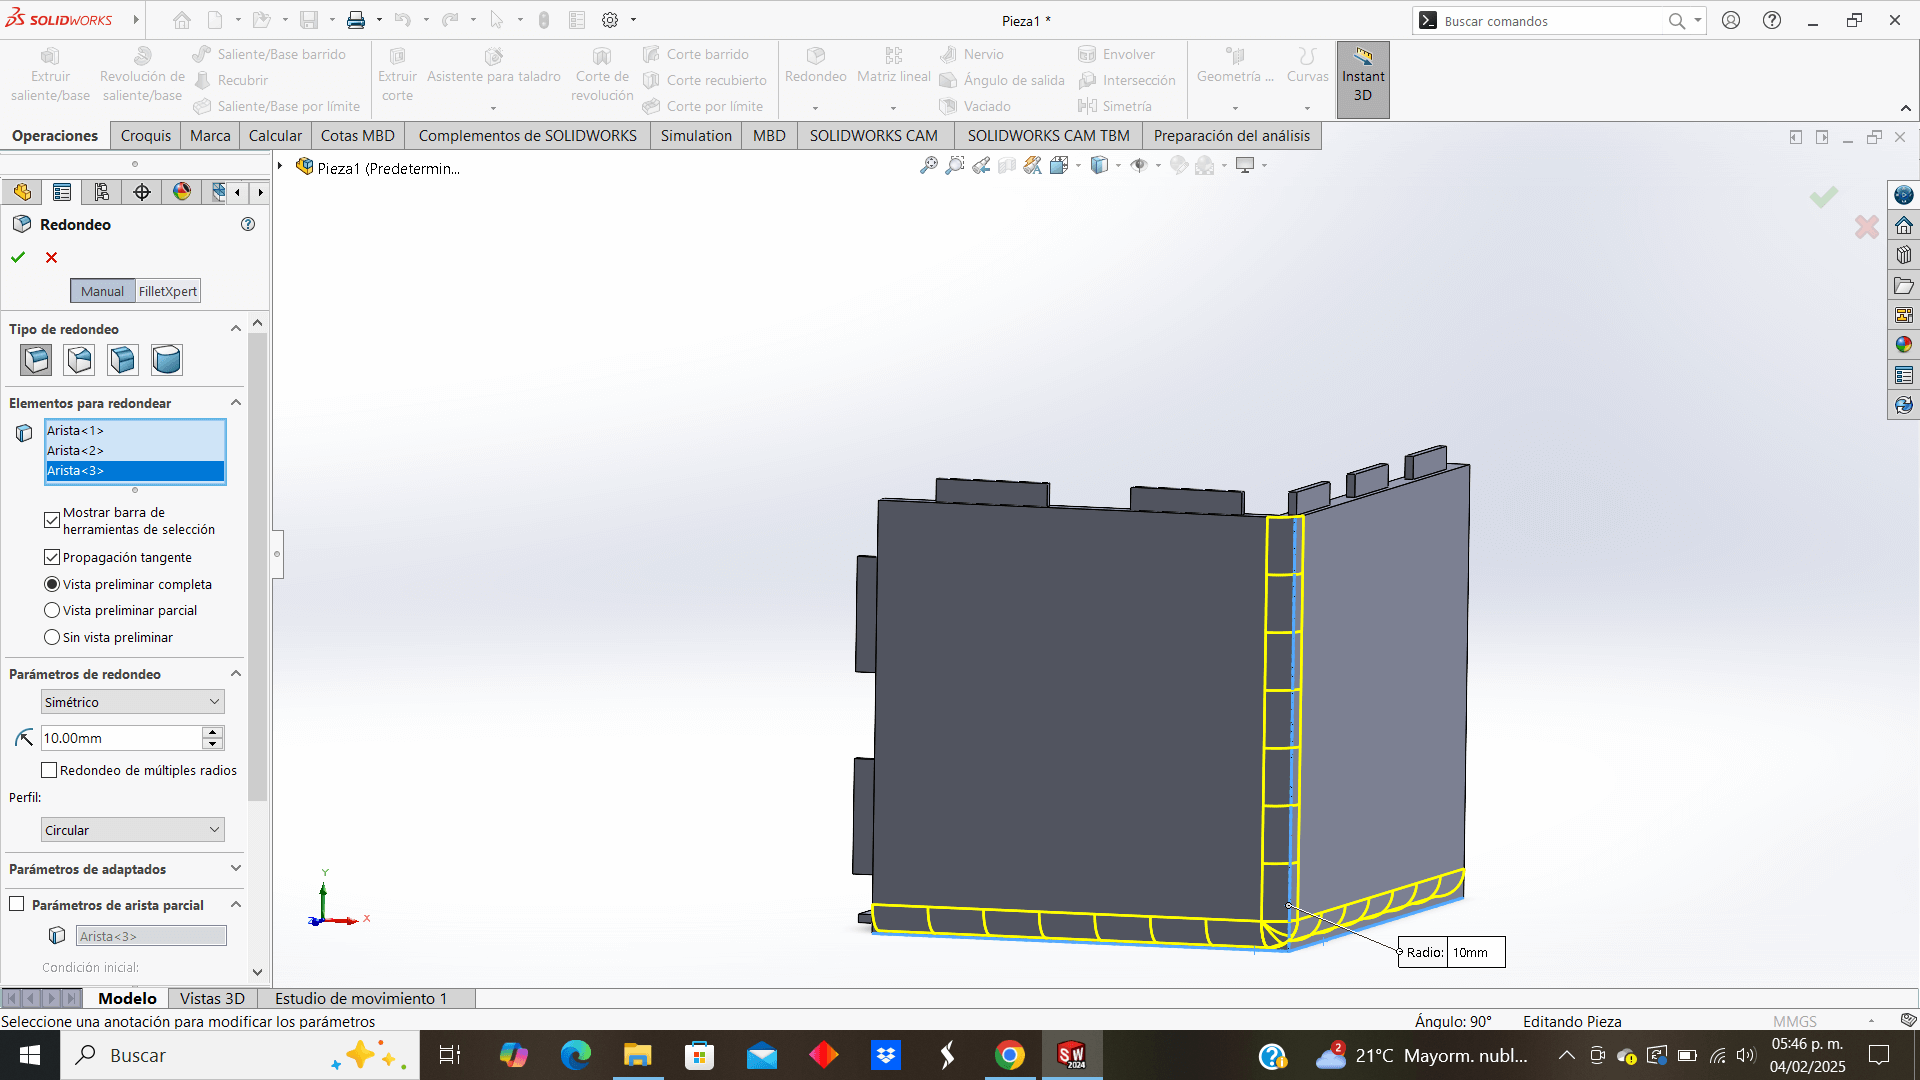
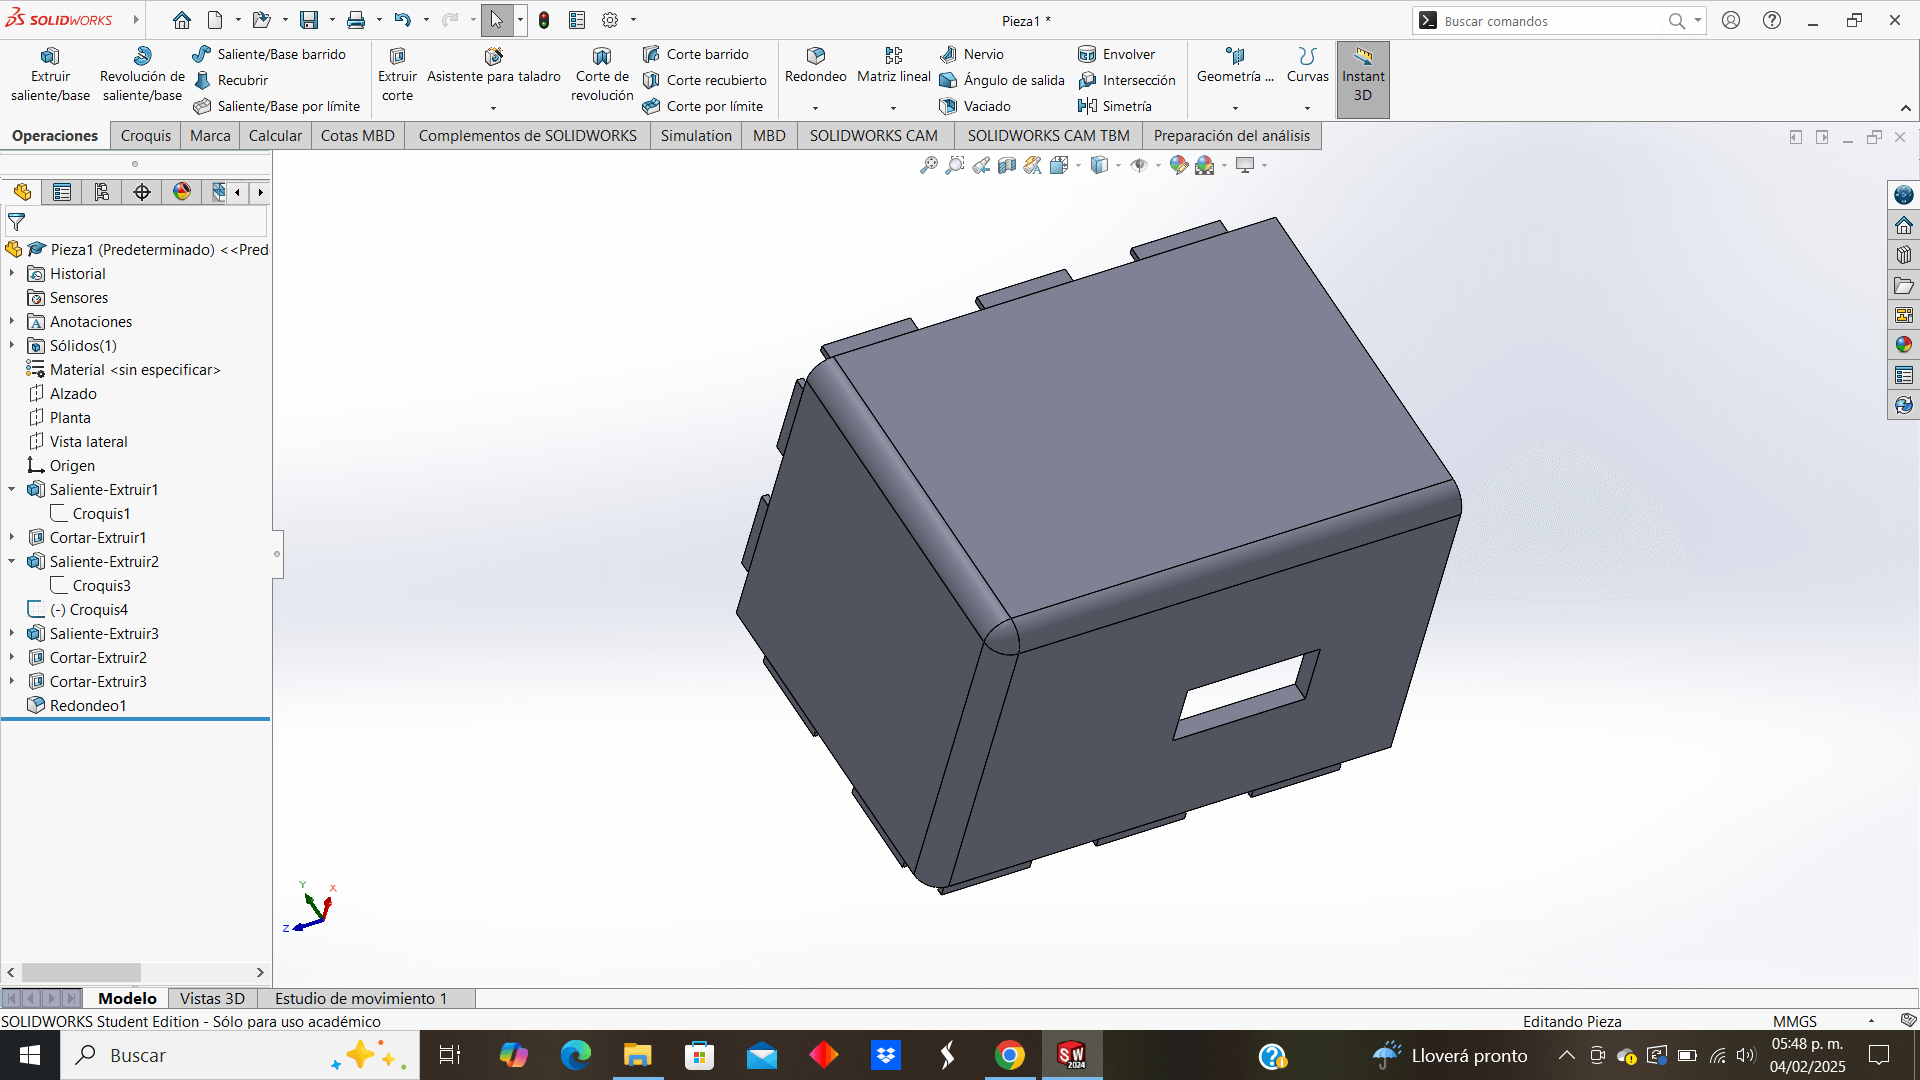
This would be the final result of the design of one of the pieces
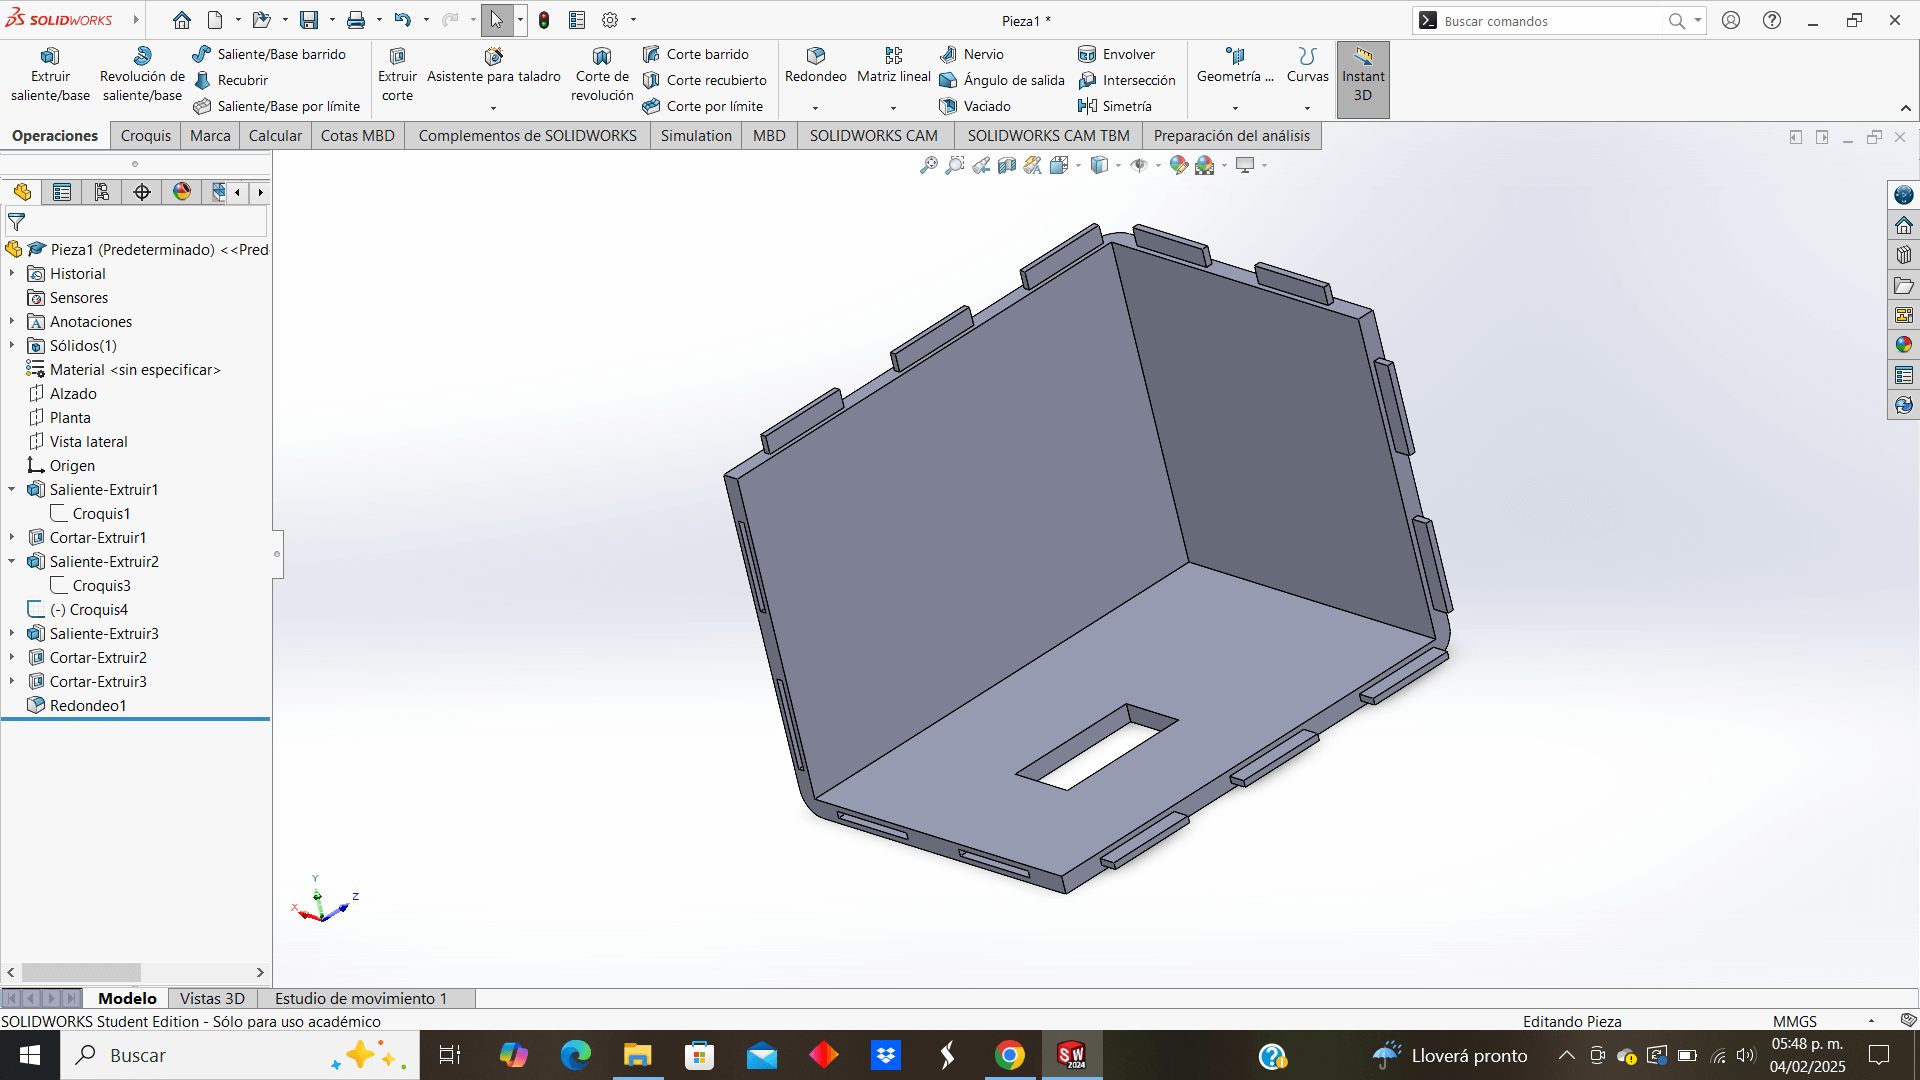
This piece is similar to the previous one, but with a different orientation and joining tabs to fit together
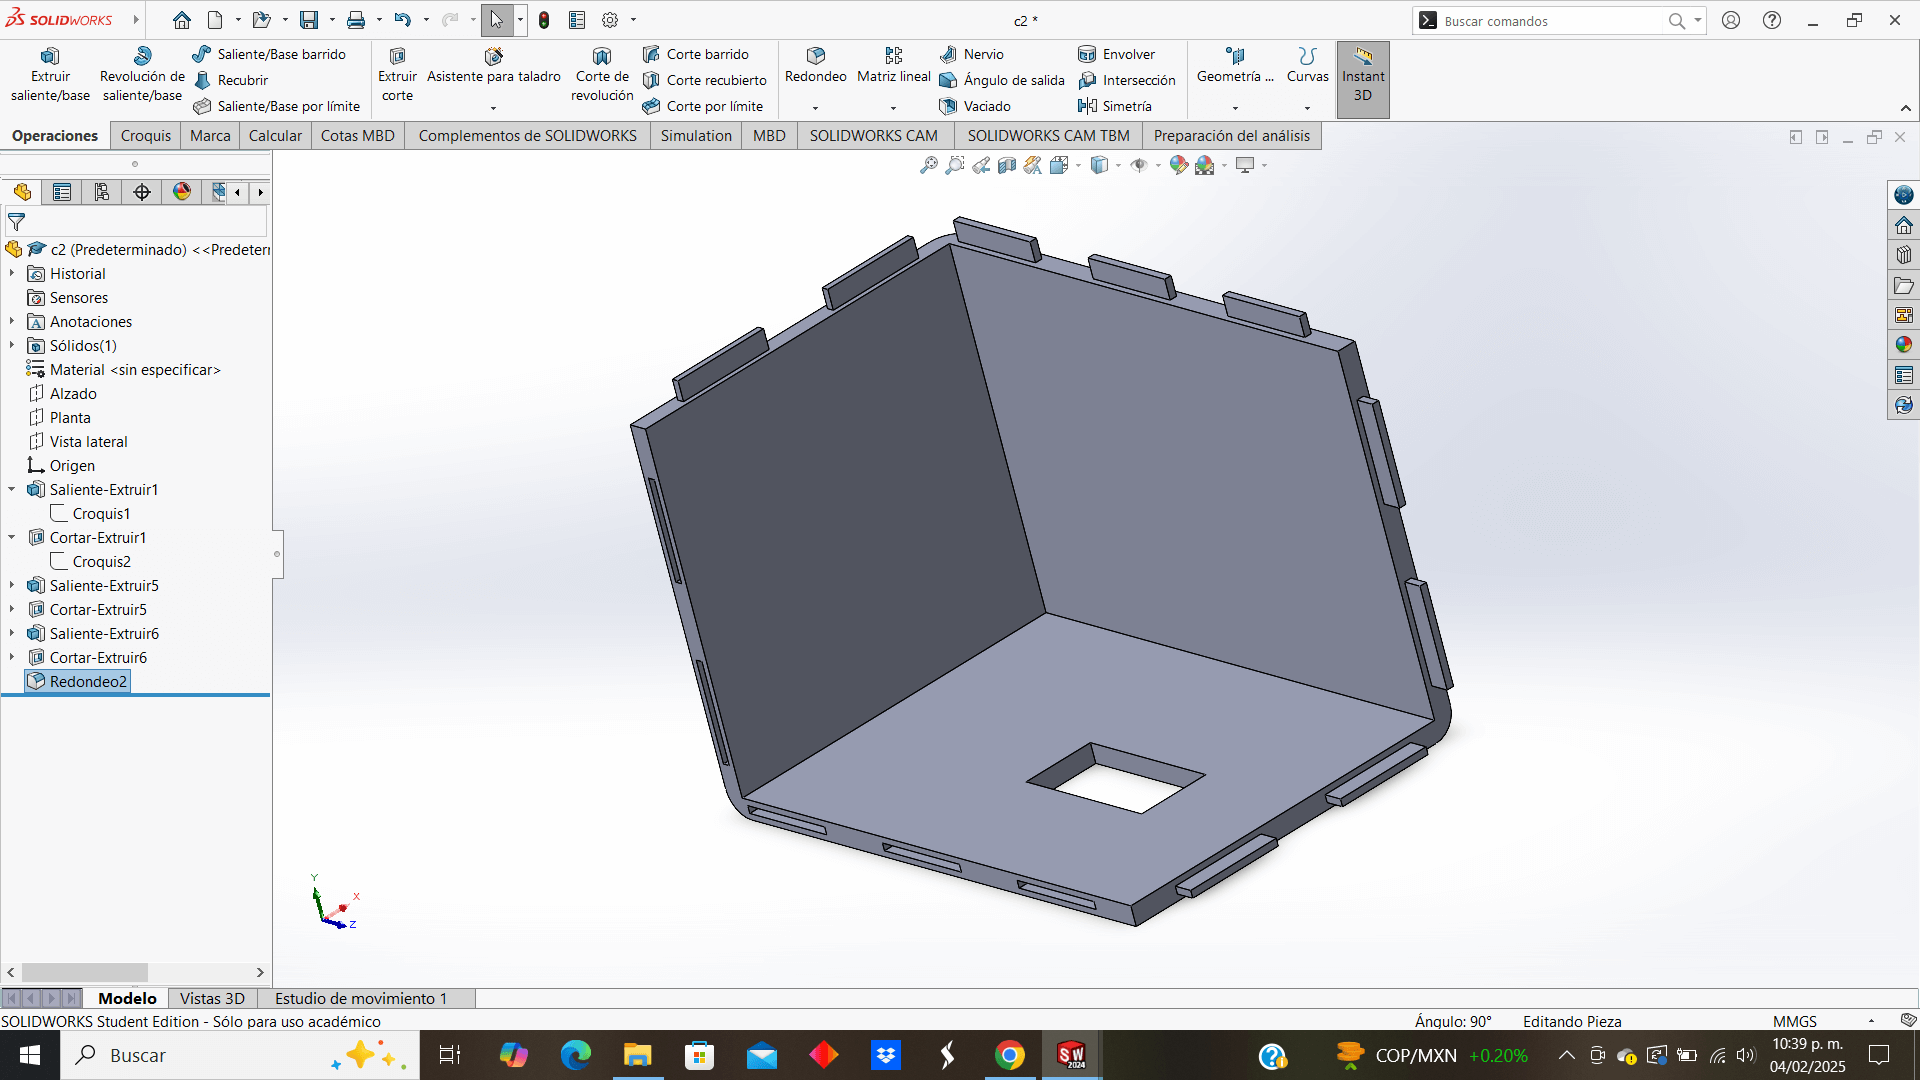
Now, for the upper part, the same concept as the previous ones is followed, but with the difference that a large gap is left so that the inner elevator platform of the robot can emerge there
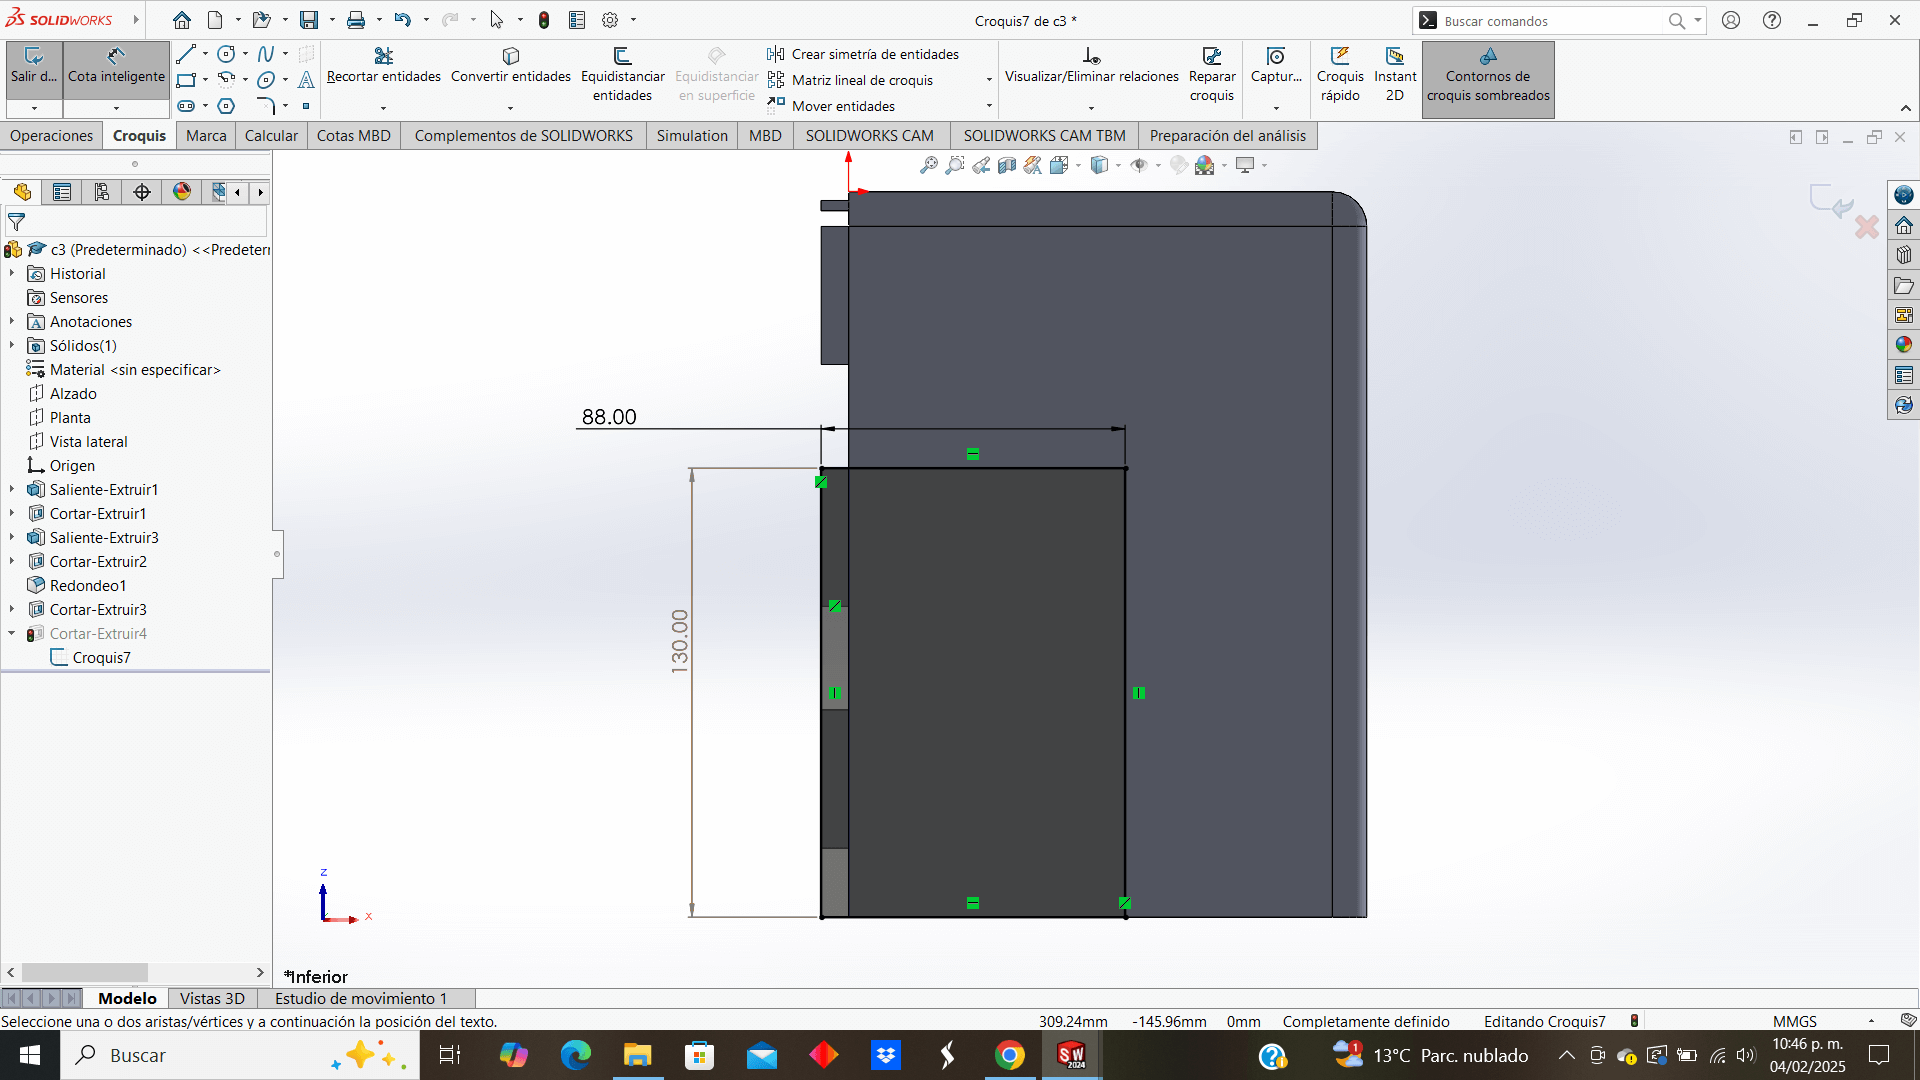
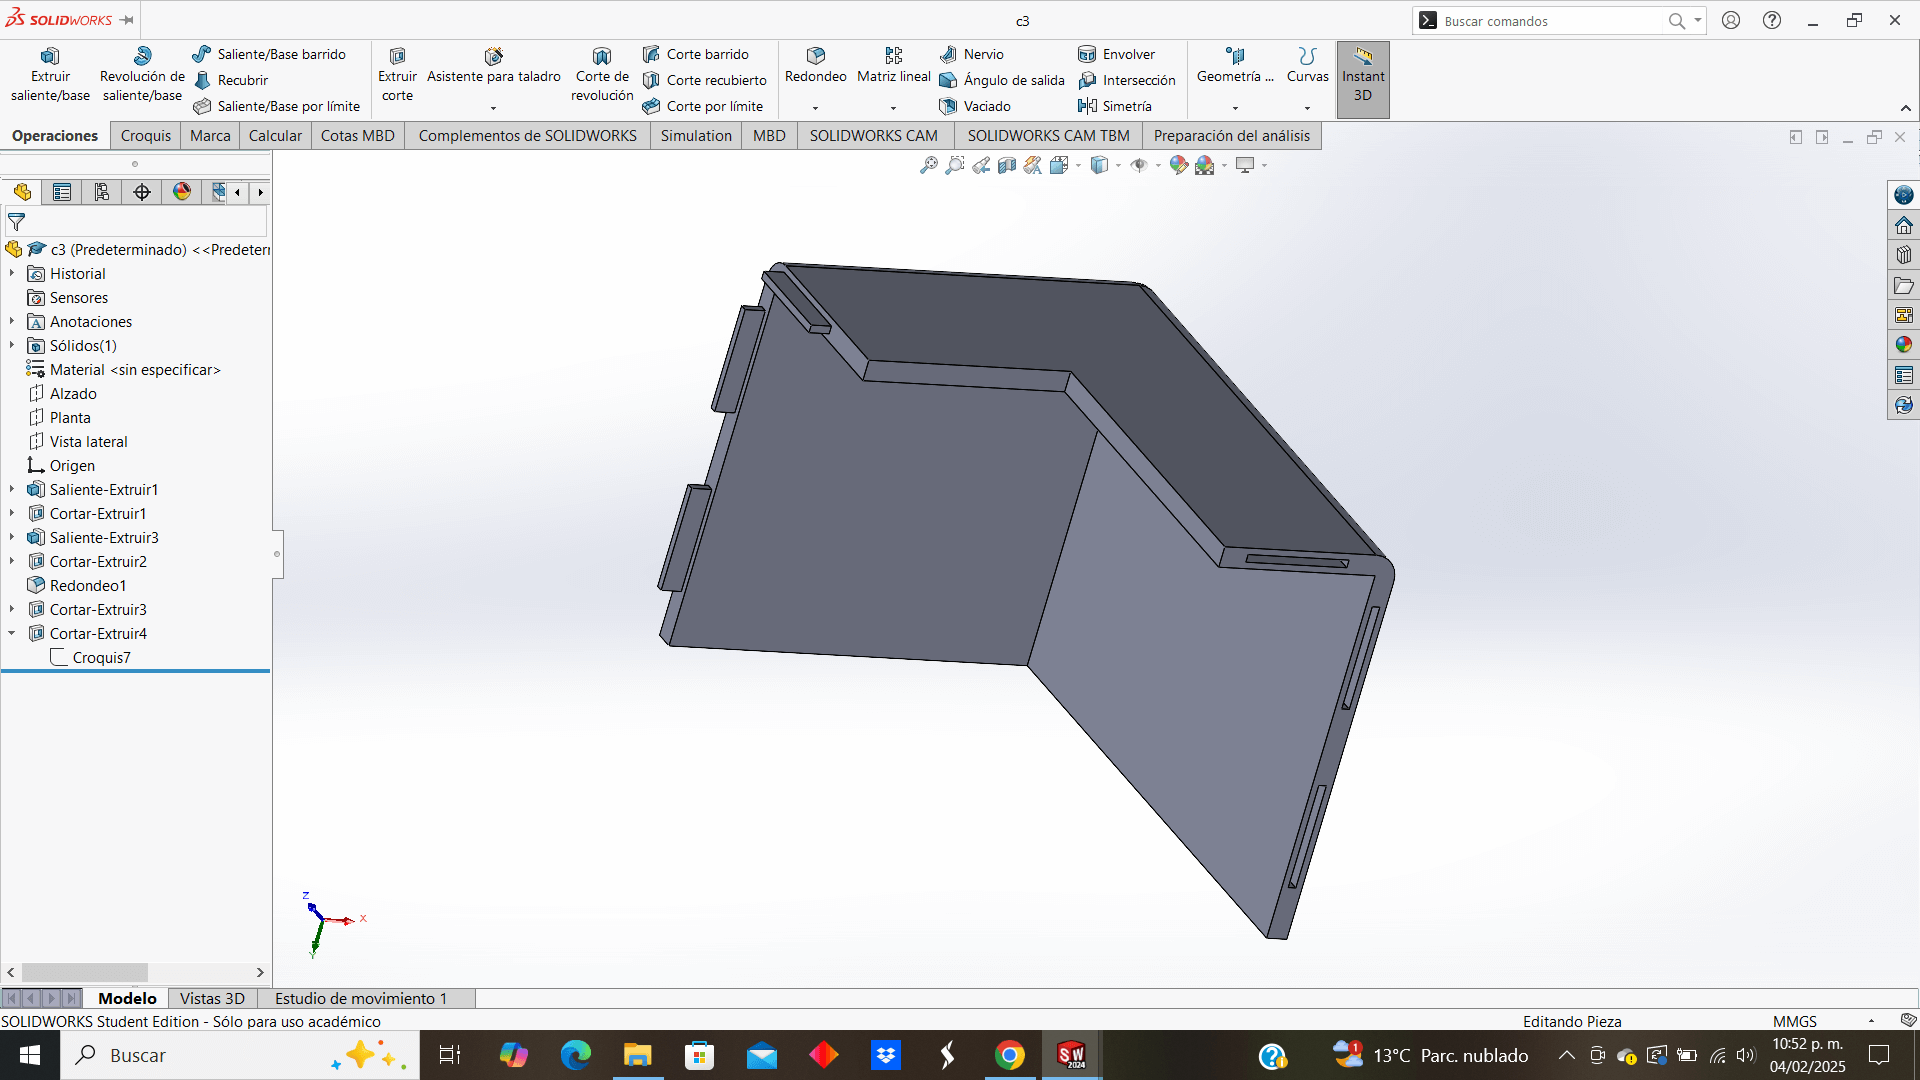
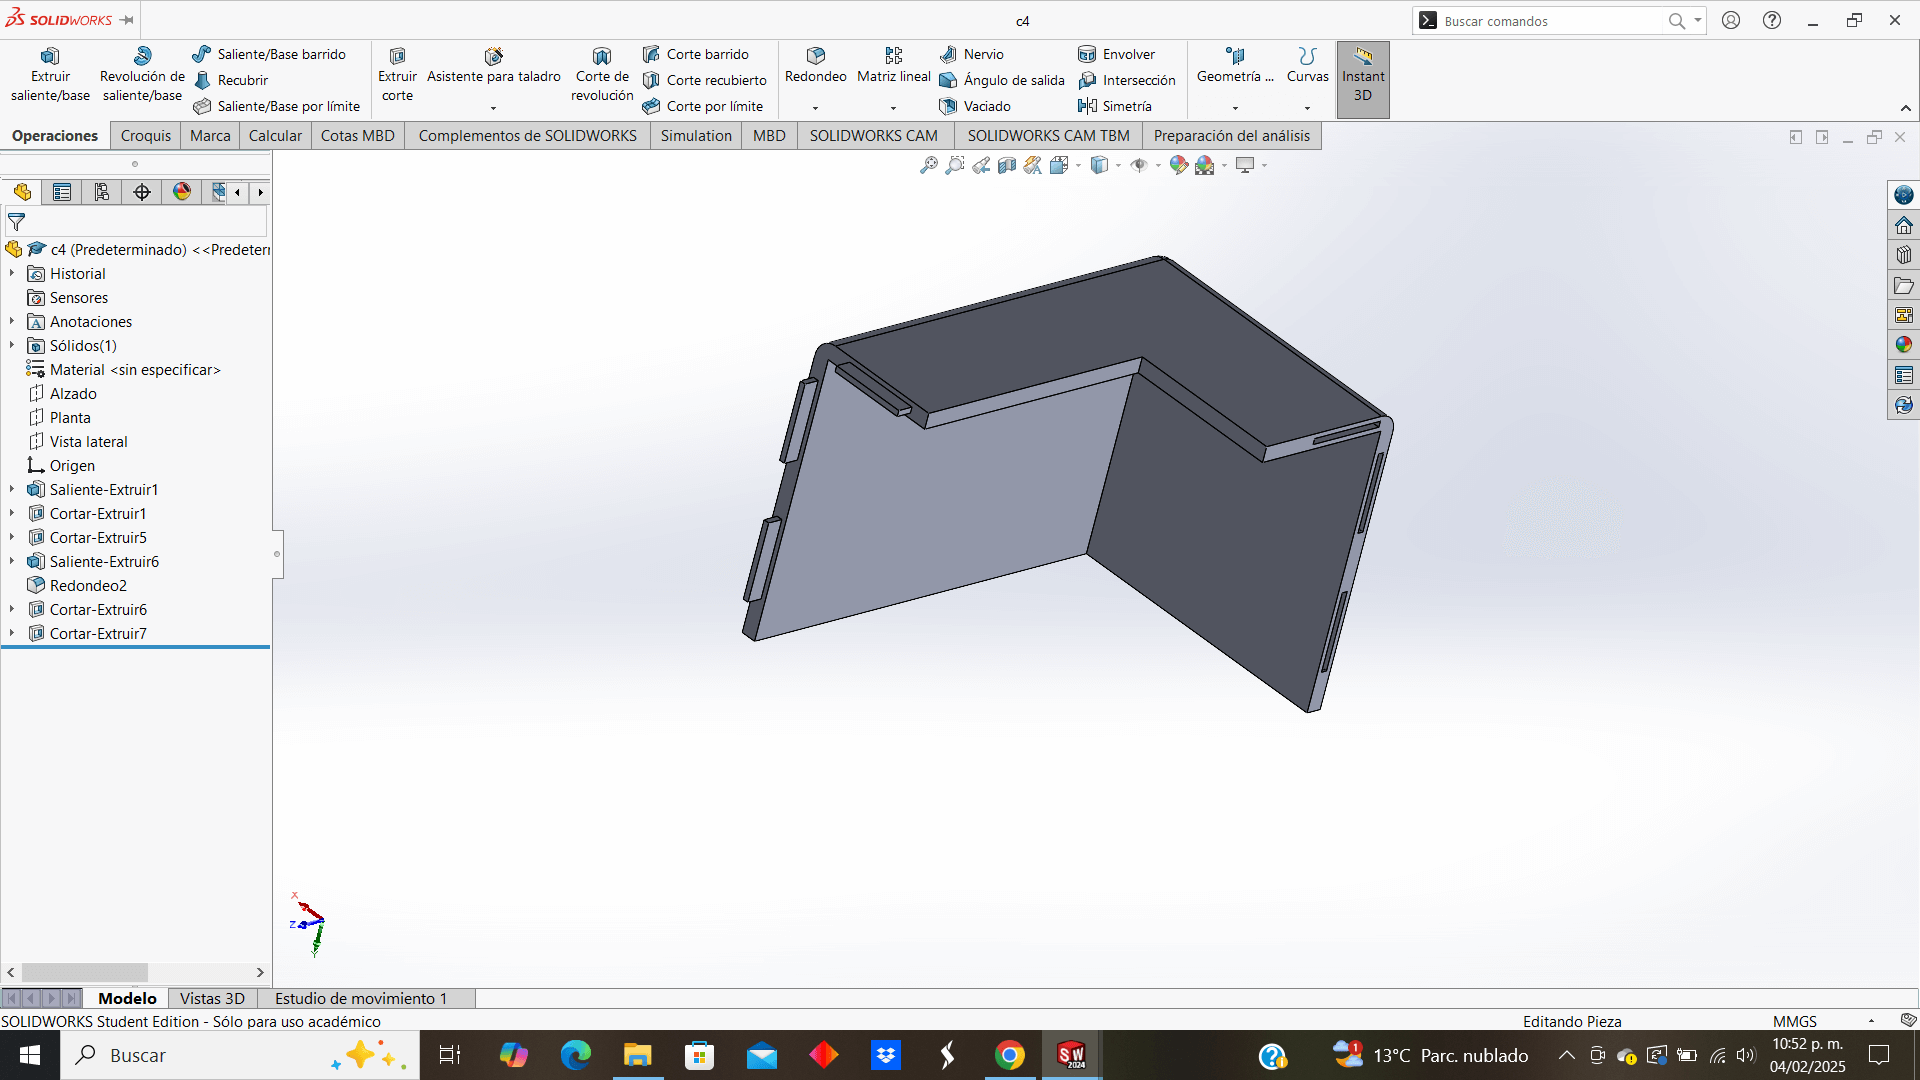
Now, these look modified on the front part since the "head" of the robot would be placed there (especially for aesthetics)
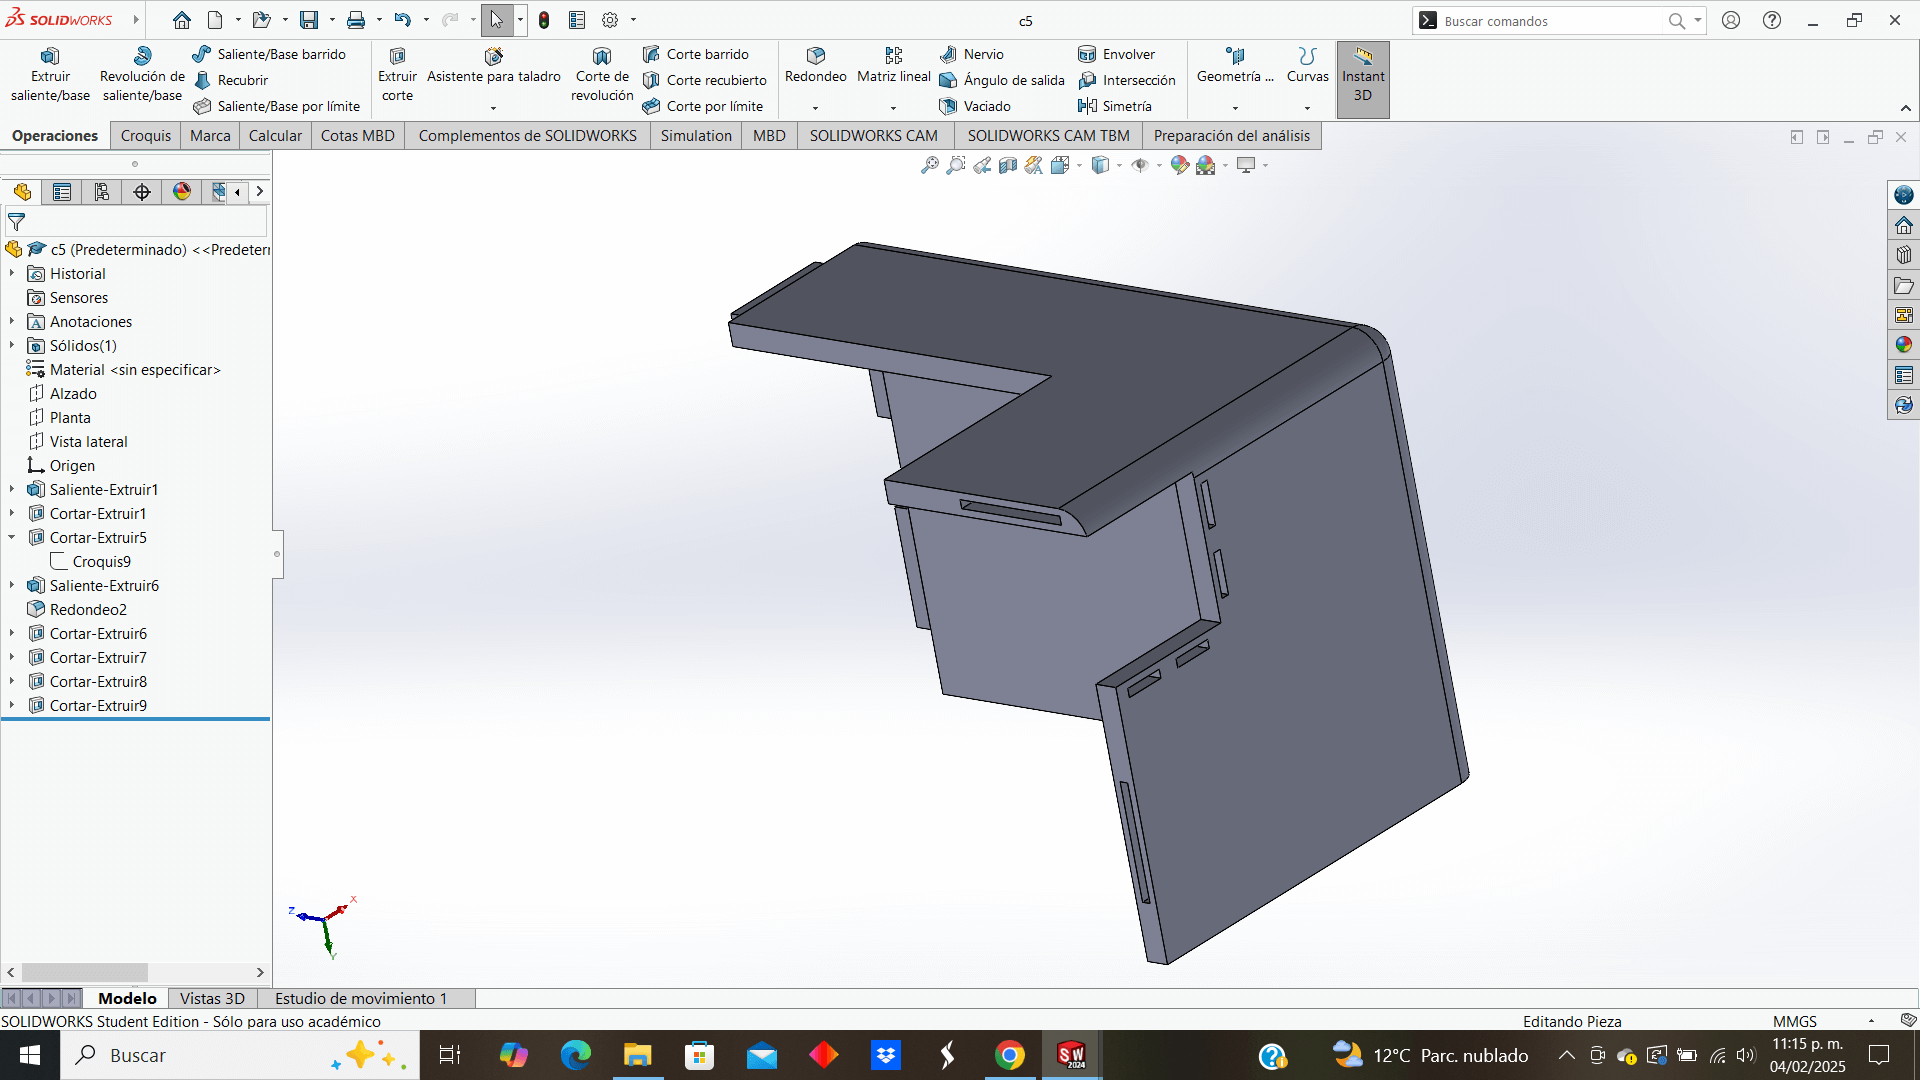
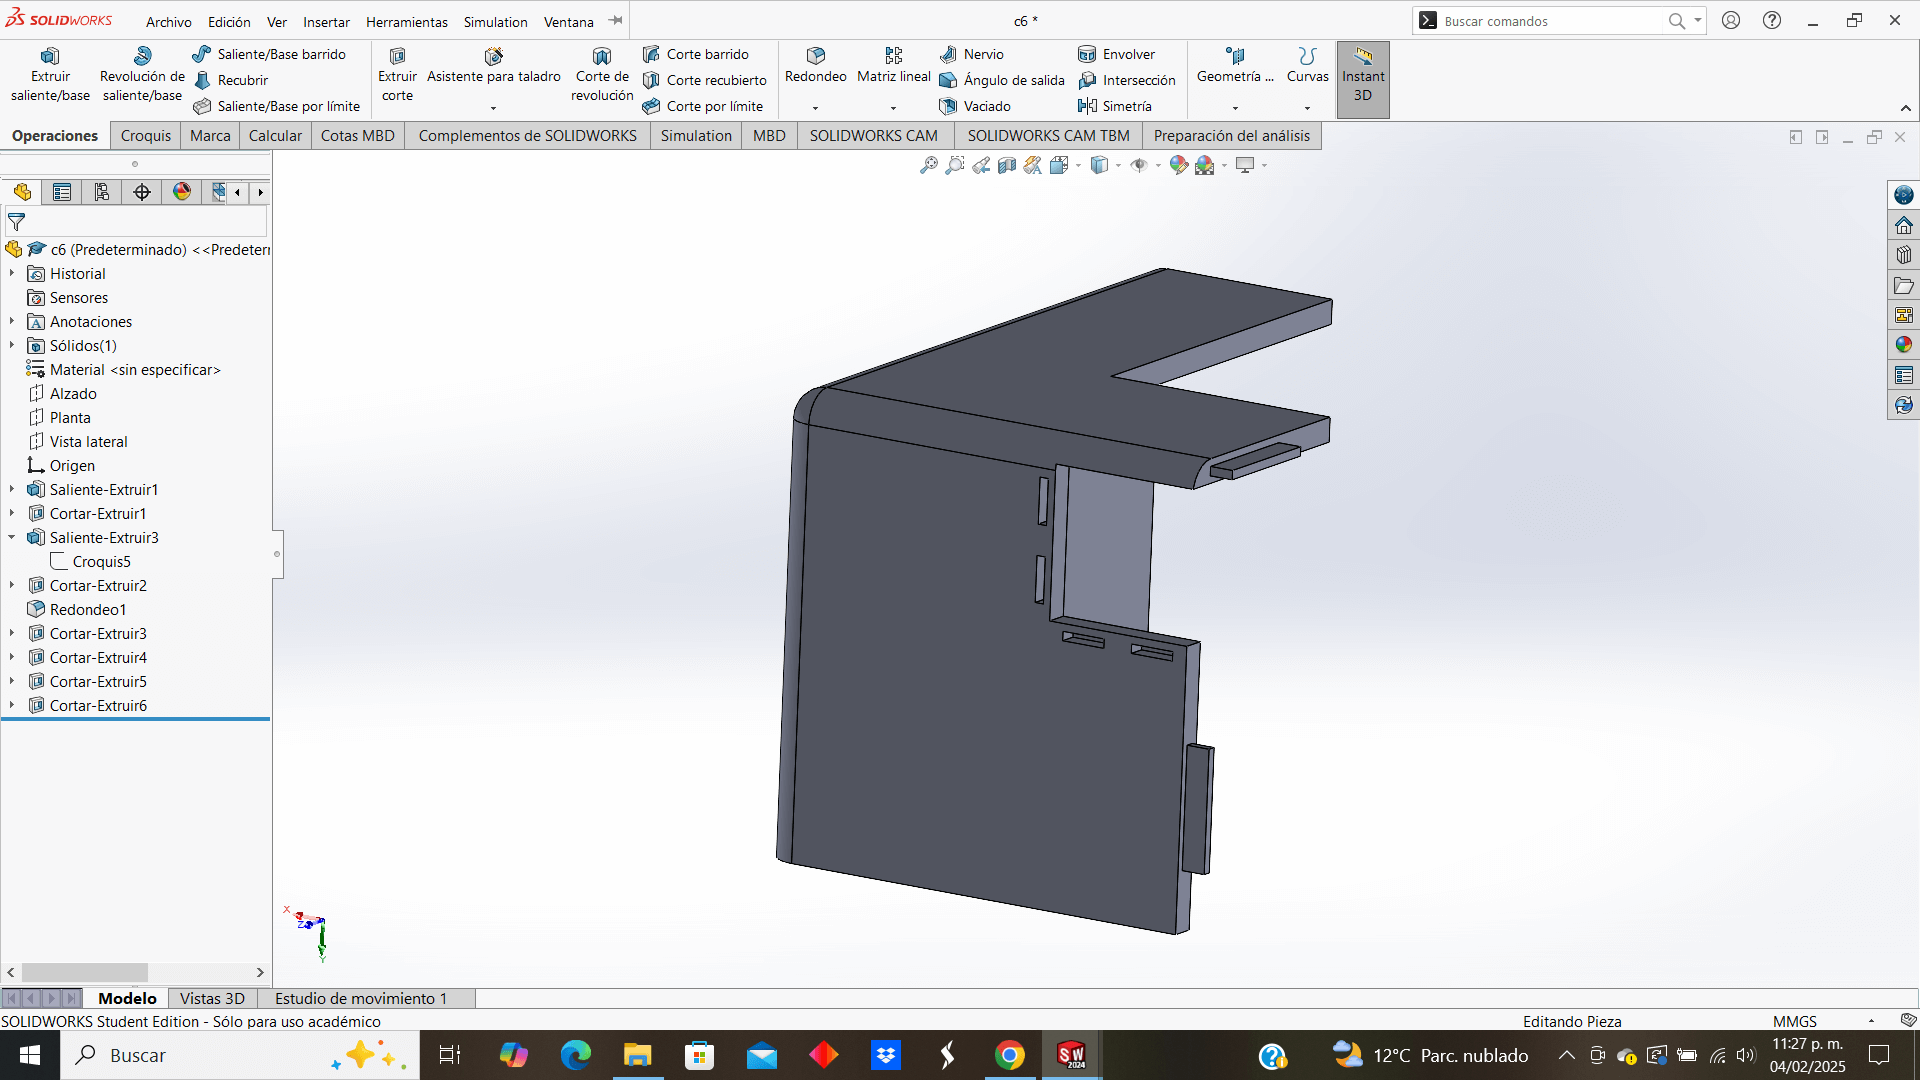
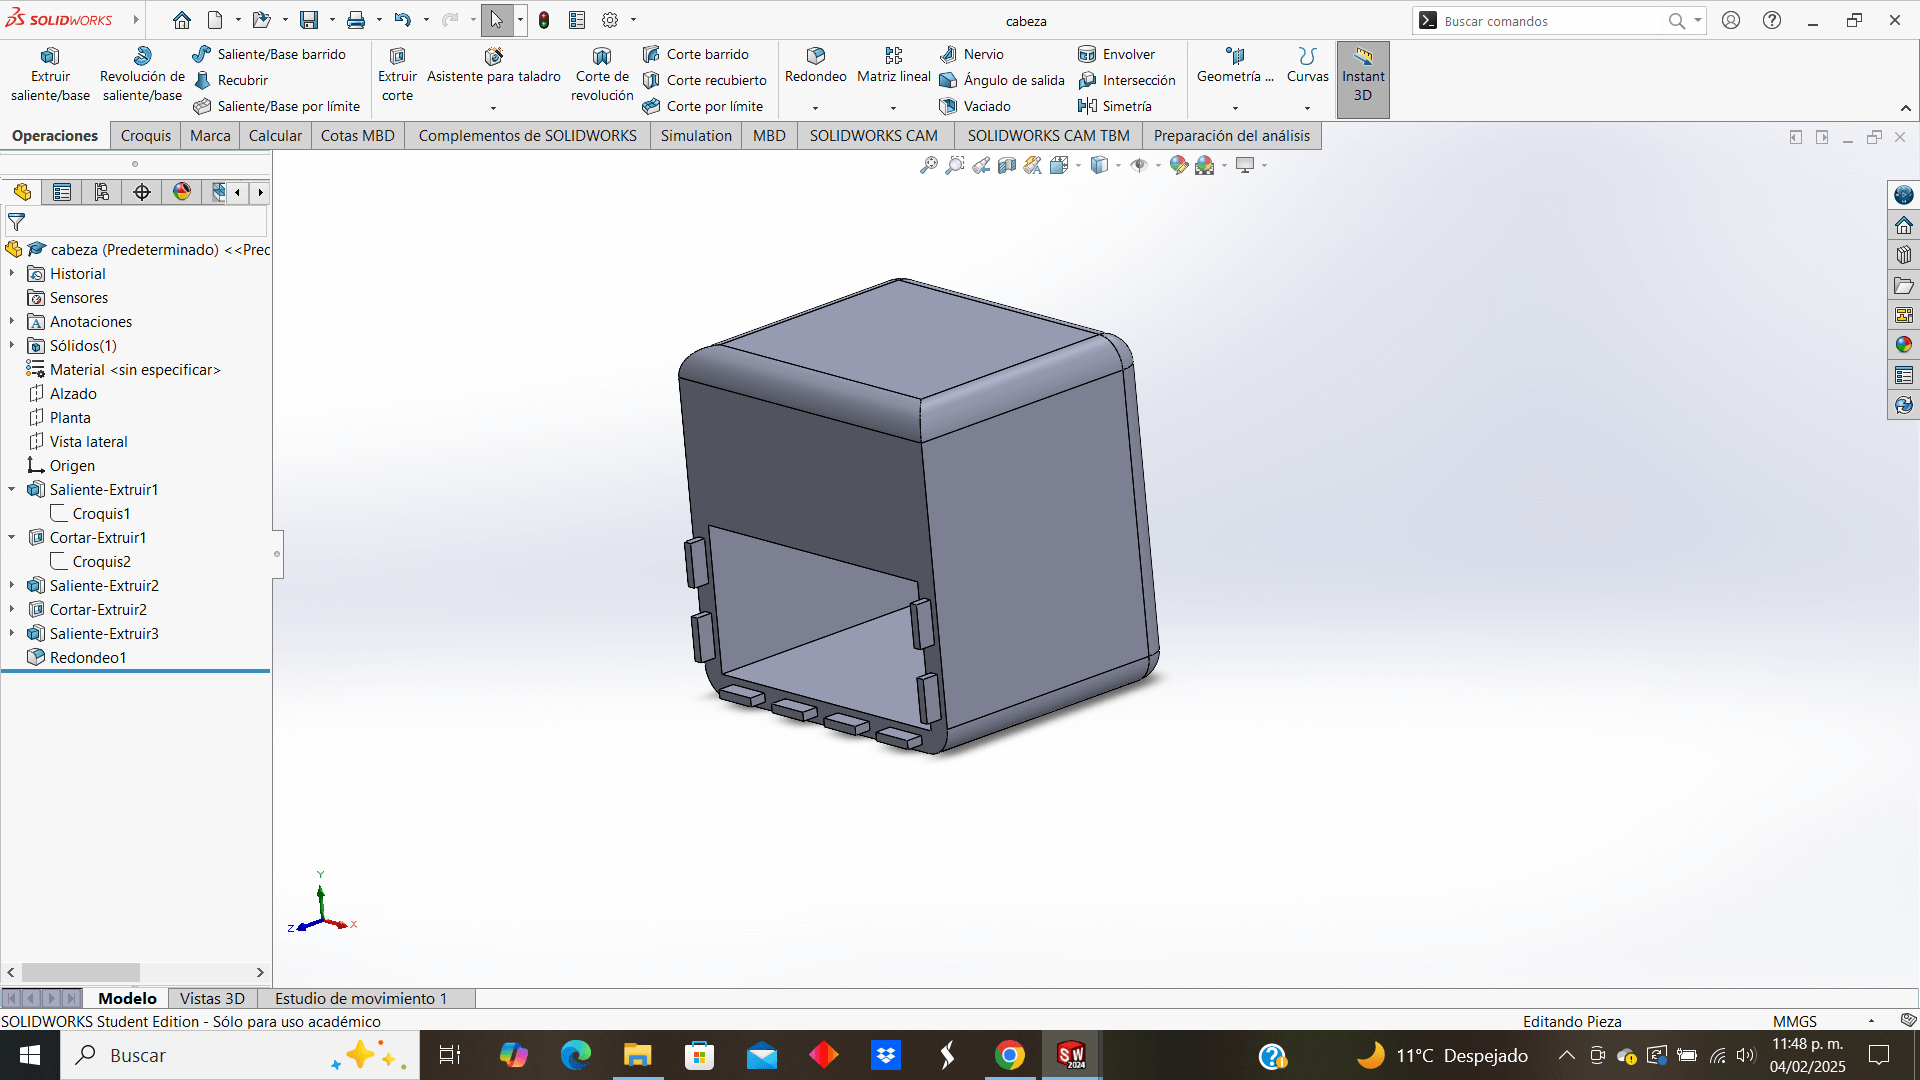
To finish with the designs part, the head of the robot
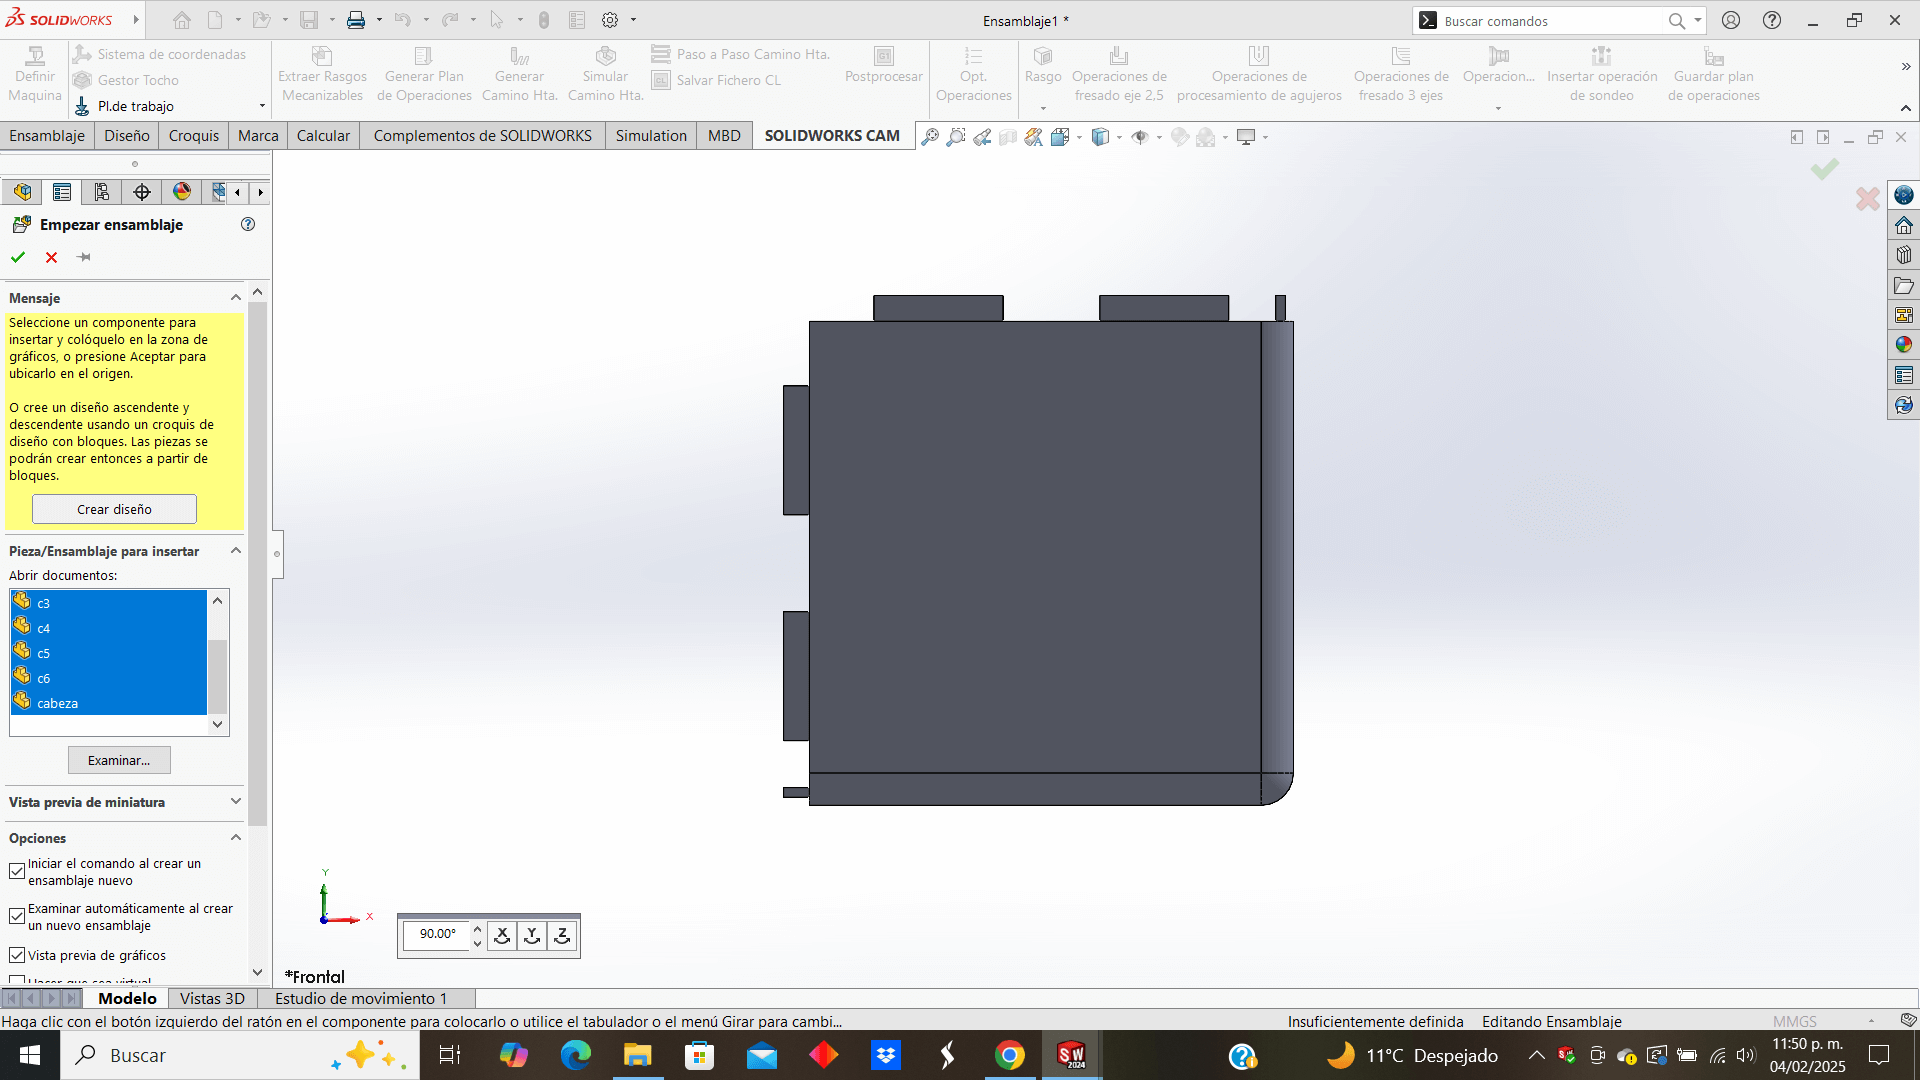
Now, we move on to the assembly part, we place all the pieces to be used and I begin to make the corresponding joints
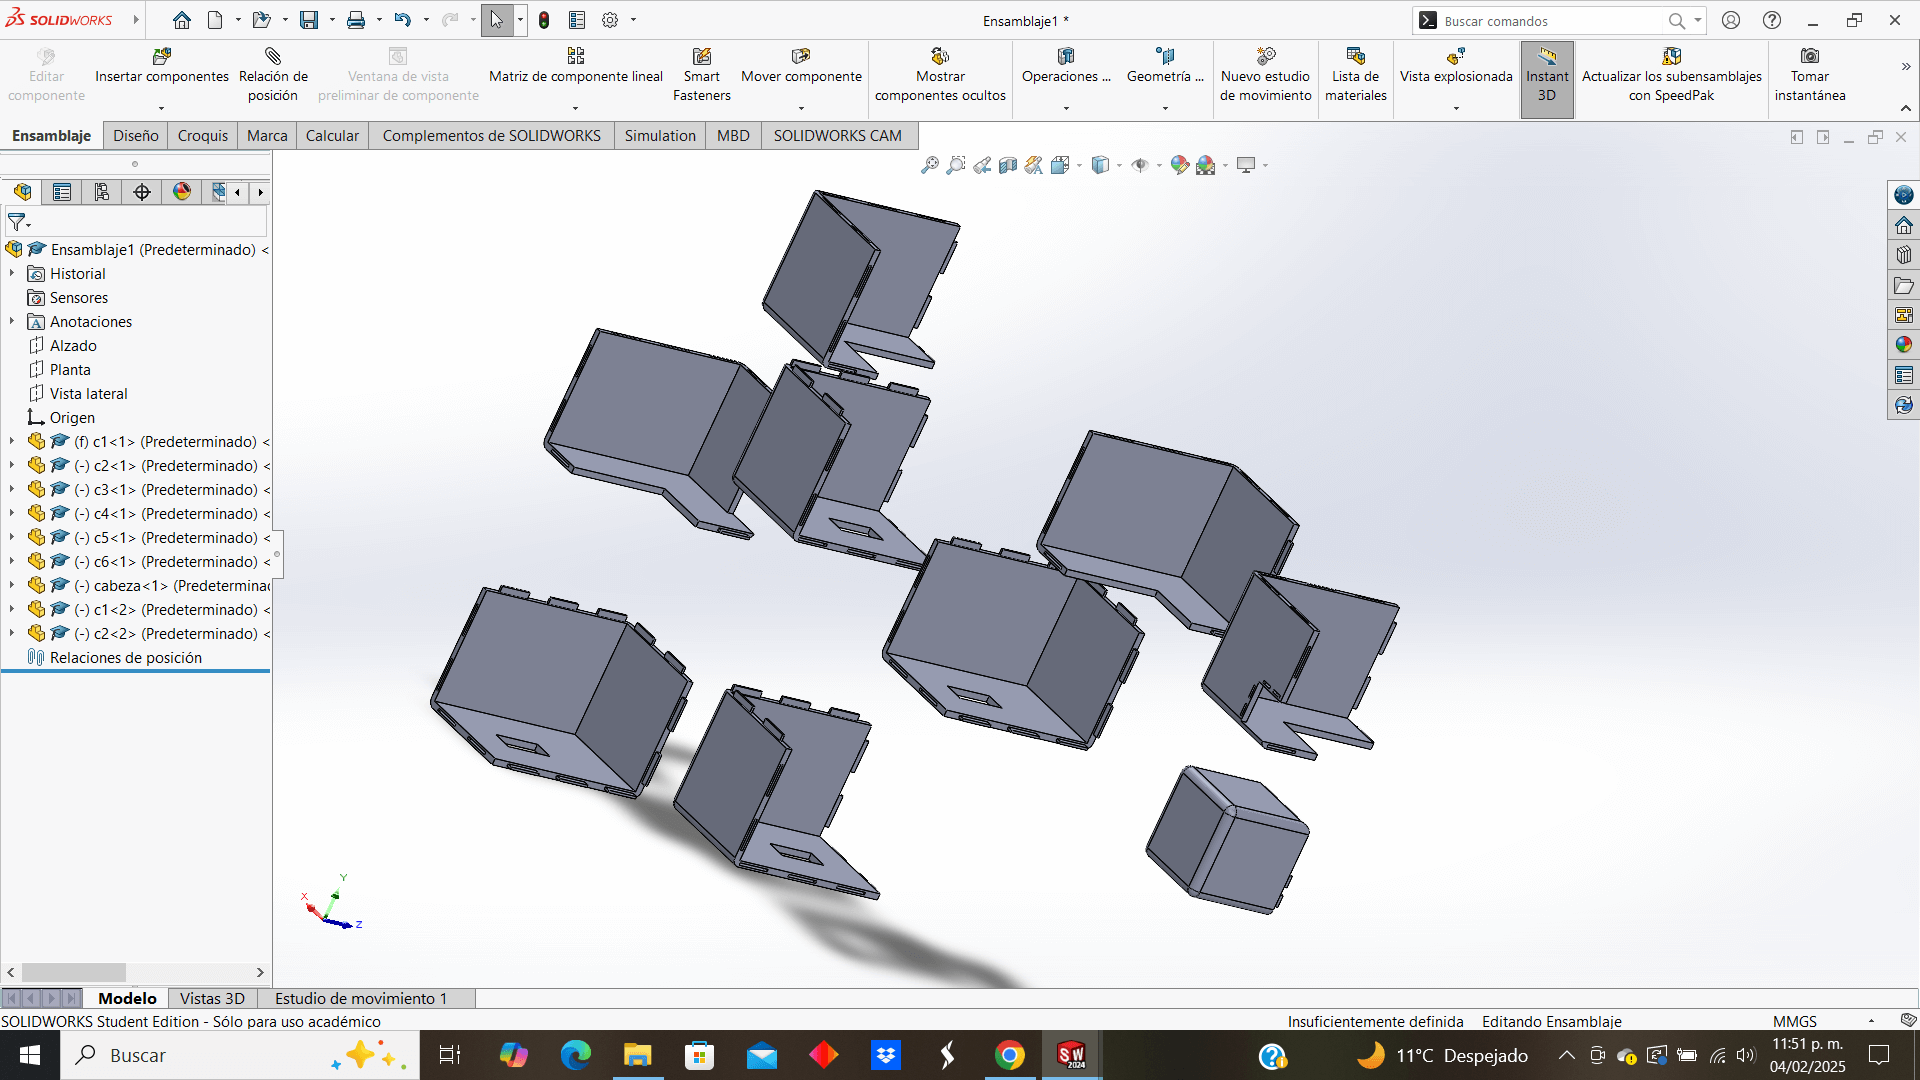
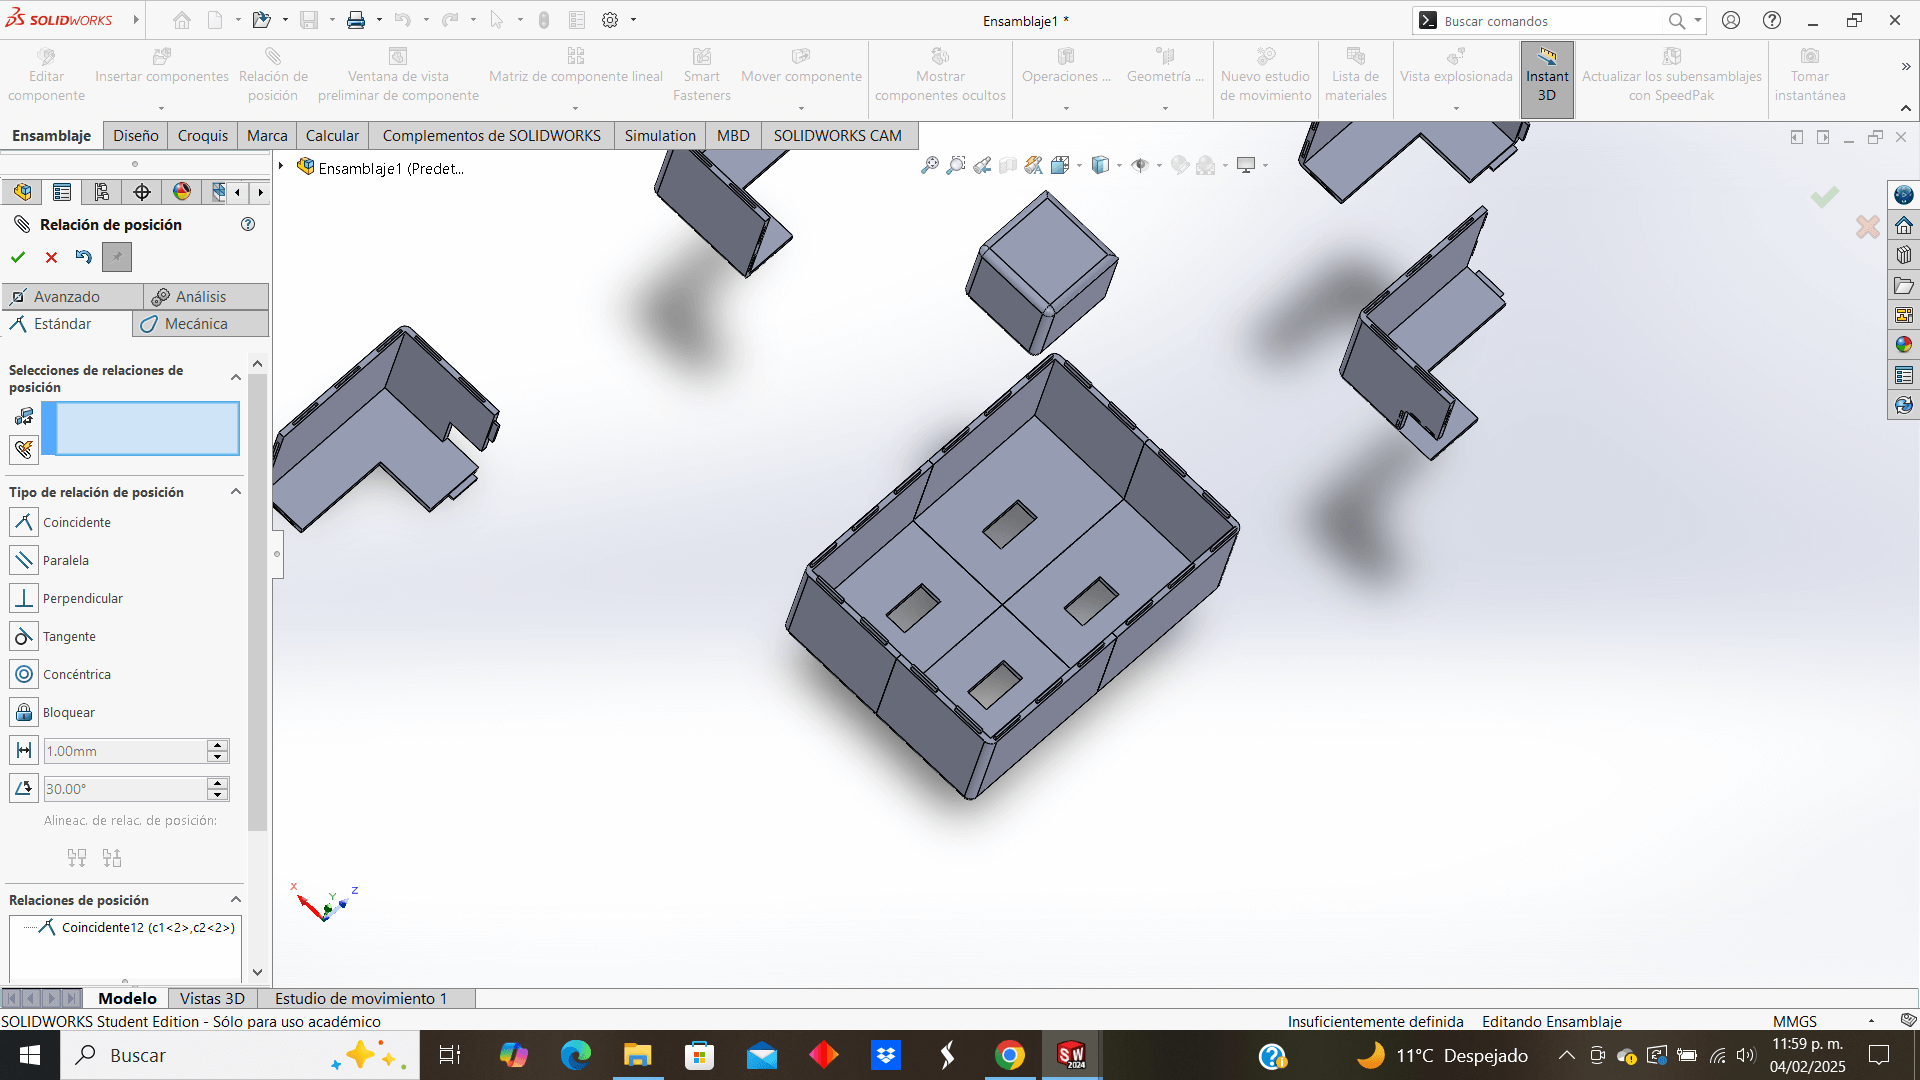
This is the result of the assembly
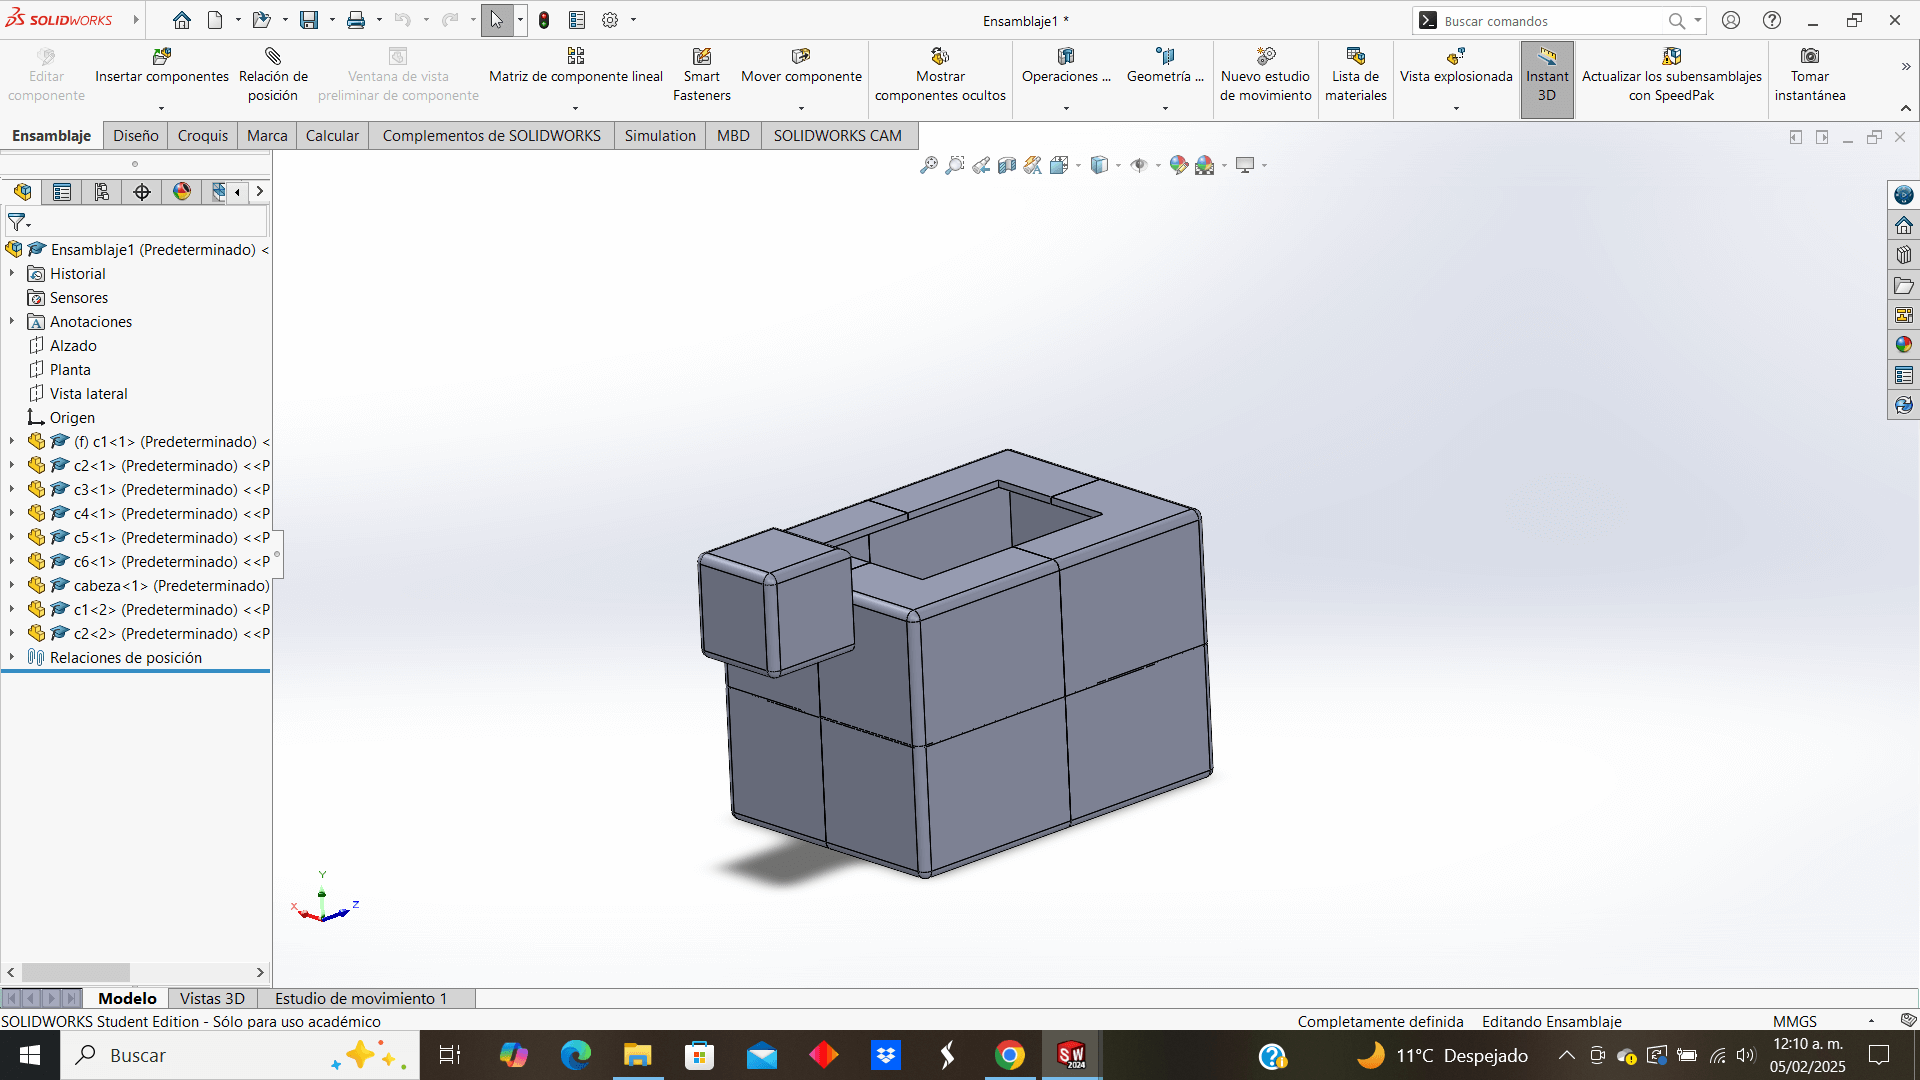
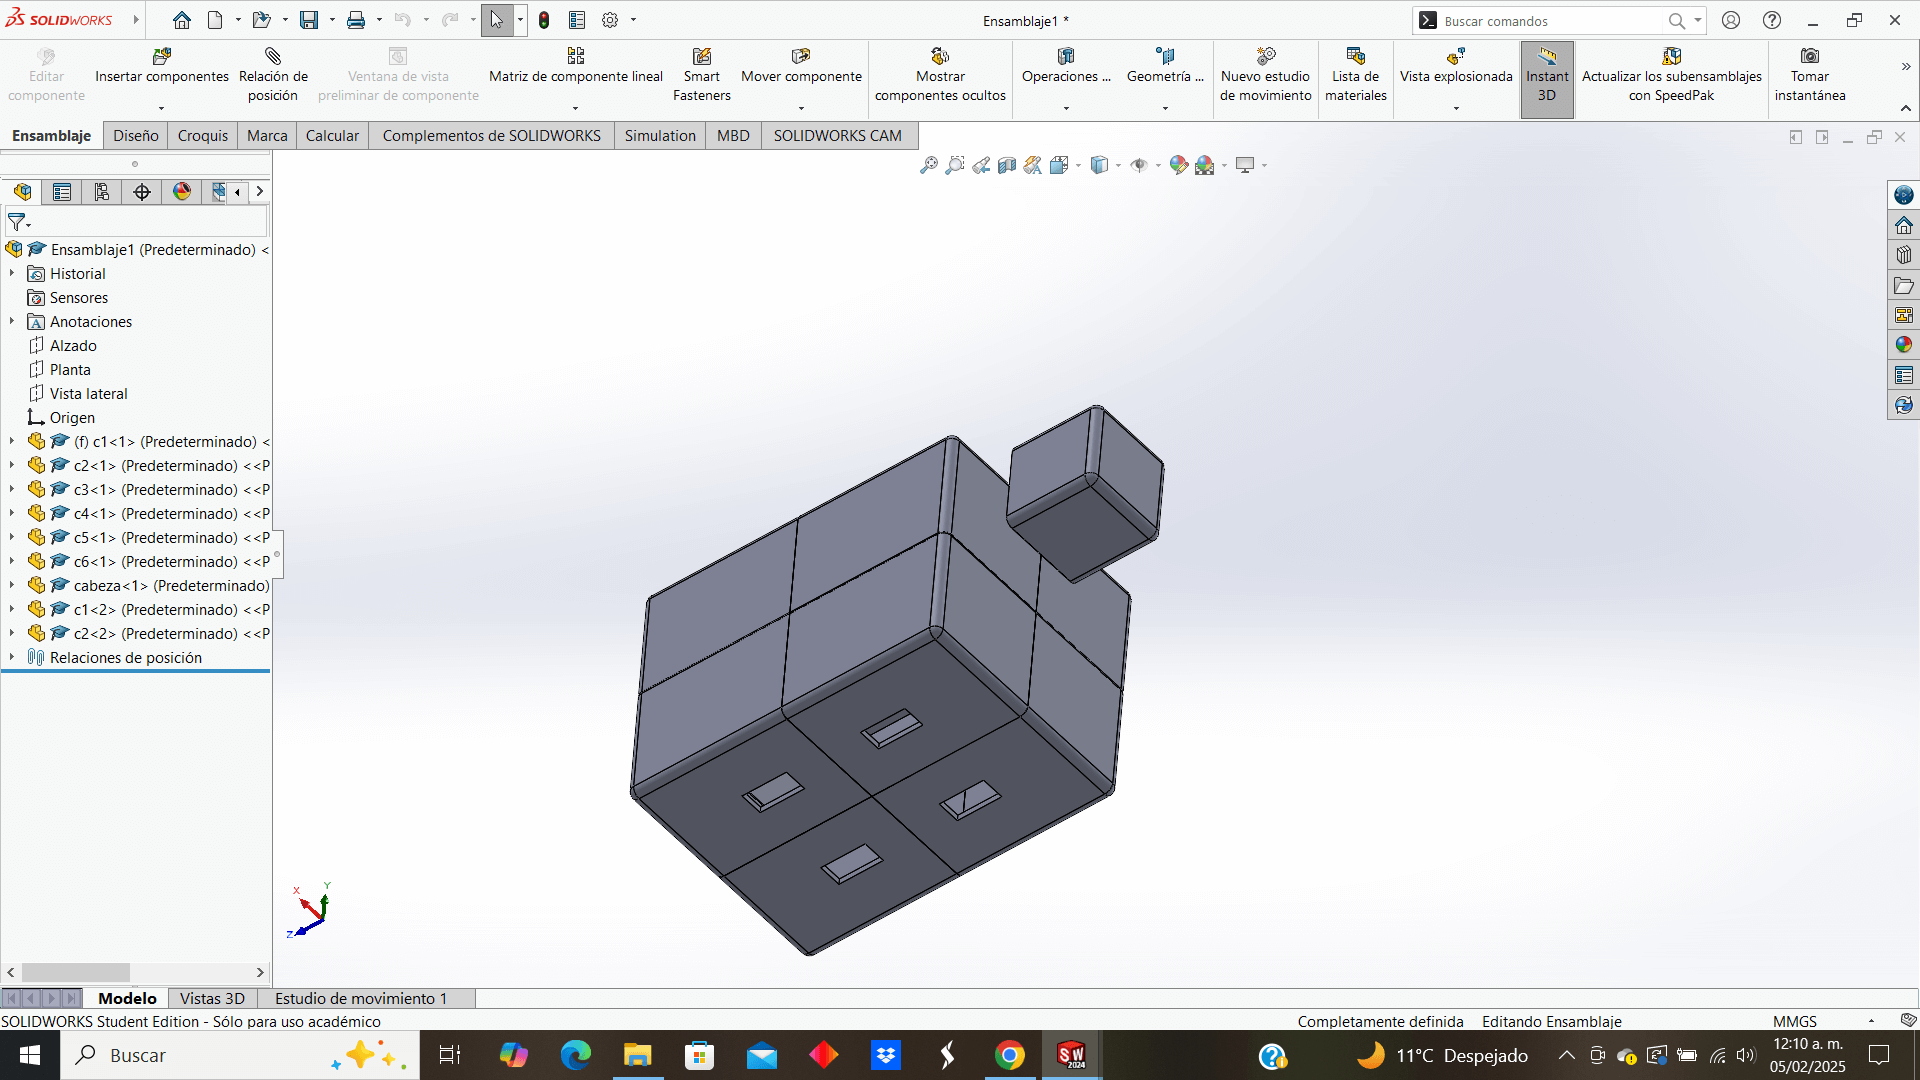
Now, to be able to go to the rendering part, you have to give the robot an appearance, in this case I chose a glossy white color for the body and a "wax" color for the face
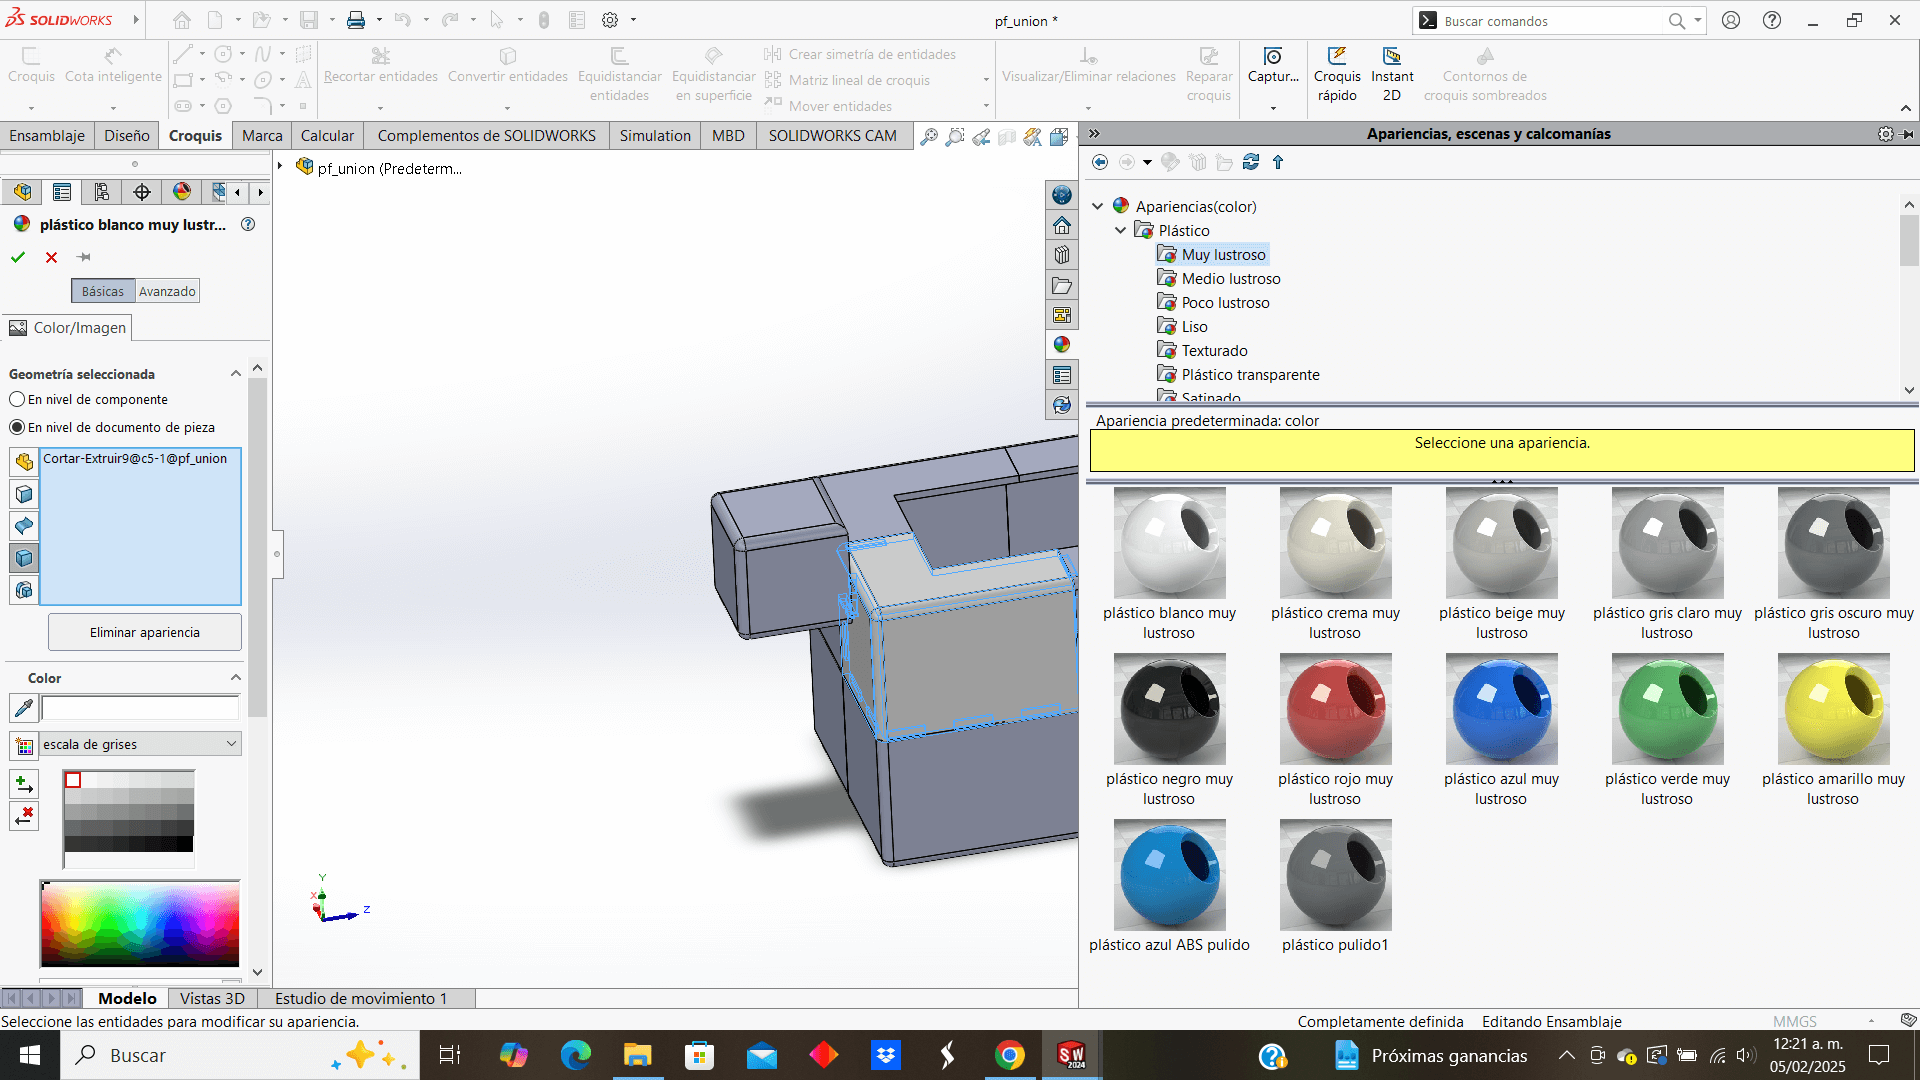
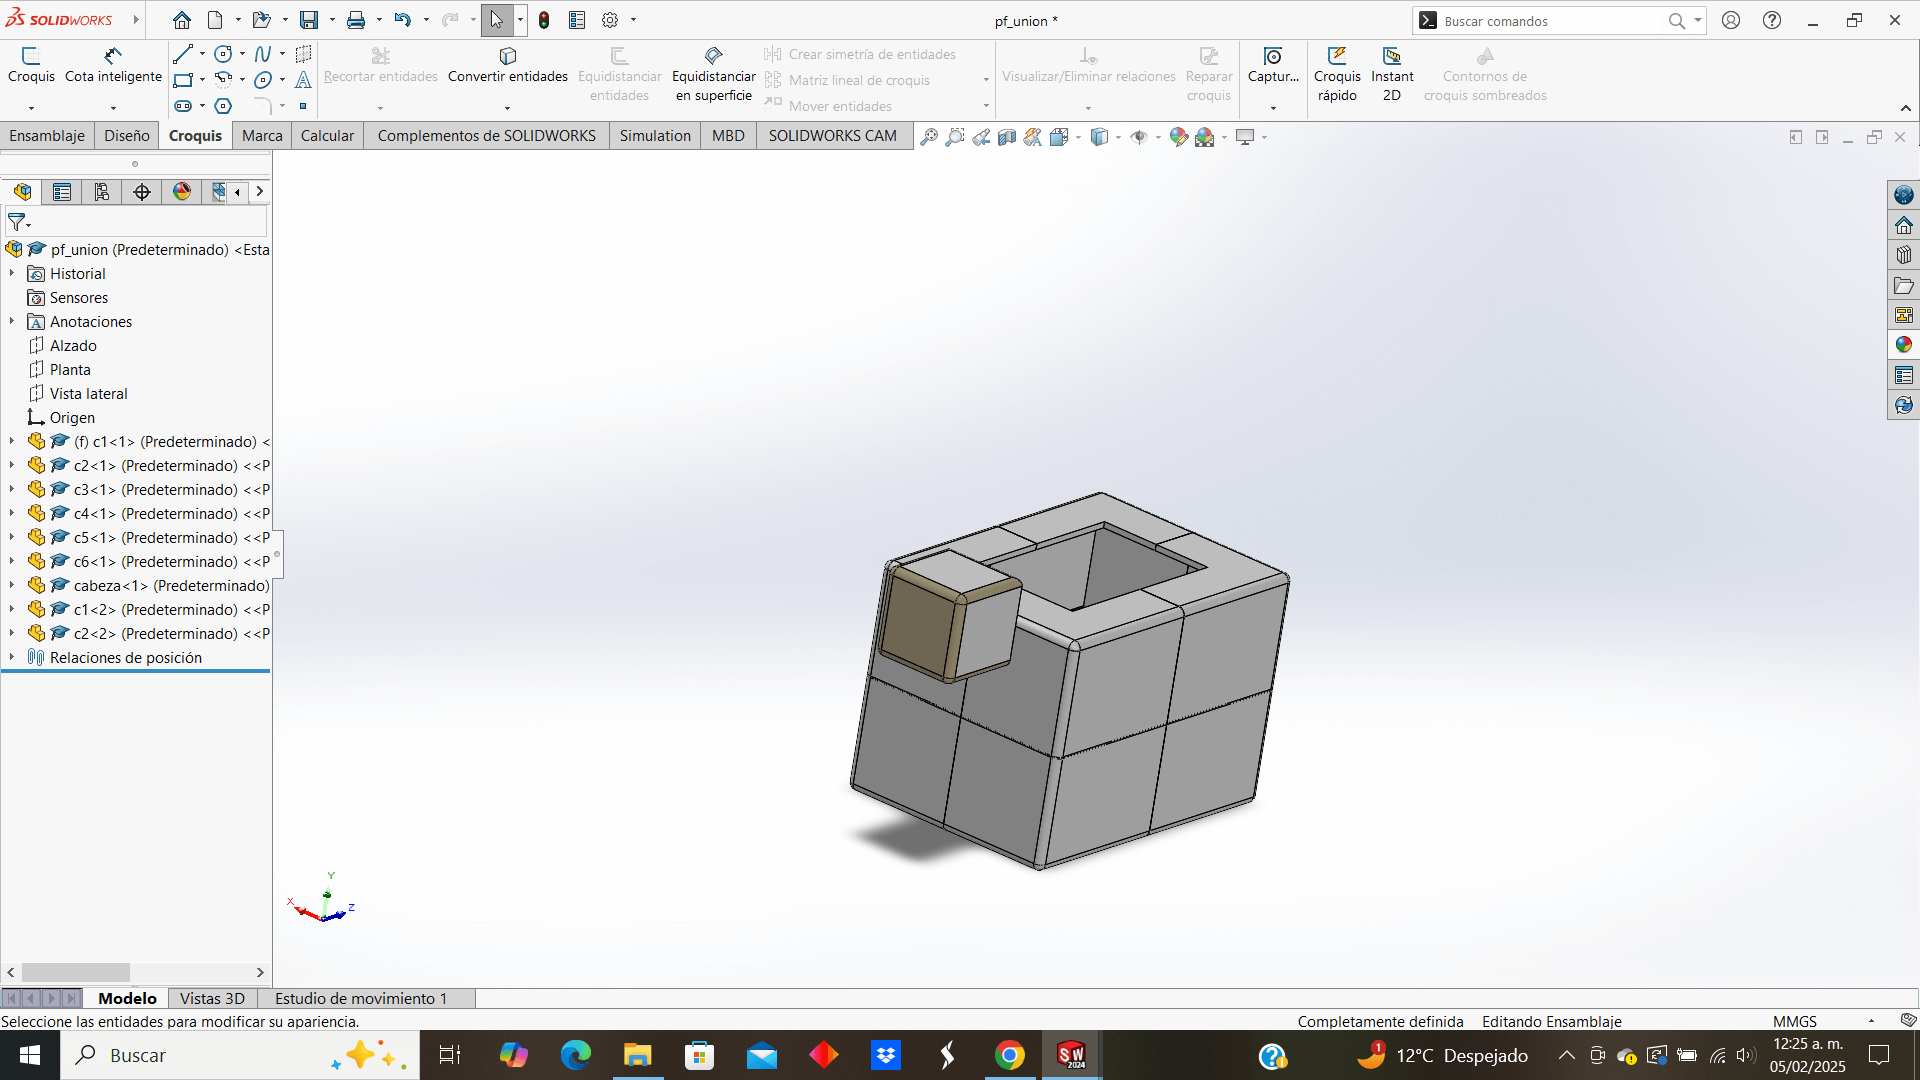
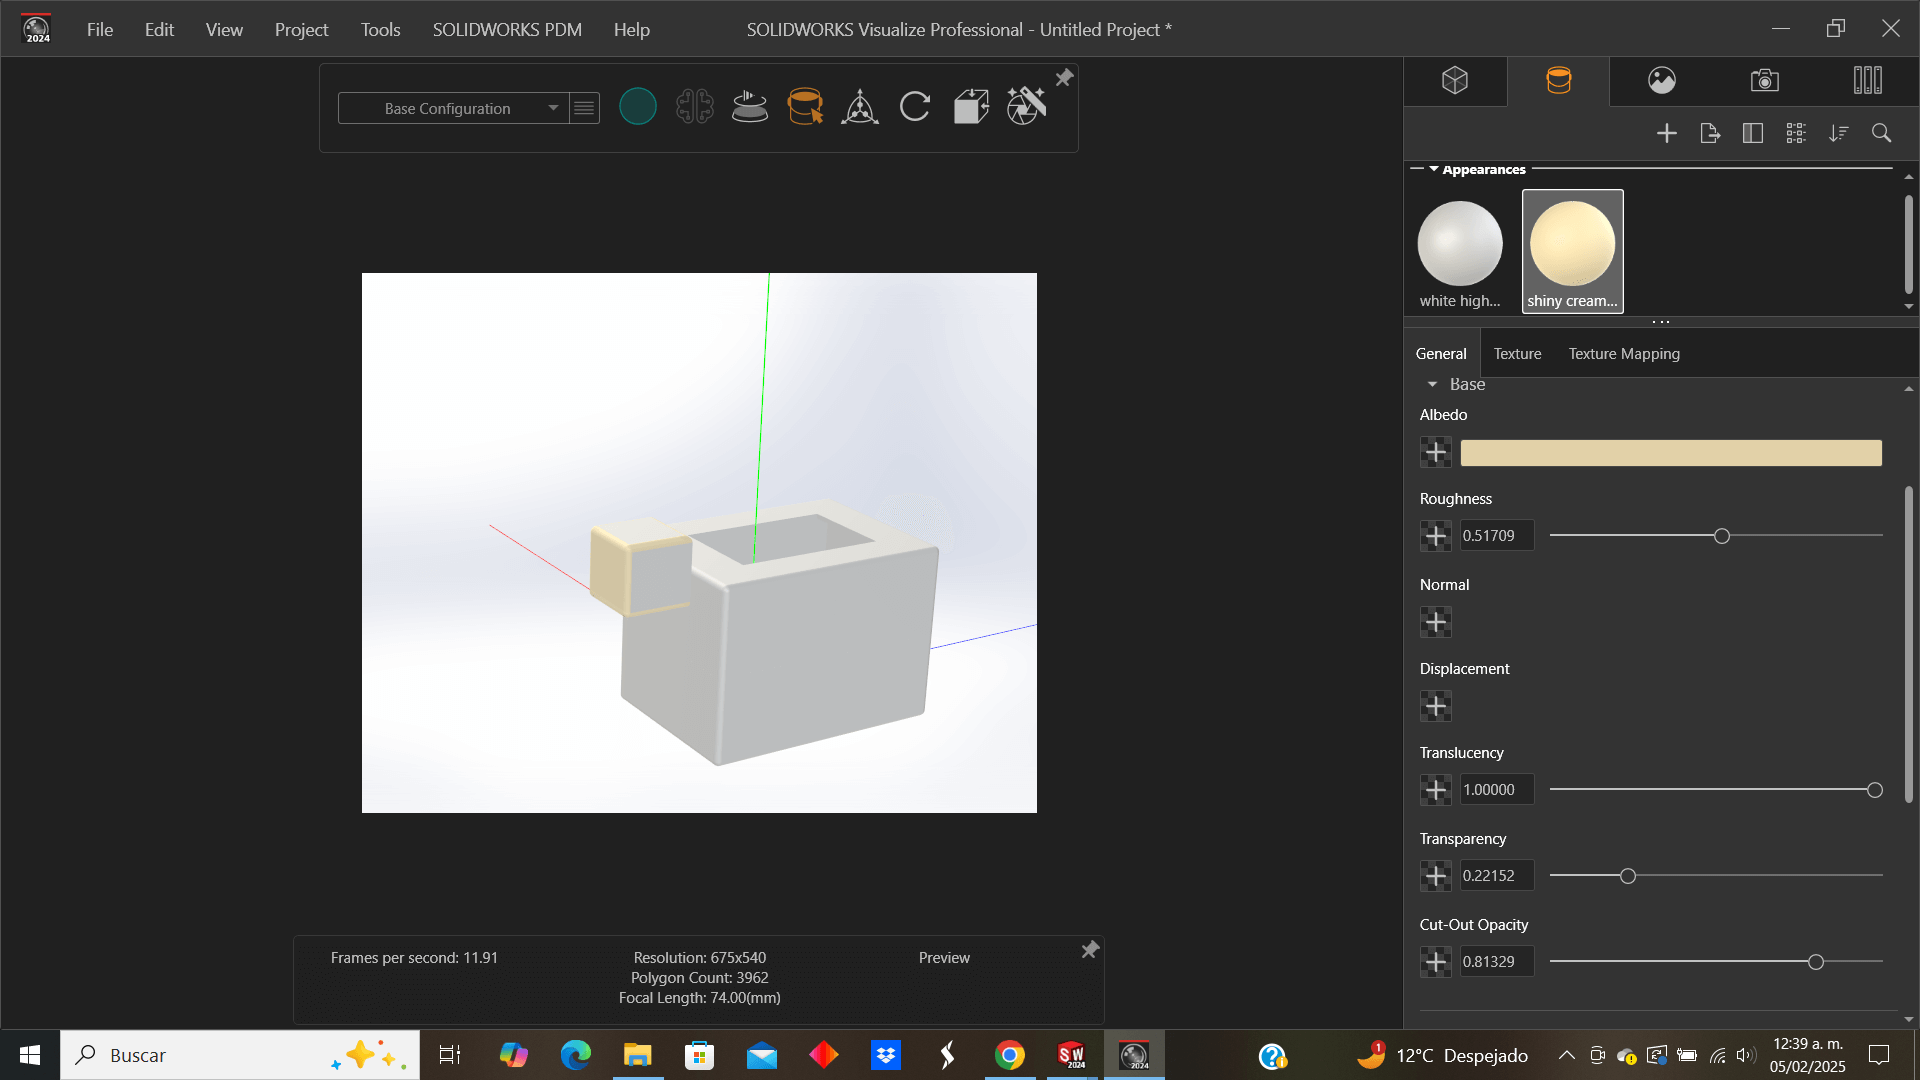
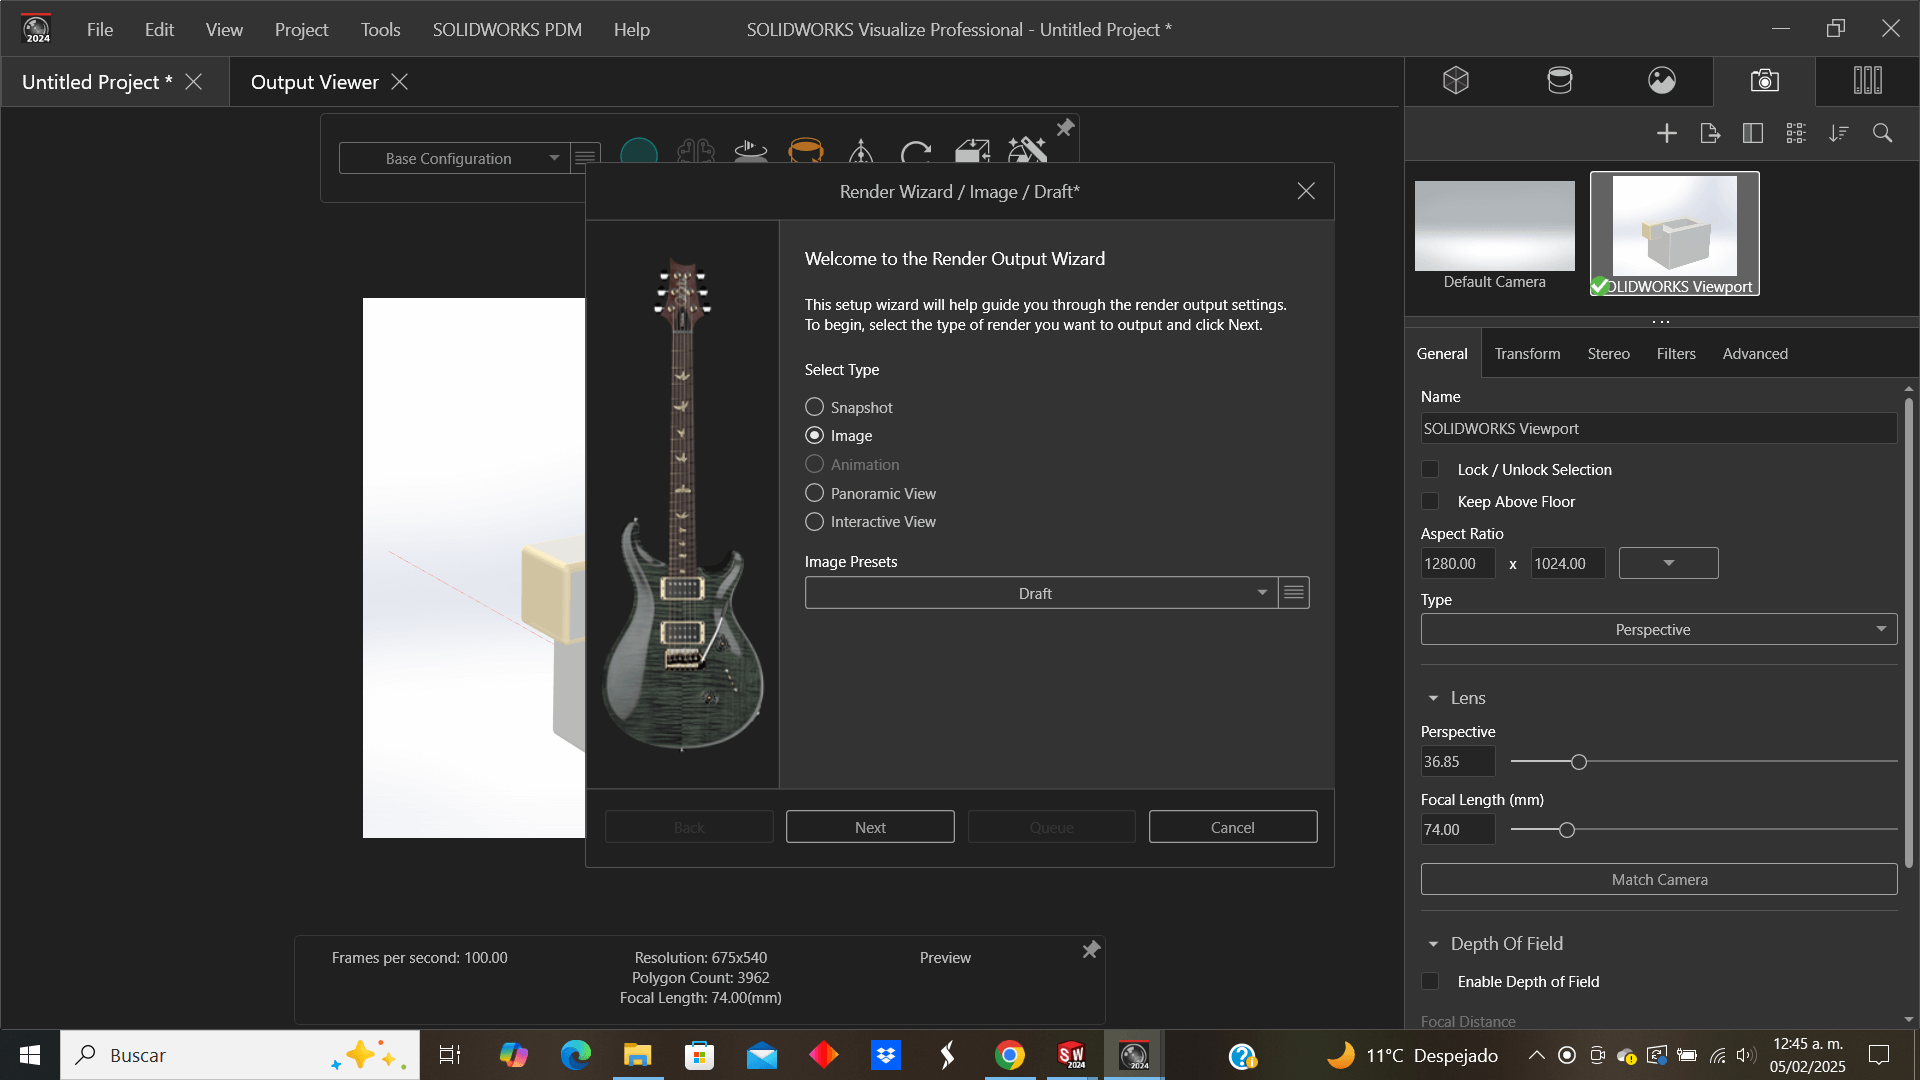
We open the Solidworks tool to render and make the adjustments we want to the brightness, environment or position of our figure to be rendered
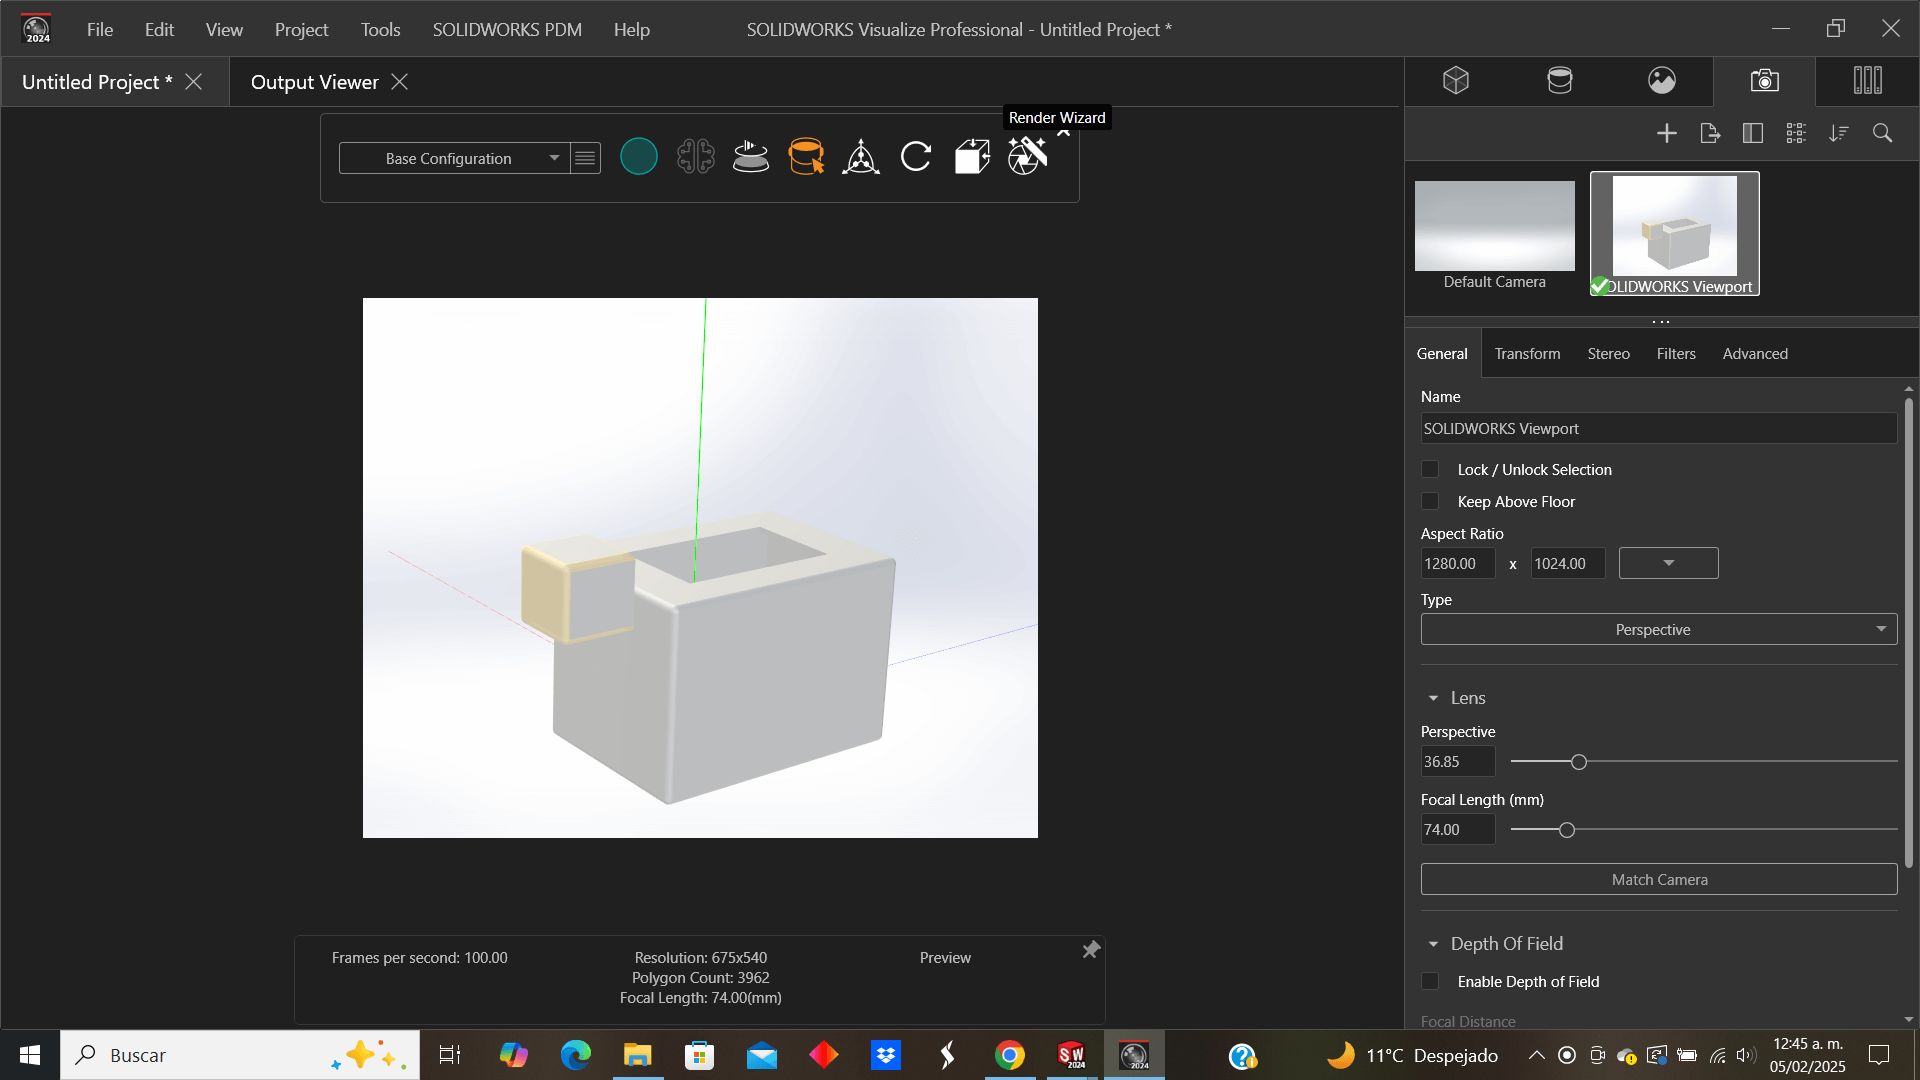
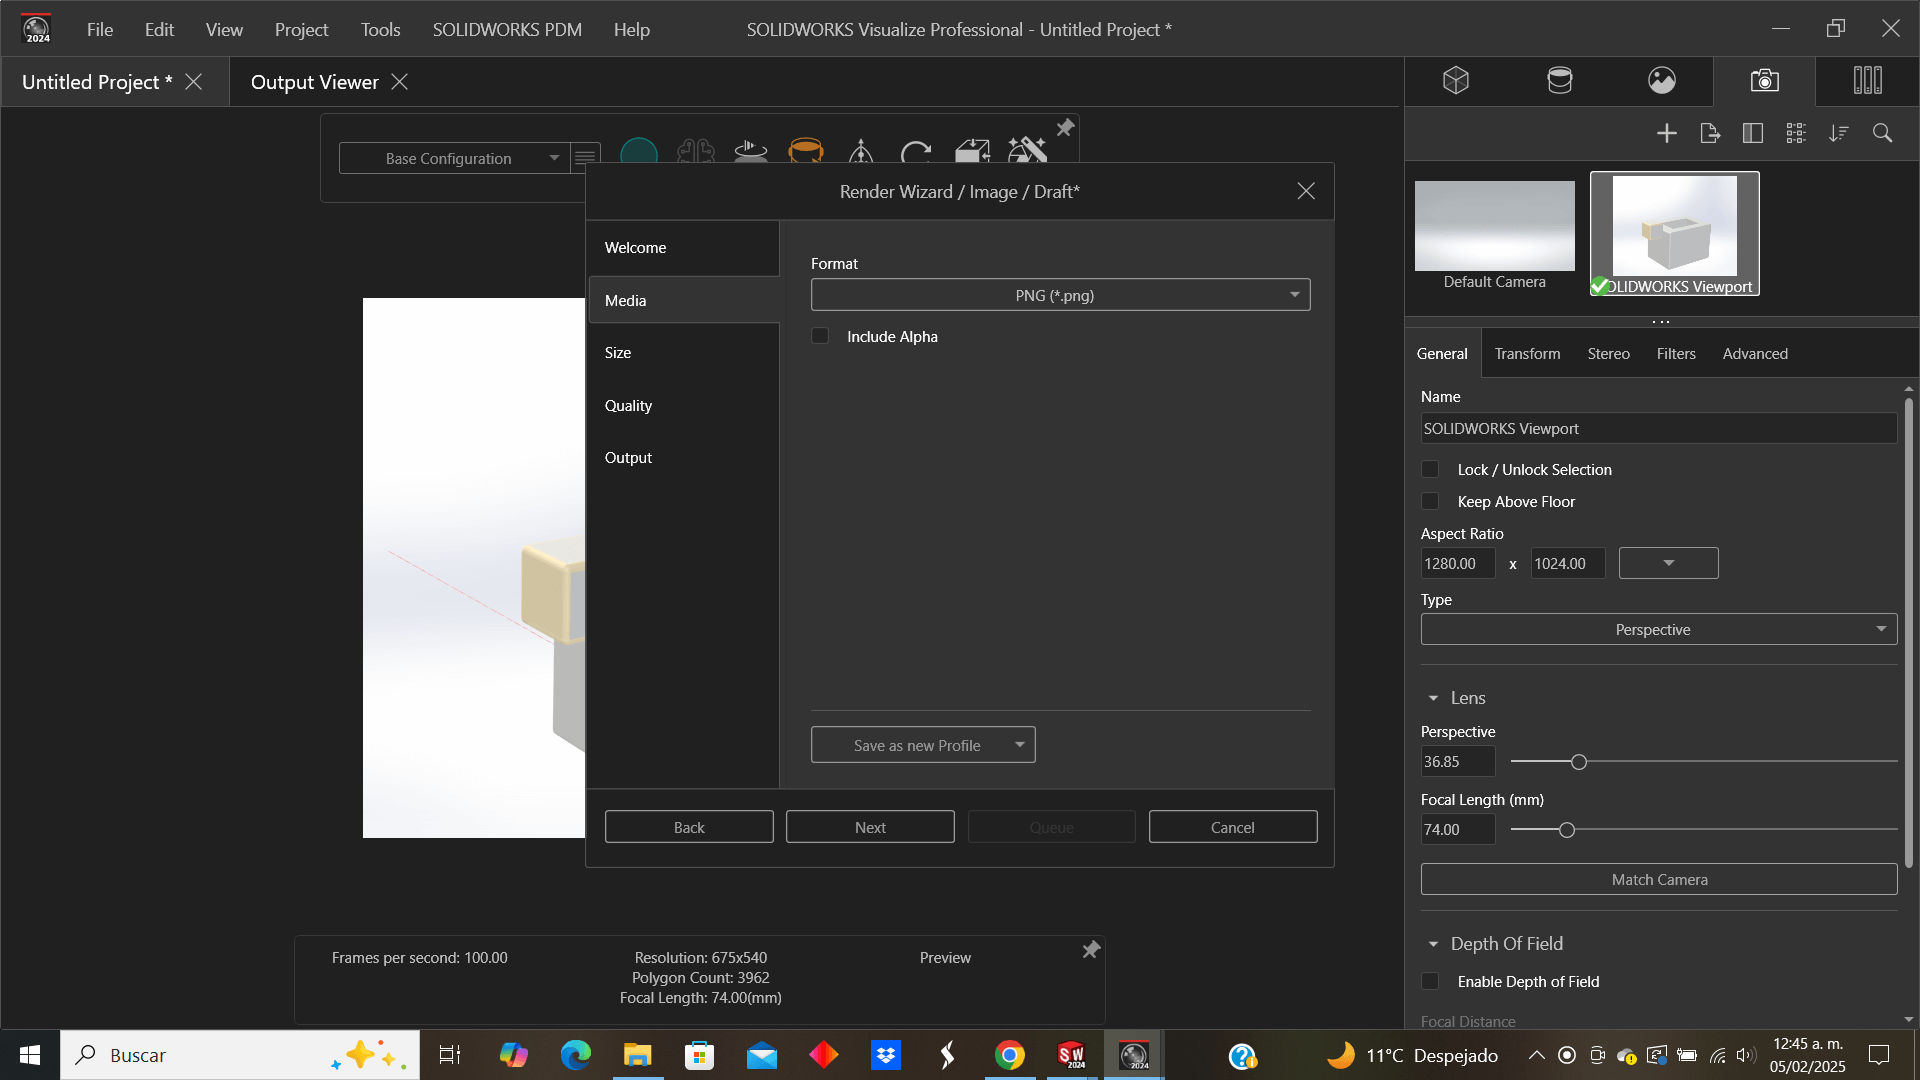
We choose the image option and the format (.png)
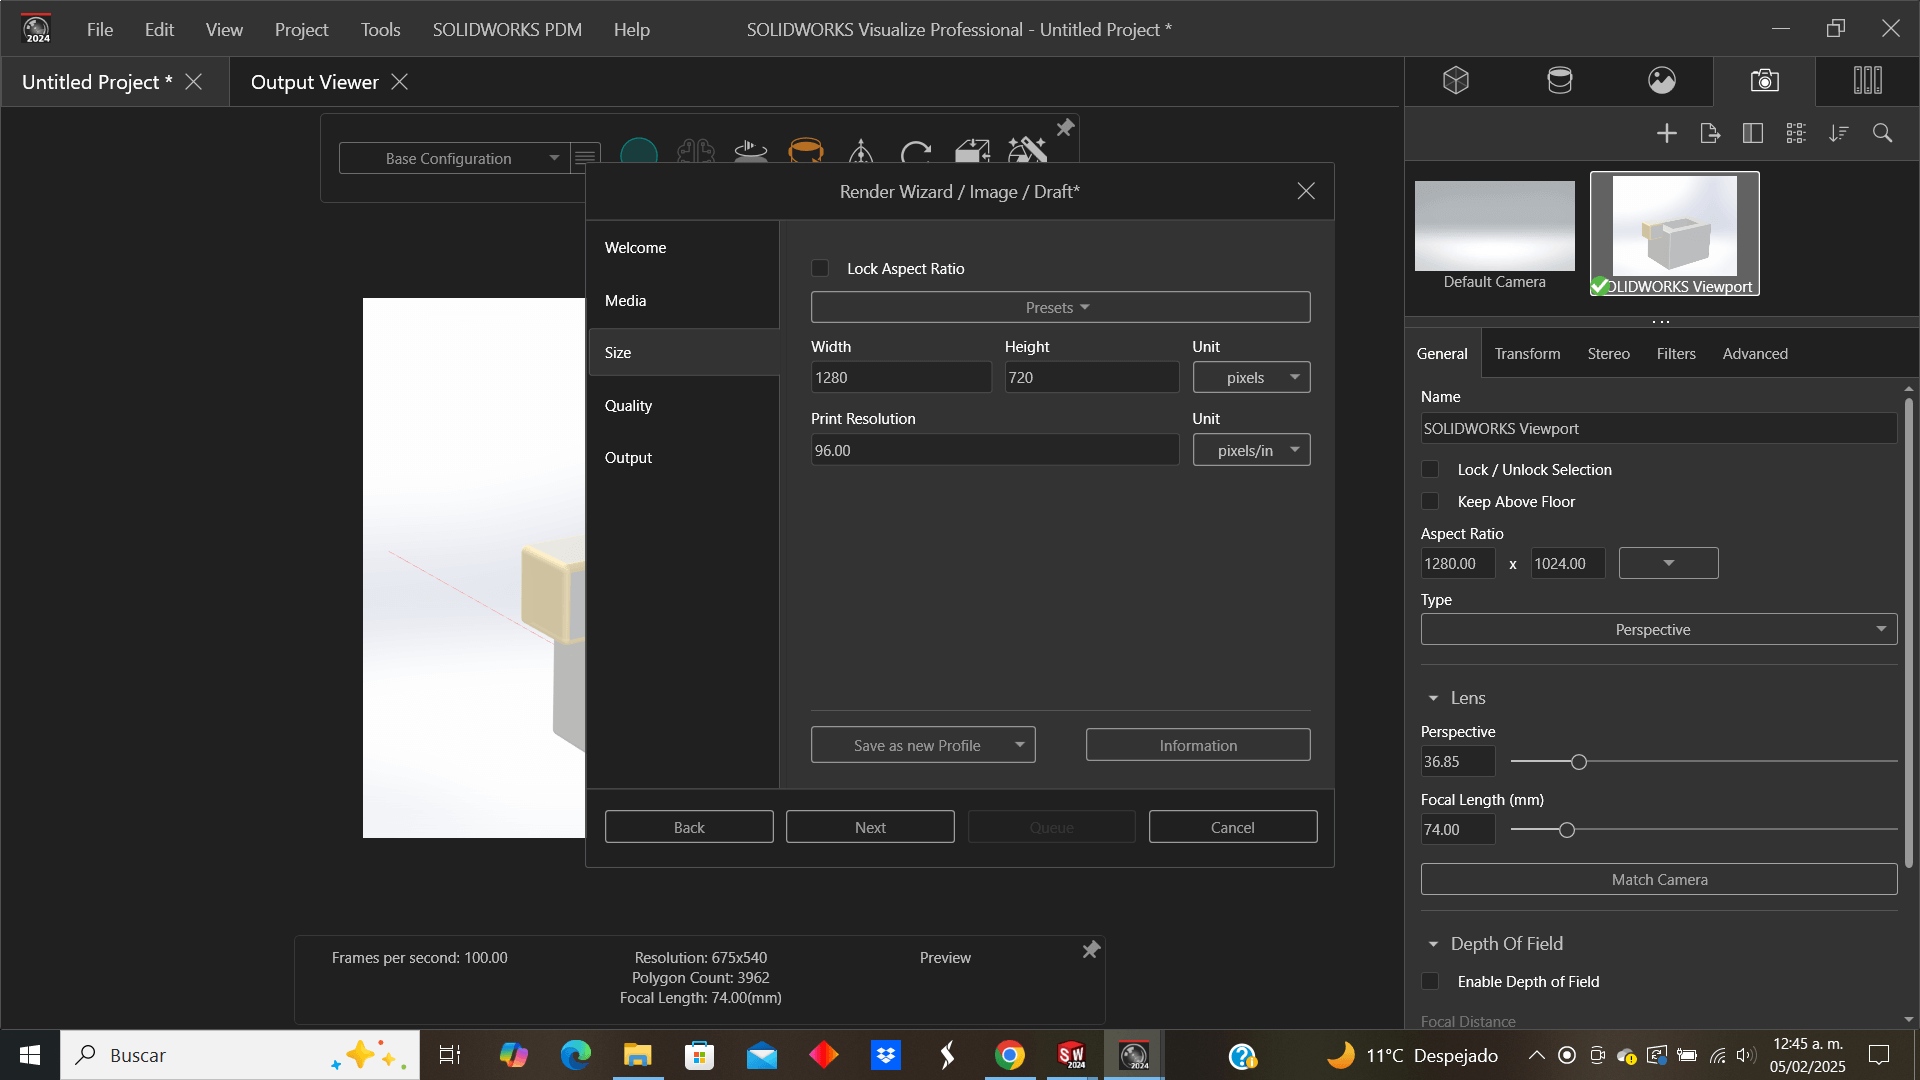
I adjust the image size
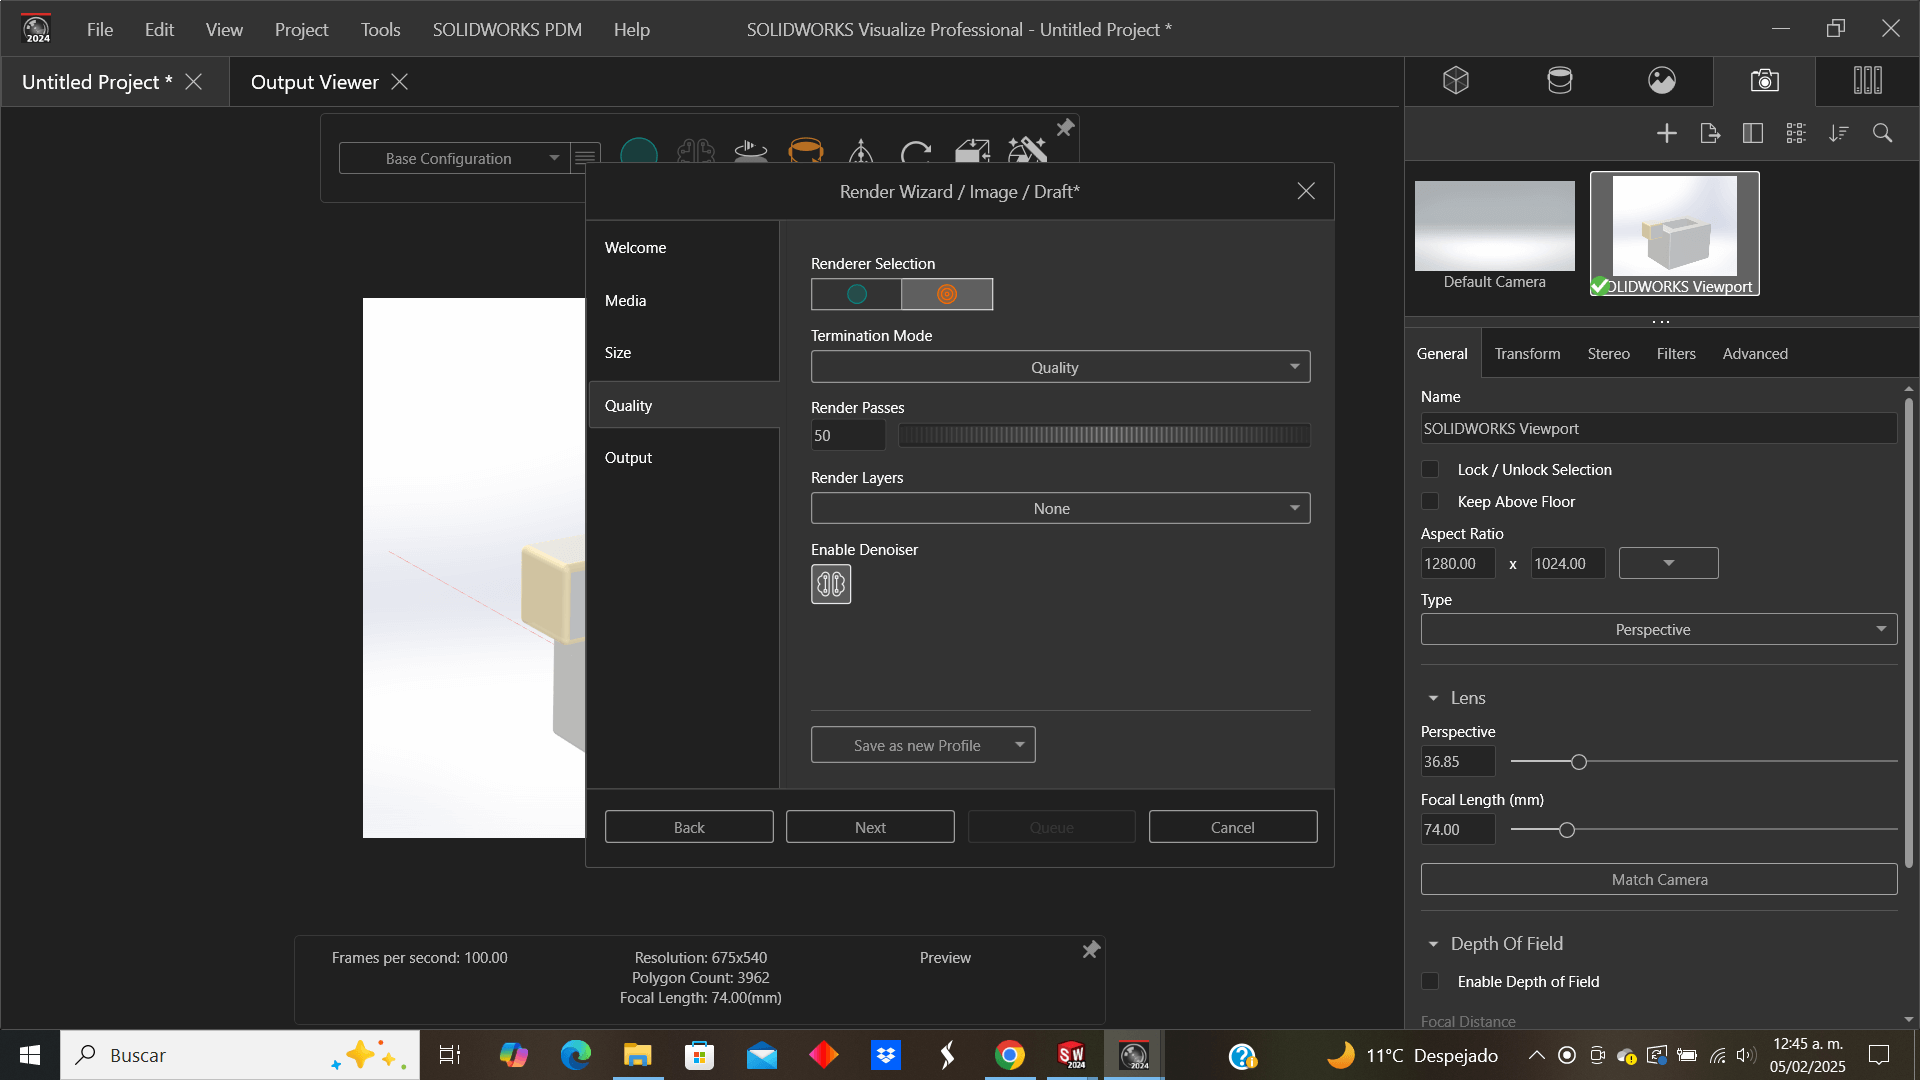
I choose the render quality, the highest in my case
I decide the save location of my image
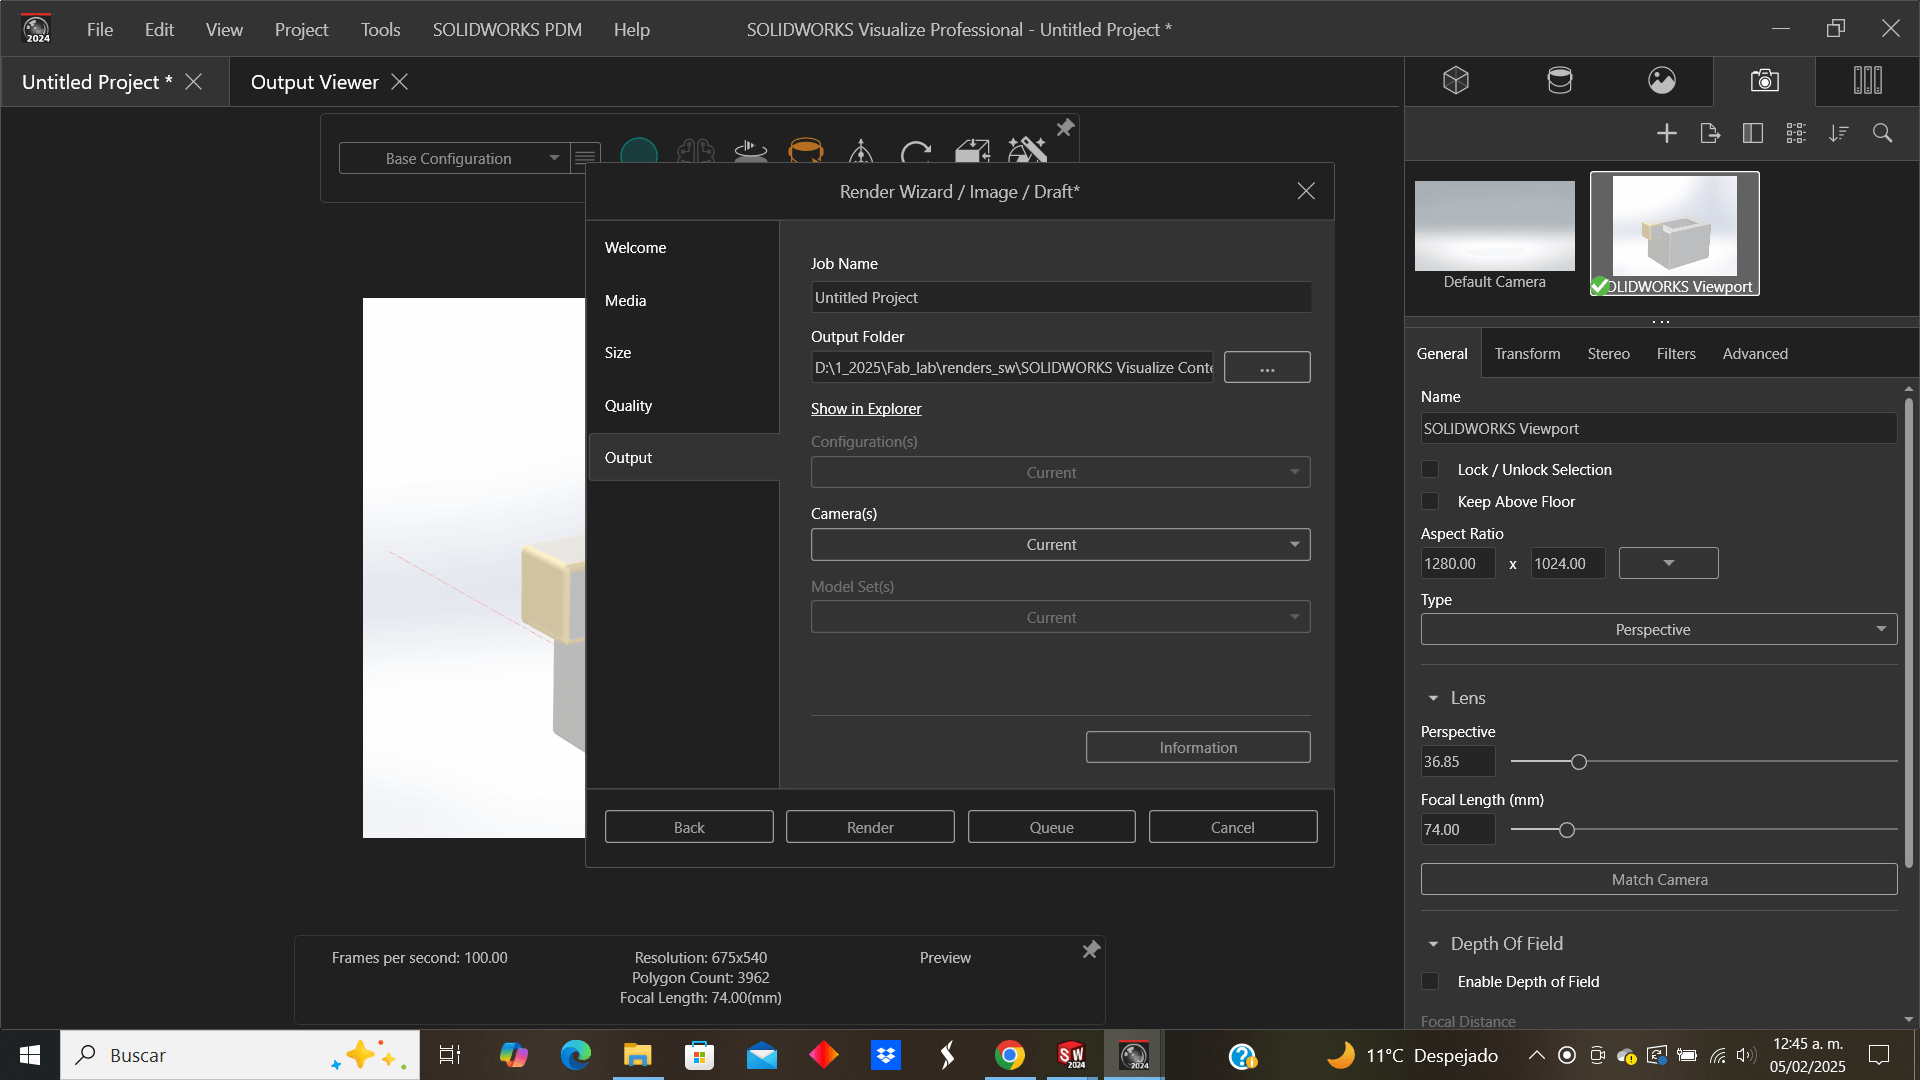
Finally I wait for it to render and have my image ready
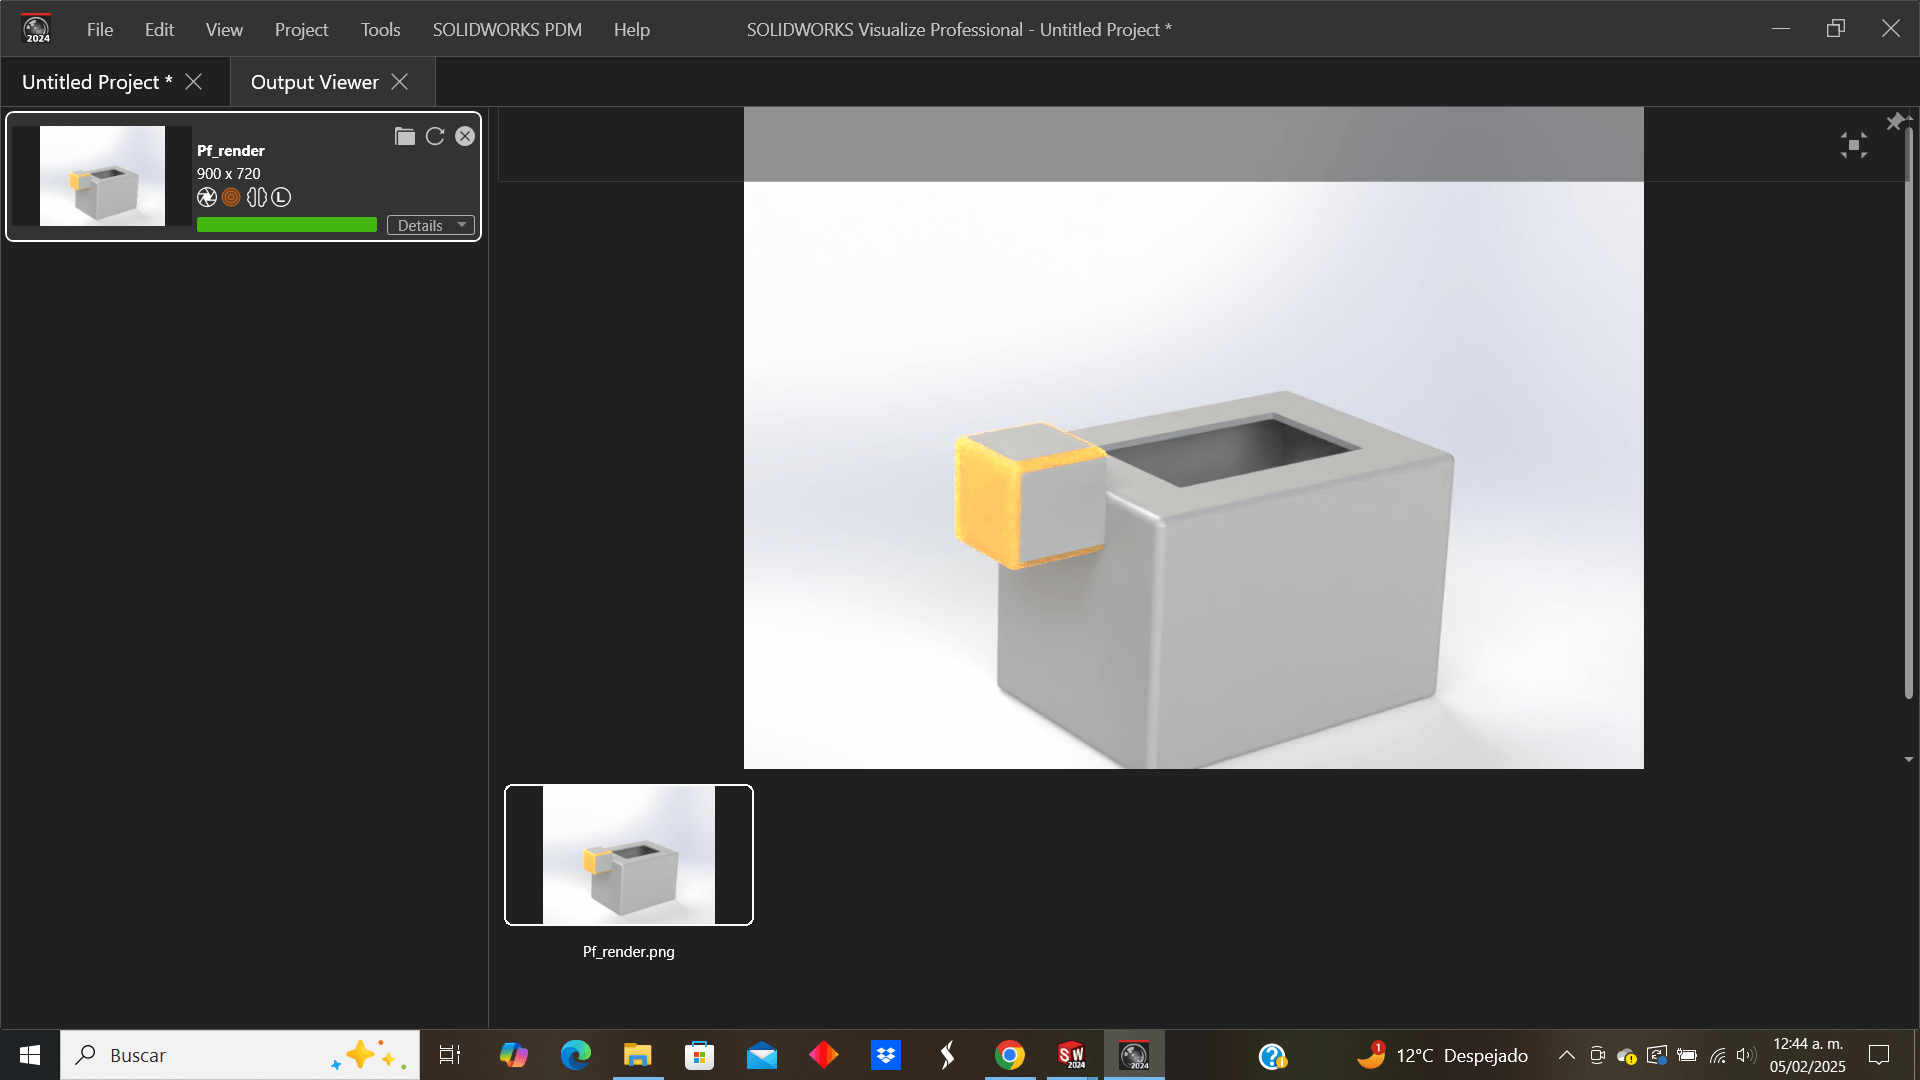
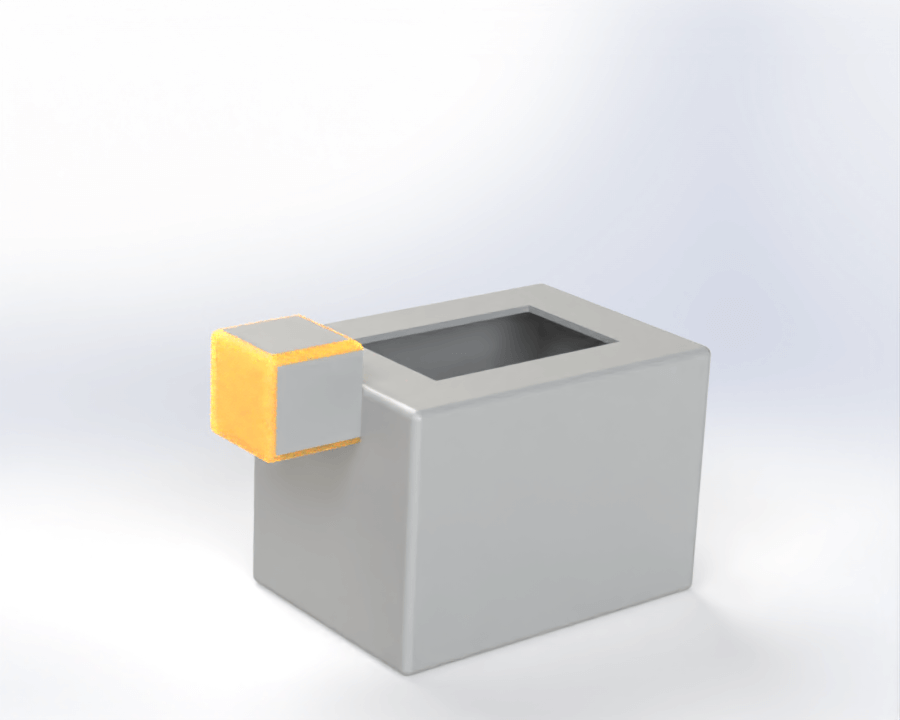
The result:
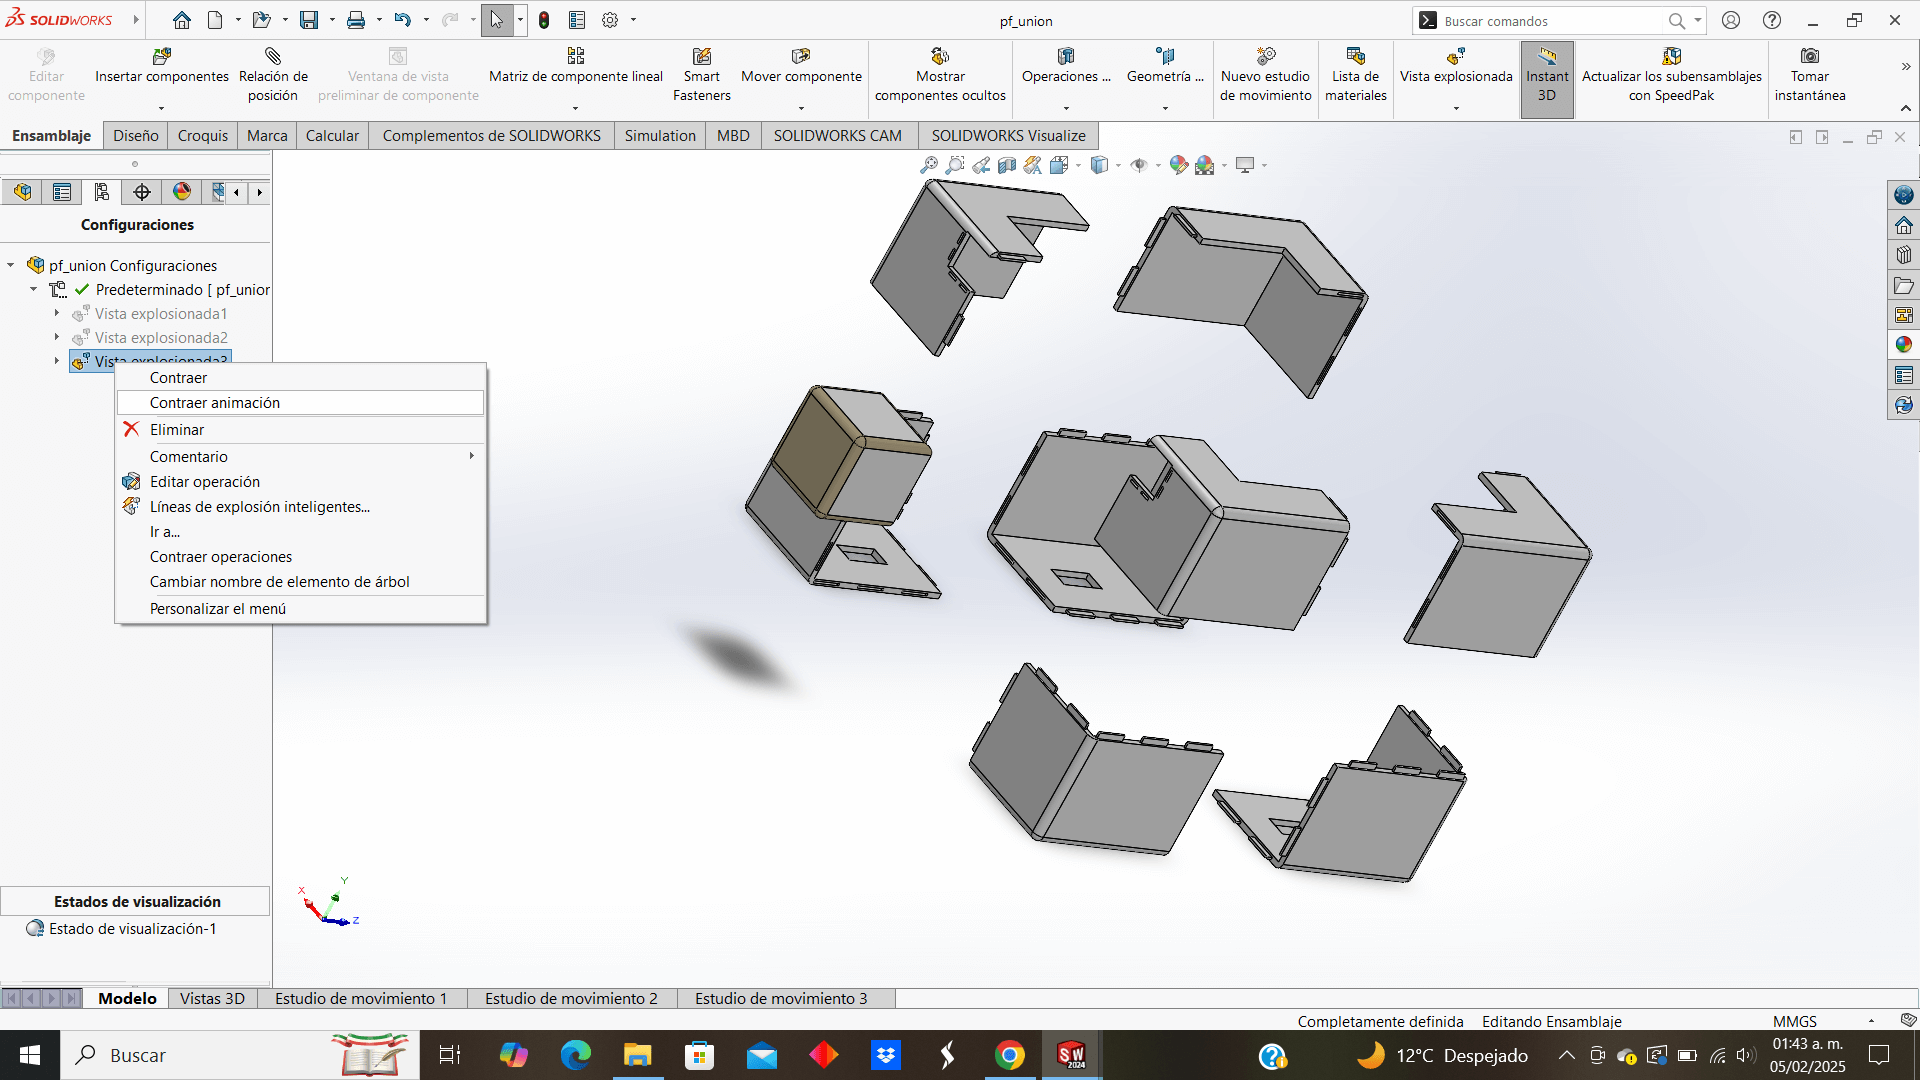
To finish with Solidworks, it offers us the opportunity to save the animation of an explode, so first you must add the steps so that the pieces move to the desired position
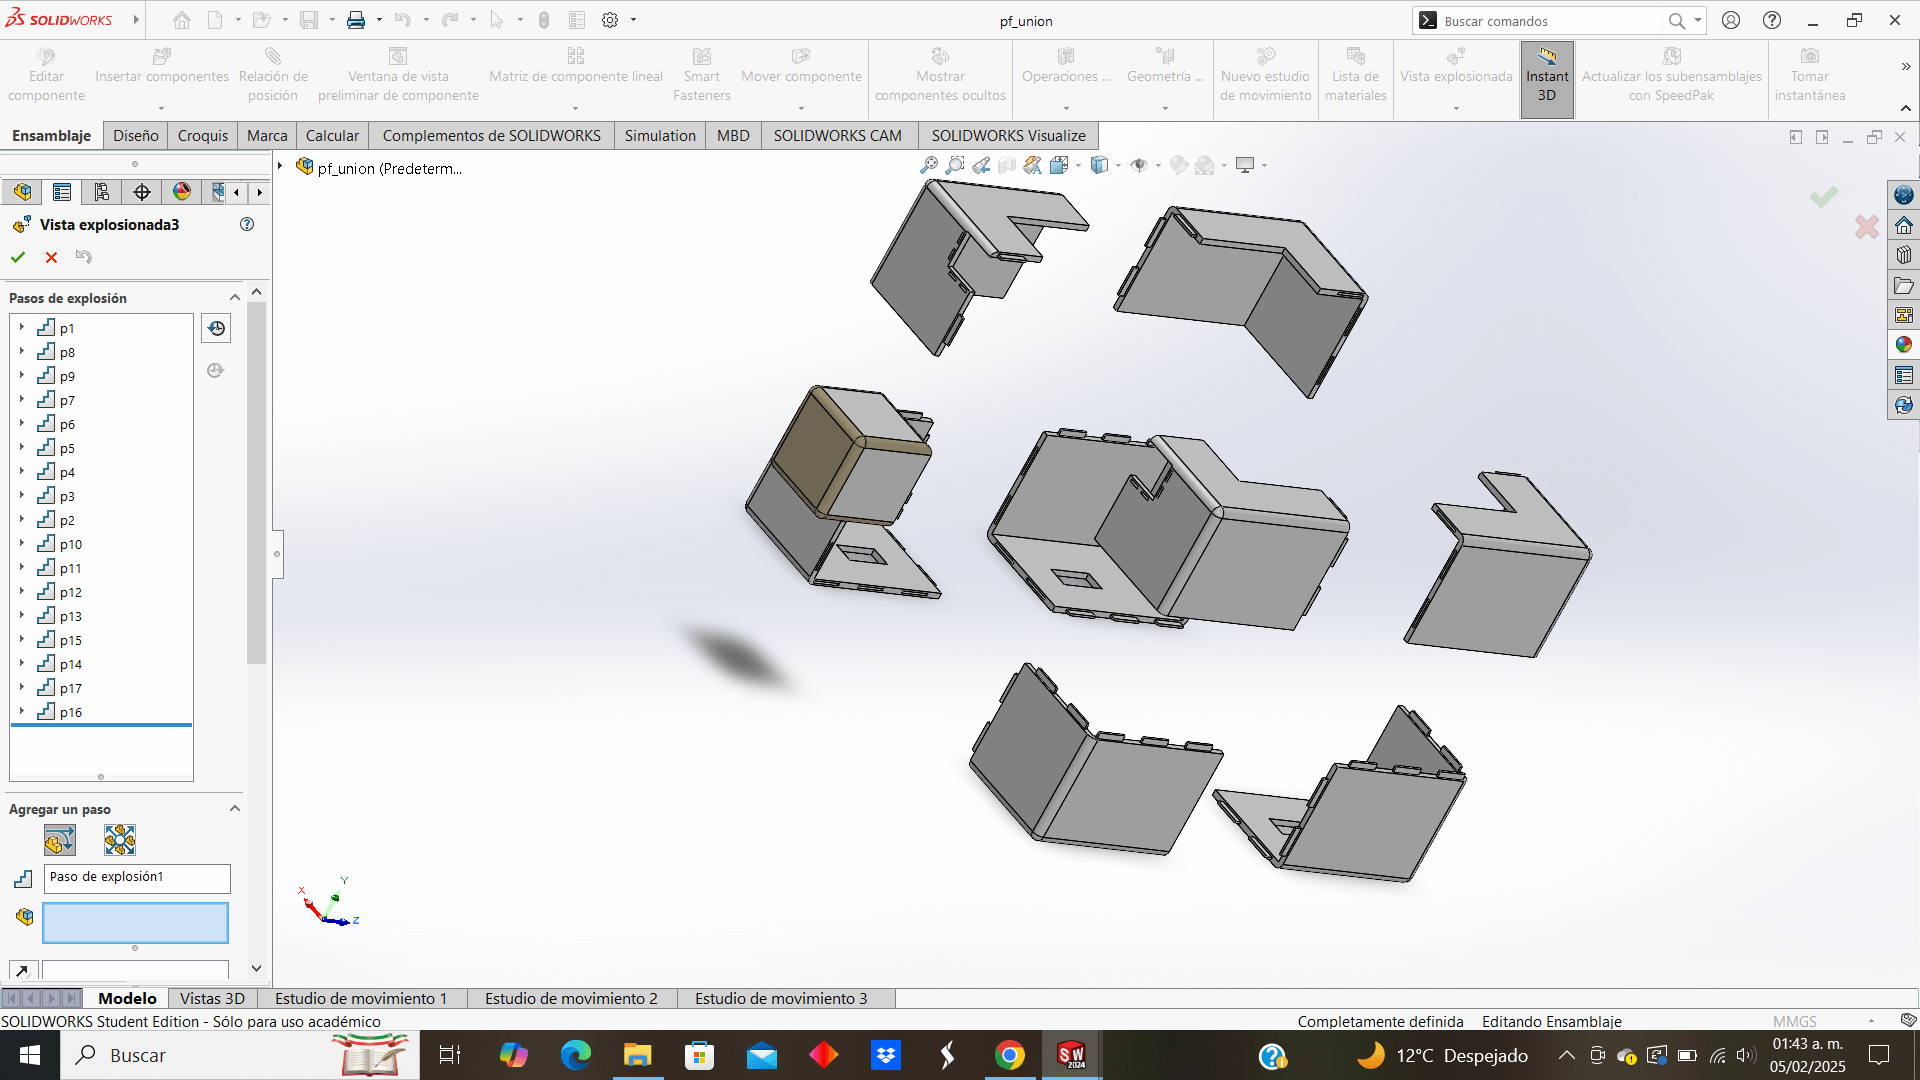
Once the animation is saved, I select "Collapse animation"
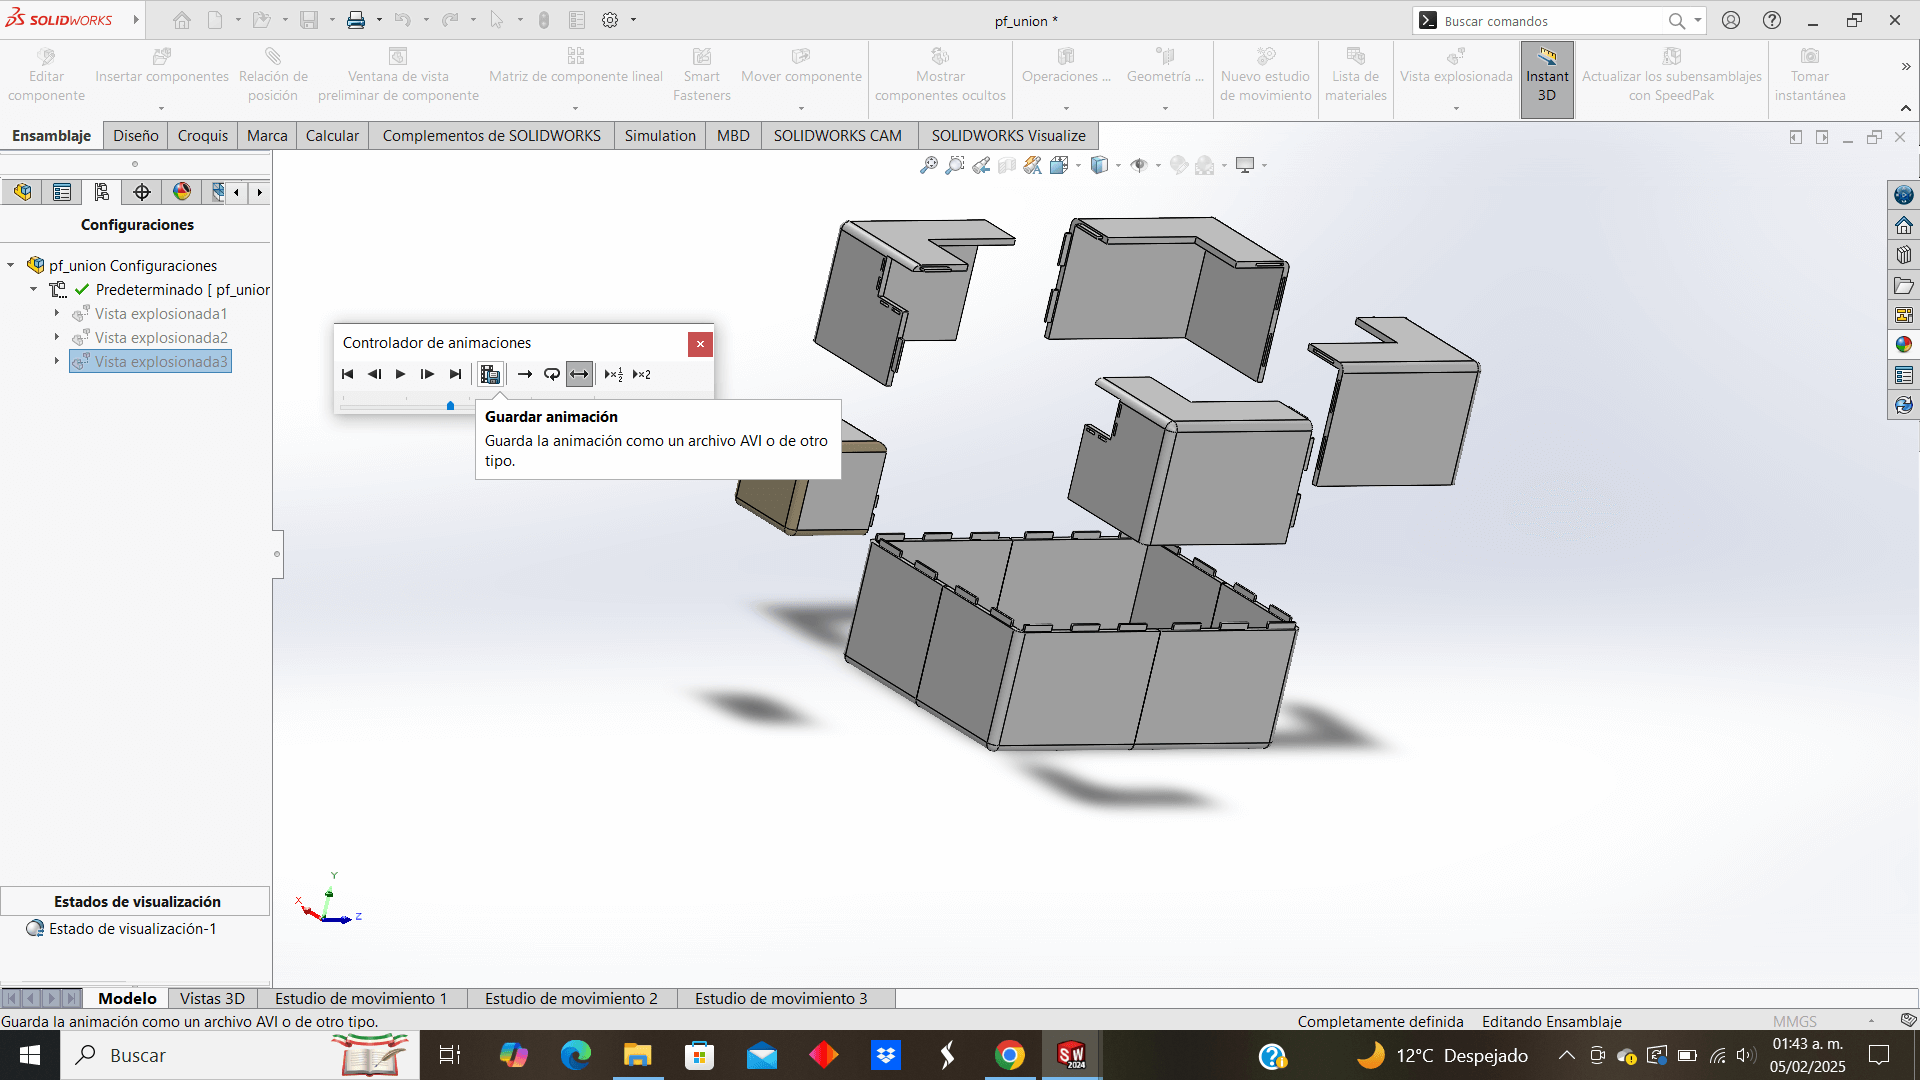
An animation player opens and I have the option to save it right there.
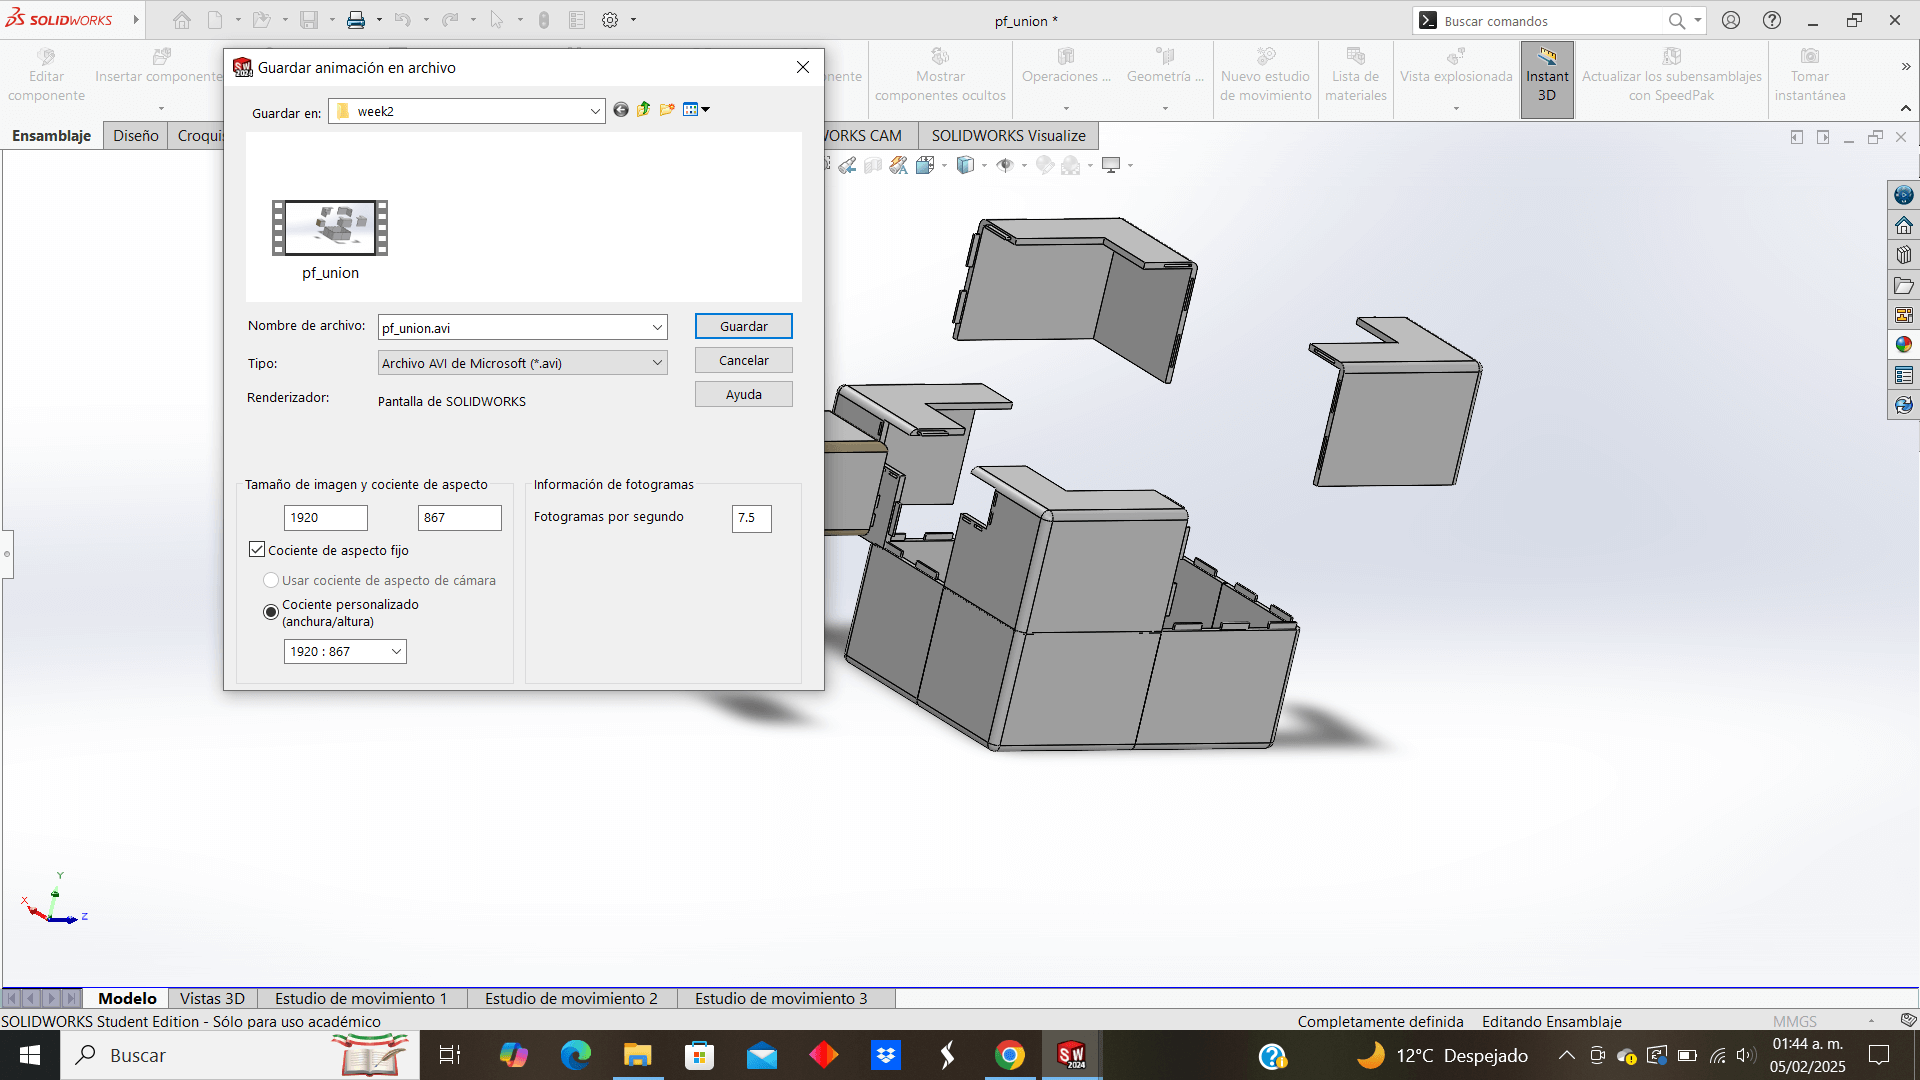
Normally select .avi format to save
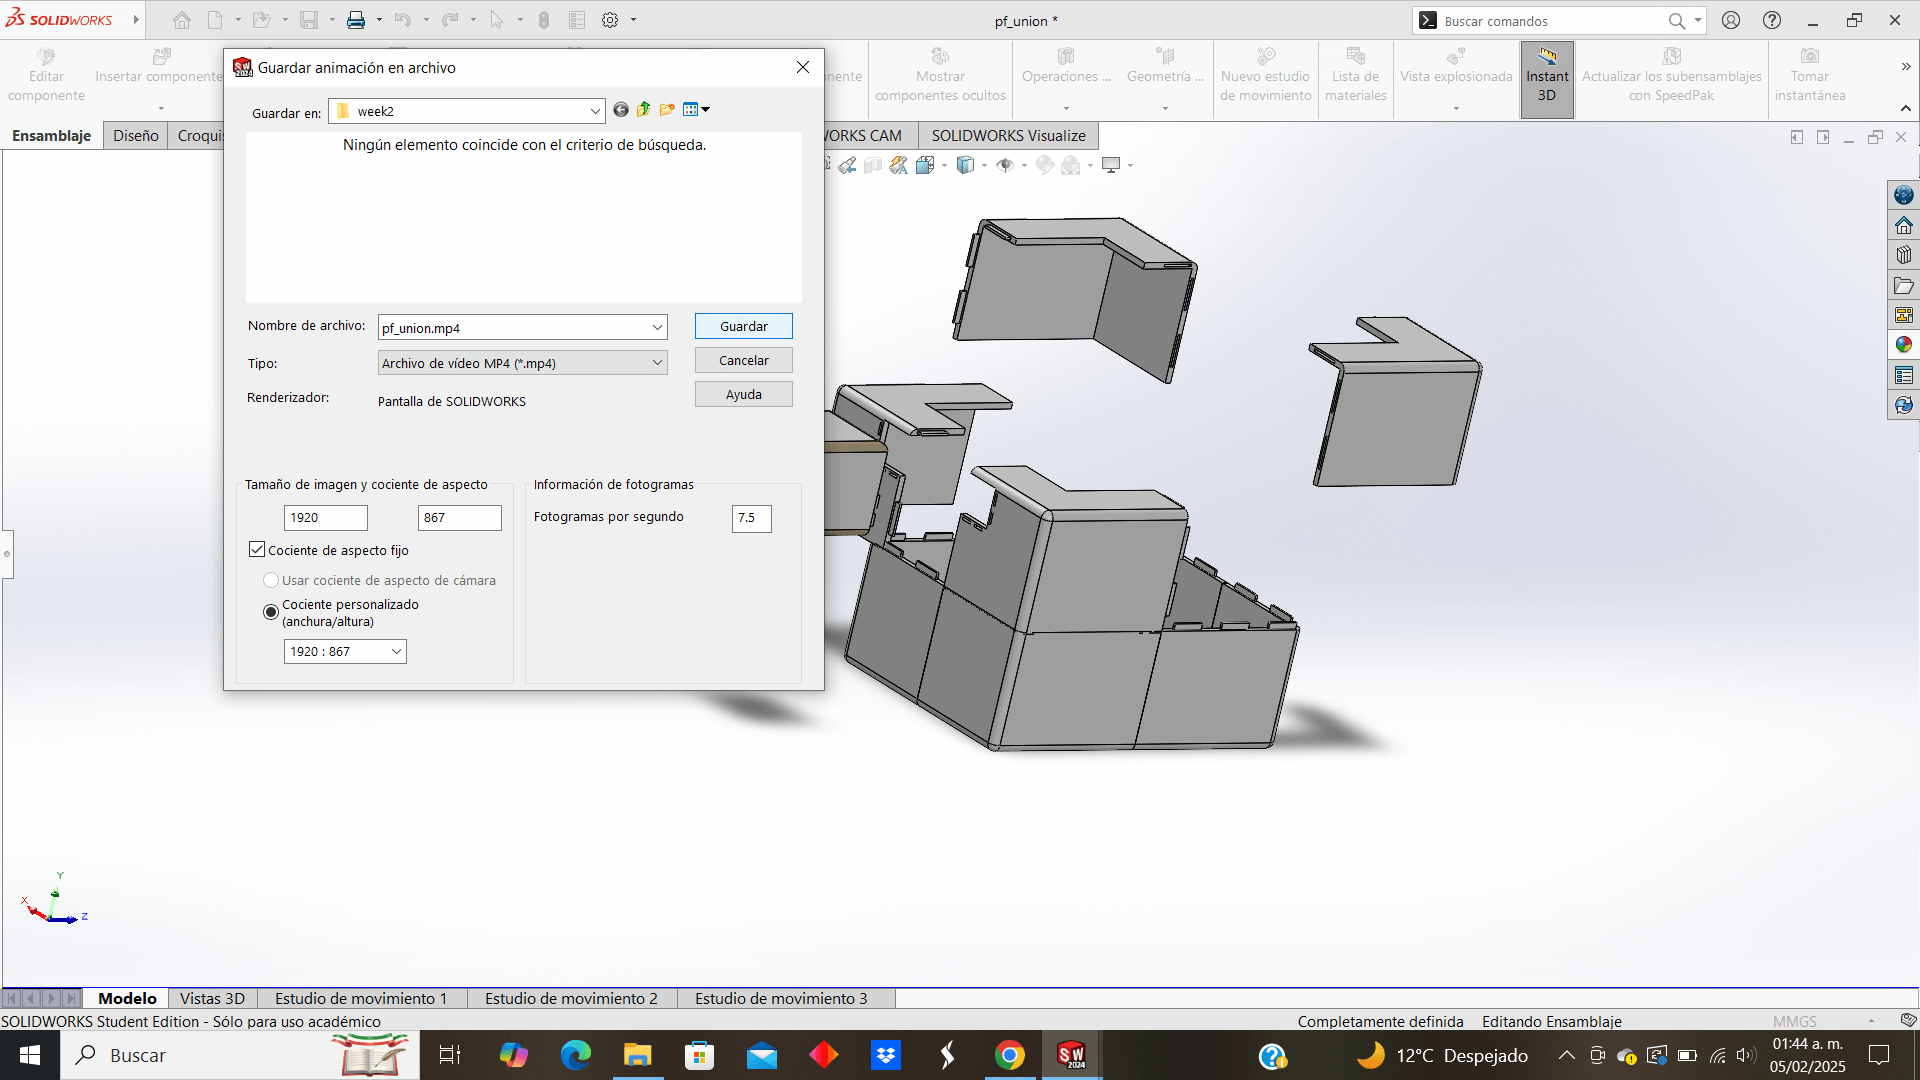
But because this format is very heavy, I chose to save it in .mp4 format, lighter and of good quality
The result:
Small question to ChatGPT about the difference between an .avi and a .mp4 to evaluate the advantages and disadvantages of both formats
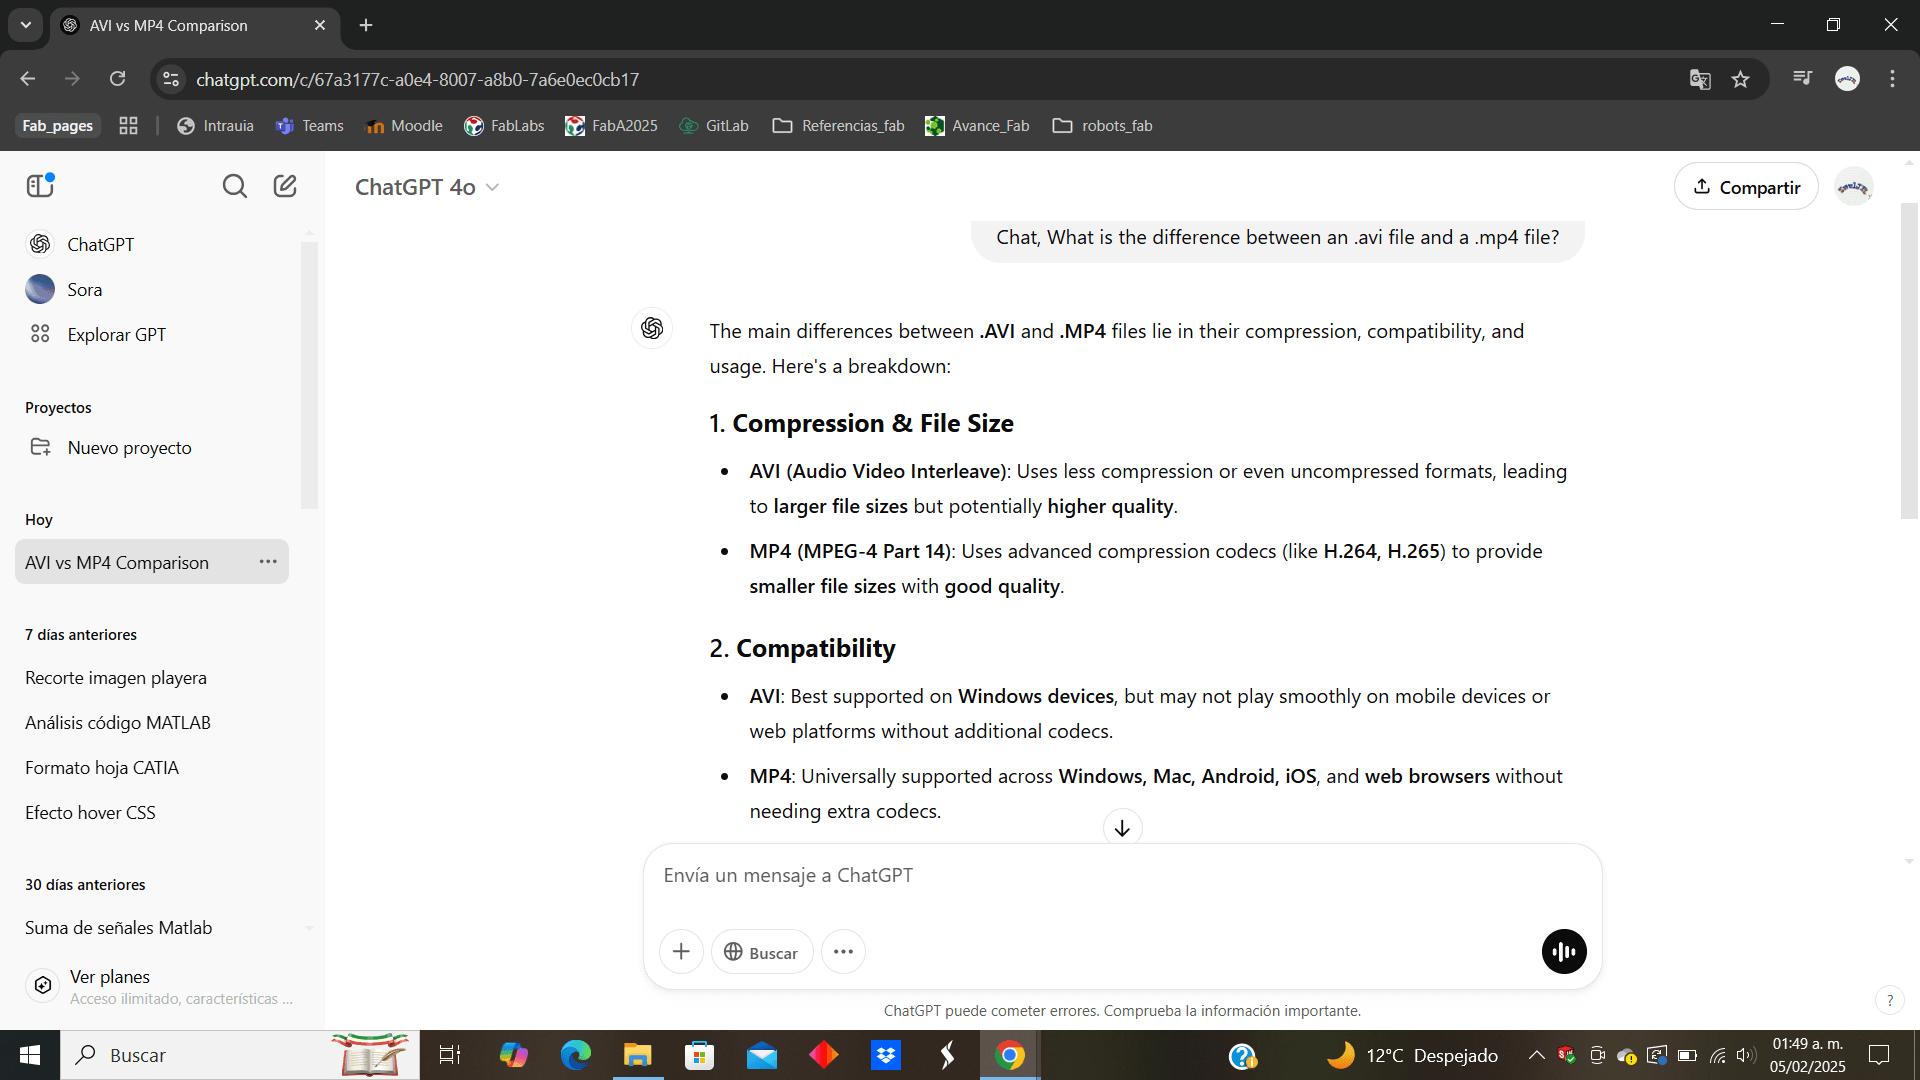
Image and video compression
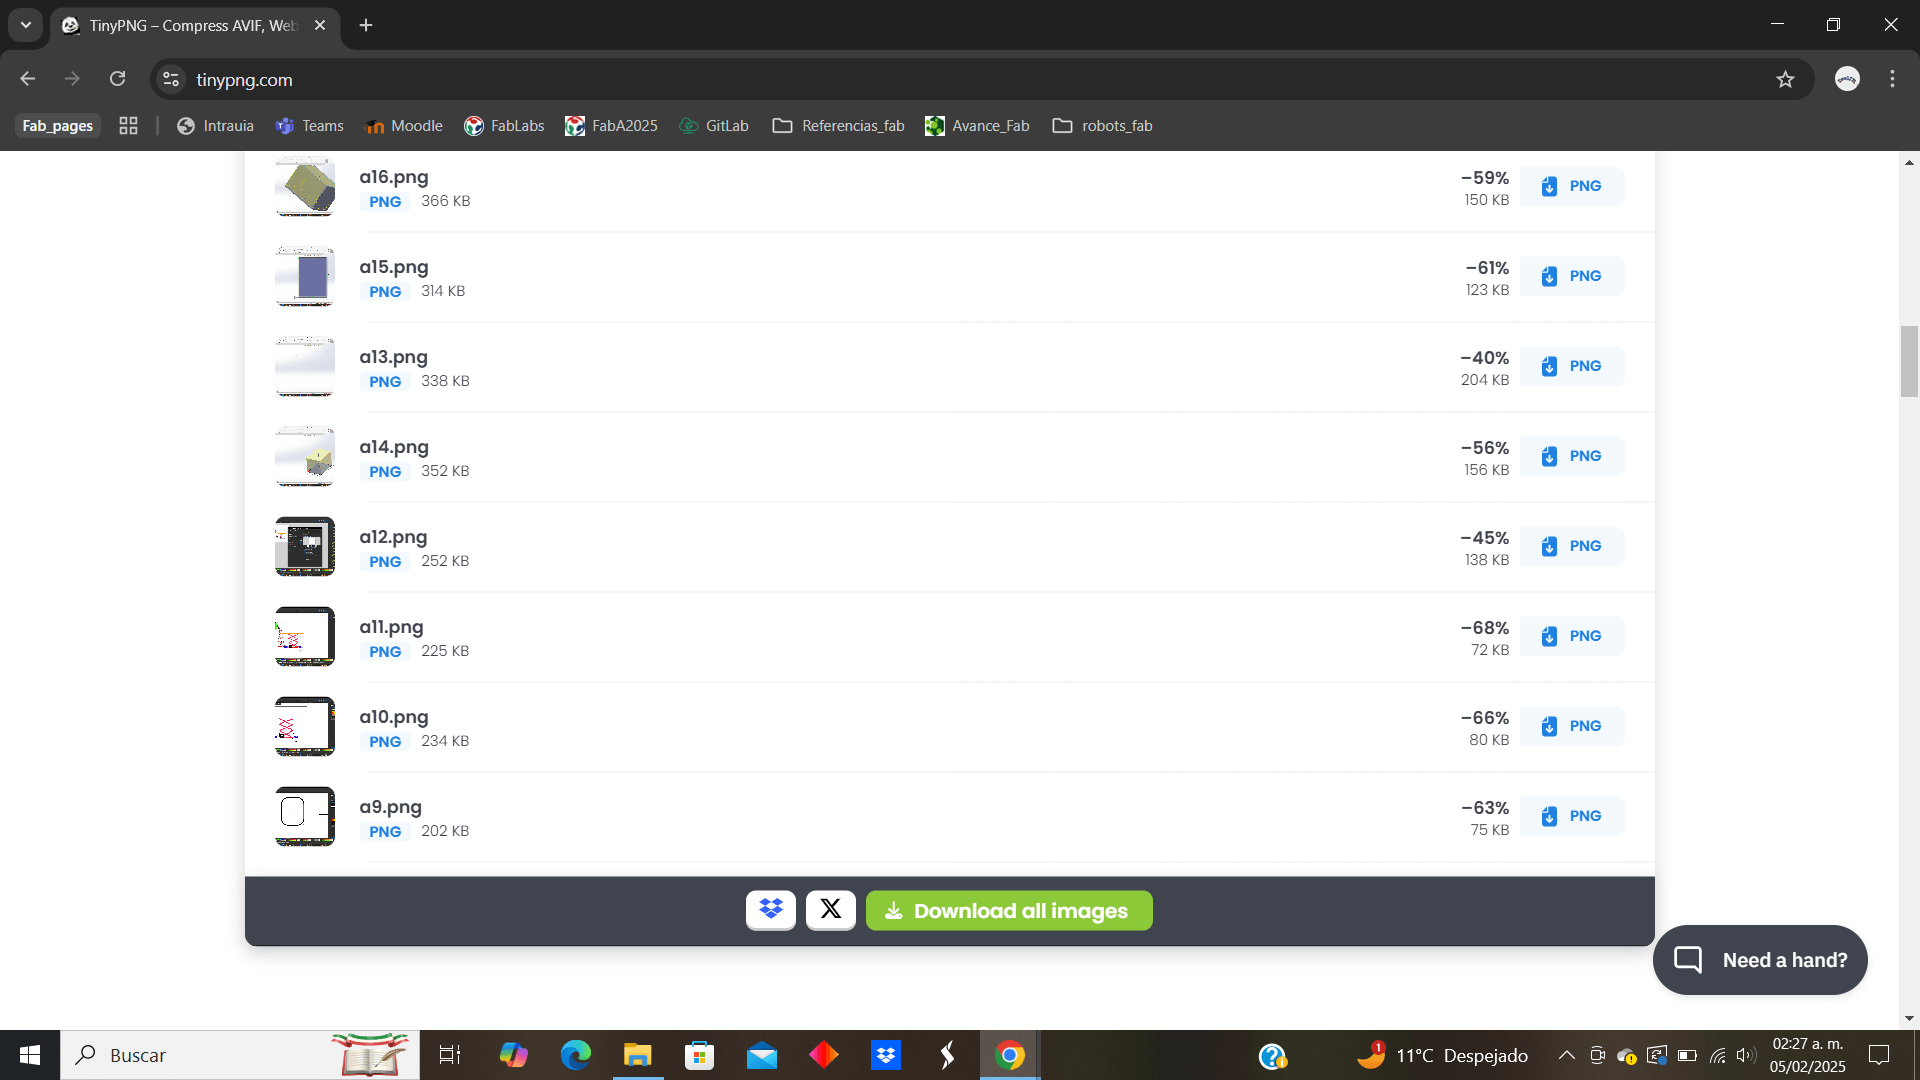
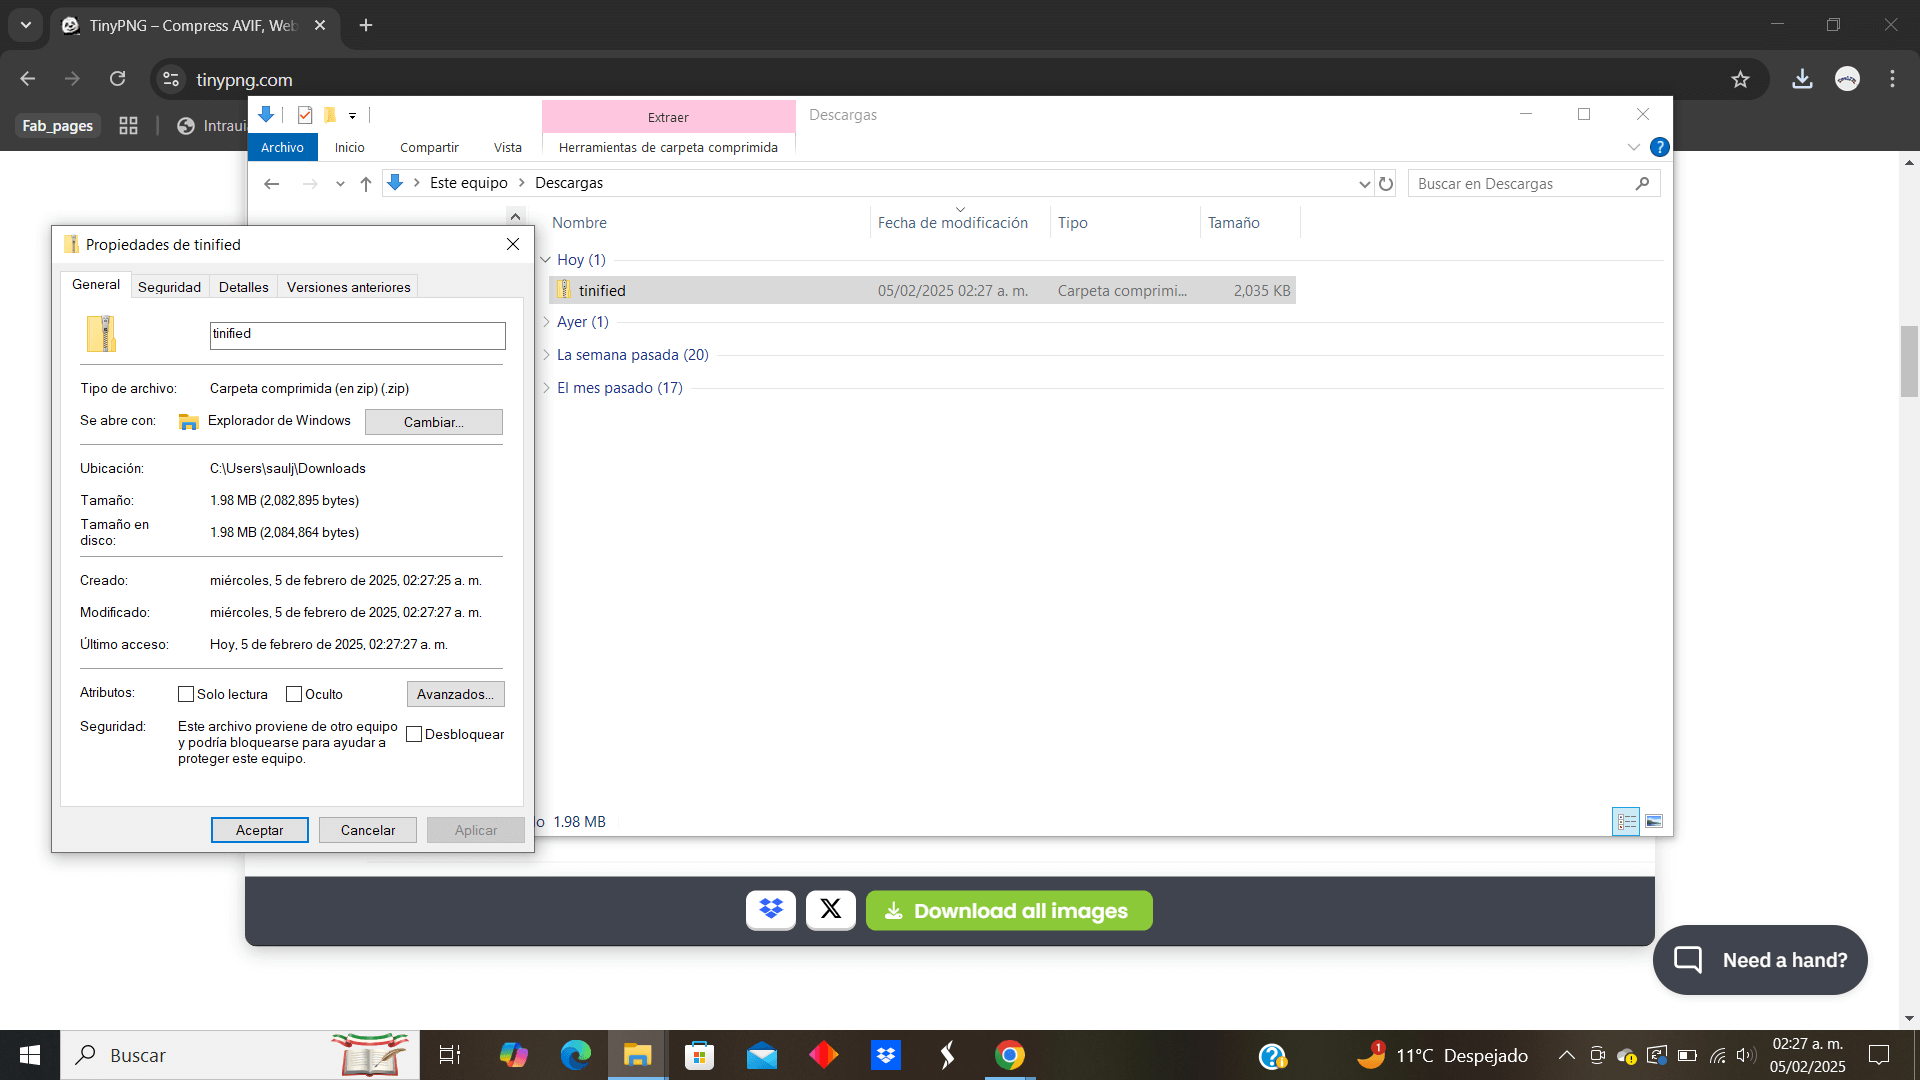
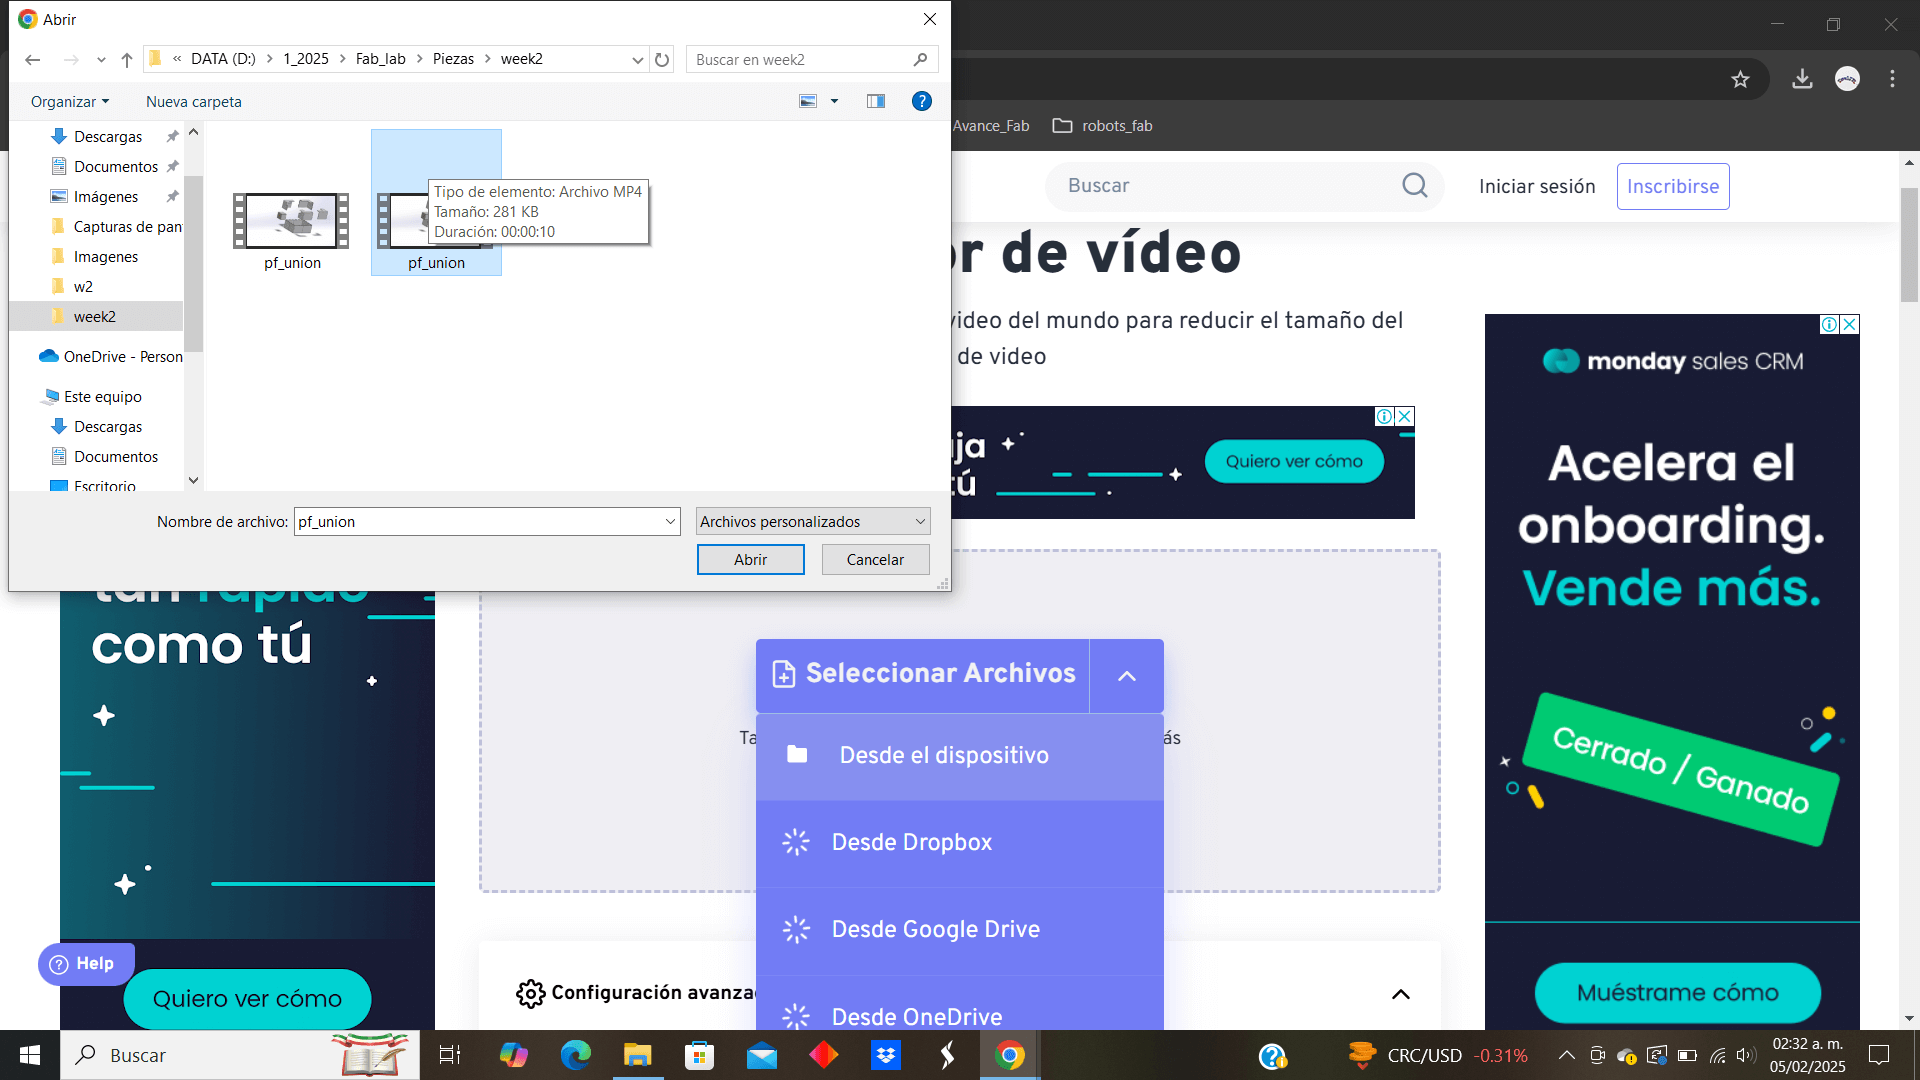
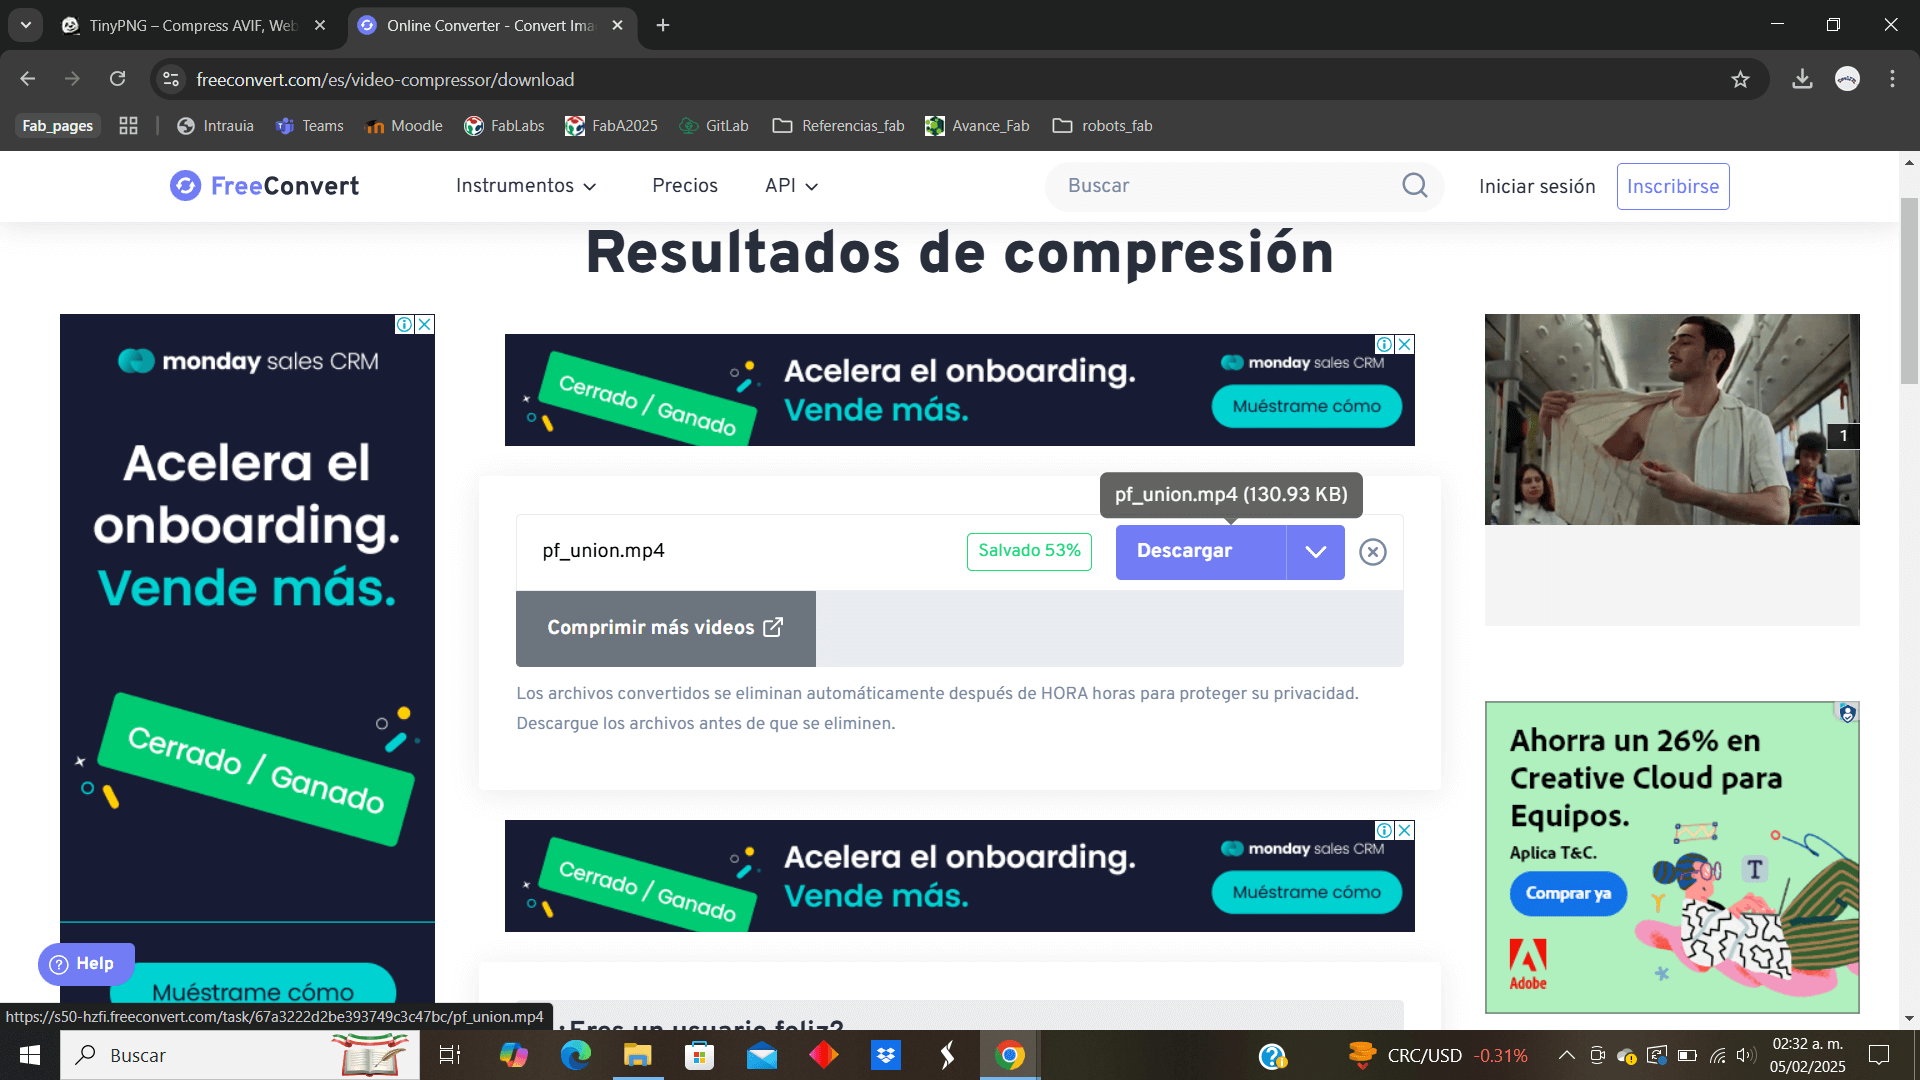
In order to use images and videos on the website, they must be light to optimize it, which is why tools such as TinyPNG are used to compress images and FreeConvert to reduce the size of videos, where we noticed a great reduction in file size
This week, not only did I review tools that I already knew, such as Solidworks or file compressors, but I also learned about new software such as Inkscape or tools that I did not know, such as the Solidworks renderer or Explode animations, which gives me a wide range of variety to present work in a more varied or specific way, such as demonstrating the assembly of an object or simulating what it would look like made of a certain material.
I would also like to highlight the .avi and .mp4 files, since I was not aware of the differences, such as the fact that the .avi offers higher quality but its size is very large, on the other hand the .mp4 is much smaller and offers good quality, which is optimal for the purposes of this course, creating a page that is not unnecessarily heavy.