1. Project management
This week's documentation is about my process for designing a personal website and uploading it to a repository (in GitLab)
Below we will see step by step of my initial process to learn the basics of design in HTML and CSS, along with a tutorial on how to upload the web page to Git.
1. Search for the "Git Bash" application on its official website, download the file and install the program
2. Create a Git account, in this case Fab Academy made it easy to register for Git and provided a ready-made repository
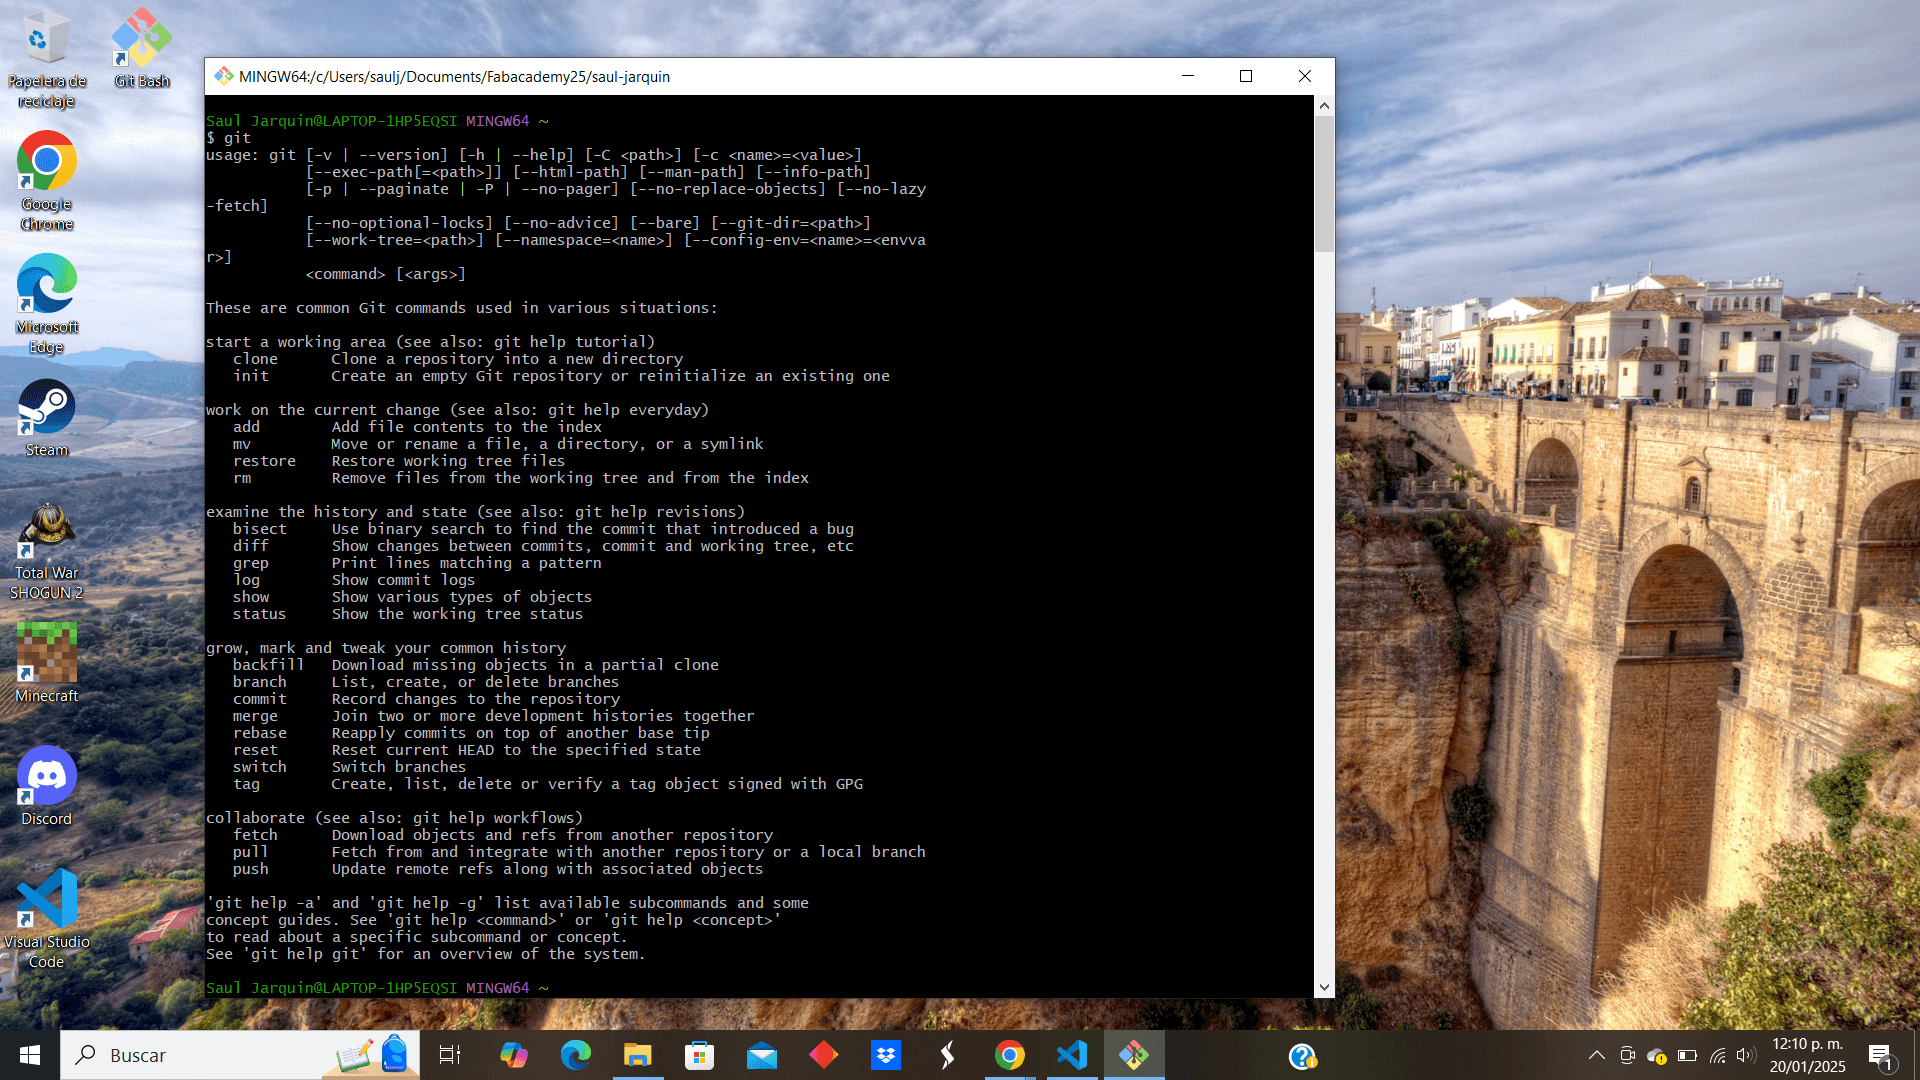
3. Now open Git Bash and type the command "Git", with this you can see the options offered by this command, some of which will be important later
4. Now with the help of the "cd" command (used to navigate through folders) and the "mkdir" command to create a folder to save the repository on the computer
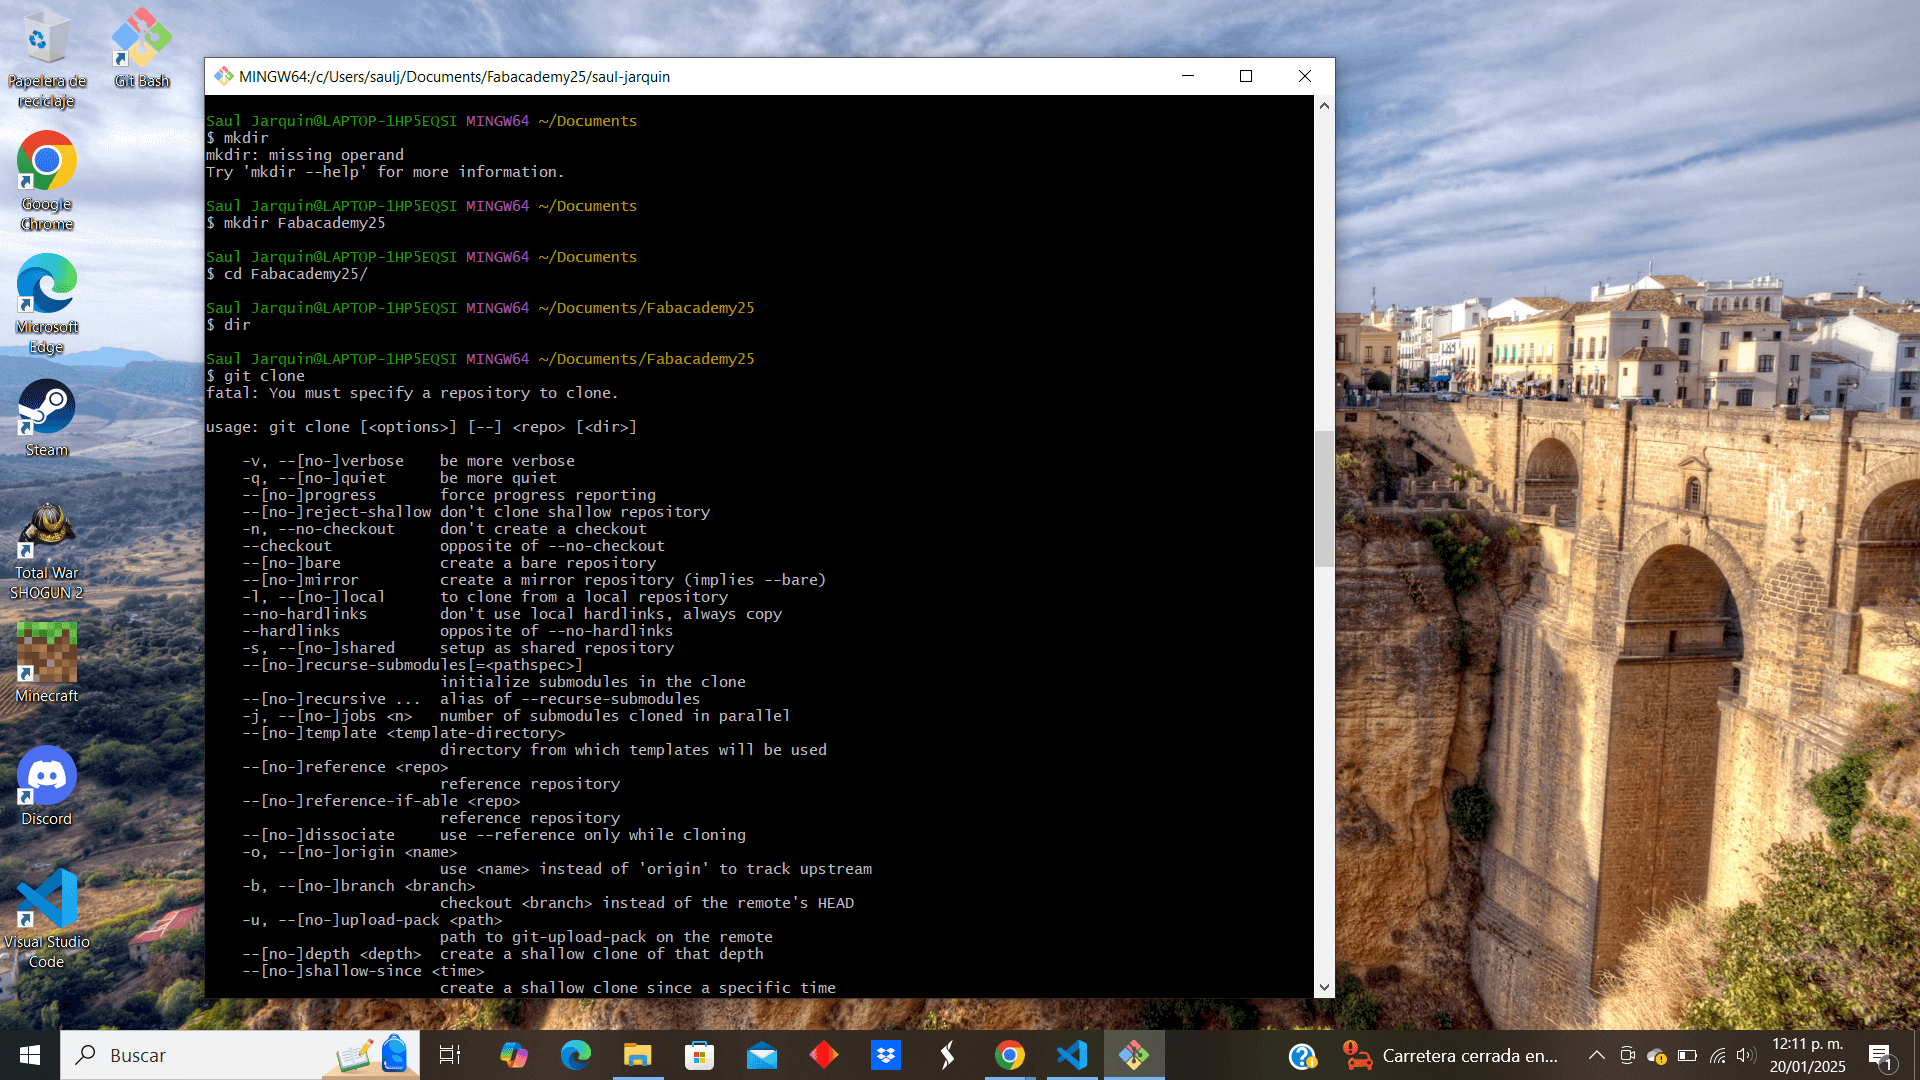
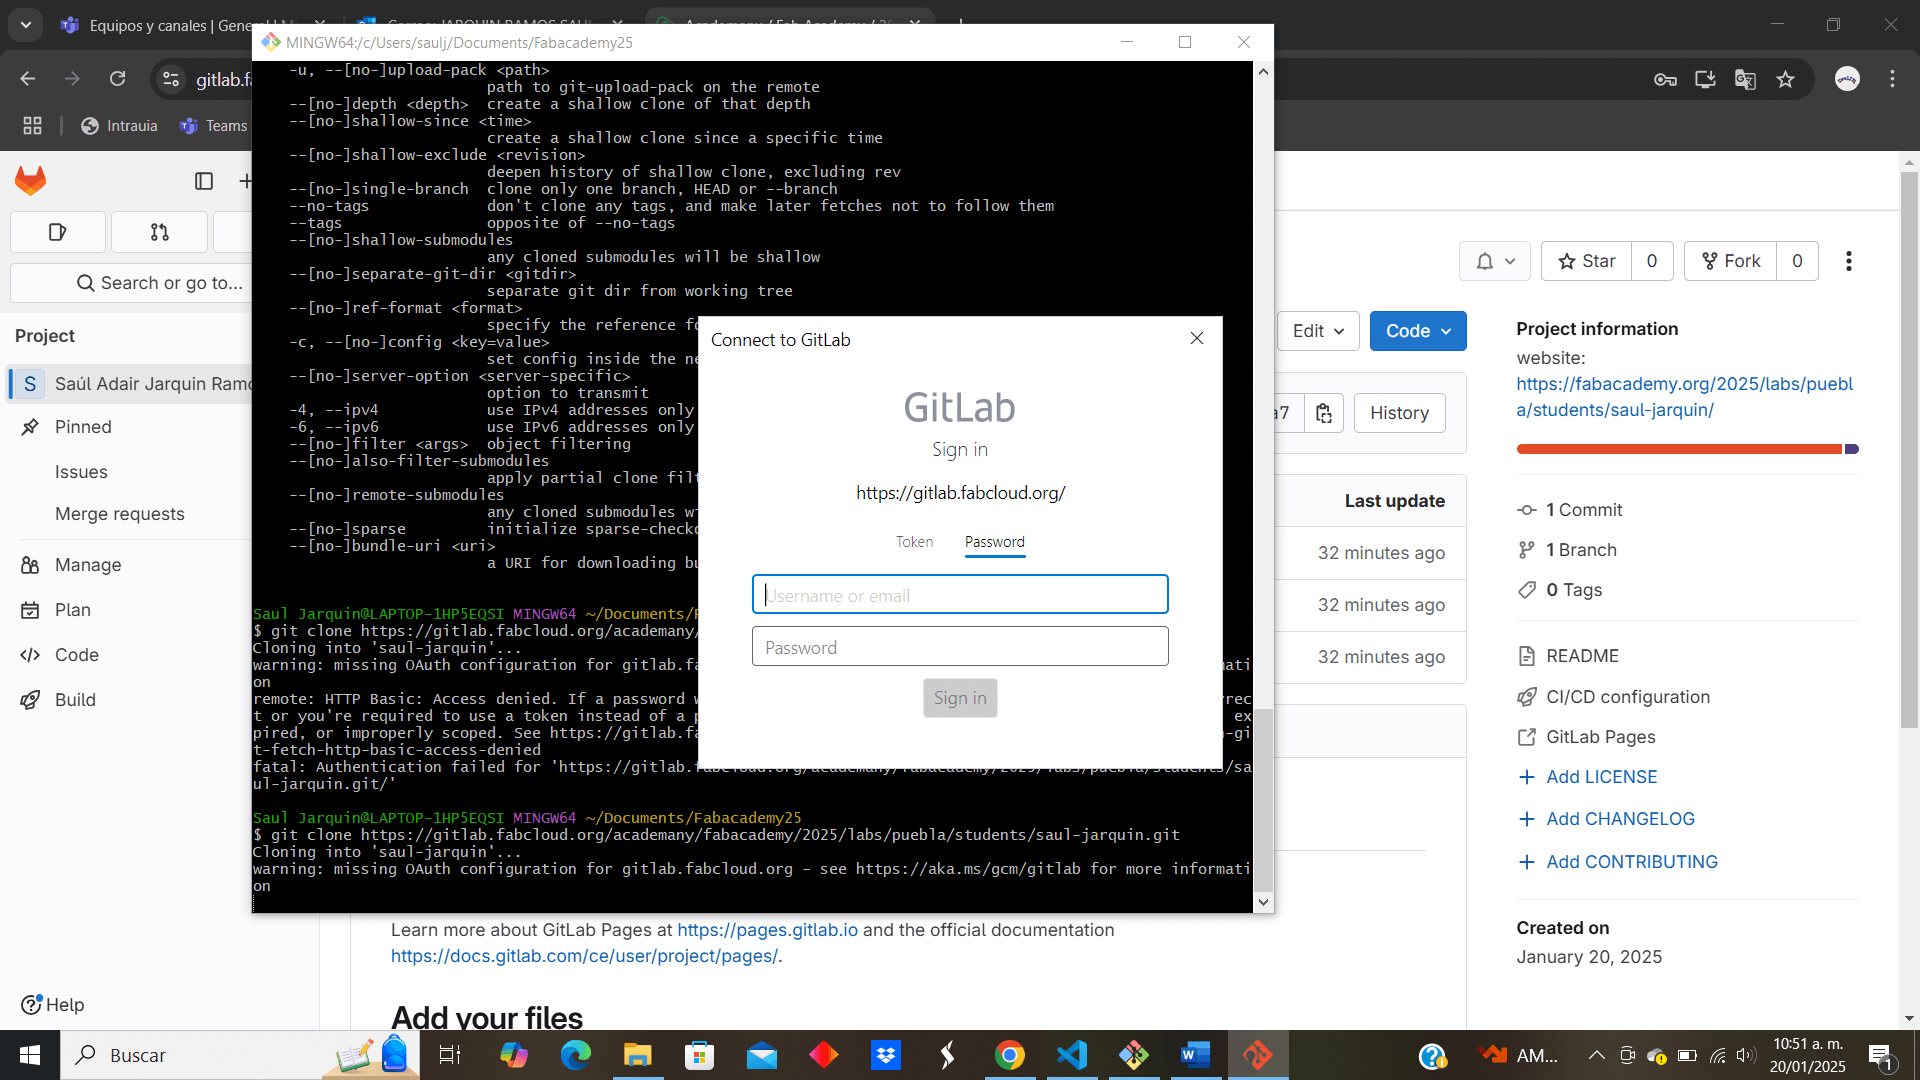
5. Now we go to the online repository in GitLab and copy the "HTTPS" link

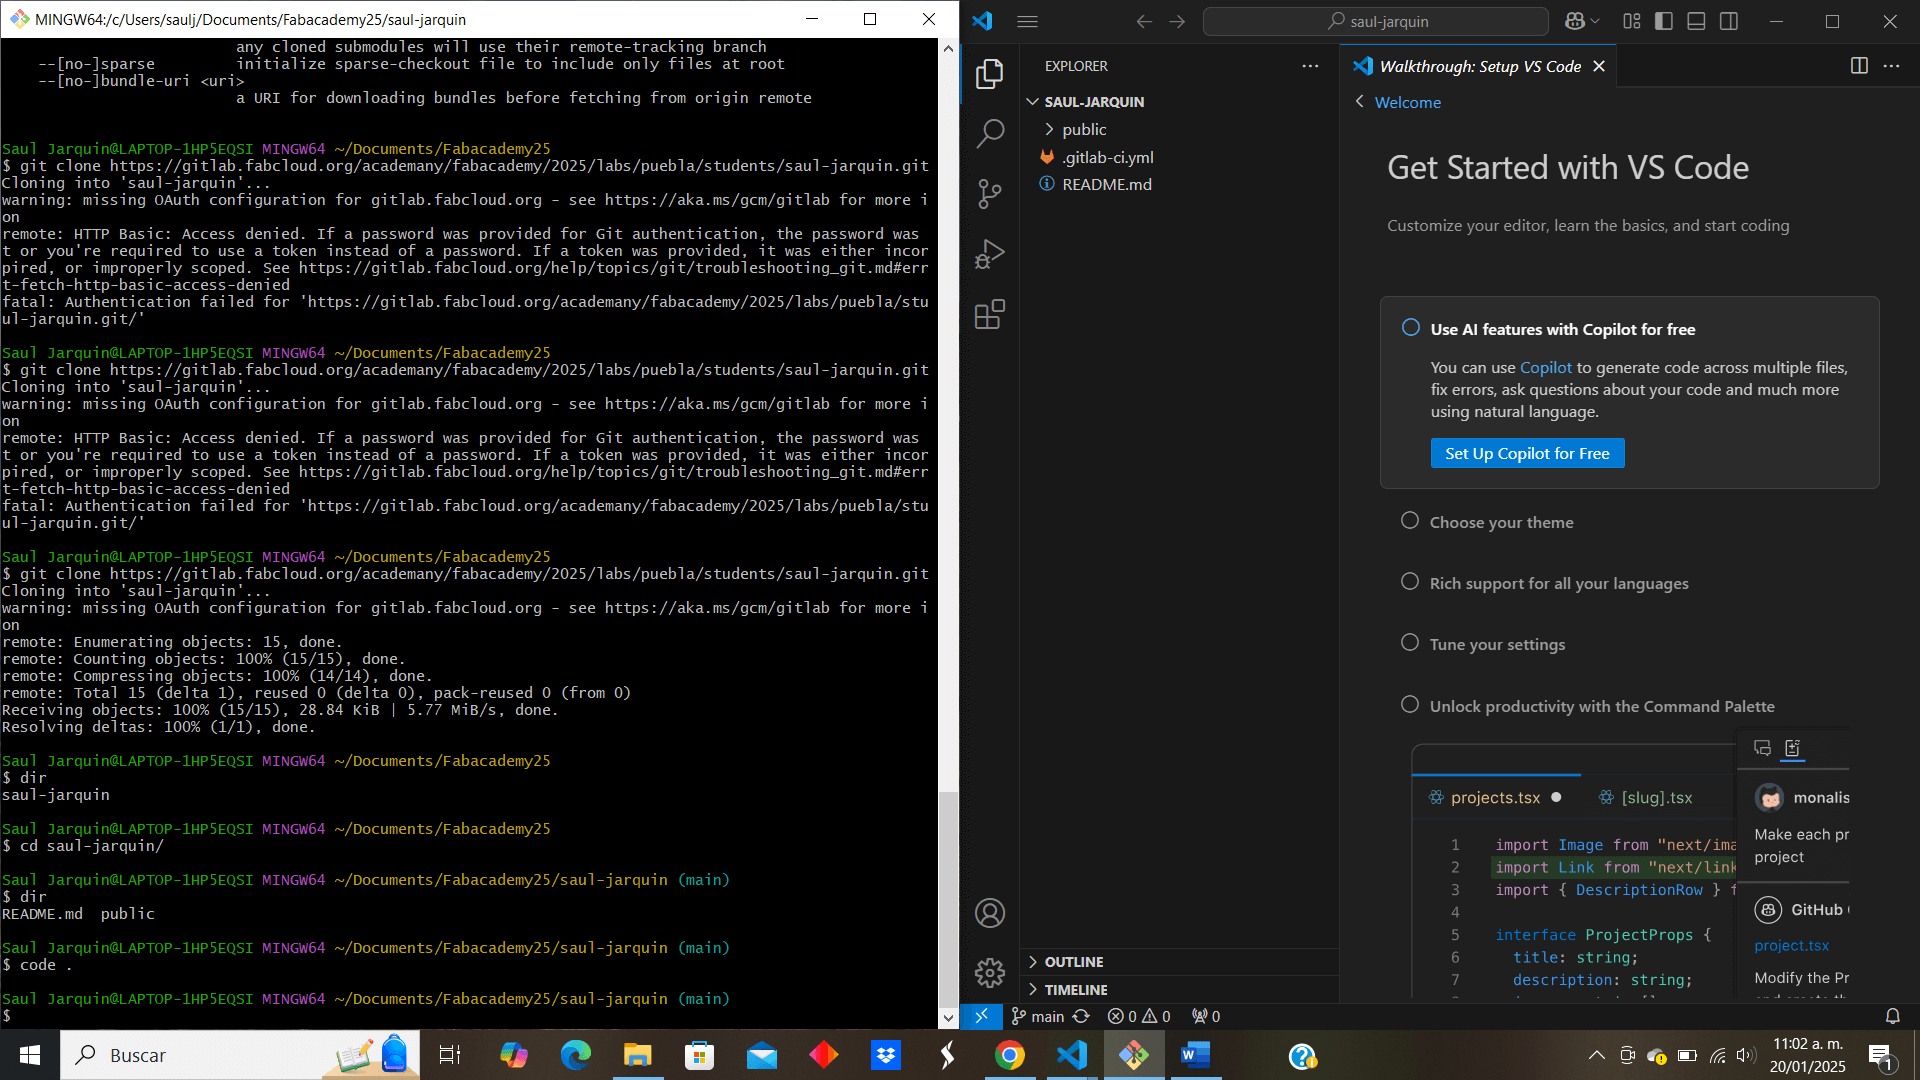
6. We will use the "git clone" command along with the copied link to clone the online repository on the local computer, a window will open to access our GitLab account, so we register
7. Once the repository is successfully created, we move to the cloned folder (saul-jarquin in this case) and use the code "code ." to open the folder with the default code editor (Visual Studio Code)
Extra (Optional). For dynamic purposes, download the "Live Server" extension to observe live changes to the page as the page code is edited
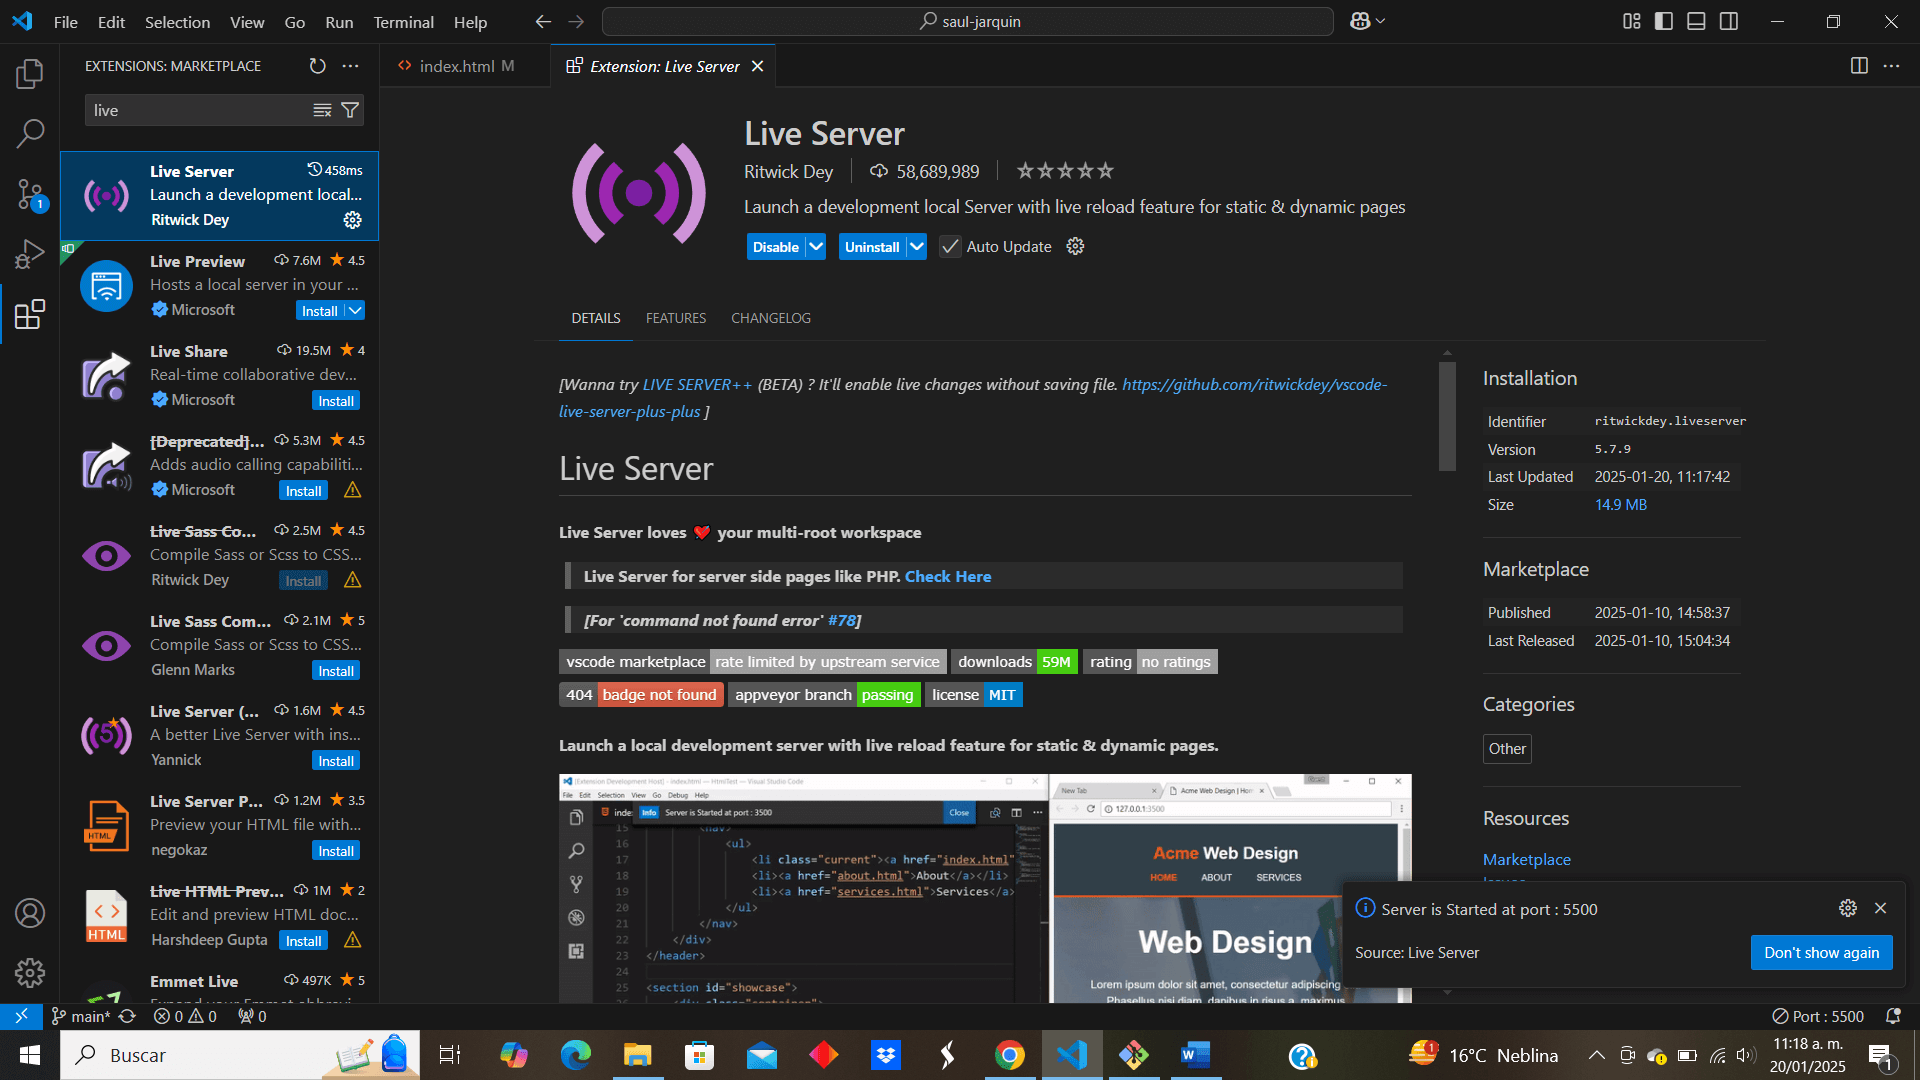
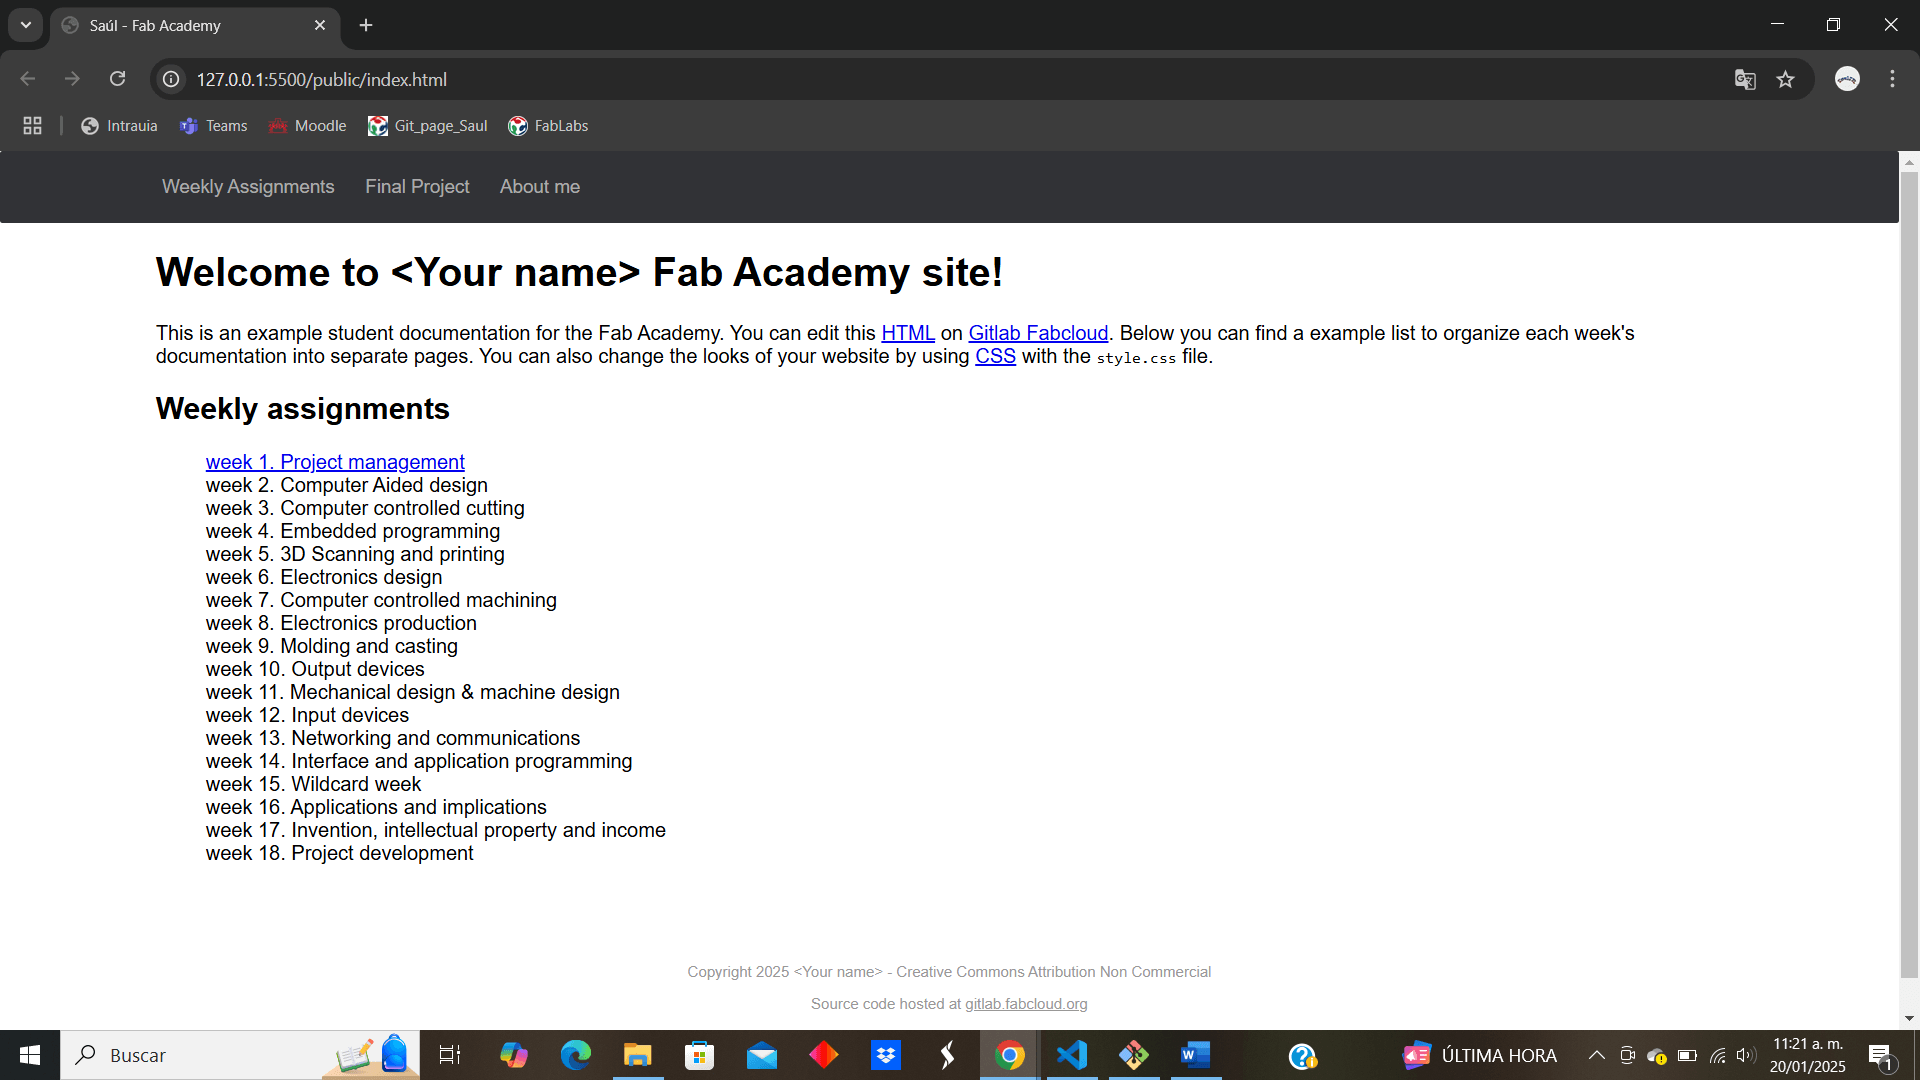
8. Now we can observe the live page and know graphically what is being modified
9. Now, to save any changes made in the editor in Gitlab, we first review the changes with "Git Status" in Git Bash and with "Git add" we add any changes to the index
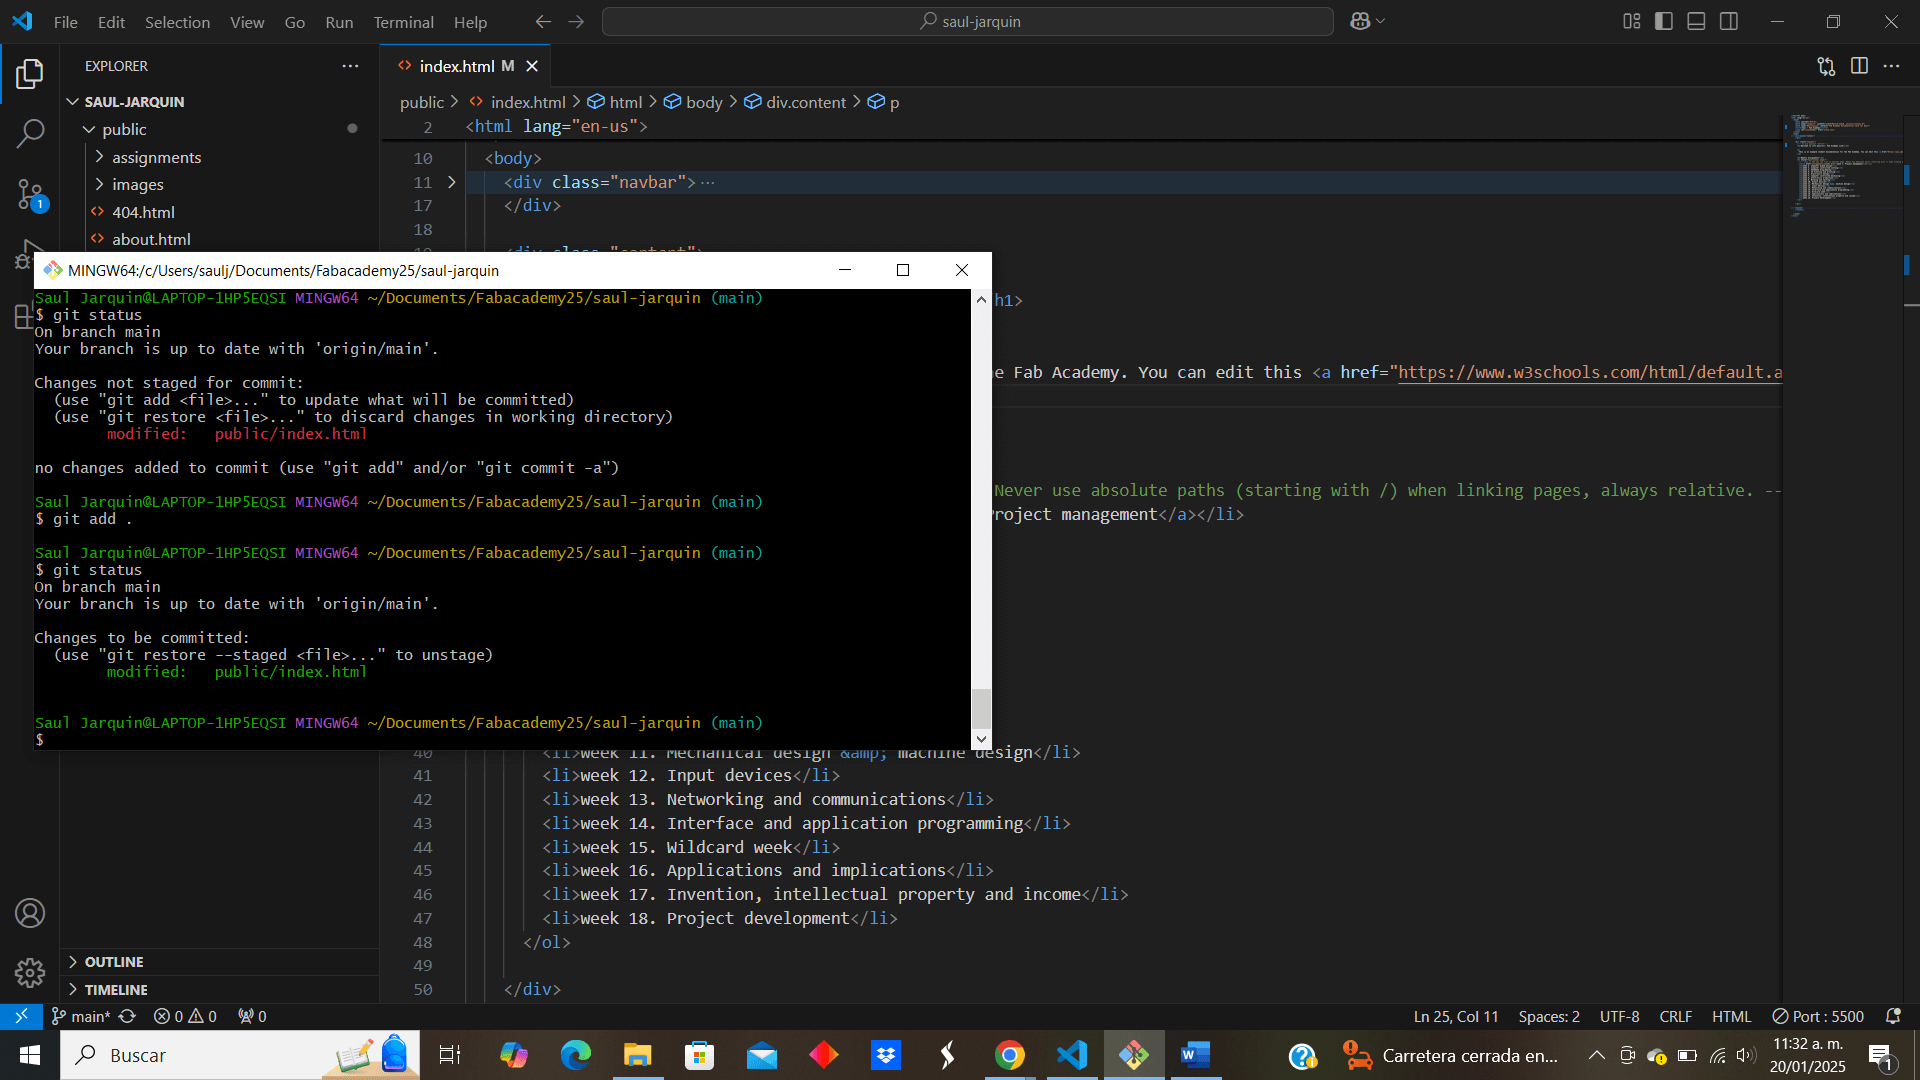
10. We use "Git config" to register our email and Gitlab username, and then use "git commit -m" to save changes to the repository.
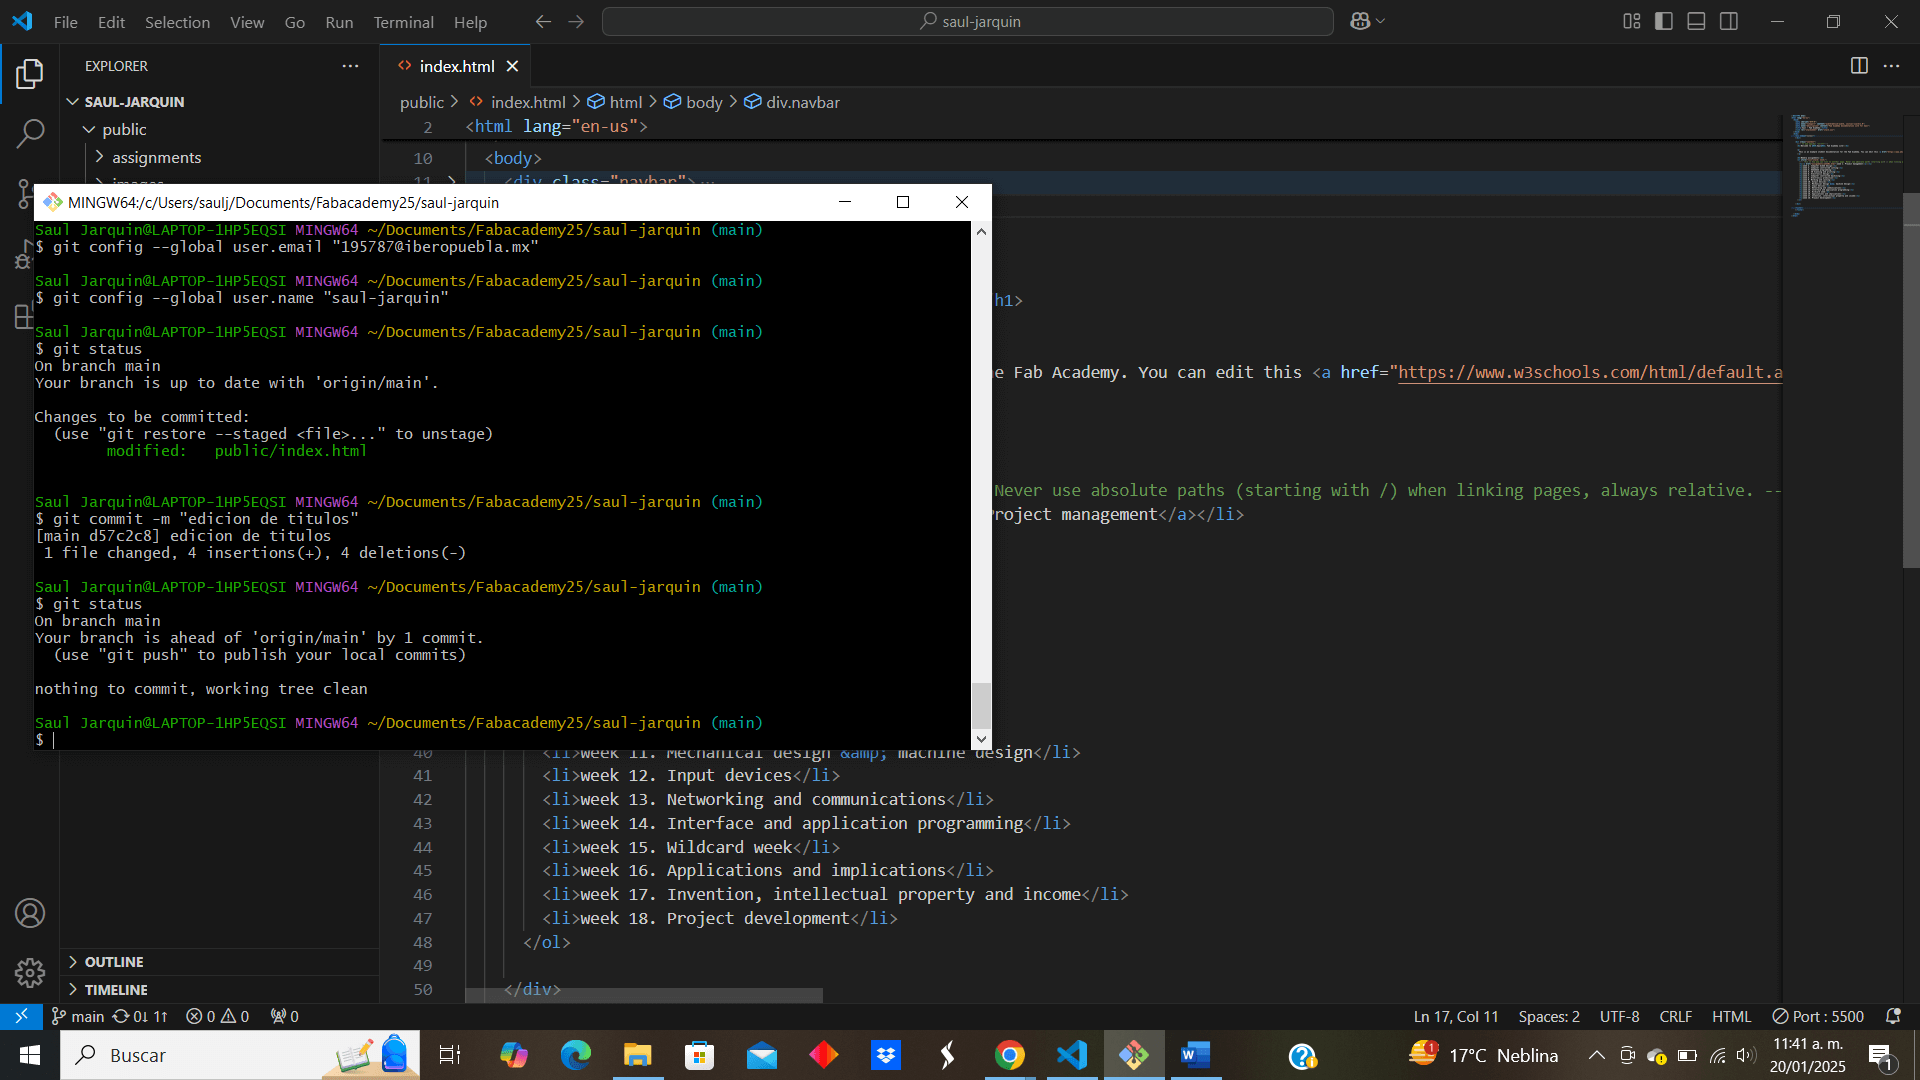
11. To finish uploading, use "git push" to update the online repository
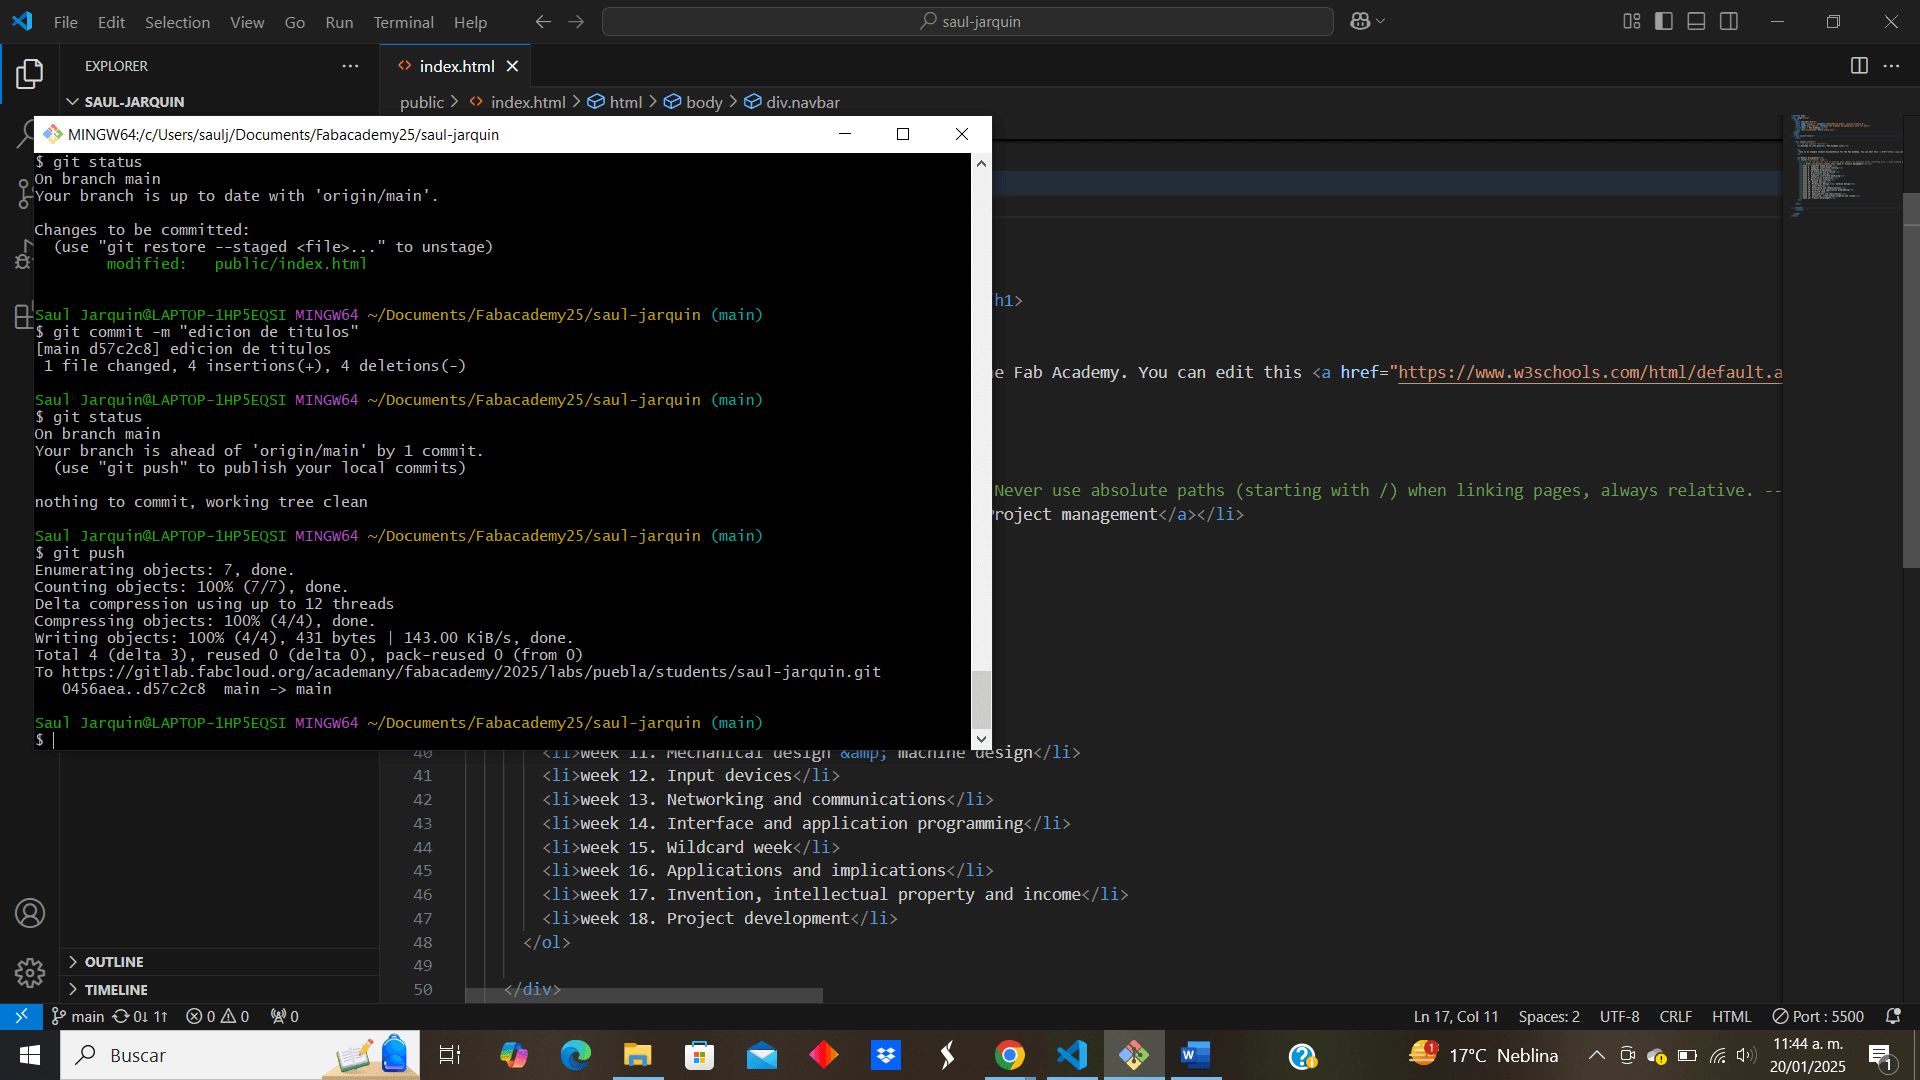
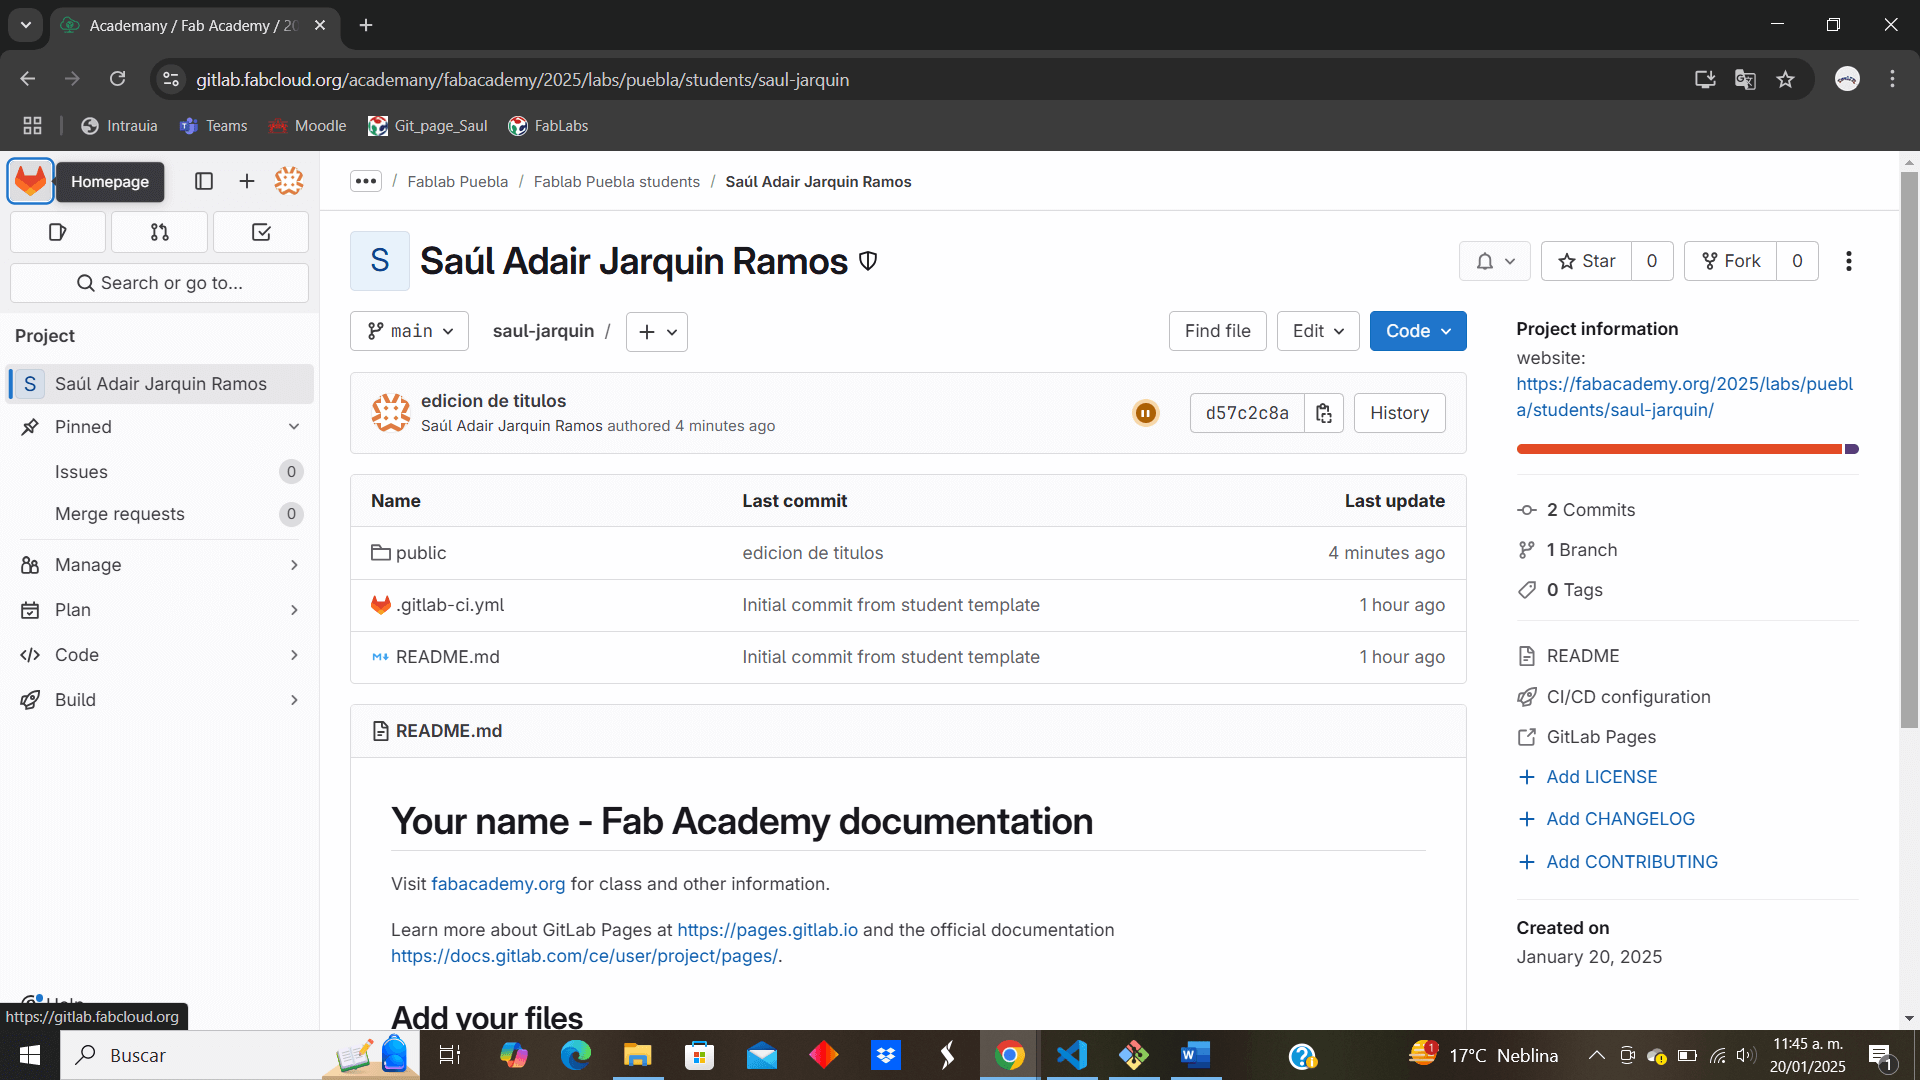
12. To ensure we check that the online repository has been updated.
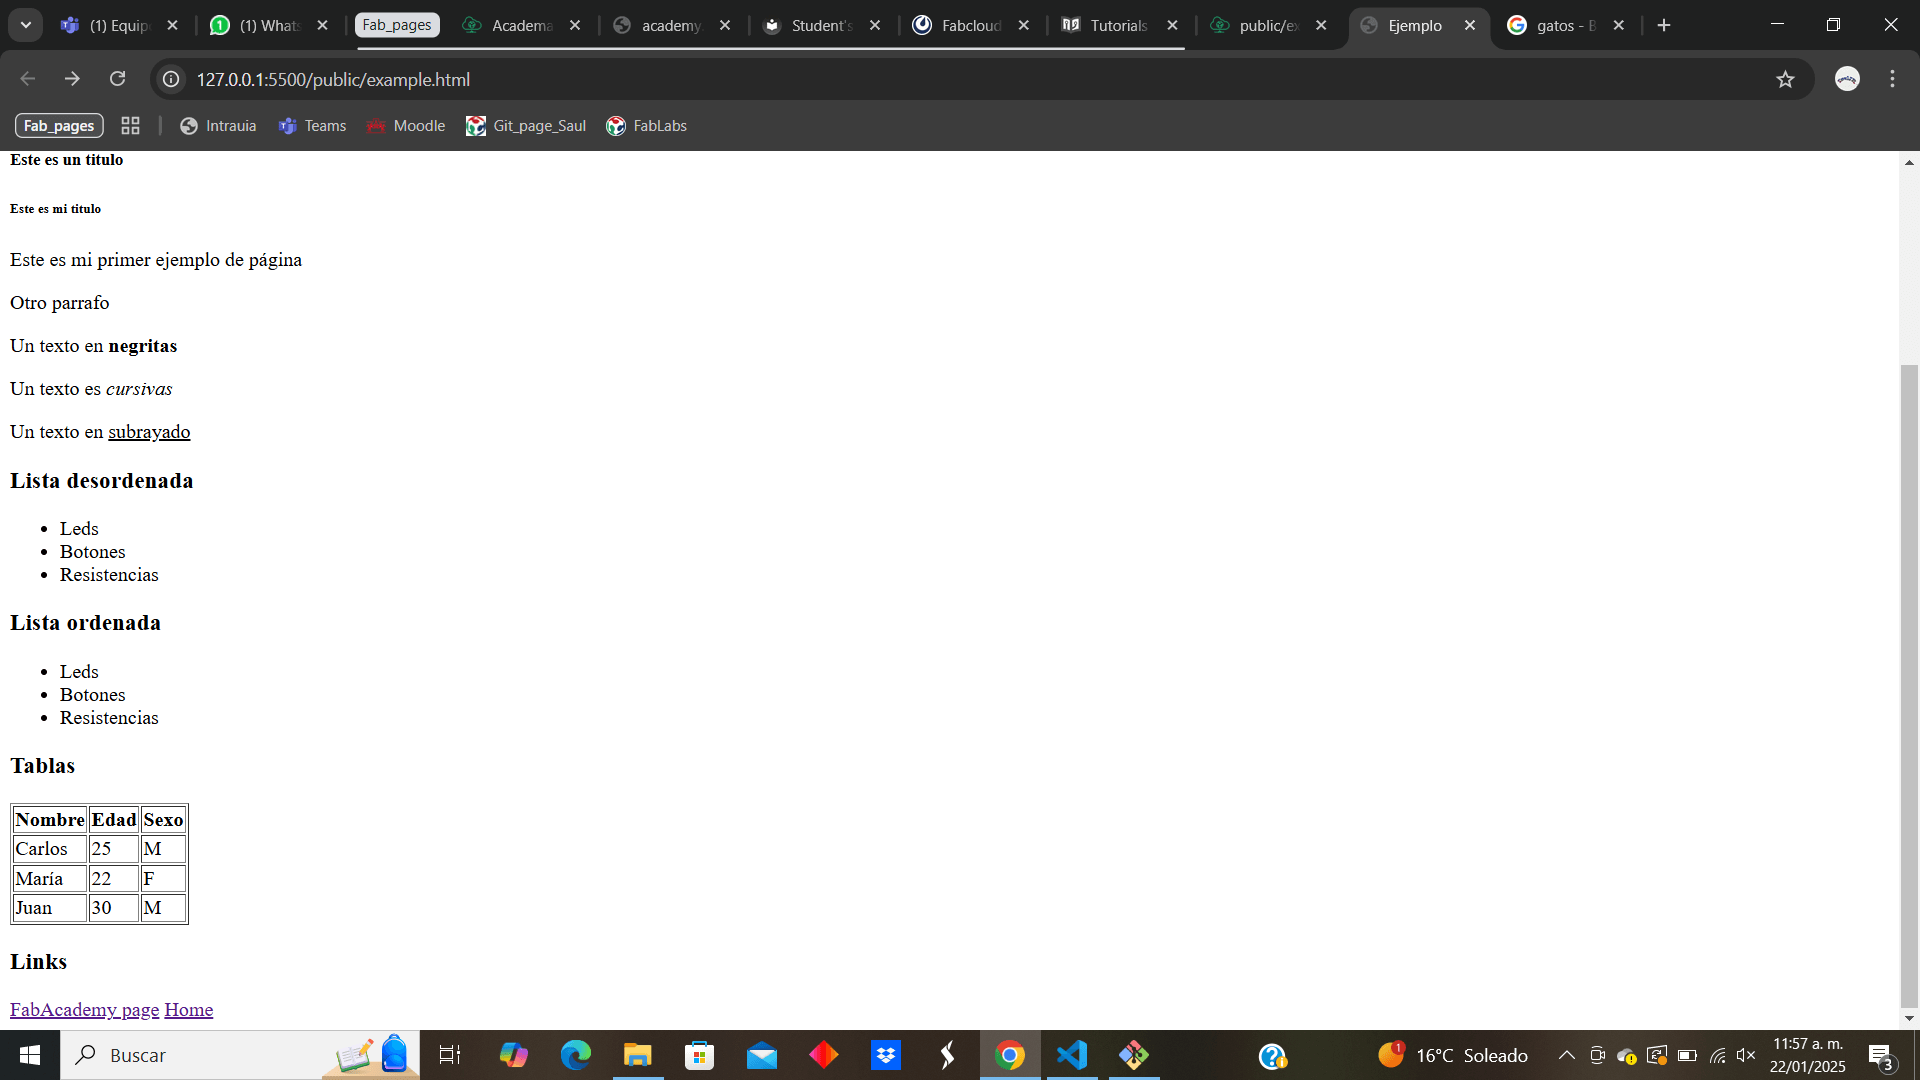
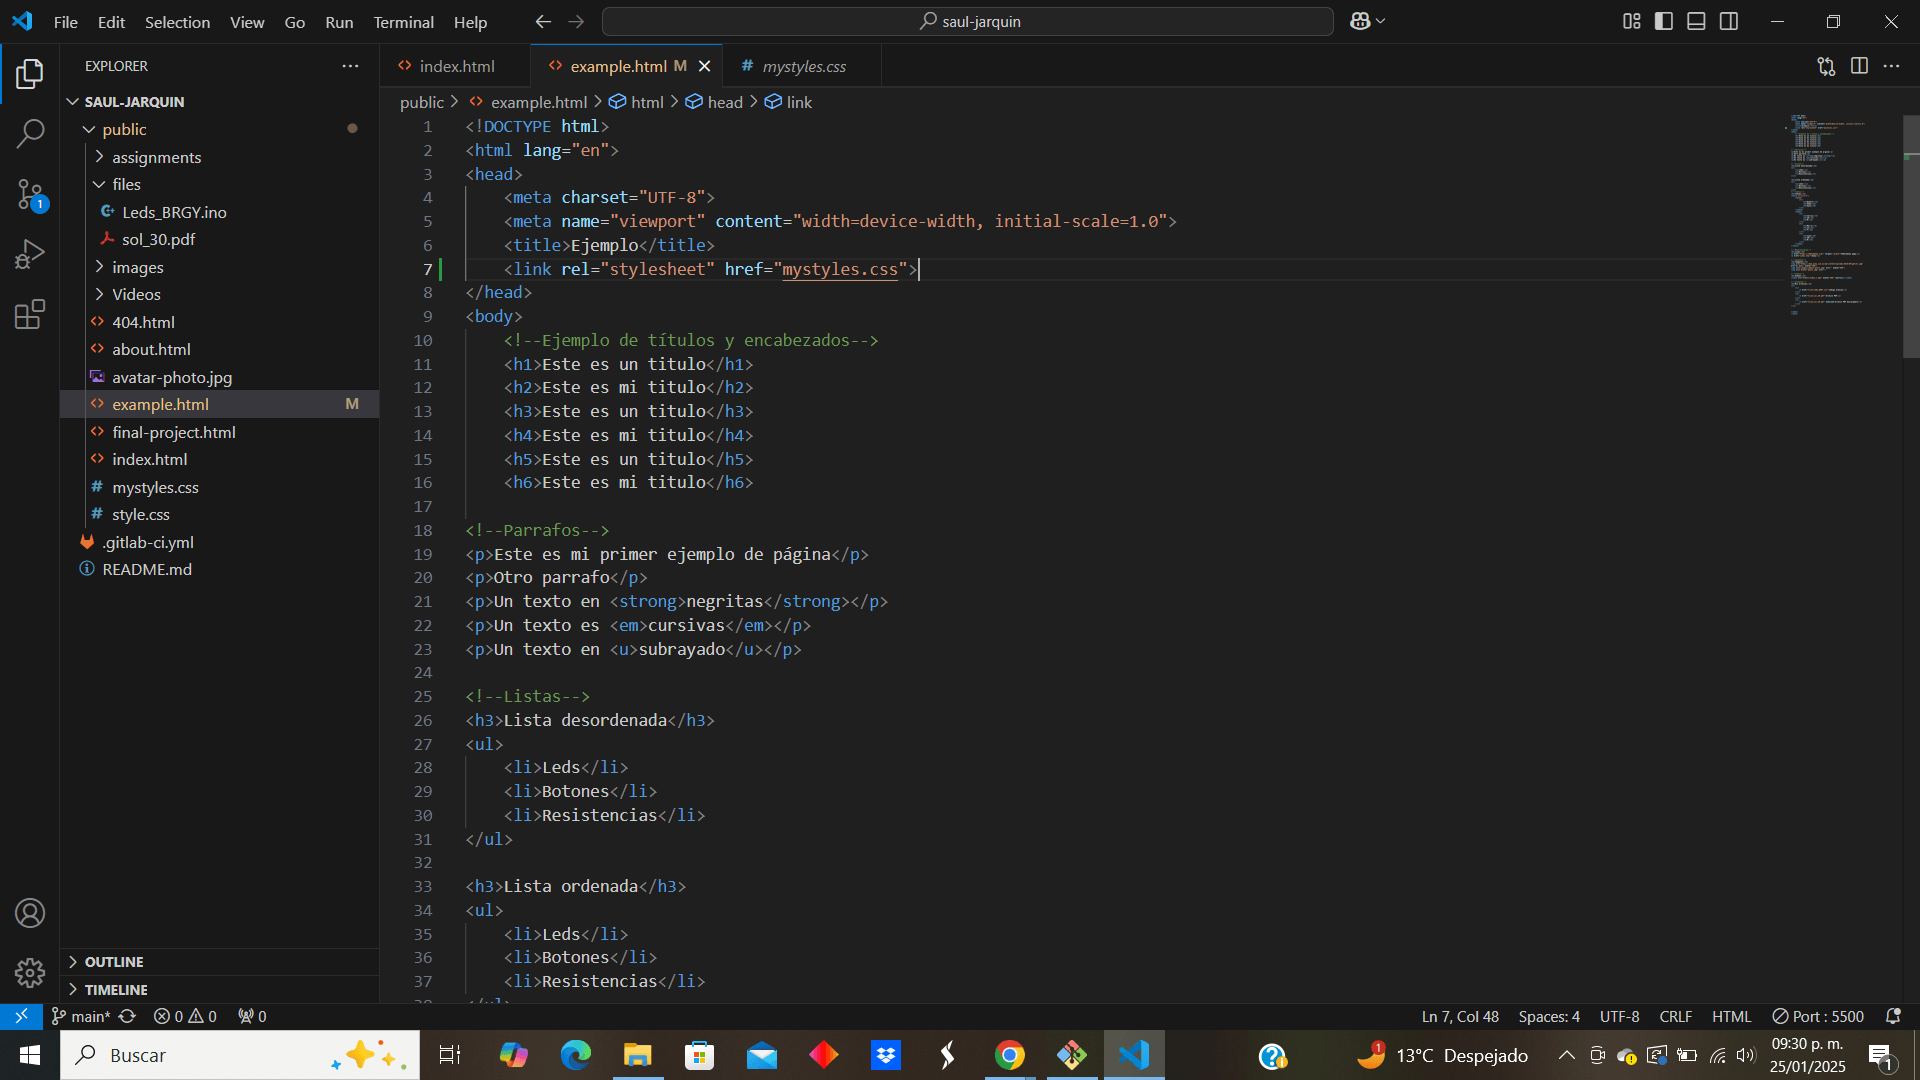
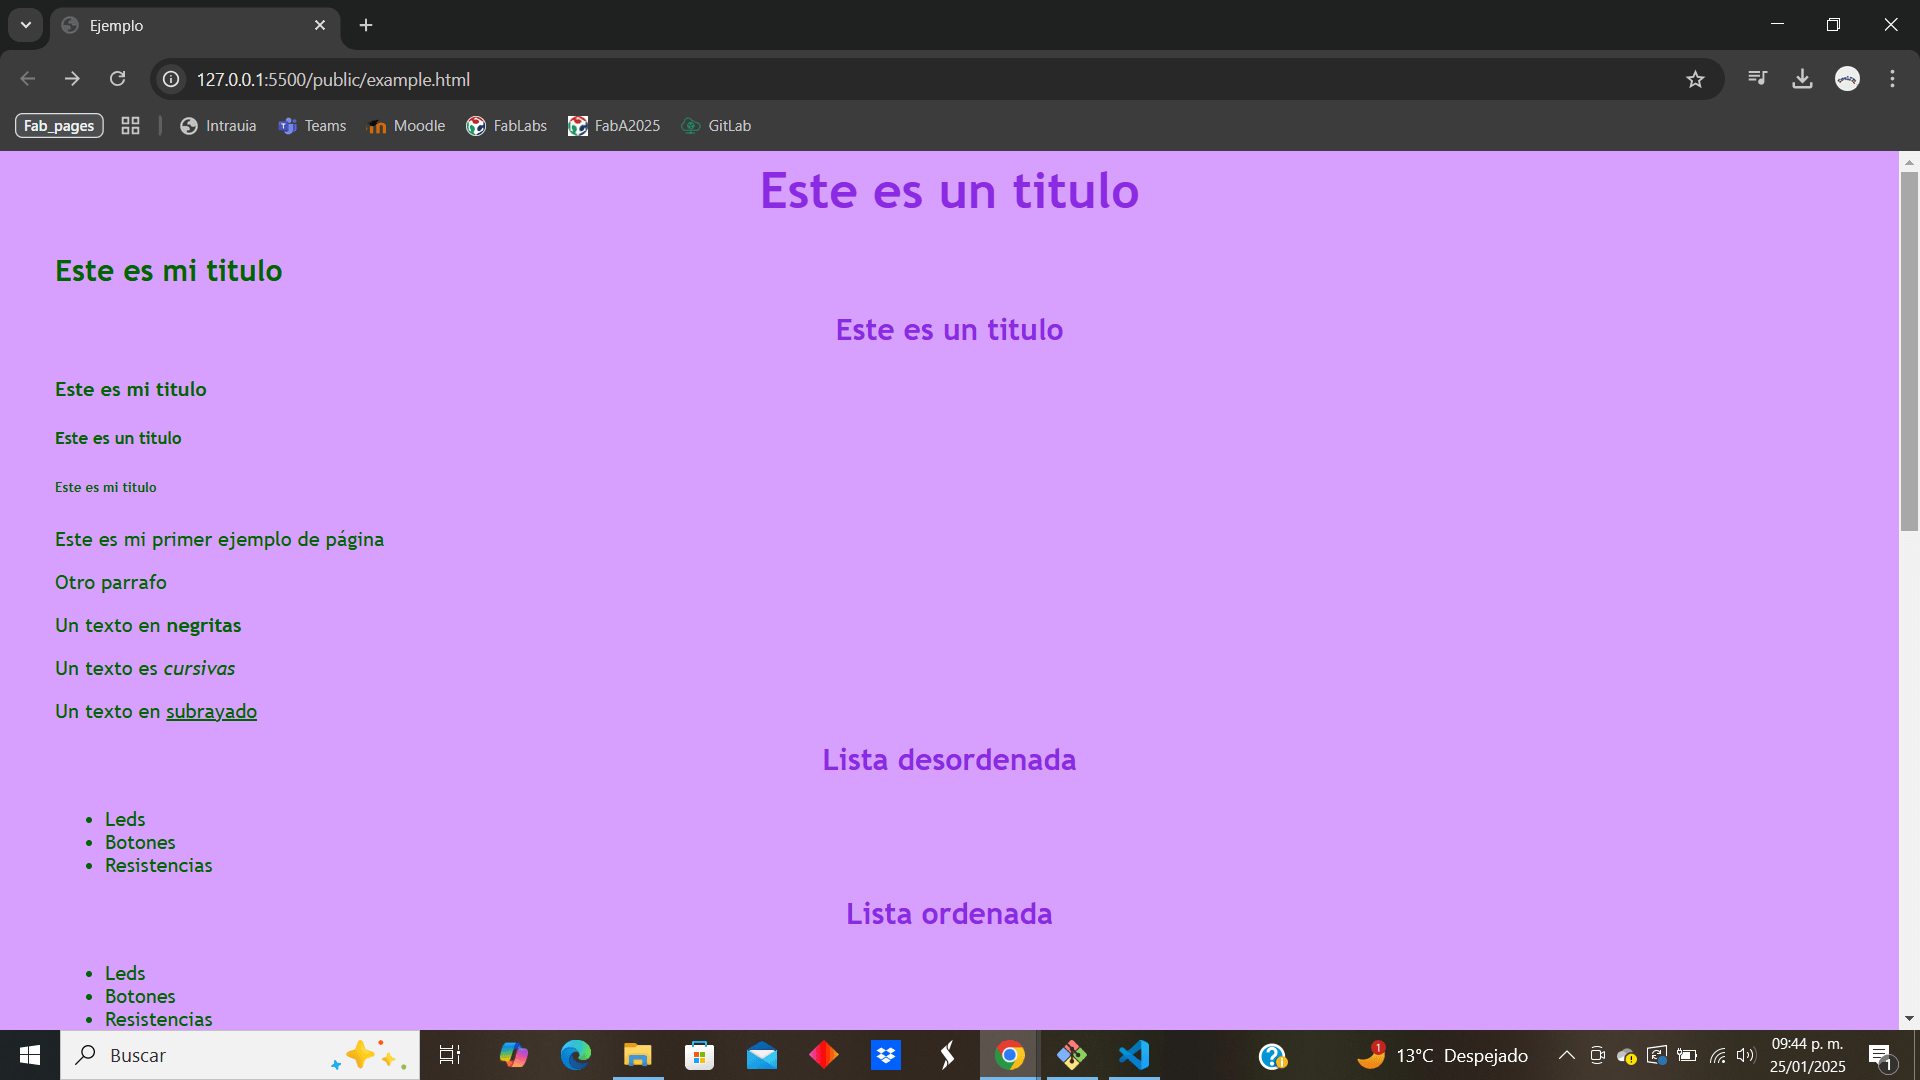
Now we move on to the editing section of the web page, the first thing we look at is the html code, so to start practicing we create a new html file and write some basic things such as titles, paragraph text, edited text (italics, bold and underlined), lists, tables and local or internet links

Here the result
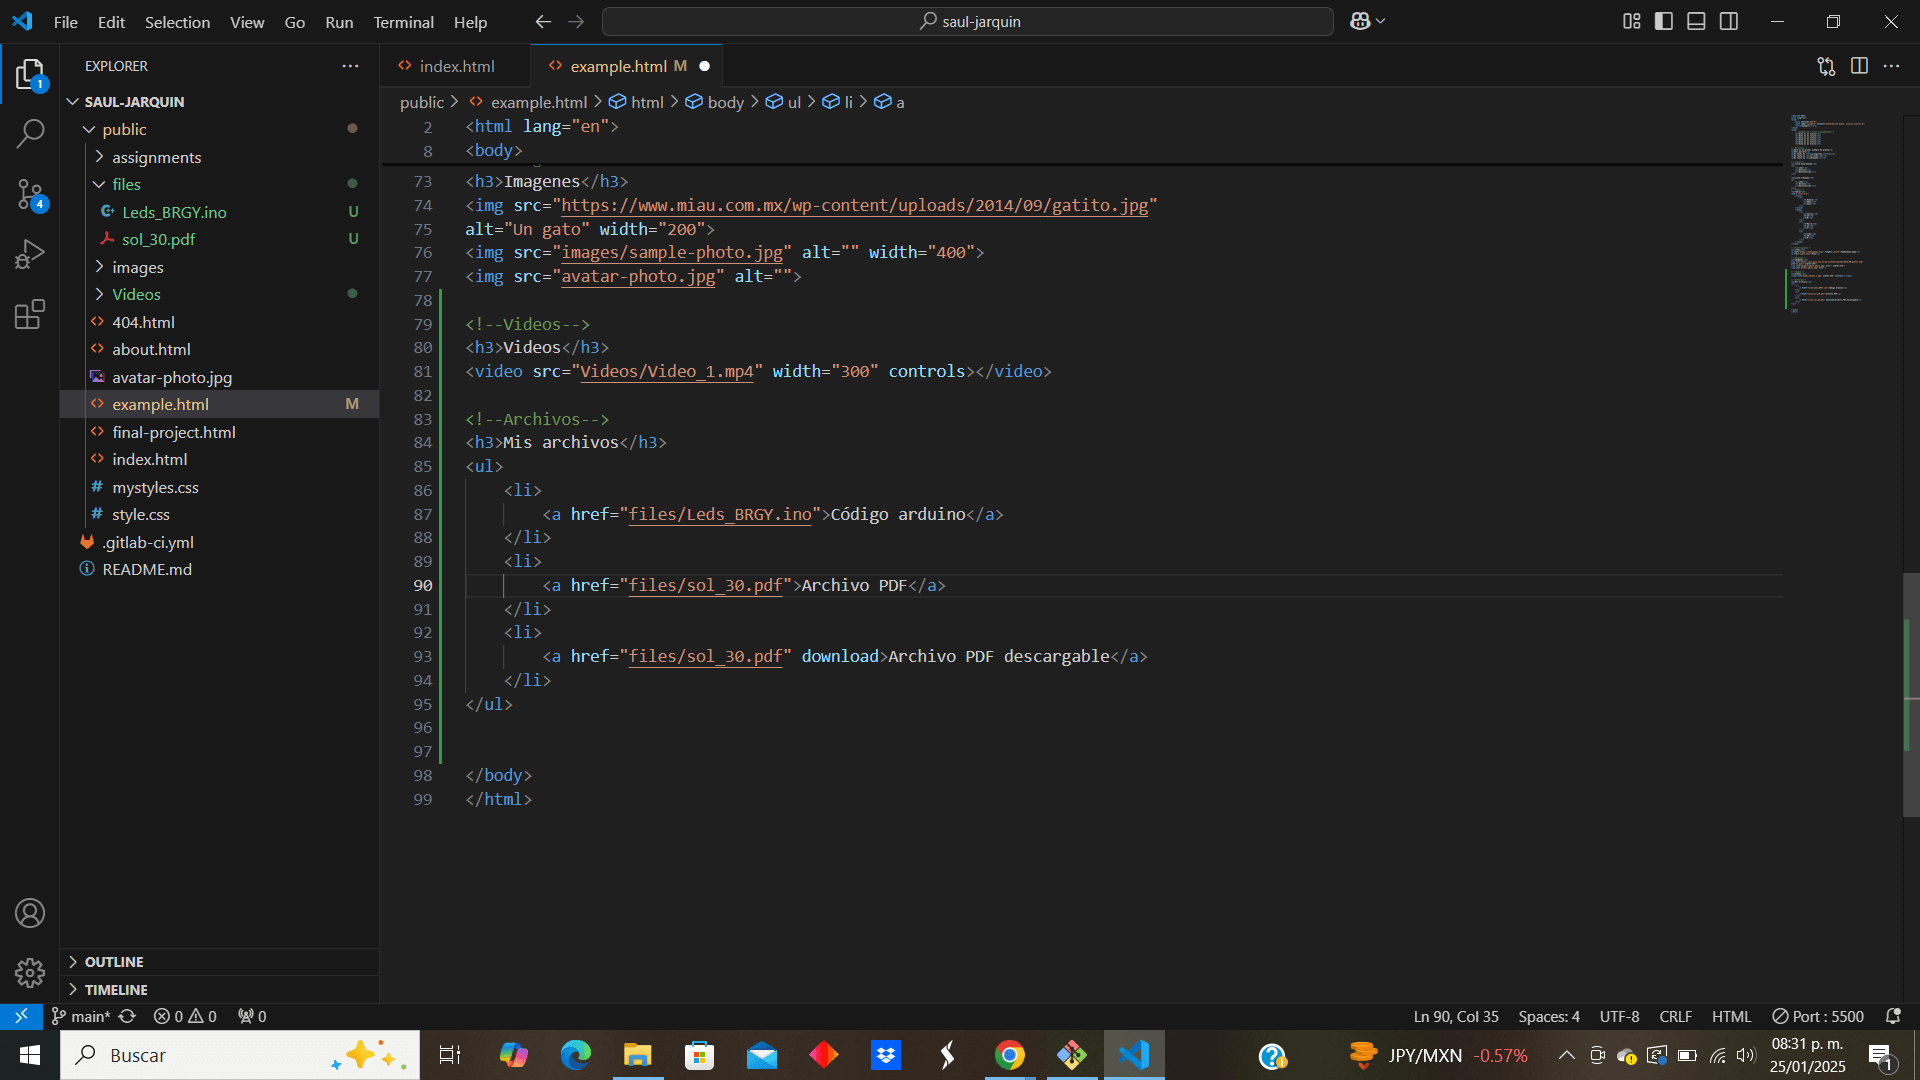
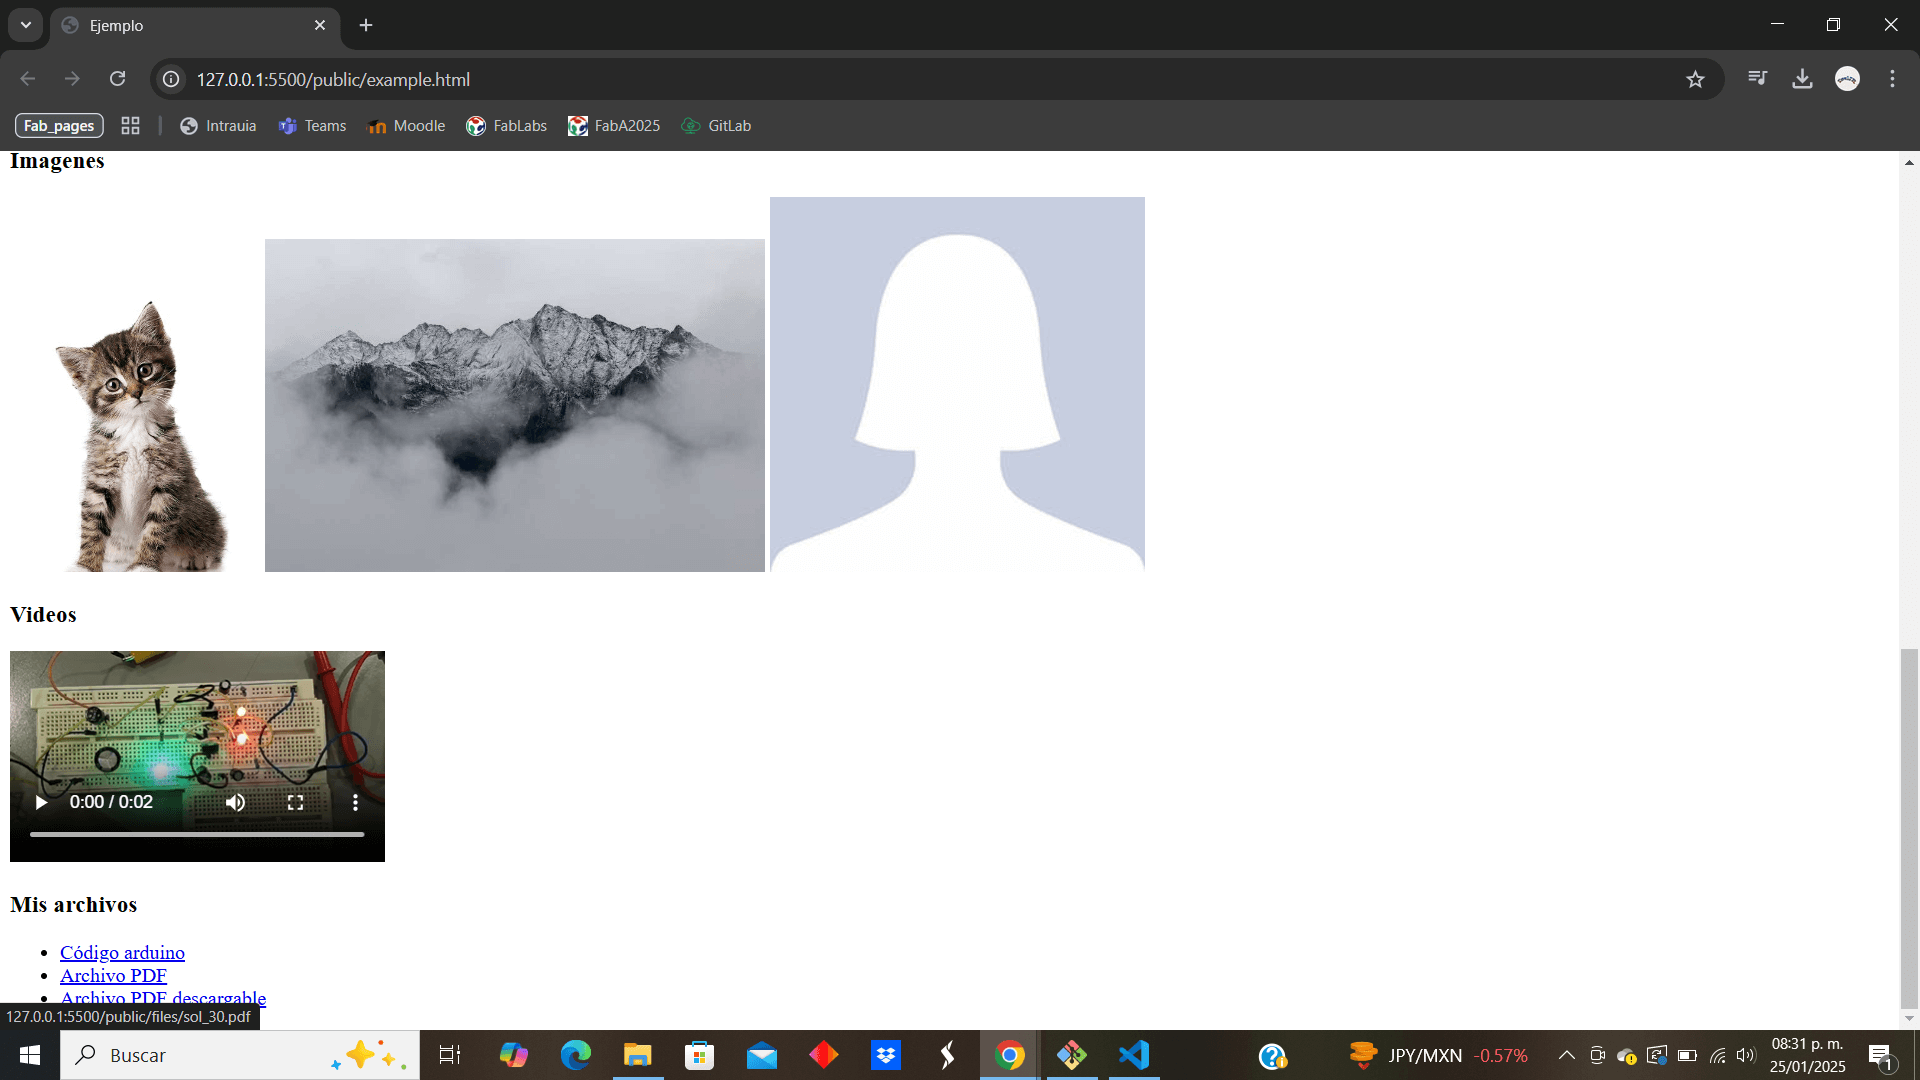
Images were also placed both locally (in the file itself) and from the internet, videos and files of different types, which depending on what type and how they are configured can be downloaded or opened a tab (pdf especially) when clicked
The result
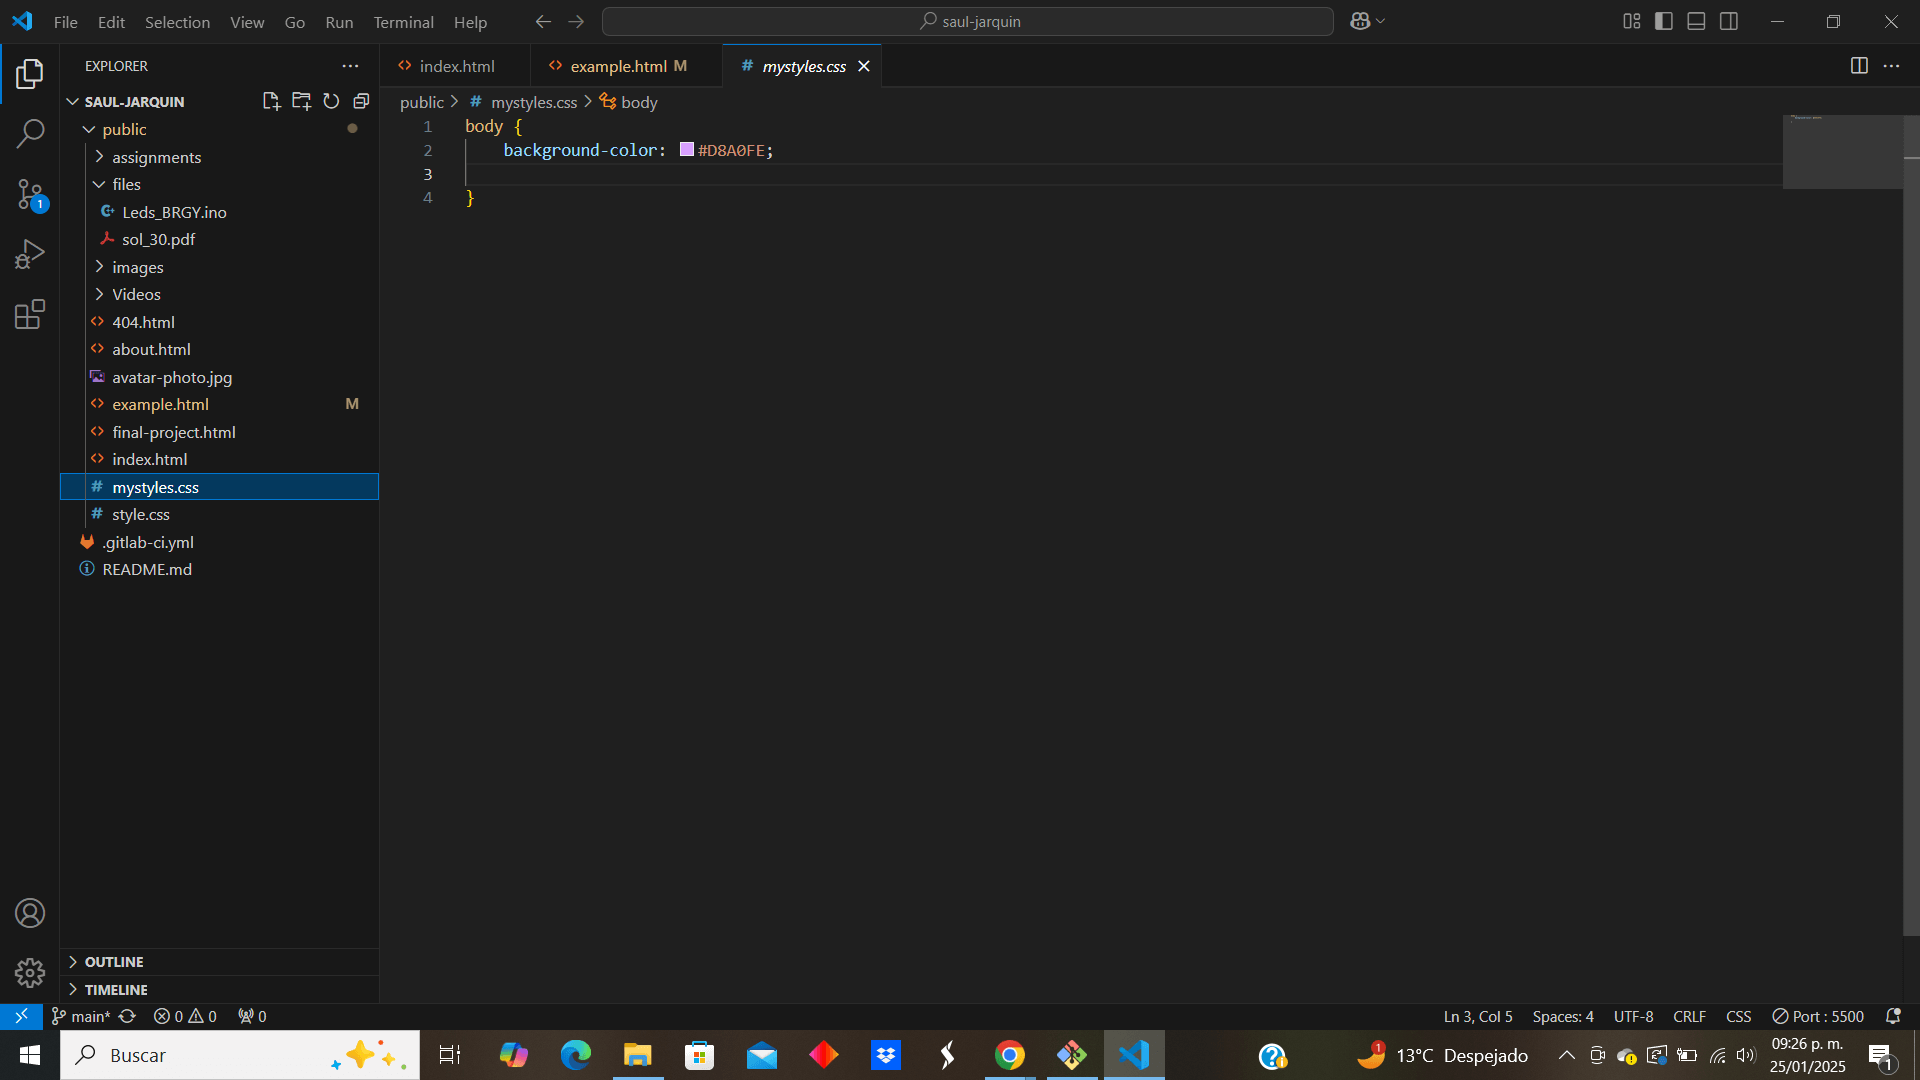
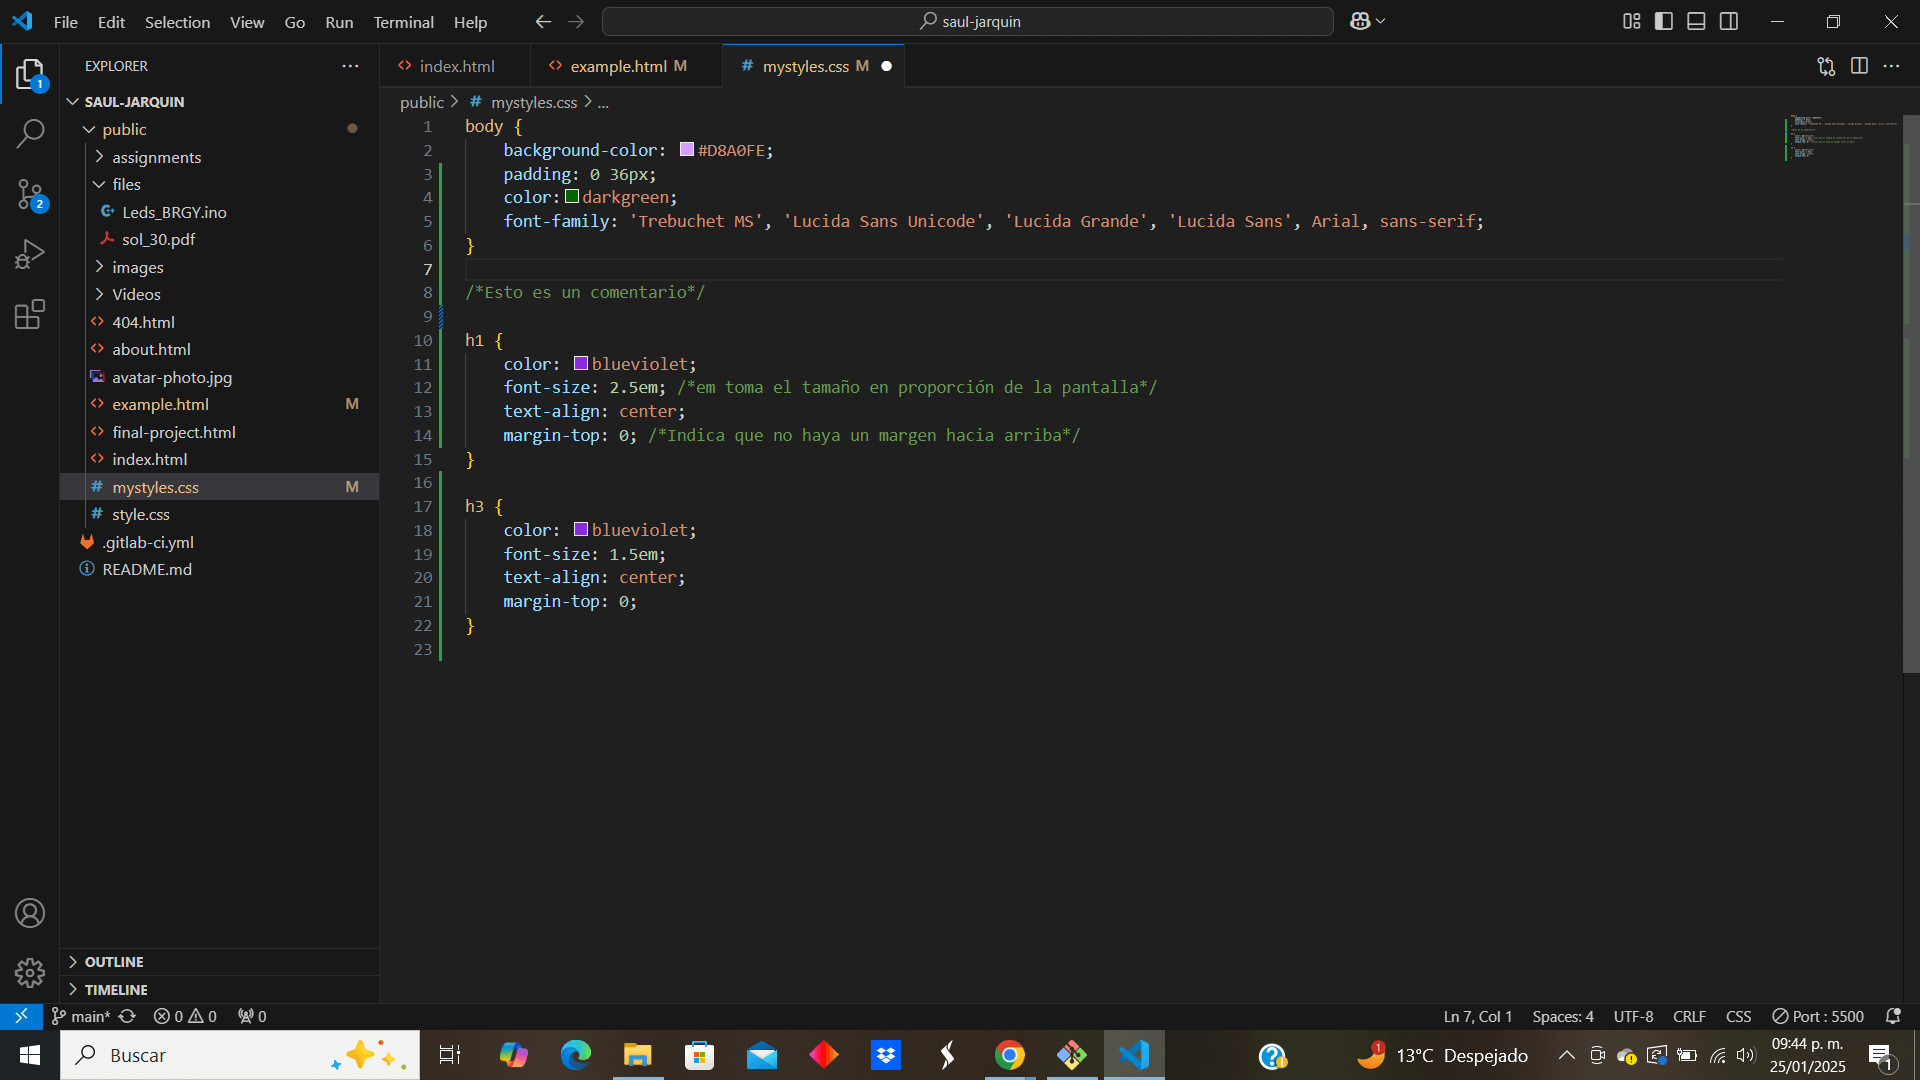
For the CSS, we create a new file called mystyles, where we indicate that the background is purple
Now, in the head section, in "href" we put the address of the css file to indicate that we want that to be the general configuration of the file
We observed that the change was successful

Now, if we want a more specific configuration, we have to indicate which section we want to modify, as with h1 or h3 type titles
The result
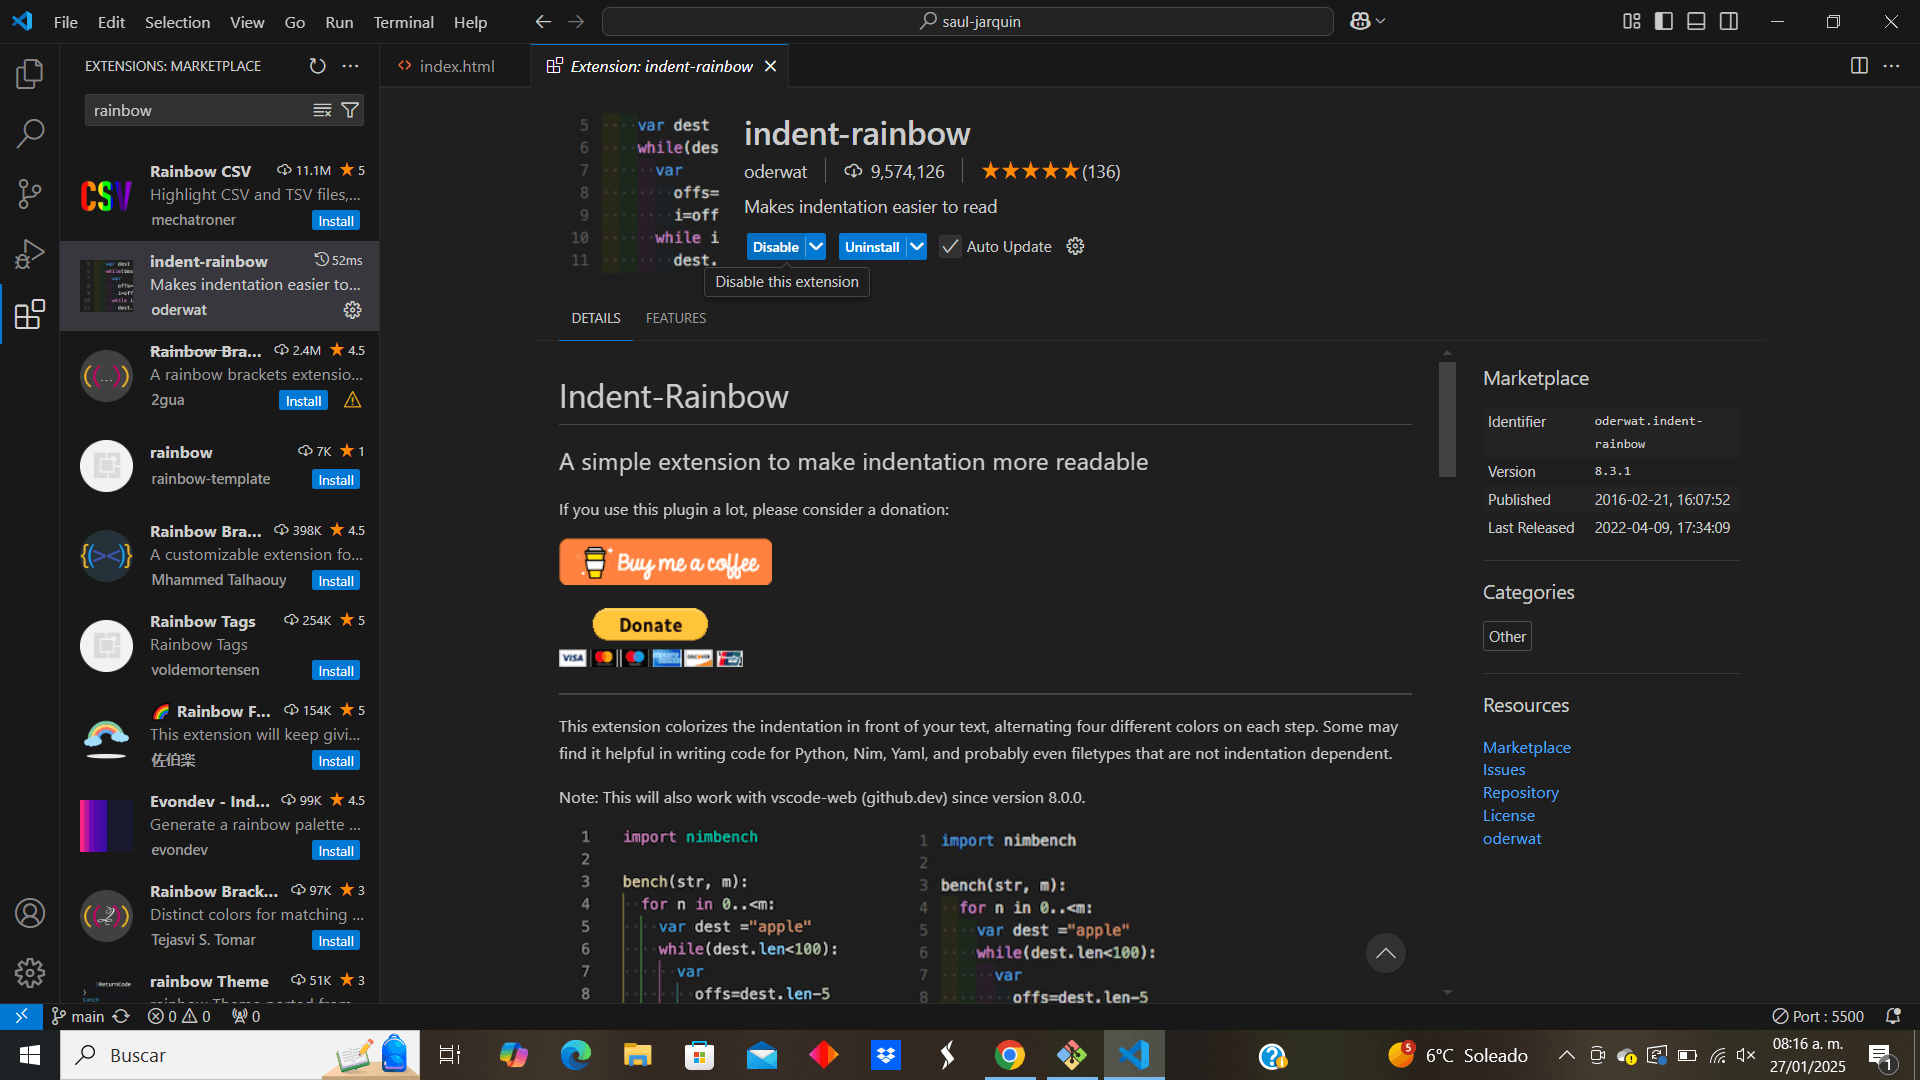
Finally, there is the "indent-rainbow" extension that is not required but visually helps a lot to know which code space you are in
Pages I used to expand my knowledge about html and css that helped me improve my page layout
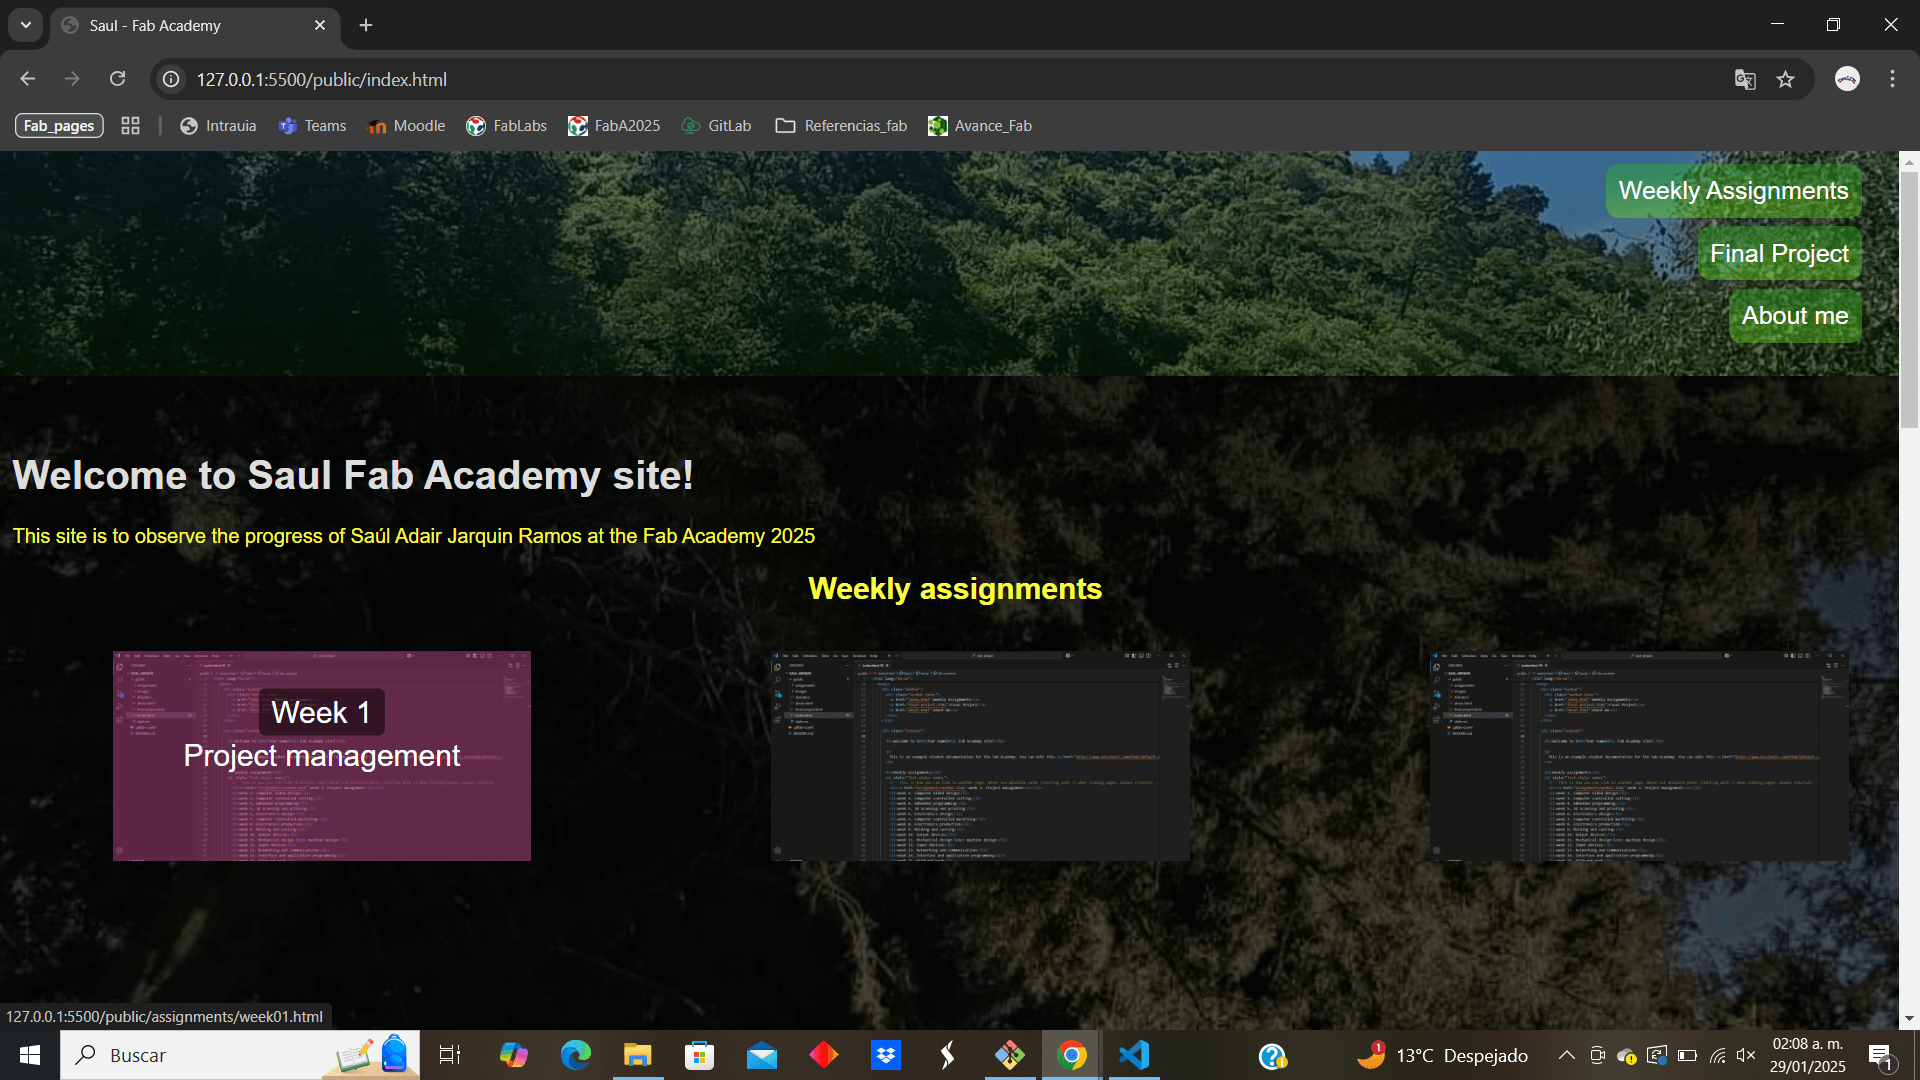
This is the final result
Finally, to comment a little on my experience and learning during the creation of my page. I want to start by saying that I had previously worked on editing web pages in HTML to document school work, but I had not done it to the level that I did this week, since I practically had to make the page from scratch without using a previous template, so I found myself in the need to learn what each command in the code does, its configurations and limitations, such as the “position:” command which has several configurations, the three main ones fixed, absolute and relative, each one having a different function so that, depending on the situation, one or the other could be used.
As for CSS programming, my knowledge was zero, as I had never seen the need to modify code of that type, so I looked for tutorial videos that would help me not only know what CSS did but also know the existing options to configure my page, how to give letter color, background color, letter font, margins, the position of the text or image on the page, etc.
Finally, it is worth mentioning that, during the creation of my page, in the about section I had to revisit some works from my past and revisit what I learned, which helped me become more confident about my abilities. I also had to think about the idea for my final project, which has motivated me more to work on the course and learn about everything it has to offer.