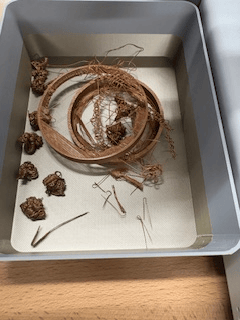
3D Scanning and Printing
I reject your reality and substitute my own. ― Adam Savage
ZB FAB Academy W05 Planning
Plan/Dates:
- Thursday 2/20/25 EOD:
- Group Assignment: test design rules for 3D printer
- Supports, overhang, clearance, angle, bridging, wall thickness, dimensions, anisotropy, surface finish, infill, tapers, corner, etc.
- Friday 2/21/25 EOD:
- CAD Day 1 - Brainstorm ideas, planning, set up parametric design, etc.
- Saturday 2/22/25 EOD:
- N/A
- Sunday 2/23/25 EOD
- N/A
- Monday 2/24/25 EOD:
- CAD Day 2 - Finalize model, slice model
- Print day 1 - Test print and make sure scale for all parts works
- 3D Scan - Test Polycam and see if printing is possible
- Begin documentation finalization/formatting
- Tuesday 2/25/25 EOD:
- Print day 2 - Final print
- Finalize and format first draft documentation BEFORE 14:00 EST
Reduced Process This Week:
Tasks This Week:
Group assignments:
Individual assignments:
Below, I walk through some of the notes/screenshots that I have from my work this week and explain my thought process as I was completing my assignments.
*Additionally, it should be noted that as of 2/25/25, I have not had a chance to test the design rules of my printer (i.e. the group assignment). This should be updated in my documentation by EOD 03/03/25*
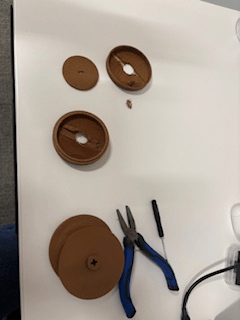
For my assignments this week I did two 3D prints. The first one was for my final project, and I printed a shell for a MIDI controller. The second print that I did was for a work project creating a model of a battery. For this, I needed to make a model of an anode and a cathod that could snap onto the end of a plastic cup for an educational assignment. I have some experience already in 3D printing, so this week was fairly easy for me. The biggest pieces of the projects that made it difficult was making sure that I had the correct kind of supports for my project.
OnShape Creation of 3D Printed Part
First thing was to design a part in Onshape that must be created through additive processes rather than subtractive.
Here's a basic overview of how to use Onshape to create a part file:
- Access Onshape
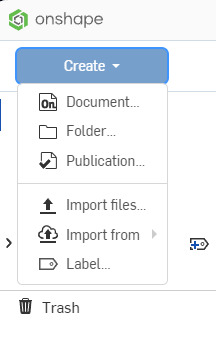
- Create a New Document
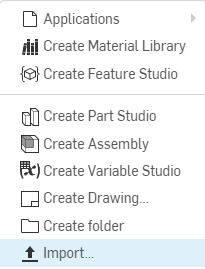
- Create a Part Studio
- Sketch Your Part
- Use sketching tools to draw your 2D profile, including lines, arcs, circles, rectangles, and more. - Add dimensions, constraints, and variables to define the size and position of your sketch elements and ensure a parametric design.
- Extrude or Revolve the Sketch
- Add Additional Features (Bools, adding shapes, subtracting shapes)
- Export and Use Your Part
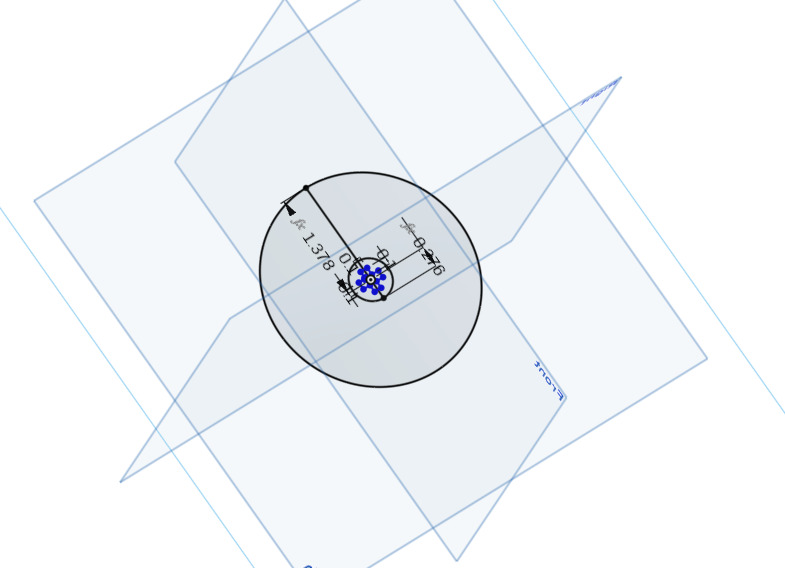
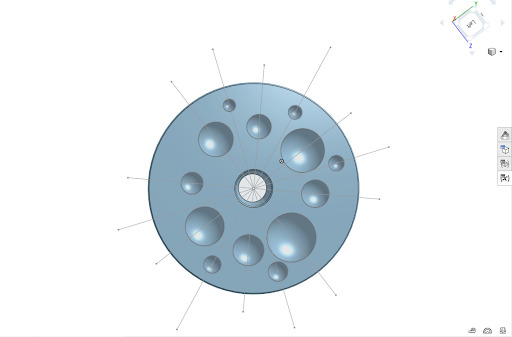
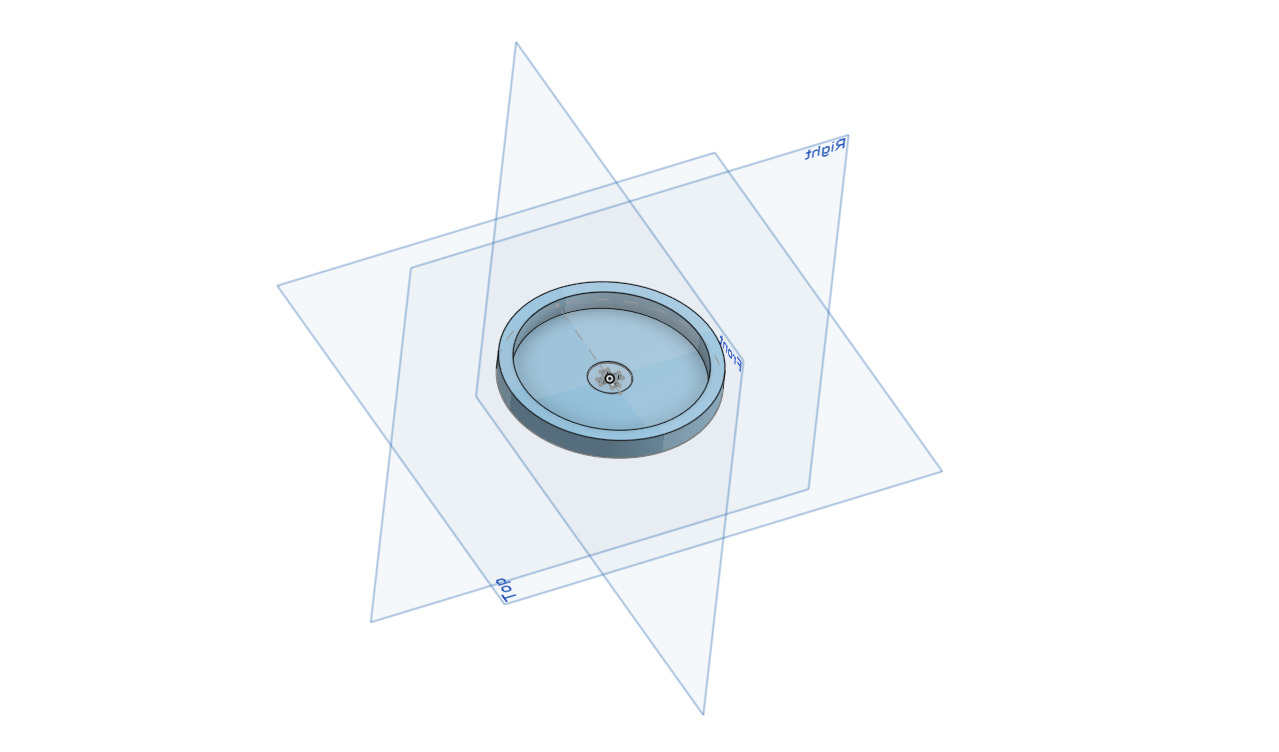
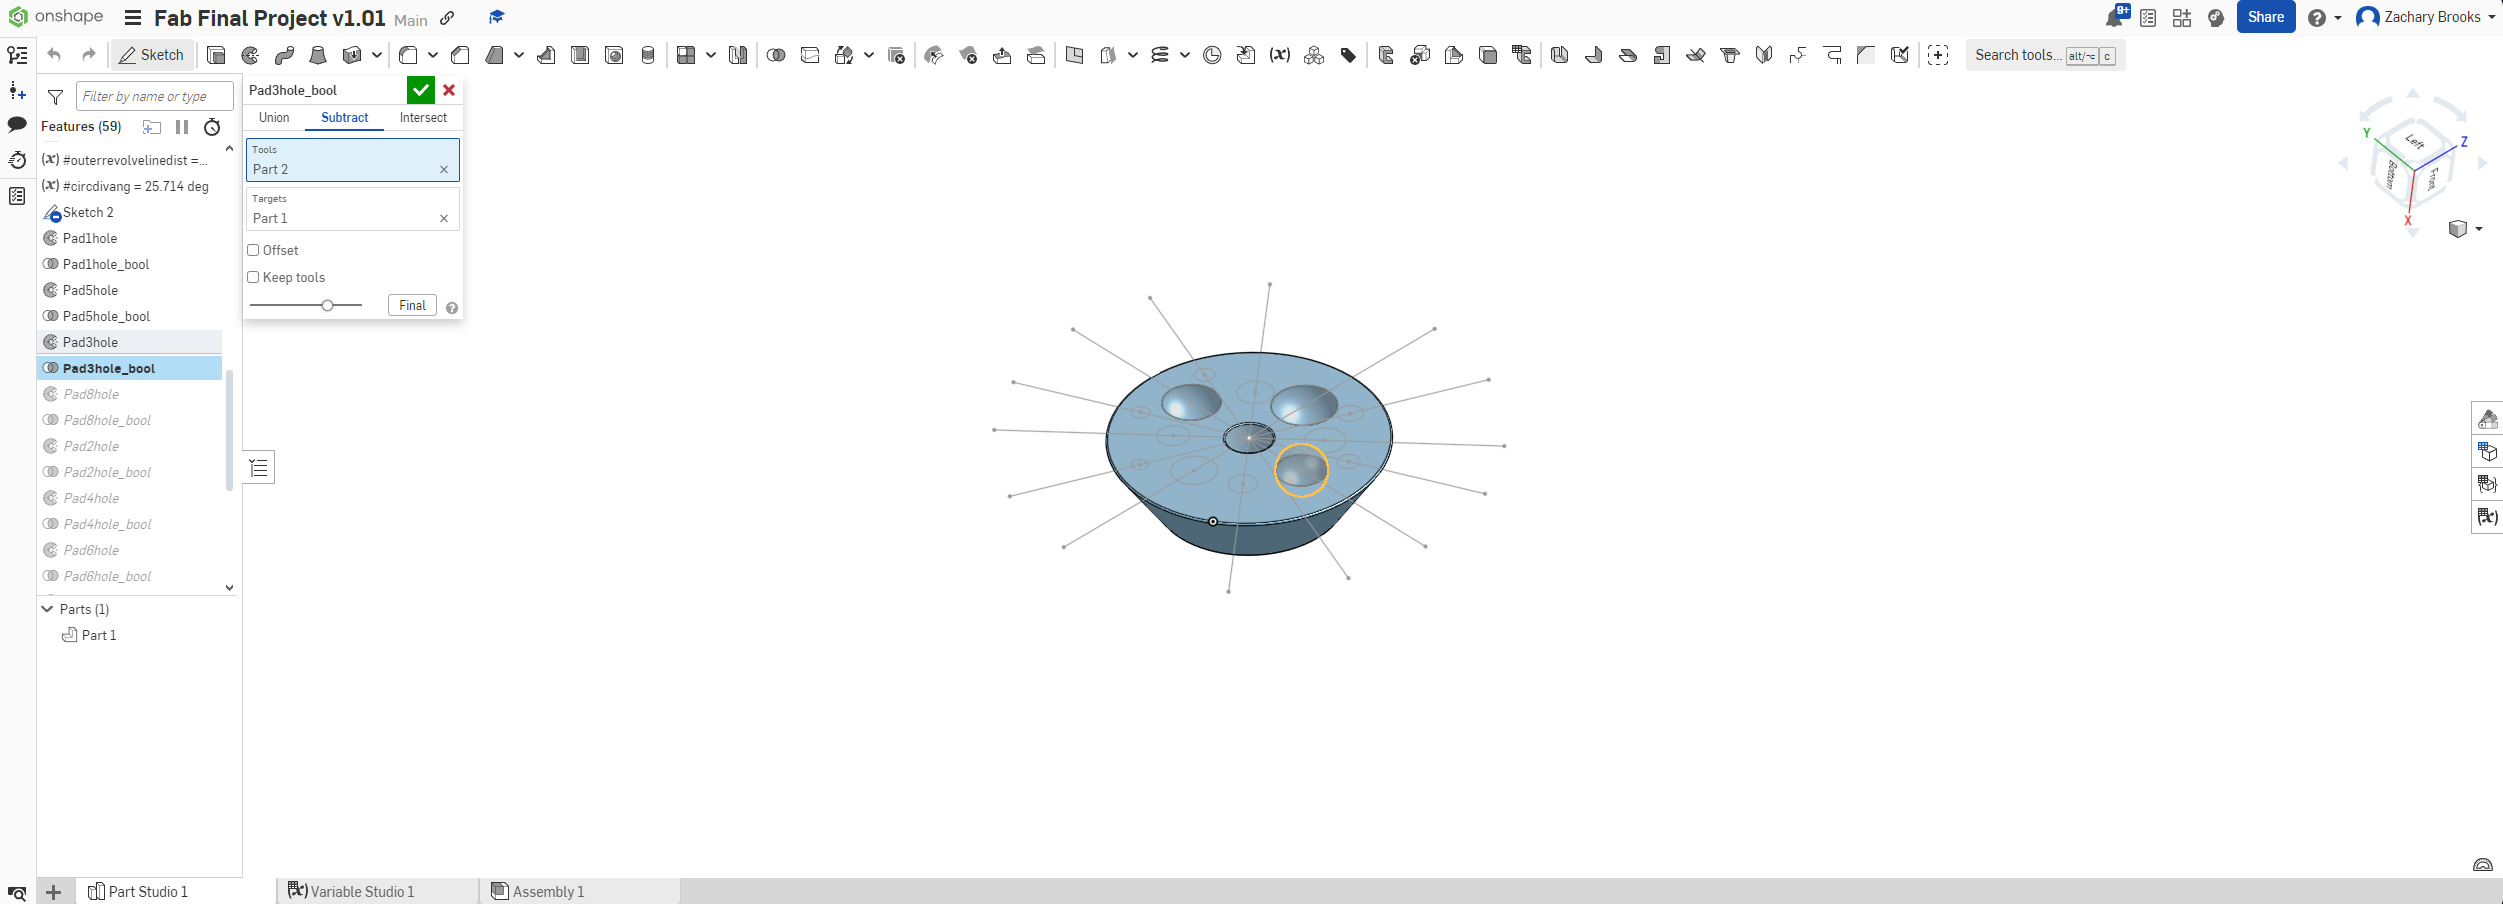
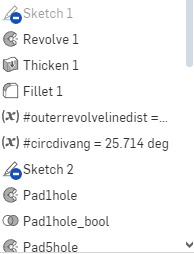


Once the parts were created the .stl needed to be sliced in order to be printed. I used Bambu Studio Slicer for our Bambu A1. During the print, I paused to release the ball bearing into an open cavity to make sure that the pieces could move independently
Understanding Limitations of 3D Printing
3D printing is very useful for rapid prototyping and getting your hands on designs quickly to make sure they will work as designed. There are some limitations that must be considered before printing. The list below is just a sample of some of the limitations of 3D printing:
In some of my previous 3D printing experience, a great example of this is when I was printing a pan flute for a teaching conference. The print, when done horizontally, would fail only a few layers in. When printed vertically, the filament was able to set and it printed flawlessly.
Work for final project
This week, I wanted to work with my final project to create a shell for my MIDI controller
In order to fulfill the assignment requirements, I placed a small bearing inside of the shell to ensure that it was not possible to be created subtratively.
3D Scanning
For the 3D scanning I used the iPhone app Polycam. You can see in the images below that the scanner app works to capture the object but when imported to Bambu Studio there are gaps in the data so it will not print very well. If I had taken more time with the scanner it may have produced a better final scan and print. Moreover, given more time I could have used a tool like MeshLab in order to clean up the scan and turn it into a printable file.

Improvements/Helpful Hints:
- The first thing that I would suggest to myself if I were doing this assignment again is to create more PartsStudios in OnShape
- This would allow me to have more control over creating different objects at different times. When I move to an assembly, then I would be able to manipulate each part more easily and seperately,m and then, when exporting to my Slicer I could do the same, which would allow me to have better control over how things are placed on the print bed.
- The next improvement that I would make to my process, would be for the 3D scanning. If given more time, I would try to create a better scan using more images
- Having a better scan would allow me to be able to potentially actually print from the .stl file that the 3D scan creates
- Moreover, I would be able to scale the .stl file, then, for prototyping the relationship between an alredy fabricated object (in this case my water bottle) and something that I would want to make in CAD (e.g. a blender sphere that could break up chunks of smoothie or protein shake)
- One other difficulty that I had was in prints failing. In order to ensure that this didn't happen, I switched from using normal supports to tree supports, in order to limit the amount of extra filament that I was using in one layer
