2. Computer Aided Design
Week 2 Checklist
Modelled experimental objects/part of a possible project in 2D and 3D softwareShown how you did it with words/images/screenshotsDocumented how you compressed your image and video filesIncluded your original design files(s)
Here's the links to my fingerbox files for Fusion 360
I exported the following formats .f3d, .dxf, & .stl
so that files can be easily accessed and viewed.
Base dxf file
Base f3d file
Base stl file
Fusion 360 gallery of images of Noisey Boy during 3d development
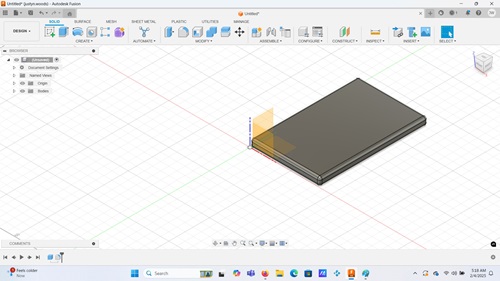
Using Fusion 360 I began creating a rectangle box based on the youtube tutorial that I watched
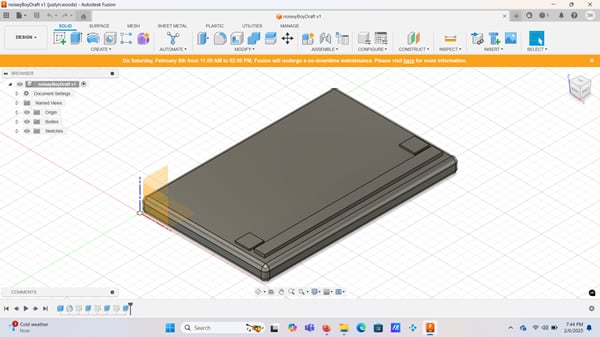
Extruding cuts that were made, I am able to form buttons and the led meter

We now have a microphone module, more buttons as well as led lights and and led screen.
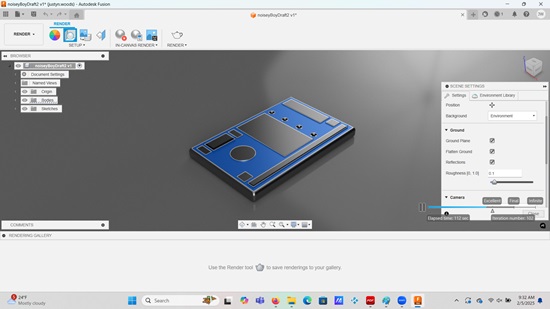
A quick render of what the Noisey boy device will look like
2d Sketch of Noisy Boy
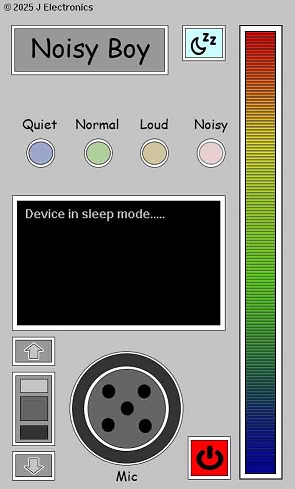
I created this image in photoshop, to show what
Noisy boy would look like in 2d.
Here is the .stl file for NoisyBoy
I uploaded the .stl file for NoisyBoy so it can be easily accessed
NoisyBoy .stl fileI created a fingerbox base to learn Fusion 360
Here images and files of the fingerbox that I worked on in order to get
comfortable with Fusion 360. This is a base piece of a fingerbox. I dont have
any plans to use this finger box in a project...but hey let's see what happens.
Making my finger joint box
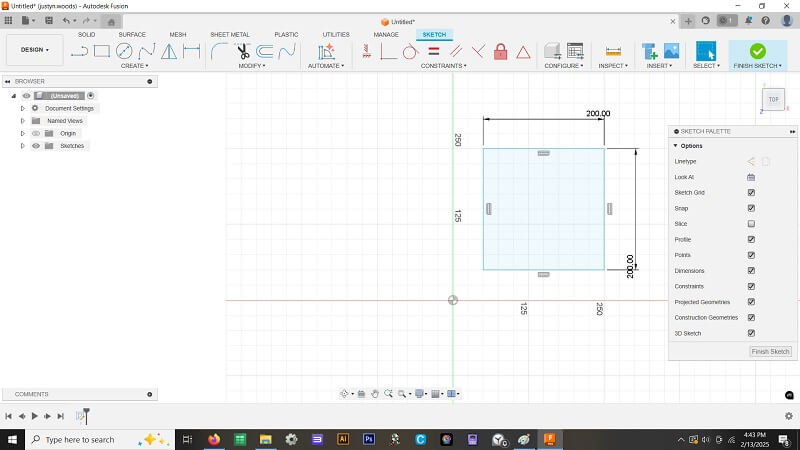
- Making my fingerjoint box in fusion 360 starting off making base square before I set any parameters.
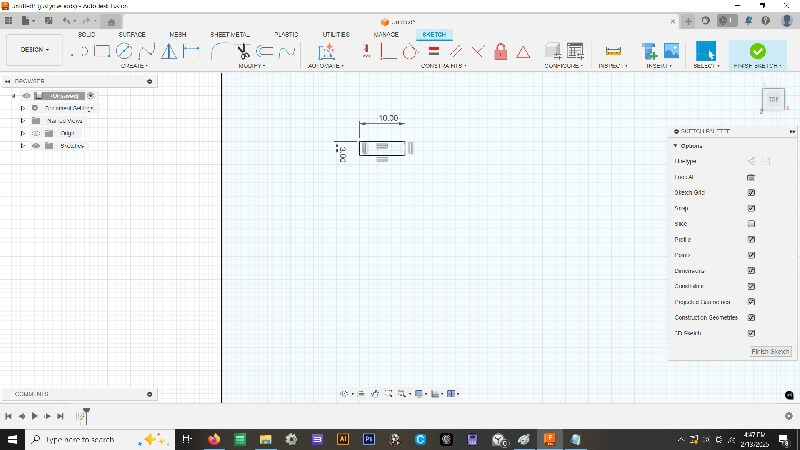
- Added a square 200mm x 200mm, created a fingerjoint rectangle (10mm x 3mm)
- Highlighted small rectangular box and created a rectangular pattern of 4 additional rectangles.
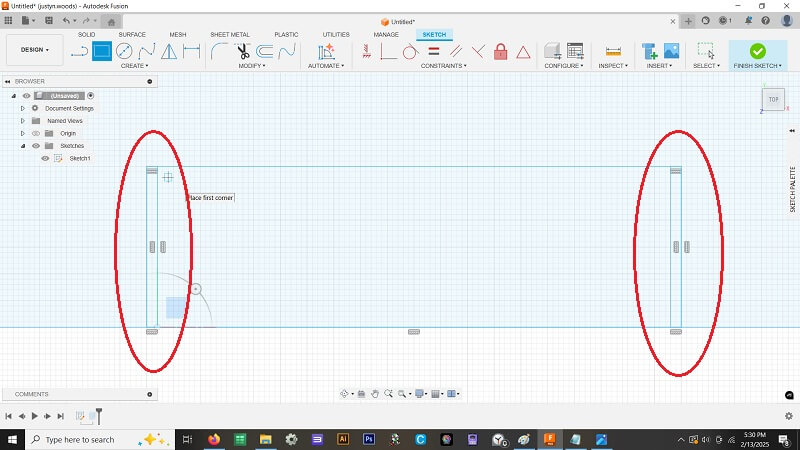
- I then stretched the array of rectangles to the top edge of original base.
- This gives me a row of 5 rectangles in a horizontal type of array.
- Dragging the arrow down I created another row that I placed at the bottom of the base.
- The 2d image in fusion 360 looks like a puzzle piece...sort of.
- Created rectangles for the kerf (these rectangles are 10mm x 0.2mm) and the fit flush on the
edge of each rectangle in the 5 rectangle array. This gives the piece the puzzle edge look.
- Creating 2 user parameters to make future modifications easier. I created a kerf parameter
as well as a thickness parameter.
- added 2 more user parameters to adjust for the 2 different hole size currently being used.
- The smaller sized hole uses the parameter (pocketHoleSize)
- The larger sized hole that is in the center of the base piece uses the parameter (centerHolSize)
- I now have 1 large hole and 4 small holes on my base piece.
- Now that I have the base finished I will animate it.
- The animator/timeline is pretty straightforward and similar to most others alike.
- For the animation I simply moved the progress slider to the right, to a higher number on the timeline.
- After moving the slider, I grabbed and rotated the base with the rotate tool to
reveal different angles for a better overall view of the base object in 3D.
- After a short 44 seconds of footage created, the video was exported in .avi format.
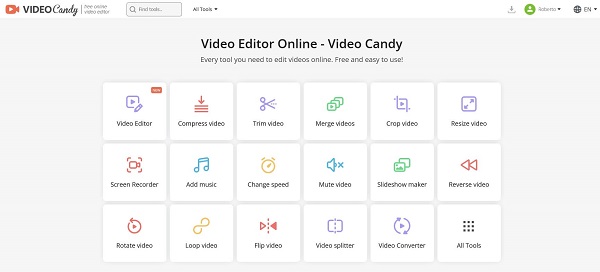
- The exported avi was uploaded to www.Videocandy.com (a free avi video compression site)
where it was compressed from it's original size of 35mb to 273 kb.
Making a fingerbox base
Making the base of the fingerbox
creating the fingerjoints
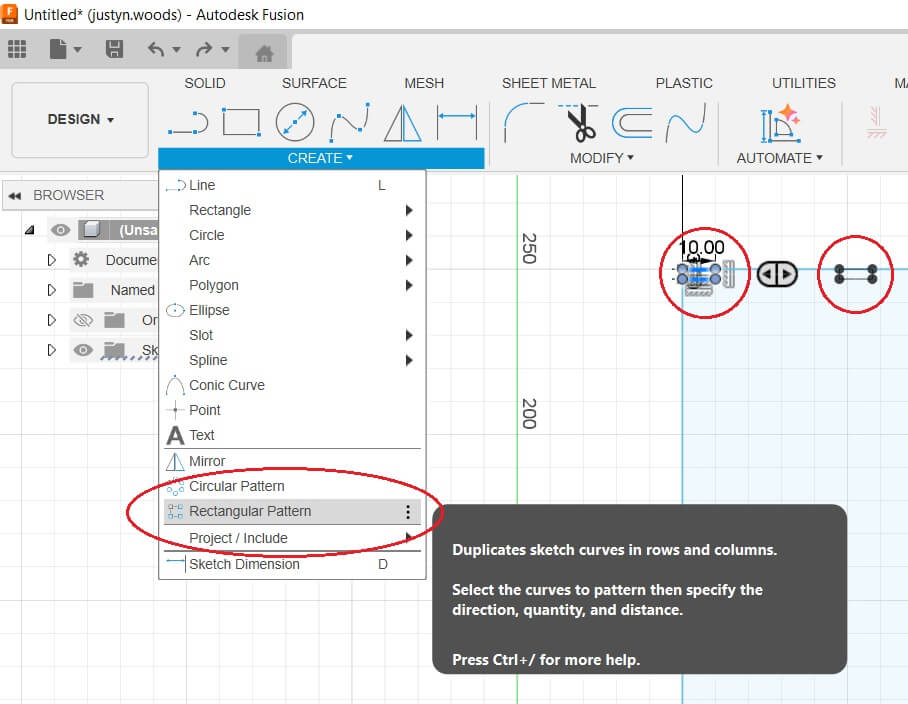
Using the rectangular pattern tool, multiple mini rectangles were created.

Copied and duplicated the first row
Creating 10mm x 3mm rectangles for edges of the base.
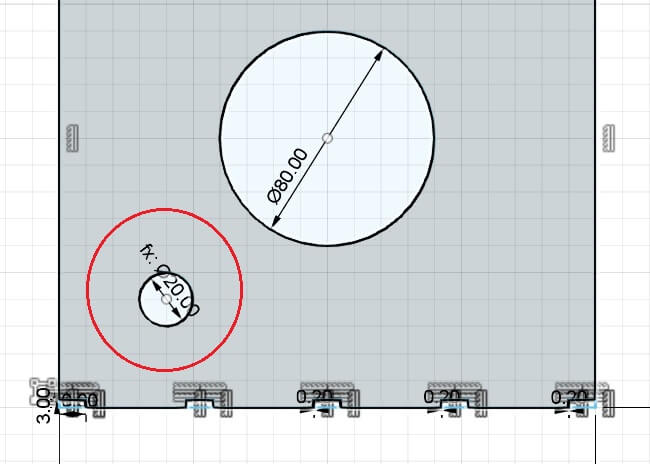
Seeing the hole in sketch mode with dimensions
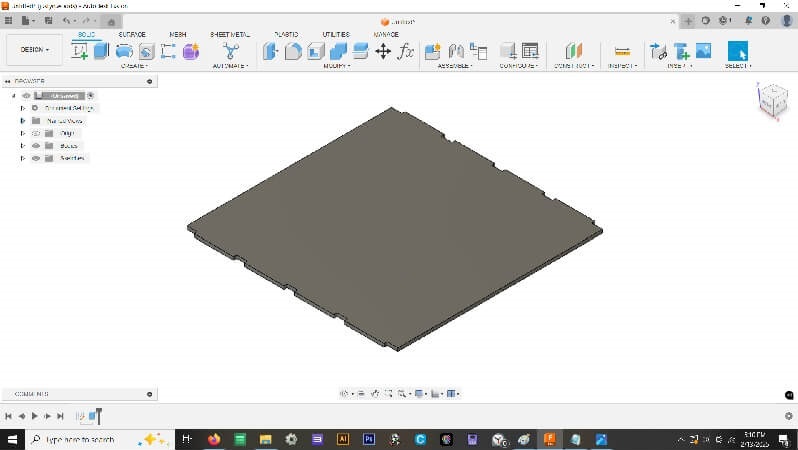
Extruded the 200mm x 200mm square for base for fingerbox.
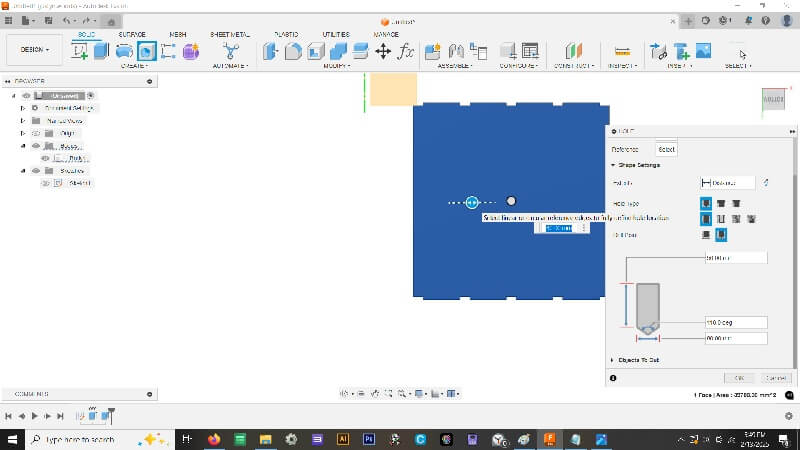
Creating 80mm center hole
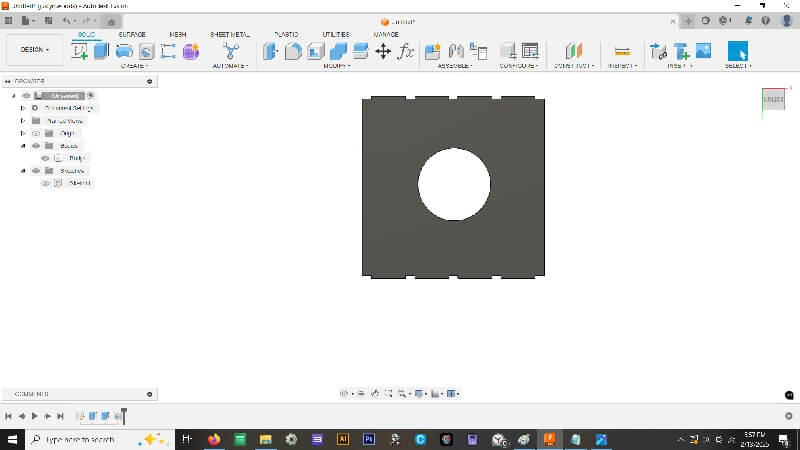
Using the hole tool I created a 80mm hole for the center.
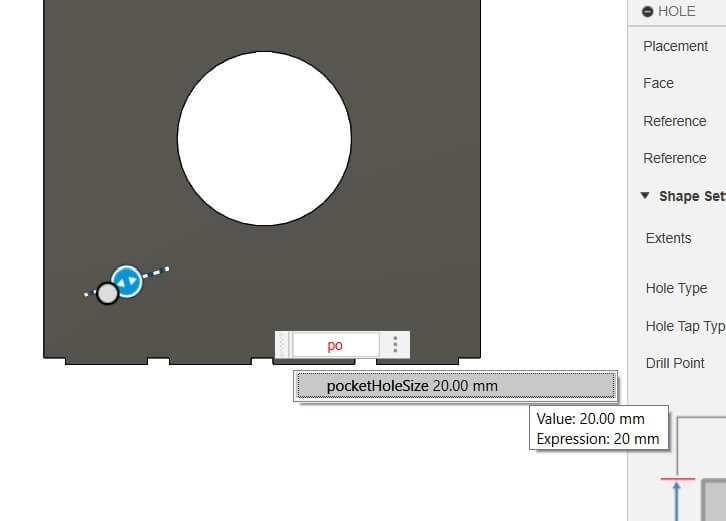
Created a small hole based on the user paramater "pocketSizeHole"
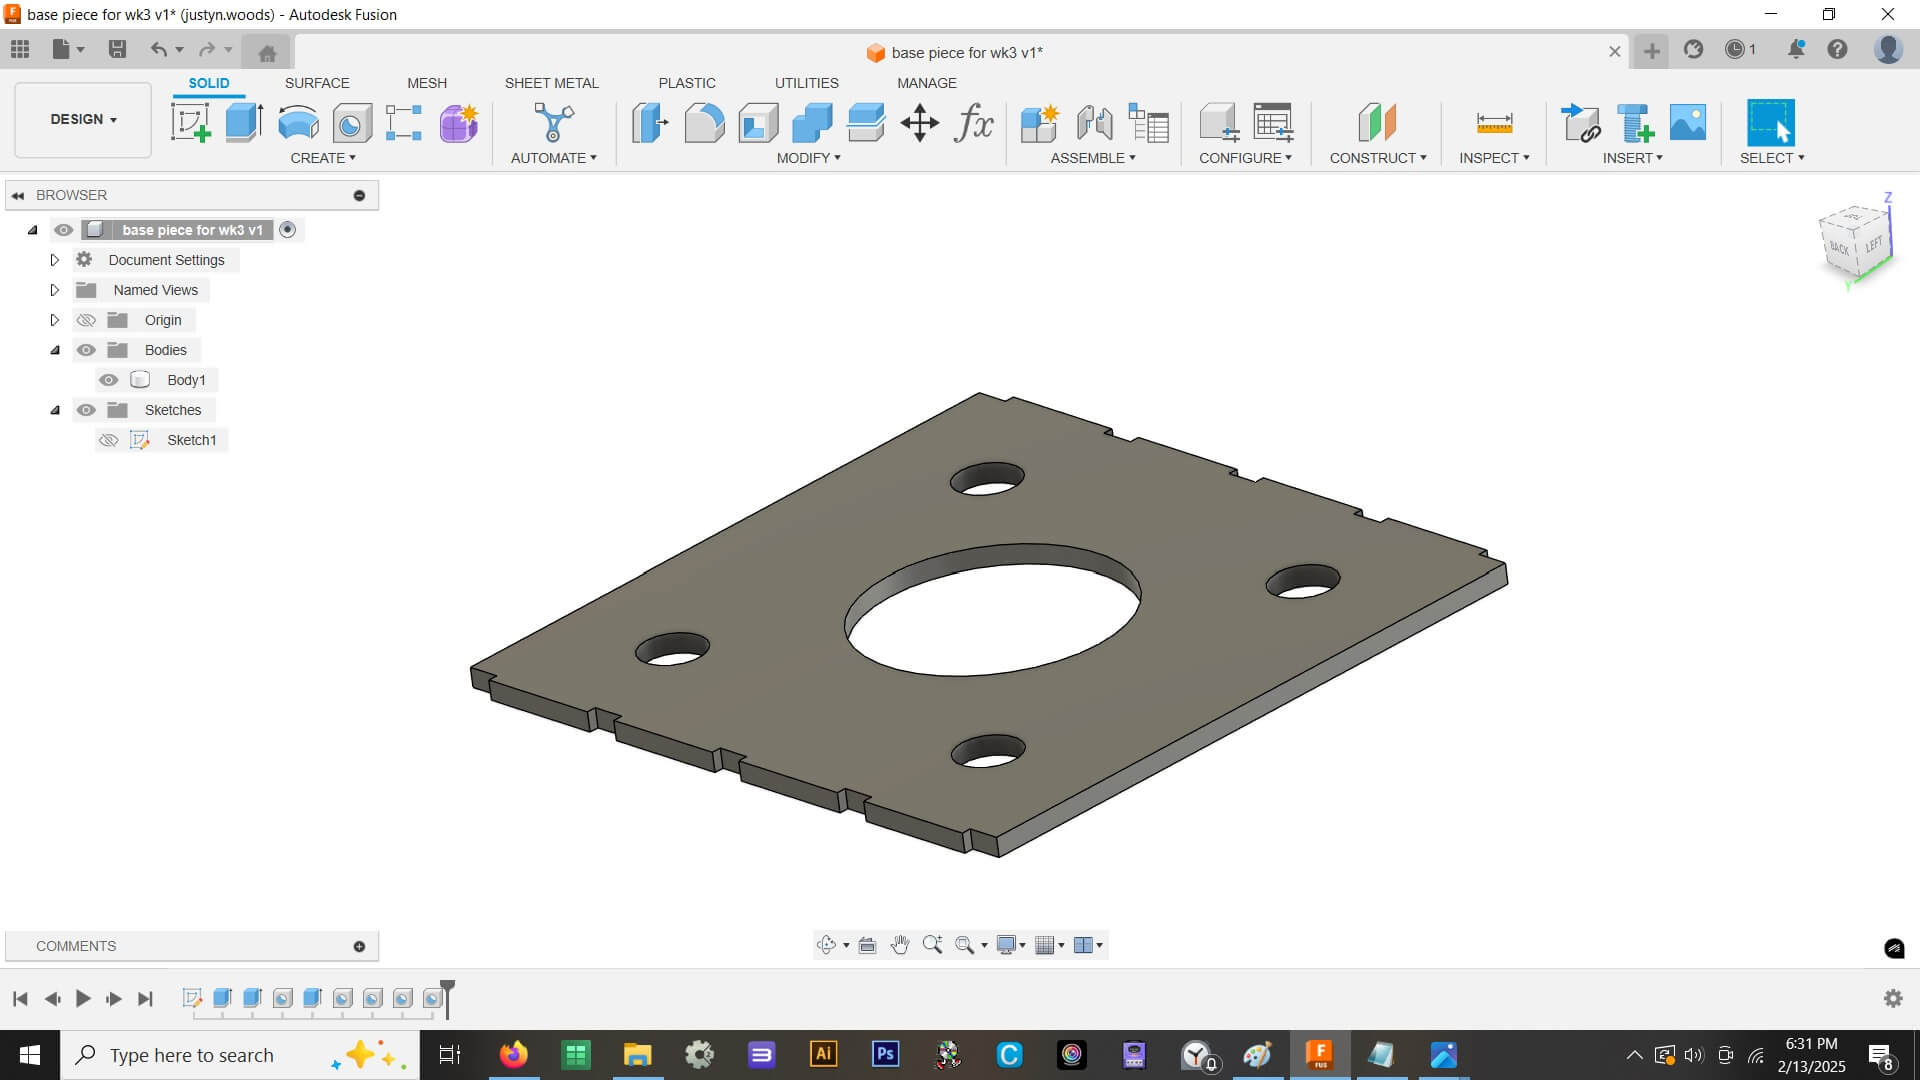
Added 3 more holes to the base.
Compression Sites
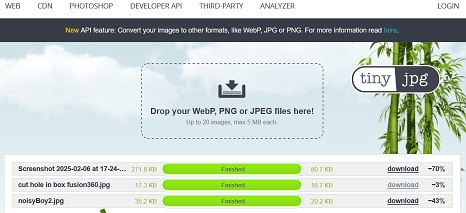
Tiny Jpg was used for the compression of uploaded images
I used tinyjpg's website to compress my larger jpeg
images into much smaller jpg files. As you can see
in the screenshot, how much compression was performed
on each image that have uploaded. I try to keep every
image below 75kb. I've gotten some imgages under 30kb
Click here to visit
Video Candy was used for the compression of uploaded videos
Video candy is a website I used too help compress video files to make them smaller
Animation of fingerbox base
Animation of the base piece rotating in 3D space.