Here are things I learned and worked on during molding and casting.
Molding and Casting
Molding and casting is a fabrication process used to reproduce objects by first creating a mold and then producing
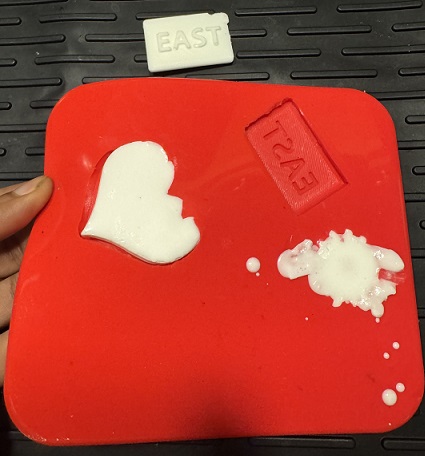
copies from that mold. For this activity, I designed and 3D printed several master patterns that were used to create
silicone molds. These molds were then used to produce cast replicas of the original parts.
Safety Review
Before beginning the molding process, the Safety Data Sheets (SDS) for the molding and casting materials were reviewed.
Particular attention was given to:
Although the materials used were considered relatively safe for hobby and educational applications, gloves and a clean
workspace were used throughout the process.
Understanding the Process
The molding and casting workflow consists of several stages:
- Create a master pattern.
- Build a mold box around the master.
- Mix and pour silicone to create a negative mold.
- Allow the mold to cure.
- Remove the master pattern.
- Pour casting material into the mold.
- Allow the cast to cure.
- Demold the finished part.
Key Terms
Master Pattern
- Original object used to create the mold.
Negative Mold
- Hollow cavity that captures the shape of the original object.
Cast
- Final part created from the mold.
Curing
- Hardening process of mold or casting material.
Demolding
- Removing the finished object from the mold.
Draft Angle
- Slight taper that helps parts release from molds.
Undercut
- Feature that may trap a part inside the mold and make removal difficult.
Release Agent
- Material applied to prevent sticking during molding and casting.
Silicone Mold Material
- The mold material used was a platinum-cure silicone rubber.
Material Specifications
Mix Ratio: 1:1 by volume
Pot Life: Approximately 20–30 minutes
Demold Time: Approximately 4 hours
Cure Type: Platinum-cure (addition cure) silicone
Applications:
- Soap casting
- Resin casting
- Wax casting
- Plaster casting
Mold Making Procedure
Workspace Preparation
- Clean and dry work surface.
- Clean mixing containers and stir sticks.
- Avoid sulfur-containing materials which may interfere with curing.
Mixing
- Equal amounts of Part A and Part B were measured by volume.
- Components were mixed thoroughly for approximately 3 minutes.
- Sides and bottom of the mixing container were scraped during mixing.
- Mixing was performed slowly to reduce air bubbles.
Pouring
- Silicone was poured in a thin stream from above the mold box.
- Material was poured into one corner and allowed to flow naturally around the master pattern.
- Gentle tapping helped release trapped air.
Curing
- The mold was allowed to cure undisturbed for approximately four hours at room temperature.
- After curing, the mold was inspected for flexibility and surface quality.
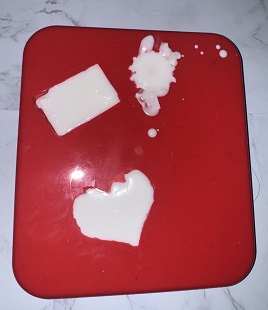
Test Casts
- Test casts were produced to evaluate mold quality and casting performance.
Observations included:
- Fine details from the 3D printed master transferred successfully into the mold.
- Flexible silicone molds made demolding easier.
- Slower pouring techniques reduced bubble formation.
- Proper mixing ratios were critical to achieving complete curing.
3D Printed Molds vs CNC Milled Molds
3D Printed Molds
Advantages:
- Fast design iteration.
- Low material waste.
- Complex geometry can be created easily.
- Accessible using desktop fabrication equipment.
Limitations:
- Layer lines may transfer into the mold.
- Surface finishing may be required.
- Longer setup time.
- Requires CNC equipment and tooling.
- Internal geometry may be limited by tool size.
Although this project utilized 3D printed master patterns, future iterations could benefit
from CNC-machined molds to improve surface finish and precision.
Extended Gallery from individual page
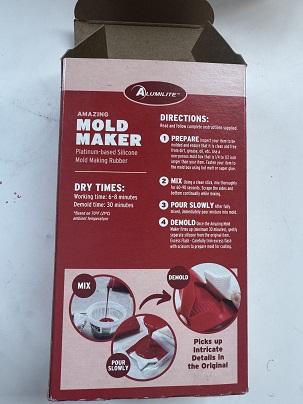
Info on the box on how to use
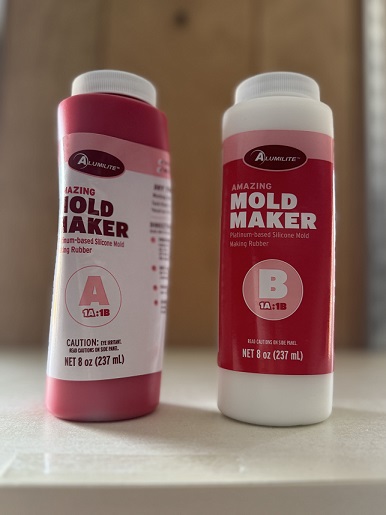
Bottles used for project
The mold master
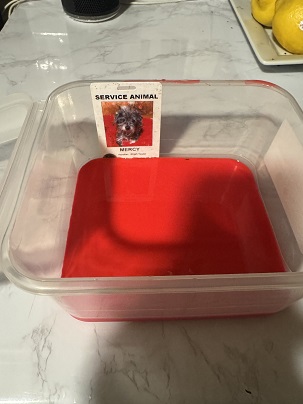
Item to help from from container
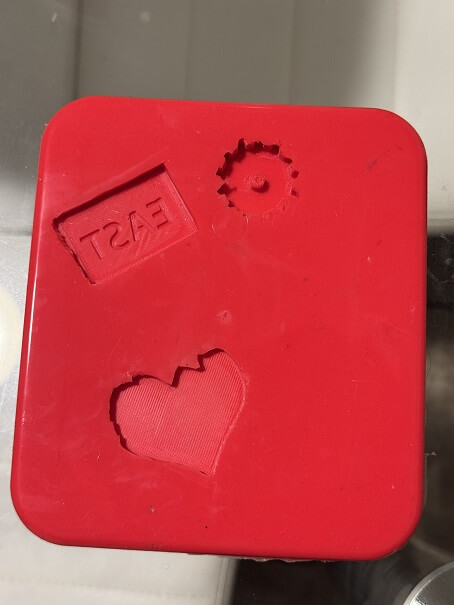
Complete mold
Poured soap
Demolding
What I Learned
This activity demonstrated how additive manufacturing and molding techniques can work together to reproduce
parts efficiently. I learned the importance of proper material handling, accurate mixing ratios, mold design
considerations, and curing procedures. I also gained a better understanding of the strengths and limitations
of both 3D printed and CNC-machined molds and how each approach can be selected based on project requirements.