14. wildcard week(Sewing Embroidery)
Get to know sewing machines
This week, I tried using a sewing machine to create some interesting digital designs.
It was my first time trying to use a sewing machine to create computer designed patterns, which was very interesting.
The sewing machine model we use is Brother Innovis NV 1250D.

-
It has two modes, one is manual mode, you can control the sewing path by yourself, which is very suitable for beginners.

-
Another method is to automatically sew according to the pattern designed by the computer, but it requires the replacement of new accessories.


preparation
Before using the sewing machine, simple settings are required:
1. Connect the power supply and controller;

2. Install wire cores;


3. Next, follow the instructions on the machine and thread the wire through the pinhole.

Automatic sewing test
- Replace accessories, Choose a slightly harder fabric and install it on the frame.

- Connect the software according to the prompts on the sewing machine screen.

- Select patterns from the software and conduct sewing tests.

- Adjust the position of the pattern and preview it.

- Press the start button to activate the sewing machine

- Finally, we obtained our first sample, which was very interesting.
The machine sewing machine can complete some complex tasks on its own.

My sewing project
-
To enable the computer to automatically process the patterns we design, we need to install [INK/STITCH] extension (It can create the .pes files we need), which is a plugin for inkscape.
You can click on this link to download it,And you can see detailed installation instructions.

-
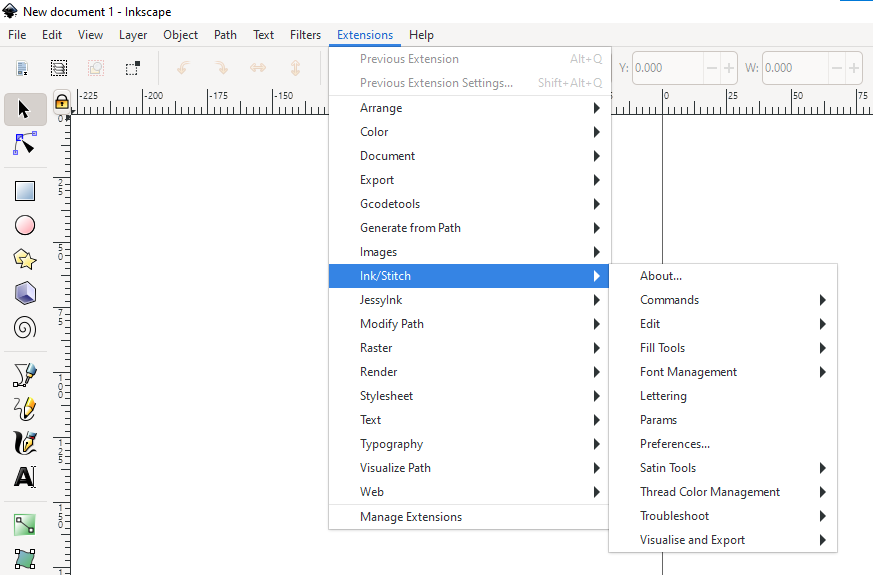
Open Inkscape. You will find Ink/Stitch under Extensions > Ink/Stitch.
-
Use text tools to create the letters HUA (which is my name) and modify the font and size.Then select the text, convert it into a vector image through path object conversion, and finally arrange the text to represent your requirements.

-
Set sewing parameters in the plugin ,You can preview the effect of sewing machine processing . click Apply.

-
Finally, click Save As in Inkscape and save the .pes file.
Save it on a USB drive.

-
I choose an apron as my fabric, and I fix it on the frame (You can refer to the steps above to install.), preferably keeping the fabric in a taut state.

-
On the screen, select the USB stick, then select the file, and finally adjust it to the appropriate location.

-
Press the start button, and the sewing machine will start the embroidery job. I encountered some issues with the thread: it often broke and the machine would stop, prompting me to re-route the thread in the needle. I think the reason is that the thread was not of very high quality and broke too easily. So try not to leave the machine for too long.

Summary:
Using a sewing machine is a very interesting attempt, and in the future, I can try sewing conductive thread onto clothes to create smart devices that can be worn on the body.
Thank you to my dear teacher for providing me with professional and efficient guidance, which has saved me a lot of time.
files: hua.pes