2D Design
Inkscape (for Vector Art)
Free, open-source, excellent for technical illustrations (e.g., flower design). The 3D text tool and shape builder (e.g., combining circles/rectangles) are underrated gems.
I downloaded Inkscape from the browser. The process was straightforward and quick.
Next, I explored the interface, reviewing the functionality of all tools and their purposes.
3D Design
Fusion 360
I started using Fusion 360 by designing a 3D model of a linear air bearing. With the software’s intuitive tools, I drew every part of the bearing.
Fusion 360 Design Steps:
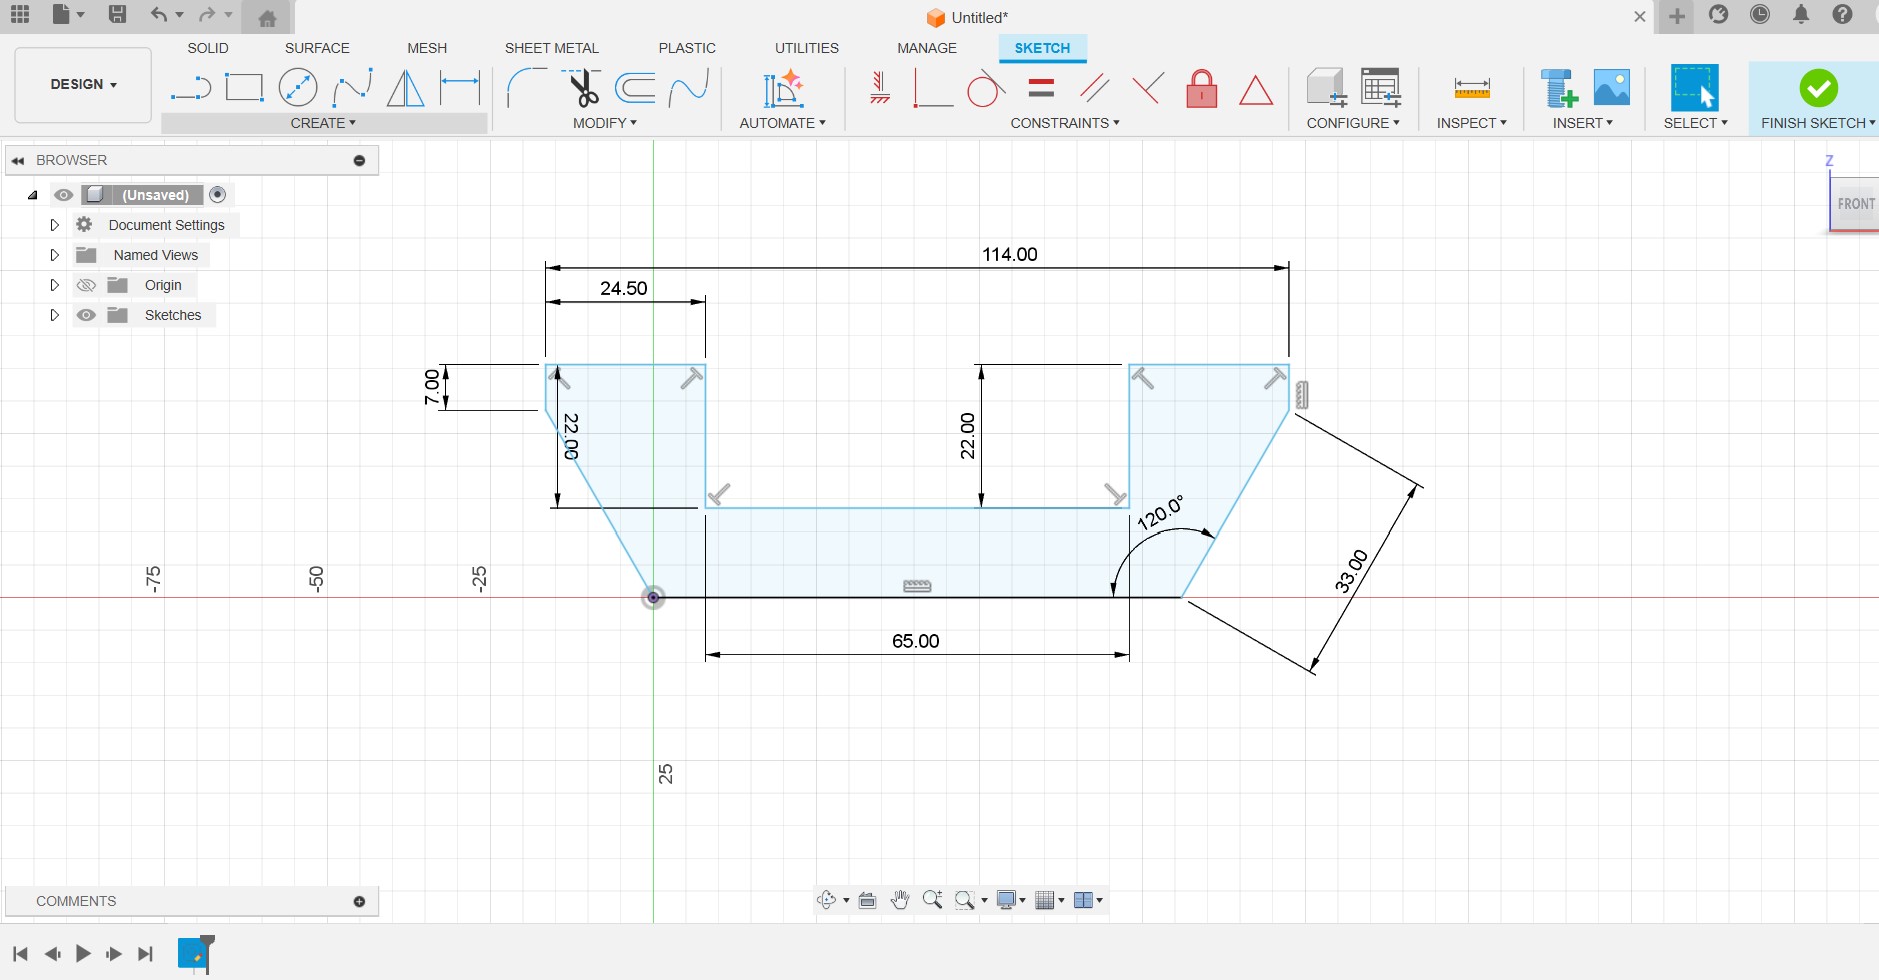
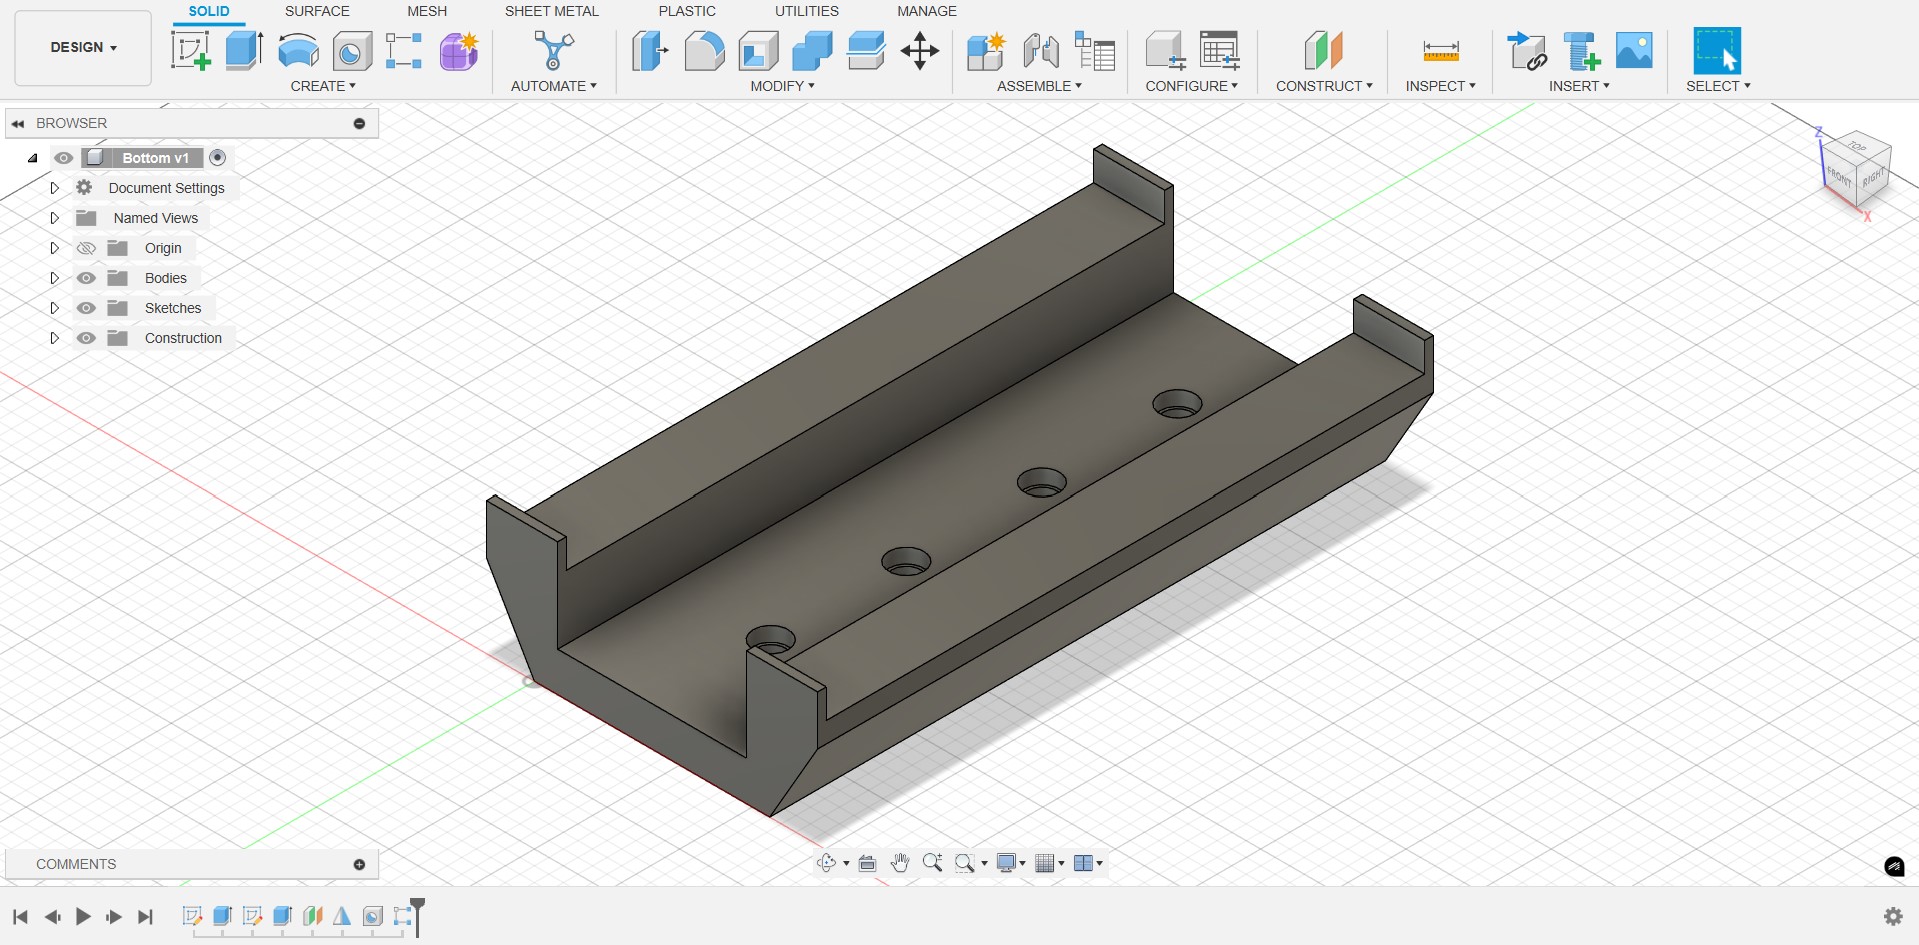
Step 1: Drawing the bottom side of the bearing on the front plane using the Line Tool.

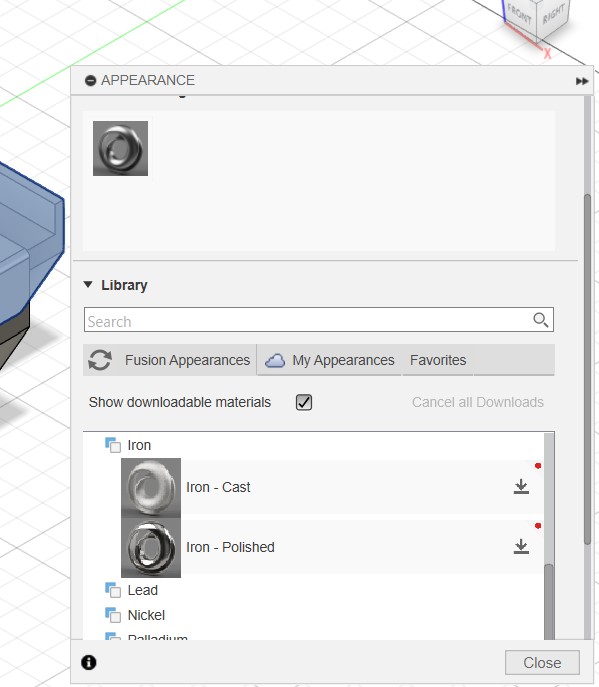
Step 2: Adding appearance to the body.
.jpg)
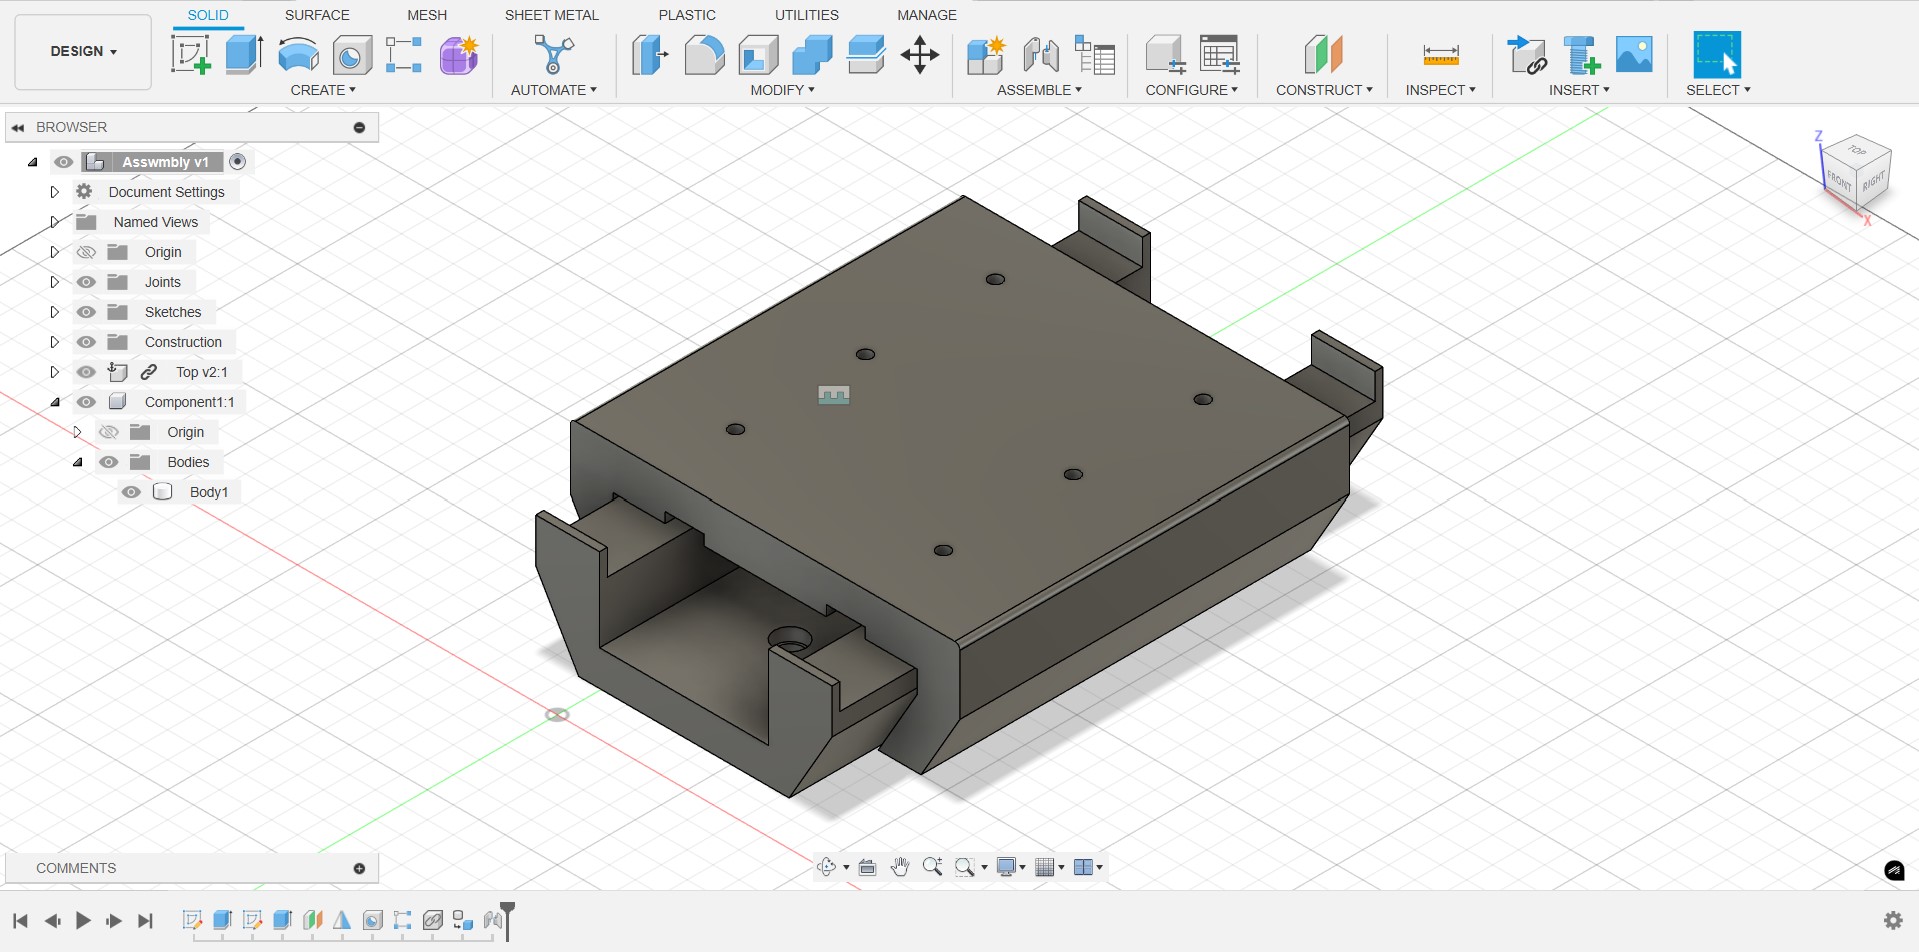
Step 3: Creating a new body for the top part of the bearing.

Step 4: Assembling the entire body.

Step 5: Refining dimensions and tolerances, then generating a photorealistic rendering.

Step 6: Creating a detailed technical drawing of the assembly.

Step 7: Exporting the model to a 3D viewer for better visualization.

Step 8: Checking tolerances and adding material properties.

Step 9: Performing stress analysis to evaluate structural integrity.

FreeCAD
Then I explored FreeCAD. It is powerful but has a steeper learning curve compared to other CAD tools due to its vast features and customizable interface. It provides robust tools for parametric modeling, sketching, part design, and assembly design.
Step 10: Here is a basic sketch I created using FreeCAD.

Step 11: Creating a 3D model using FreeCAD’s part design workbench.

Final Thoughts
This week, I explored Fusion 360, FreeCAD, and Inkscape. Using Fusion 360, I developed a conceptual design of an air bearing. Fusion 360 offers a great user experience, while FreeCAD provides extensive features for free.