Week 5 : 3D Scanning and Printing
This week is 3D printing week. Our individual tasks were to design and 3D print an object that could not be made subtractively and to 3D scan an object. Along with these tasks, as a group we were to test the design rules for our 3D printer. Like some previous weeks, while having experience with machines and design softwares, I got to try new programs and gain new experiences to achieve the tasks.
3D Design and Printing
While going through this course I have started learning fusion 360 and onshape, but for this assignment, I jumped to Sculptgl. I wanted to create a design that was more organic with lots of variations and visual movement. I enjoy sculpting in real life, so I wanted to give 2D/3D sculpting a try.
- To keep the design possibly related to my final project, I created a slightly abstract flower with root like vine legs, keeping with the nature and whimsy style of art nouveau.-Honestly, working with Sculptgl was a ton of back and forth, push and pull of the material. There are a set of tools that could be used and the majority of them have the option to control the size of the radius you are working with, the intensity percentage being applied, and a “negative” or opposite action of the tool.
-Quite frankly I still don’t know or understand all the available variations and breakdown of some of the tools, but I’m still exploring and experimenting.
-Having to work with all the planes and keeping track of how and where you apply a stroke can be tedious.
-When using the smooth tool, it may smooth out one area but it can disform another. To make the process easier, I eventually pulled out my tablet to help speed up and have a bit more control with the pen.
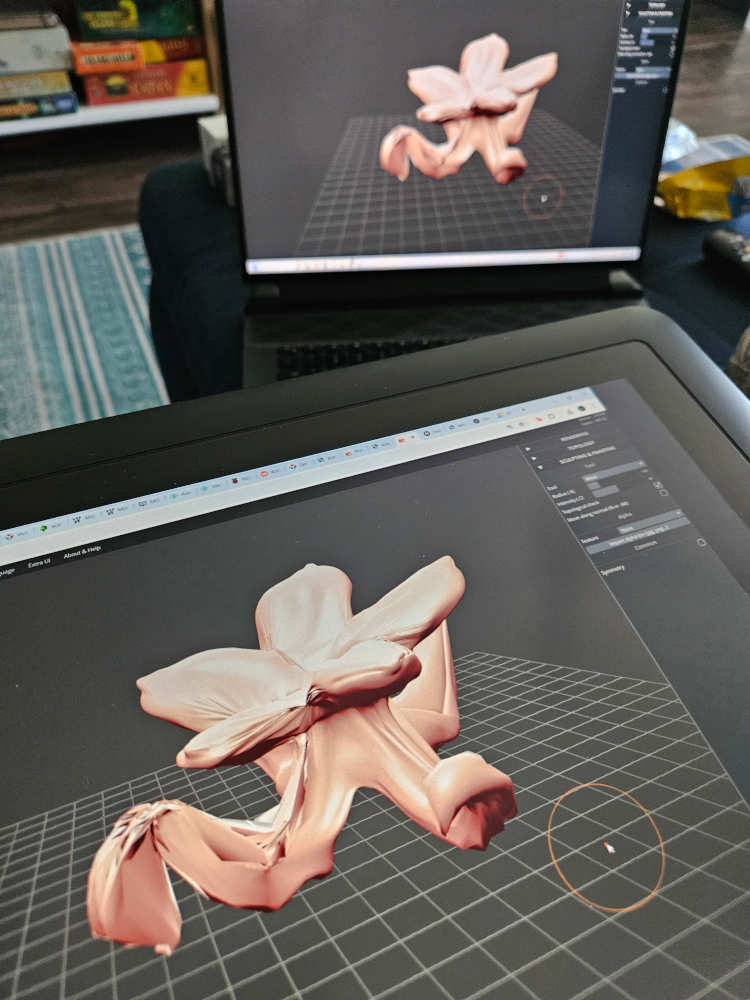
-Side note - Save your work along the way by exporting it! I thought I had been saving my work by using the “control S” command, but that does not actually save your work in this program and I had to redo a LARGE portion of my work.
-I initially wanted to test adding holes into my design and couldn’t figure out how to do so. As far as what I had found while searching the web, this program don’t have a tool or function to create holes. I was also struggle to figure out how to add more material to work with versus trying to keep stretching out the same initial clay design. I did see you could add a shape under the “scene” tab but didn’t understand how to move the added material or how to work on both pieces.
- I remembered Blender has a sculpting option and thought I should try that out even though I had never used it before. That was short lived when I realized I could not orbit and pan with my pen. So, I quickly jumped back to Sculptgl and kept powering through.
-Once I got to a satisfying point in my design that included smooth, textured, and sharp components, it was time to see my design printed.
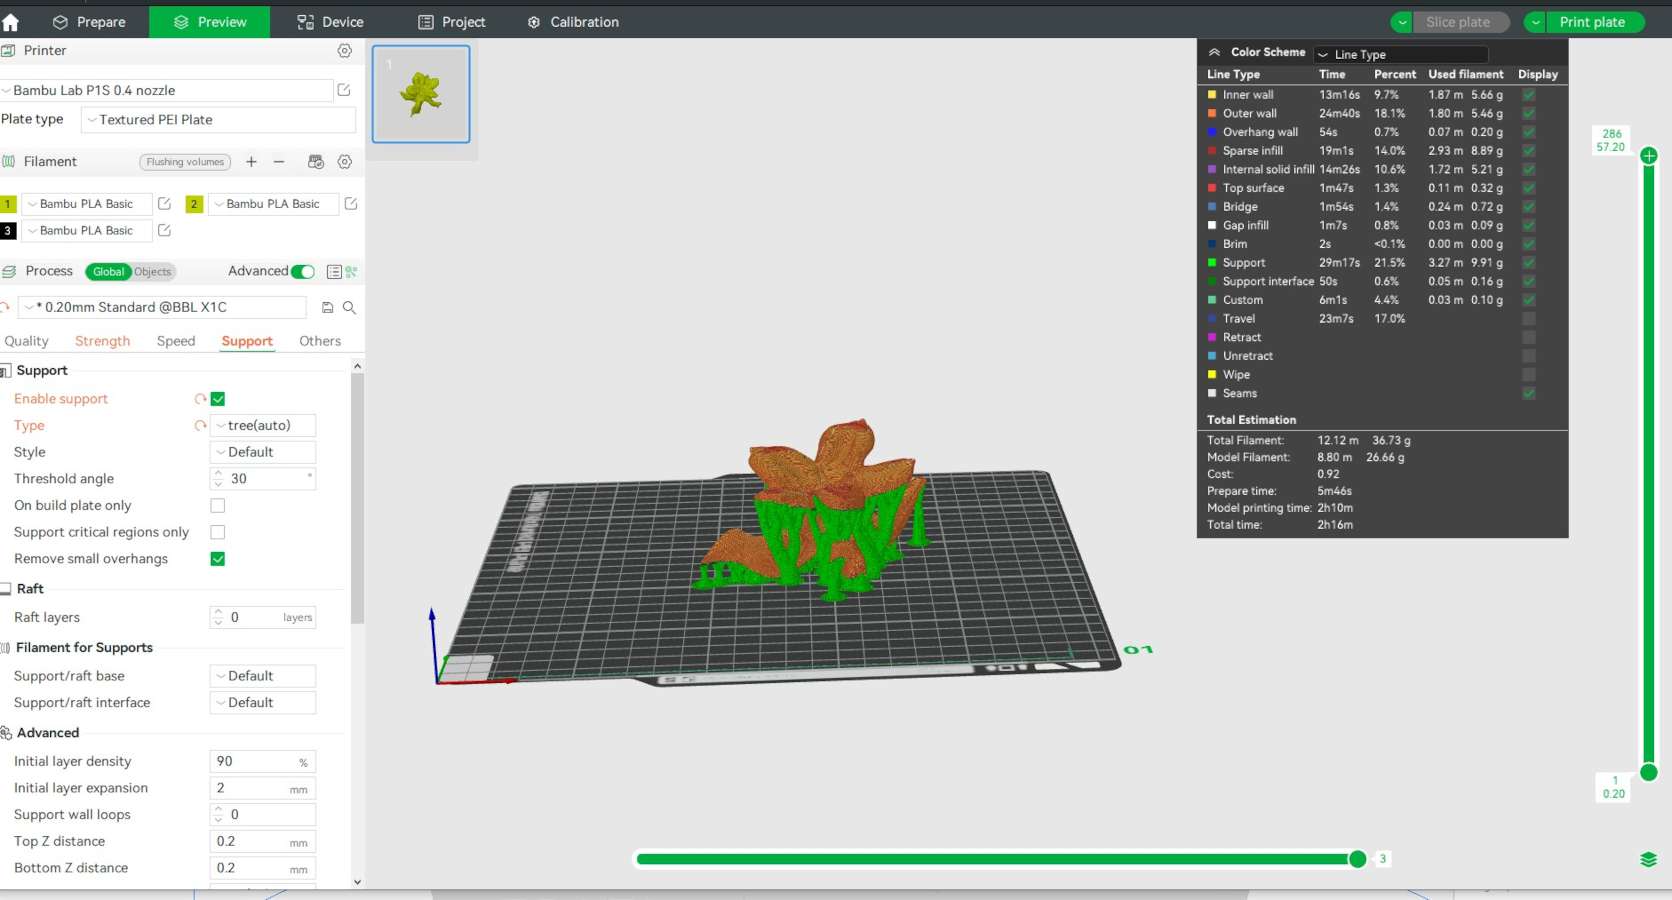
-I used the Bambu P1S to print my file. With the size and amount of overhang in my design, I needed to make sure I used supports.
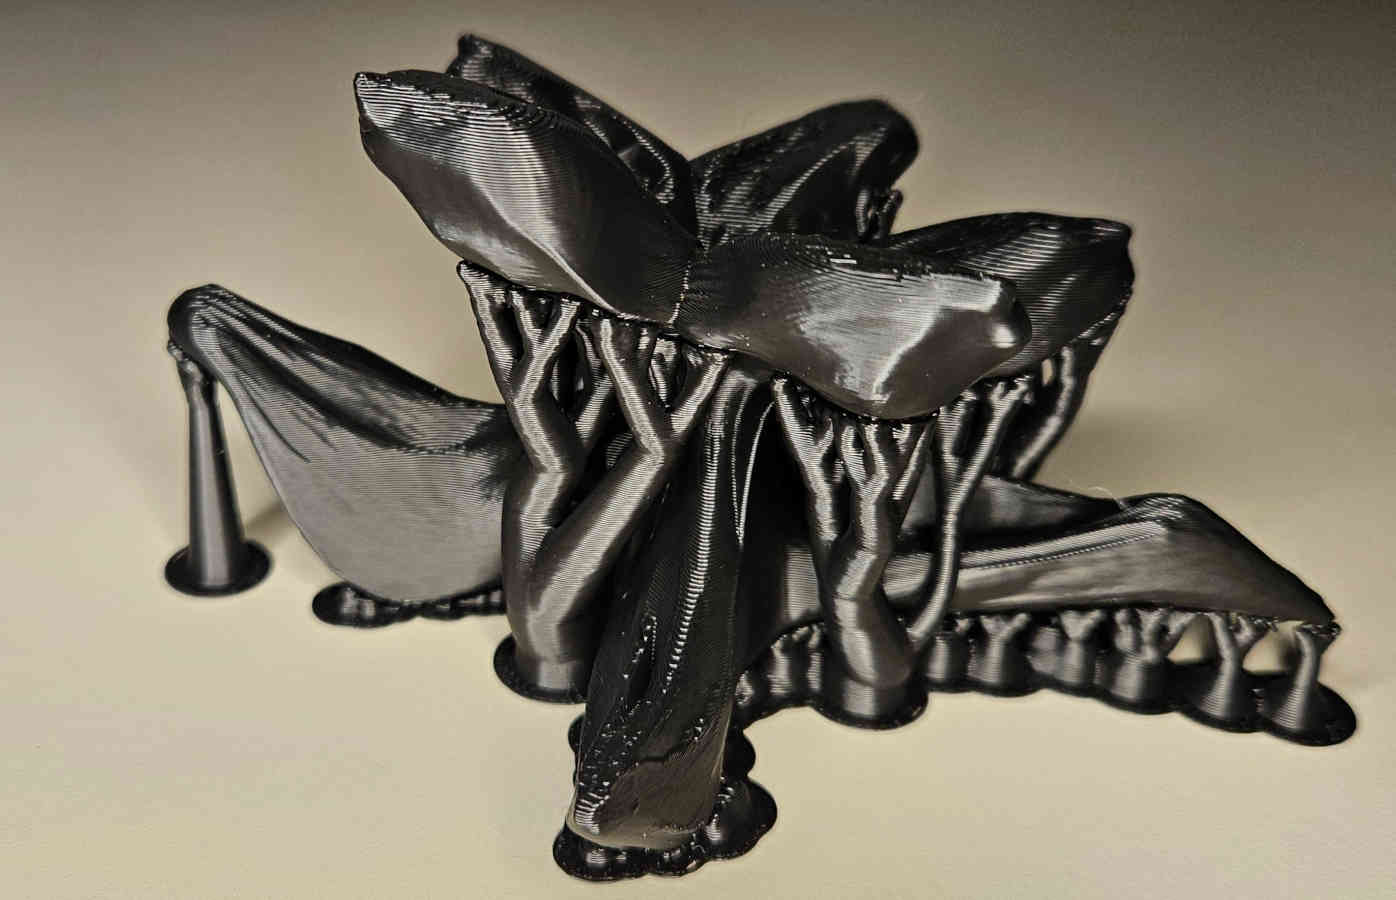
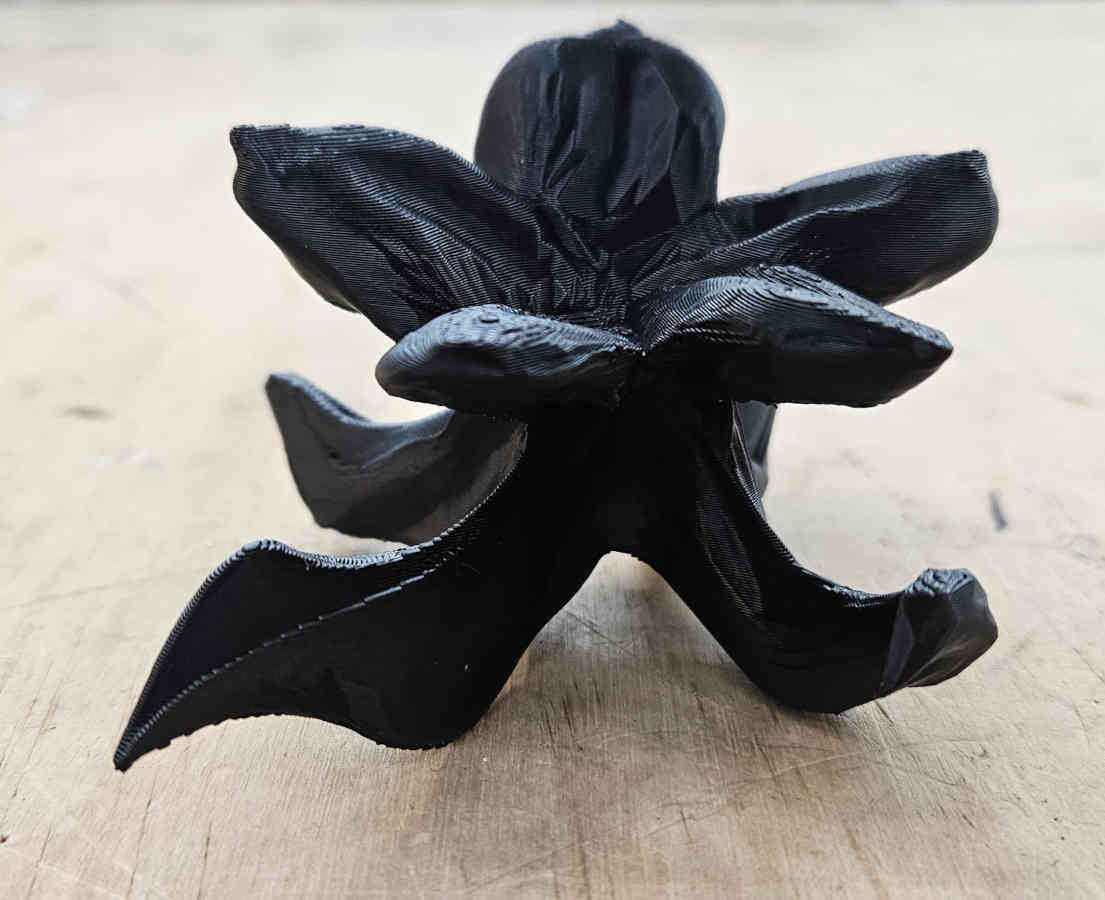
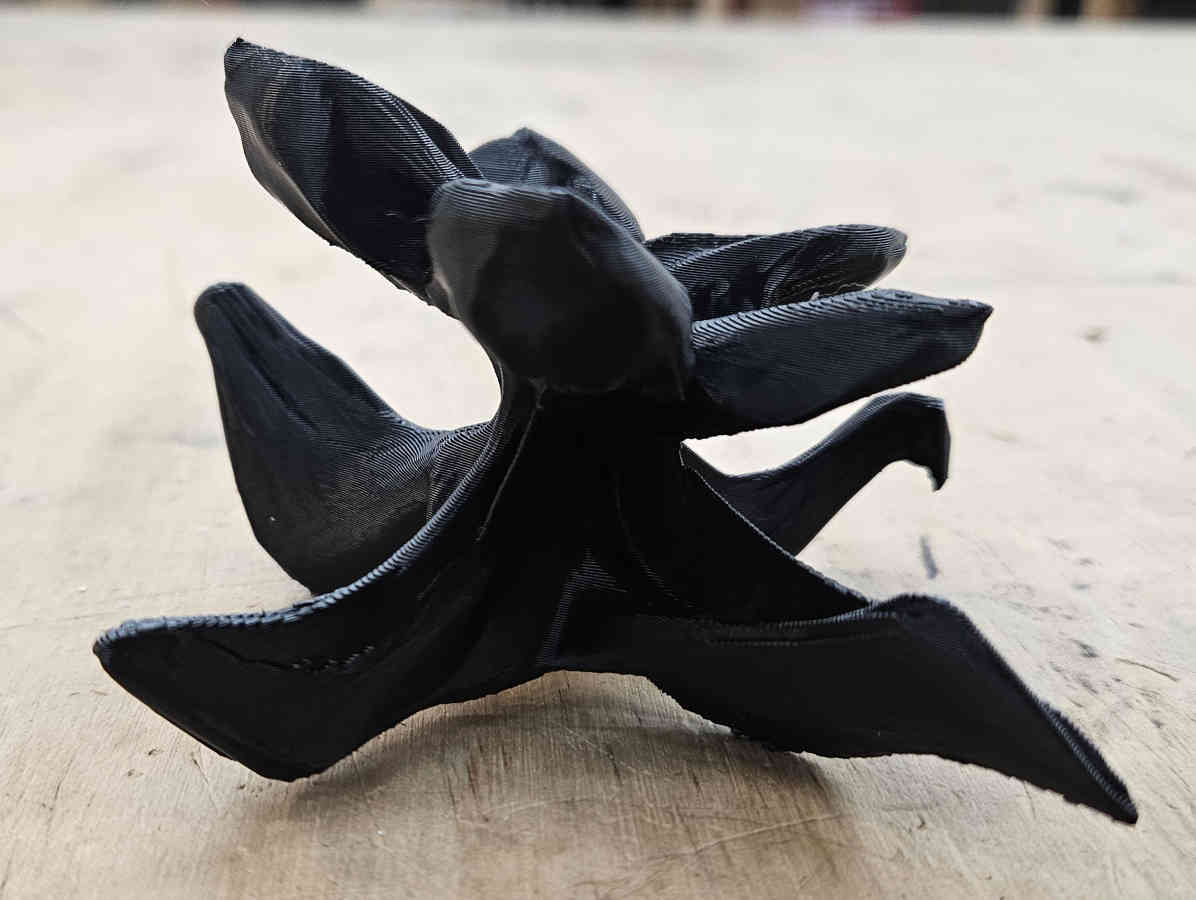
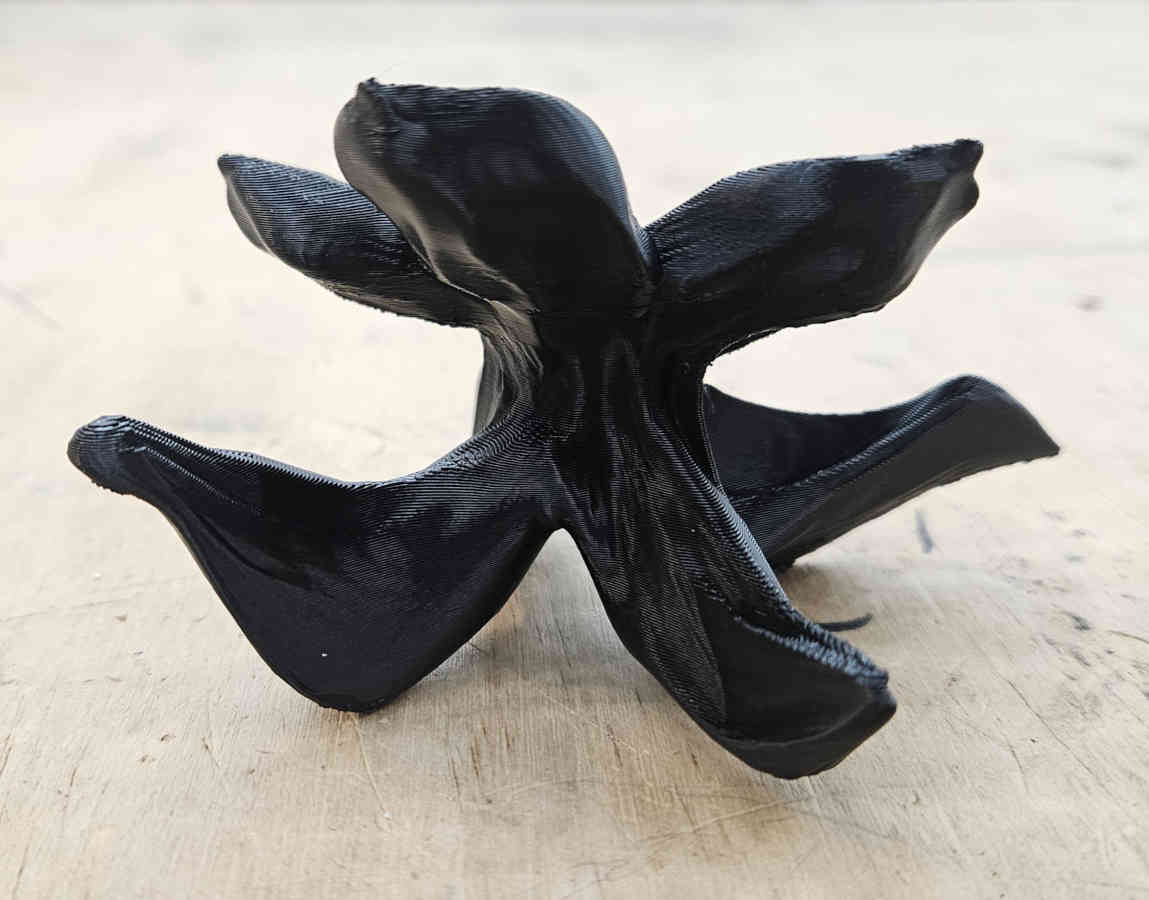
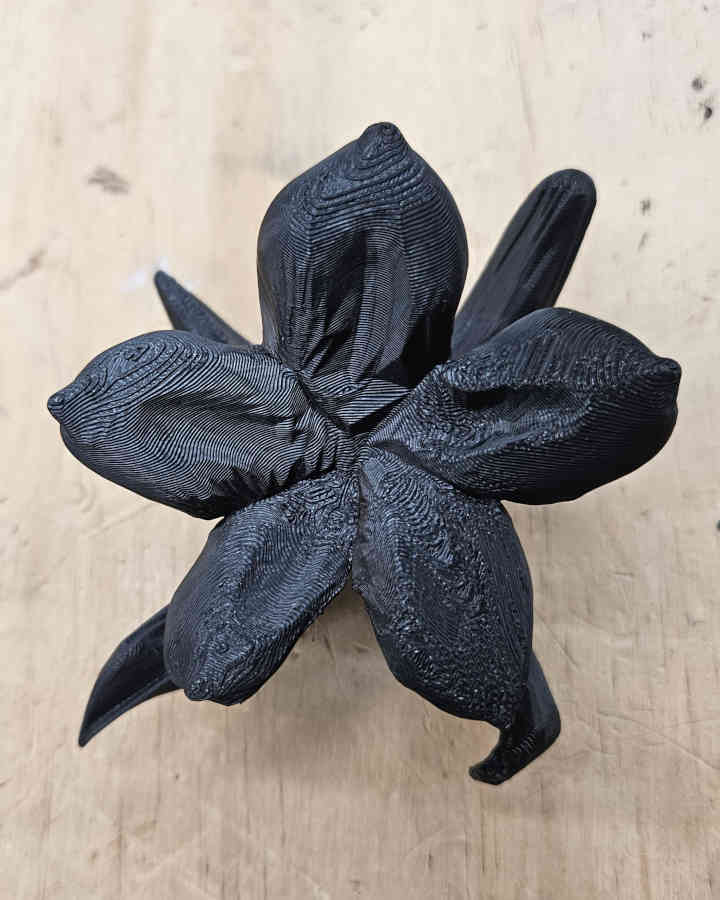
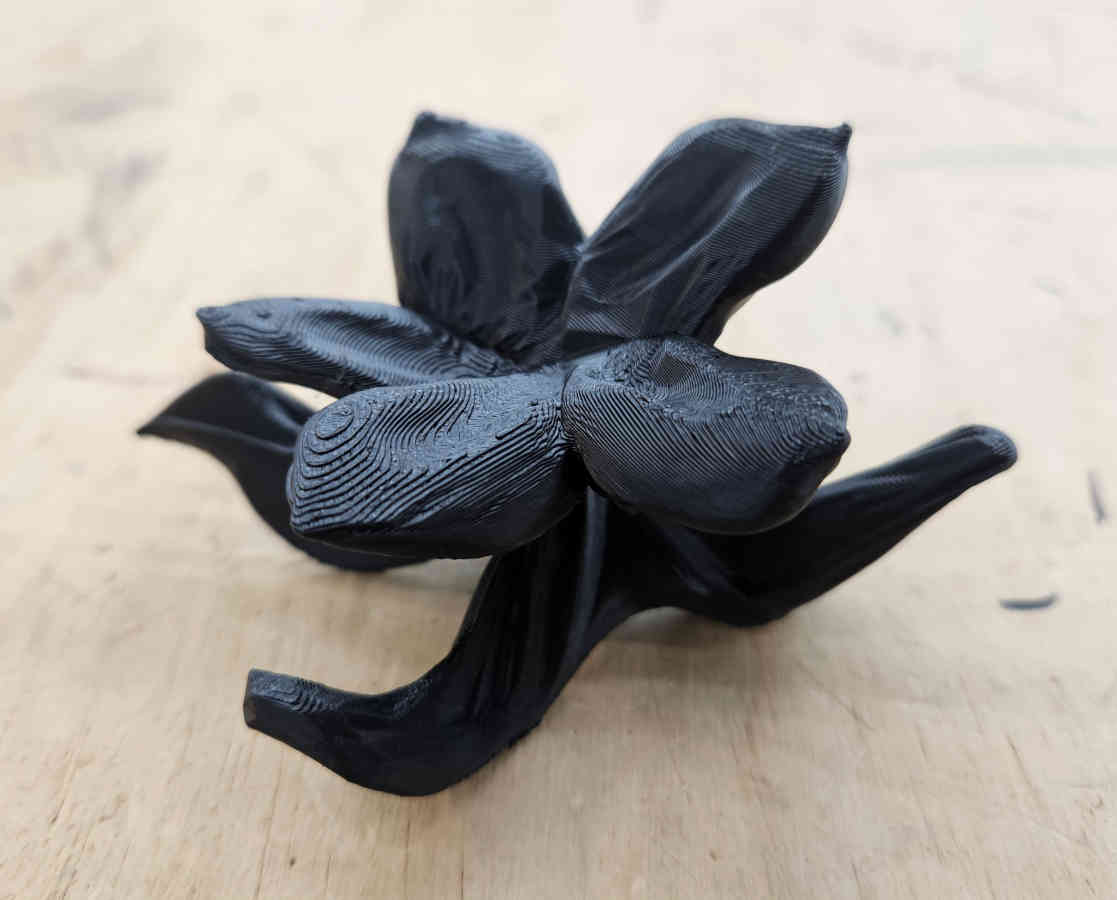
-It’s awesome to see my 3D design that only existed in software to now have a physical form in the real world. 3D printing allows a whole other level or…. dimension…if you will… to manufacturing and prototyping. 3D printing is a more accessible and affordable way to test models and designs before looking into mass production or using more expensive or limited materials. With that being said, 3D printing is more time consuming and not ideal for some materials. Depending on the model/design, it could be more advantageous to use subtractive machining over 3D printing. I do prefer sculpting and carving by hand but that is for one, a personal preference and two, not ideal for making multiple copies and copying items with great accuracy or precision. A disadvantage of printing with filament is a lack of smoothness of the overall print. With objects more organic or round, such as my flower, the layers over the print become very evident.
3D Scanning
3D scanning has come a long way even just within the last decade. For this week I wanted to test a free option available at the palm of our hands. I decided to just a phone app Scaniverse.
- I chose to scan a large conch shell for the range and complexity of the shape. It is an organic shape with lots of ridges, waves, protrusions, and a mixture of smooth and sharp surfaces.- Within the app I used the mesh option for small objects. Once you choose the setting, from there, you just need to slowly walk around the object capturing all angles of the object.
- Make sure you have good lighting with low contrast to help the shape have better recognition.
- I was pleasantly surprised how well the scan turned out even on the first go. I did run a couple more scans to see how much I could improve on it by moving slower and attempt to get more angles and coverage of harder to reach/see surfaces with lots of shadows and dimension, like under the point/cone of the shell.
- Fun fact: while this app is available for android and iPhone, some features are not available for both. Unfortunately, the video feature is not available for android devices. So, I borrowed my partner’s iPhone just show the video feature.
Group Assignment
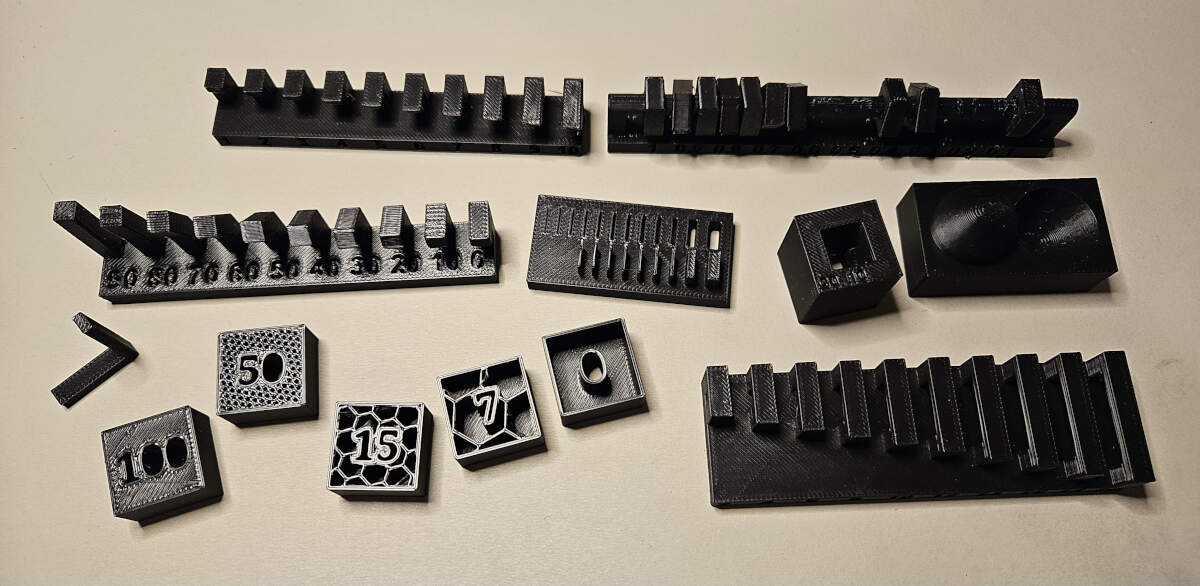
For this week we used the Bambu Lab P1S to run our design tests, mainly provided by Neil with a few additional tests.
Bridge Test - This test clearly shows when creating a bridge(having an overhang that is connected to a structure on both sides), the gaps are less likely to need support. The P1S printed this test cleanly without supports up to 20 mm.

90 Degree Overhang Test - This test demonstrates the fidelity of overhangs produced without support by a Bambu Labs P1S. Past the third level overhangs begin to fail demonstrating why support is needed.
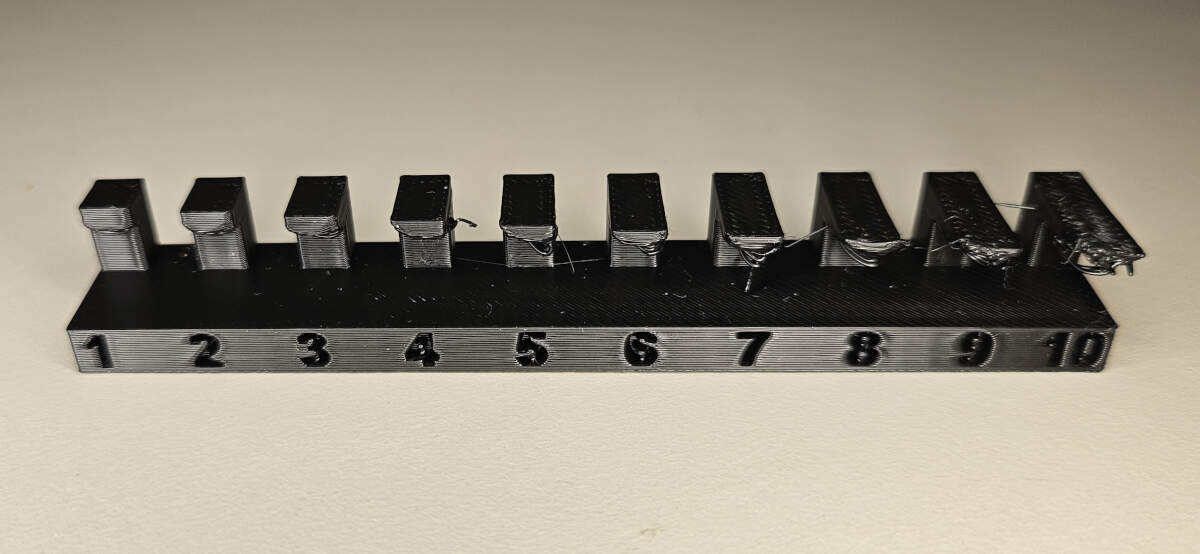
Stair-Stepping Test - This test shows how smooth the layers are transitioning from straight to a full curve. In other words it demonstrates stepping in 3D prints.
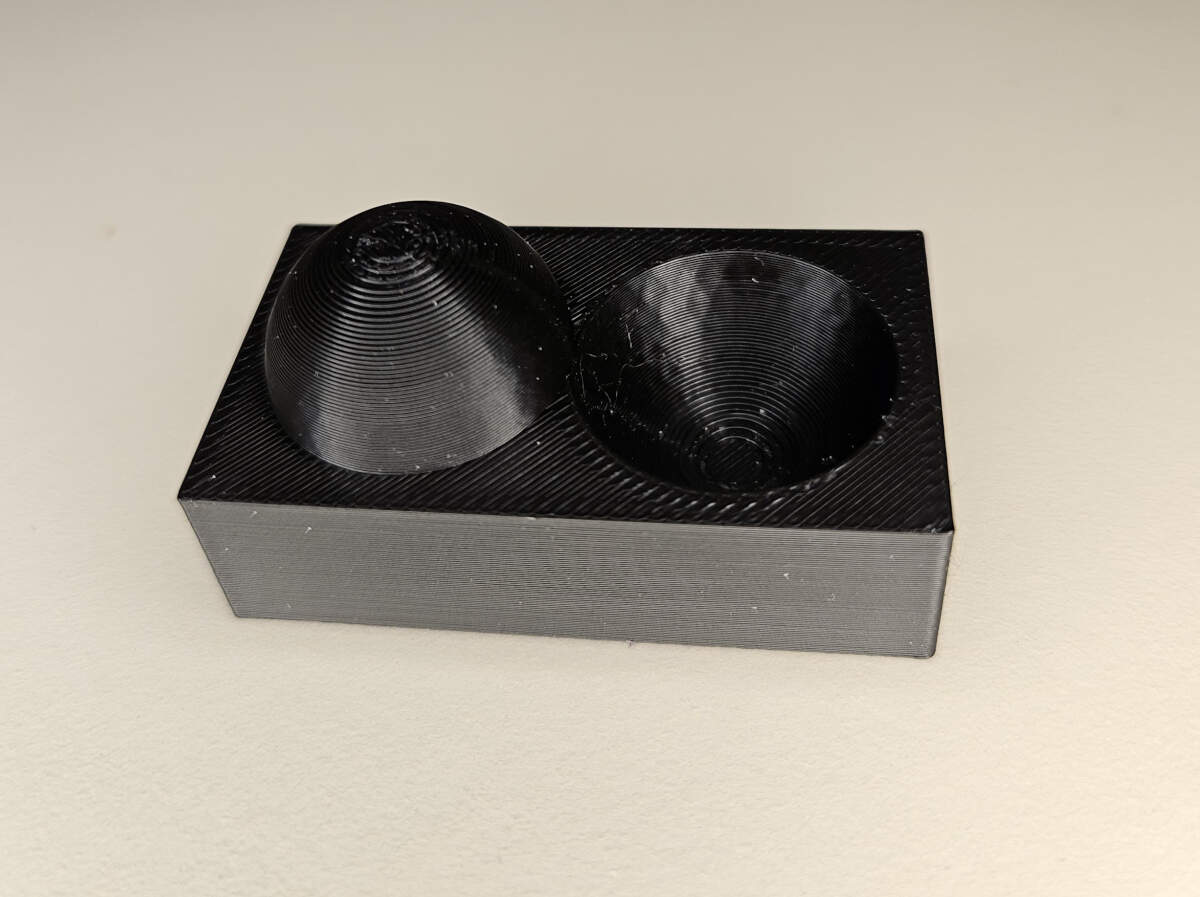
Tolerances/Clearances Test - This test shows a range of clearances and reflects tolerances.
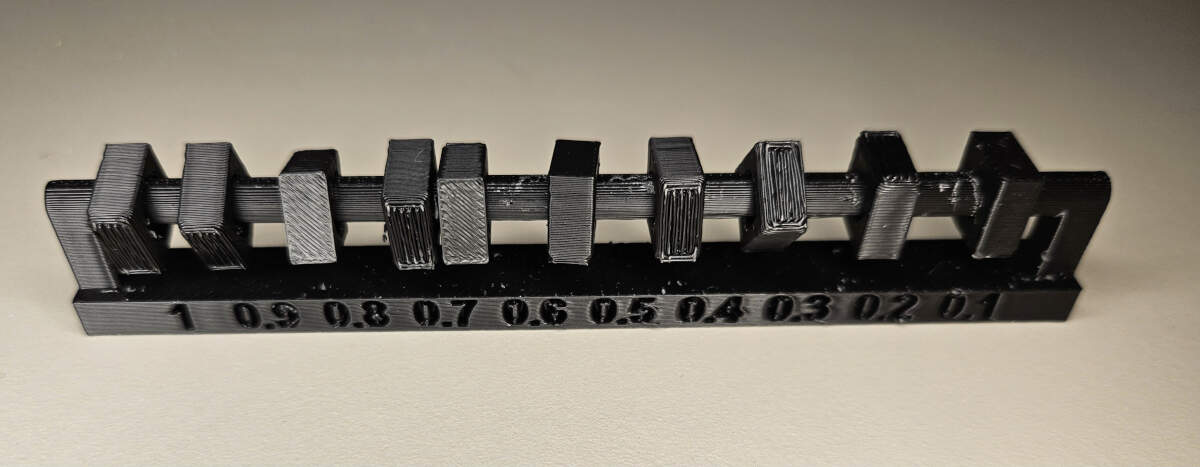
Dimensions Test - This test demonstrates how the dimensions of a file can vary slightly from the physical print. When PLA is heated and extruded at the dimensions of the file, once it cools, the material contracts and slightly shrinks.
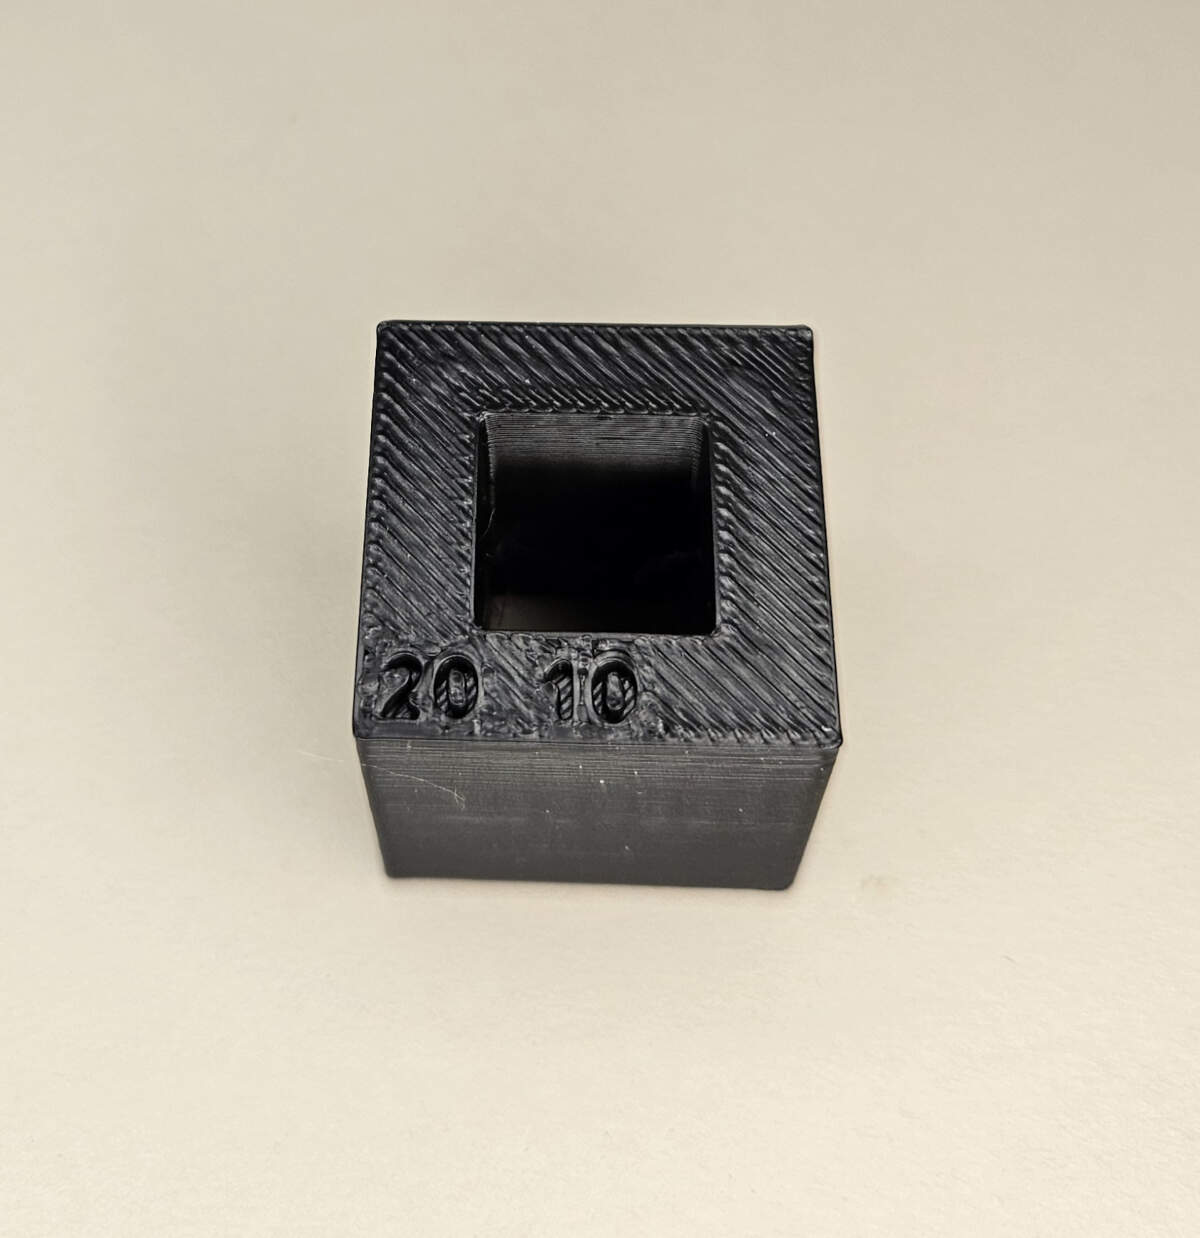
Angled Overhang Test - Bambu Labs P1S’s are capable of printing angles up to 30 degrees. Anything lower starts to falter in quality and any unsupported extruded filament begins to sag.

Infill Test - P1S’s are capable of printing at various infill percentages depending on how you programmed it in your slicer. Both solid or hollow objects are options if needed.
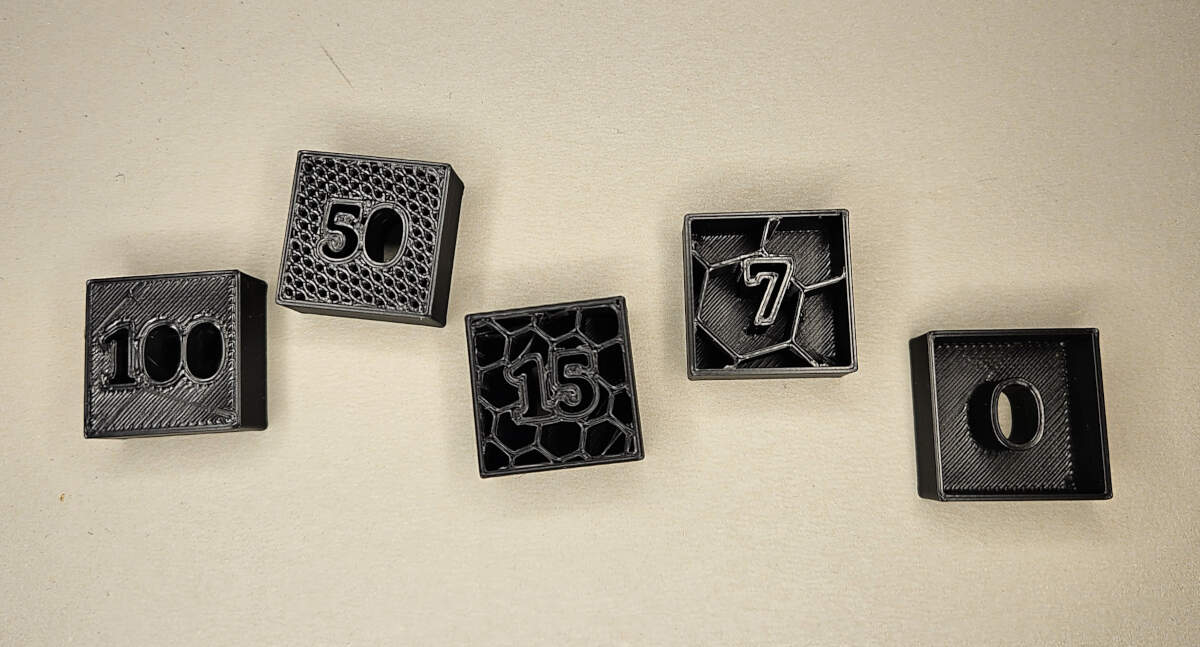
Anisotropy Test - Demonstrates the difference in properties when the printer extrudes in different directions or axes.
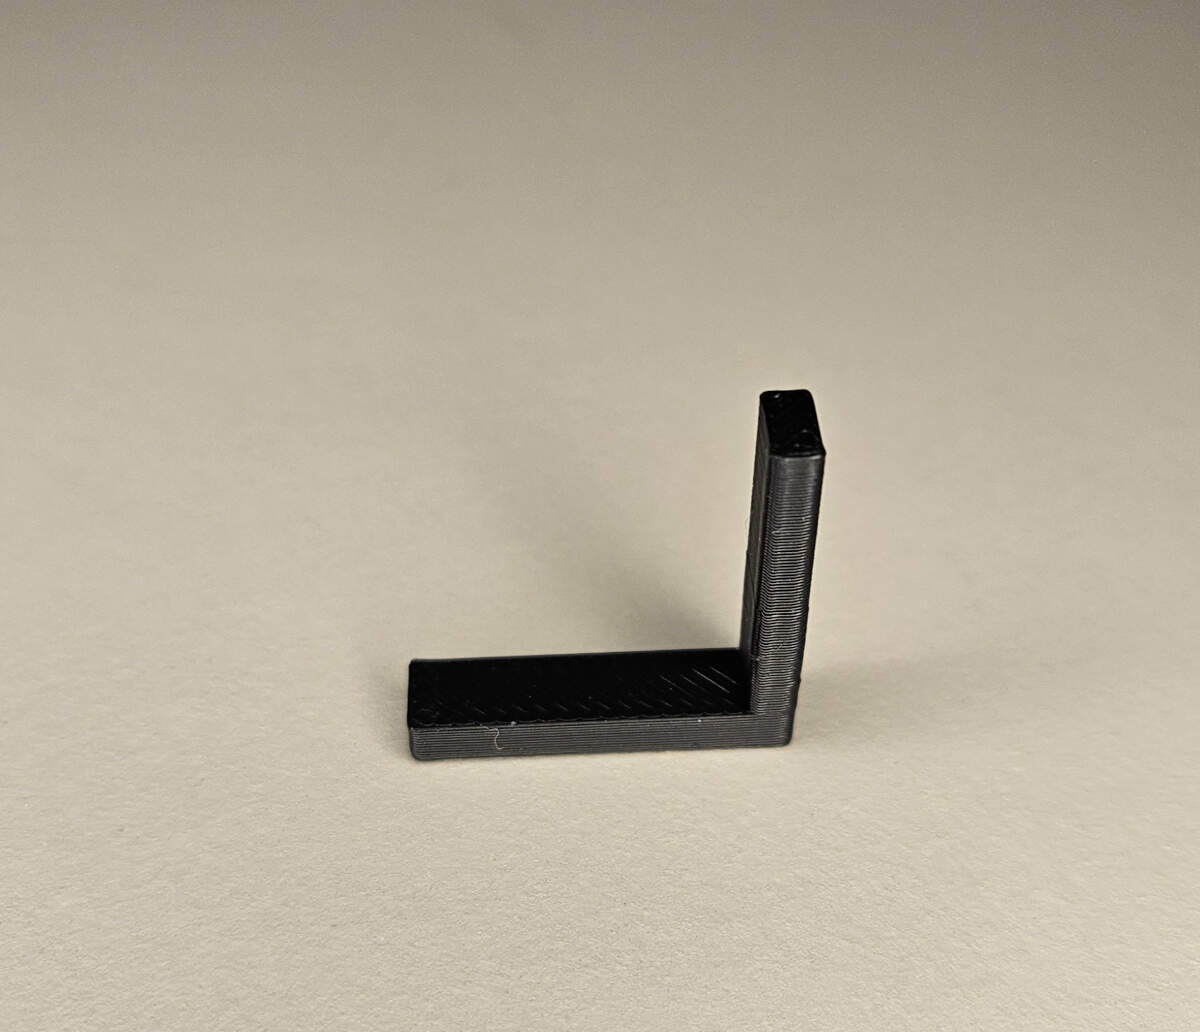
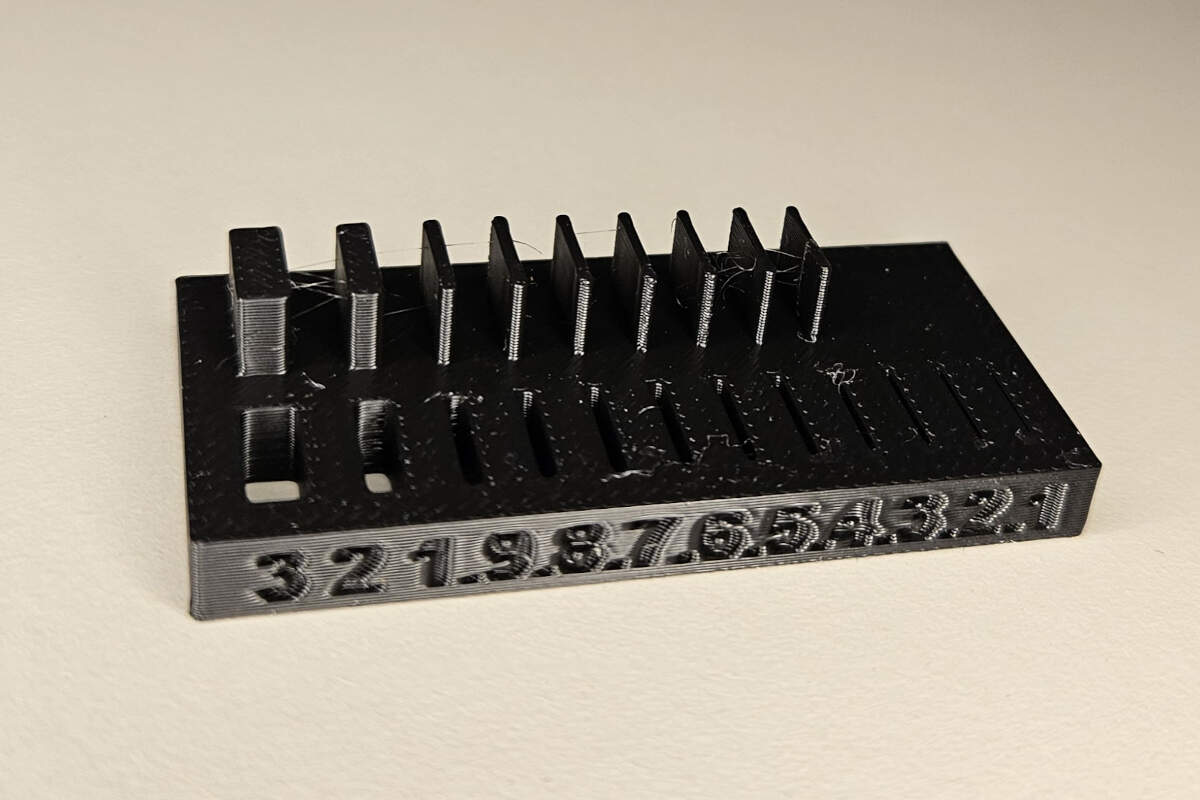
Wall and Slot Thickness Test - This test shows how thin or thick you can get with additive and subtractive space. At 0.3mm the P1S can not extrude a thinner wall due to the nozzle size being used, which is a 0.4mm nozzle. There are other nozzles available but 0.4mm is the most commonly used size.
