Week 2 : Computer-aided Design
This week we jumped into computer-aided design. For this week our goals were to create models, possible designs for our final project in 2D and 3D and show our process along with access to our design files. I work with Illustrator on the daily, so making a 2D design was fairly simple. I have some/minimal experience with 3D design but with Tinkercad and Sculptris, so learning Fusion will be a new experience.
3D Design in Fusion
While having worked with 3D printers for years, I have not messed a whole lot with designing in 3D software. And the softwares I have used do not have an option for formula built in parametrics. This is why I went along with learning Fusion 360.
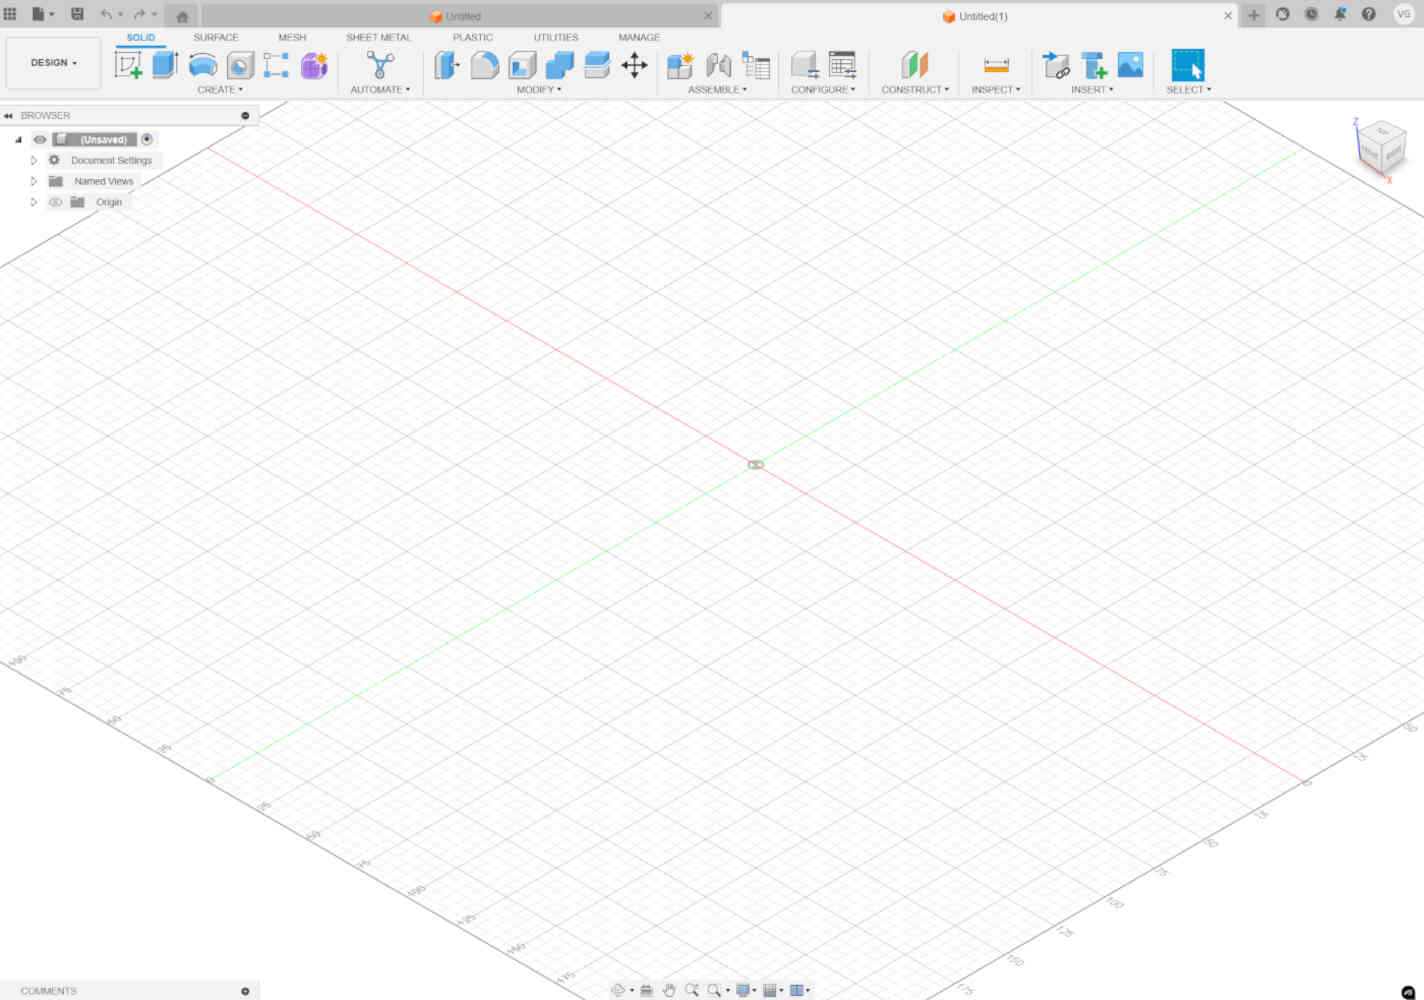
- I will be designing the base of my display stand for my final project in Fusion 360. I downloaded Fusion and opened a workspace.
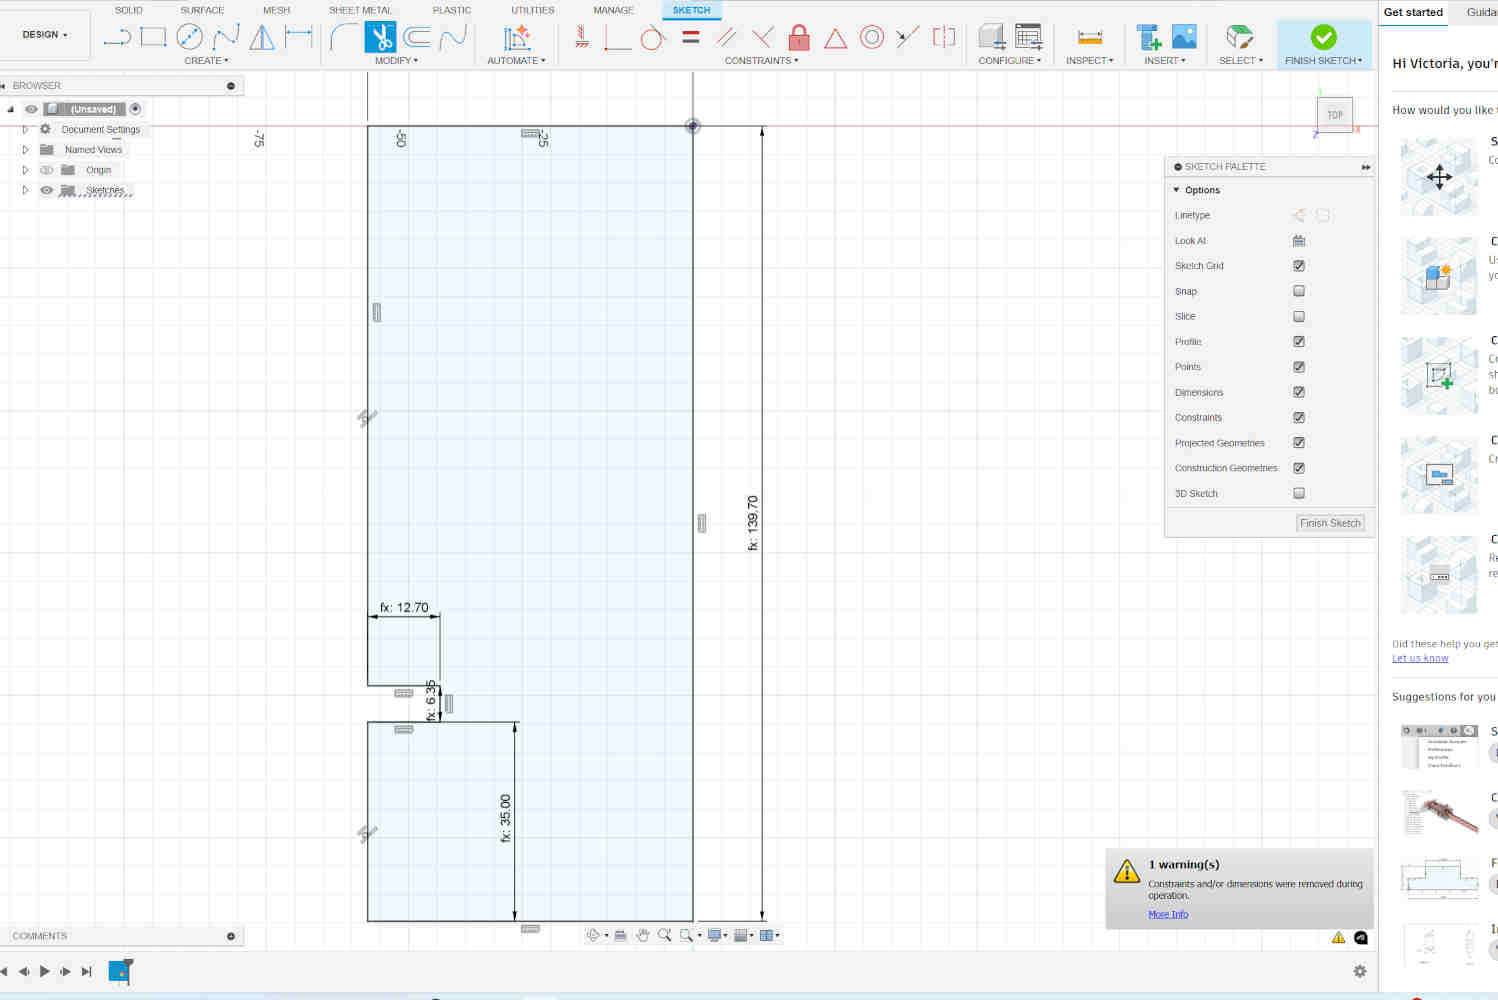
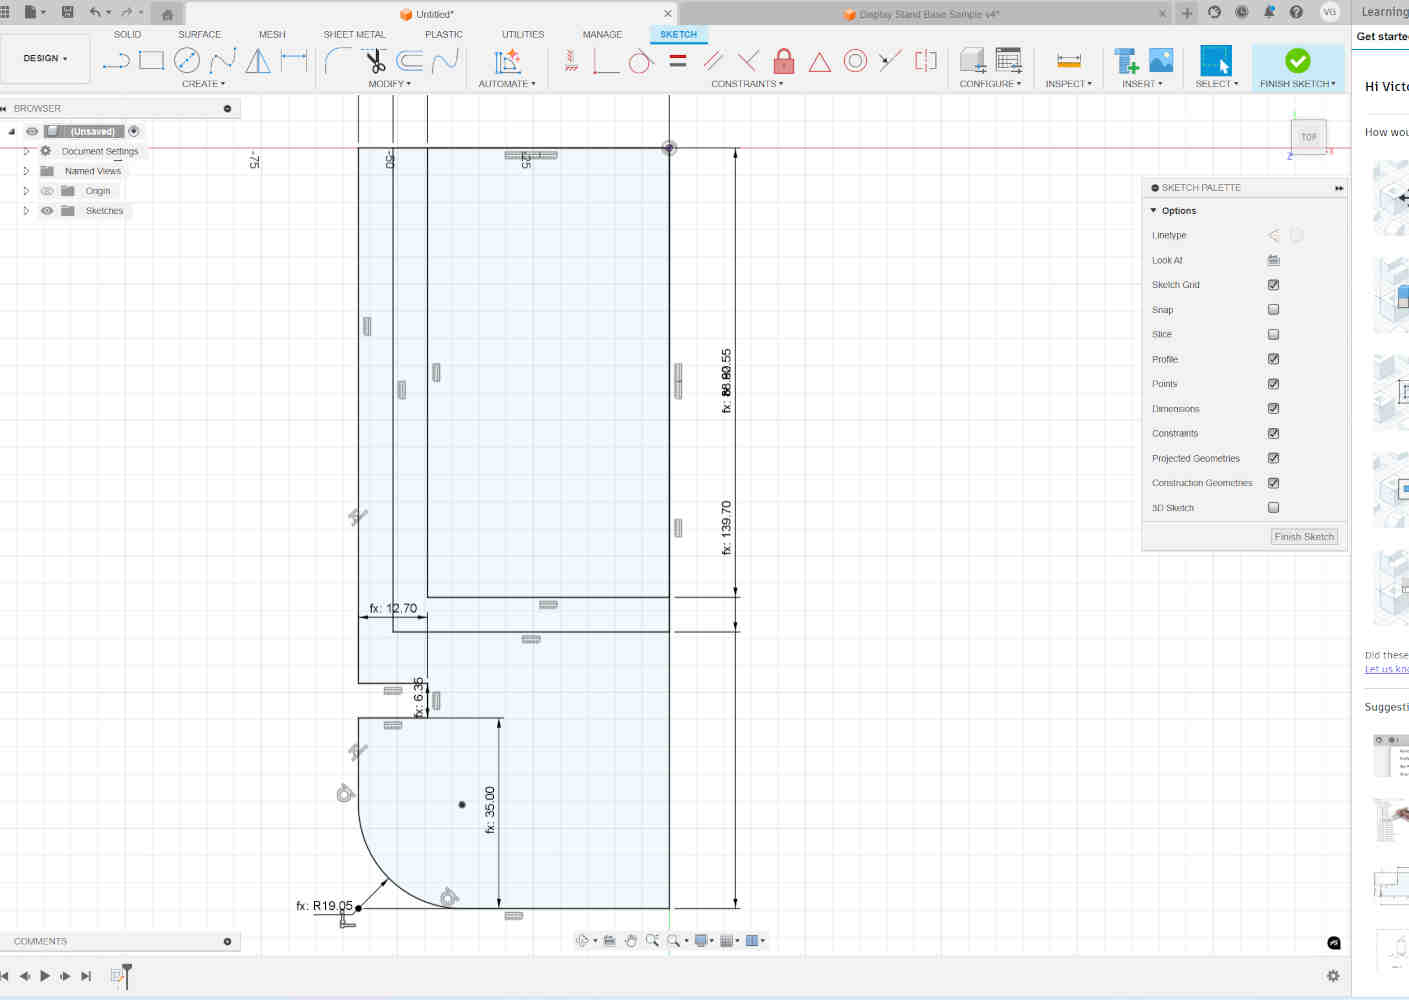
- We started off with sketches to the design in 2D, creating the outer main shape of the base using the rectangle tool in the "create" section.
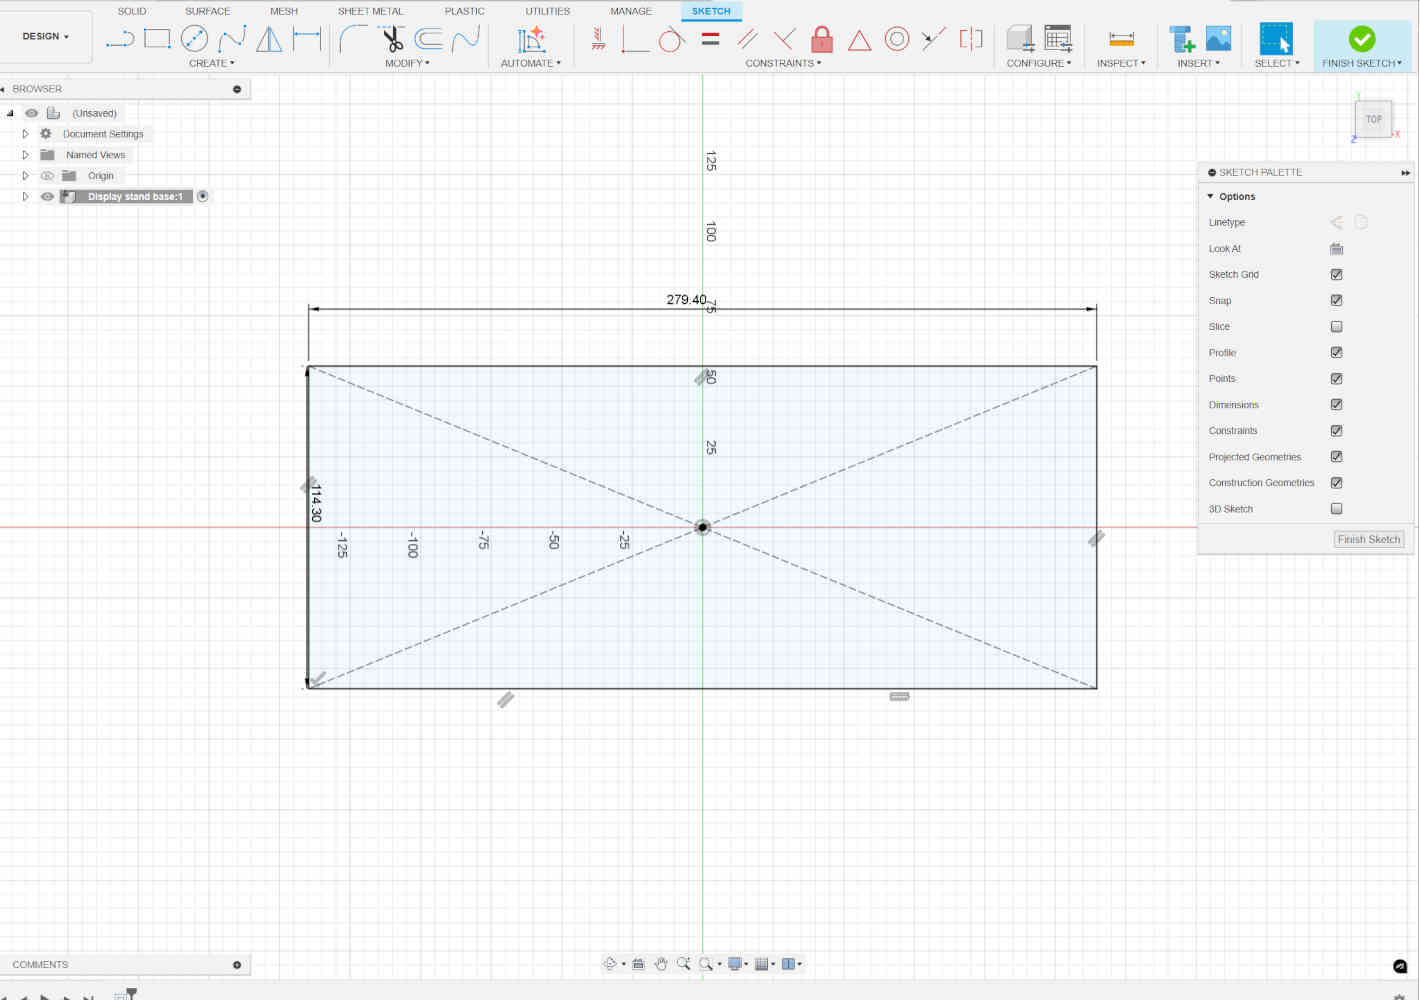
- Then I used the fillet tool to round my edges. I continued to add two more rectangles to indicate the main inset and the smaller lip inset for where a lid can sit on top.

- This is where I jumped from 2D to 3D by extruding my two main shapes.
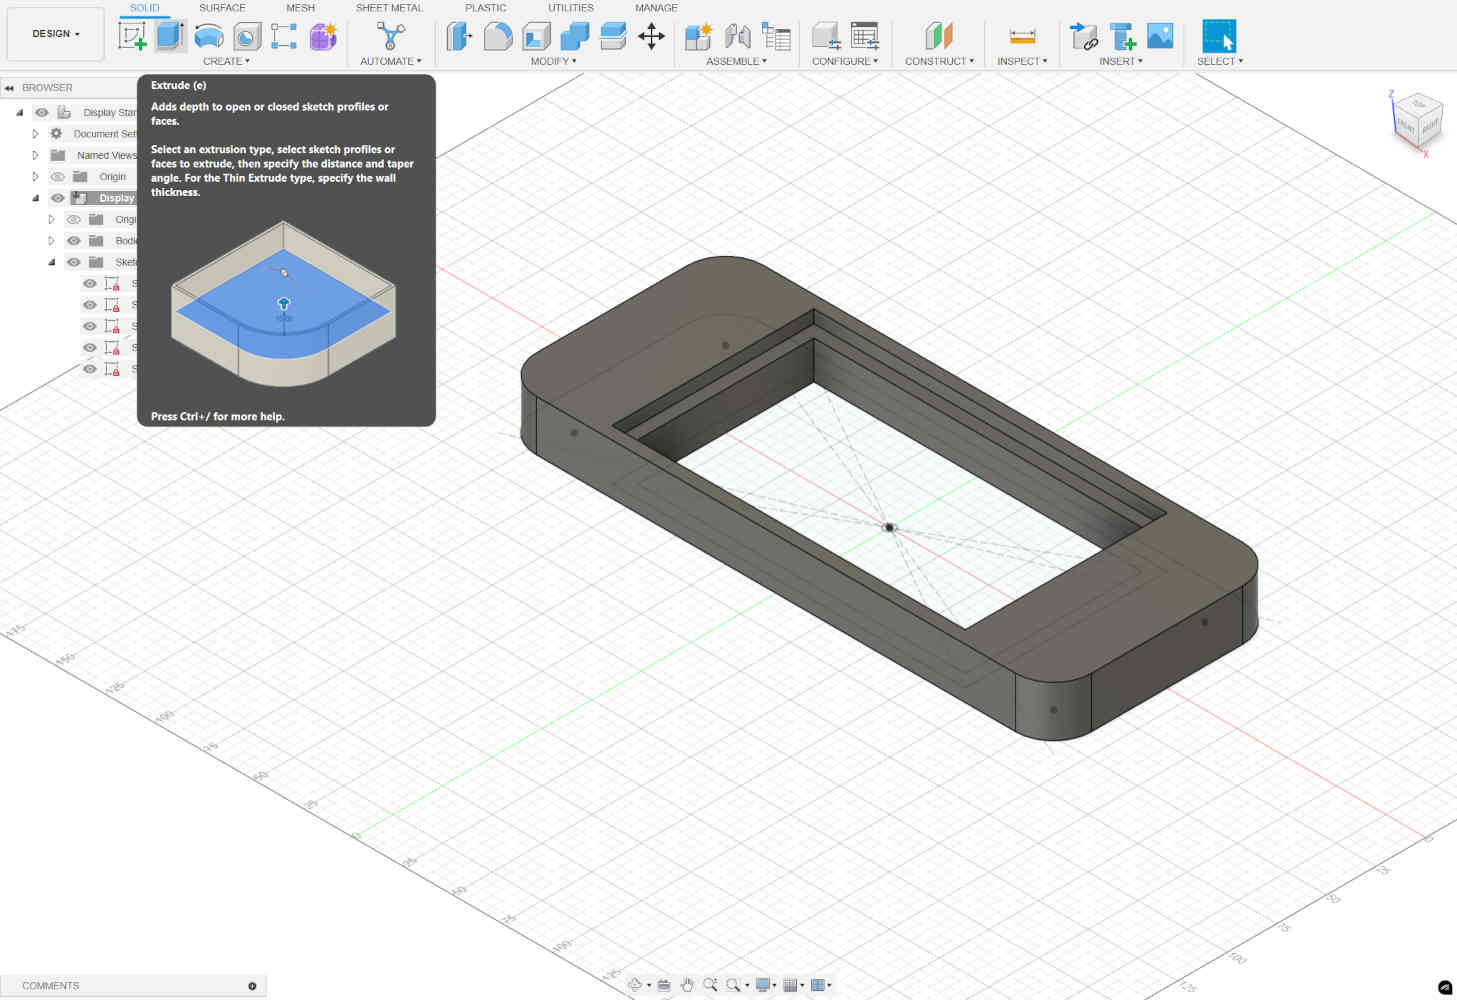
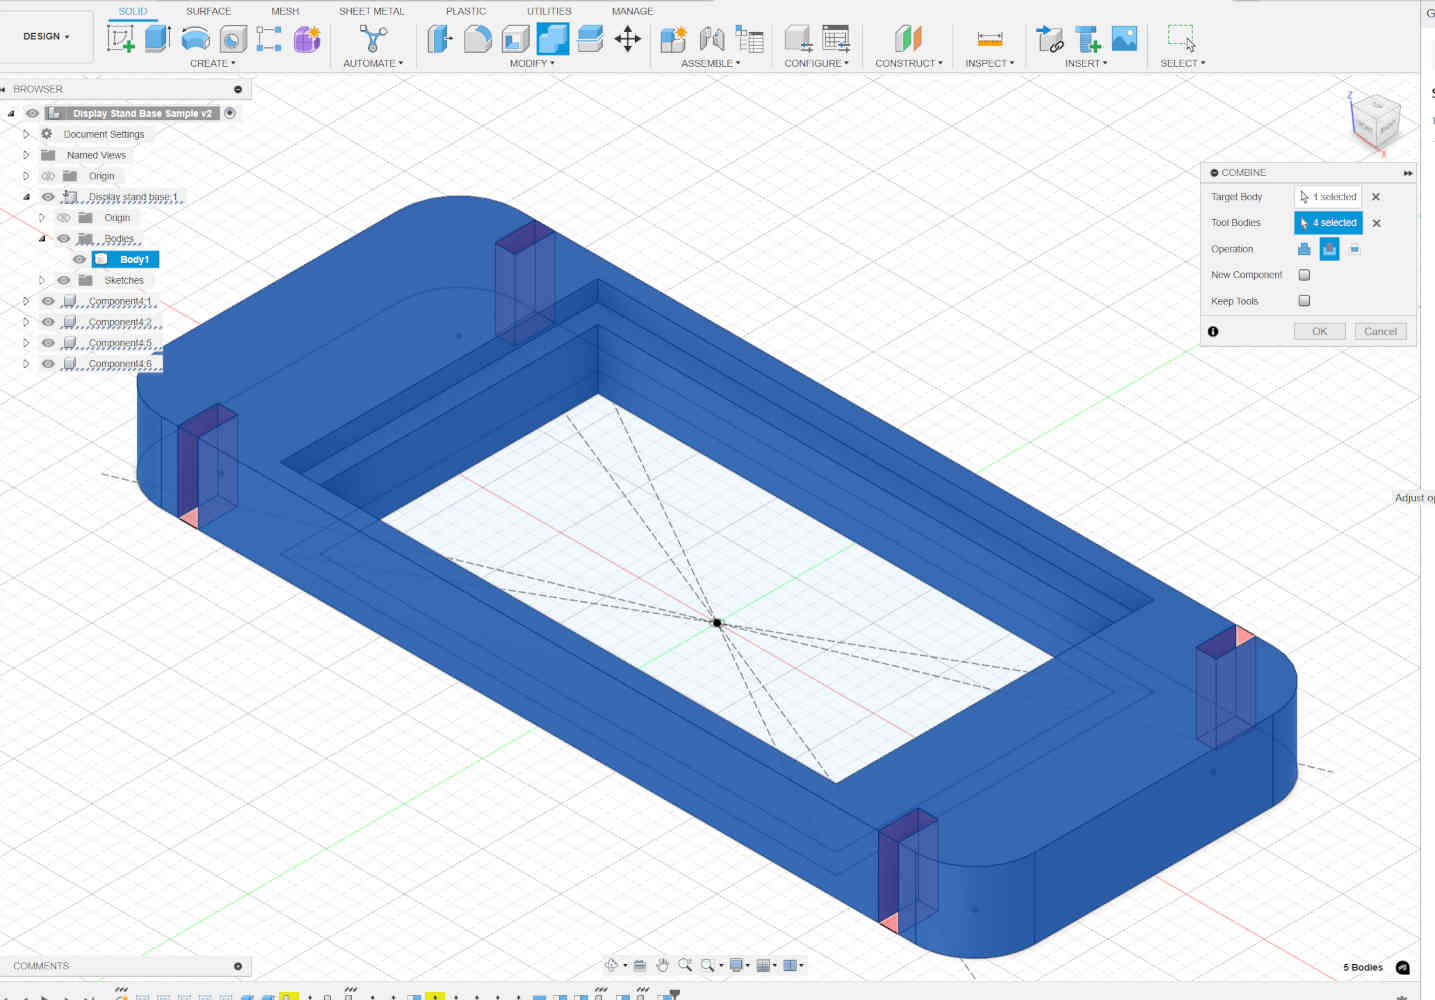
- At this point I started struggling figuring out how to link shapes and how to involve parametrics. I made one block to be a notch piece as a component, so that when I made copies of it they would all be linked and change together.
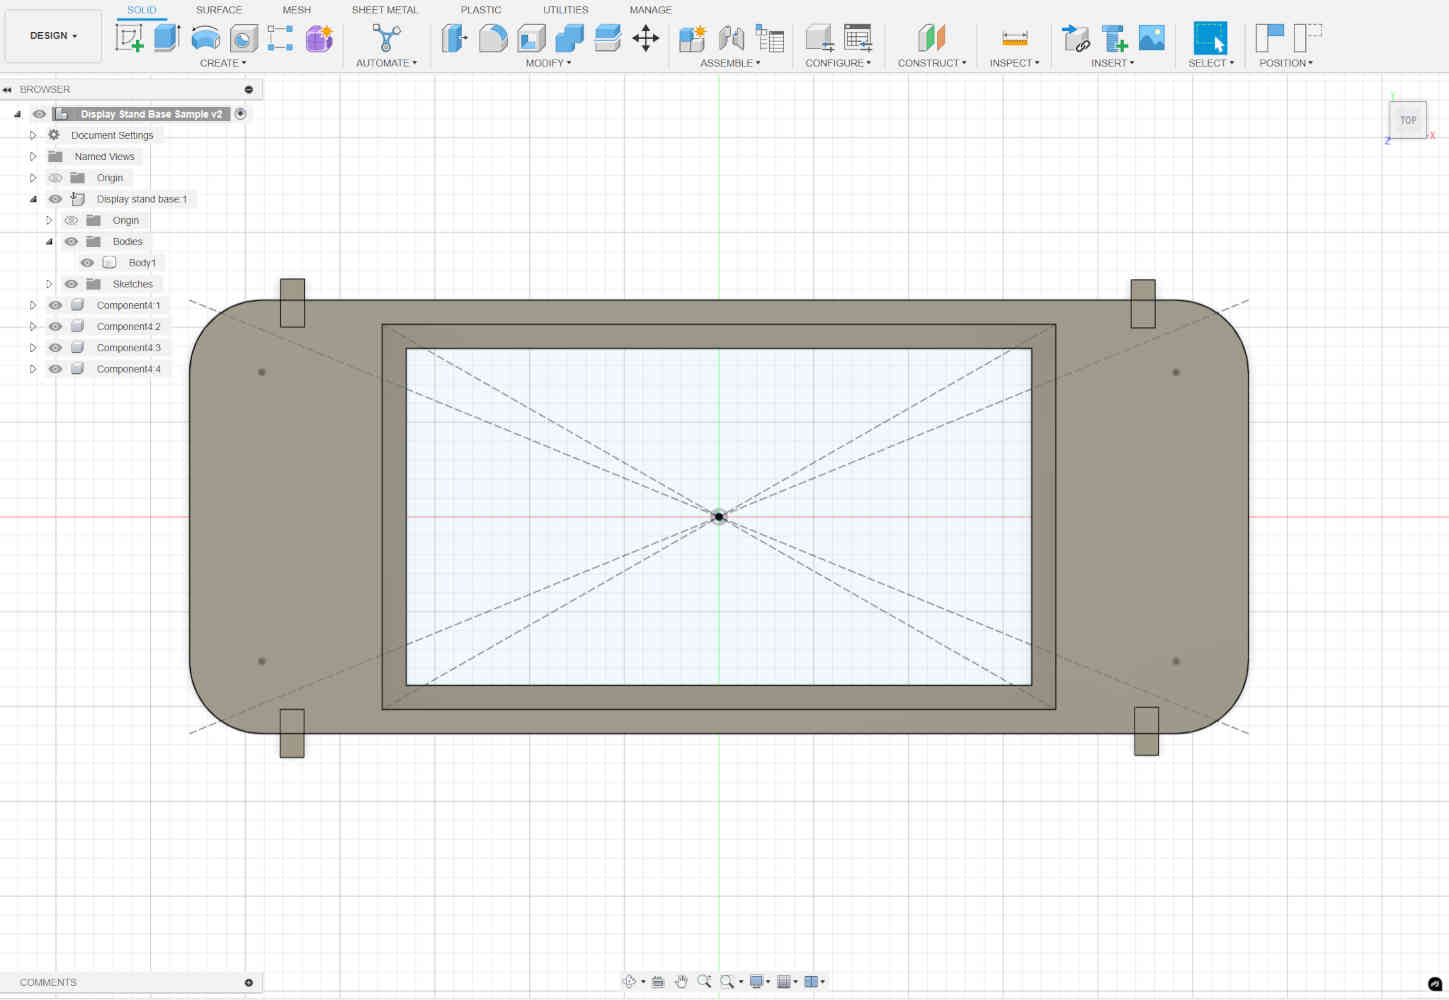
- Once I alined all four notches to the corresponding edges. Under the modify section there is a combine tab. In that tab you can "subtract" an shape from another shape.
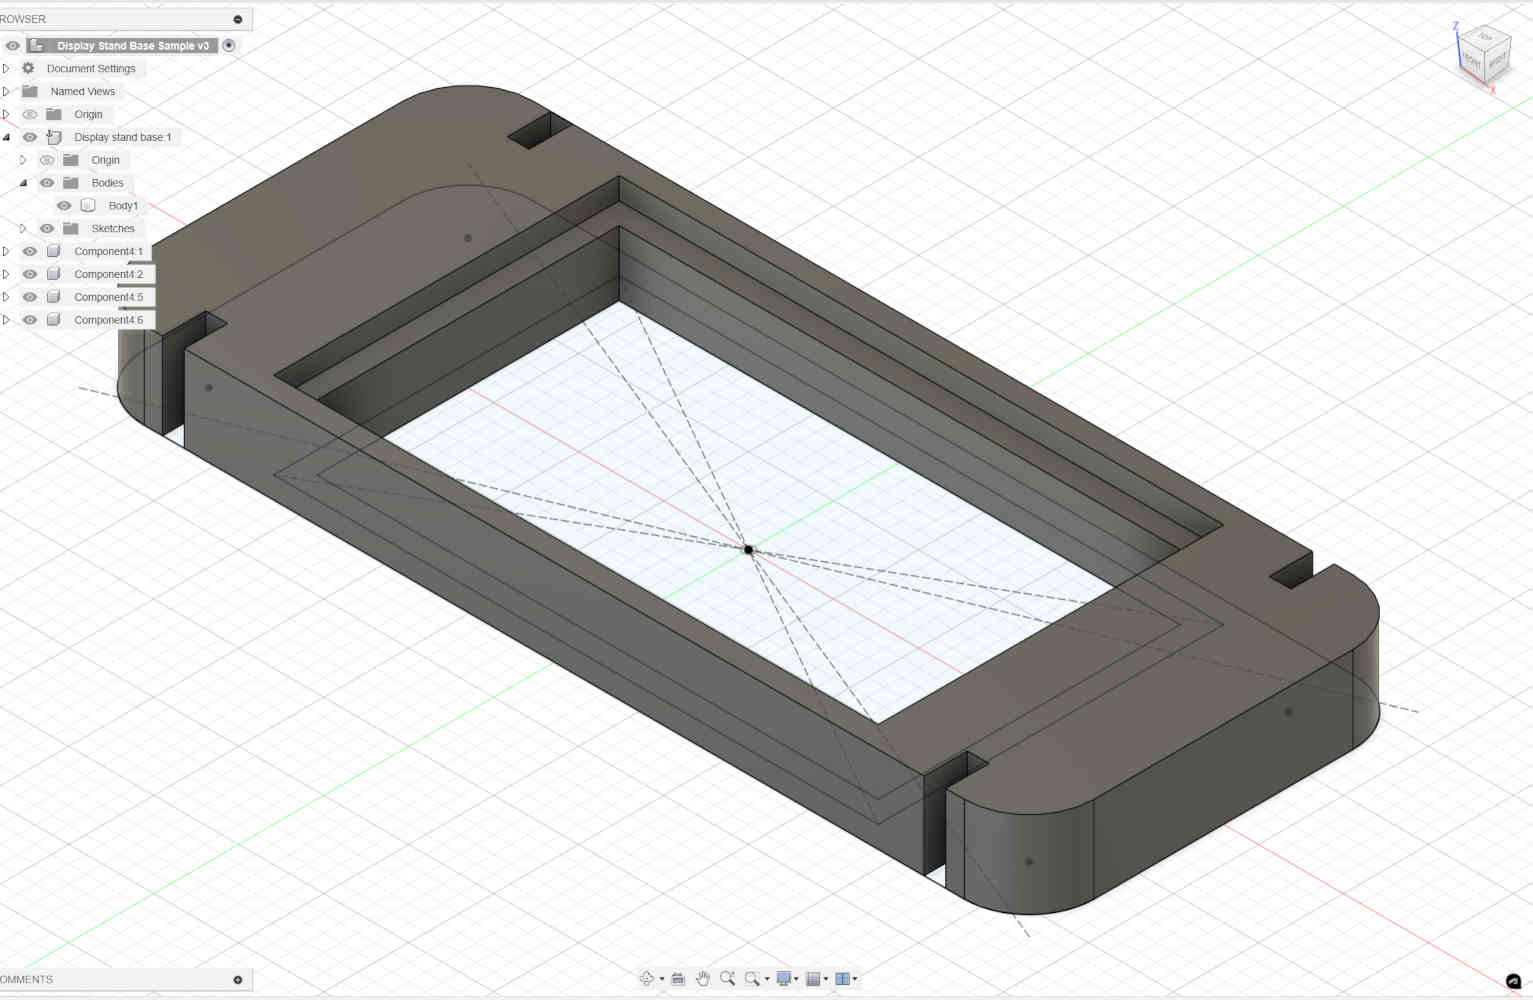
- I thought I was done and wanted to check my design from different angles to make sure it looked correct.
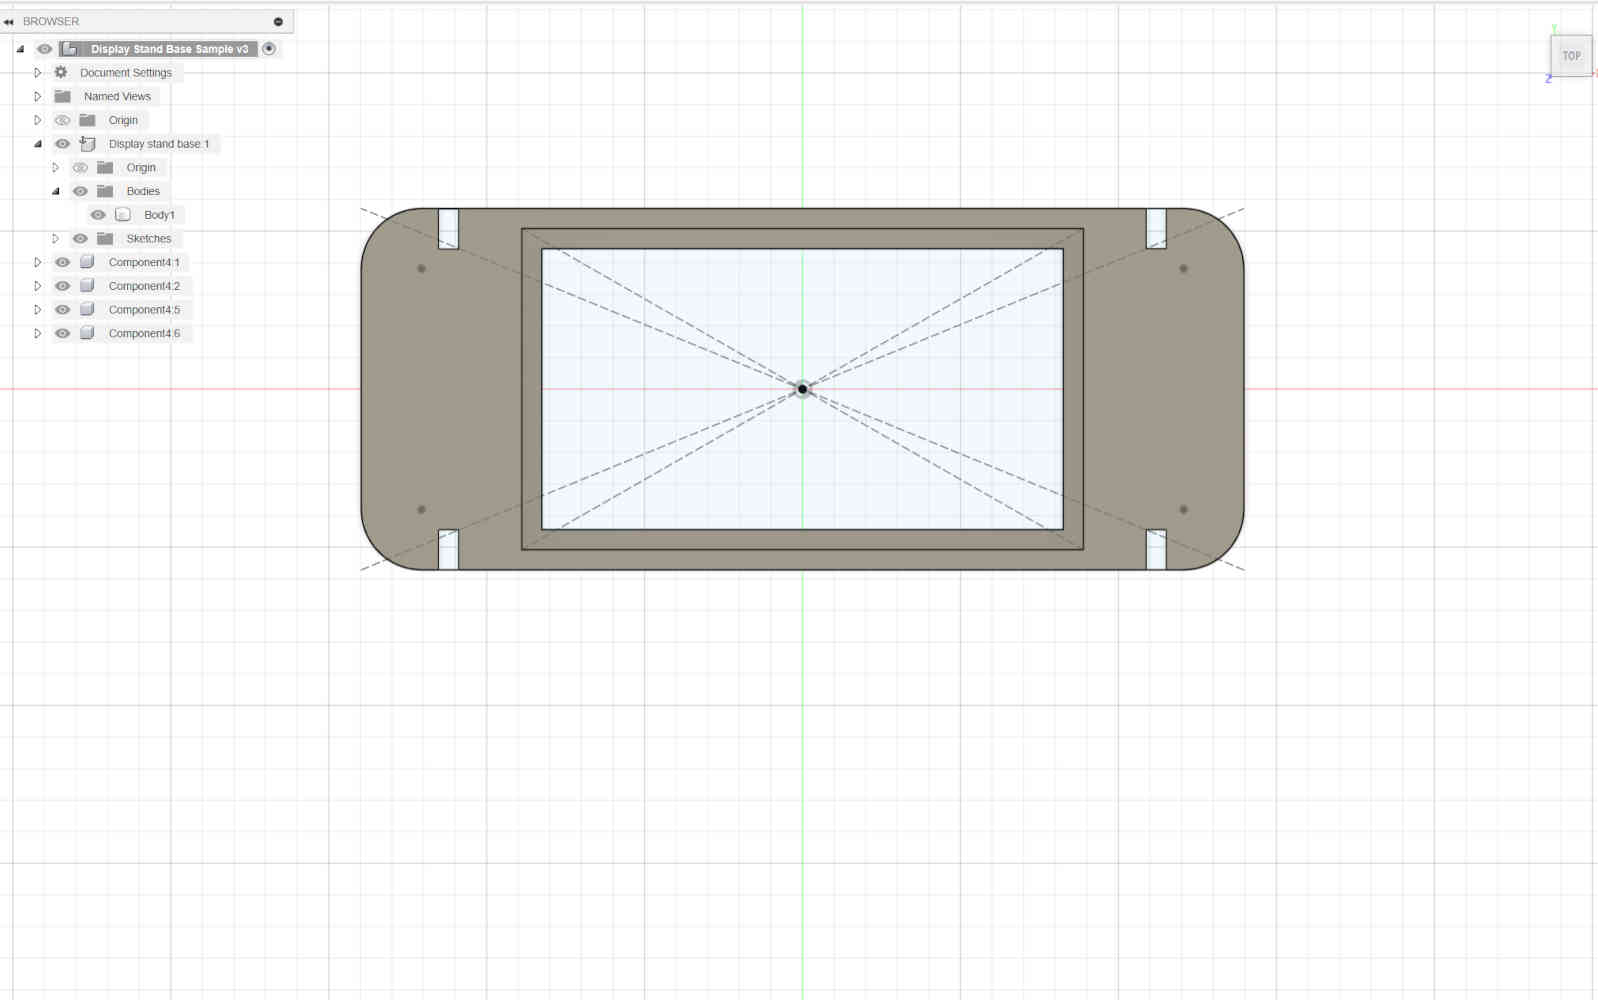
- Then I realized I forgot to add in the floor of the base so that my electrical components won't fall out. Haha silly me.
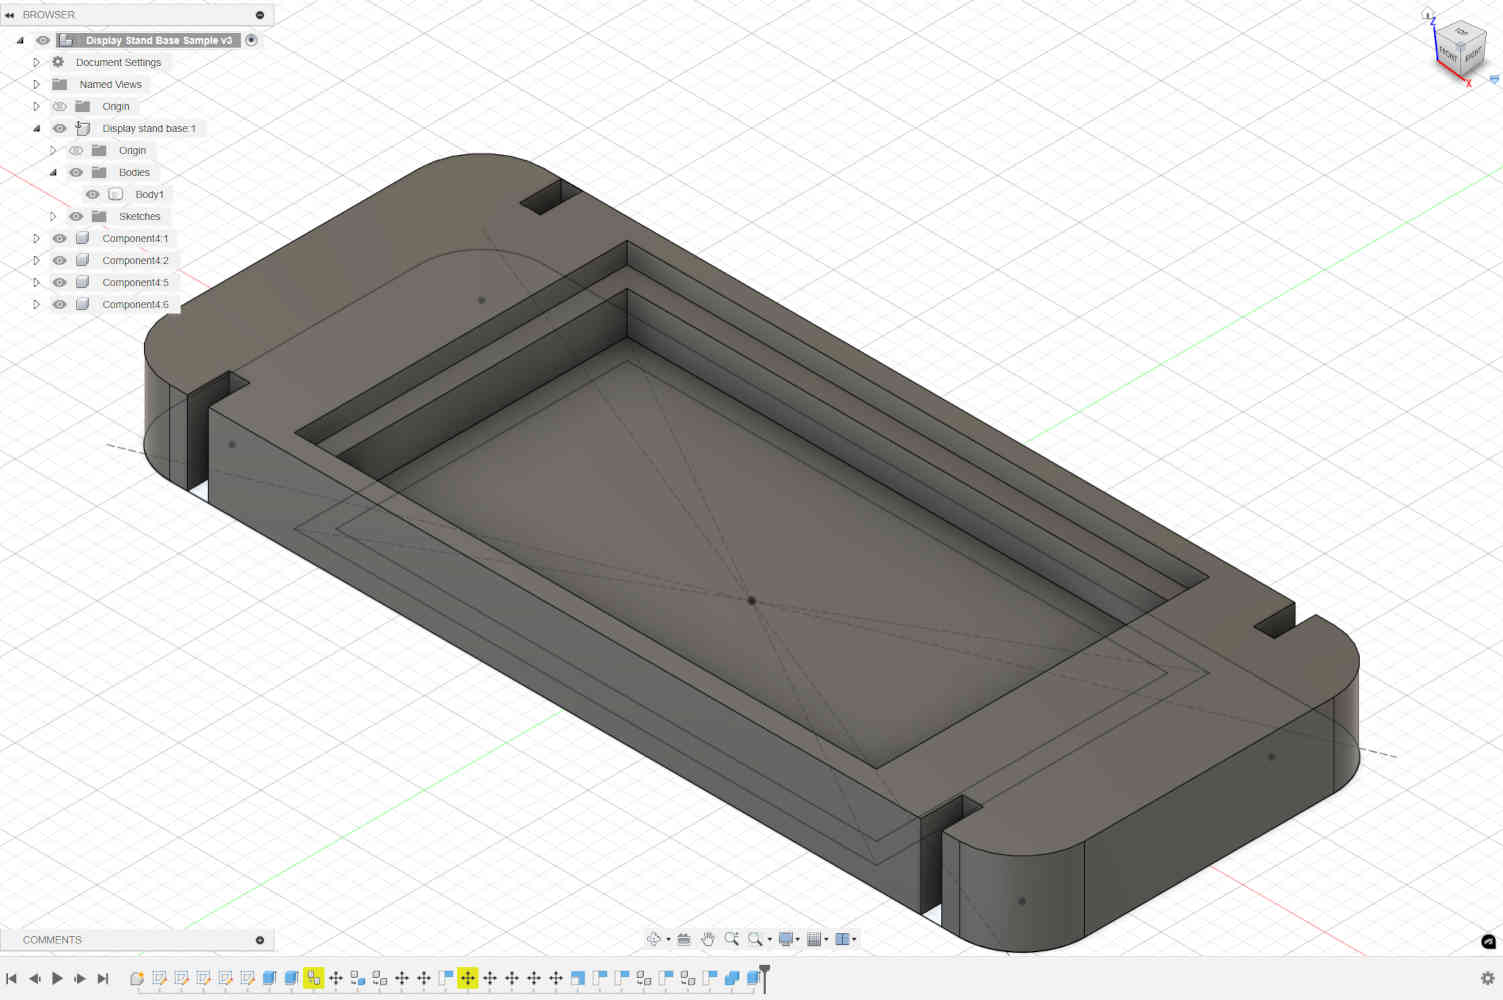
During this process I was trying to figure out how to use parametric formulas but I couldn't quite figure it out. I found where to do it but not how to set up the formulas. After completing this parametric-less file. I received help from a one of the robotics coaches at AMRoC. He went over setting up parametrics before you start creating a file. How the parametric is a base number and then you can use it to fill measurements and add formulas to them. So I rebuilt this same design with parametrics and in turn, resulted in a cleaner workspace.
2D Design in Illustrator
- There are many 2D programs out there and I have messed with a few of them through the past few years. I decided to stick with the program I have used for over a decade which is Illustrator. It was taught to me college as an industry standard and still holds up to this day. Something I find neat is no matter how well I think I know the program, there is always something new to learn.- For our 2D vector file, I start by drawing my design for the potential legs of my display stand on my tablet.
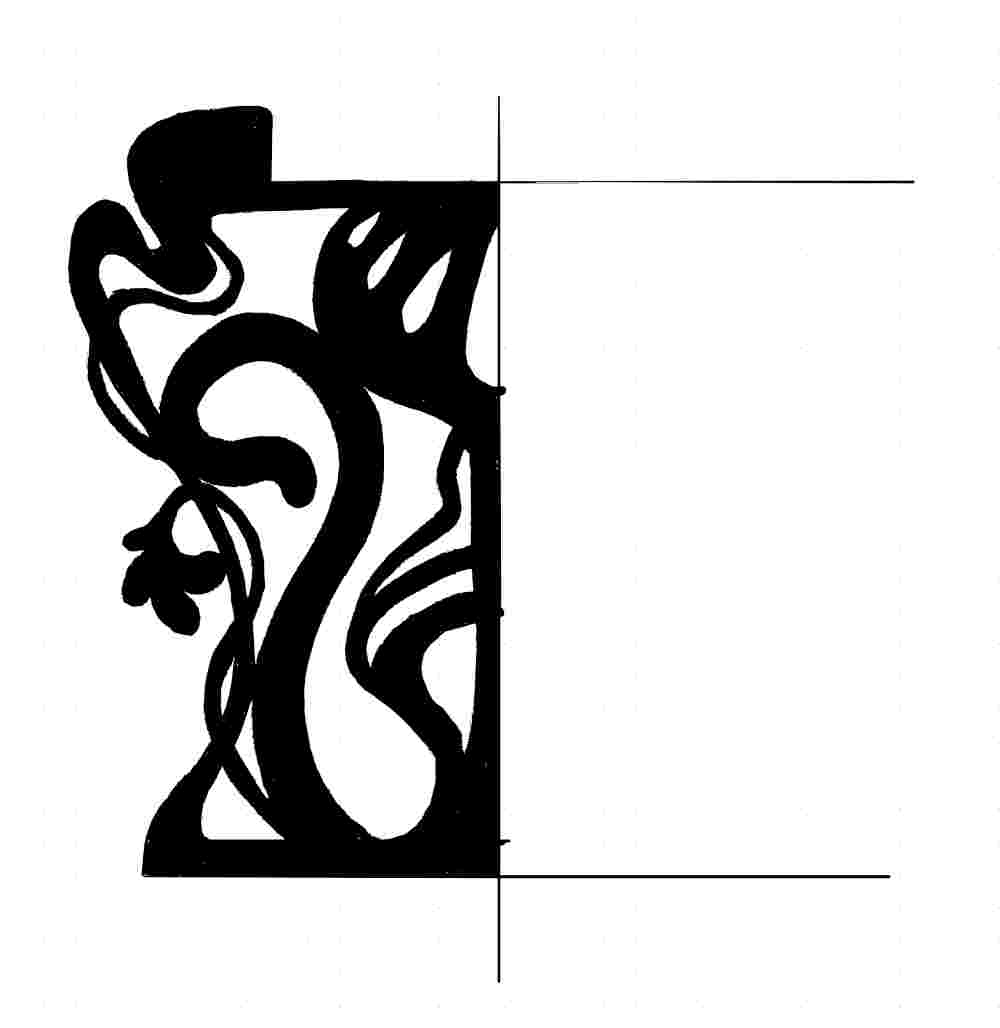
- Then I import(more like drag in the file) the image of my drawing into illustrator. To vector my image I use the image trace feature. In the advance setting of image trace, I hit "ignore white" so that illustrator does not vector both the positive and negative space. This action with vector only the posiitve(my drawing) space.
- To make the image into a vector officially, you have to hit the expand button.
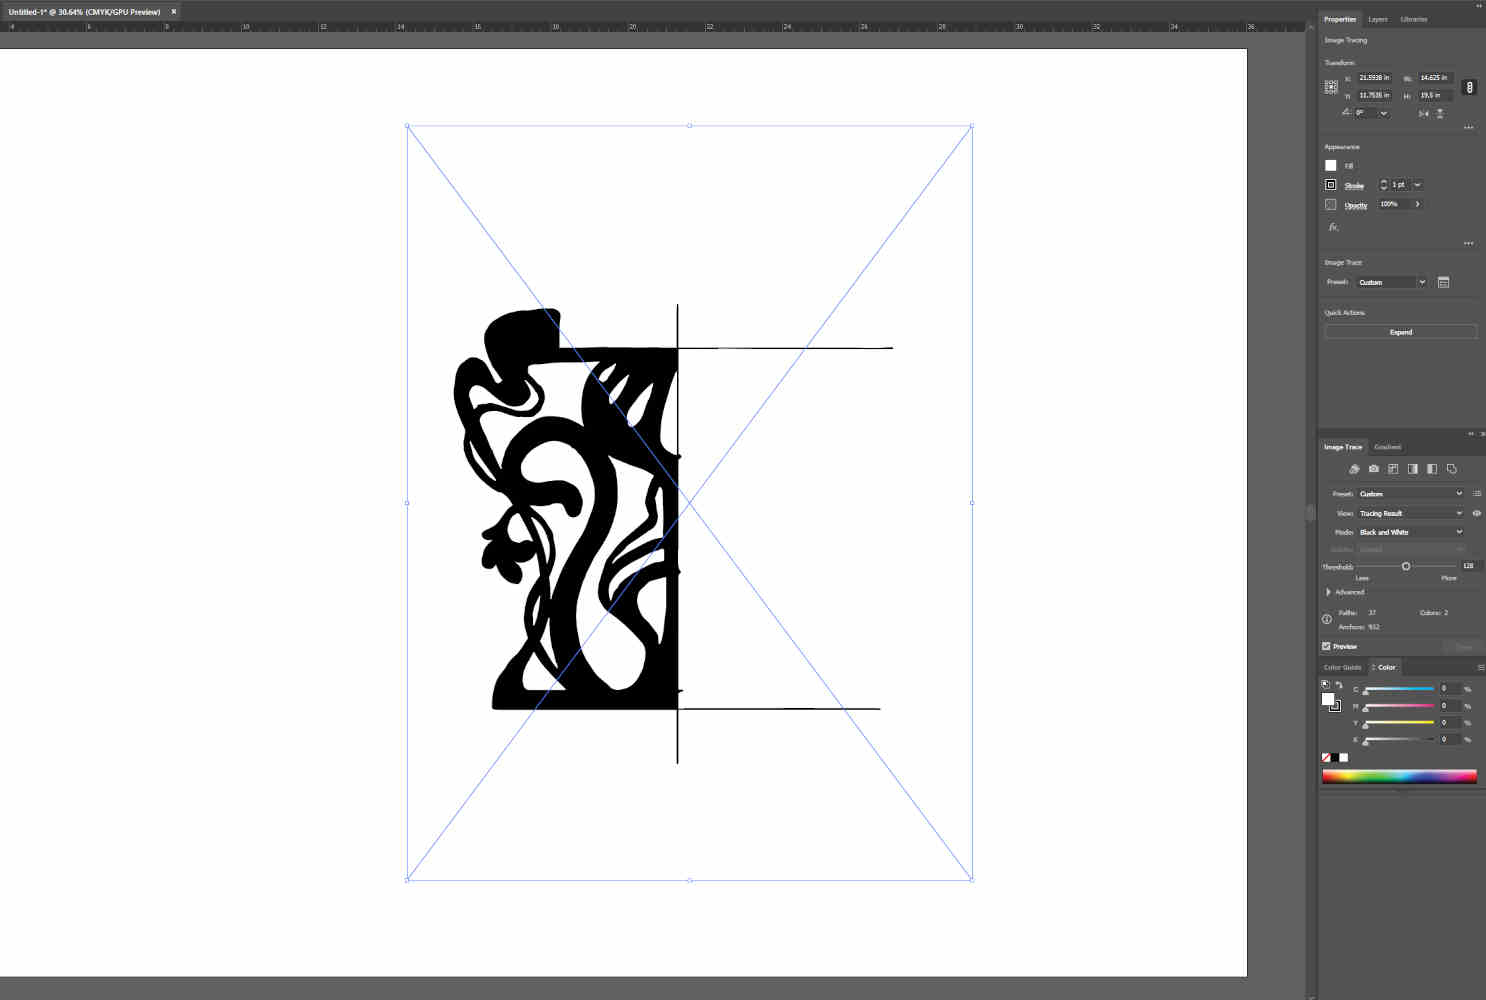
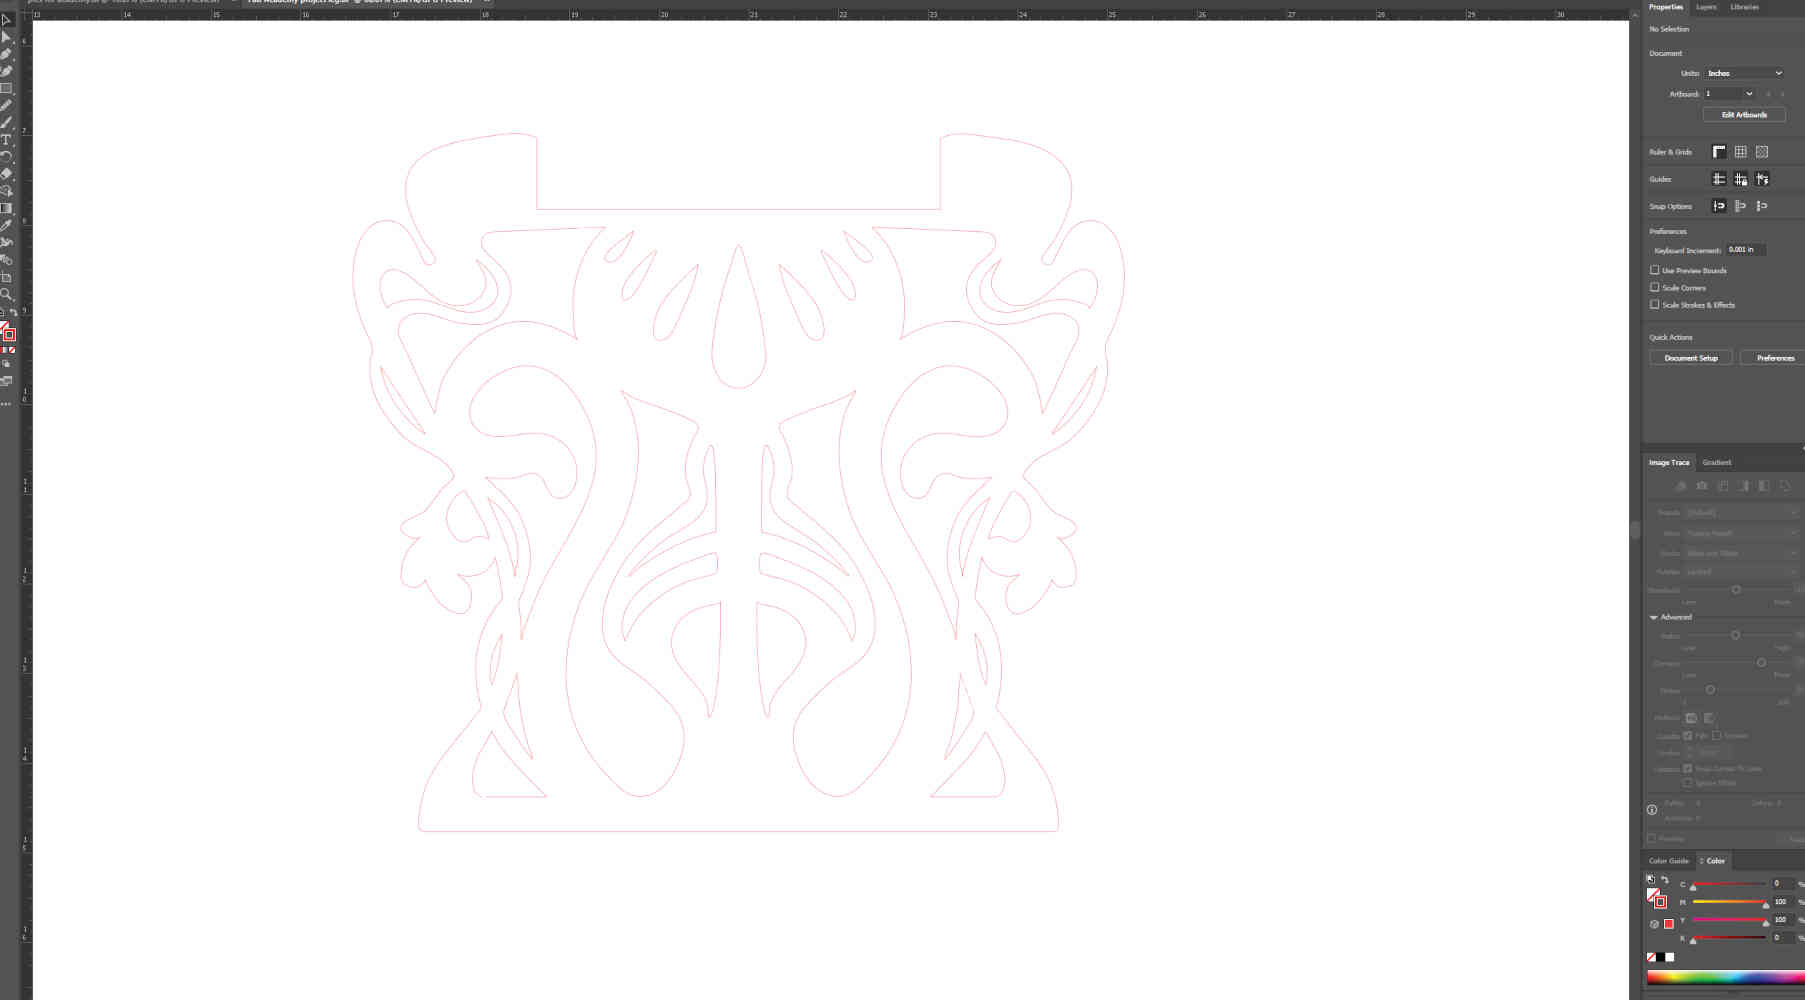
- Once the image is a vector, I start smoothing out the imperfections of the trace with the smooth tool. Since all the cutout outlines/shapes are compounded and grouped together when it is traced, you need to remember to select the next open shape when smoothing it out.
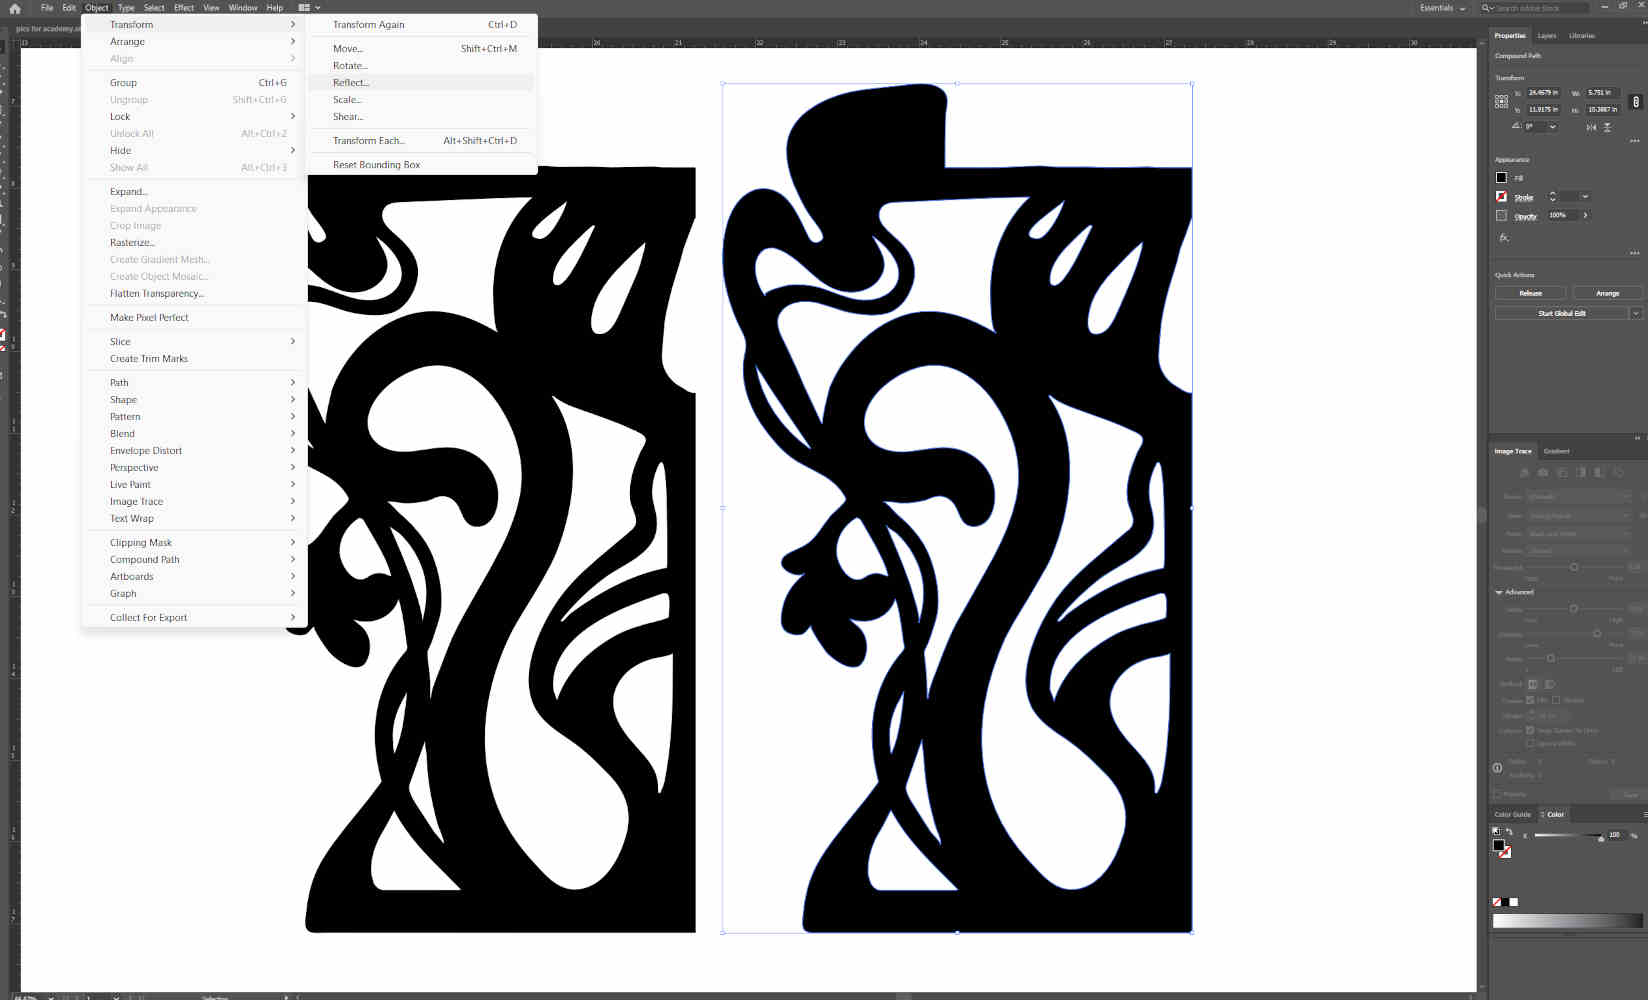
- Since I made my design to be symmetrical, I only drew half of it. Now that the one side is smoothed out, I make a copy of it. To flip the copy, make sure the copy is selected, and in the menu bar go to "object", the "transform", and the "reflect".
- Now the two designs are mirroring each other, I make sure that they are slightly overlapping each other. Use the merge tool to combined and "merge" into one piece. To make it a file ready to be laser cut, which the fill of the object to have no fill and have the stroke on with a weight of .25px
Compressing Images and Files
-Even though I have experience photo editing in photoshop, I wanted to test and learn one of the options covered in class and suggested by peers. By popular demand, I went with GIMP. I installed GIMP and it was relatively user friendly from the start and easy to find tutorials and help online.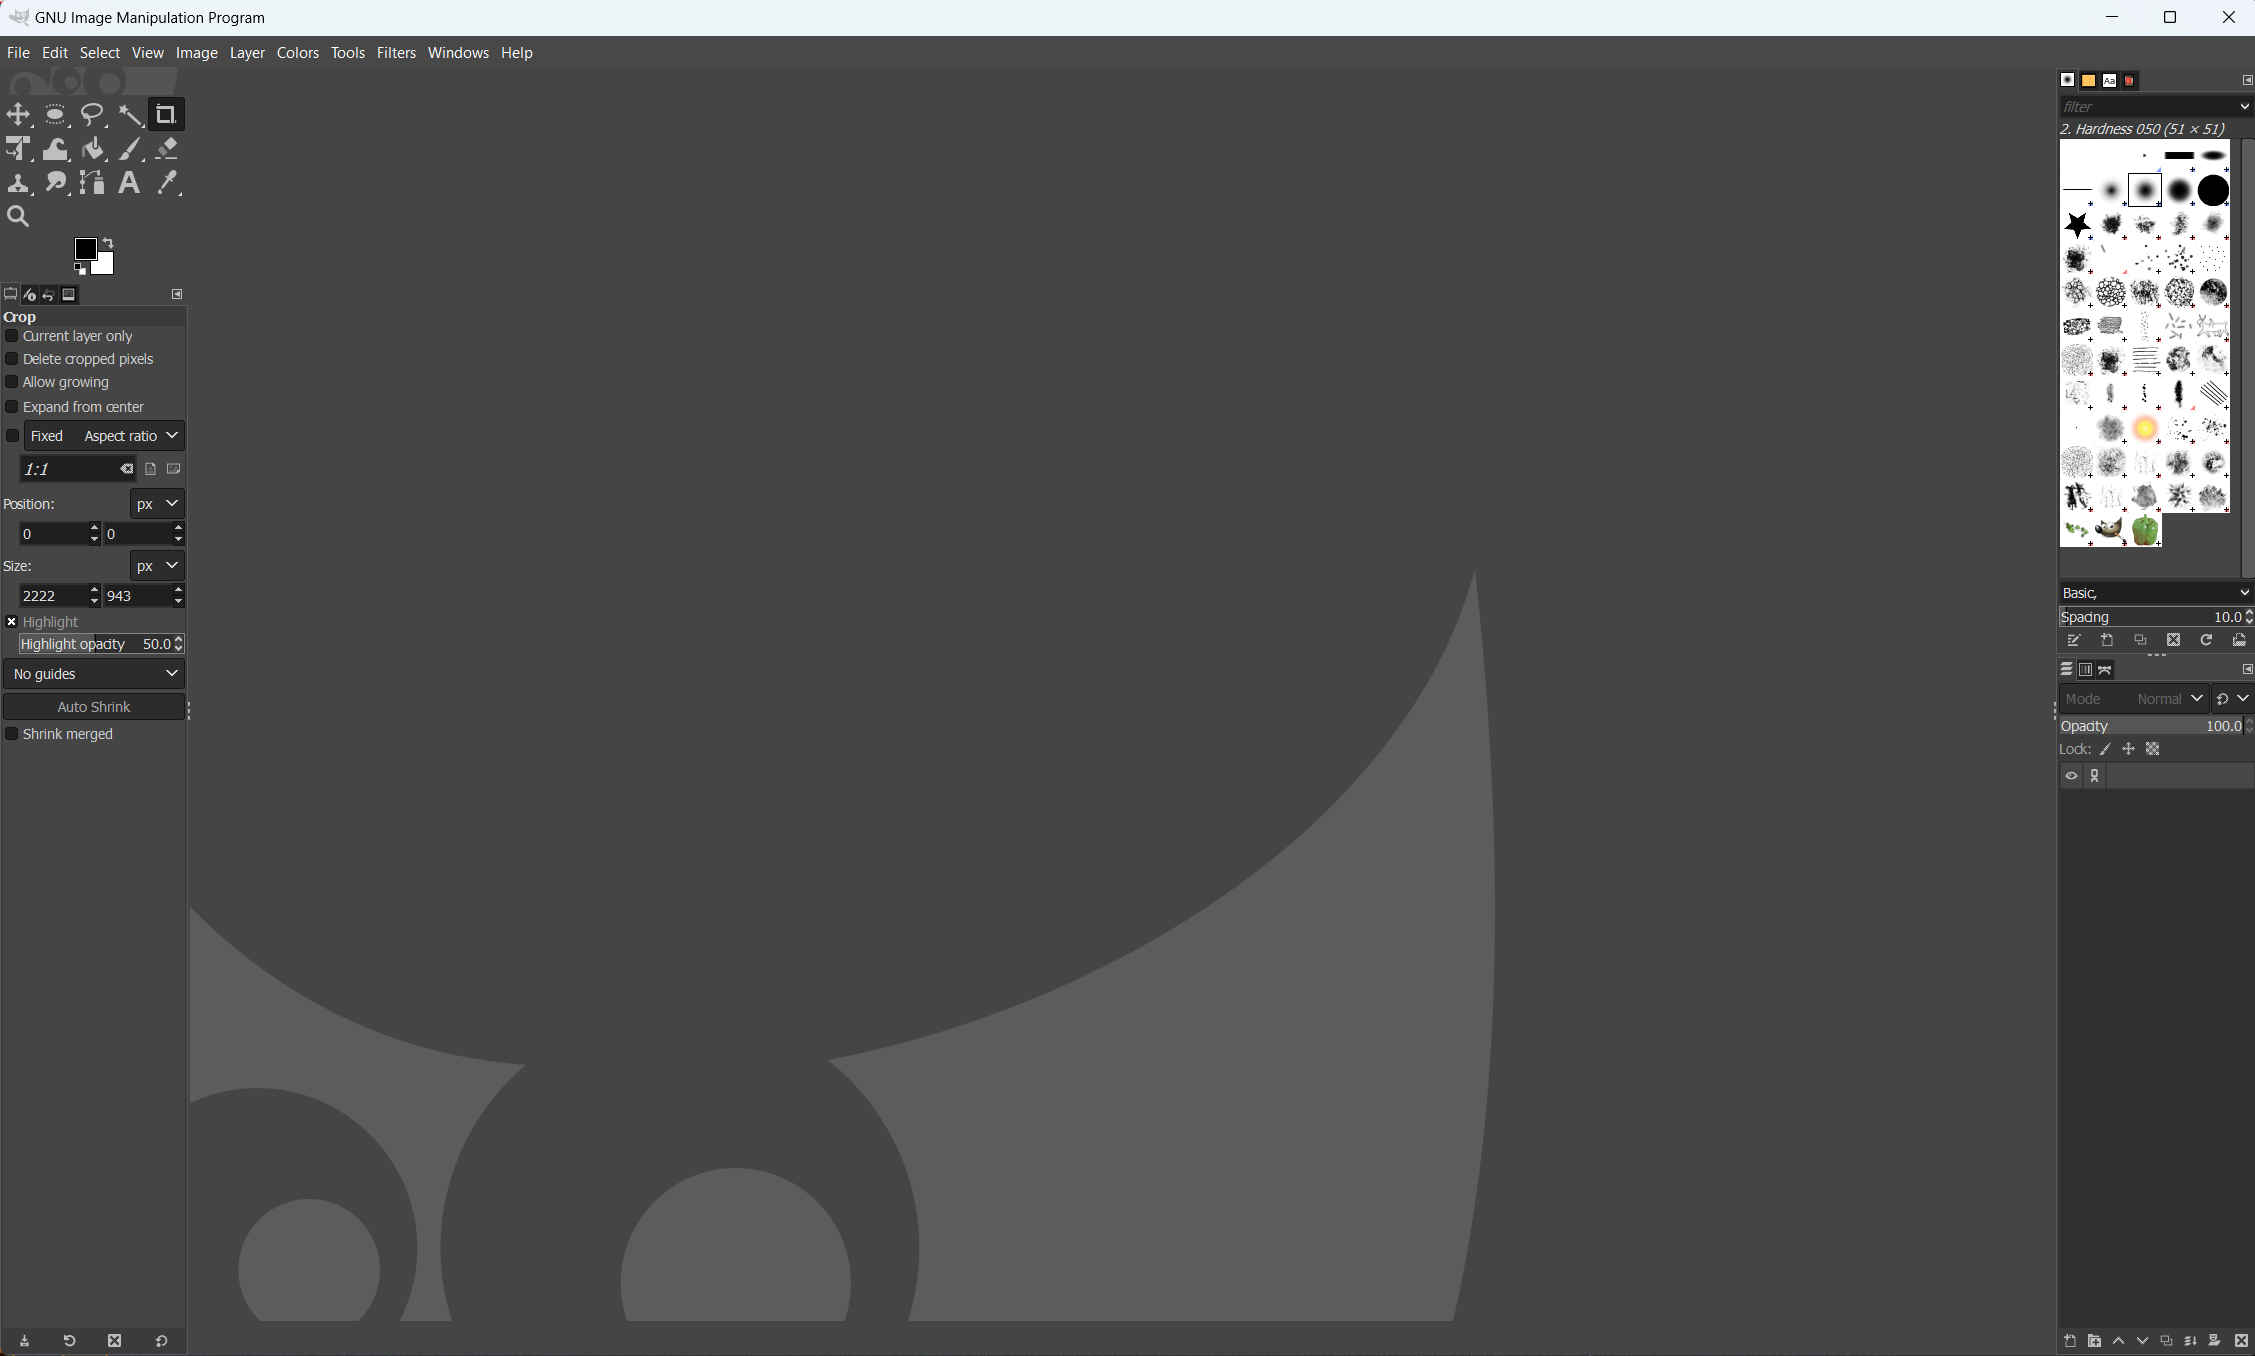
-The main thing I will be using it for is cropping, scaling, exporting as a different file type, and size(pixel) compression with quality. If I’d like to do anything more complex, I will most likely jump to photoshop.
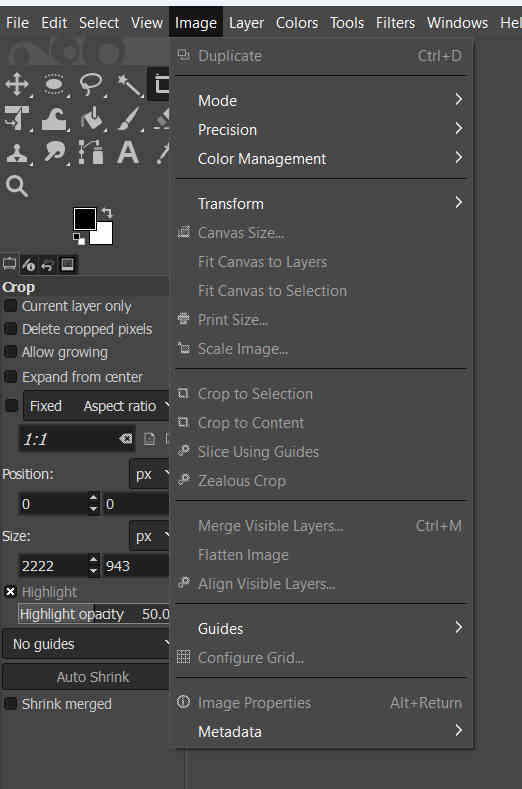
-To change the size of a photo, you go to the image tab and click on “scale image”. You can type in a pixel dimension and it will apply it to your photo.
-To change the file type, it’s as simple as exporting your file and physically typing out the file type you’d like to replace your file with. Just fyi, it will not make suggestions for you as to what file types it was save as, so just make sure you already know what the correct labeling is for your desired file type.
-side note: For using these images on your website, its best to have not spaces in your naming conventions. Use dashes. HTML coding sometimes doesn’t like or struggles with reading files with spaces.
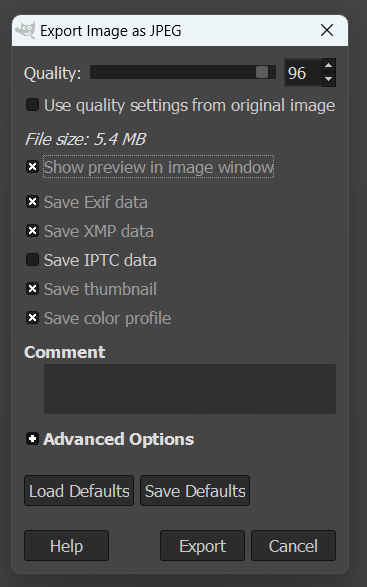
-Once you hit export, a new export window will open with a quality bar. Click on “show preview in image window” and it will reveal the file size (KB, MB, etc.). You can reduce the size even more by lowering the quality percentage before officially exporting your file.
-For compressing files such as fusion files or illustrator files, it’s as simple as right clicking on the file and clicking compress to a zip file.