Week 1 : Principles & Practices
For the very first week of Fab Academy, our tasks were to work through a Git tutorial, build our own personal site in the class archive, sign and commit our student agreement to our Gitlab repository, brainstorm for our final project, and write about ourselves. So naturally, this has been one of the most difficult journeys for me, as just within that first sentence I have used words that I did not understand. While learning an entirely new language is difficult and frustrating, it has been an exciting process and fulfilling to learn and comprehend the basics.
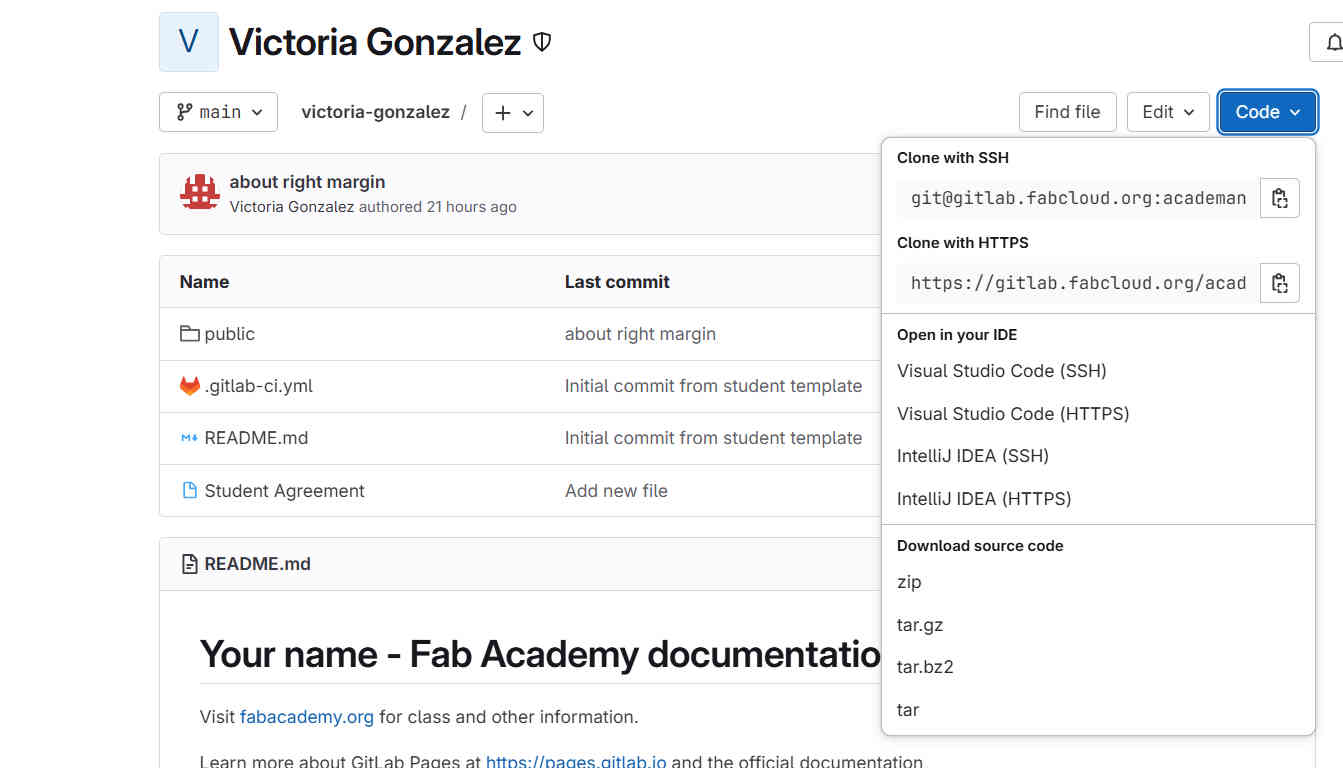
Setting Up and Building a Website Using Gitlab
Starting from complete scratch, I spent a lot of time going over tutorials provided, finding additional tutorials, checked out books from the library, and reached out to everyone I knew under the sun including mentors, classmates, family, friends and Chat GPT. Big shout out the Tom and Peter from Moonlighter for all the help because I’d still be lost, even with all the tutorials and AI within reach.
- The most confusing part was trying to understand Git, Gitlab, and connecting(mentally and physically) my local work to our published site.- Once I realized to get everything functioning, you have to make sure that you are set up with your Gitlab account that is provided by Fab Academy and I wasn’t making up my own account, it SLOWLY started to come together.
- From there, I downloaded and installed Visual Studio Code and Git onto my Computer. You need Git so your local computer can connect/have access to share/communicate with Gitlab cloud (not local).
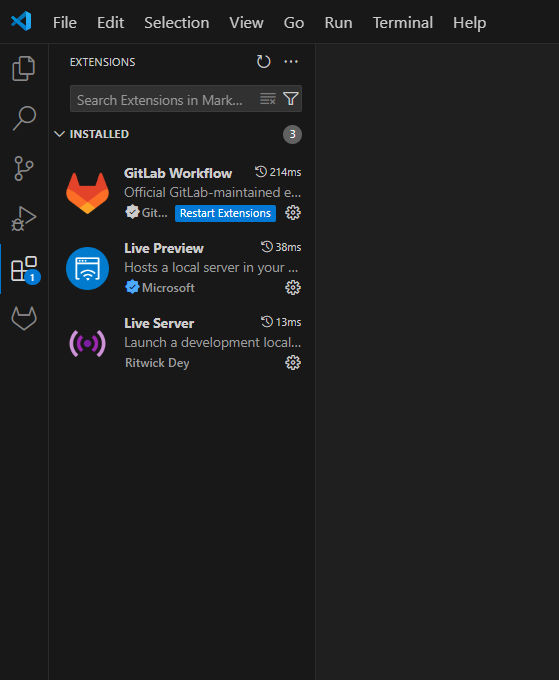
- In VS Code, there is an extensions panel to the left. There I installed 3 extensions which were “GitLab Workflow” (needed to integrate GitLab with VS Code), “Live Preview”, and “Live Server” (to be able to view how your code looks while working in VS code before publishing).
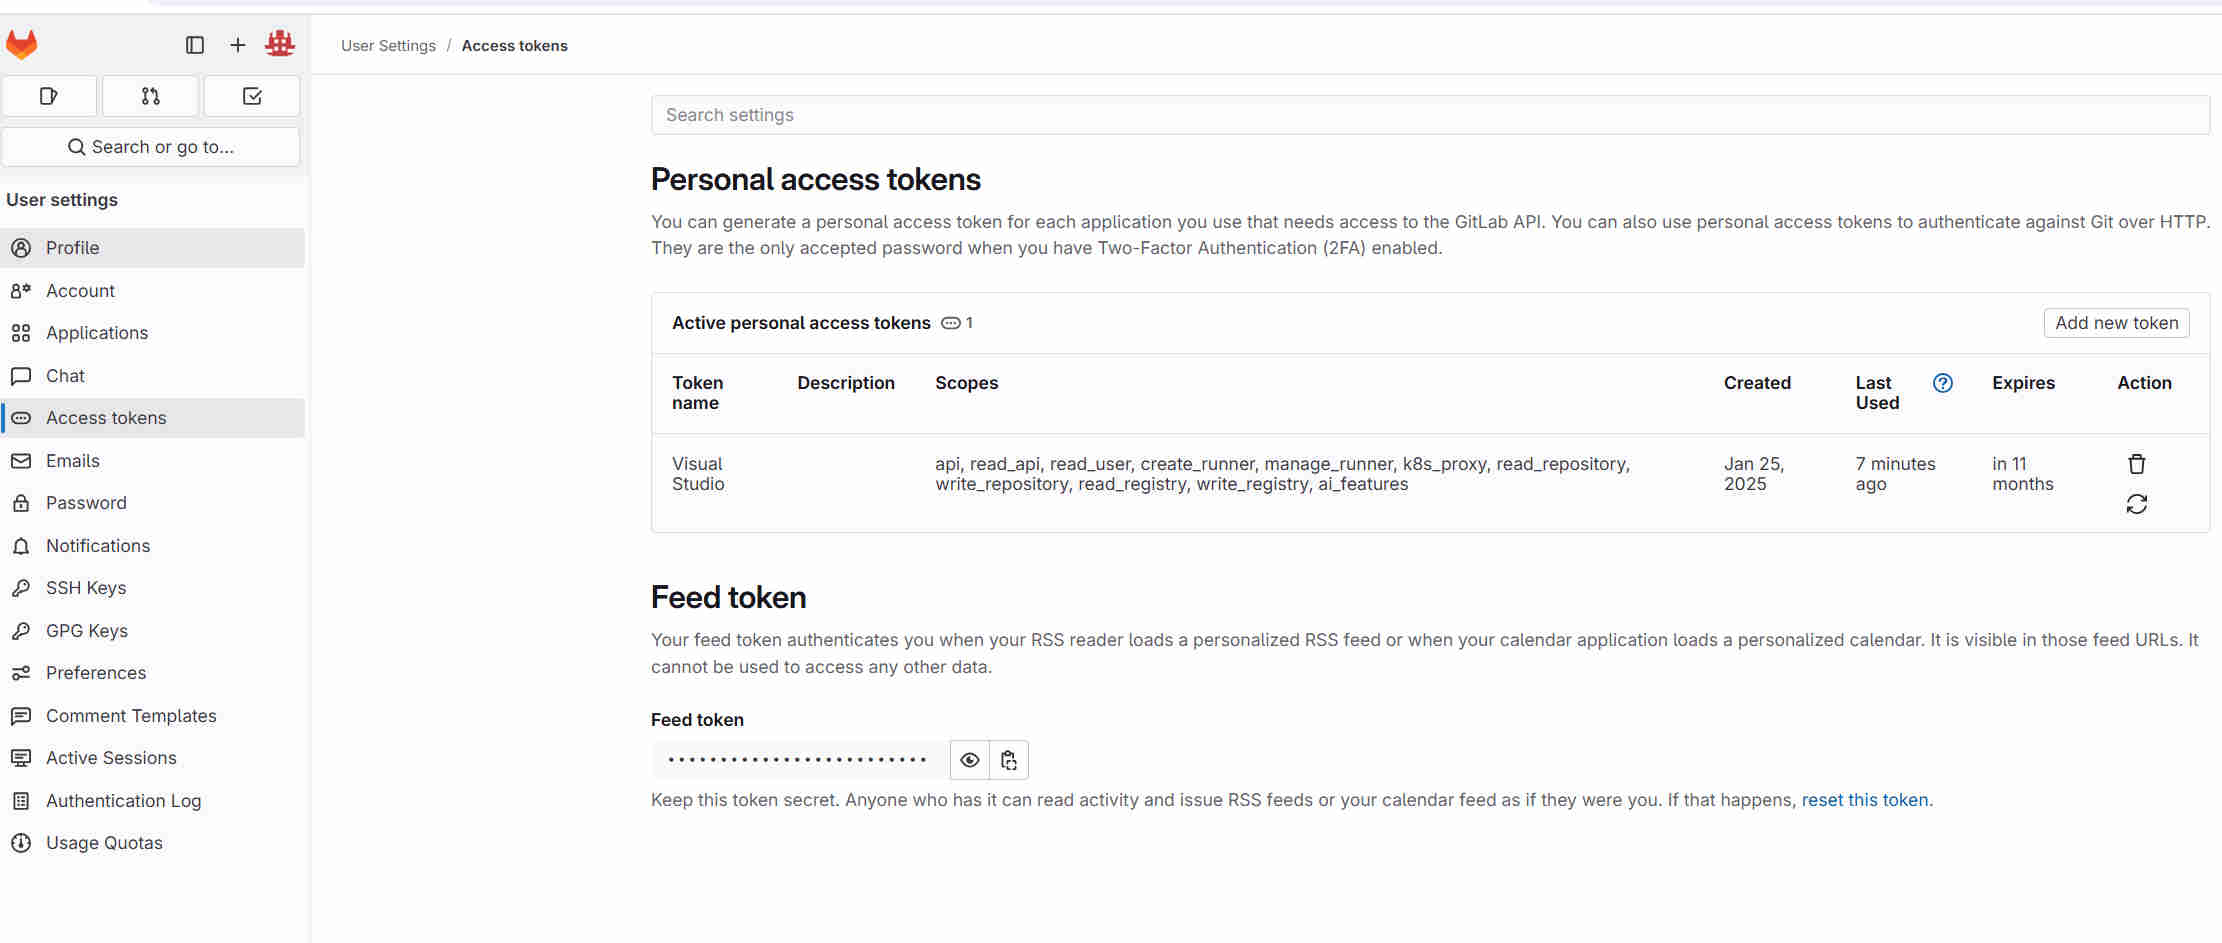
- To official link my GitLab account to VS Code, I had to create a Personal Access Token in my GitLab account and enter that into VS Code. Then, back in GitLab I was able to click on “Code” and from there, click “Visual Studio Code (HTTPS)”. A clone of the repository was now on my computer and in VS Code.
- Now I got to focus on basic HTML and code. I used Chat GPT to provide basic code and css to help get me started with creating my site. It was neat to try out AI and follow it along as it made changes. Utilizing AI and being able to compare code to the provided code template, I was able to familiarize myself with code prompts and language. From here I modified and built code with as little assistance as possible to try to get a better understanding of HTML code prompts. I am still figuring it out, but I am very excited for how much I have learned and comprehend.
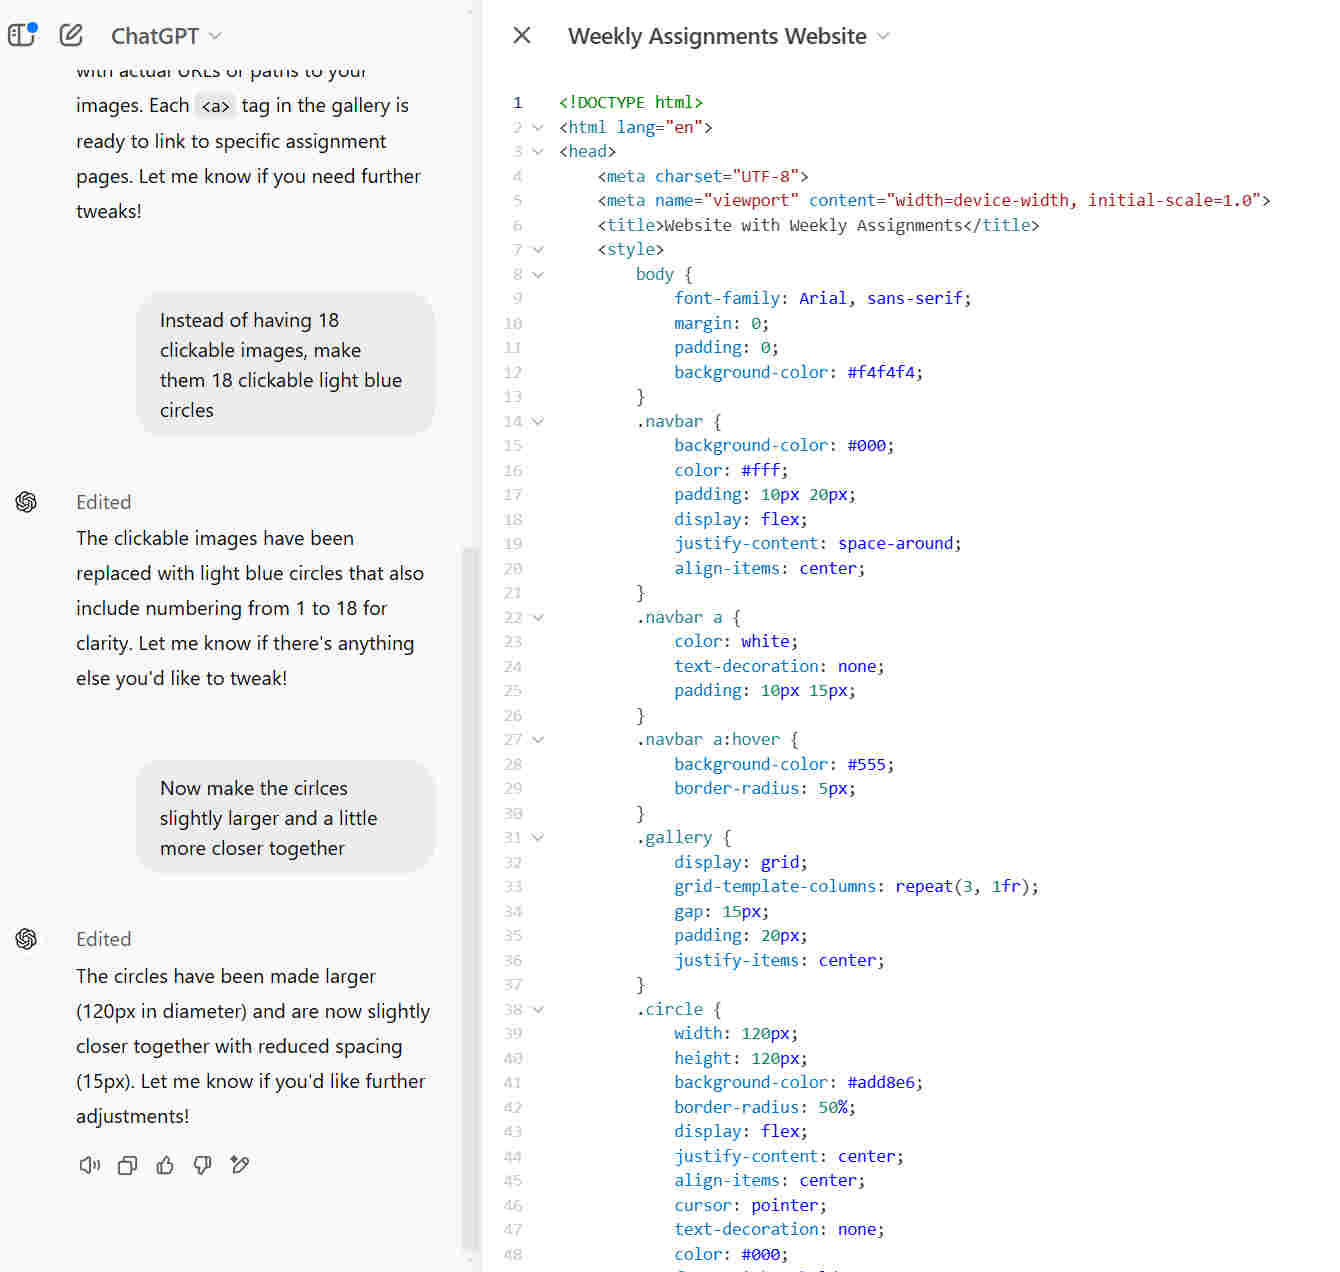
To see the full Chat GPT conversation, click on this LINK
- I was ready to sent my first commit and push, when I hit a snag. VS Code wasn’t letting me. It kept saying I had to configure my username and email in Git. I thought I did this already? How could I be connected to GitLab without it? I opened Git and entered my info and it still wasn’t working. I Closed and reopened everything, tried configuring my info on Git, and didn’t receive any confirmation from Git if it worked. I decided to try committing and pushing my code anyway just to see and it worked!
- After not knowing what I was doing this whole time, I built code and finally sent my first commit and push!
Final Project Idea
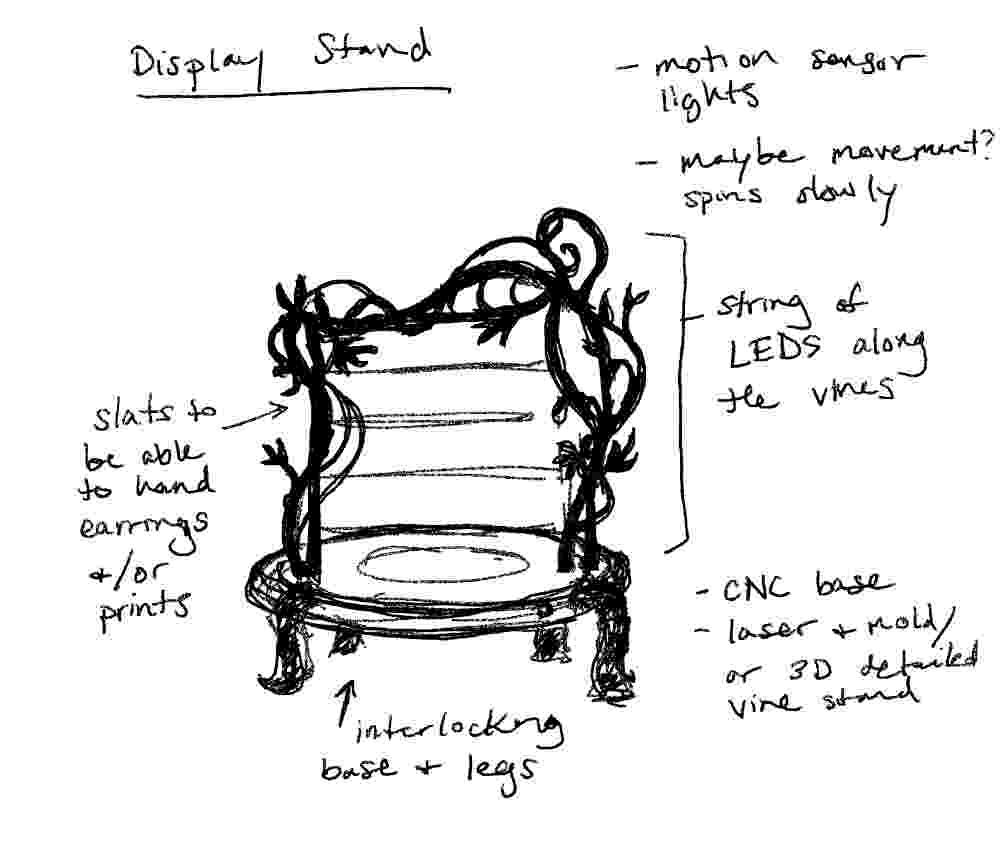
Motion sensor light up display stand
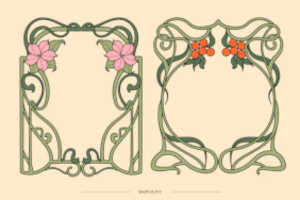
At first, I was thinking about making a large furniture piece, but after a bit of brainstorming and checking out some past academy projects and considering, my current skills and desired detail, I went smaller. I am an Illustrator and for some freelance work on the side, I sell my art and products at art markets. Lots of markets tend to be in the evening and vendors usually need to provide their own lighting. I thought it would be nice to create a small display stand for my earrings, prints or other products the nicely highlights my products. The idea would be to have a motion sensor to activate integrated lights when a customer approaches the display. I love intricate details and want my display to be eye-catching, just like my art. I also want the display to be inspired by one of my favorite art movements, which is Art Nouveau.
Reference Images