


Individual Assignment:
- Write an application that interfaces a user with an input &/or output device that you made.
Group Assignment:
- Compare as many tool options as possible.
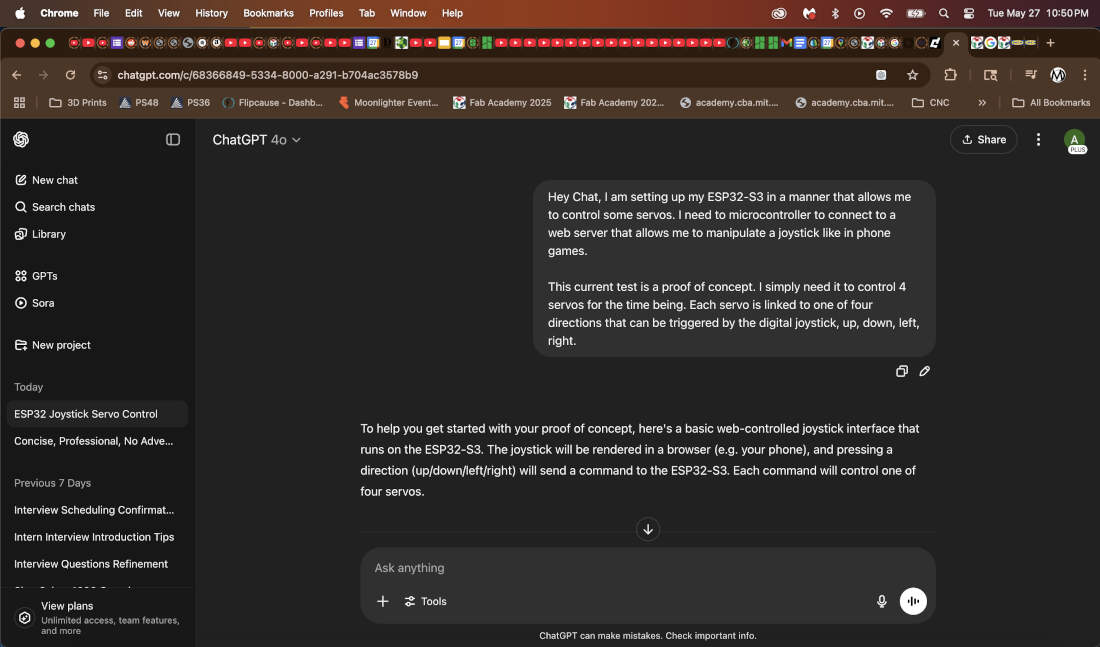
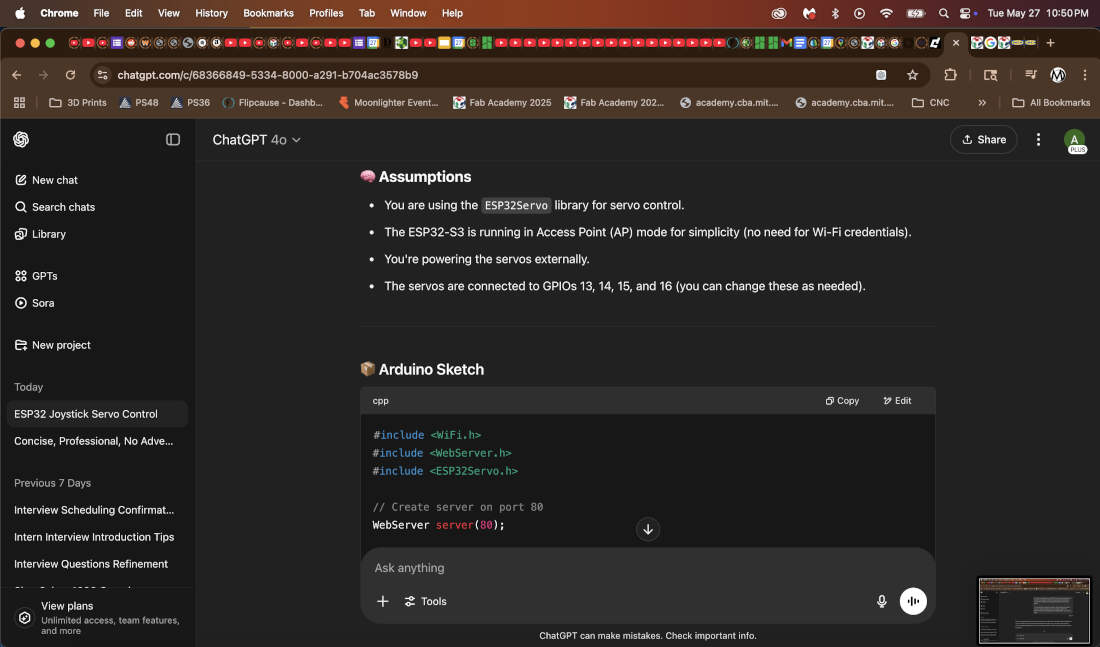
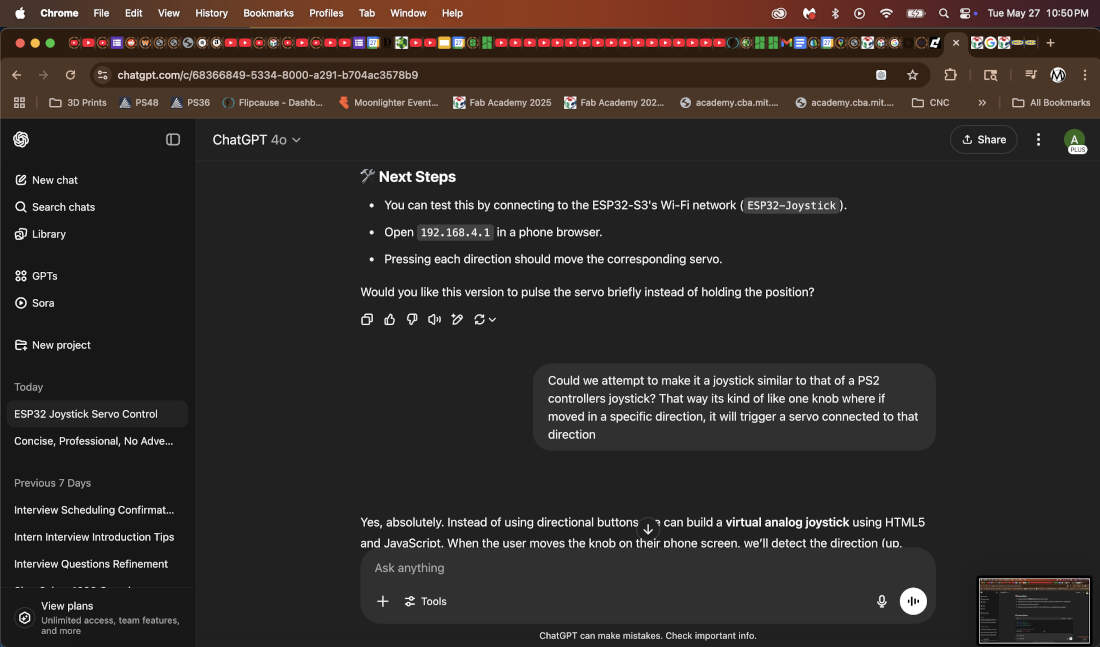
ChatGPT as always is a blessing. Even though my final project is not ready to be built I have used this week as an oppurtunity to create a proof-of-concept[thanks Peter B^)]. My robot will be utilizing 8 servos, 2 on each leg to move around. Since the mechanical aspects of the robot are missing I decided to simply utilize 4 servos and assign each to a specfic direction. I directed ChatGPT to create a virtual joystick that could be used to control each of those 4 servos. Once the final project is built the joystick would control all 8 servos in intervals or simultaneously to move the entire robot.
I wanted to clarify that not only was Chat coding for Arduino but also coding in HTML for the webpage. I did not focus on connecting to wifi or worrying about IP's at this point but instead solely focused on testing out the HTML portion.
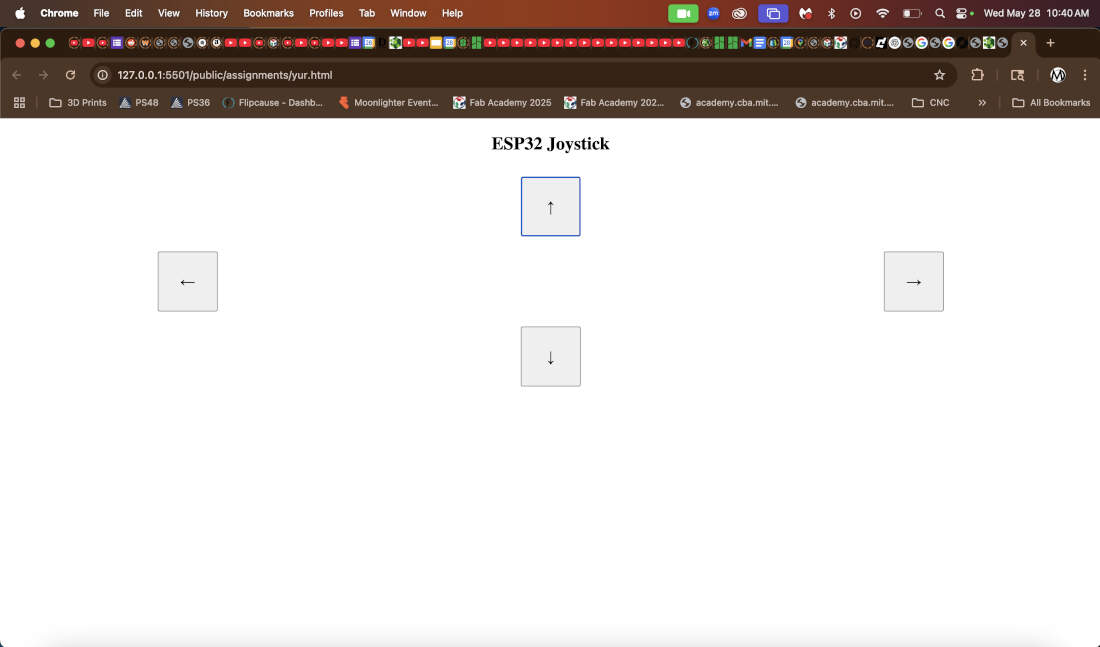
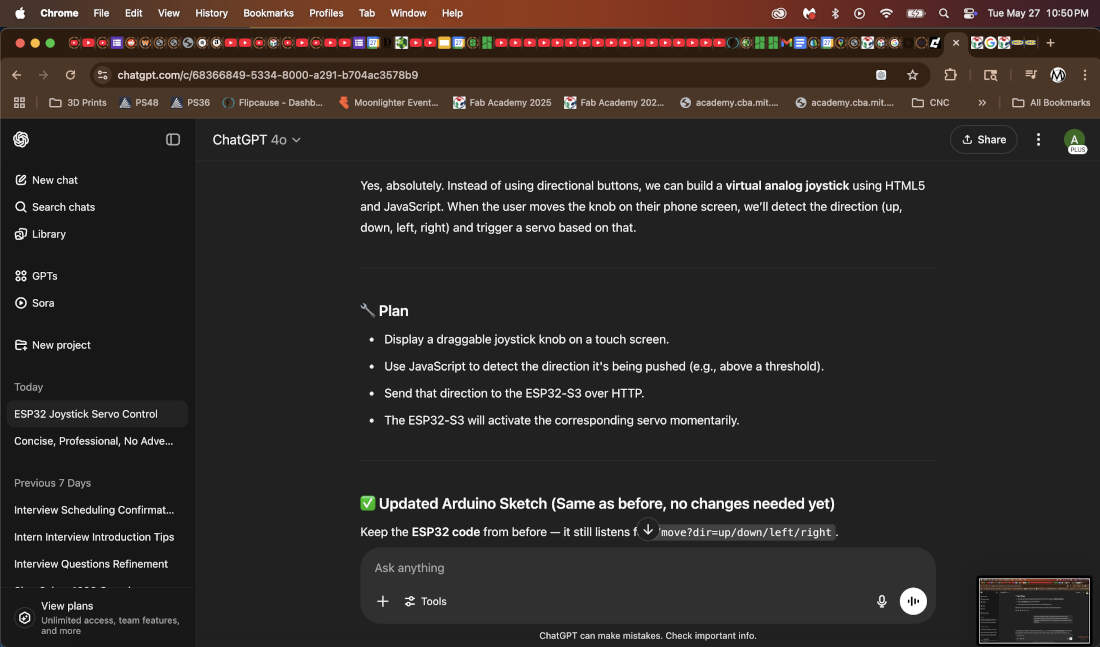
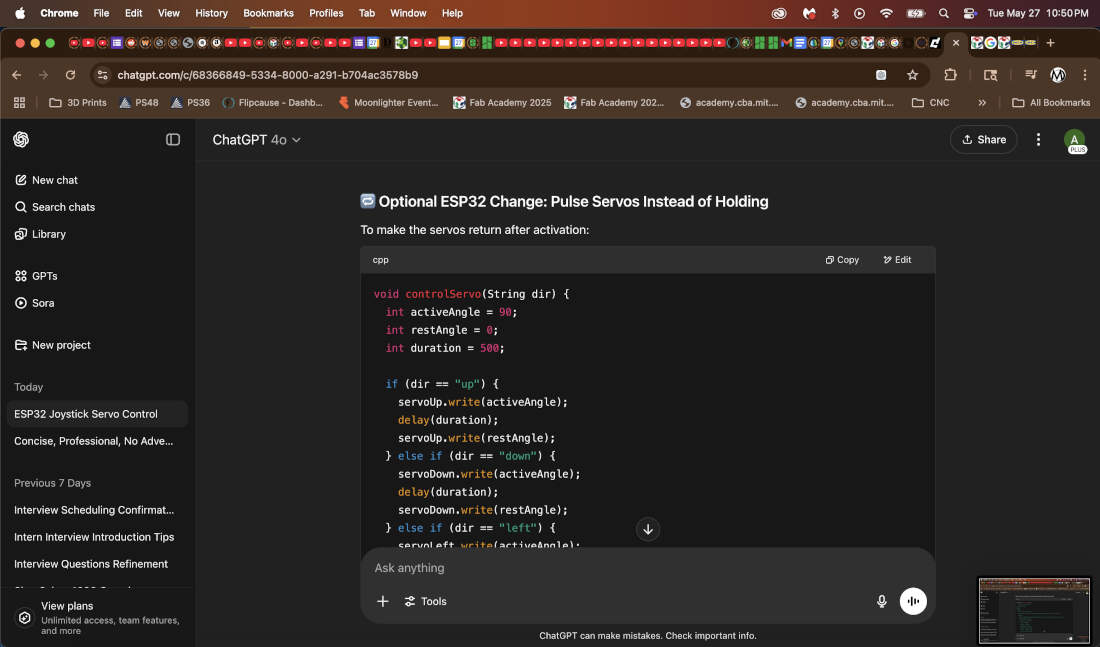
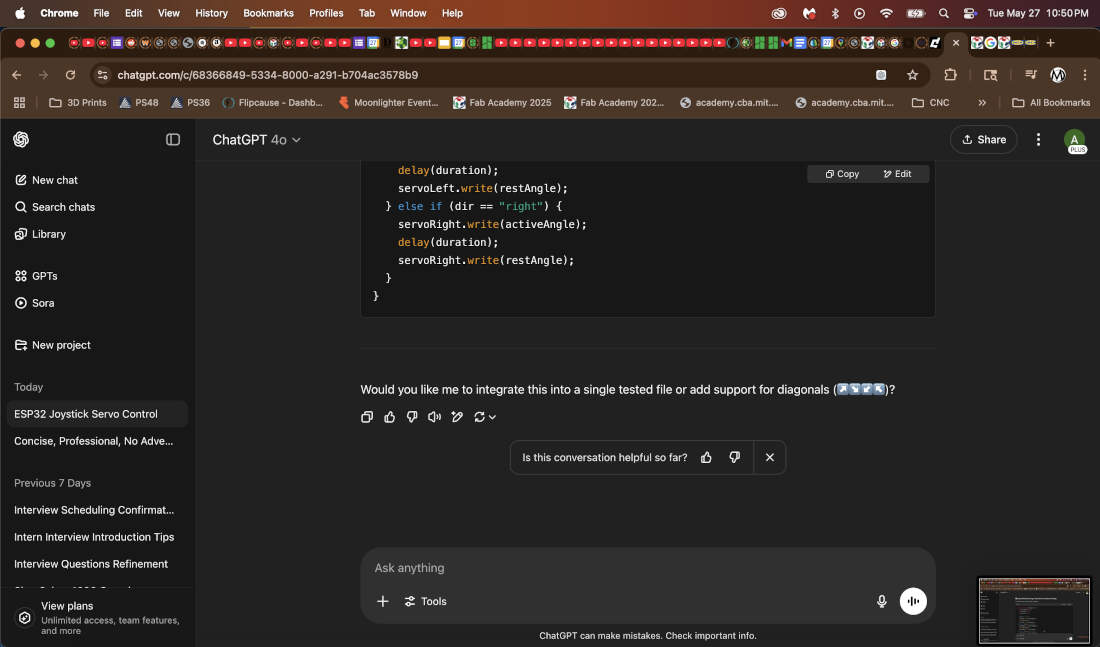
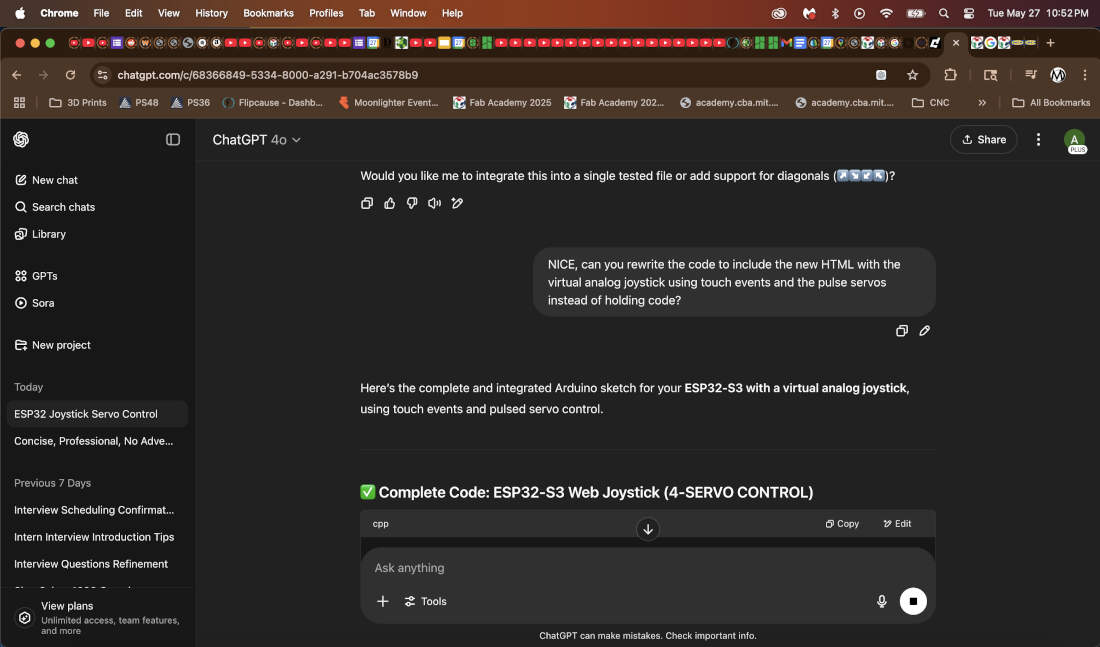
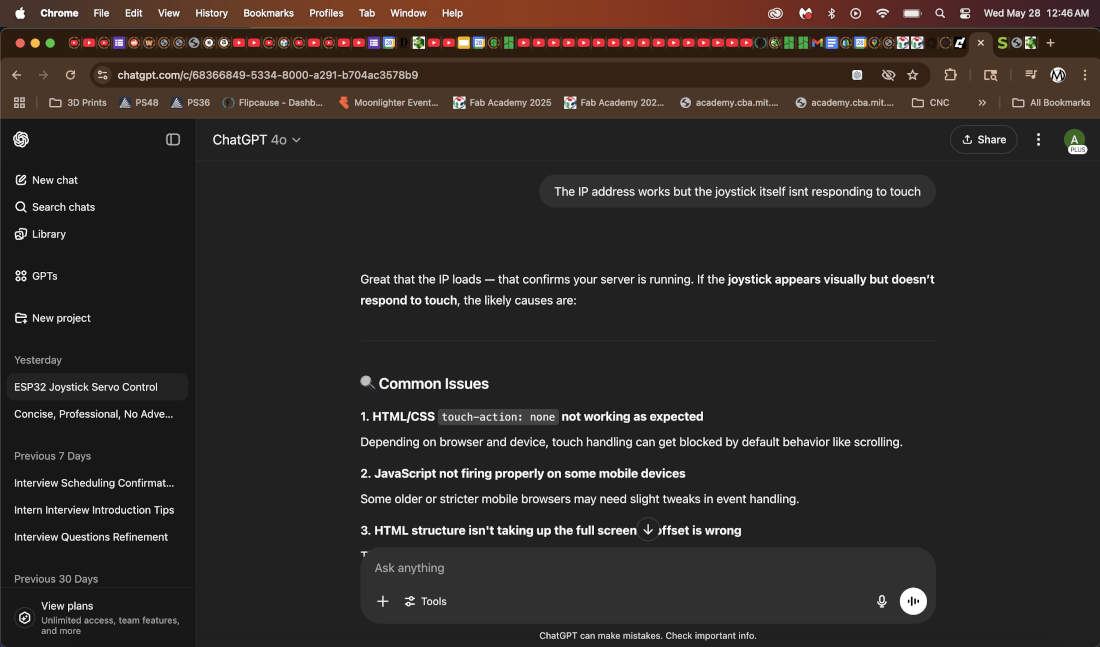
My first attempt in directing ChatGPT to get the results I wanted were not successful. It sort of understood what I wanted but instead of a joystick it gave me arrow keys. The second try it visually gave me what I needed but touch was not registering on my phone. So my third attempt was asking Chat to include the new HTML code in addition to editing the code to properly enable touch events and incorporating pulsing of the servos whenenever the joystick is active or inactive allowing the servos to move back in place when inactive.
The video above displays the results. Given the proof-of-concept nature for this weeks assignment, the UI is kept simple for the time being. Its a result of the code given by ChatGPT.
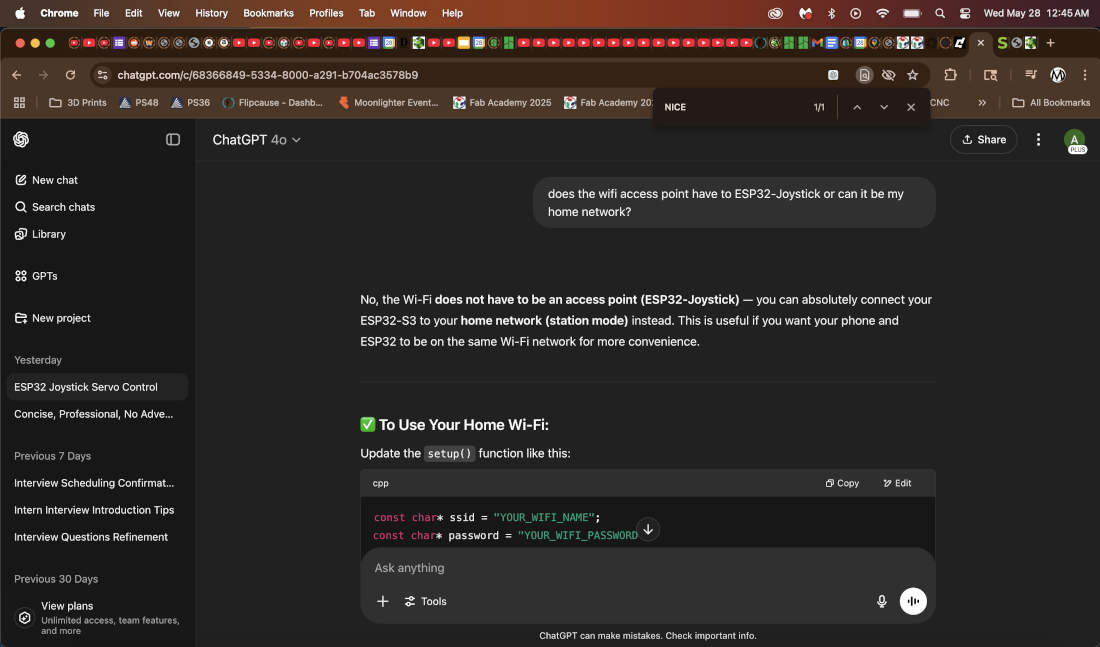
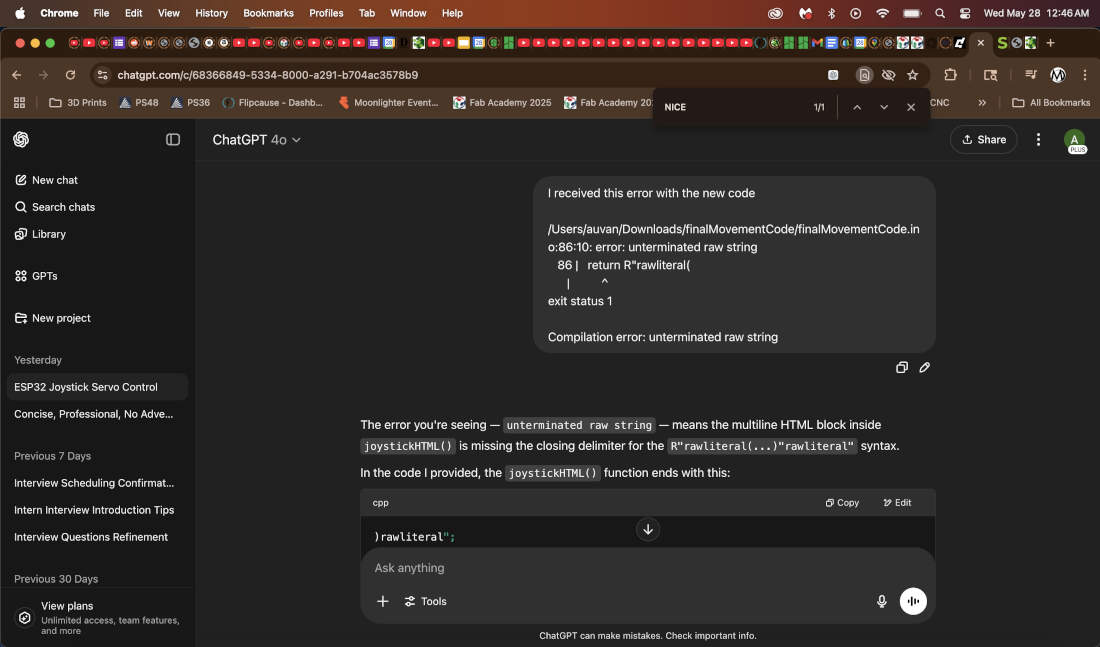
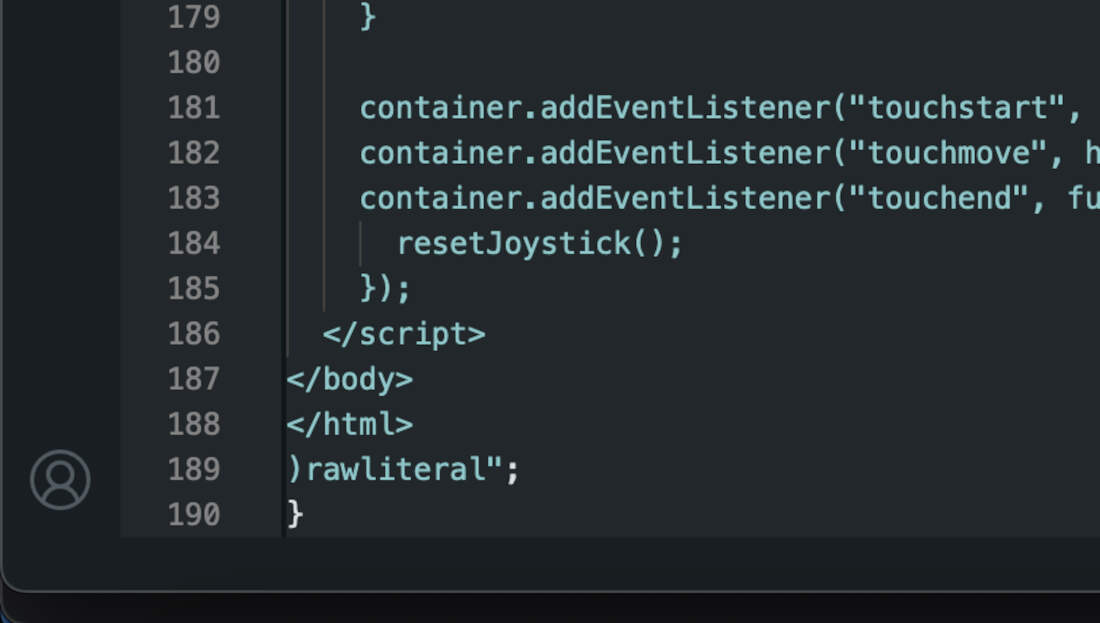
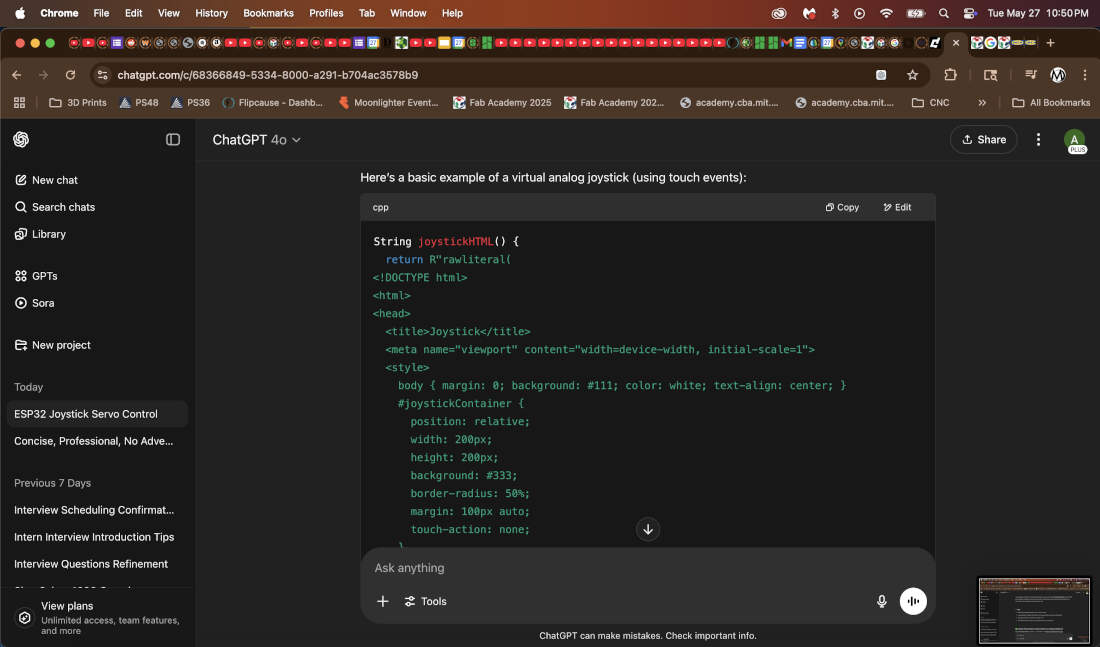
The second set of edits simply asked Chat to clarify the requirements of the WiFi network and password. I requested that Chat alter the code to allow me to utilize my own Wifi Network instead of an access point. Afterwards I received an error before fully being able to upload the code via the Arduino IDE. I asked ChatGPT what the error was about and it informed that the closing delimiter "rawliteral" was missing at the end. So I pasted it into the code and it fixed the uploading error. Fixing the error broke the touch functions so I asked ChatGPT to go over it again and it was successful in fixing it. I uploaded the updated code with the right WiFi network and password and went on to test my board.
For all of this to work the ESP32-S3 hosts a web server tied to an IP address while controlling 4 servos. I connect to this IP address via the web browser on my phone and via touch I control a virtual joystick which sends directional commands to each of the four servos.
Attached below you'll find the final code. Download available at the bottom of the page.
      #include <WiFi.h>
      #include <WebServer.h>
      #include <ESP32Servo.h>

      const char* ssid = "Fleet of Worlds";
      const char* password = "Ringworld1970$";

      Servo servoUp, servoDown, servoLeft, servoRight;
      const int pinUp = 3;
      const int pinDown = 7;
      const int pinLeft = 5;
      const int pinRight = 9;

      WebServer server(80);

      void setup() {
        Serial.begin(115200);

        servoUp.attach(pinUp);
        servoDown.attach(pinDown);
        servoLeft.attach(pinLeft);
        servoRight.attach(pinRight);

        WiFi.begin(ssid, password);
        Serial.print("Connecting to Wi-Fi");

        while (WiFi.status() != WL_CONNECTED) {
          delay(500);
          Serial.print(".");
        }

        Serial.println("\nWi-Fi connected!");
        Serial.print("IP Address: ");
        Serial.println(WiFi.localIP());

        server.on("/", []() {
          server.send(200, "text/html", joystickHTML());
        });

        server.on("/move", []() {
          String dir = server.arg("dir");
          controlServo(dir);
          server.send(200, "text/plain", "OK");
        });

        server.begin();
        Serial.println("Server started");
      }

      void loop() {
        server.handleClient();
      }

      void controlServo(String dir) {
        int activeAngle = 90;
        int restAngle = 0;
        int duration = 500;

        if (dir == "up") {
          servoUp.write(activeAngle);
          delay(duration);
          servoUp.write(restAngle);
        } else if (dir == "down") {
          servoDown.write(activeAngle);
          delay(duration);
          servoDown.write(restAngle);
        } else if (dir == "left") {
          servoLeft.write(activeAngle);
          delay(duration);
          servoLeft.write(restAngle);
        } else if (dir == "right") {
          servoRight.write(activeAngle);
          delay(duration);
          servoRight.write(restAngle);
        }
      }

      String joystickHTML() {
        return R"rawliteral(
      <!DOCTYPE html>
      <html>
      <head>
        <title>Joystick</title>
        <meta name="viewport" content="width=device-width, initial-scale=1.0">
        <style>
          html, body {
            margin: 0;
            padding: 0;
            background: #111;
            height: 100%;
            touch-action: none;
            overflow: hidden;
            color: white;
            font-family: sans-serif;
            text-align: center;
          }
          #joystickContainer {
            position: relative;
            width: 200px;
            height: 200px;
            background: #333;
            border-radius: 50%;
            margin: 100px auto 0;
            touch-action: none;
          }
          #joystick {
            position: absolute;
            width: 60px;
            height: 60px;
            background: #fff;
            border-radius: 50%;
            top: 70px;
            left: 70px;
            touch-action: none;
          }
        </style>
      </head>
      <body>
        <h2>ESP32 Virtual Joystick</h2>
        <div id="joystickContainer">
          <div id="joystick"></div>
        </div>

        <script>
          const container = document.getElementById("joystickContainer");
          const joystick = document.getElementById("joystick");
          const center = 70;
          const maxDist = 60;
          let currentDir = "";

          function getDirection(x, y) {
            const dx = x - center;
            const dy = y - center;
            if (Math.abs(dx) < 20 && Math.abs(dy) < 20) return "";
            if (Math.abs(dx) > Math.abs(dy)) return dx > 0 ? "right" : "left";
            return dy > 0 ? "down" : "up";
          }

          function sendDirection(dir) {
            if (dir !== currentDir && dir !== "") {
              fetch("/move?dir=" + dir);
              currentDir = dir;
            }
          }

          function resetJoystick() {
            joystick.style.left = center + "px";
            joystick.style.top = center + "px";
            currentDir = "";
          }

          function handleTouch(event) {
            event.preventDefault();
            const rect = container.getBoundingClientRect();
            const touch = event.touches[0];
            let x = touch.clientX - rect.left;
            let y = touch.clientY - rect.top;

            const dx = x - center;
            const dy = y - center;
            const dist = Math.min(Math.sqrt(dx * dx + dy * dy), maxDist);
            const angle = Math.atan2(dy, dx);

            x = center + dist * Math.cos(angle);
            y = center + dist * Math.sin(angle);

            joystick.style.left = x + "px";
            joystick.style.top = y + "px";

            const dir = getDirection(x, y);
            sendDirection(dir);
          }

          container.addEventListener("touchstart", handleTouch);
          container.addEventListener("touchmove", handleTouch);
          container.addEventListener("touchend", function () {
            resetJoystick();
          });
        </script>
      </body>
      </html>
        )rawliteral";
      }
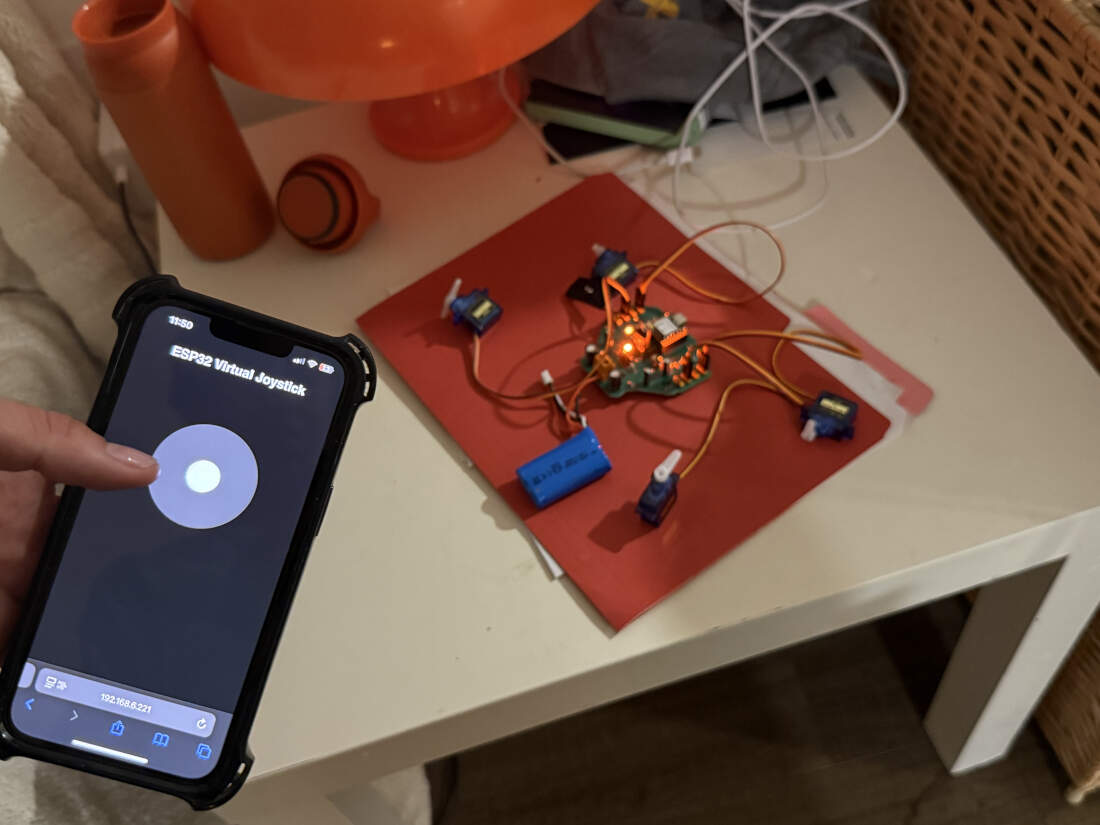
Everything went perfectly. Each direction on the joystick responded to its assigned servo. I am looking forward on working on this further to finalize my robot.
Python is a high-level language designed for general-purpose use, including software development, automation, data processing, and web applications. It supports dynamic typing, which allows for intricate and flexible code. In contrast, Arduino relies on a simplified version of C/C++, which is compiled before being uploaded to a microcontroller. This language structure enables Arduino to run efficiently on low-power hardware and support real-time operations, making it a bit more intuitive but slightly less customizable.
We can also compare their hardware interaction. Python requires external libraries to communicate with physical devices and components. There are a wide range of applications across various domains including machine learning, networking, and automation. While Arduino also can use external libraries, it is more user friendly with built in functions and libraries. Their libraries focus on embedded hardware control and are optimized for specific components like sensors, servos, and displays.
For development environments Python is supported by a range of IDEs, including VS Code, PyCharm, and IDLE. These tools offer strong support for debugging and code management. Arduino typically takes place within the Arduino IDE or PlatformIO, which includes features tailored for embedded programming such as serial monitors and board-specific uploading.
Python is typically used for interfacing with devices, processing data, and handling complex logic. Arduino is used for building standalone embedded systems and controlling hardware in real-time.
Copyright 2025 Augusto Vanegas - Creative Commons Attribution Non Commercial Source code hosted at gitlab.fabcloud.org