Computer-Controlled Cutting
Back to HomeGoals
Group assignment:
- Do your lab’s safety training
- Characterize your lasercutter’s focus, power, speed, rate, kerf, joint clearance and types.
- Document your work to the group work page and reflect on your individual page what you learned.
Individual Assignment
- Design, lasercut, and document a parametric construction kit, accounting for the lasercutter kerf, which can be assembled in multiple ways.
- Cut something on the vinyl cutter.
Group Assignment
1. Completion of Lab Safety Training
Before proceeding with laser cutting and vinyl cutting tasks, team members first completed the lab's safety training. The training content included:
- Laboratory operational procedures.
- Safety regulations for operating the laser cutter and vinyl cutter.
- Emergency response protocols.
Environment and Equipment Check
- Checked whether the ventilation system was turned on and functioning properly to ensure smoke and fumes could be safely extracted.
- Cleaned the work area and removed any leftover materials (such as wood dust or paper scraps) from inside the laser cutter to prevent fire hazards.
- Inspected the laser head, mirrors, and lens to ensure they were clean and unobstructed, maintaining a clear laser path to avoid misalignment or reduced power.
- Verified that the machine's interlock system (safety switch) was working correctly, ensuring the laser would automatically stop if the lid was opened during operation.
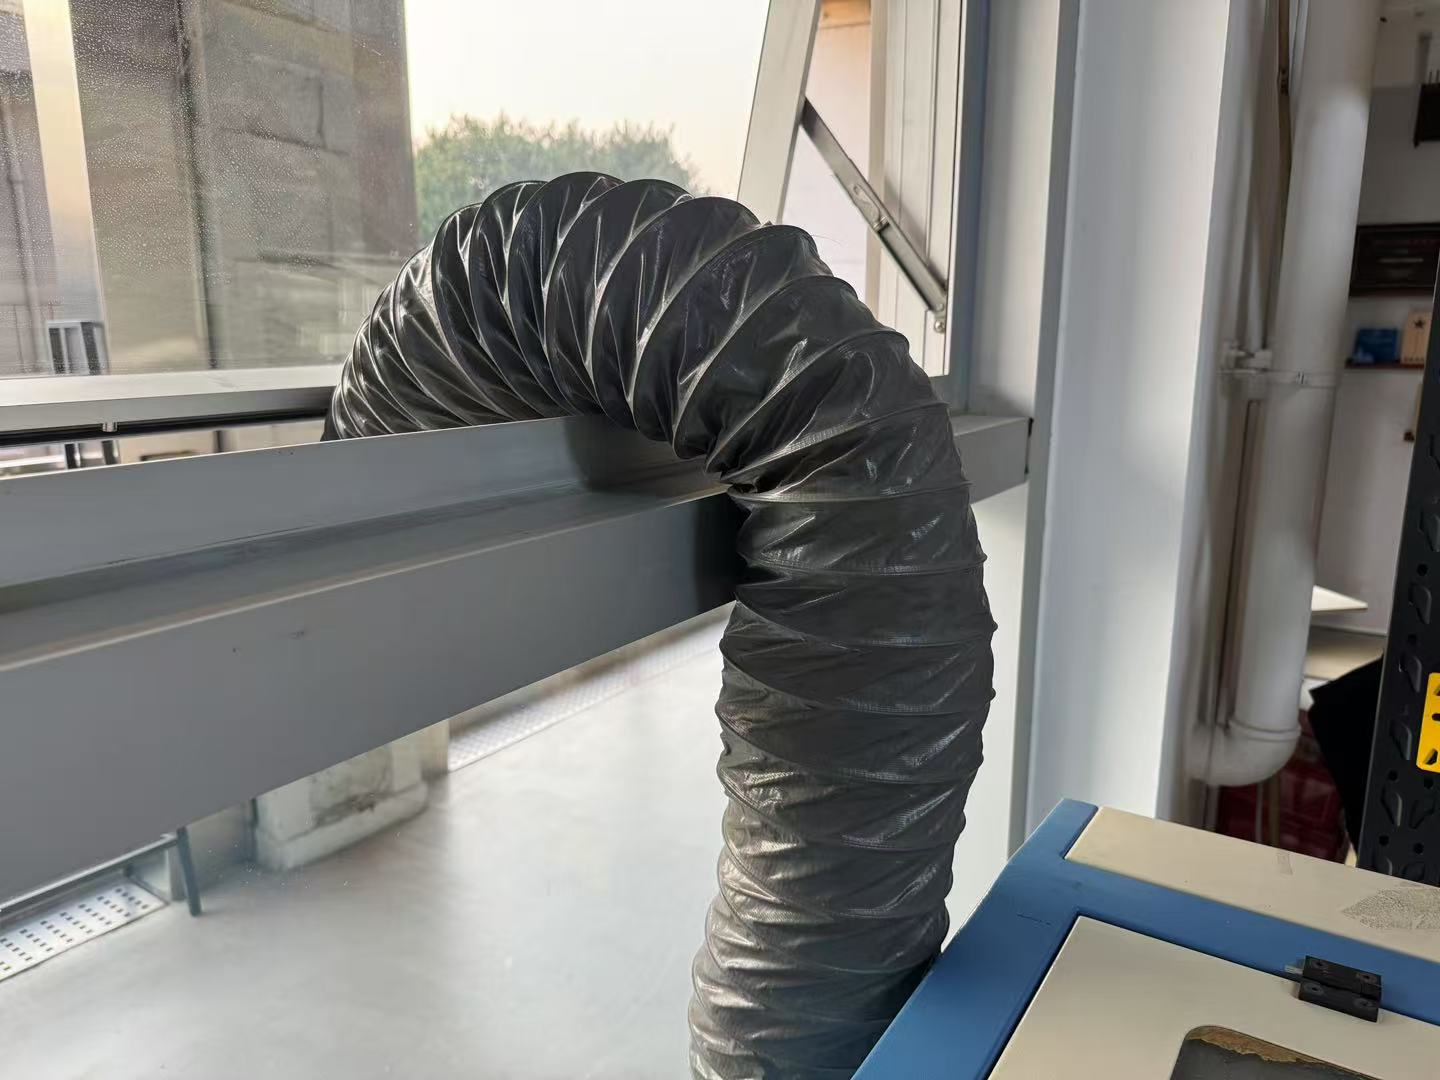
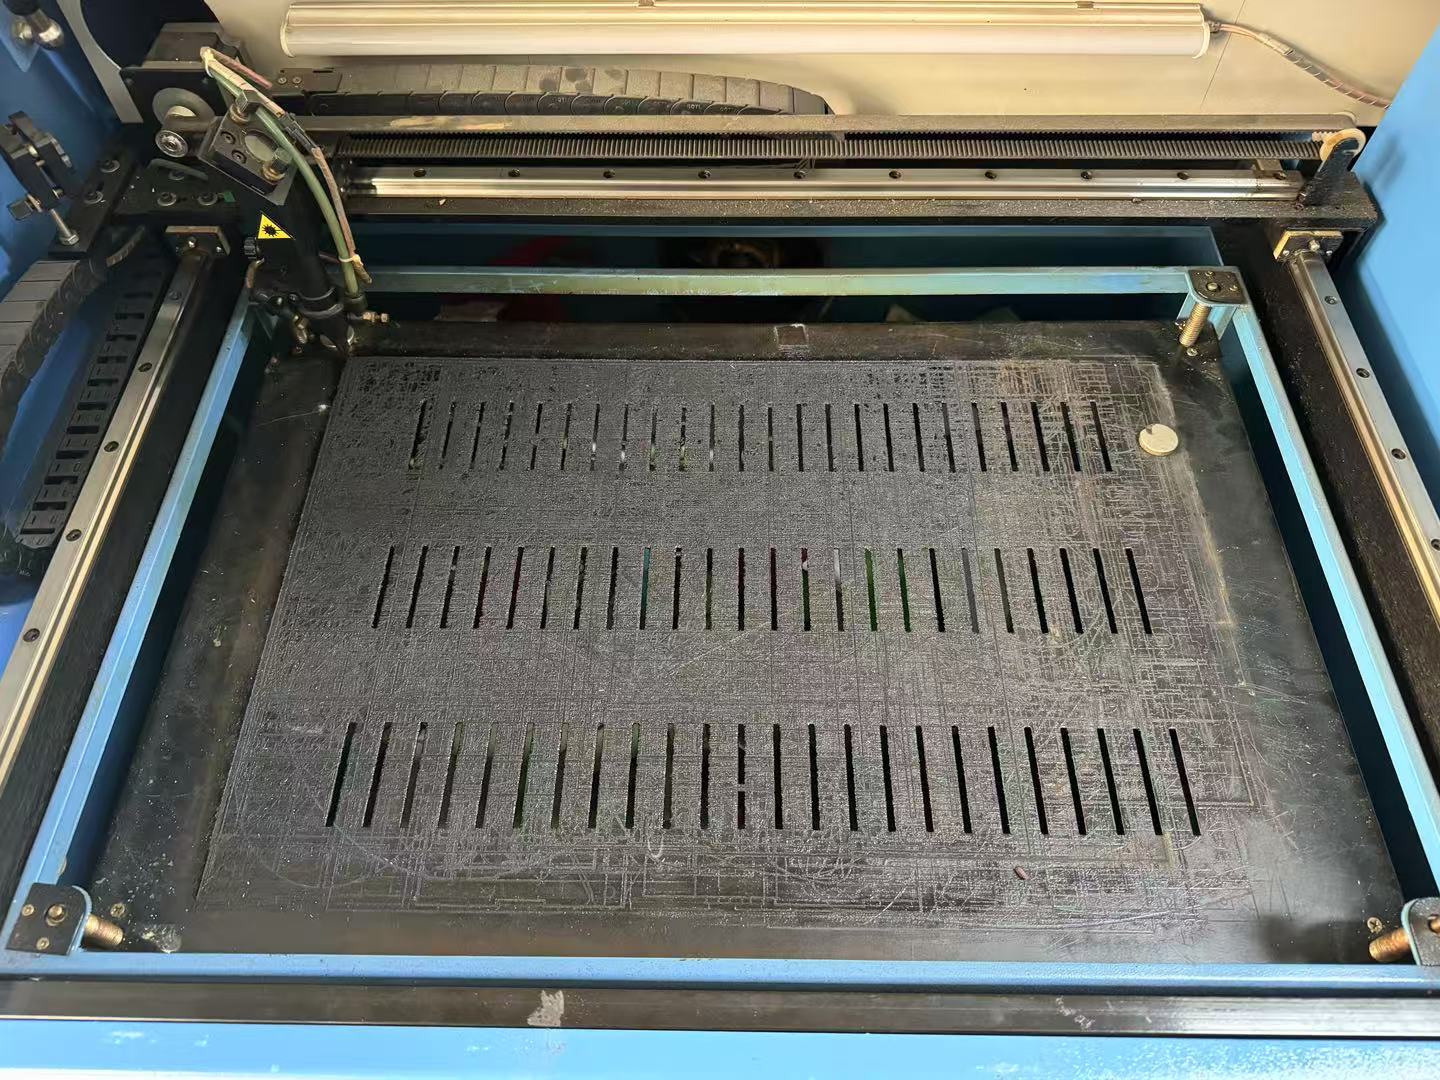
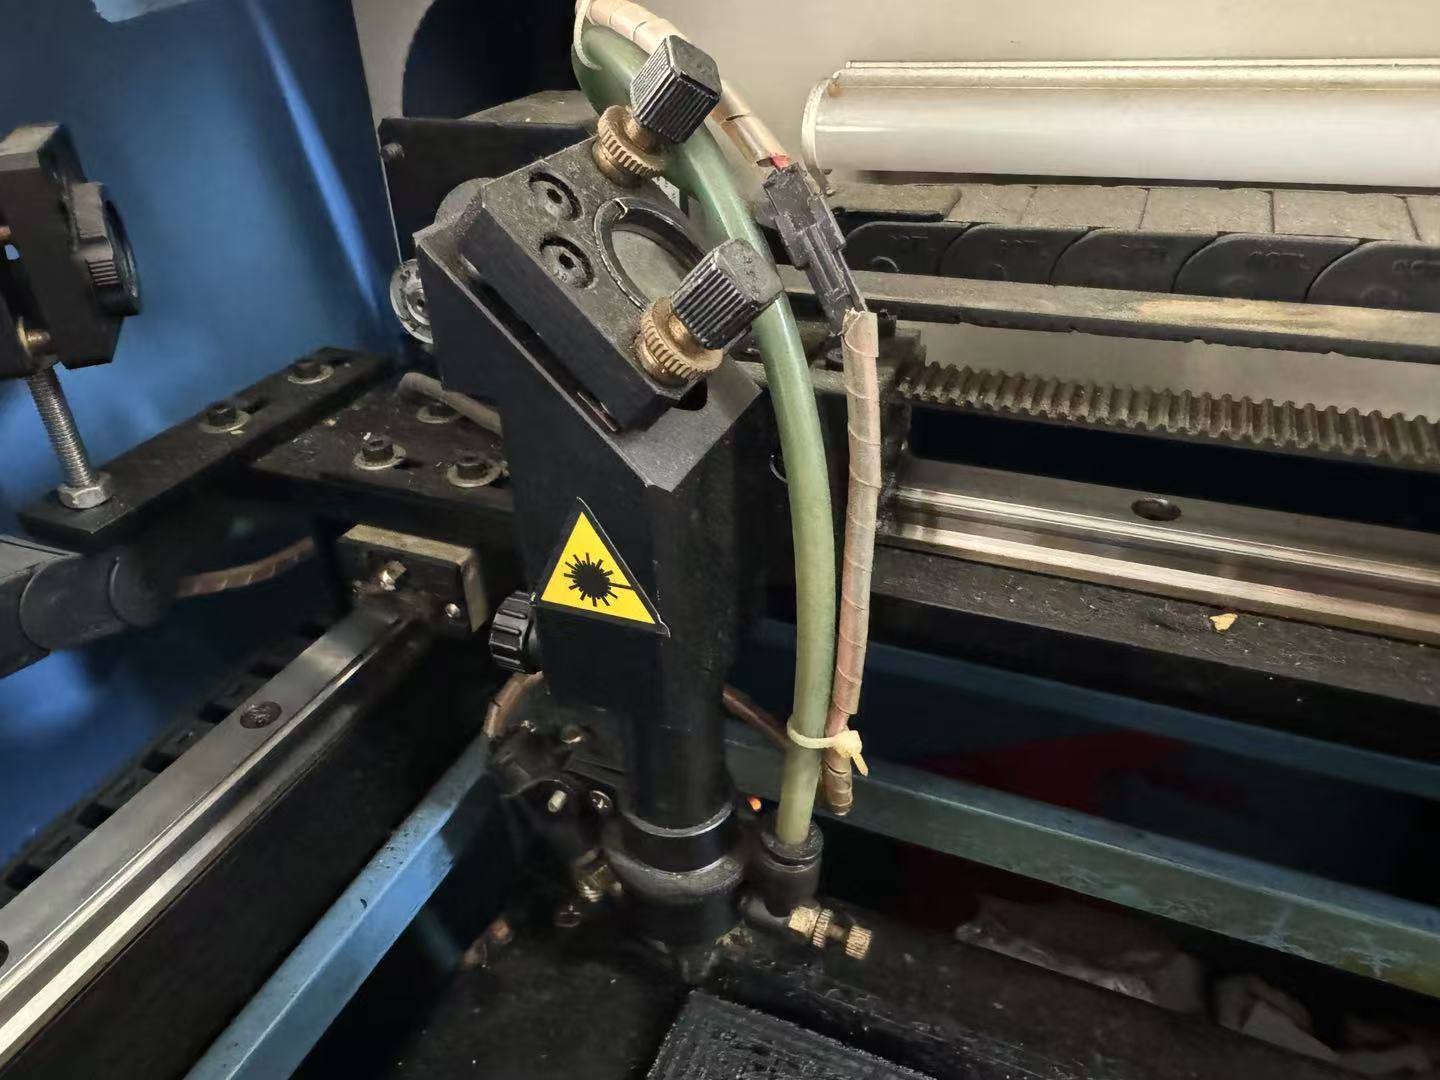
Material Confirmation and Parameter Setup
- Confirmed that the material to be cut was 3mm plywood, which is a safe and approved material for laser cutting.
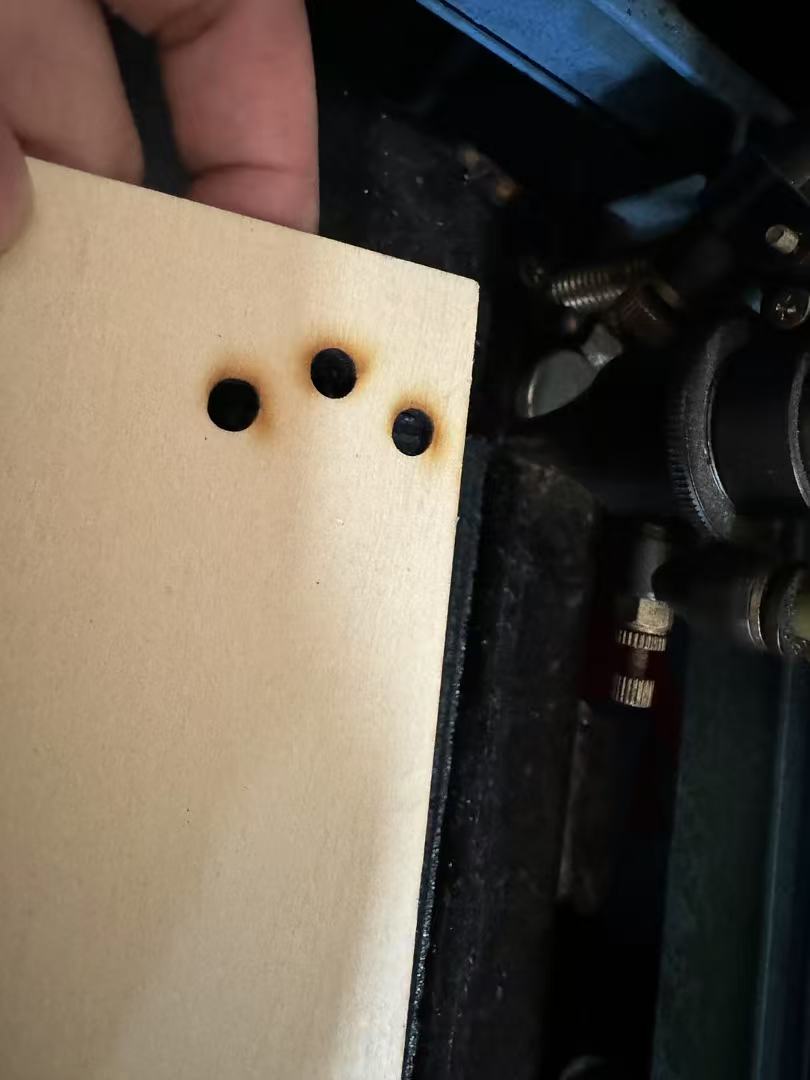
- Performed a small test cut before starting the main job, adjusting the laser’s power, speed, and frequency settings to achieve optimal cutting performance and safety.
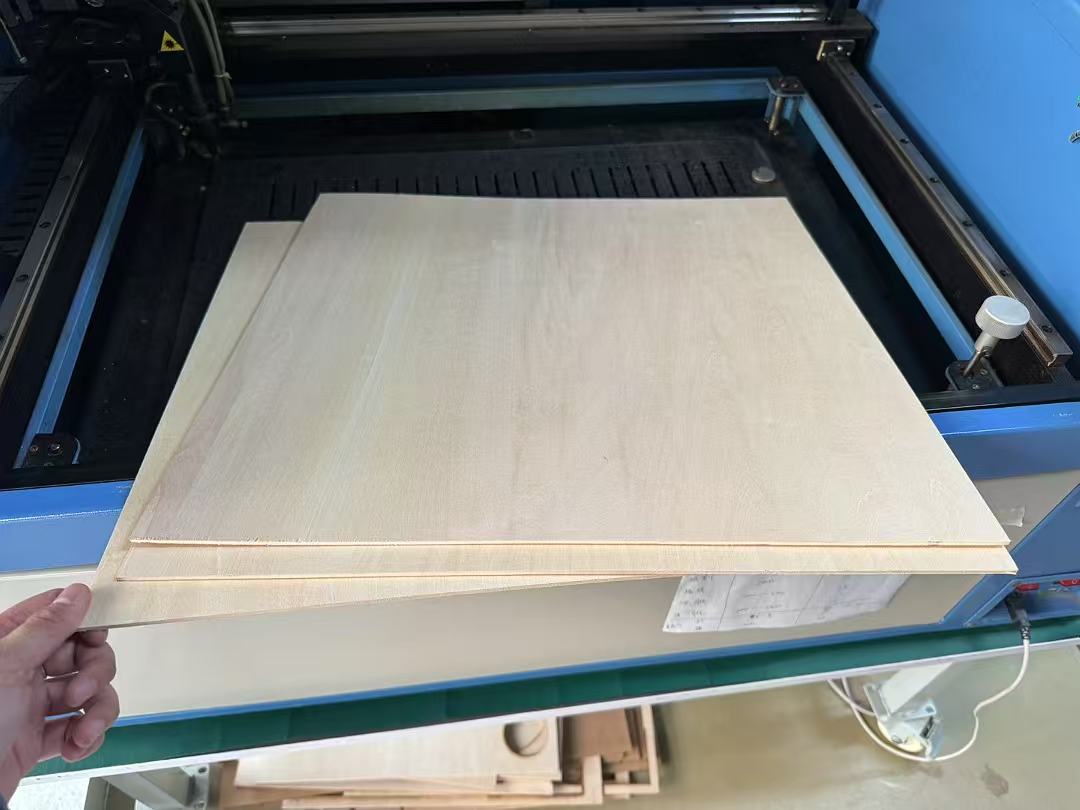
Personal Protection and Emergency Readiness
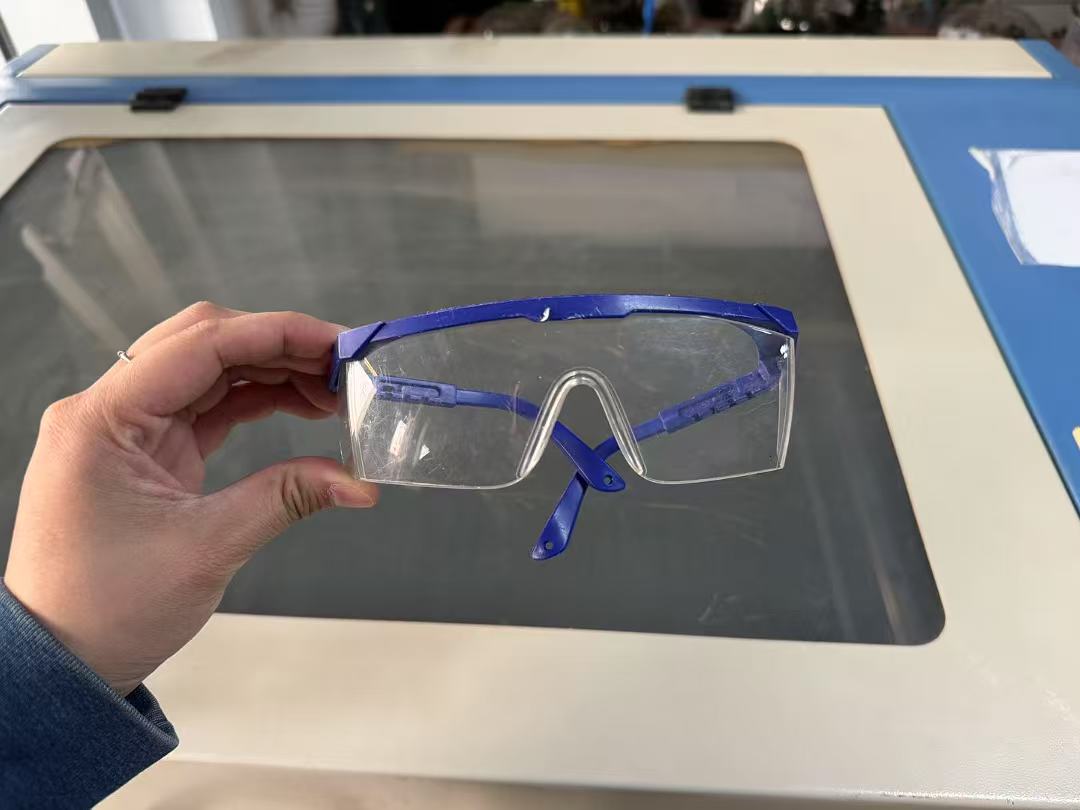
- Wore safety goggles—even though the laser cutter is typically enclosed—to provide an extra layer of protection.
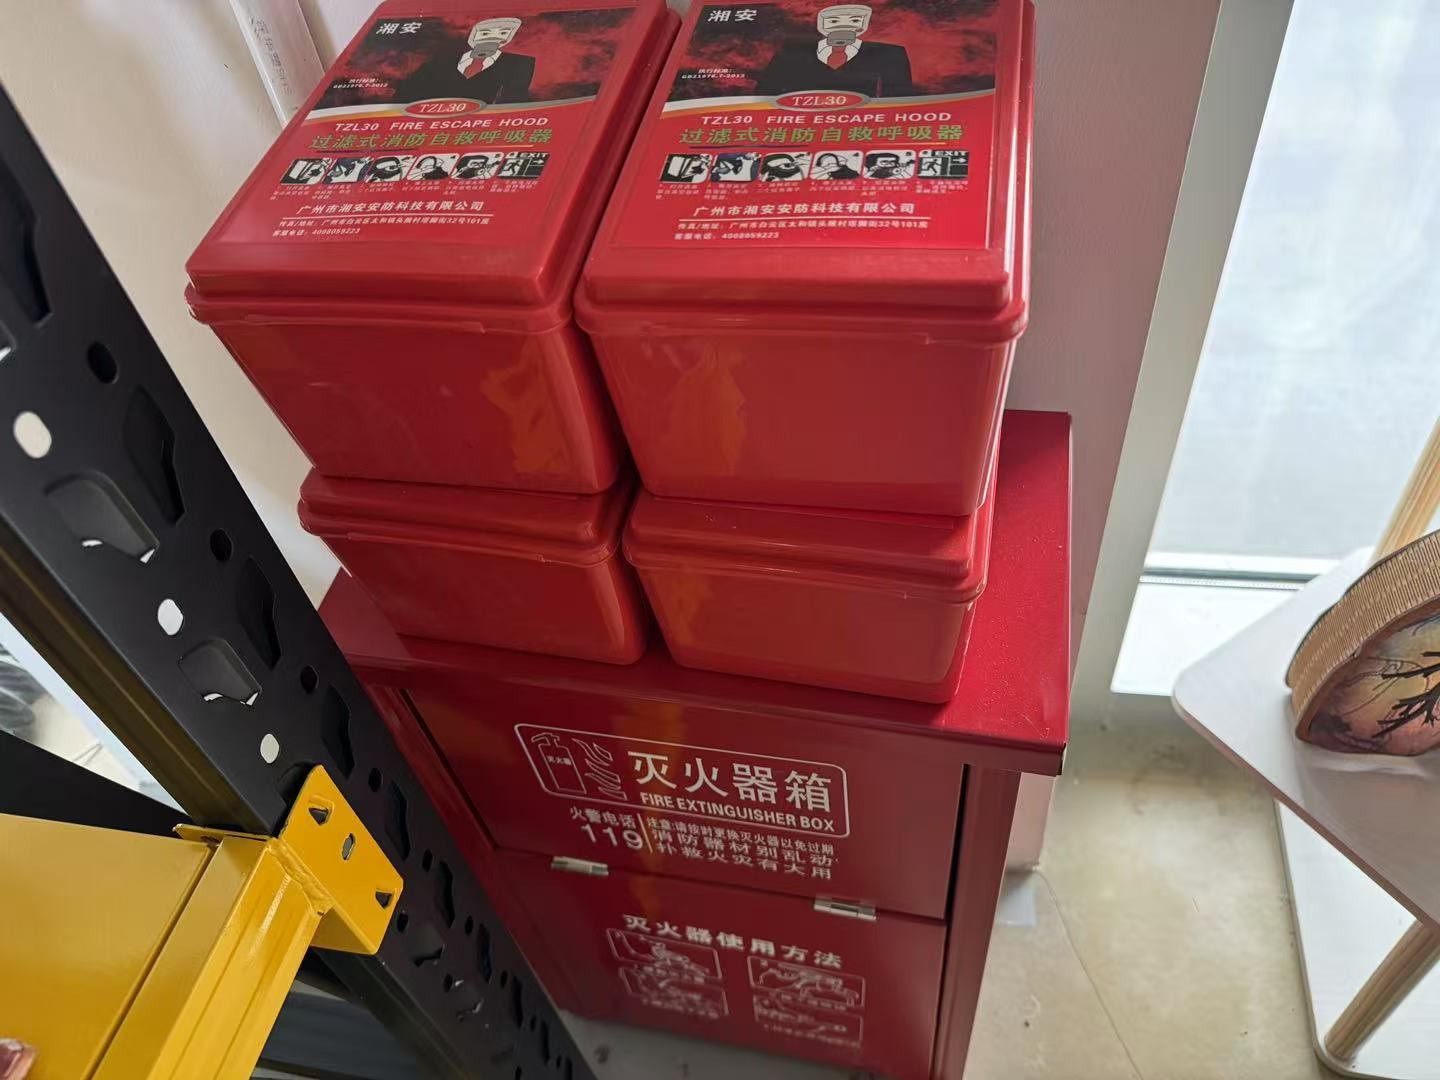
- Placed a fire extinguisher within arm’s reach and ensured it was in working condition.
- Ensured that the machine was never left unattended while operating; someone was supervising the entire process at all times.
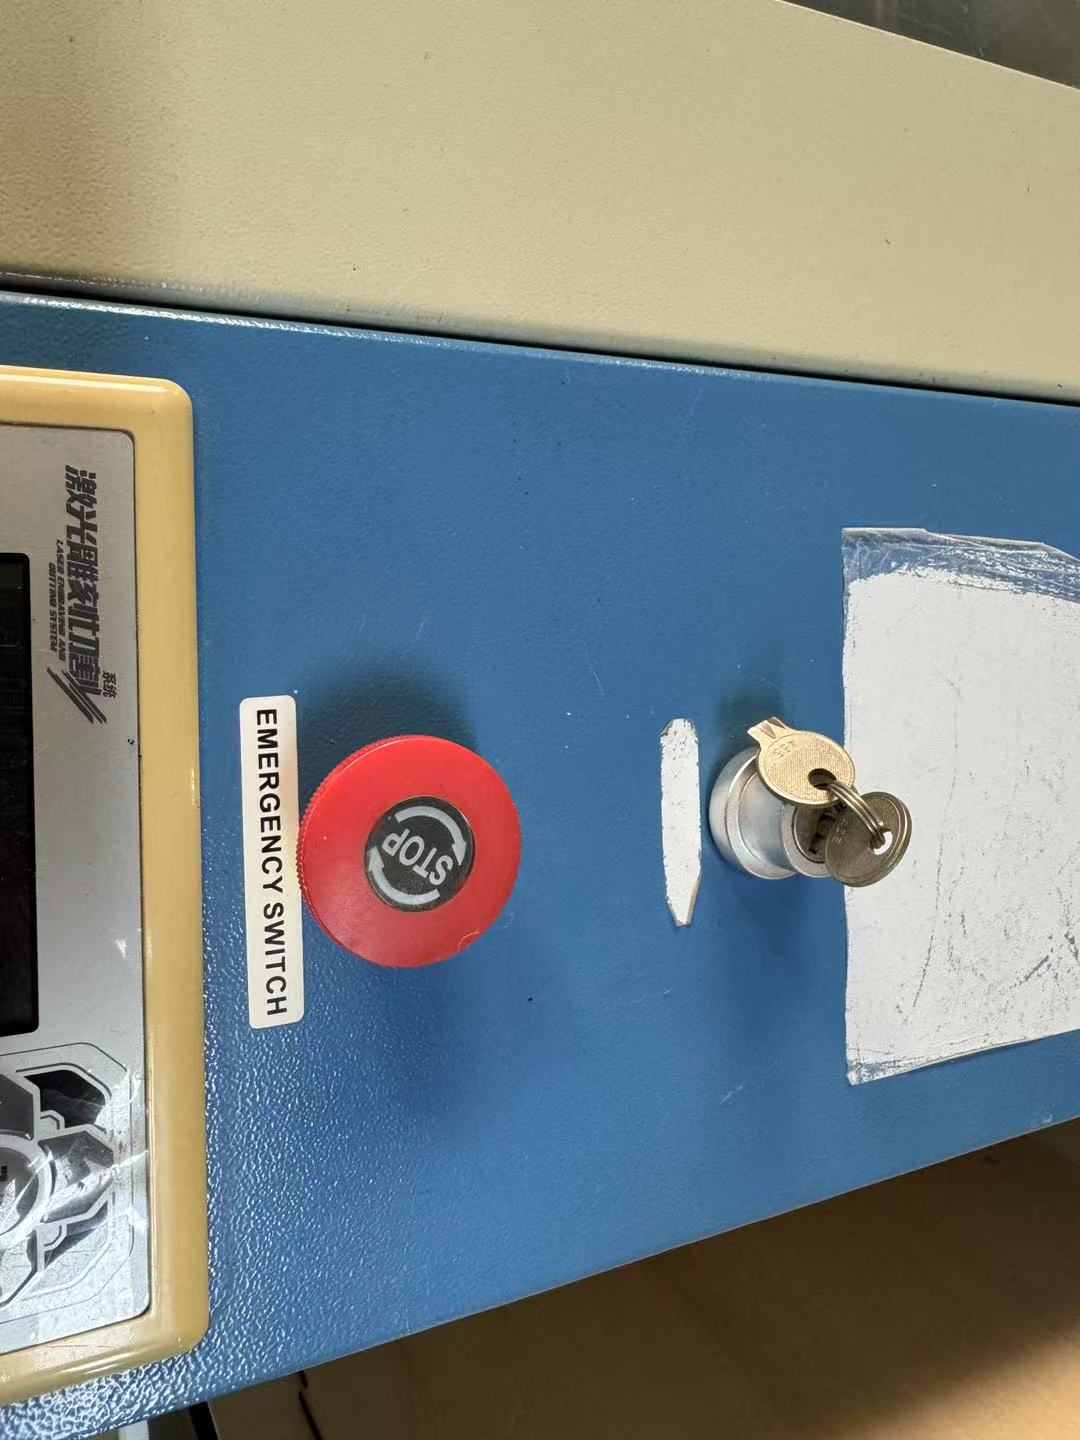
- Checked that the emergency stop button was functional and could be used to quickly shut down the machine in case of an emergency.
Through this systematic preparation and safety check, I ensured a safe laser cutting process and laid a solid foundation for completing this assignment successfully.
2. Laser Cutter Parameter Testing
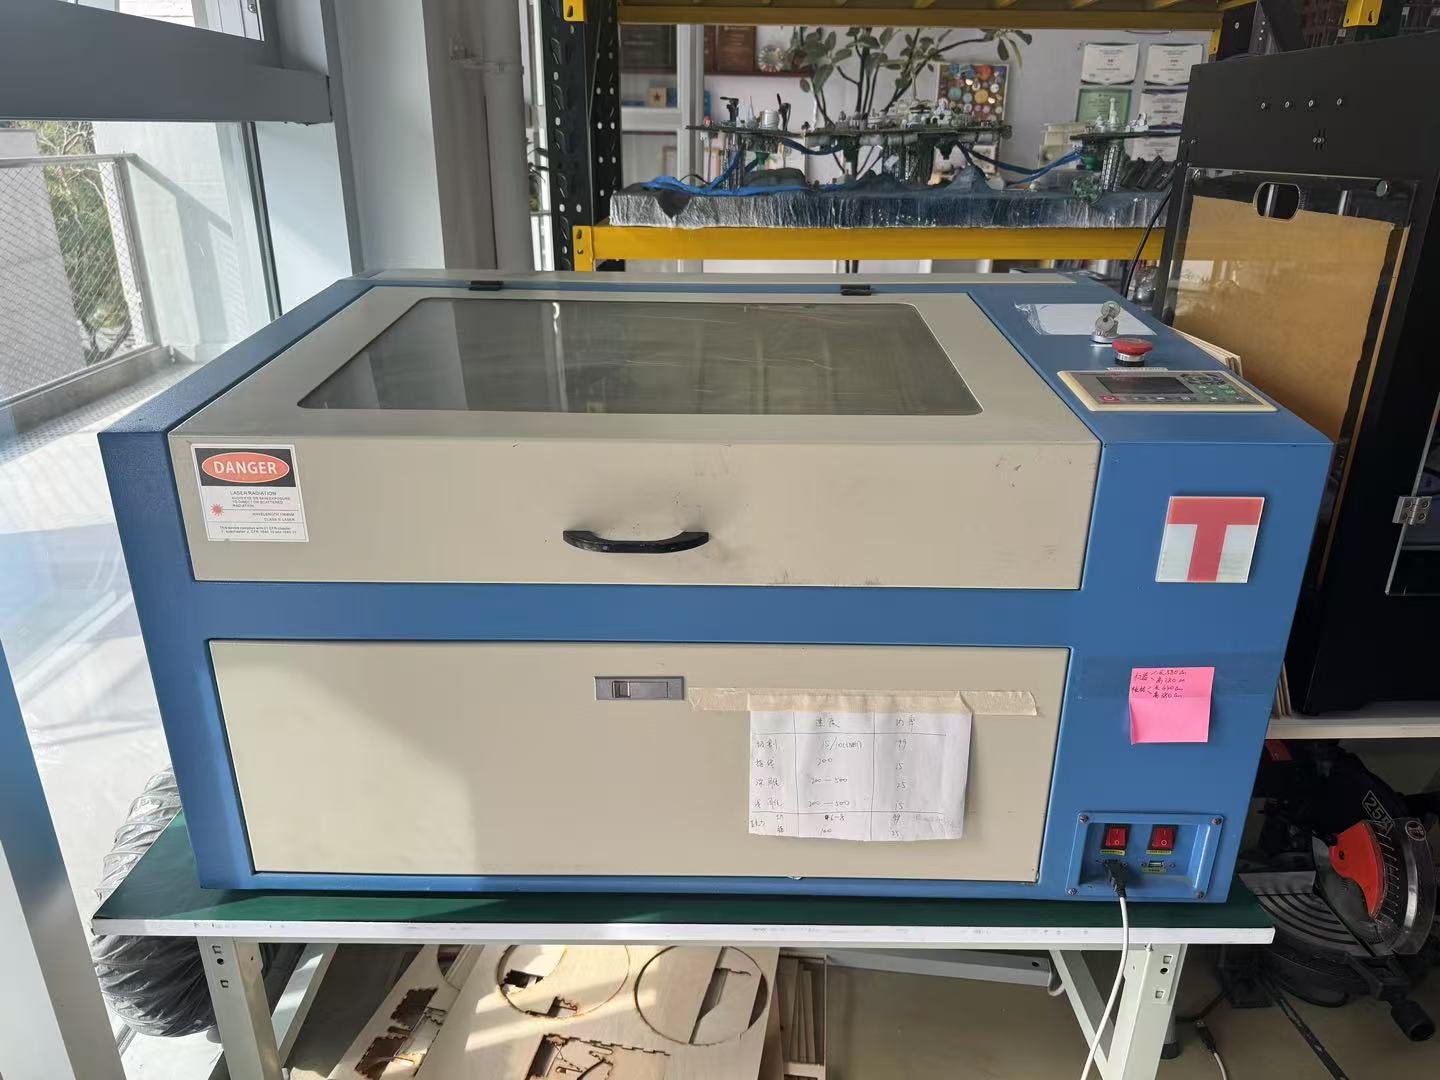
The laser cutter at Litchee Lab is a small Laser Engraving Machinethe.TR-6040
The size of the machine is :
TR-6040 106cm x 73cm x 54cm(41.7″x 28.7″x 21.3″)
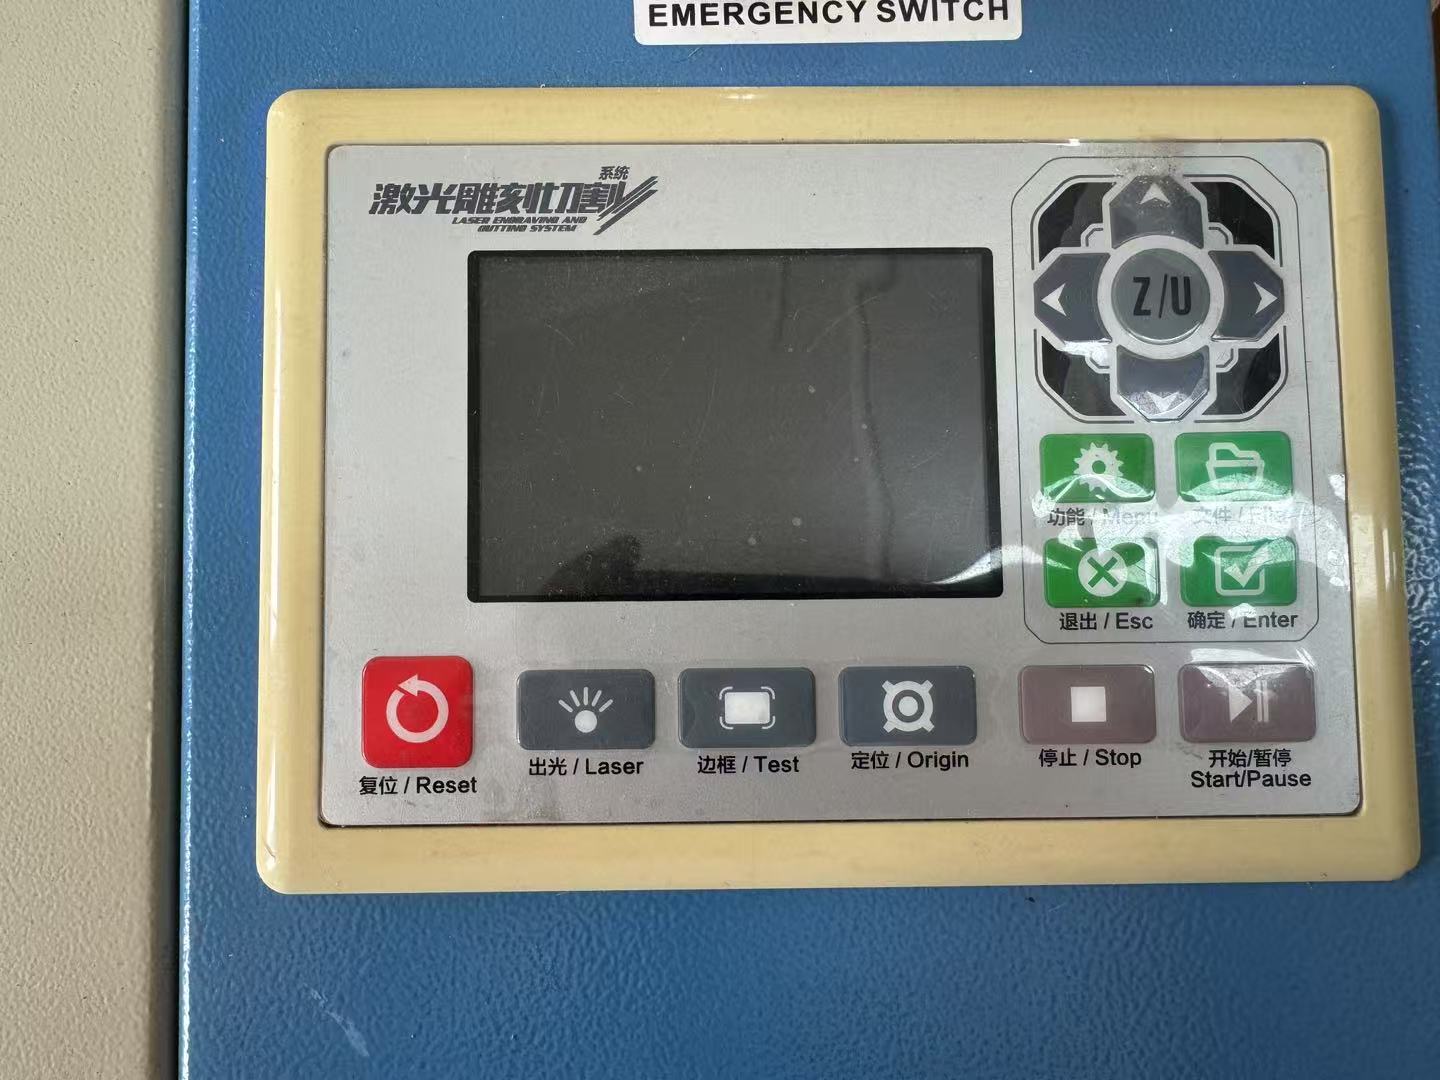
Technical Parameters
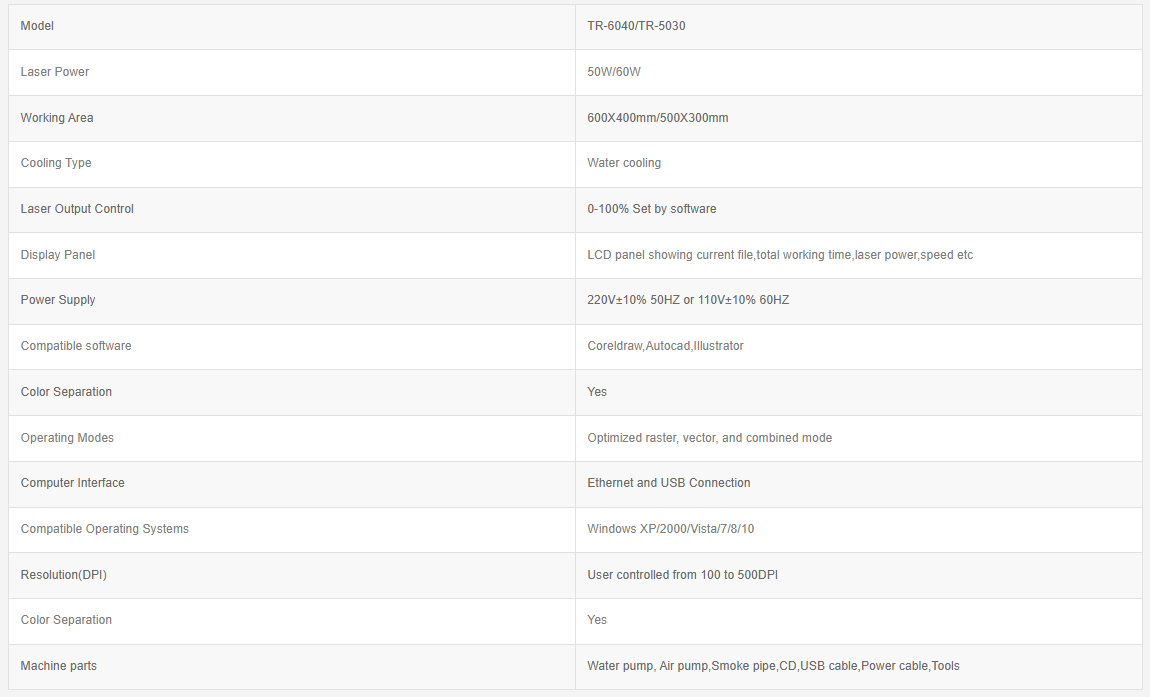
I conducted a systematic test of the following key parameters of the laboratory's laser cutter:
- Focus Distance: By adjusting the height of the laser head, we identified the optimal focal point to ensure cutting precision and efficiency.
- Power: We tested the cutting effects at different power levels to determine the optimal power settings for achieving the desired cutting depth and edge quality.
- Speed: Multiple cutting tests were conducted to determine the best cutting speed for different materials, ensuring efficient and high-quality cuts.
- Rate (Frequency): For specific materials, we tested how different frequencies affected the cutting results.
- Kerf (Cut Width): By cutting small-sized samples, we accurately measured the kerf width to provide data for subsequent parametric design.
- Joint Clearance: We tested various clearance gaps to evaluate the assembly fit and determined the optimal gap to ensure tight and secure joints.
- Cutting Types: We experimented with different cutting and engraving methods to understand the variations in cutting results and their potential applications.
Testing Process:
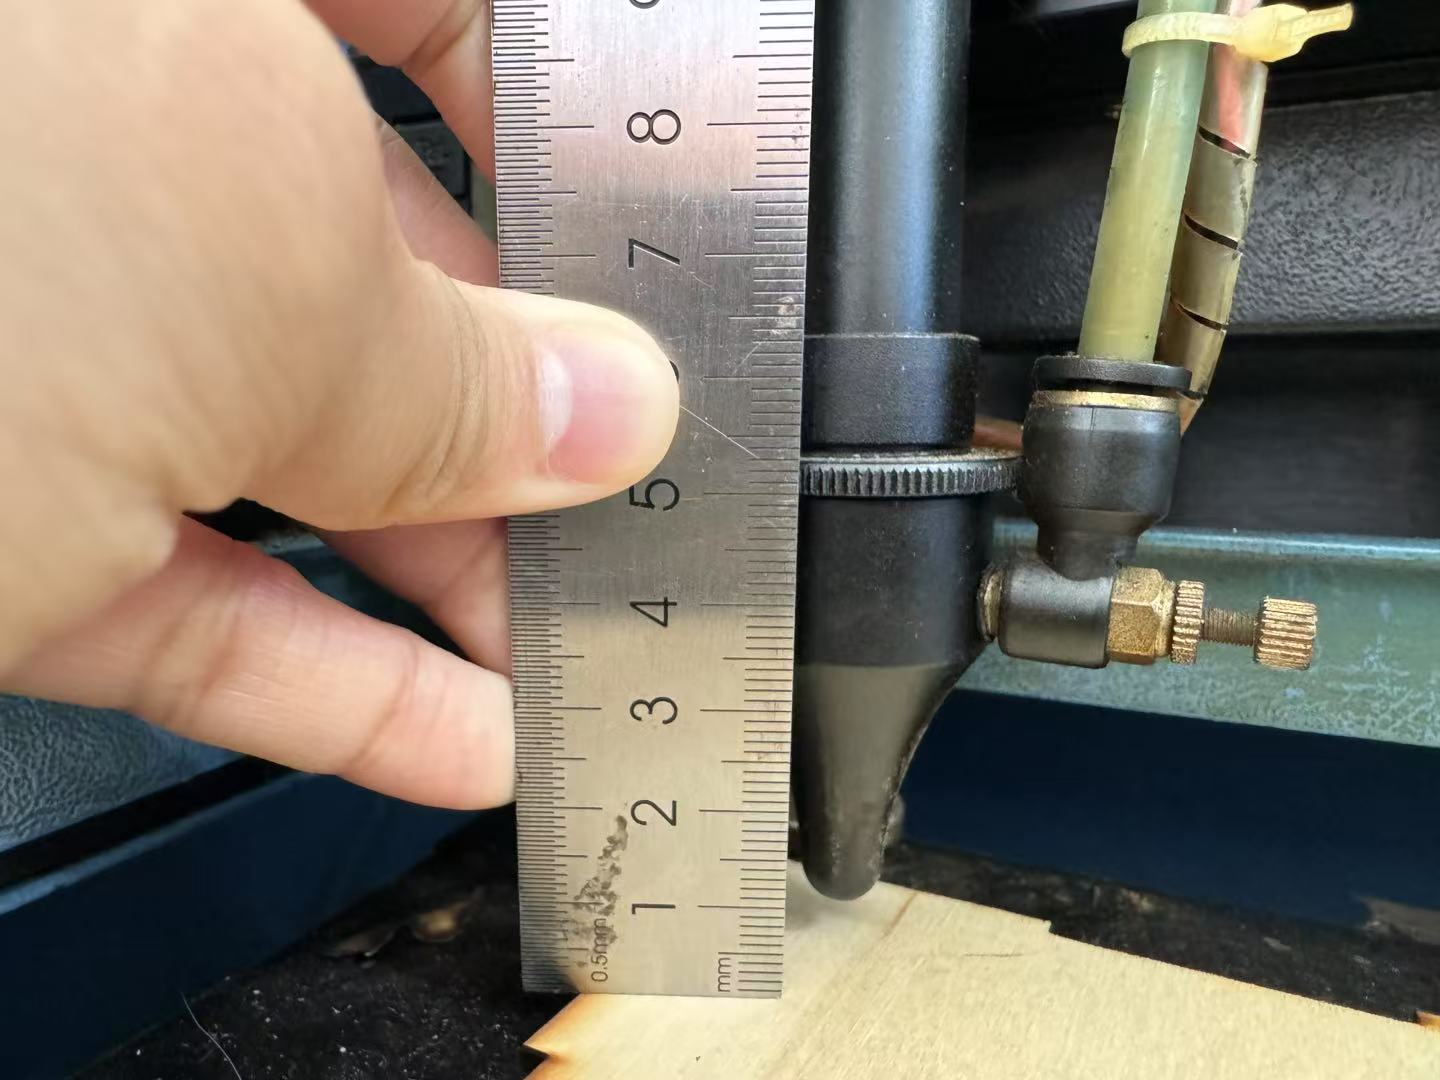
Since we frequently use this laser cutter, based on past experience, the optimal focus distance is 6mm.
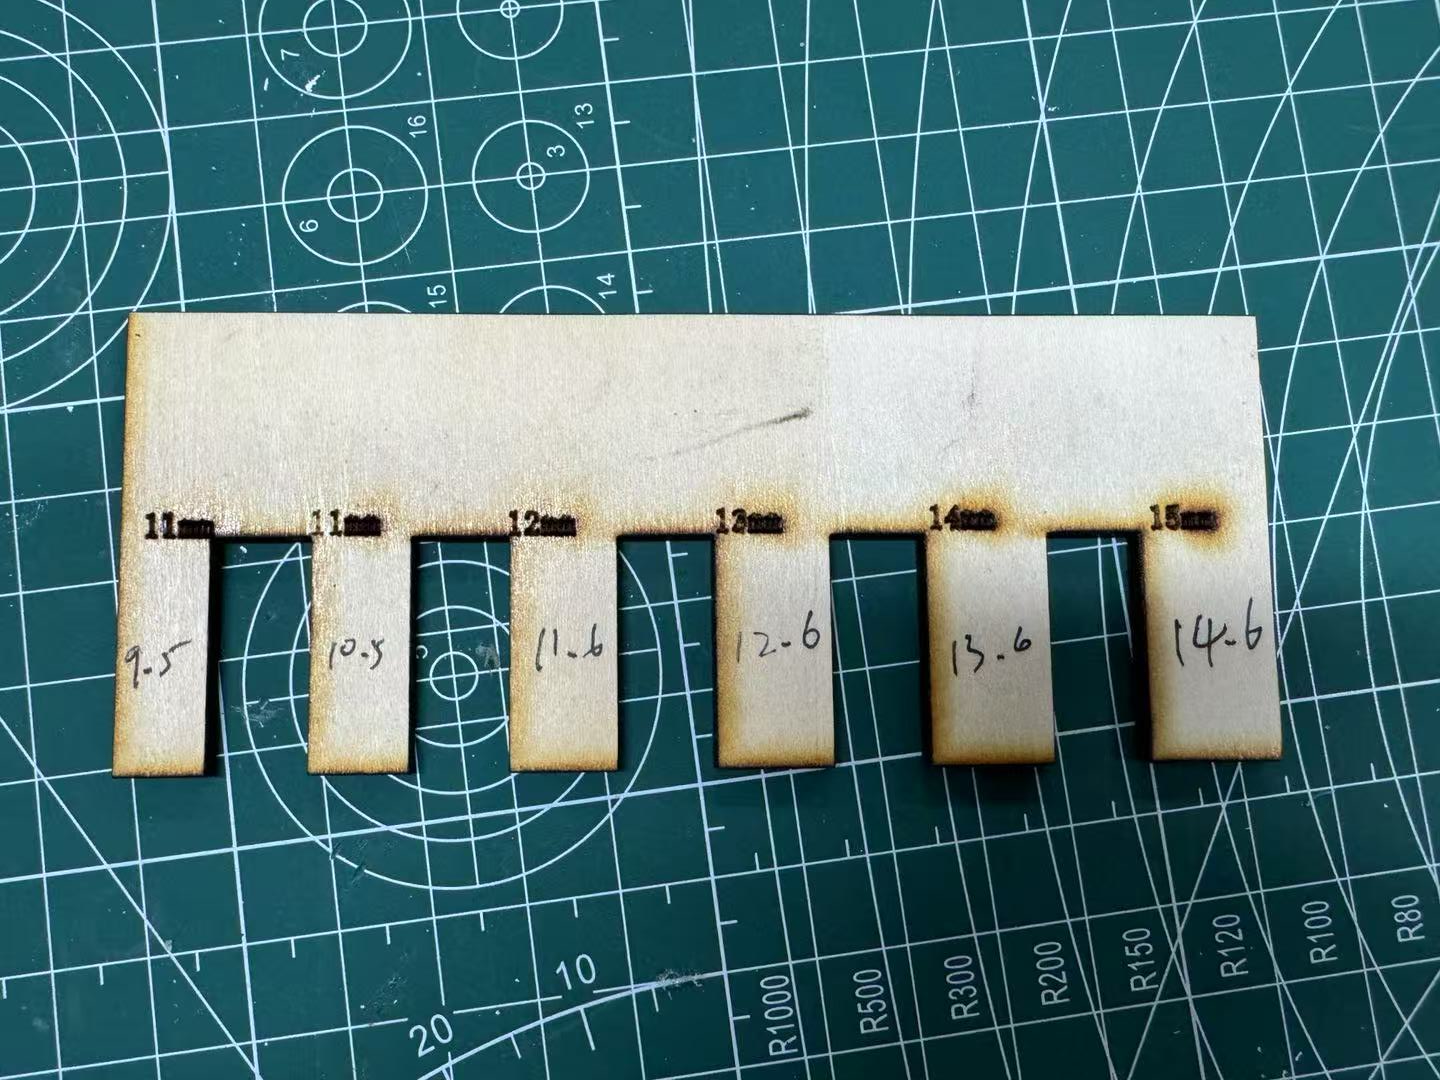
I drew a zigzag-shaped object in CAD with a tooth pitch width ranging from 10mm to 15mm.
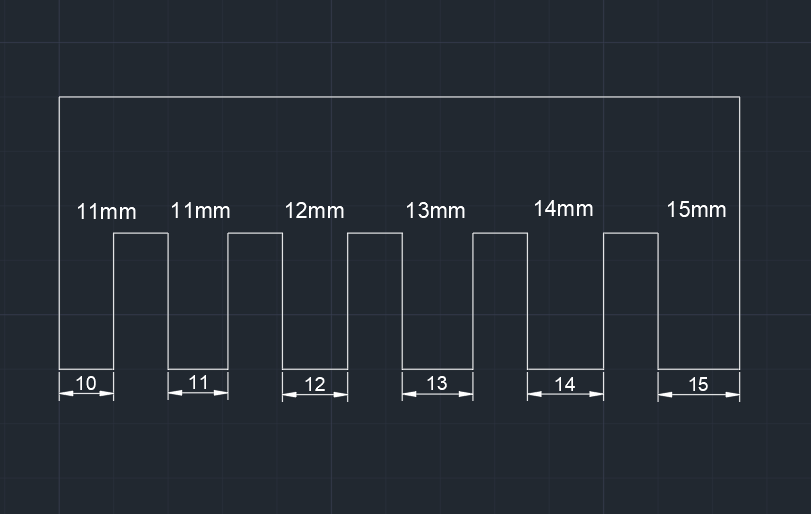
After completing the design file in CAD, I exported it in DXF format for importing into the laser cutter's compatible software.

The compatible software for the TR-6040 laser cutter isLaserSoft
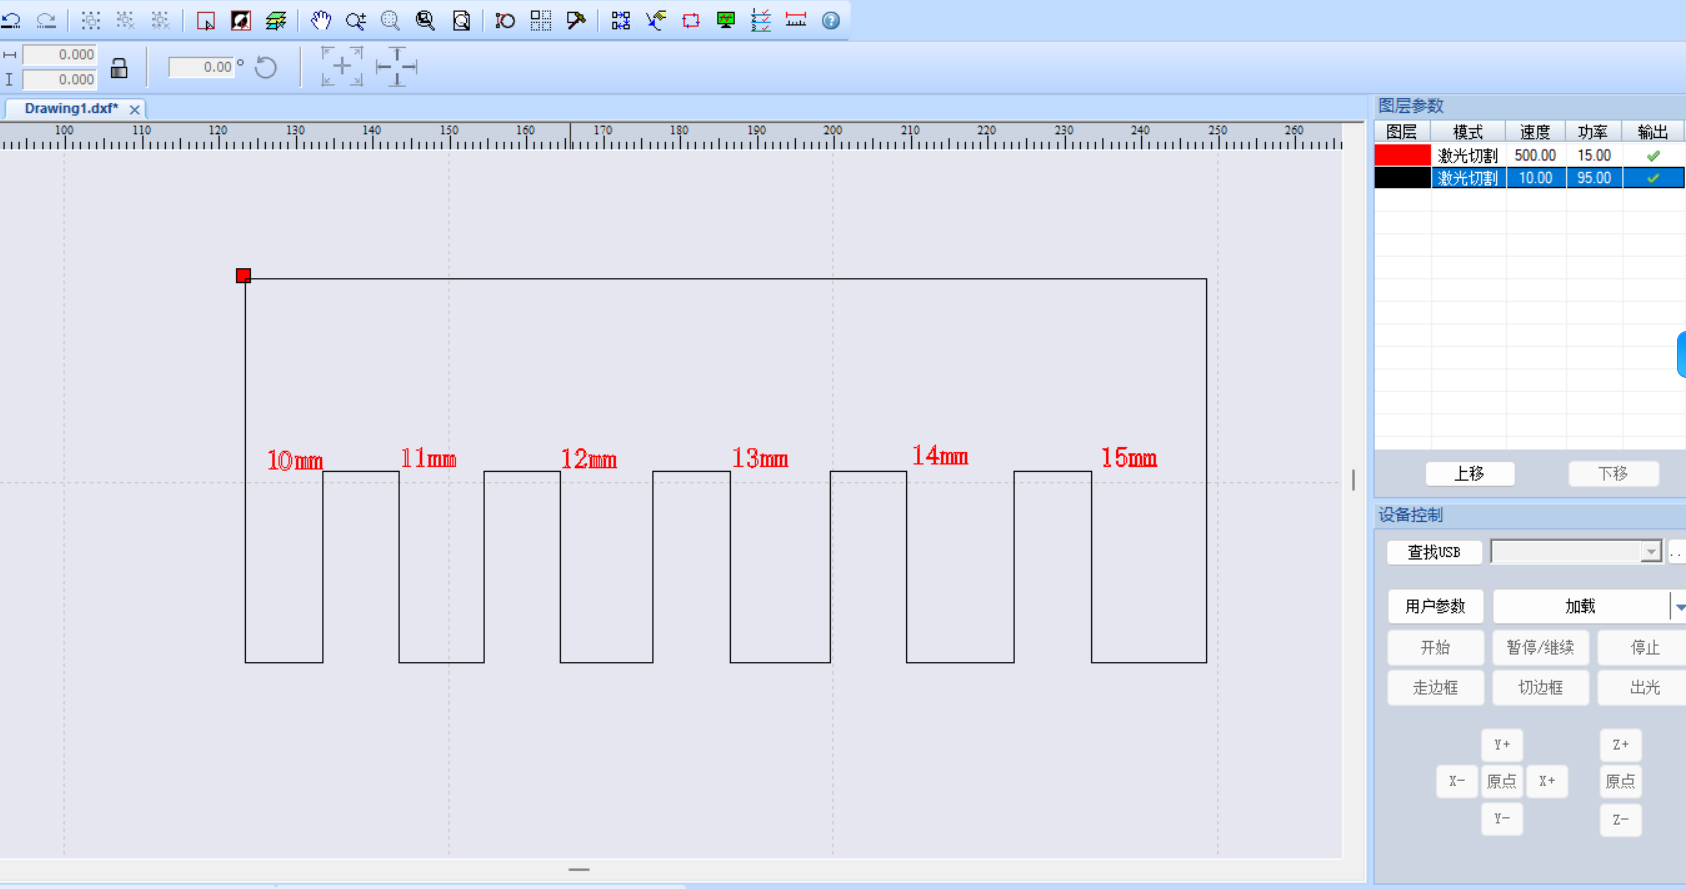
The material used for cutting is a 3mm thick basswood board.
The cutting parameters are set as follows:
- Laser Power: 95%
- Laser Speed: 10mm/s
The parameters for the red outline are:
- Laser Power: 15%
- Laser Speed: 500mm/s
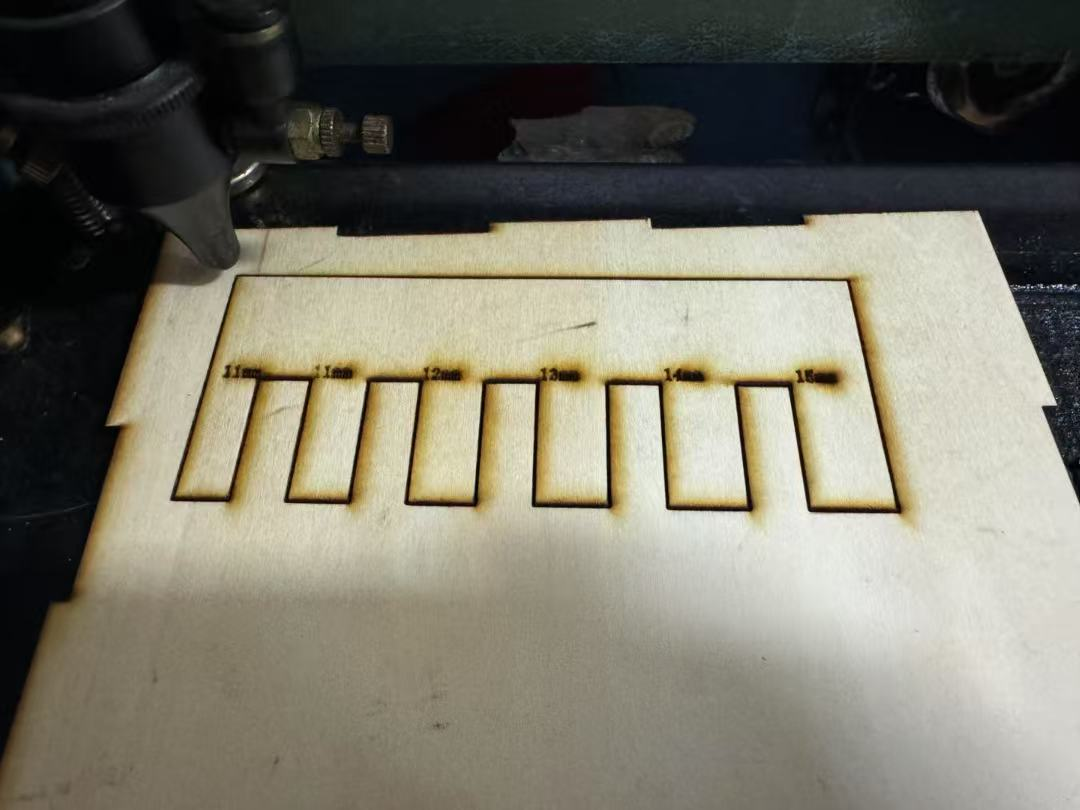
After cutting the object, we measured the deviation of the laser cutter by comparing the actual spacing between the teeth with the designed spacing. The actual width was measured using a vernier caliper.
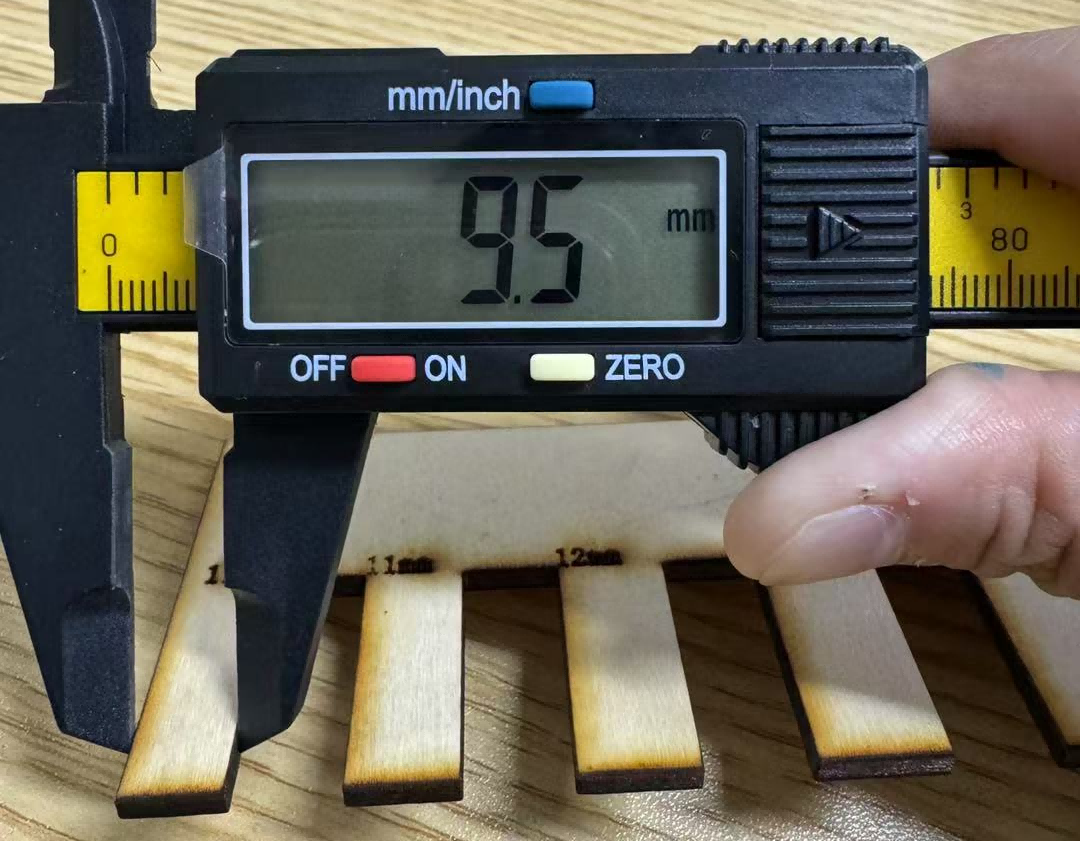
According to the records, the error range of the laser cutter is 0.4mm to 0.5mm.
Individual Assignment
Plan
For the individual assignment, I plan to make some stickers and snowflake pieces.
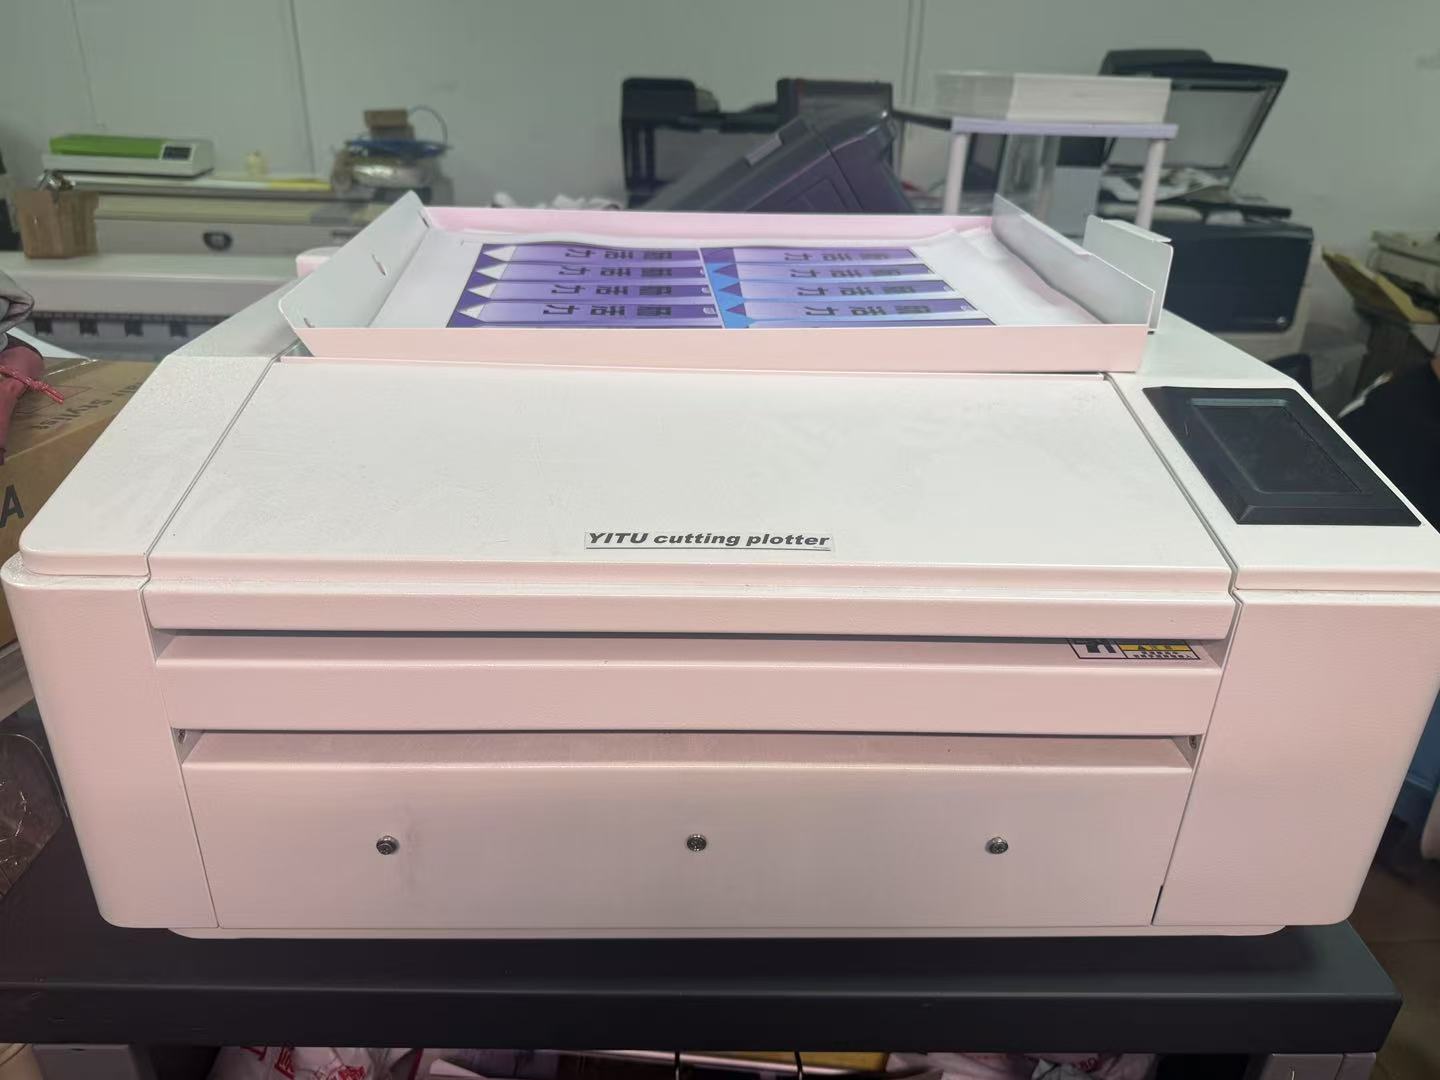
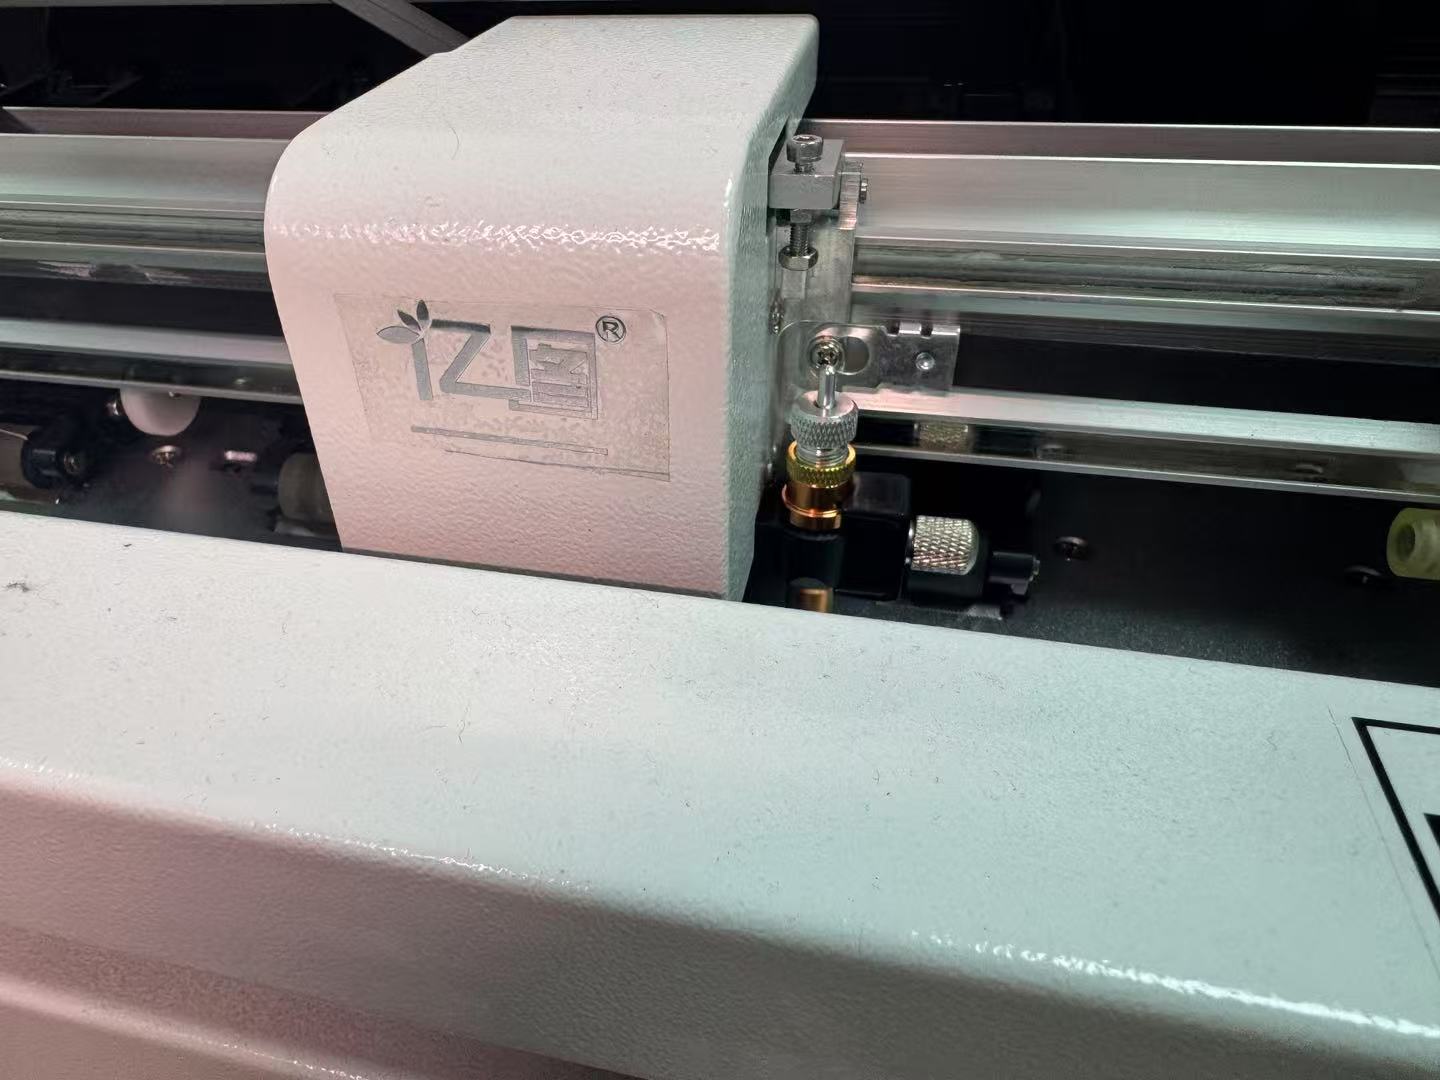
I used the YiTu cutting plotter. Below is an introduction to the machine.
YiTu Cutting Plotter MAX4 Servo Model — Specifications Overview
| Specification | Description |
|---|---|
| Maximum Paper Feed Width | 330 mm |
| Maximum Cutting Width | 330 mm |
| Cutting Accuracy | ±0.01 mm |
| Repeatability | 0.082 mm |
| Max Linear Cutting Speed | 1500 mm/s |
| Maximum Cutting Force | 1200 g |
| Drive Type | Servo Motor Drive |
| Display | LCD Screen |
| Interface | USB / USB Flash Drive / Serial Port |
| Supported File Formats | PLT, DXF, HPGL, etc. |
| OS Compatibility | Windows, partially compatible with macOS |
| Standard Features | Auto positioning, contour cutting, continuous cutting, kiss cutting |
| Application Fields | Heat transfer, signage, car decals, paper crafting, etc. |
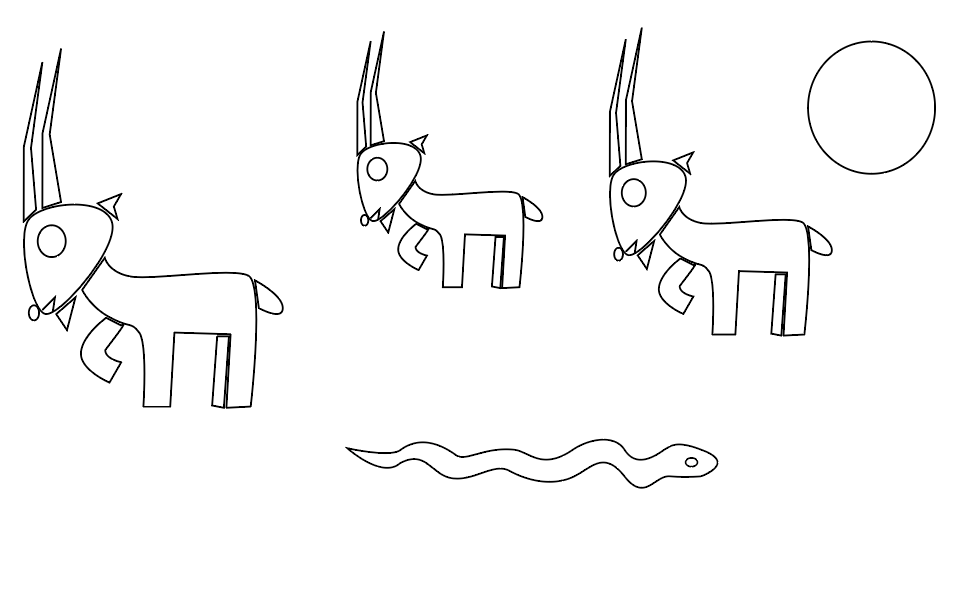
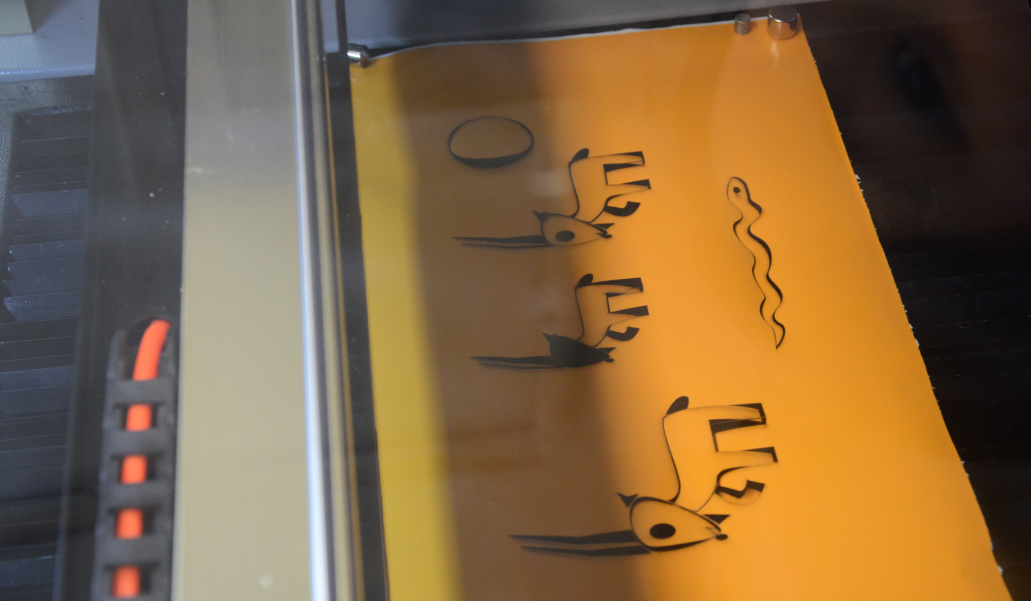
I created a design in Adobe Illustrator by combining a goat, the sun, and a snake.
I used the vinyl cutter to cut and produce the final piece.
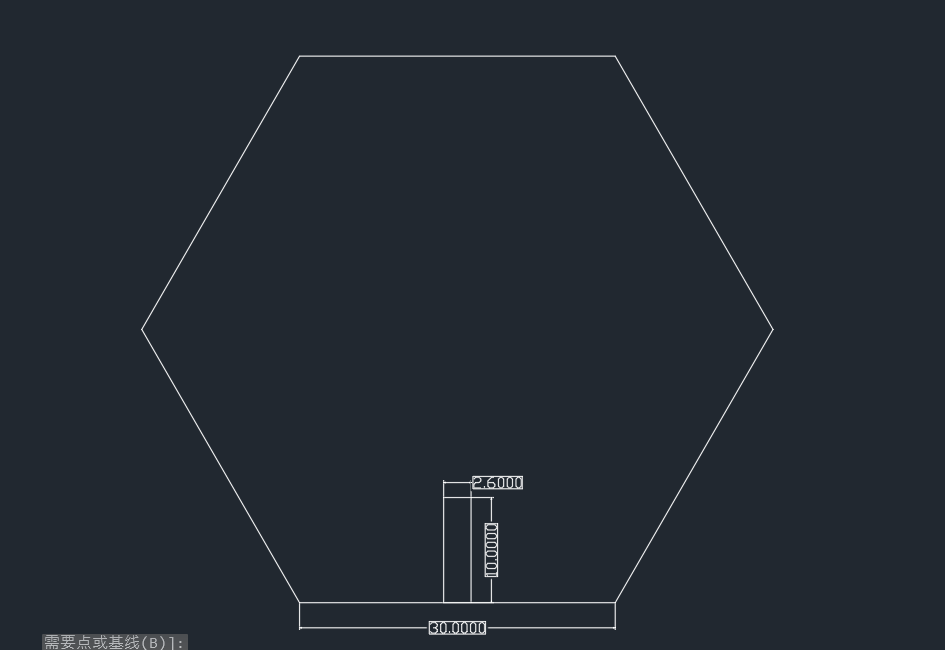
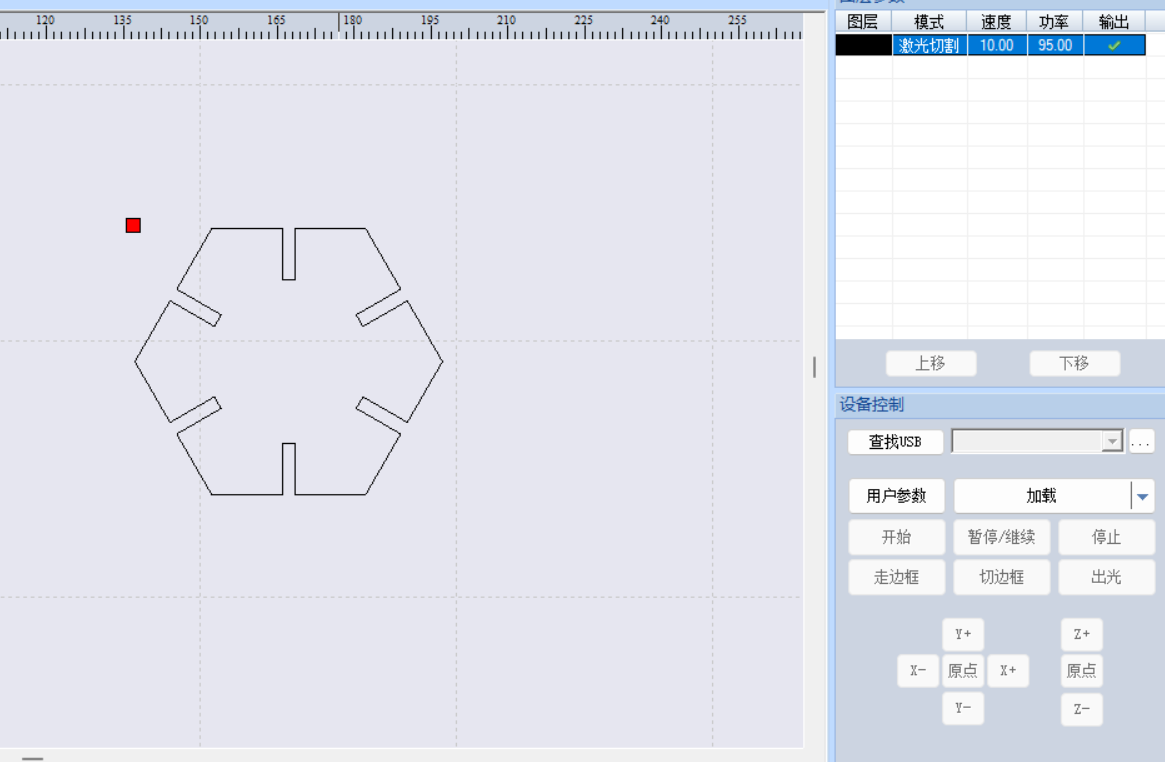
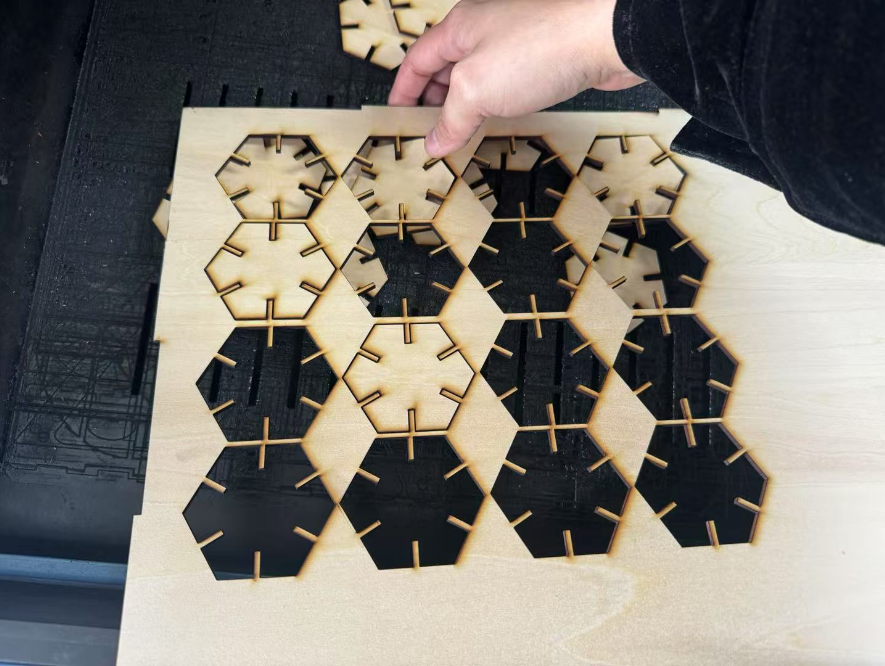
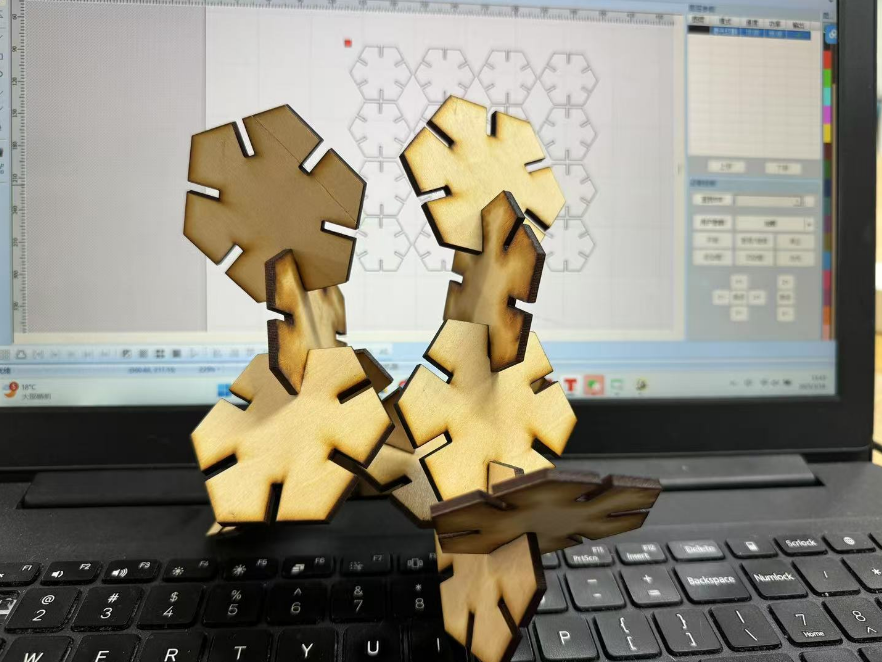
For the second part, I drew a hexagon with a side length of 30mm in CAD. Our laser cutter has a kerf of 0.4mm, and the thickness of the wooden board is 3mm, so I set the width of the connecting slots to 2.6mm.
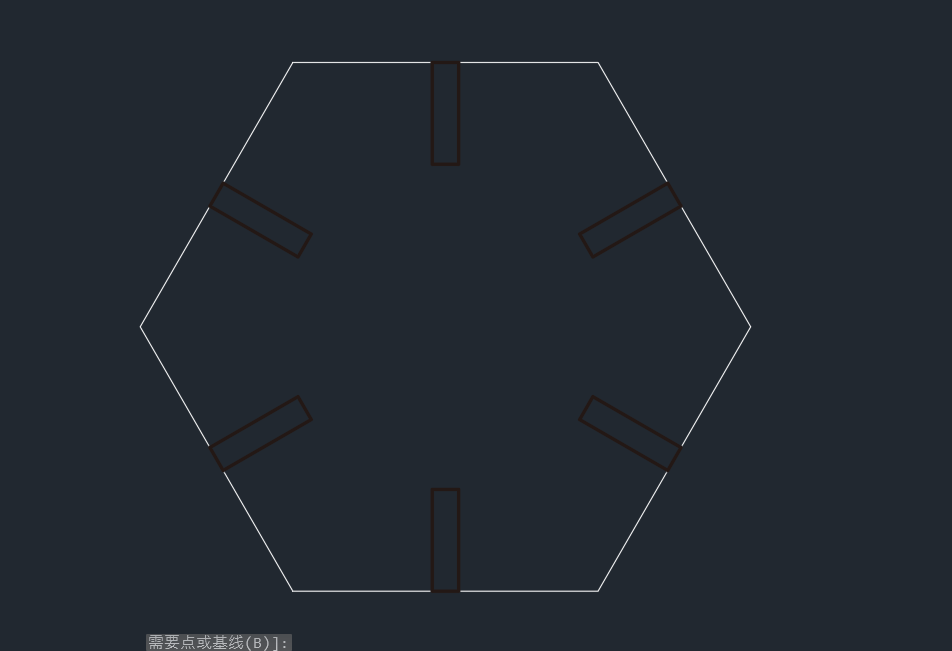
After drawing one slot, I arrayed it onto each side of the hexagon.
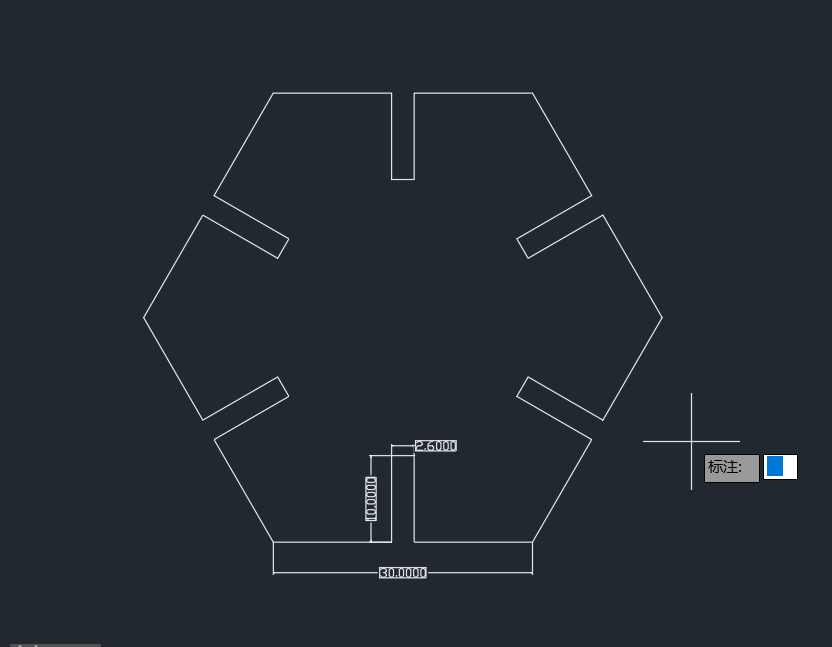
I used the trim command to remove the excess lines. After completing the design, I exported the file in DXF format and opened it in LaserSoft.
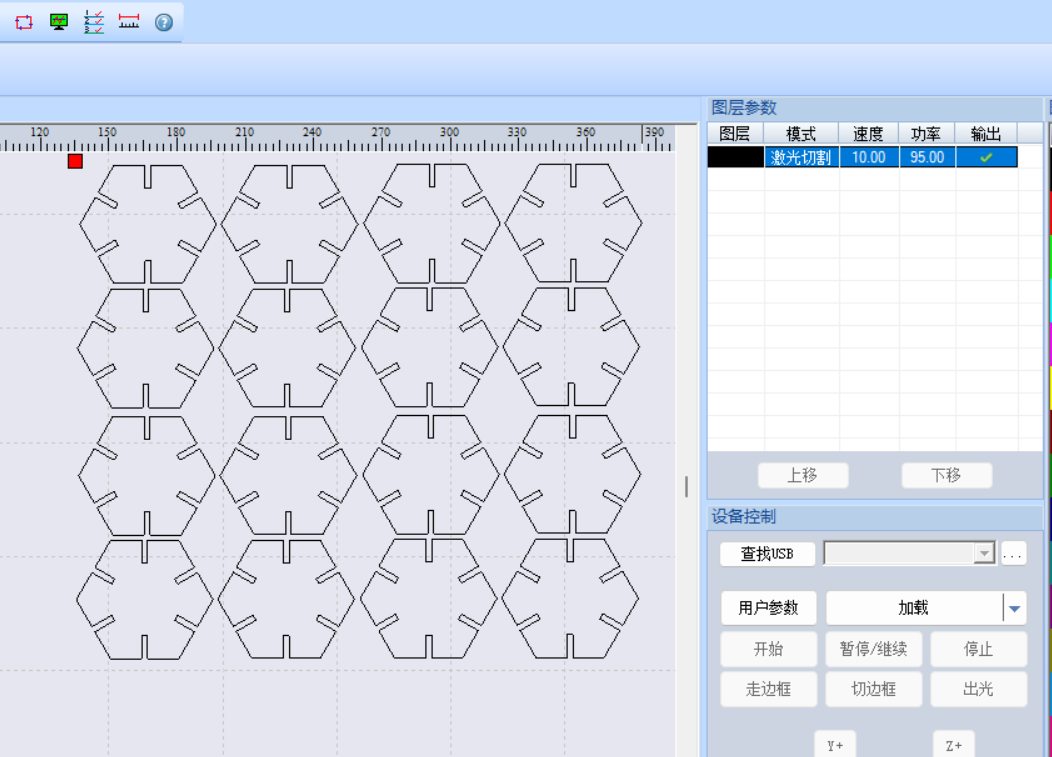
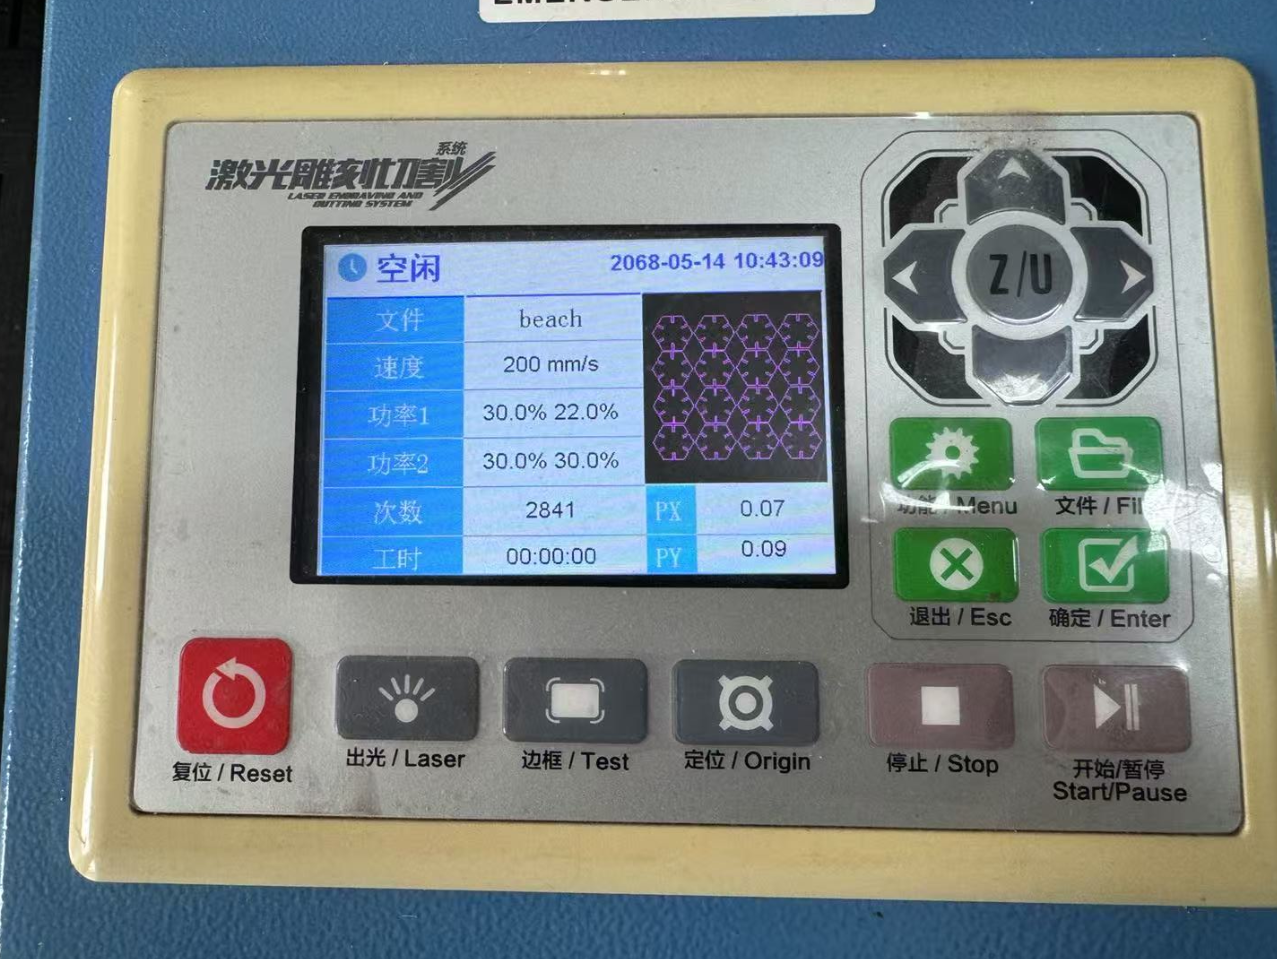
In LaserSoft, I duplicated the file to cut 16 pieces at once.
Cutting
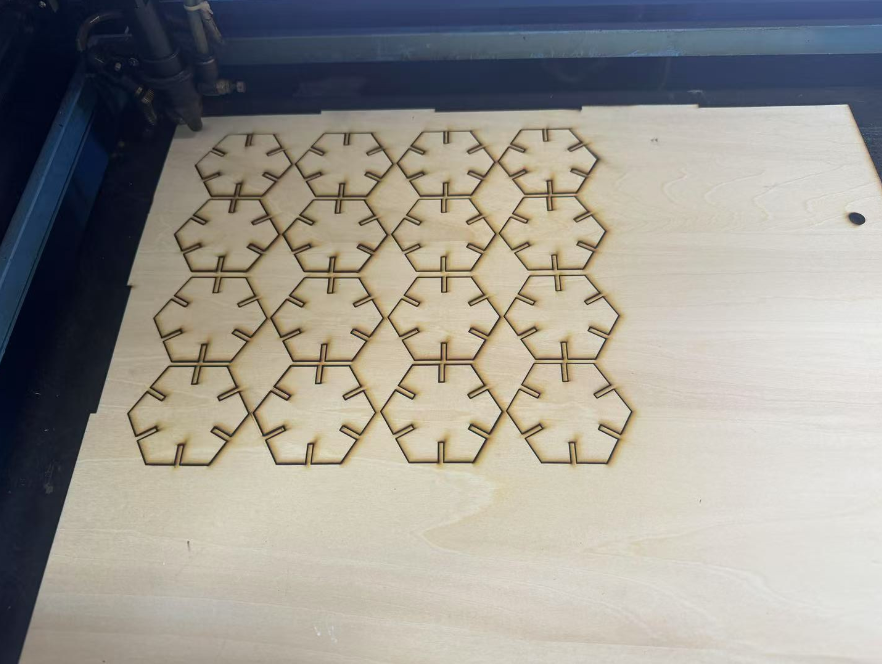
After cutting, I removed the pieces and checked the fit of the slots to ensure they connected snugly.
Reflection:
In this project, I not only improved my technical skills but also gained valuable hands-on experience through the process of design and production.
First, using Adobe Illustrator for the design helped me become more familiar with graphic drawing and pattern combination techniques. By merging the goat, sun, and snake elements, I learned how to combine different elements creatively to create unique and expressive designs.
During the cutting process, operating the laser cutter gave me a deeper understanding of how to factor in kerf and material thickness, allowing me to adjust the slot width and design dimensions appropriately. This process helped me pay more attention to detail and precision, especially when drawing the slot array in CAD, as it made me realize the relationship between design and actual manufacturing.
The most rewarding part was when, after cutting, I found that the slots fit together perfectly and the pieces could be assembled without glue. This made me realize the importance of considering friction and structural fit during the design process, which not only improves efficiency but also ensures the final product's quality and functionality.
Overall, this project allowed me to become more familiar with the complete process from design to production and improved my hands-on and problem-solving skills. In future projects, I will continue to optimize the design and production process to achieve greater precision and efficiency.