Computer Aided Design

1. Model Vector in Adobe Illustrator
A software used to create vector graphics. Images and vector graphics are made up of dots, lines, shapes and curves based on mathematical formulas rather than a given number of pixels and can therefore be enlarged or reduced while maintaining image quality.
- Vector graphics creation
- Advanced colour options
- Complete layer system
- Grid snapping
- Tools for geometric figure creation, curvature adjustments, and line manipulation
Advantages
- Vector drawing software, which means that the graphics you create in Illustrator do not lose quality when enlarged or reduced.
- It has a wide range of drawing and editing tools, allowing users to create graphics in detail.
- It can import and export various file types, making it easy to integrate with other design programs.
Disadvantages
- It can be intimidating for beginners due to the number of tools and options available.
- It is not very suitable for working with bitmap images or photographs as Photoshop is.
- Can be somewhat slow when handling very large files or very detailed graphics.
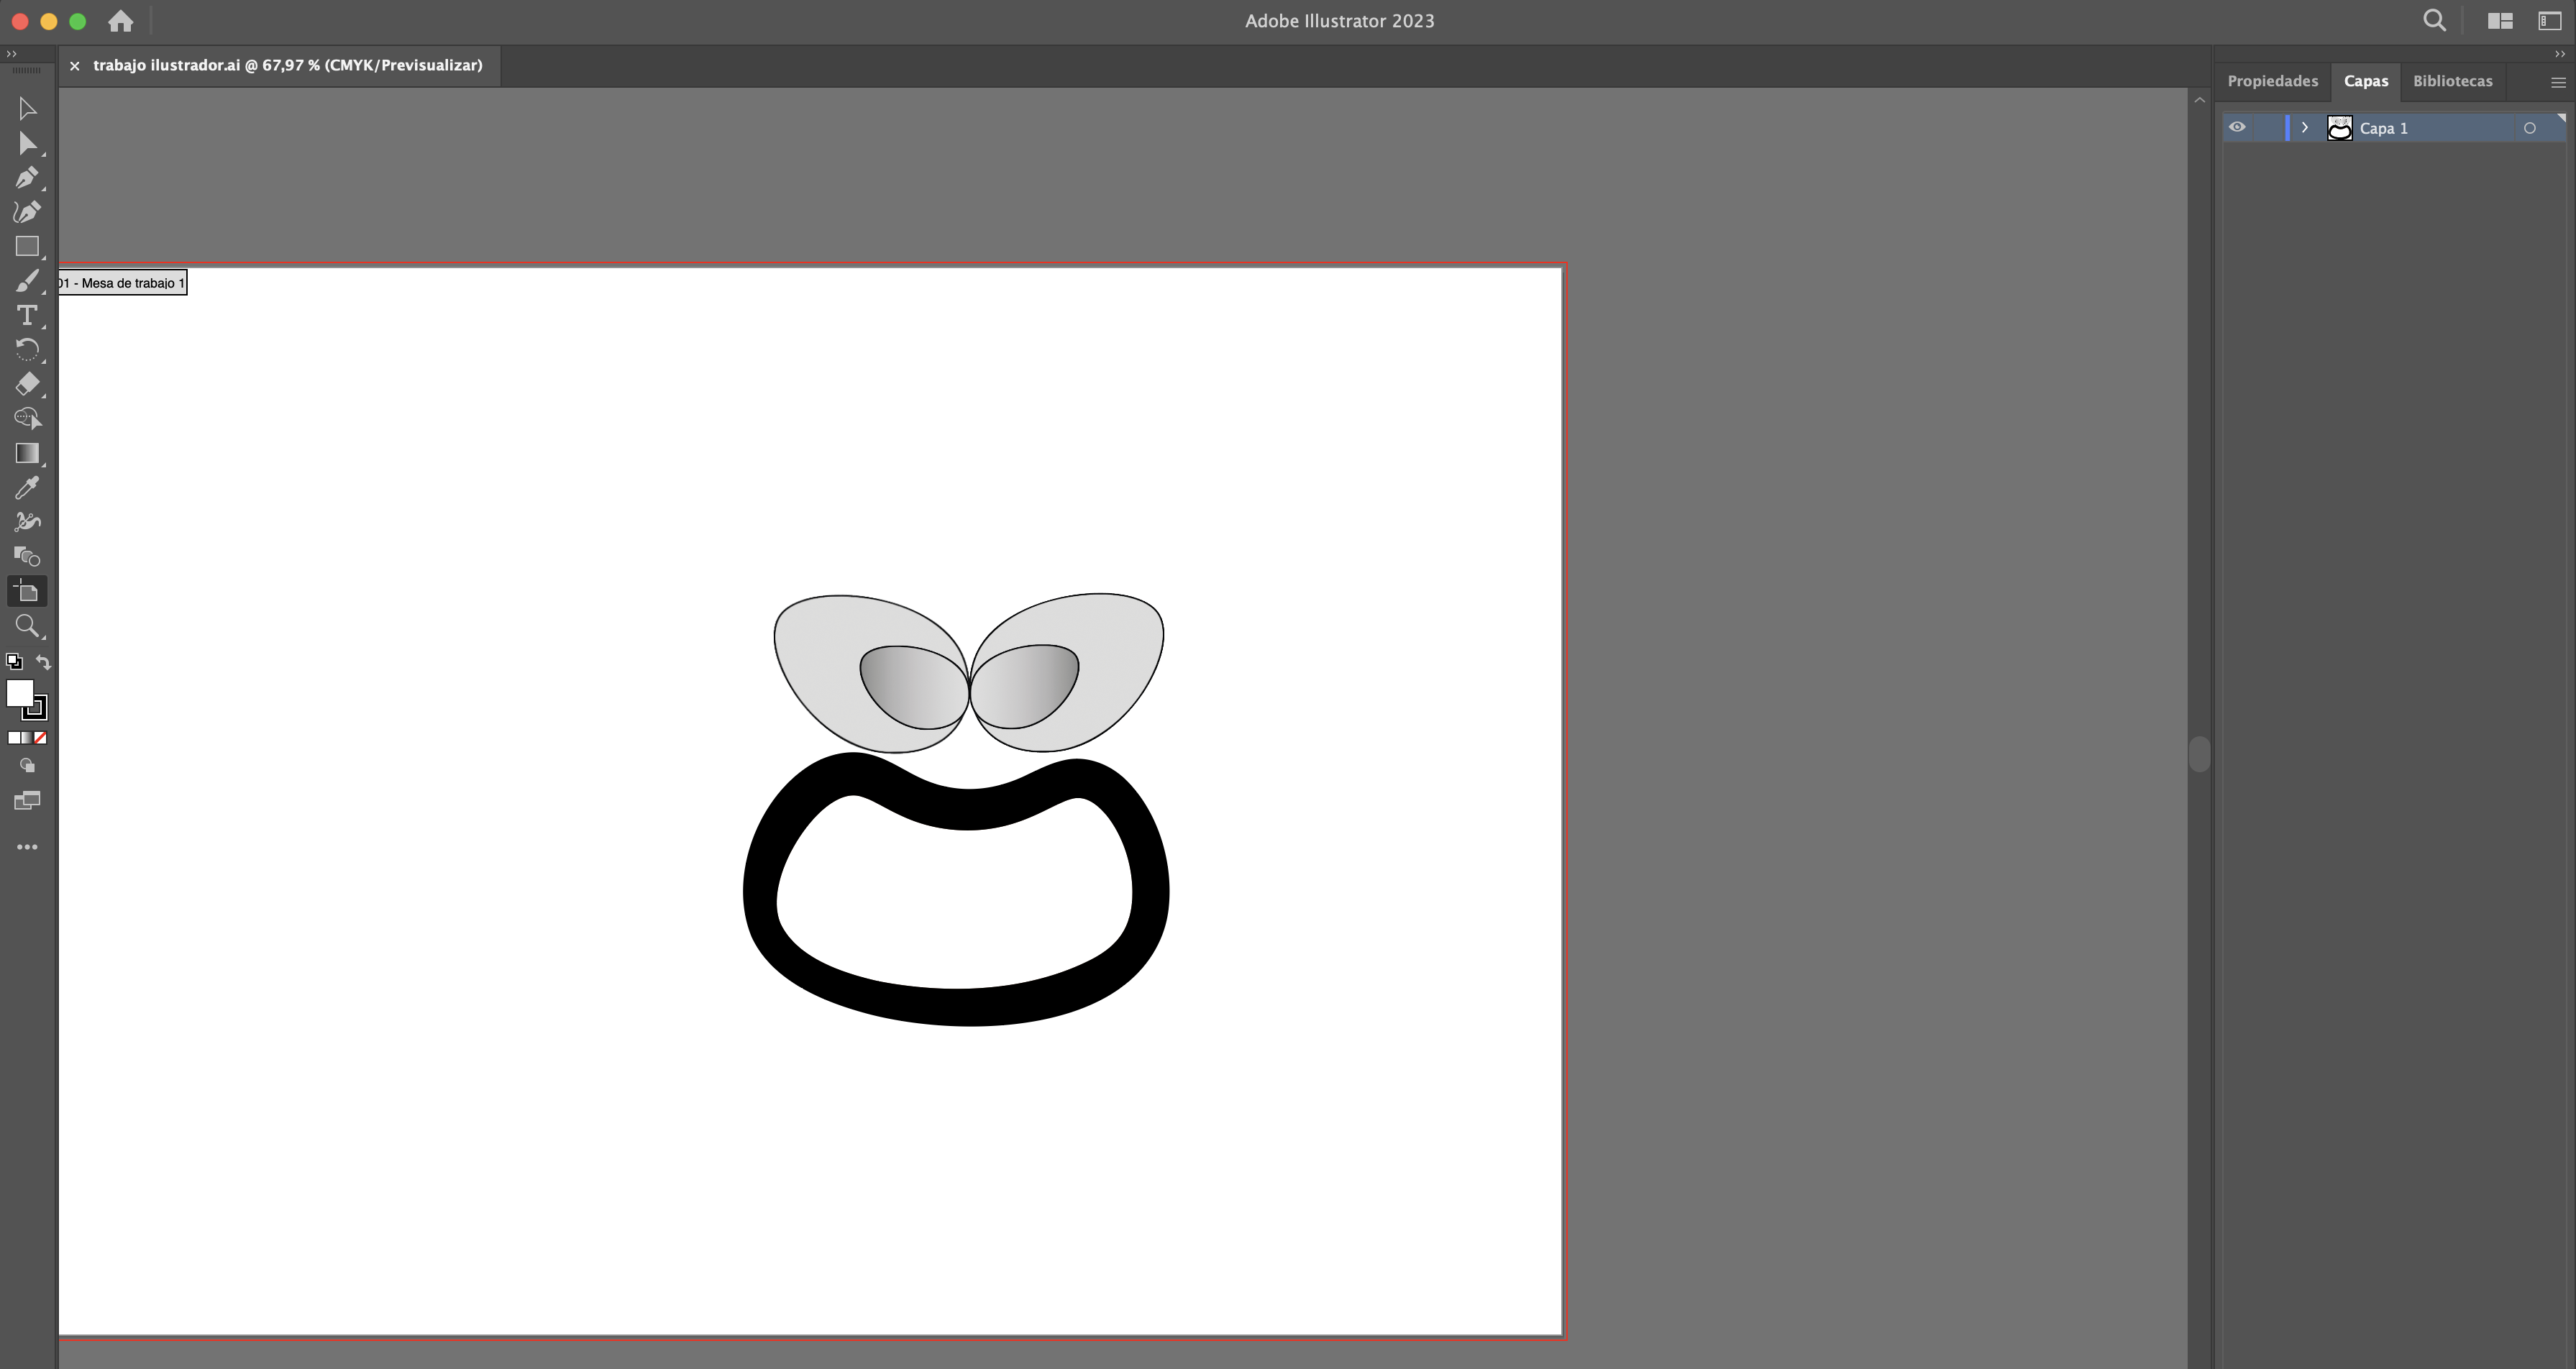
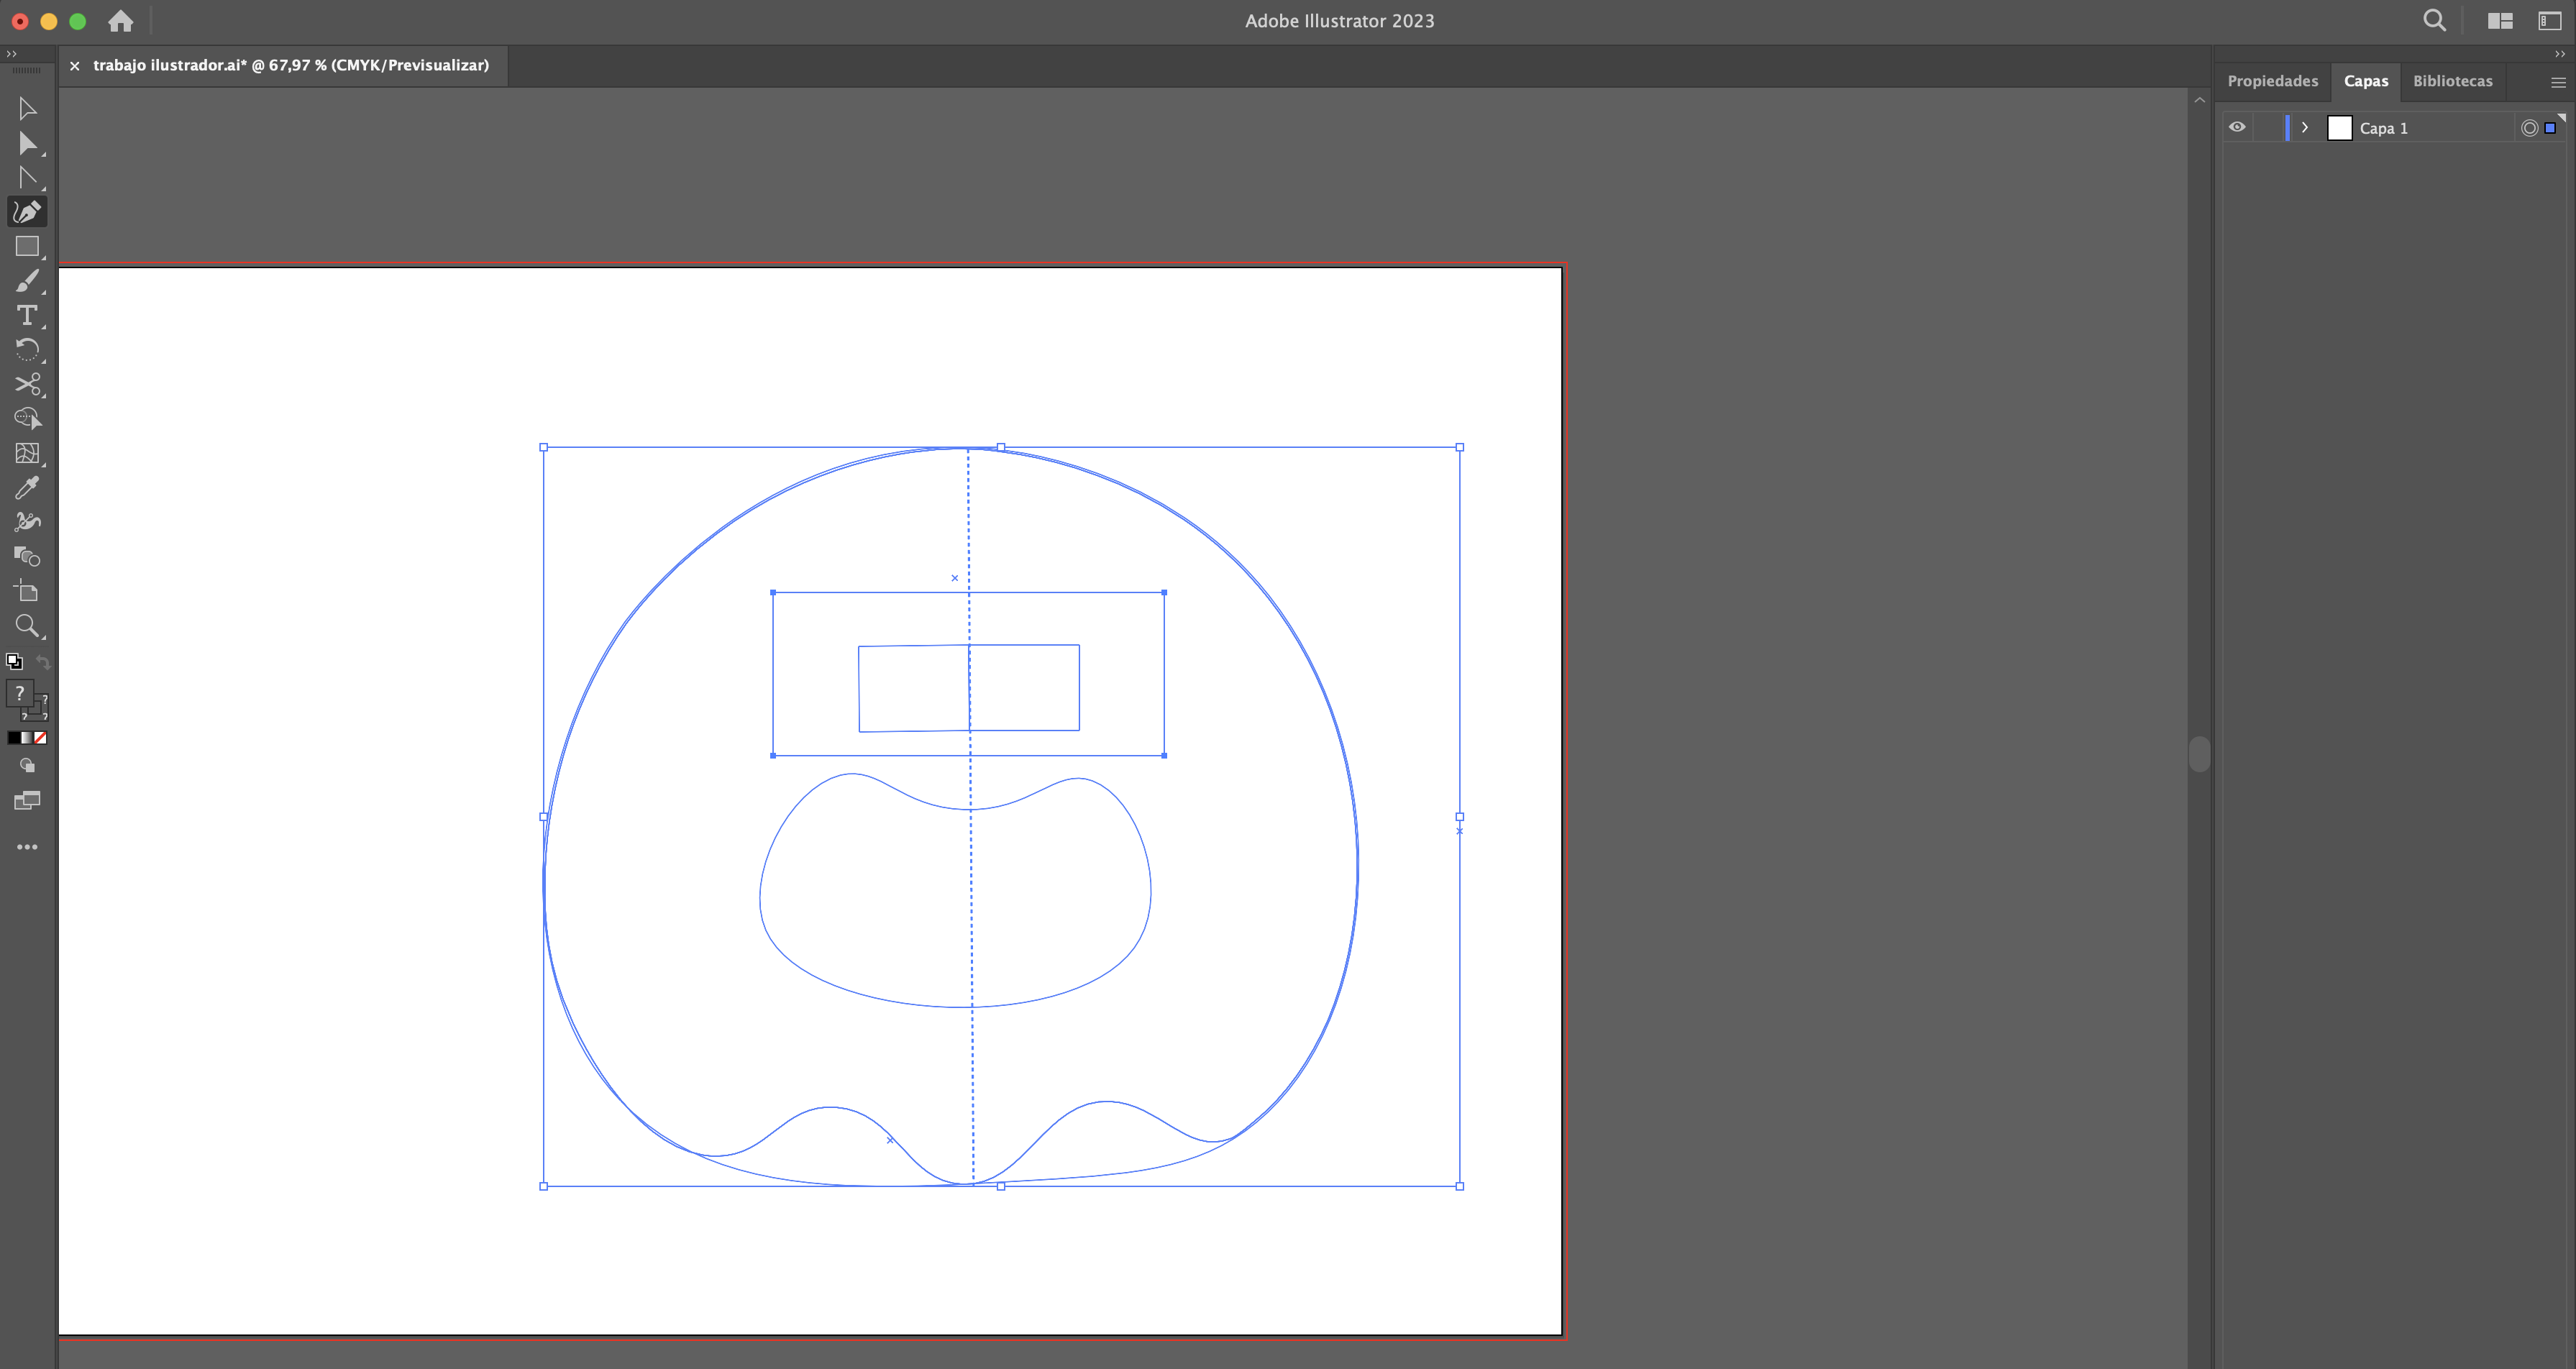
First the pen tool is used to draw a vector graphic, then the graphic is mirrored with the idea of having two equal elements to form an animated face.

2. Model 2D in AutoCAD
Step 1: Workspace Setup
Open AutoCAD and select the Drafting and Annotation workspace.
Ensure the Grid (F7) and Snap to Grid (F9) options are enabled for precise drawing.
Work in millimeters or inches depending on your project requirements.
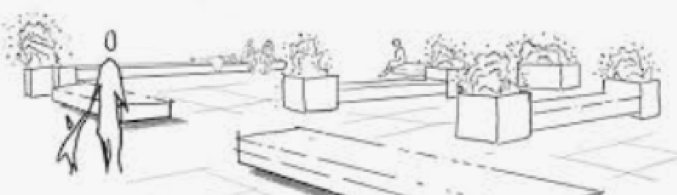
Step 2: Experience/Idea (Sketch)
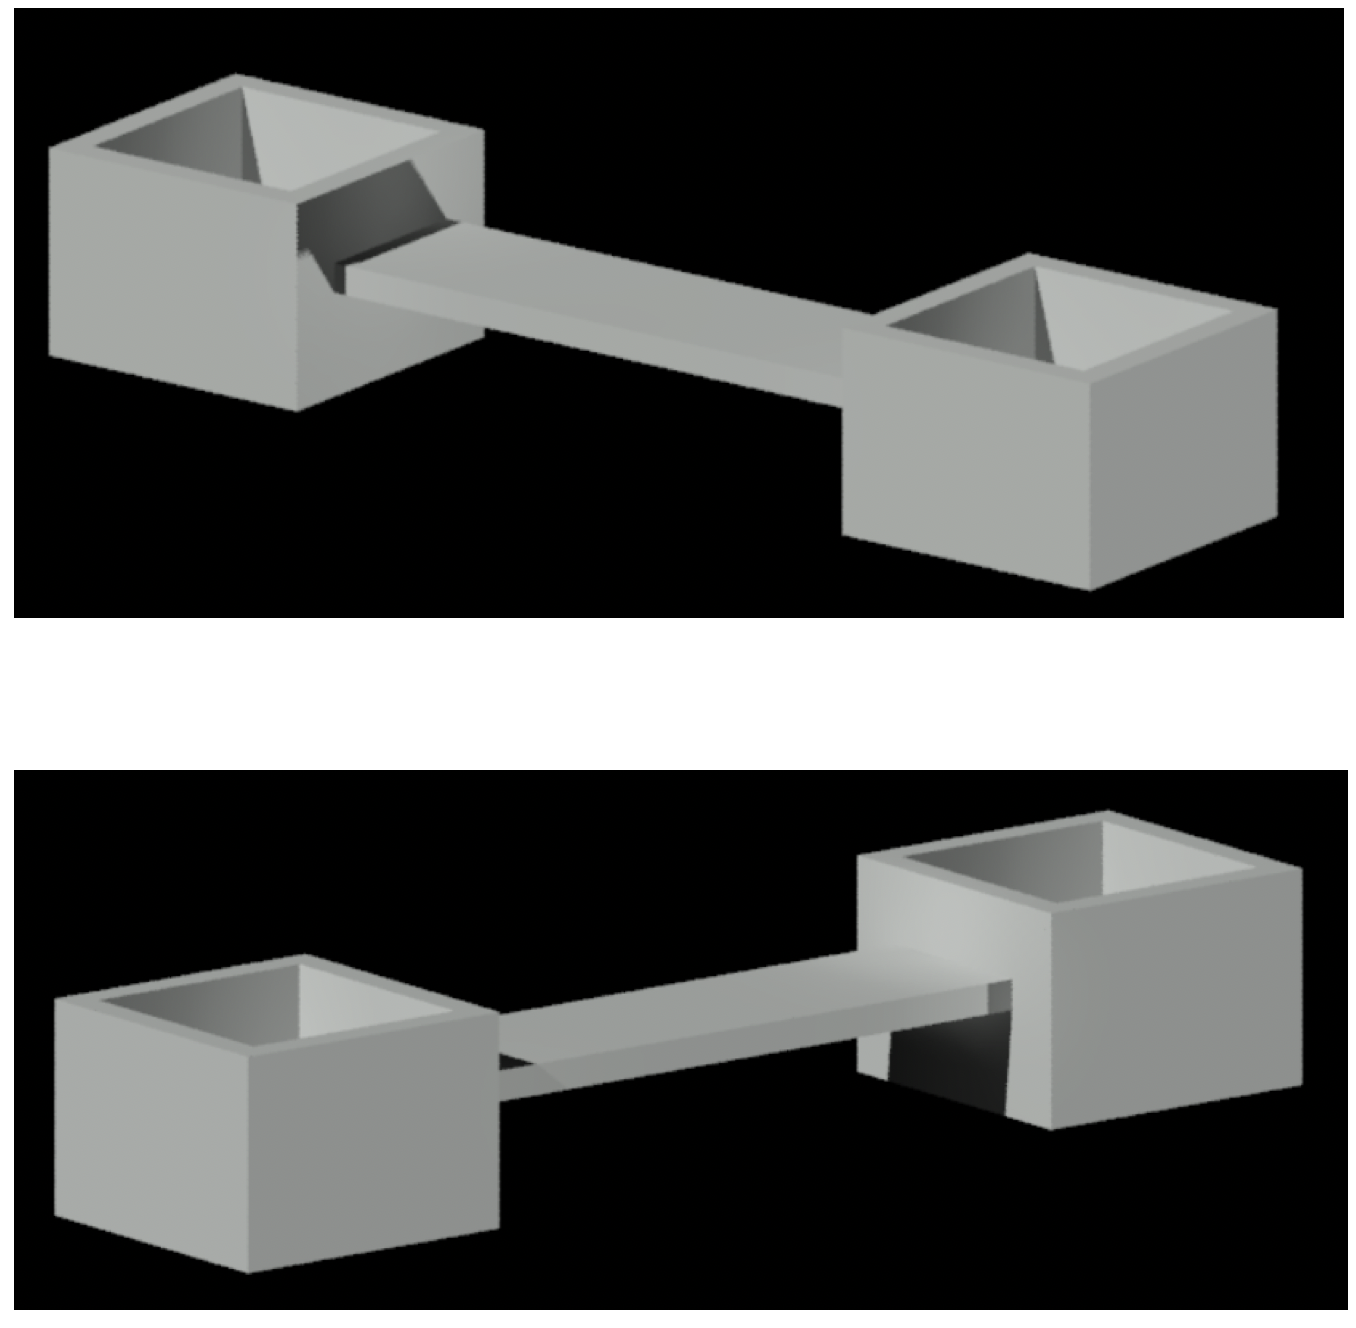
It is planned to make street furniture with basic shapes.
Basic shapes
The furniture consists of a planter and a bench tile. The Polyline command is used to make a rectangle and a square.

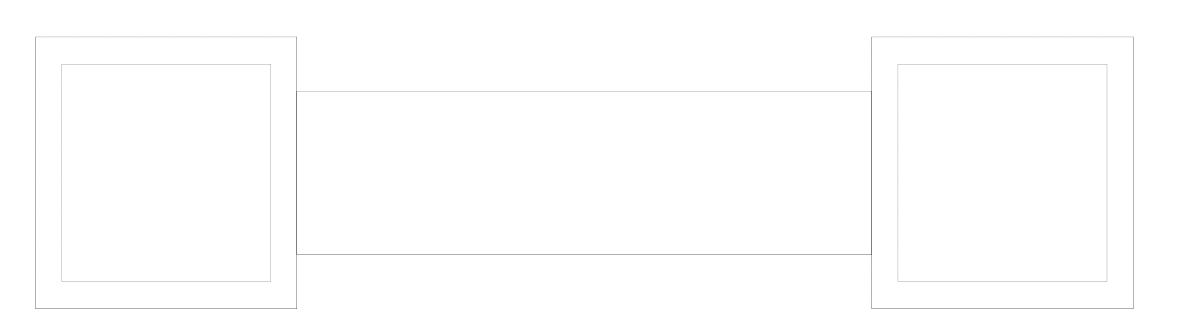
Step 3: Integration
The bench and planter are integrated and the plan of the bench and planter is defined. The Move and Copy commands are used to shape the design of the bench in plan, additionally the Offset command is used to shape the wall thickness of the planter.
Step 4: Extrude
The Extrude command is used to give volume to the planter and the bench slab.
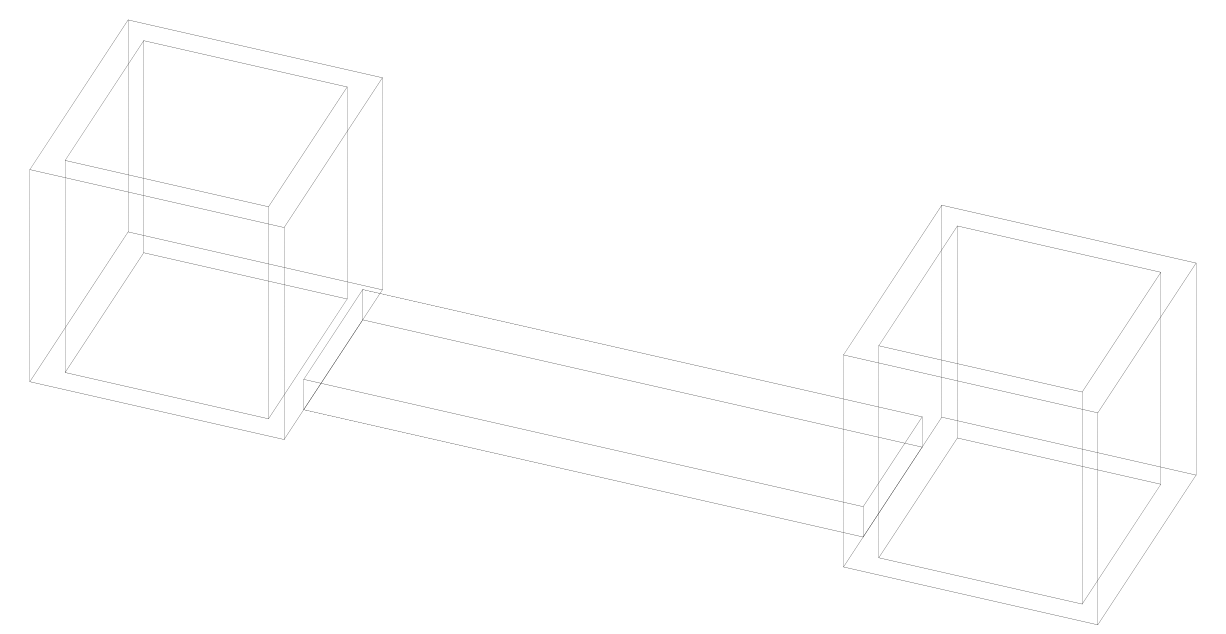
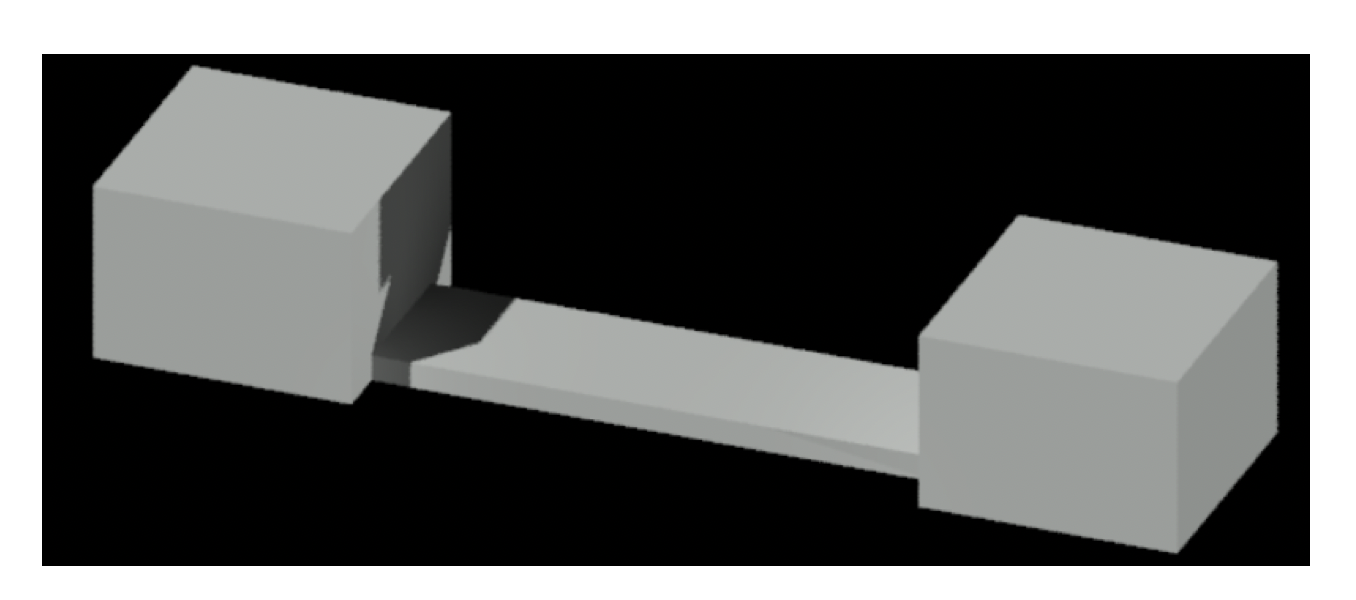
Step 5: Subtract and Join
With the Subtract command the planter is shaped and with Move the slab is placed at the required height and the volumetry of the bench projected within the urban furniture is obtained.
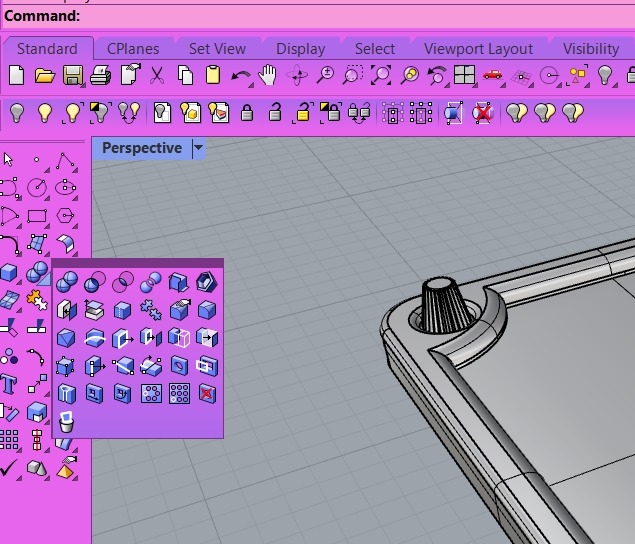
3. Model 2D / 3D in Rhino
Rhinoceros (Rhino) is a 3D modelling software used in various industries. It is a versatile and flexible tool for creating three-dimensional models.
Advantages
- Accuracy and flexibility allow students to explore and realise their ideas
- Allows for accurate creation and documentation of design projects
- Allows you to convert a model on the screen to a real object
- Allows you to work with complex geometries
- Allows you to program and create your own tools
Disadvantages
- Rendering engine / poor quality
- User interface: outdated and difficult to navigate.
- Advanced features: relies on additional plugins.
- Computer: Requires a very powerful computer to work with the latest versions.
- Slowdown: When making a 3D object, with a lot of details, it tends to slow down a lot.
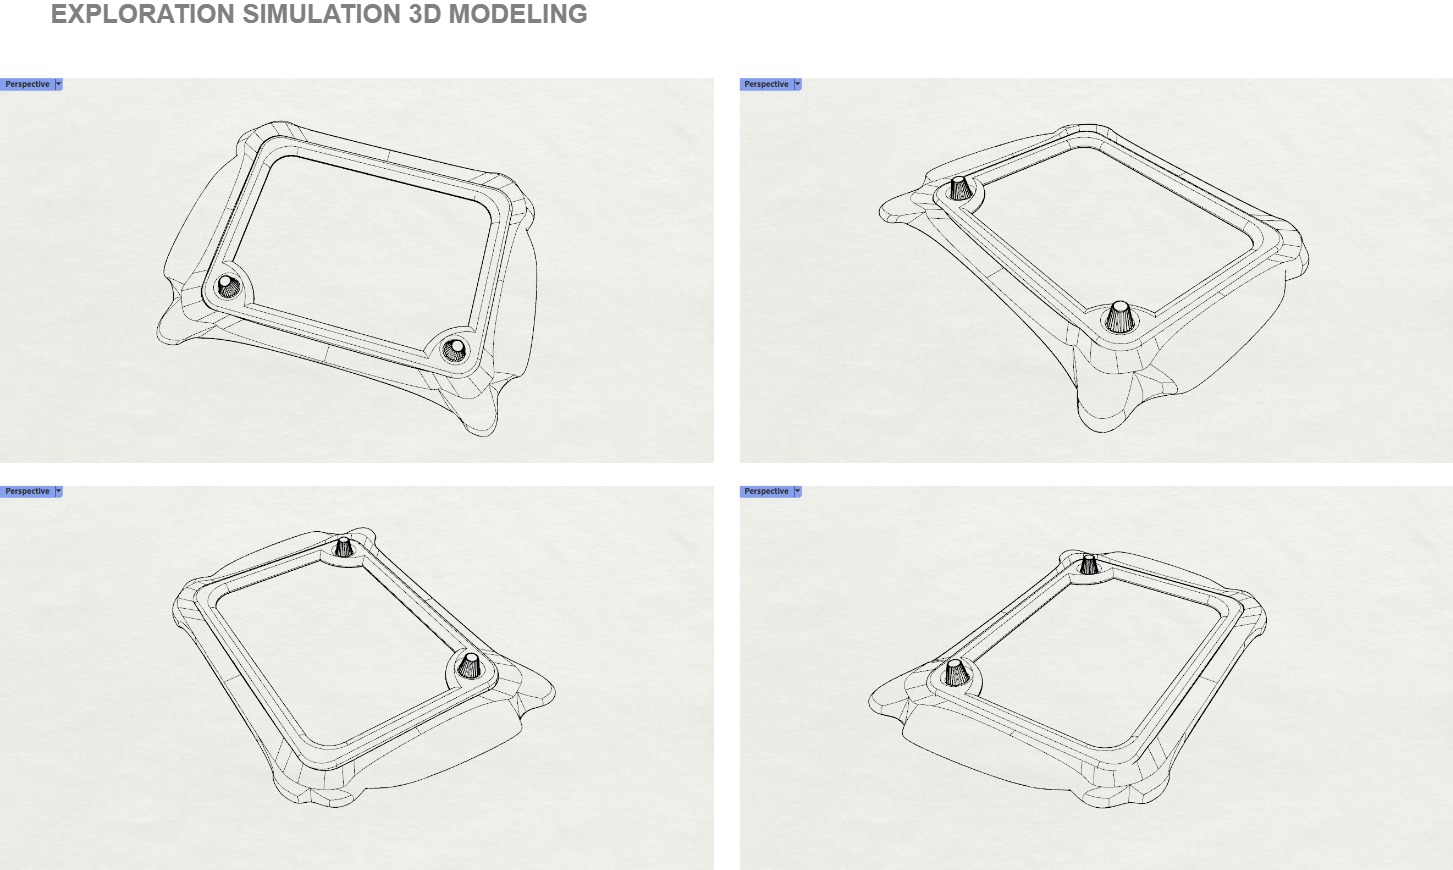
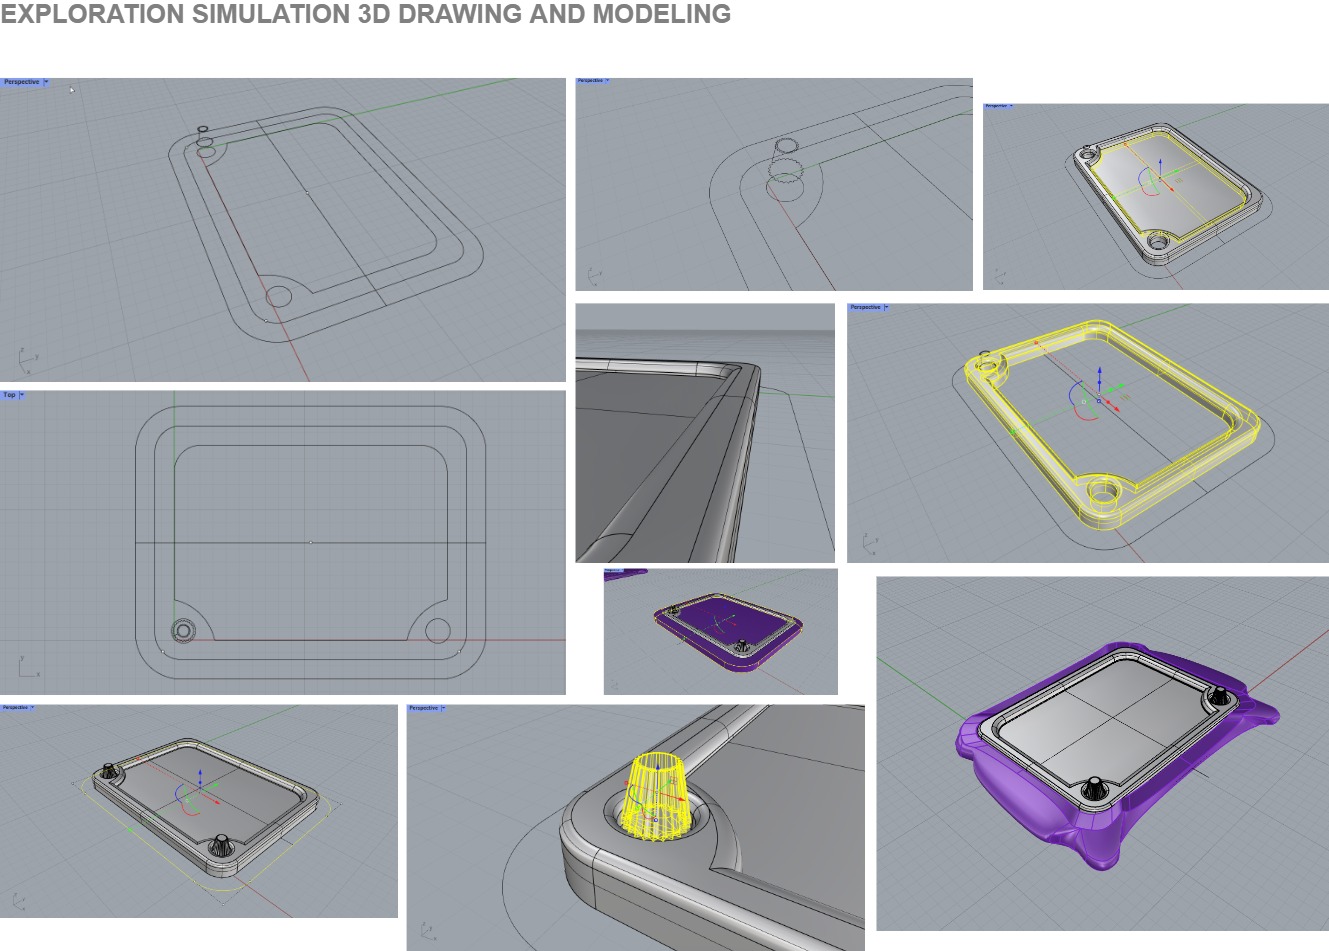
To model in Rhino, you can start by making a freehand sketch, digitise it, and then model the components of the object. You can use layers to organise your project.
1. Starting a project / Interactive Play Device.
2. Start with main construction lines
3. Transform 2D lines into 3D volumes

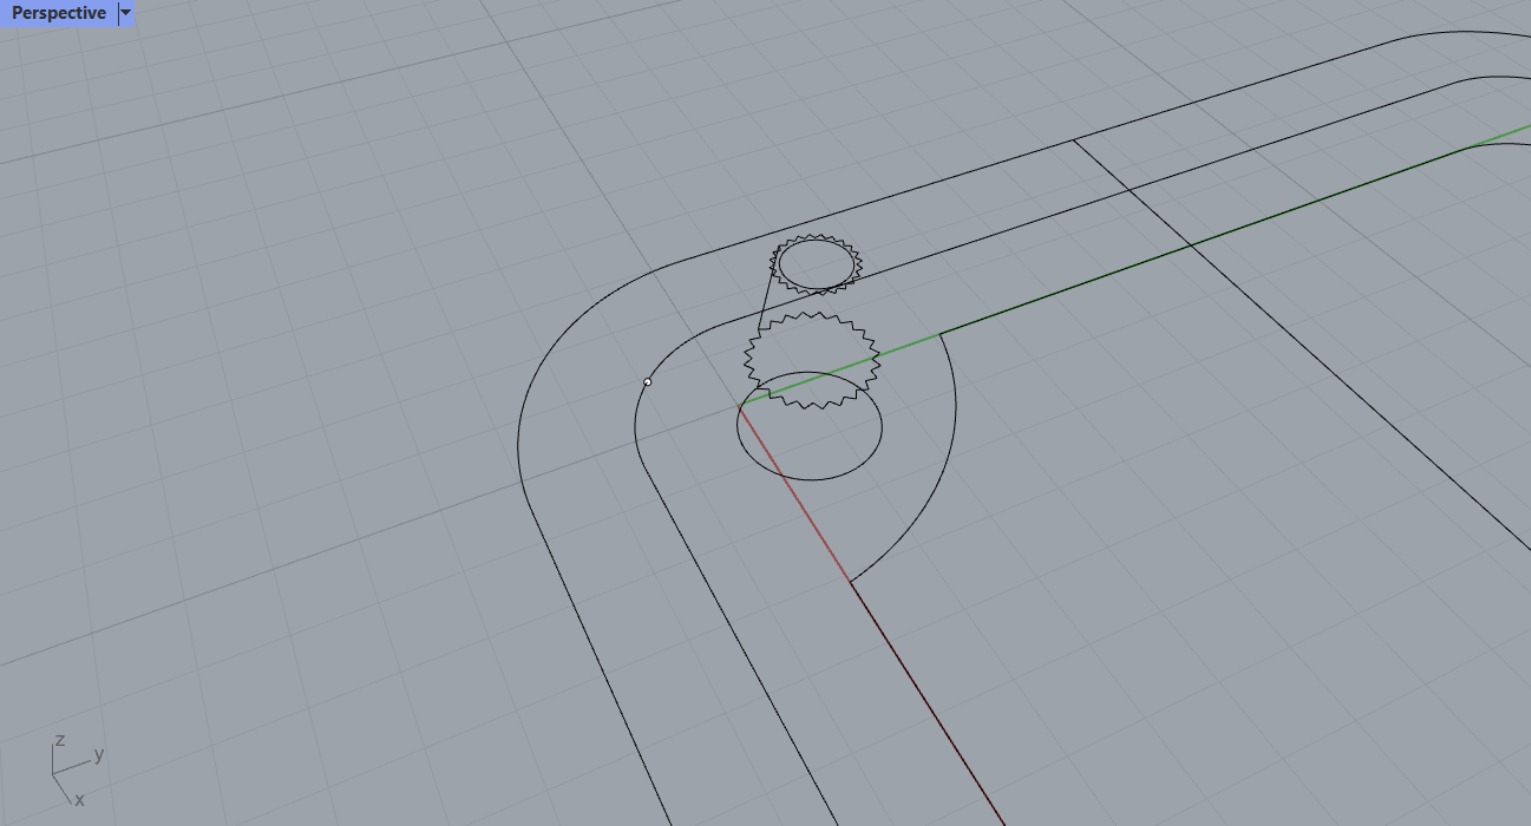
4. Use layers to organise my project in a better way
Final Conclusions
This week's course provided a comprehensive understanding of computer-aided design, including raster and vector modelling in Adobe Illustrator, 2D drawing in AutoCAD and 3D modelling in Rhinoceros. Each of the steps reinforced the essential knowledge of digital modelling, from conceptualisation to optimisation. In this sense, the practical experience gained through modelling, rendering and system simulation helped to develop a structured workflow for future projects.