Possible final project
The project consists of developing a toolbox with an RFID reader that registers when a tool is taken or returned. The system will be controlled by an ESP32 and will use passive RFID tags on each tool. The data of the tools being taken or returned will be sent to a receiving device to allow real-time tracking and inventory management of the toolbox.
Sketch

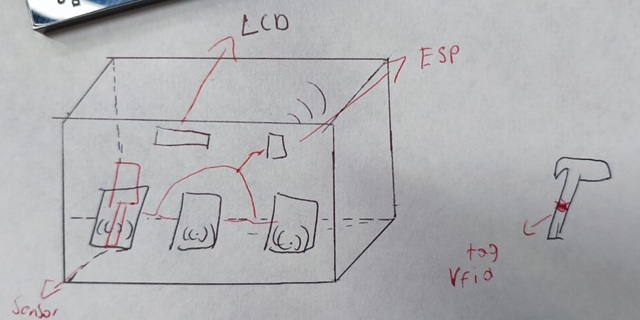
Sketch 1: System using three individual RFID readers.
These sketches represent different configurations of the RFID tracking system. Sketch 1 uses three individual RFID readers to detect tools, while Sketch 2 employs a single RFID antenna for broader detection.
The idea
The main goal of this project is to facilitate tool tracking within a toolbox, ensuring that users know exactly when a tool is taken or returned. This system will help manage the inventory of tools efficiently and prevent loss or misplacement.
The system will work autonomously, using an RFID reader to detect tools as they are removed or placed back. The collected data will be sent to a platform for real-time monitoring.
Additionally, an Excel file will be automatically generated to keep track of inventory, logging which tools have been taken, returned, and their timestamps. This will provide a detailed and accessible record of the toolbox status.
Furthermore, we plan to incorporate 3D scanning of tools to generate custom templates for precise placement within the toolbox (see section "Additional Functionality: 3D Scanning and Templates").
Brief project description and users
This project is designed for workshops, laboratories, and makerspaces that need an efficient tool tracking system. The toolbox with RFID technology ensures that every tool movement is recorded in real-time, allowing users and administrators to monitor tool usage and prevent losses. The system is particularly useful for shared workspaces where tools are frequently borrowed and returned.
Comparison of options
The project considers two primary approaches for tool detection:
- Using multiple RFID readers: Each tool slot in the toolbox is equipped with an individual RFID reader, providing precise detection but increasing hardware costs and complexity.
- Using a single RFID antenna: A larger antenna scans the entire toolbox at once, simplifying the system but potentially reducing detection accuracy.
The choice between these two methods depends on the specific needs of the user, balancing accuracy, cost, and ease of implementation.
Required Components:
- Toolbox: Designed to house the RFID system and tools.
- RFID-RC522 readers (for Sketch 1) or a single RFID antenna (for Sketch 2).
- Passive RFID tags attached to tools.
- ESP32 to control the system.
- LCD screen (optional) for real-time status display.
- Buzzer/LED for tool detection alerts.
- SD card module (optional) to store historical logs.
- Wireless communication via Wi-Fi or Bluetooth.
Communication Options
The project will utilize wireless communication to send data to a receiving device for real-time tracking and inventory management. The following options are being considered:
- Wi-Fi: Allows for communication over a local network, potentially enabling remote monitoring and data access.
- Bluetooth: Provides a direct connection to a nearby device, suitable for close-range monitoring and data transfer.
The final choice will depend on factors such as range, data transfer rate, and power consumption requirements.
Additional Functionality: 3D Scanning and Templates
In the final design, we plan to implement a system to 3D scan each tool and generate a corresponding template. This template will be printed and used to create a specific position for each tool within the box. This will ensure that each tool has its designated place, making organization and inventory management even more efficient.
This process will be carried out by 3D scanning each tool, using a 3D scanner or even a mobile phone camera with a suitable application. Then, the 3D image will be processed to obtain a 2D template that can be printed. This template will show the shape of the tool and its exact position inside the box.
Cloning the Repository in VS Code
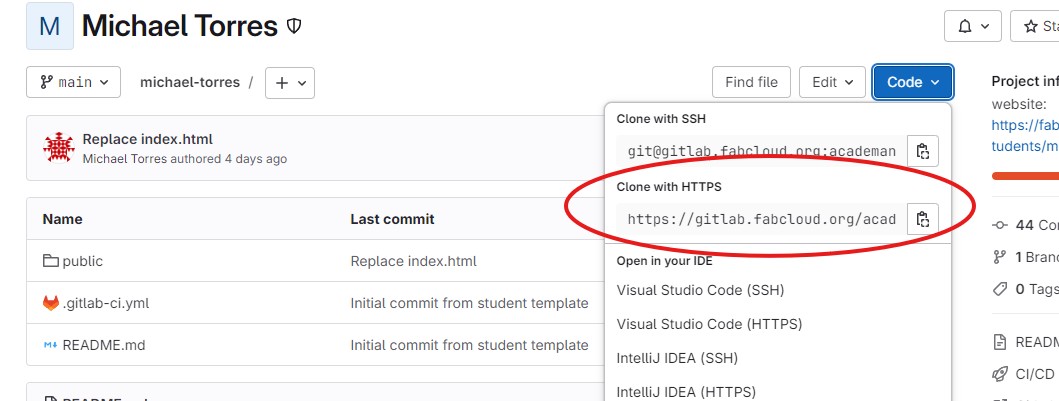
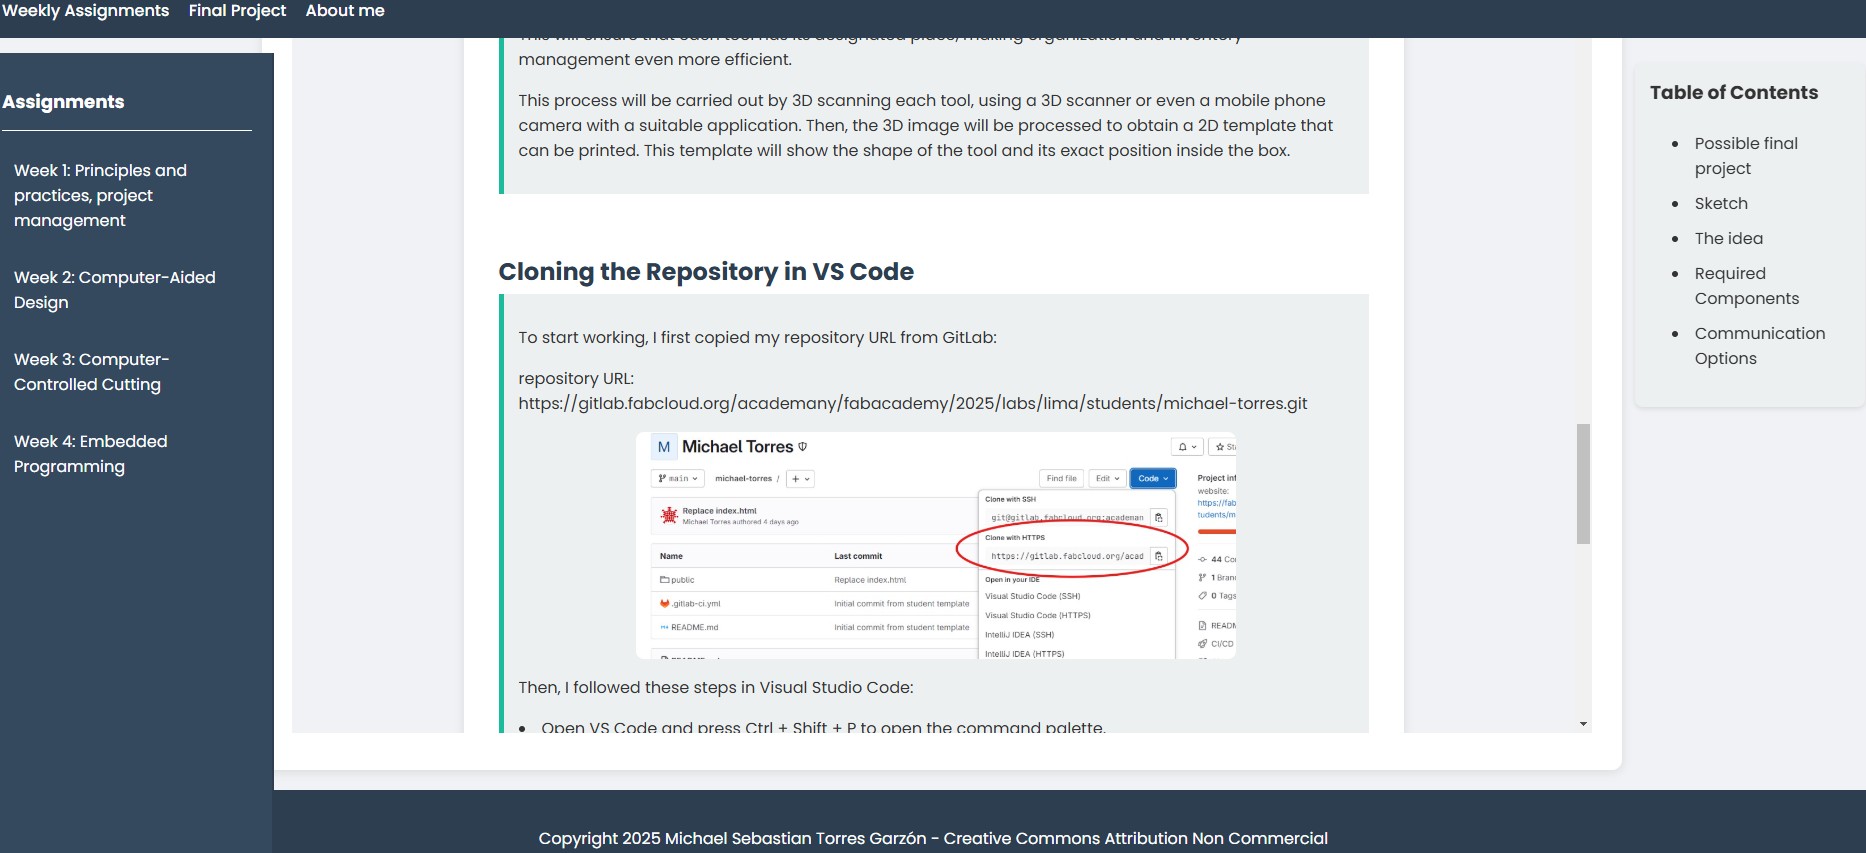
To start working, I first copied my repository URL from GitLab:
repository URL: https://gitlab.fabcloud.org/academany/fabacademy/2025/labs/lima/students/michael-torres.git

Then, I followed these steps in Visual Studio Code:

Working Locally with VS Code
Once the repository is cloned, I follow these steps to edit my documentation:

Saving and Uploading Changes to GitLab
Once I finish my edits and want to update my documentation in GitLab, I follow this process:
Verifying Changes on GitLab
After syncing, I go to my GitLab repository to check that the changes are reflected online.

Building My Website from Scratch
For my Fab Academy documentation, I decided to build my website from scratch, rather than using a template. This allows me to have full control over the design, structure, and functionality of my site.
Why Build from Scratch?
Customization By coding my own HTML and CSS, I can design the layout exactly as I want.
Performance Optimization My site only includes the necessary code, avoiding unnecessary scripts or bloated frameworks.
Hands-on Learning Building from scratch improves my web development skills, which can be useful for future projects.
Better File Structure I can organize my content efficiently without relying on pre-made template structures.
Website Setup Process
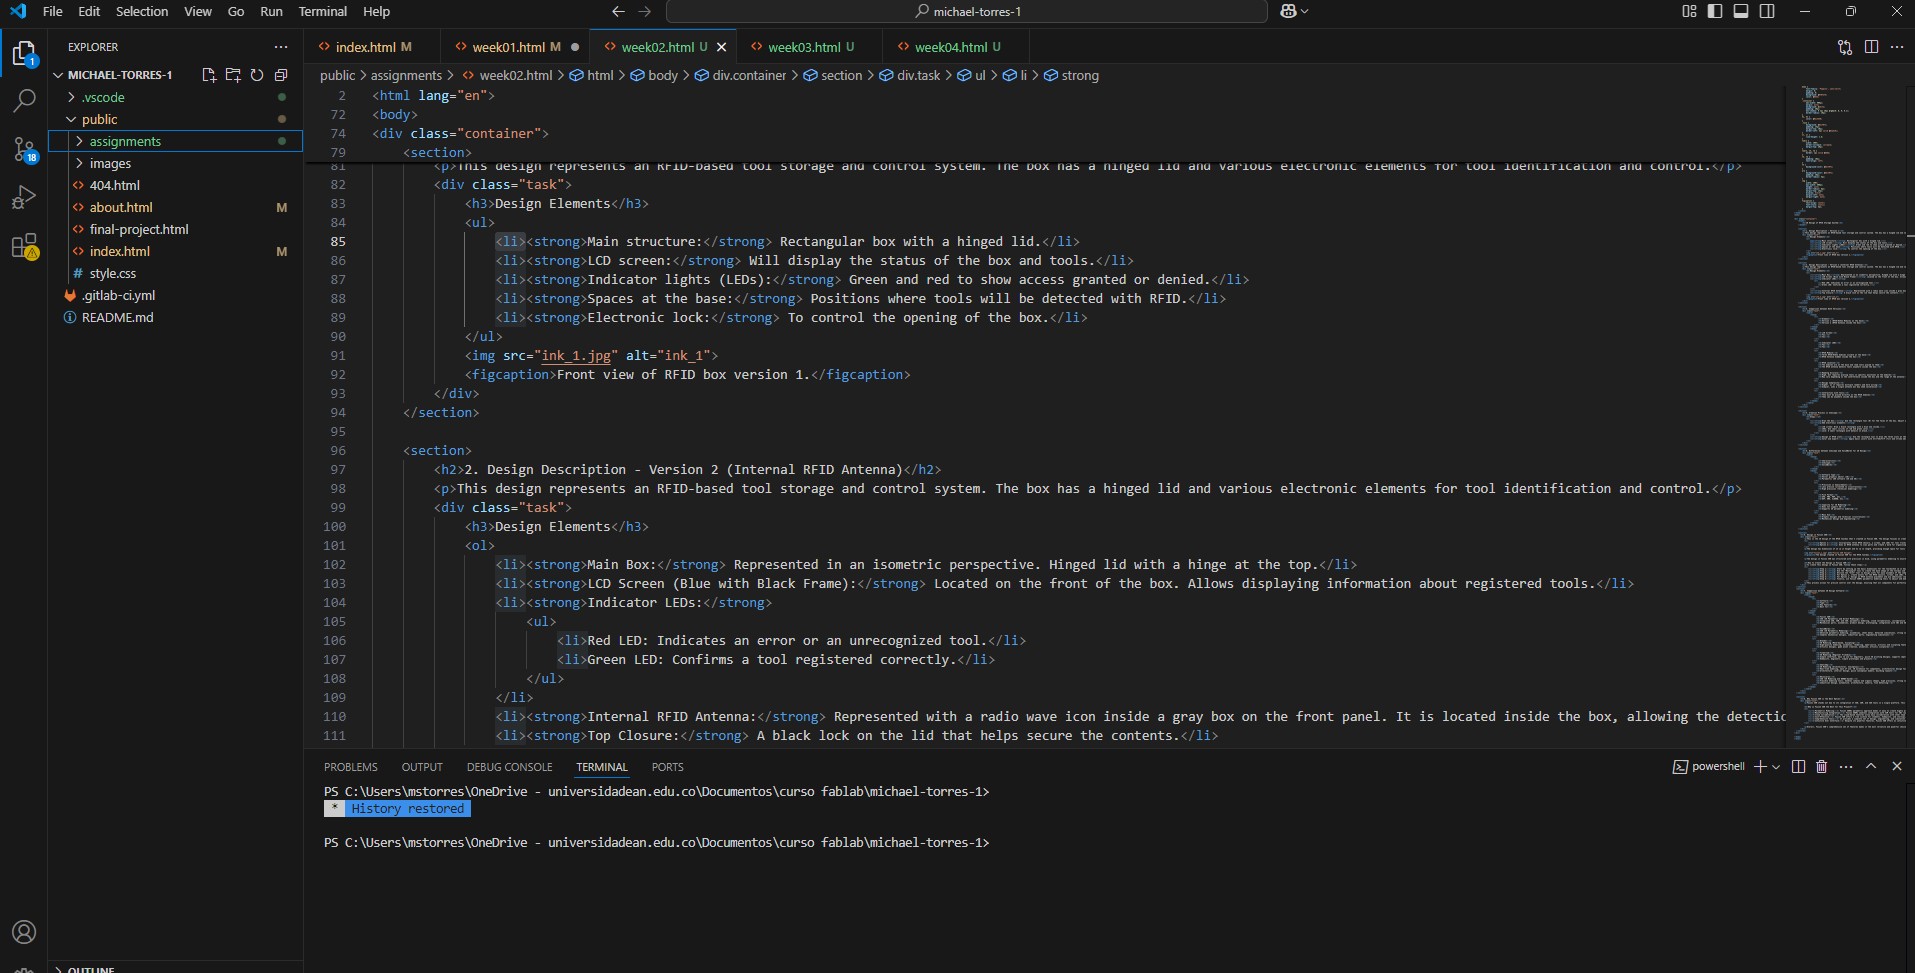
I created my website using pure HTML, defining each section manually to ensure an organized and structured layout.
Styling with CSS
To enhance the visual design, I wrote custom CSS to style my pages.
Custom fonts for a clean and modern look.
A responsive design that adjusts to different screen sizes.
Shadow effects & rounded corners to improve aesthetics.
Consistent color scheme to maintain a professional appearance.
Here’s an example of my custom CSS for styling the main content container:
