Objectives :
- Plan and sketch a potential final project.
- Build a personal website describing you and your final project.
- Work through a git tutorial.
- Read, sign the student agreements, and commit to your repos
_
Final Project Research
To choose a topic for the Fab final project, there are several specific Fab Academy criteria that need to be followed. The project must include at least one input and one output component. It should also incorporate both a hardware component and a mechanical part. Ideally, the project would feature something that moves, controlled by electronics in response to specific events. Additionally, the production process should maximize the use of Fablab tools and machines. Finally, the project must be open-source, with all files made available to the community.
I have curated a list of 4 projects that I am going to build during the Fab Academy 2025. These four projects are Flappy Bird game, dry material dispenser, the object bringer bot, and ‘The Productivity Box.’ From these 4 projects:
The Flappy Bird Game is a physical device that can be used to play the world-renowned Flappy Bird game in the physical world.
The Dry Material Dispenser device is used to dispense a fixed quantity of dry material that the user requires.
The Object Bringer Bot is a device that moves across a room and brings any object that the user desires.
The Productivity Box is a device that is used to enhance productivity. It has a special clock displaying the day of the week and time with milliseconds. The device can be flipped to move into a focus mode.
Based on the ability to address real-world problems and the time needed to complete the project, I have selected the dry material dispenser as my main project.
Dry Material Dispenser
p>The Dry Material Dispenser was selected for the final project because it aligns well with these criteria while solving real-world problems. It offers a practical solution for measuring specific quantities of dry materials, which can be particularly useful in a kitchen setting. The device is ideal for individuals who require precise portions of food, such as bodybuilders, dieters, or anyone with specific nutritional needs. By automating the measurement of dry materials, it simplifies meal preparation and ensures accuracy.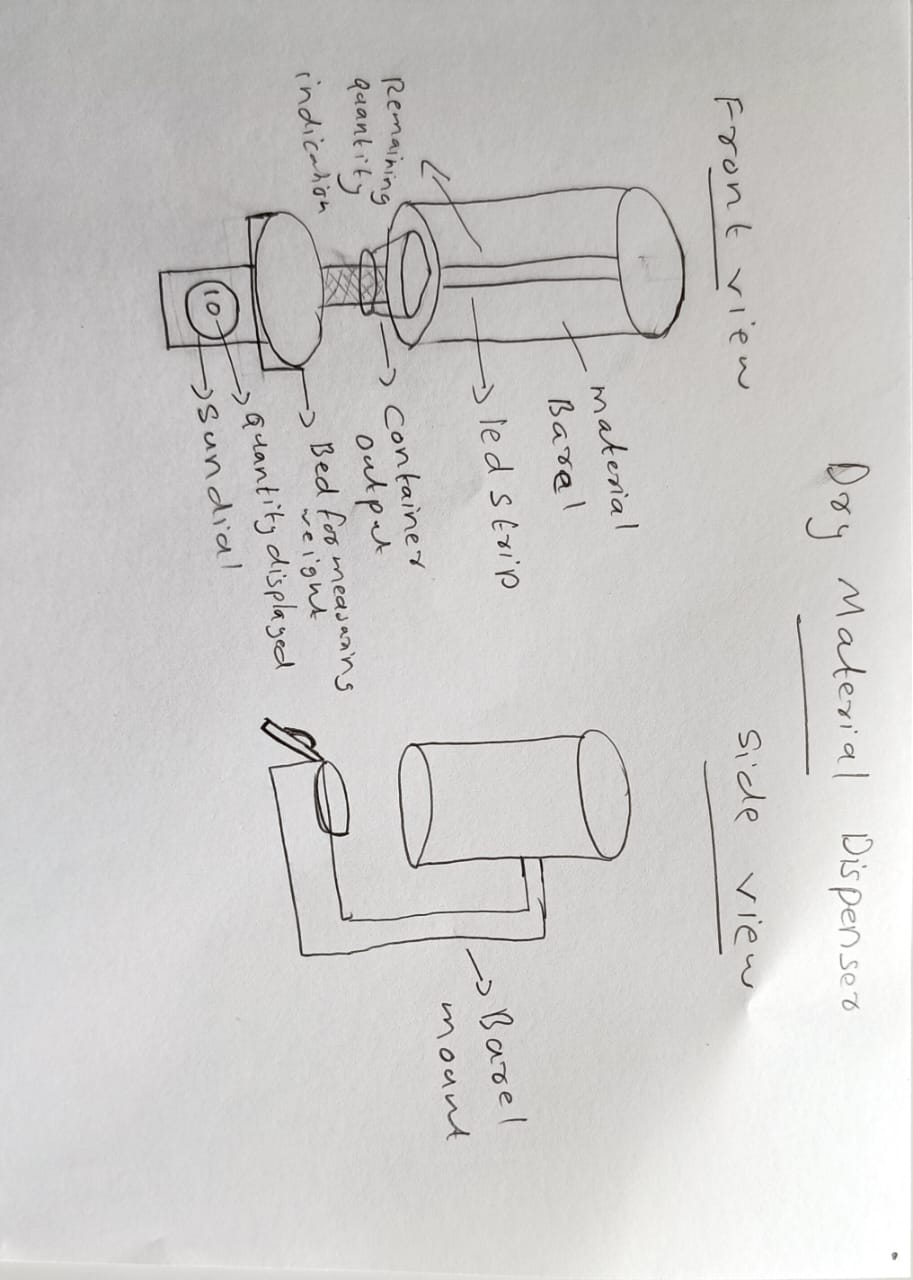
This is a rough sketch that I have made for the device. The device basically consists of a main barrel, a measurement base, and a display with a sun dial for inputting the required quantity. The material can be added from the top of the material barrel, and it comes out through the opening at the bottom. The bowl for collecting the material can be placed on top of the bed. The sun dial is used to input the desired quantity, and the quantity is displayed at the center of the dial.
Sun dial reference:Click Here
Website Building
The documentation done during the Fab Academy is displayed on the website. To get started with building a website, we first need a system to manage all the different versions of the website that we are going to make. For this, we use Git and GitLab.
Git is a distributed version control system that helps developers track changes to files and collaborate on projects efficiently. GitLab is a web-based Git repository manager that provides version control, CI/CD (Continuous Integration/Continuous Deployment), and collaboration tools. It helps teams manage their projects and code in an organized and efficient way.
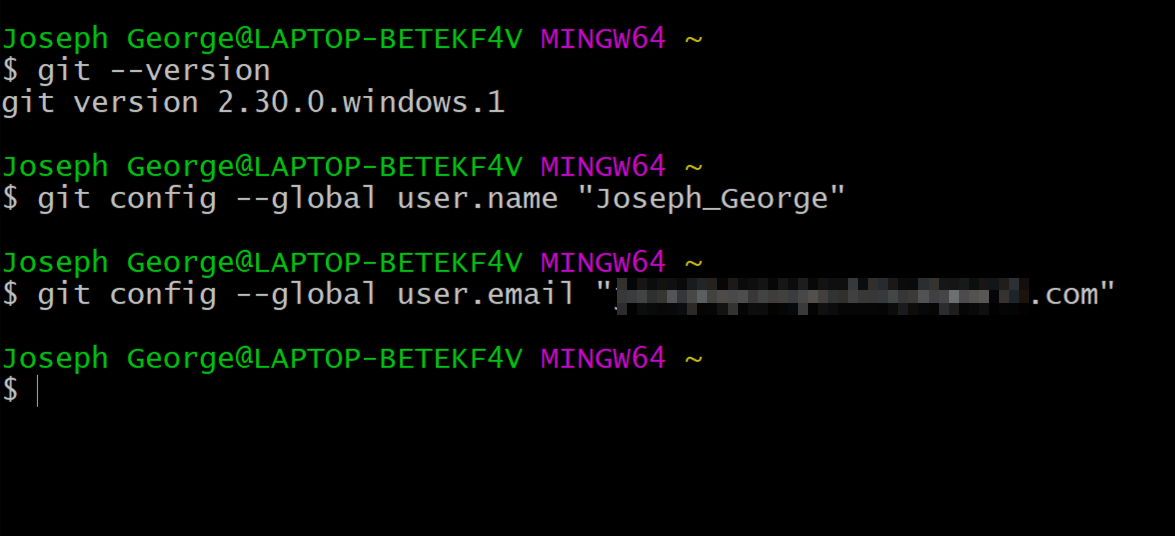
To get started, first create an account on the GitLab website and install Git on your local computer. Git can be downloaded from the offical website and installed on the computer.I Installed git because I am using windows operating system. If you are using a Linux operating system then you don't need to install git. For MAC OS git installation is required. After installing Git, we can check the version by running the command:
git --version

The next step is to assign a username and email id to identify the person who is going to make a change in the repository. i.e. it is used to identify you as the author of the commits you make in Git.
The user name can be added by runnning the command:
git config --global user.name "(USERNAME)"
The email can be added by running the command:
git config --global user.email "(ENTER EMAIL ID)"
Now to check whether the previous steps are executed properly, run the following command:
git config --global --list

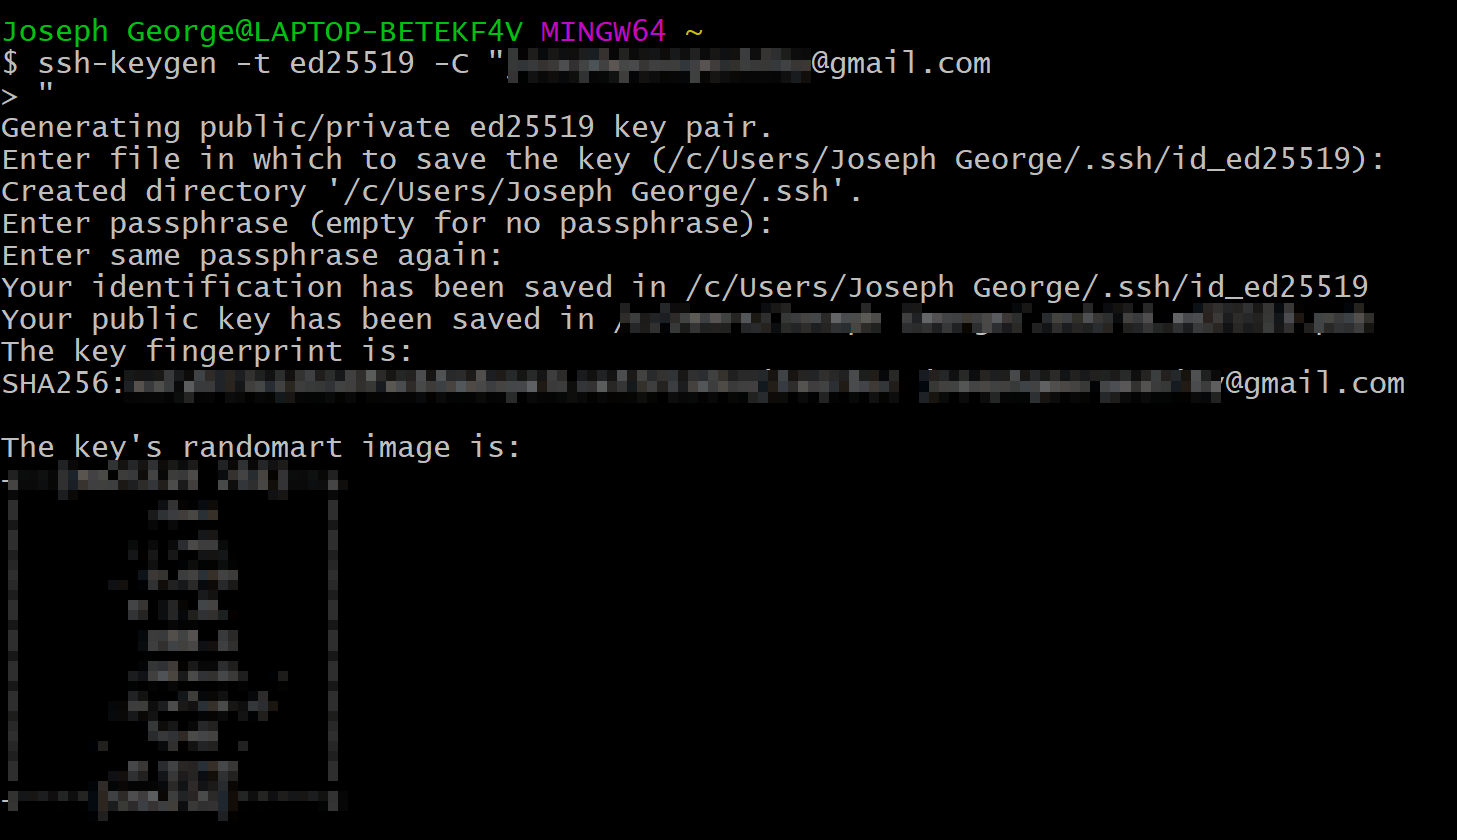
The next step is to create a link between the local git and the git lab account. To make the connection between them we need to create some kind of identification code. It is done by the method of ssh tunnelling. In this process two keys are created, one is public and the other is private. Public and private keys ensure secure and password-less authentication for SSH tunnelling. They are vital for establishing encrypted tunnels to forward traffic safely between your local and remote systems.
The public and private key is generated by running the following command:
ssh-keygen -t ed25519 -C "(EmailHere)"
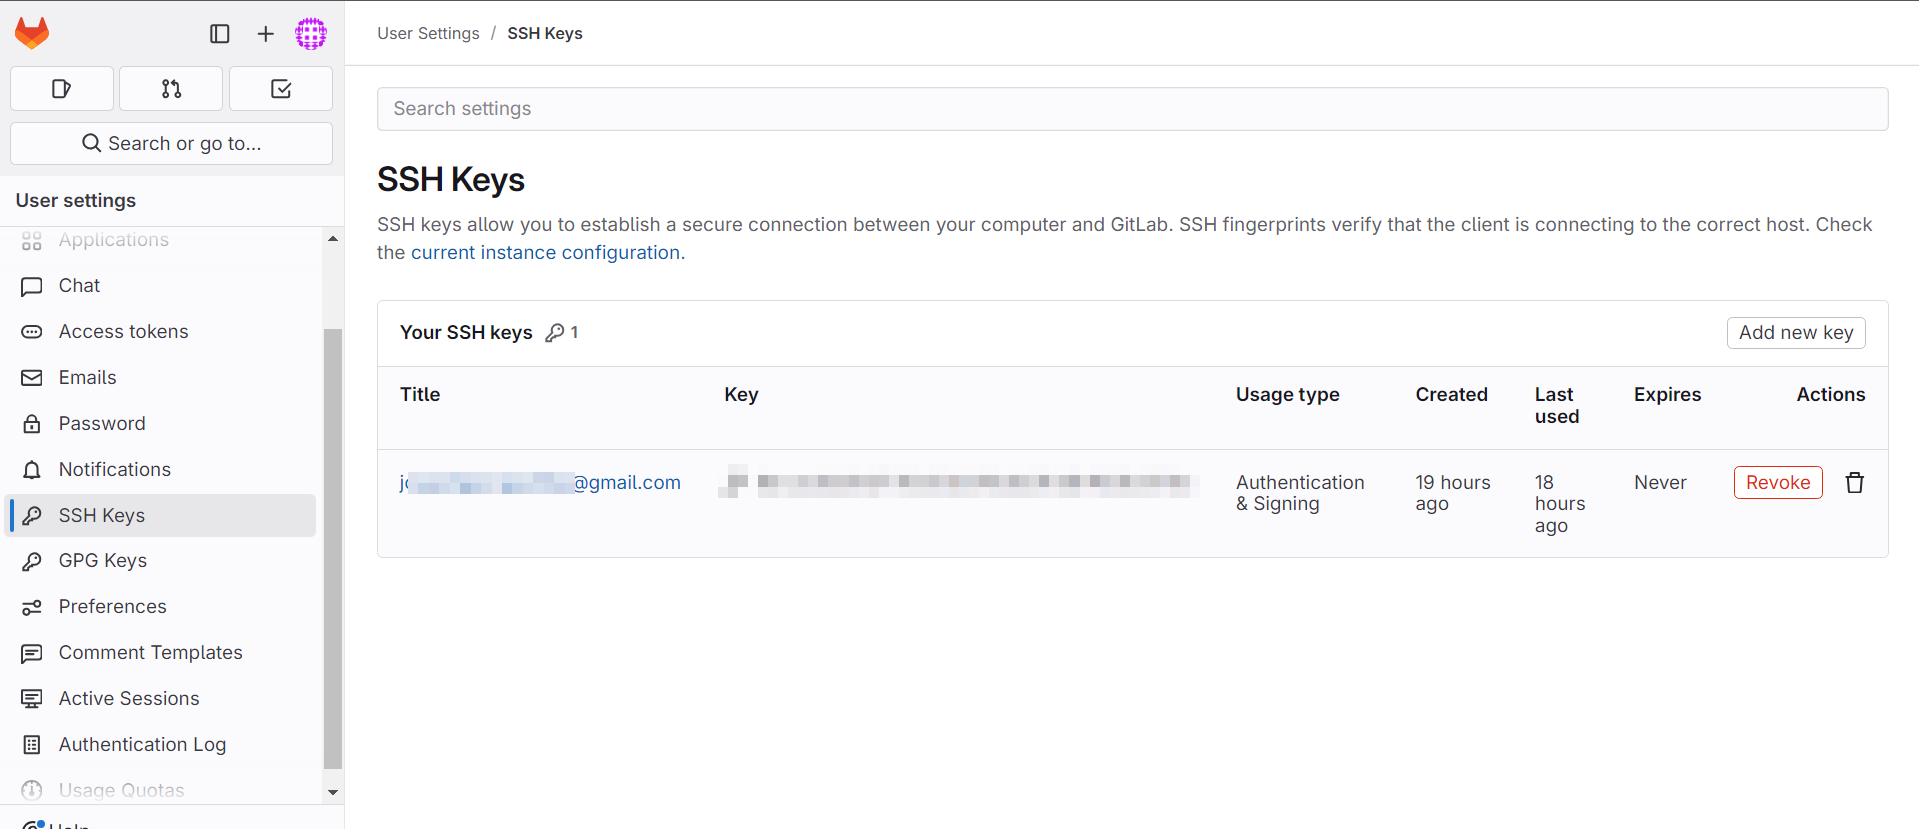
Add the generated pubic key to the gitlab website. The public key can recopied form the path generated. The option to add the key can be found in User Settings > SSH > Add Key
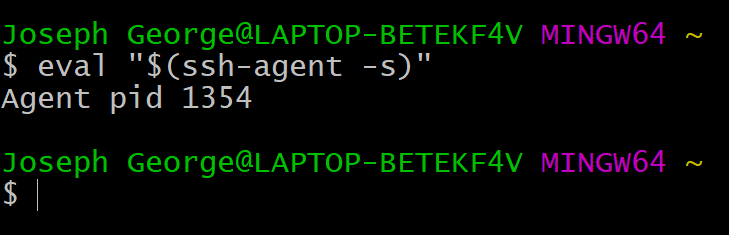
Now run an eval command to start the SSH agent and make it available in the current shell session. This step is optional
To clone a file from the GitLab repository, first open Git in the folder where you want to clone the repository. This can be done by right-clicking the folder and selecting 'Git Bash Here.'
Now copy the repository public key and use it in the next command

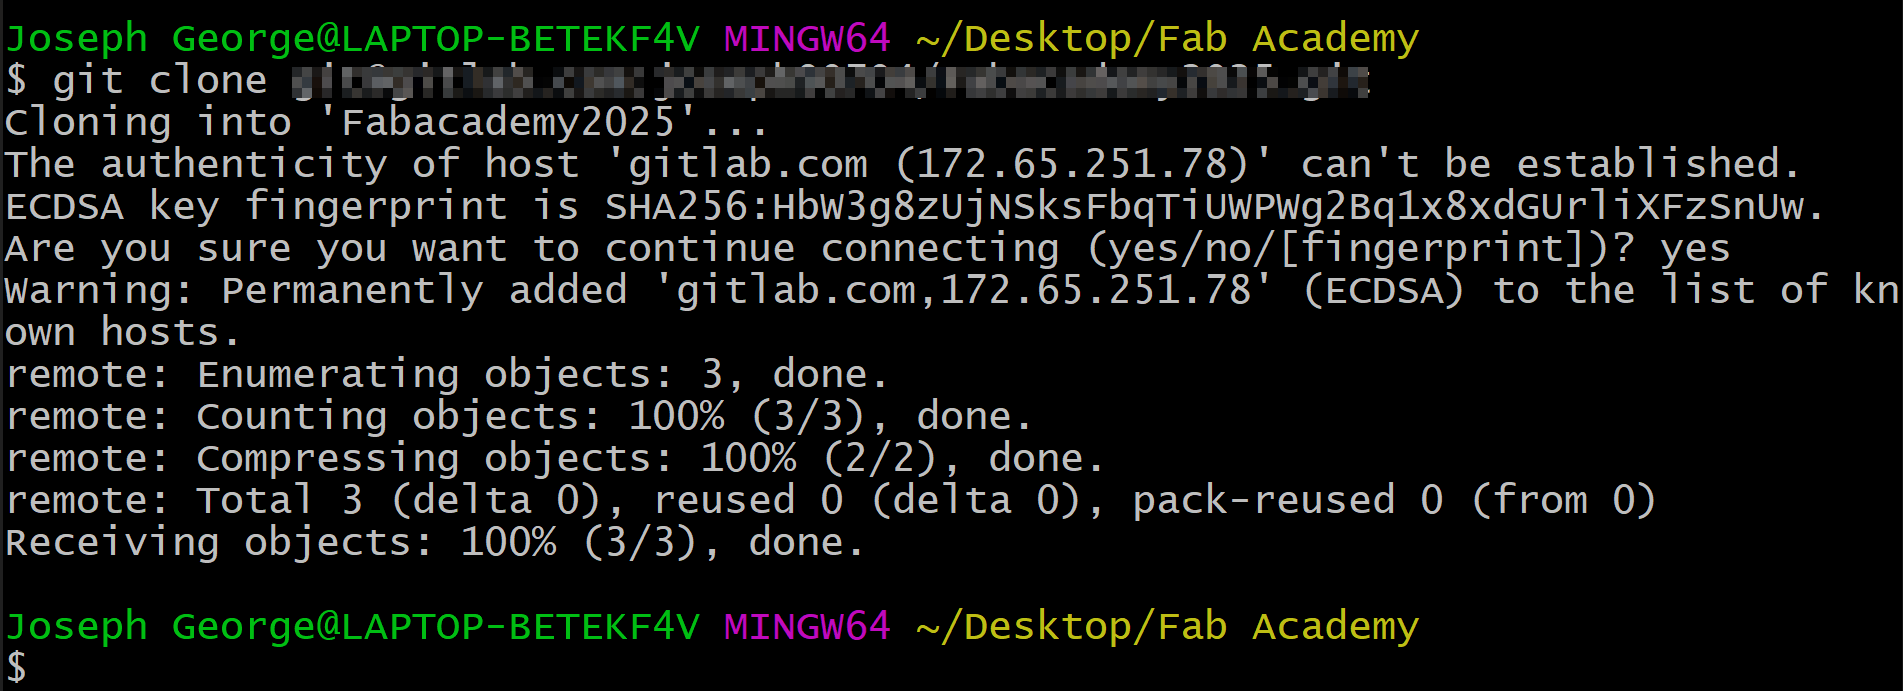
To clone the repository, run the following command:
git clone (Paste Here)
Now we are all set to build the wesite by modifing the code in the local repository
After making changes in the local repository, follow the next steps to make that change global
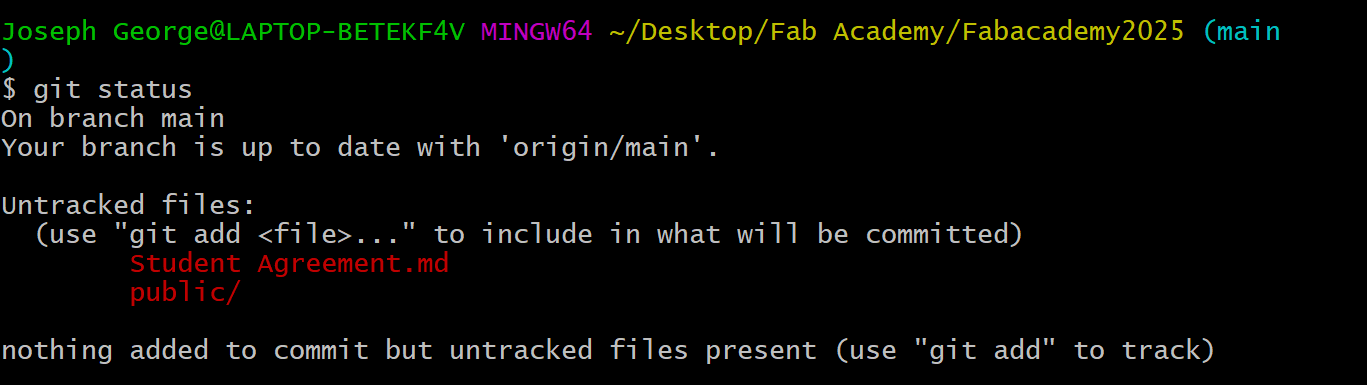
To check whether any new any modifiaction is done in the repo,run the following command
git status
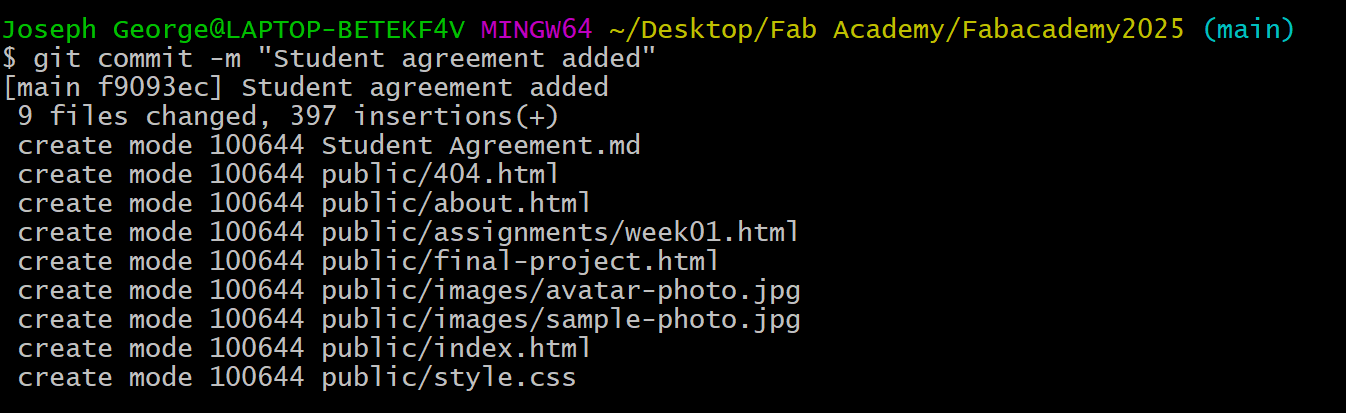
Now to commit the change into the git, run the following command
git commit -m "(Enter message)"
The part after -m is to display a custom message while commiting the change. So when ever we come back and look at a commit we can easily identify what kind of change was made
Now to esure that the commit was done properly or to check all the previous commits, we can run the following command:
git log
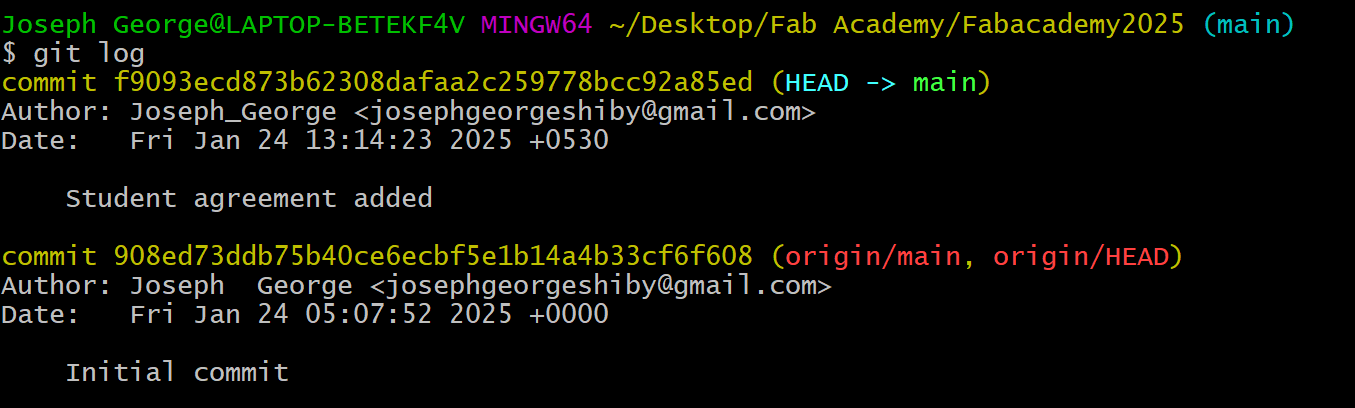
In the git log table we can observe all the changes or commits made
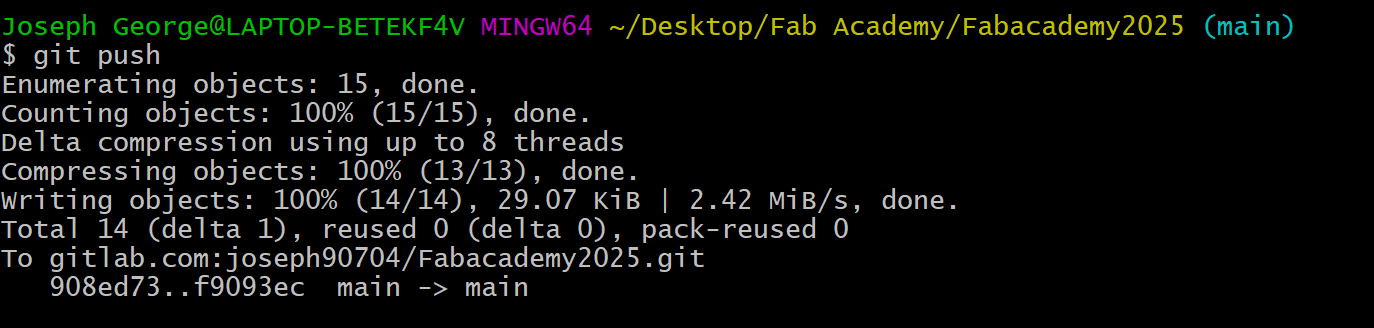
Now to make this change global to be reflected in the fab academy website, we need to push this change in to the remote repository. To push it to the remote repository run the following command:
git push
_
Integrated Development Environment
An integrated development environment (IDE) is a software application that helps programmers develop software code efficiently. It increases developer productivity by combining capabilities such as software editing, building, testing, and packaging in an easy-to-use application. Just as writers use text editors and accountants use spreadsheets, software developers use IDEs to make their job easier.
Here I have used Visual Studio code as my IDE
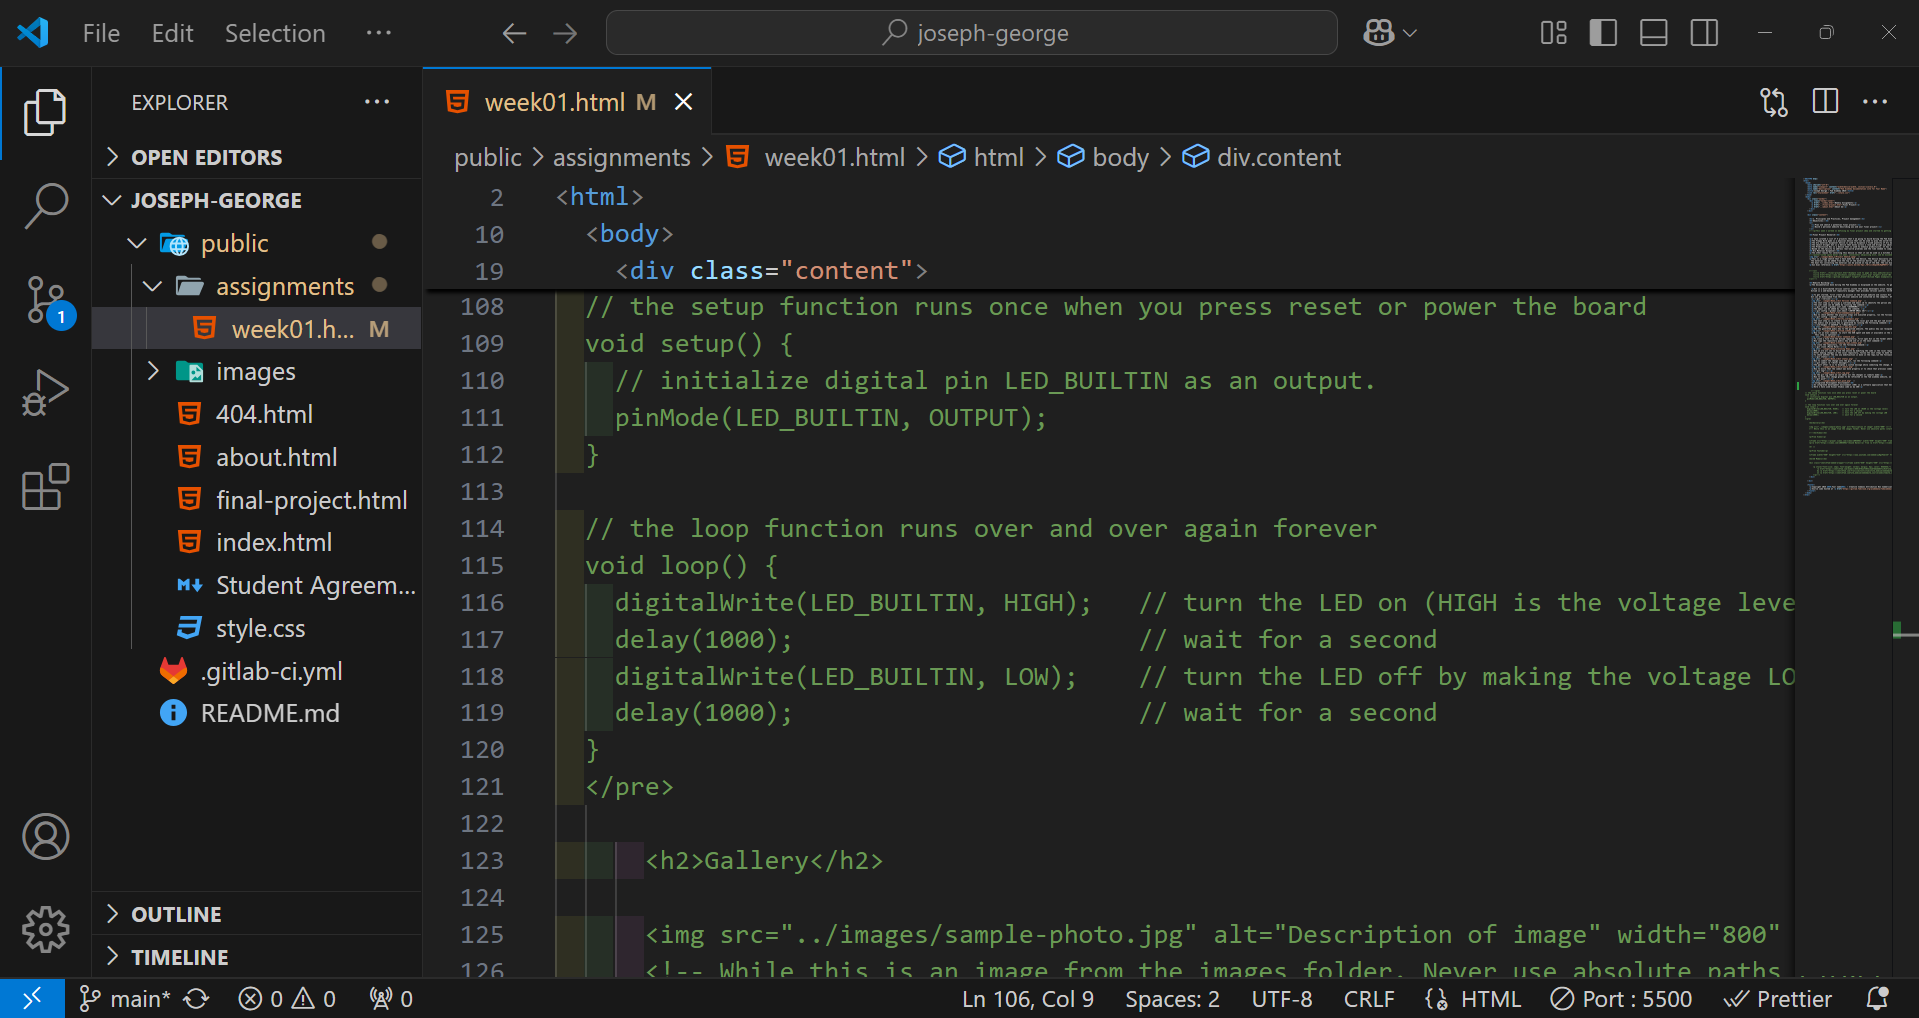
Basic extentions can be added to the IDE to make the coding process easier. I have installed two extensions: 'Live Server' and 'Auto Save'. Live server displays the changes that we have made in the browser. Auto save will automatically save the changes that we have made.
Live server extension is used to locally host the website in the browser. The auto save extension is used to save the changes made in the files automatically
The website is build using a markup language that the browser can understand. Markup languages, like HTML (HyperText Markup Language), are used to structure and format content on the web. They use tags to define elements within a document, enabling browsers to render the content visually for users.
Alongside HTML we can use CSS(Cascading Style Sheets) to control the style and appearence of the website
To get an idea on building a website, I created a simple website. I used w3school as a reference to build the website. I used an online tool to make and host the website initially. The link for the website is given under reference
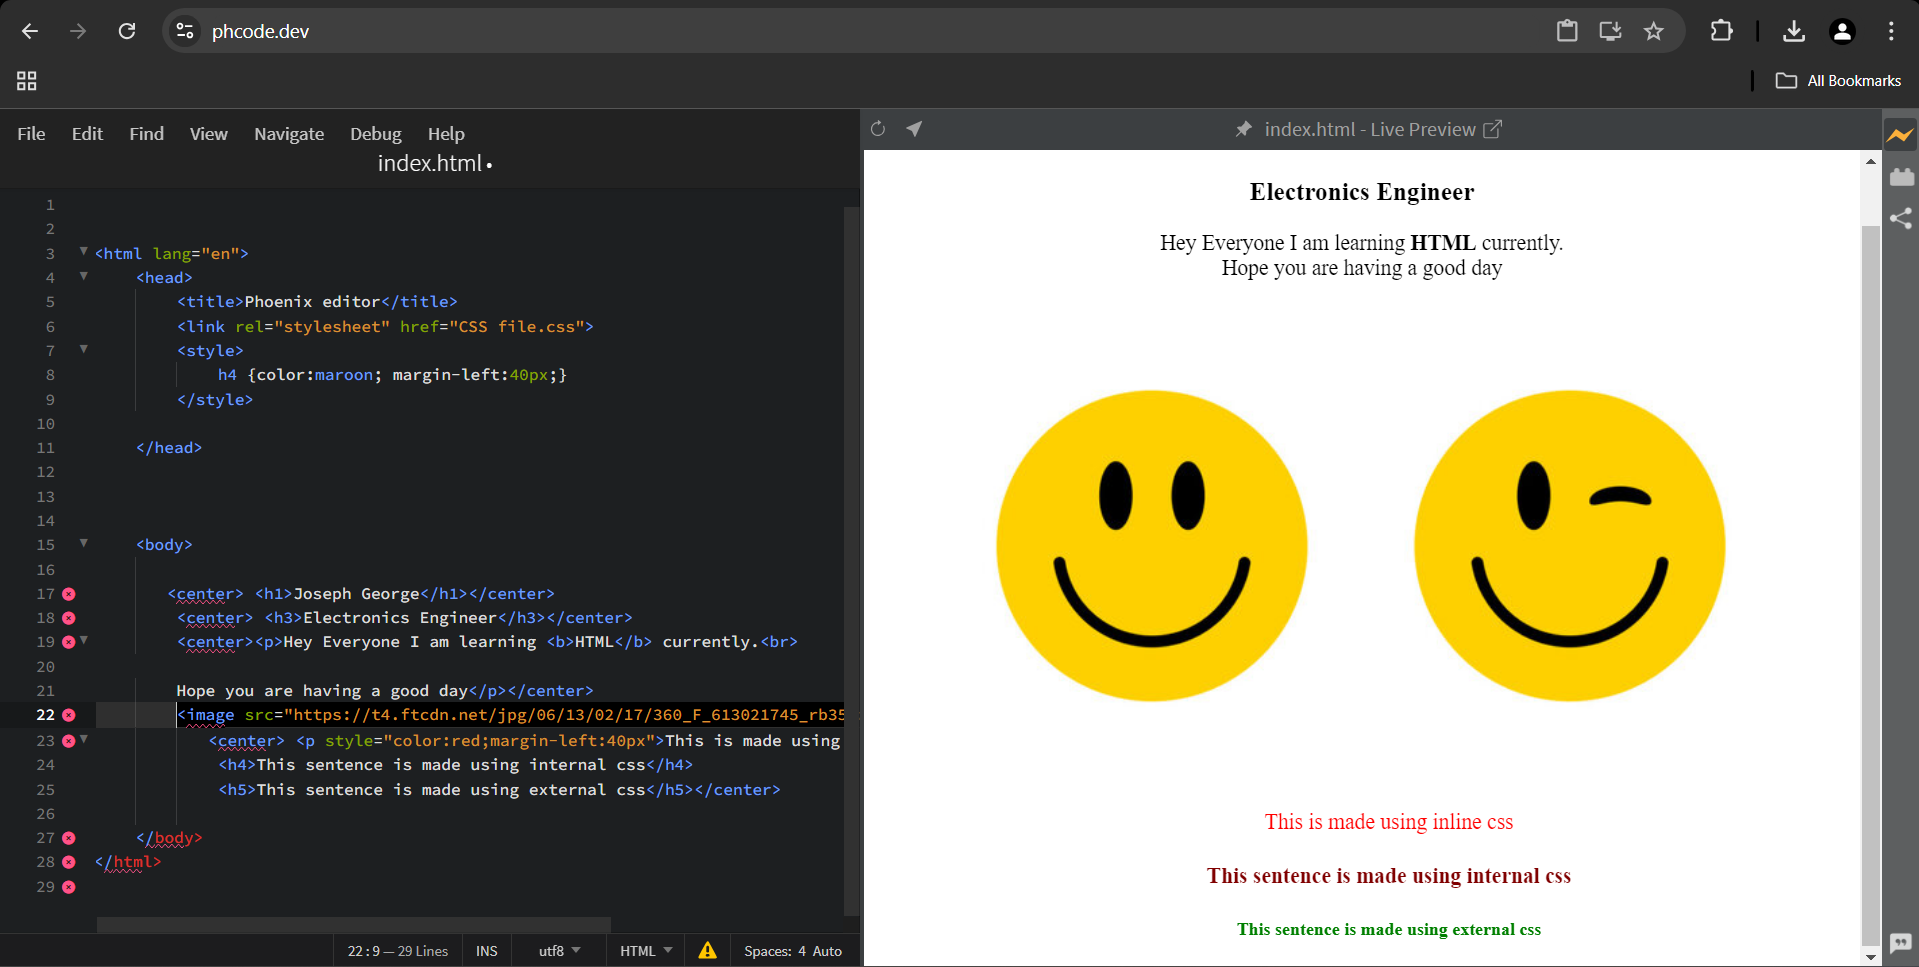
After getting an idea about building the website, I started to work on my offical fab academy website
here are the images of my initial website

_____________________________________________________________________________________________________________________________
_
I used a template to create my final website. I took the template form Free-css.com. The image of my new website is uploaded below
_
Conclusion
This week marked the beginning of my Fab Academy journey. The focus was on understanding the principles and practices of project management. I learned about Git and GitLab, essential tools for version control, which allow efficient tracking and collaboration on projects. Additionally, I explored the basics of HTML and used this knowledge to create a simple website. Applying what I had learned, I successfully customized my official Fab Academy website, making it more personalized and functional
_