Wildcard Week
- Design and produce something with a digital process (incorporating computer-aided design and manufacturing) not covered in another assignment, documenting the requirements that your assignment meets, and including everything necessary to reproduce it. Possibilities include (but are not limited to):
Digital Embroidery: Introduction
Digitalised Machine
Embroidery is the process of using a embroidery machine to create a pattern on a textile
of your choice, via special exported software format from your computer.
I found the idea interesting when we talked about it in the class, so I decided to design
something nice that can be embroidered on a t-shirt or a handkerchief.
As a preparations step, I found the guide for our
brother model
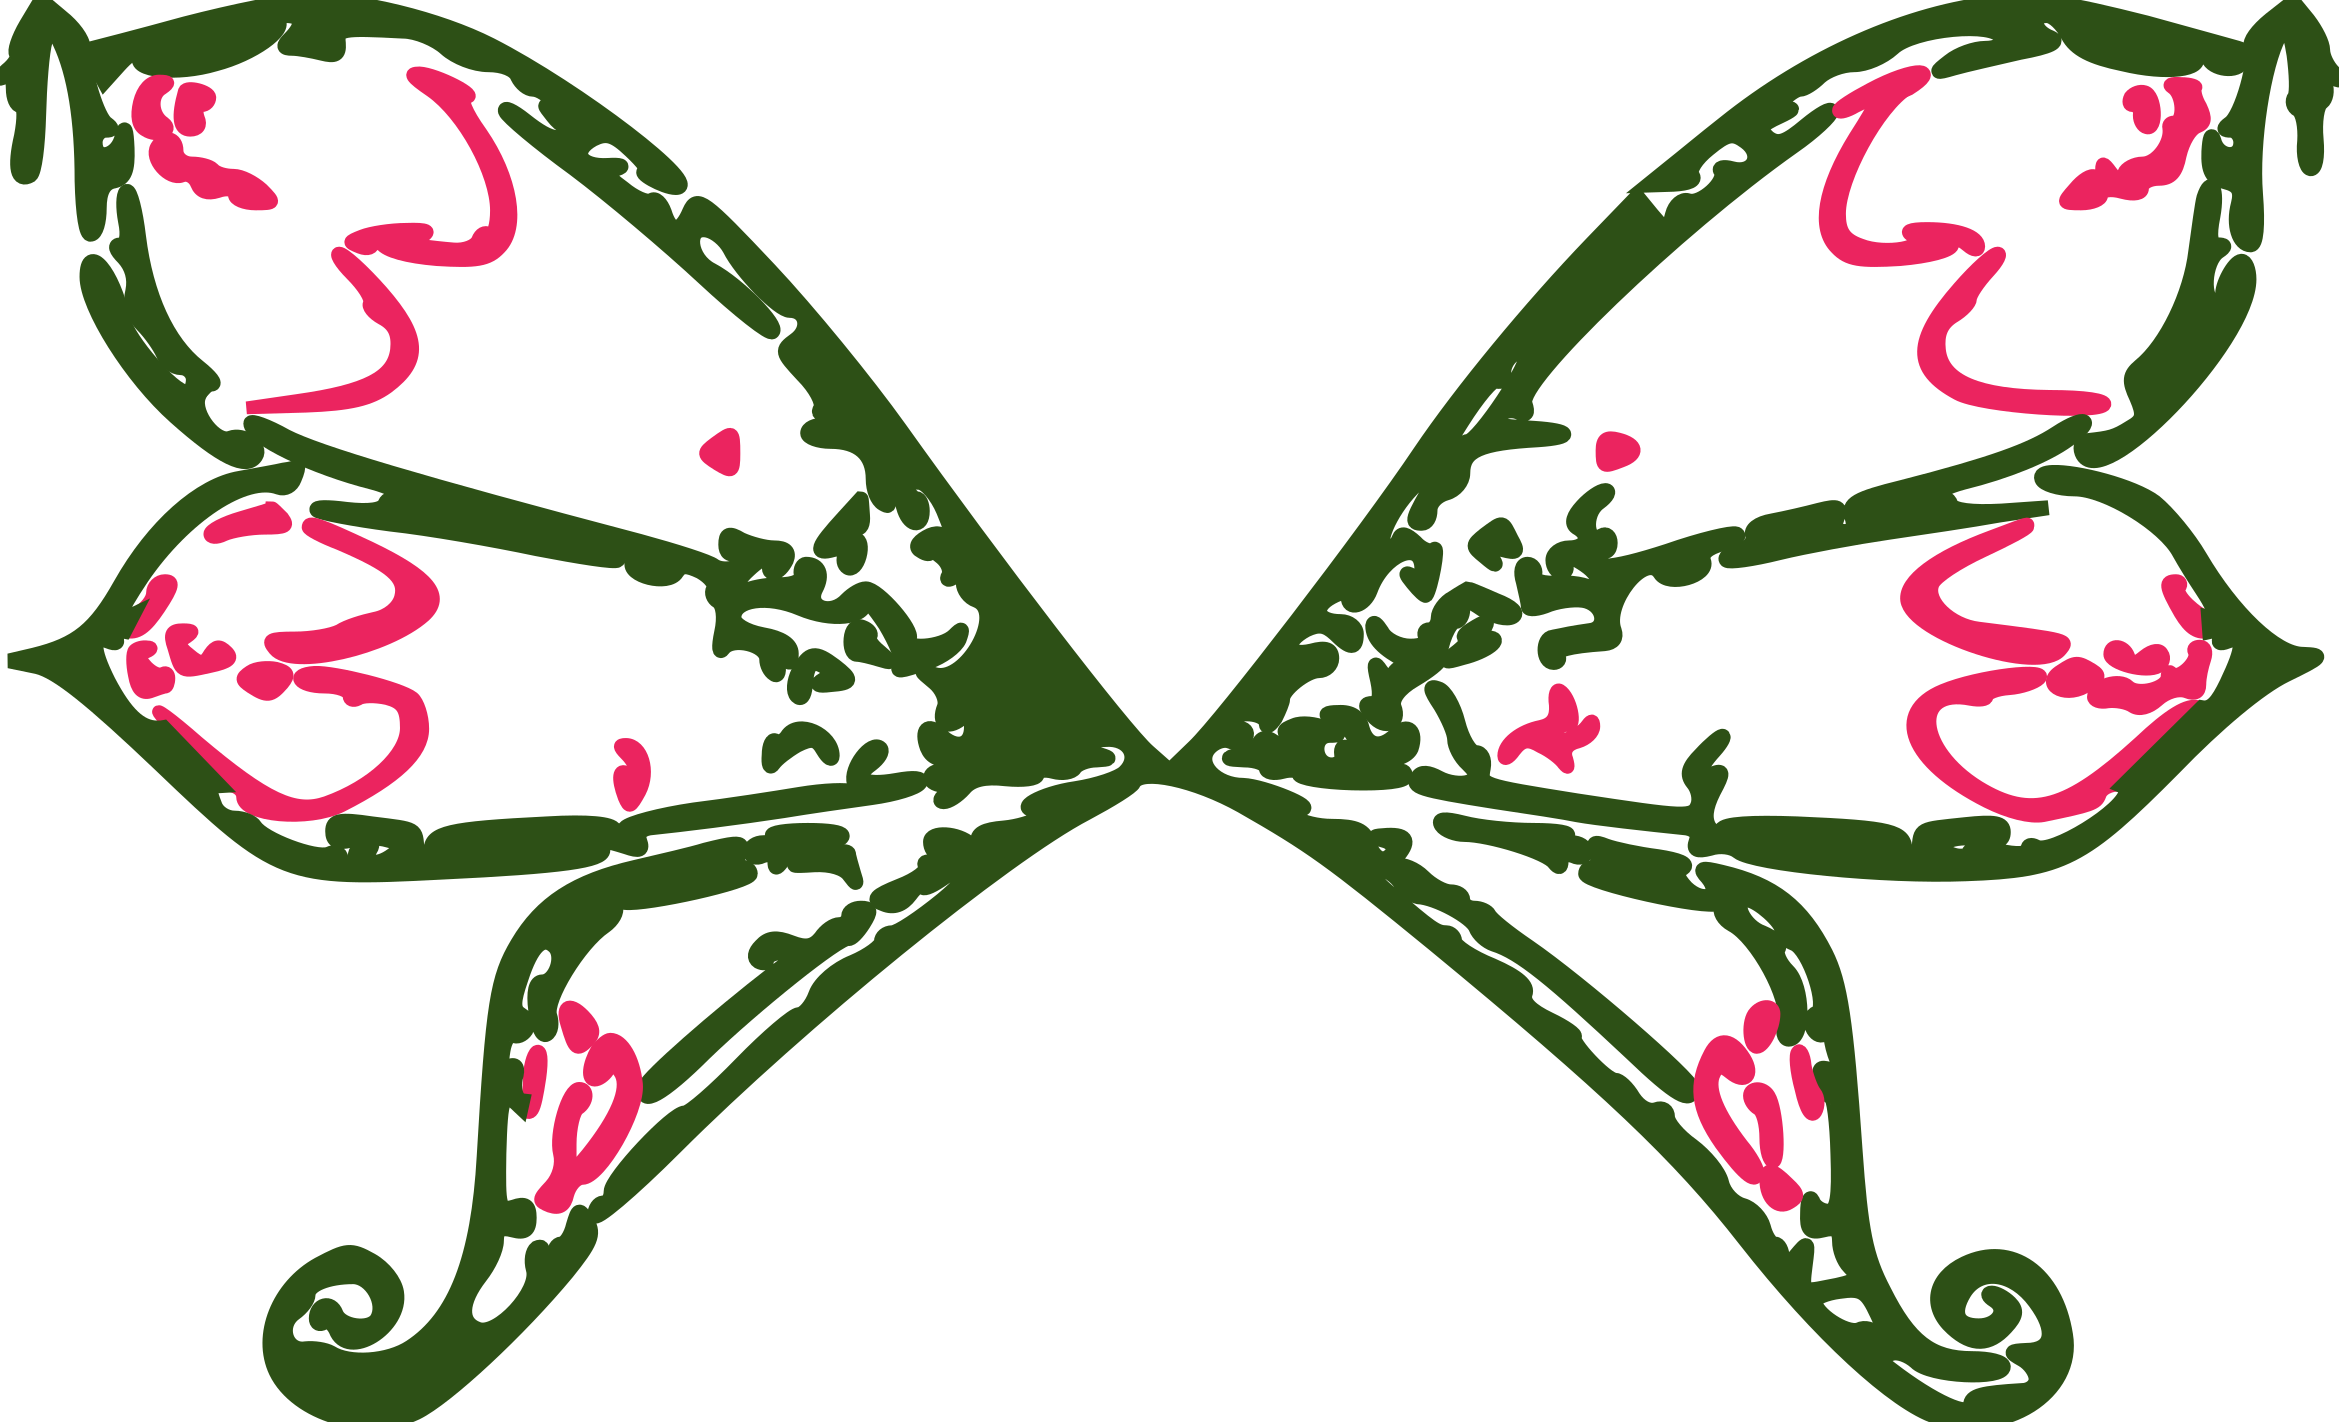
PR655 embroidery machine and I scanned through it. Then, I found online
a beautiful fairy with butterfly wings, and decided to embroider this after adding my touch to
it!.

Embroidery Design Preparation: Inkscape
First, I downloaded the .png,
and I used pic-svg converter to convert it to .svg file.
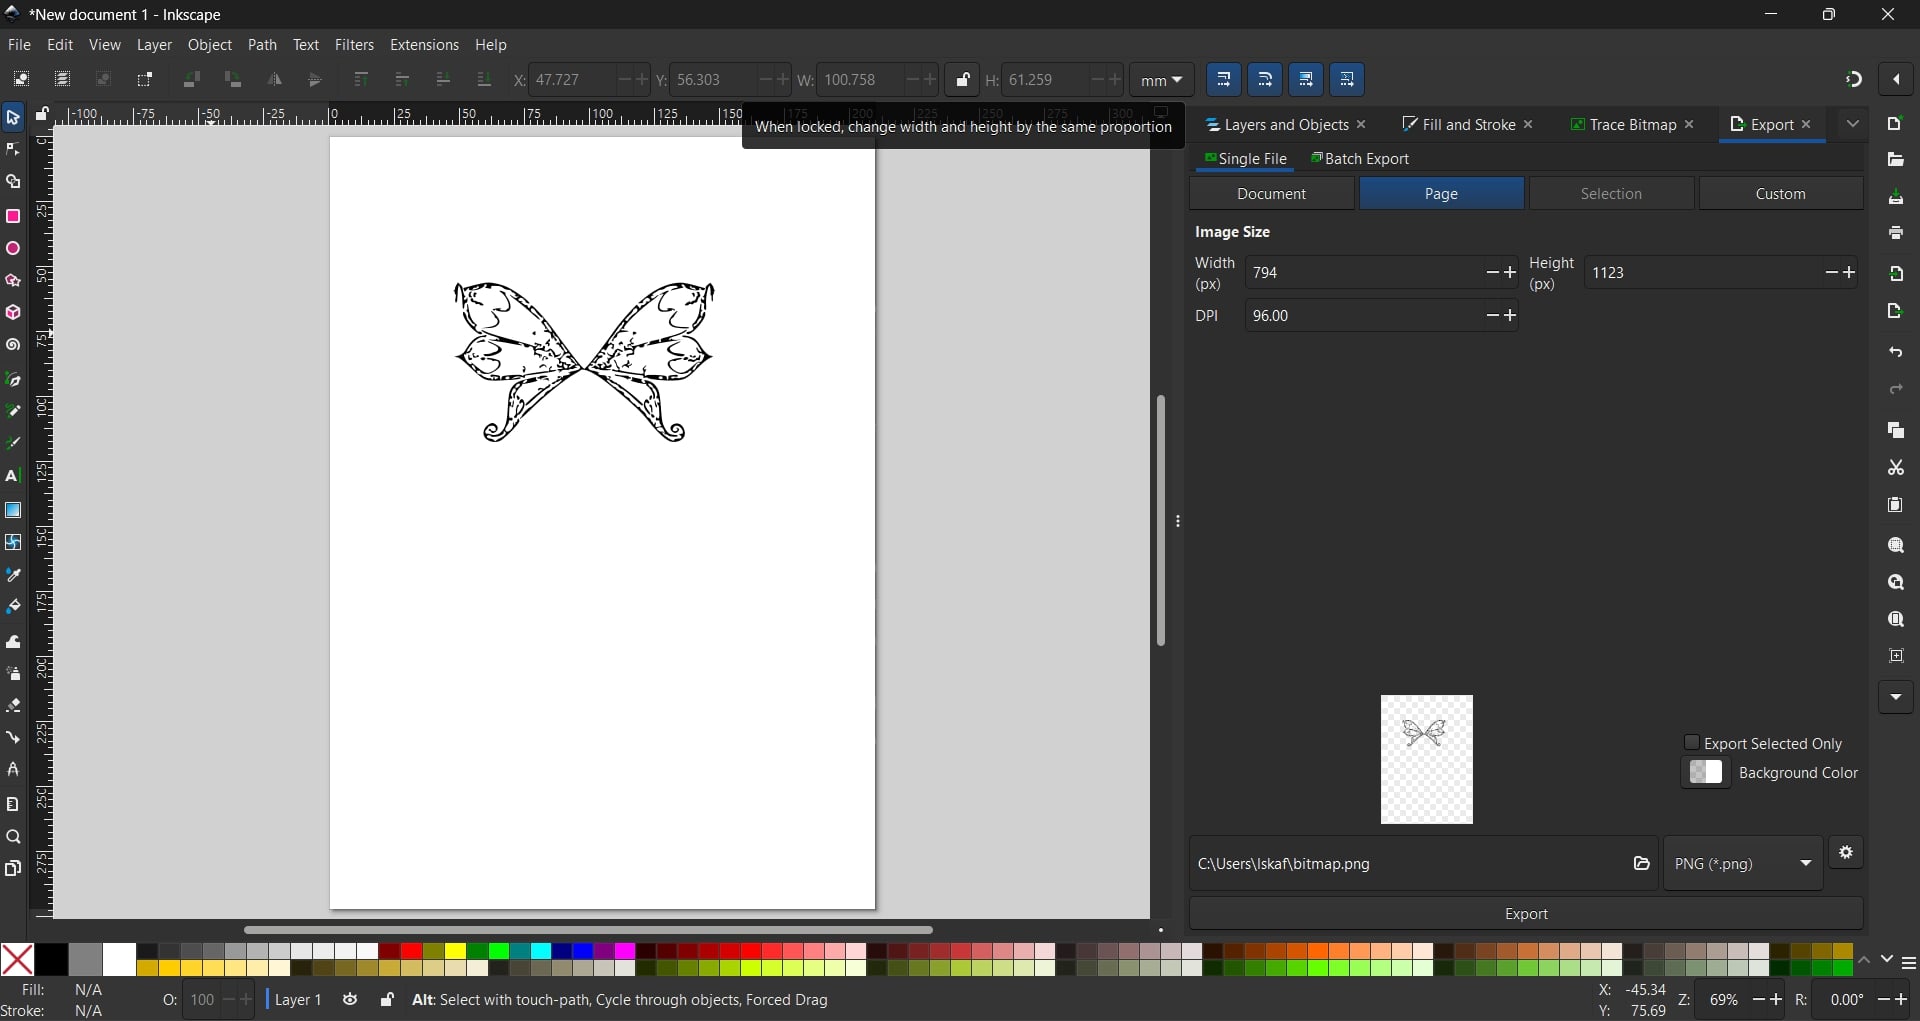
Now the butterfly is ready to manipulate!
In order to determine the size of the butterfly, I measured on my t-shirt how wide I wanted
the butterfly to be, and I determined I want it roughly ~ 220 mm wide.
Then I went to inkscape and I imported the
.svg file.
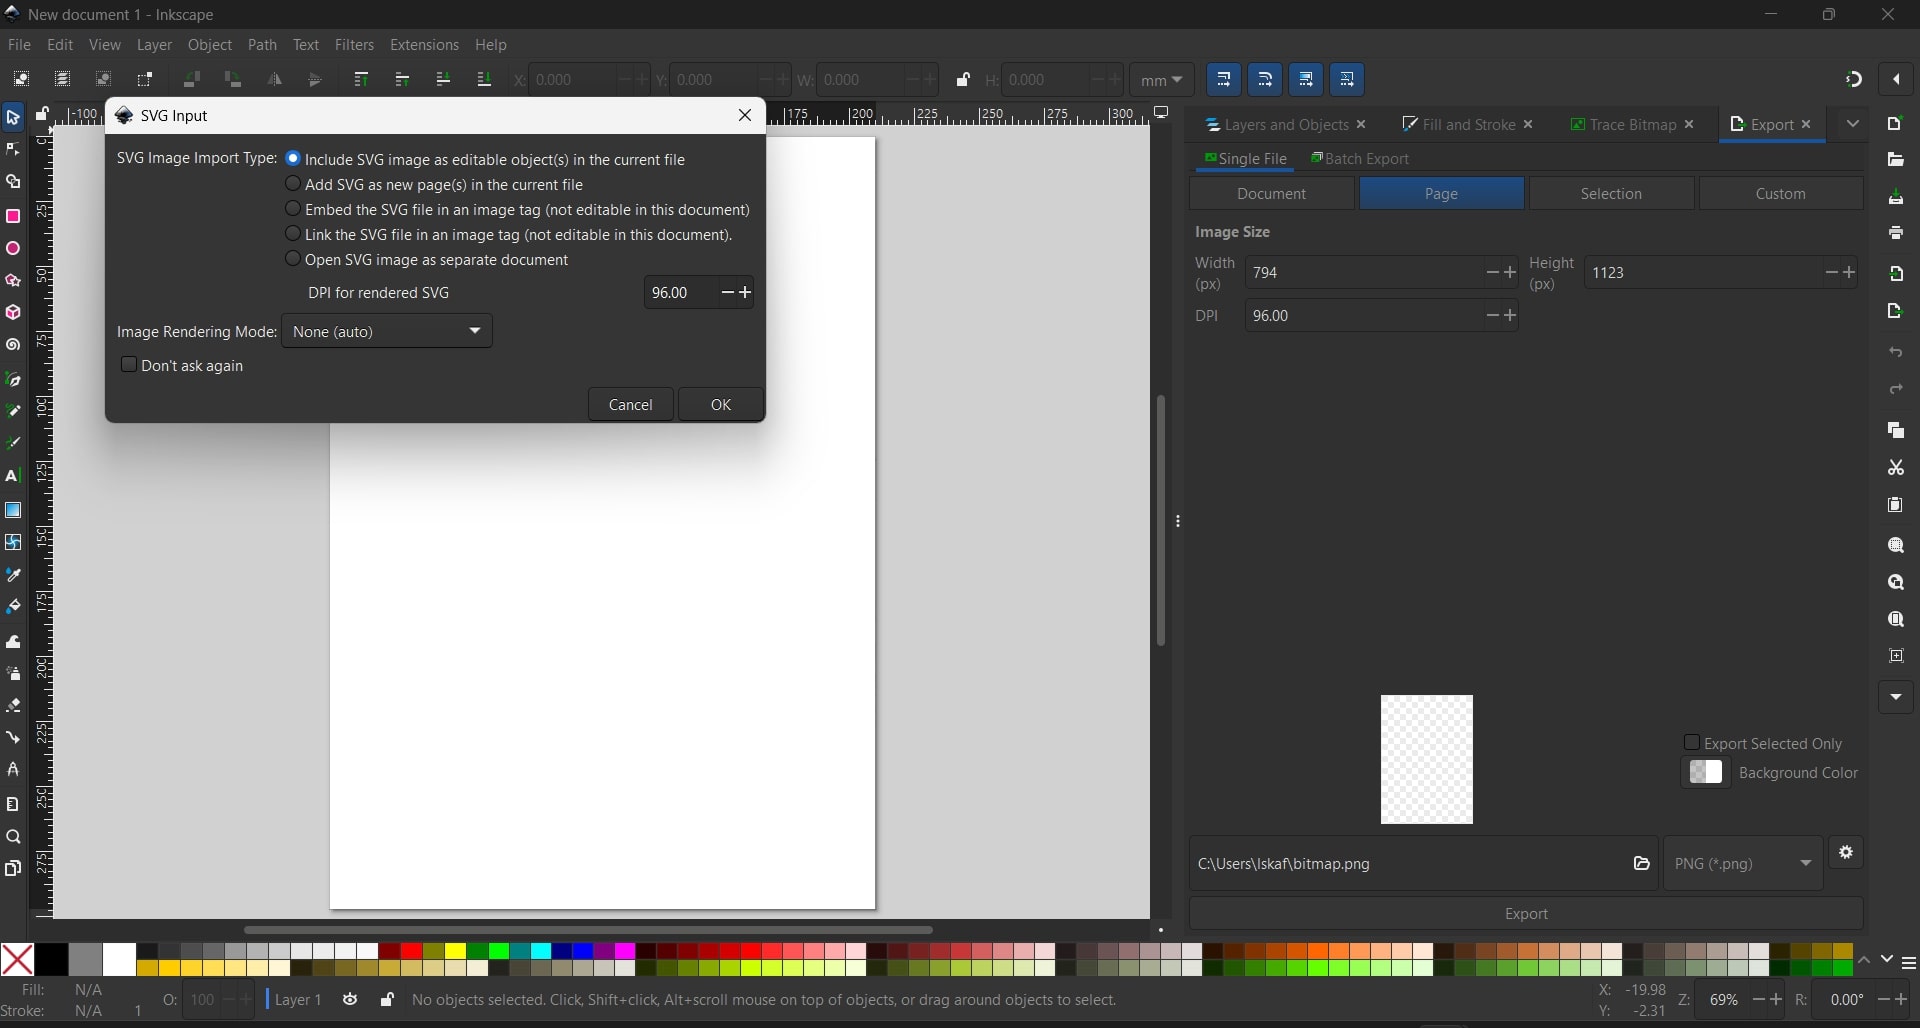
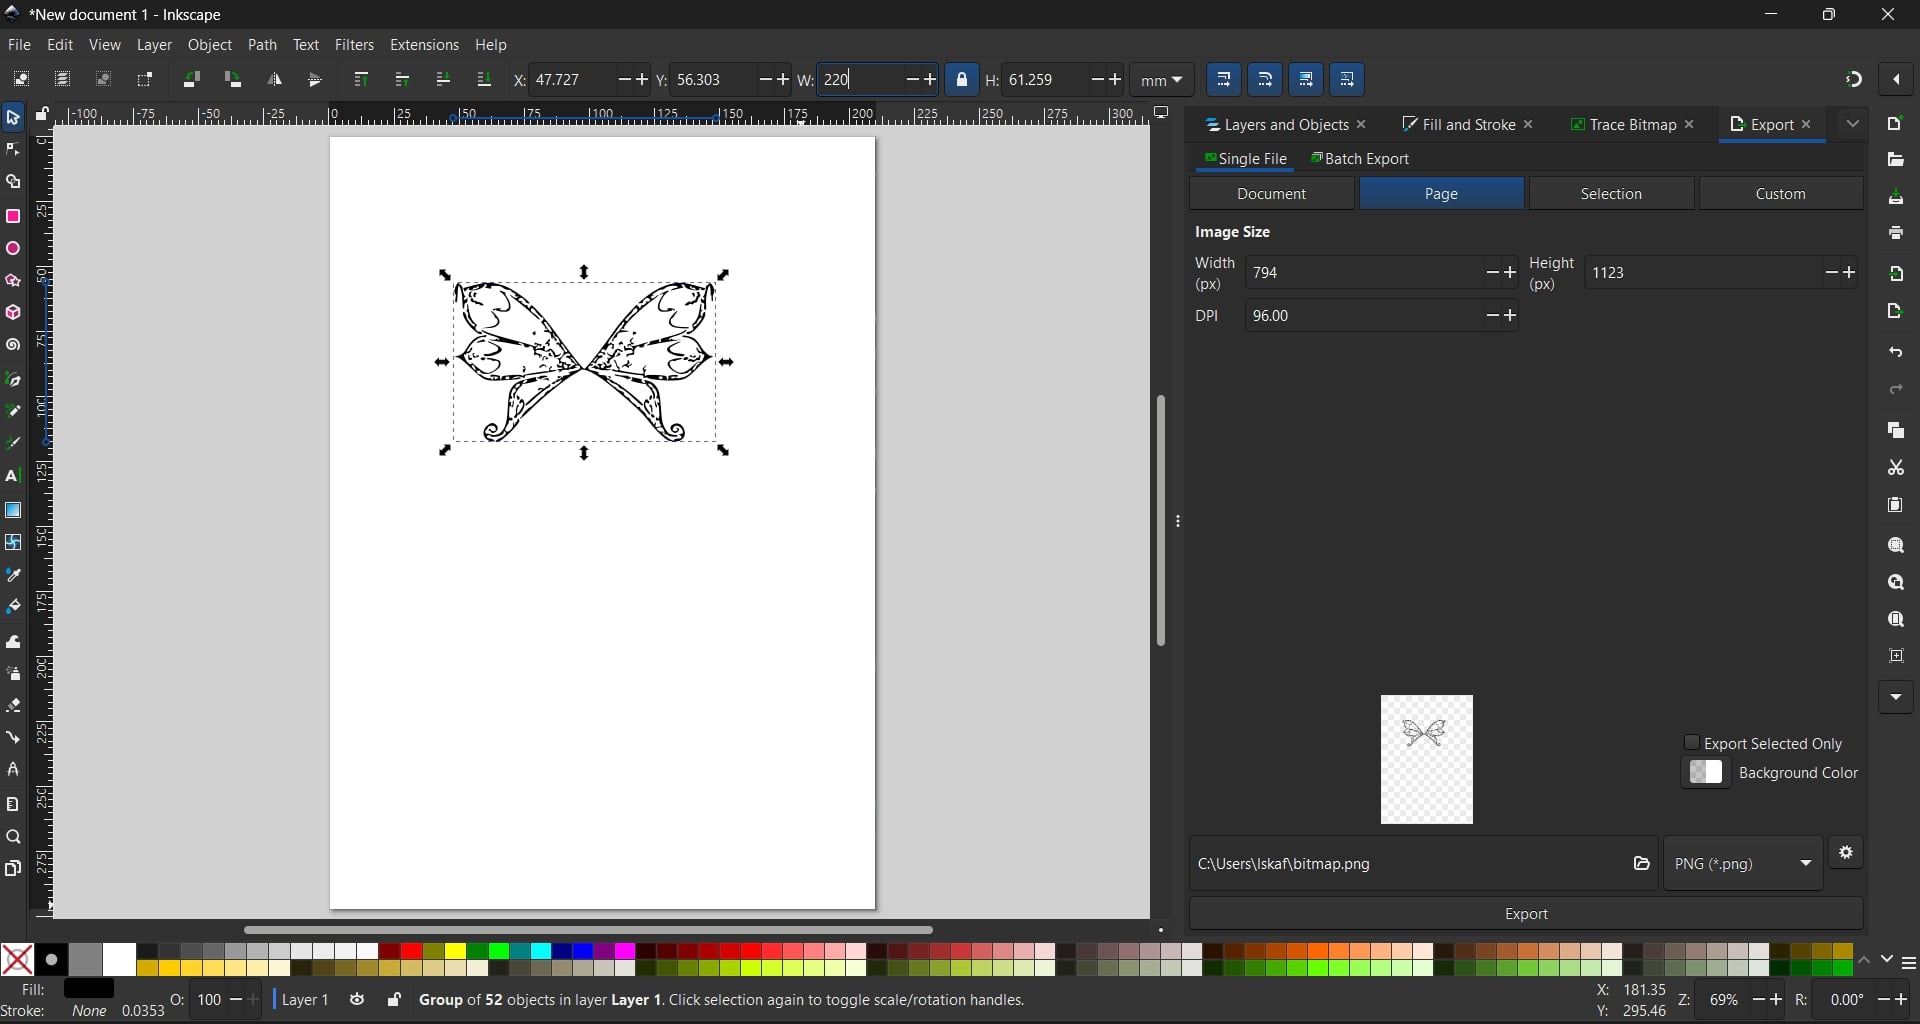
Afterwards, to scale it exactly as wide as I want, I hit the
lock icon next to H (Height) and W (Width) in the top toolbar. This
garantuees that it can scale up/ down your image without distorting the proportionality.
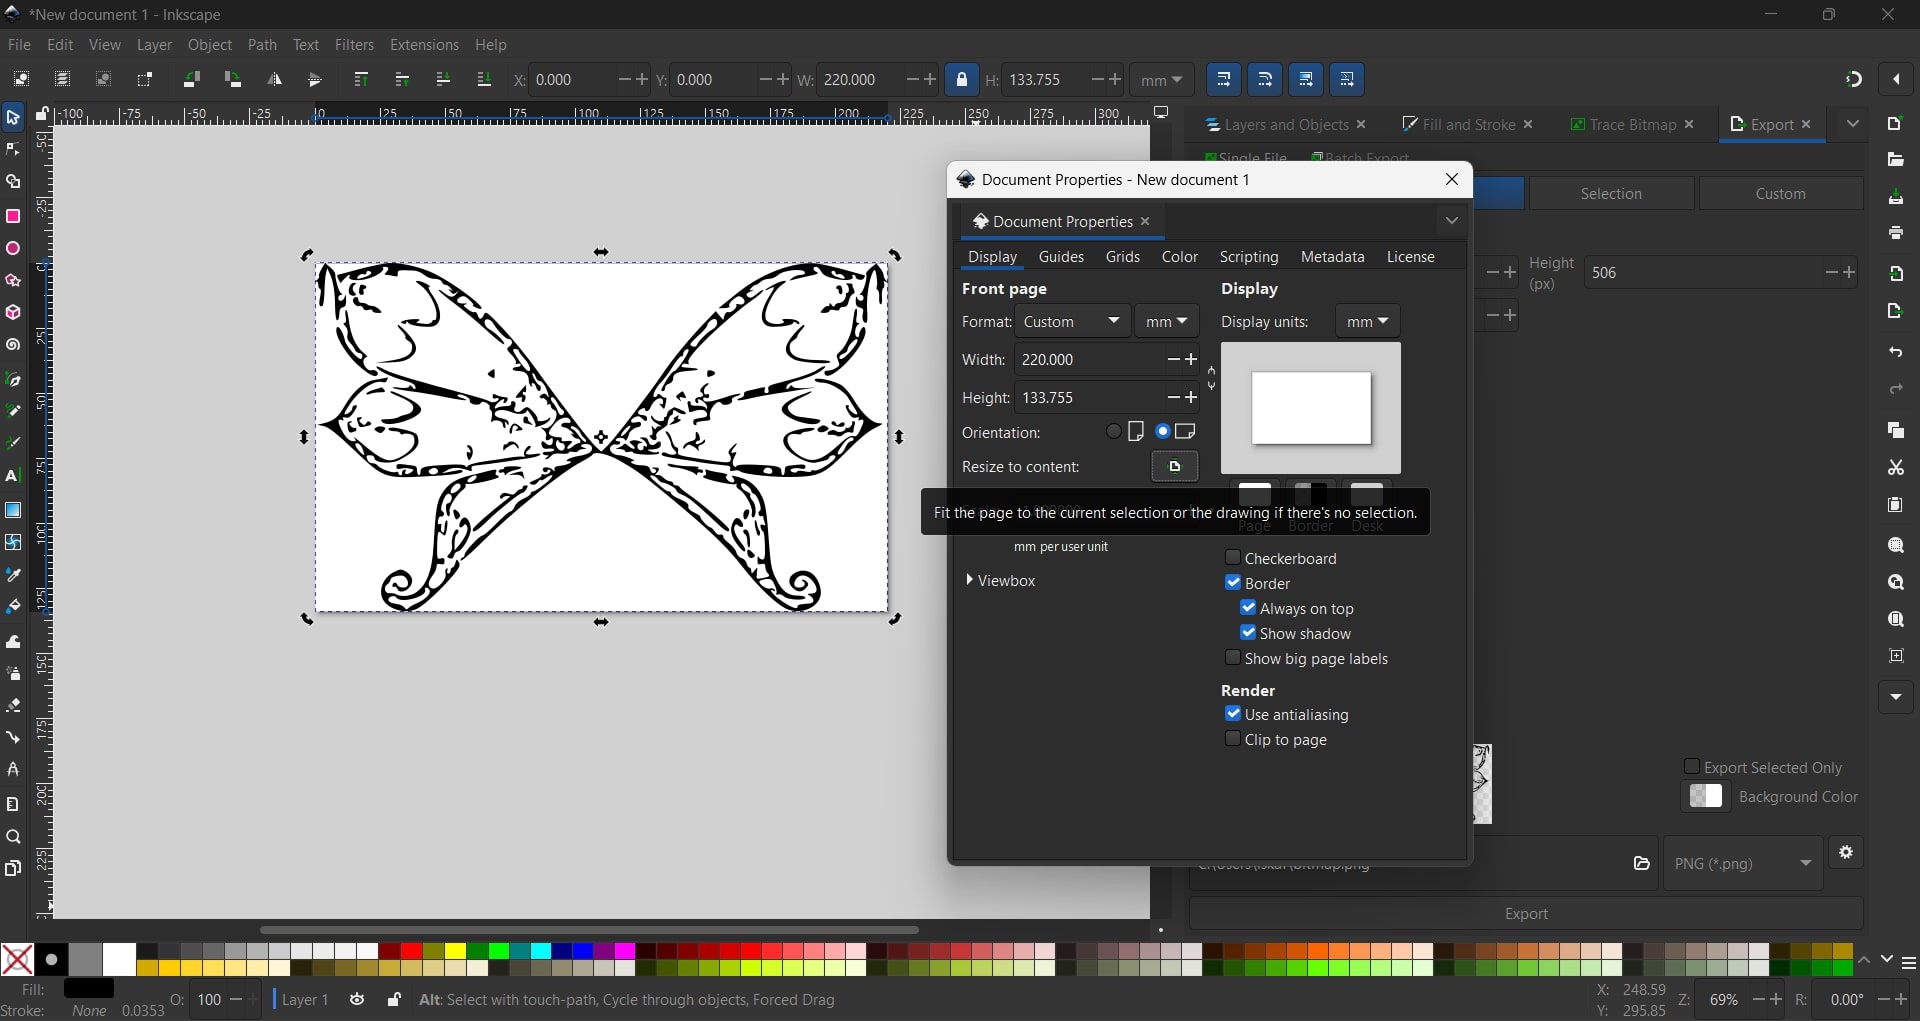
File → Document Properties, and clicked on Resize page to
content to size the page exactly to the dimensions of the selected drawing.
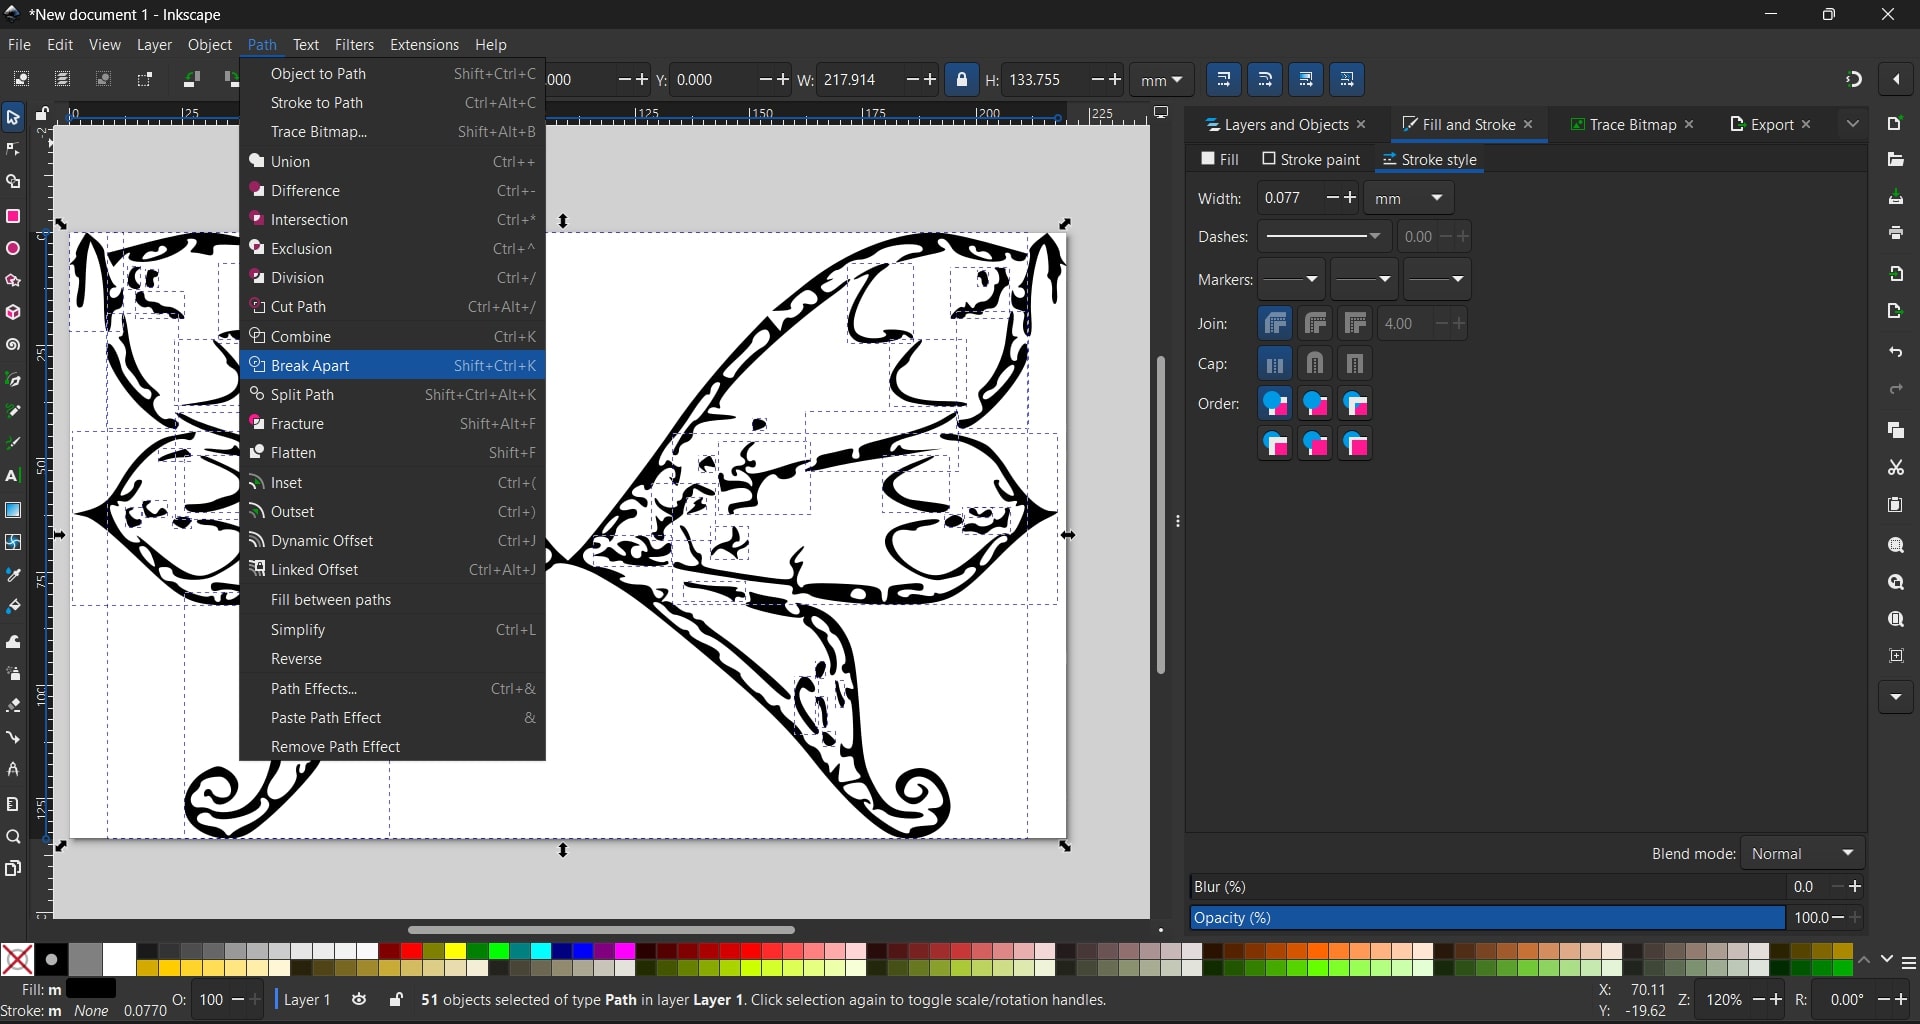
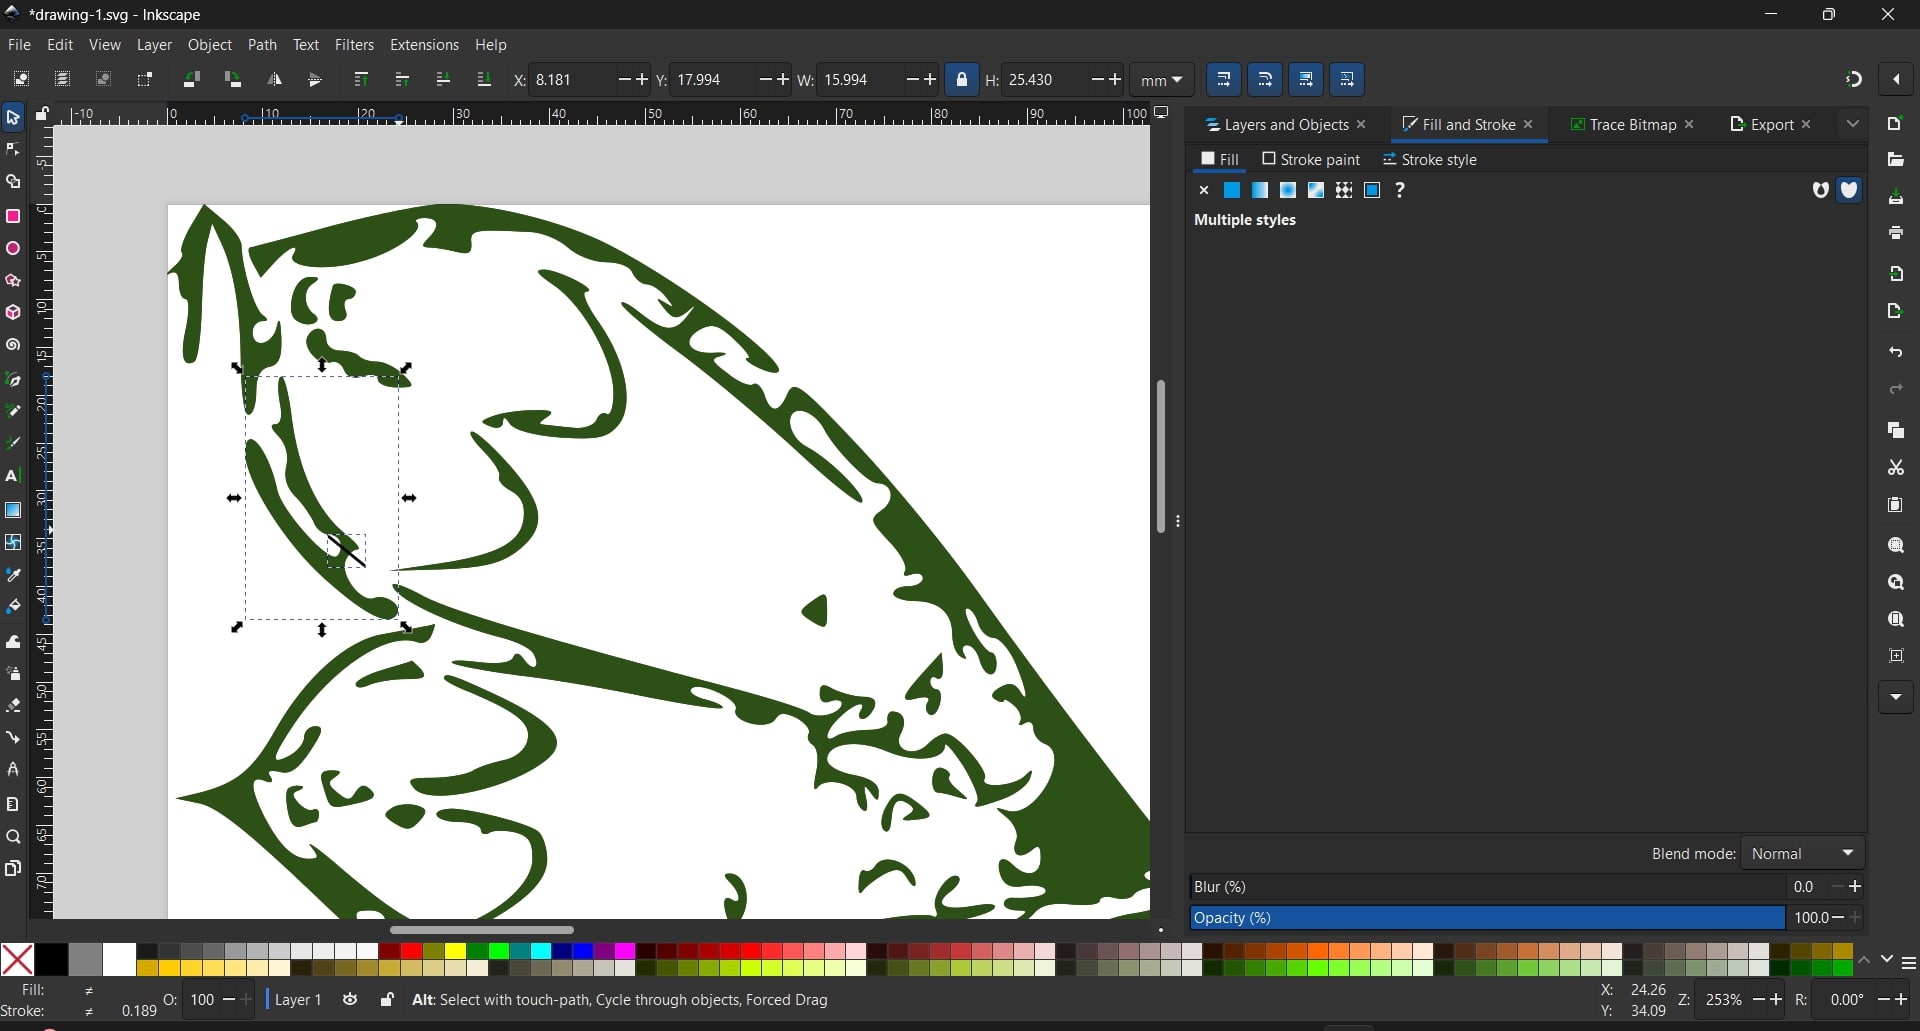
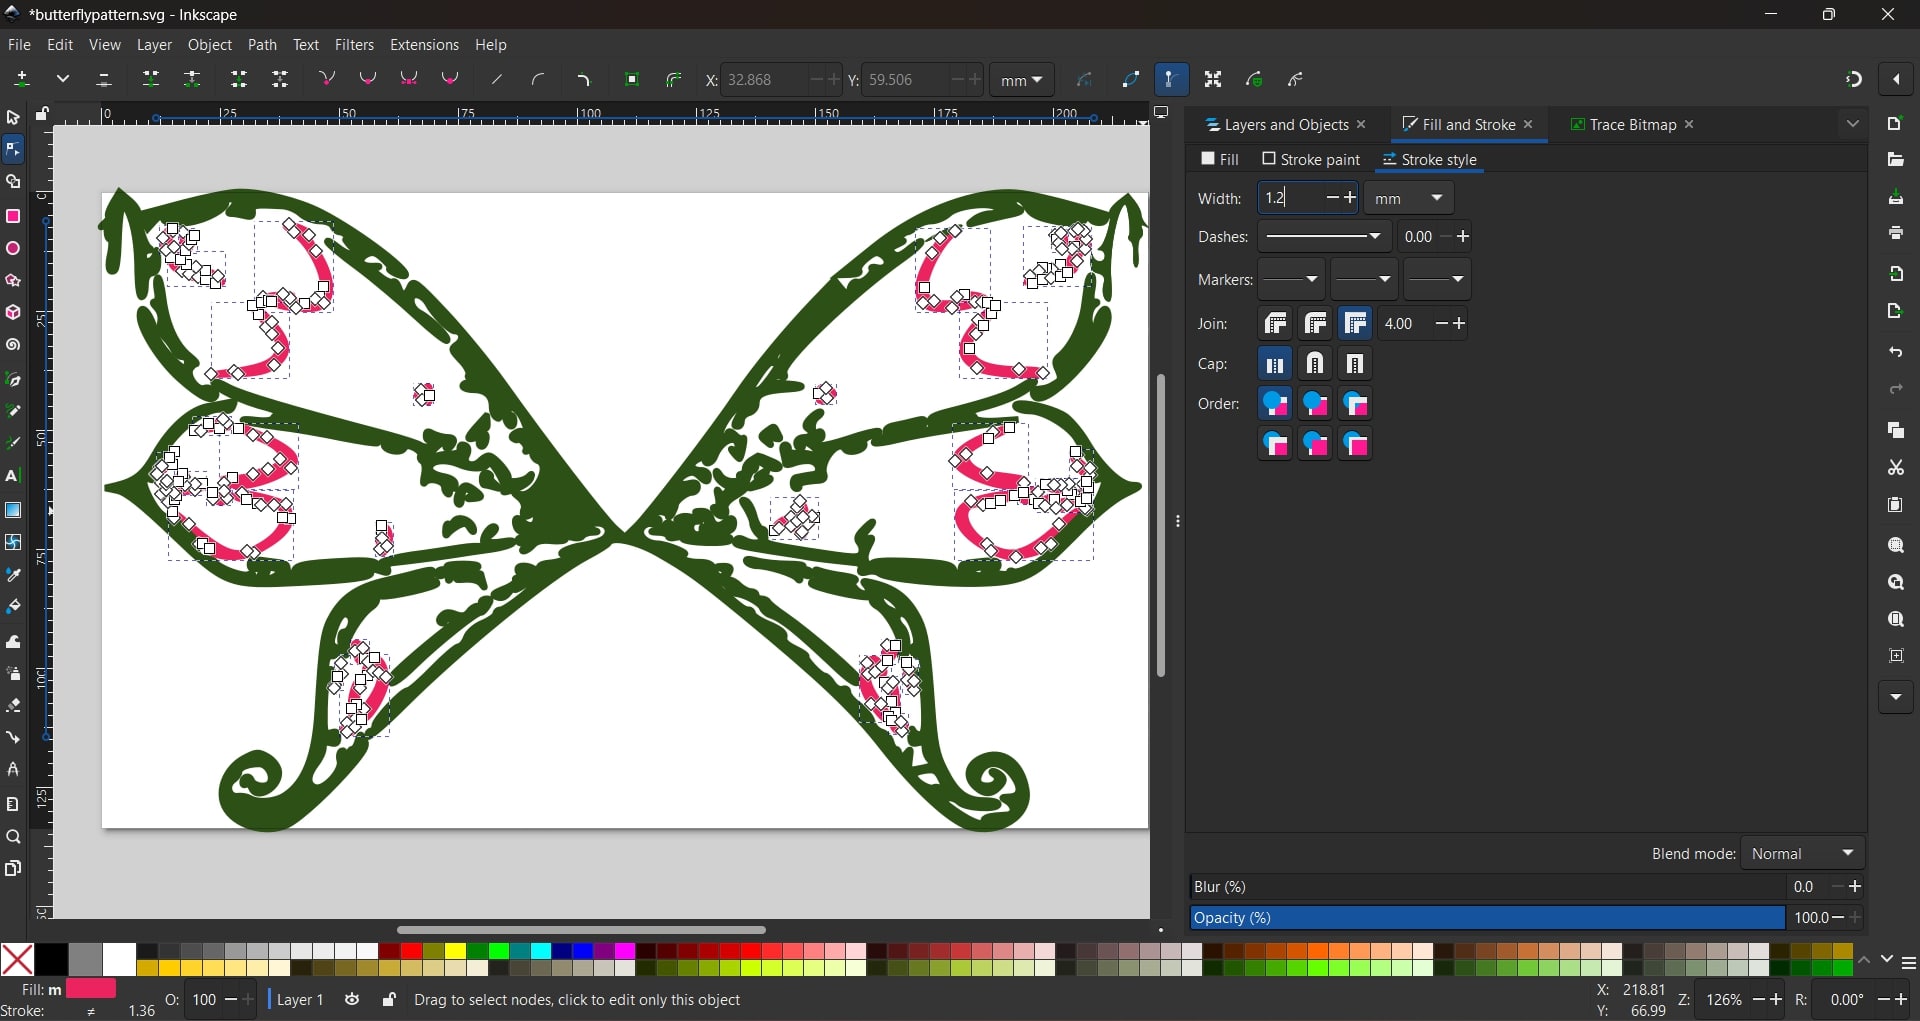
In order to color the parts of the butterfly differently, I go to go to Path →
Break
Apart, or use shortcut Shift + Ctrl + K, in order to break apart compound
paths. Now you can see a lot of boxes for each part.
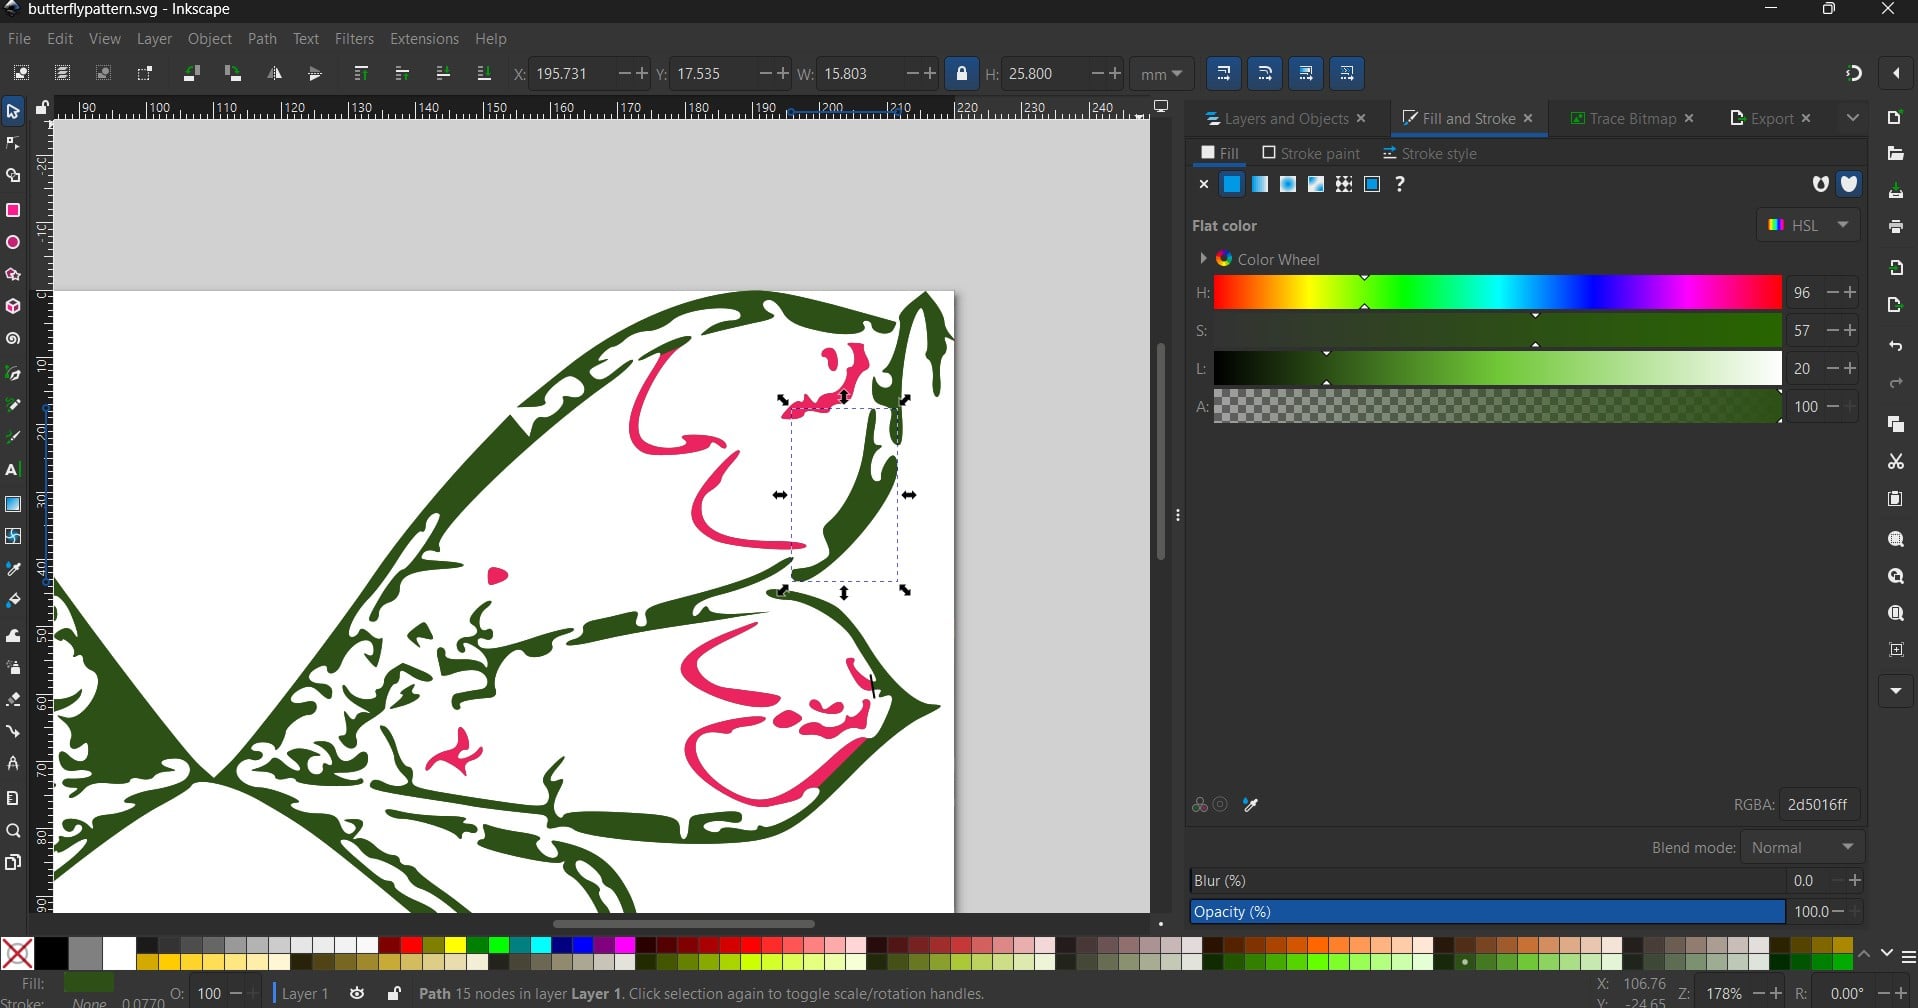
Then, I went to Fill in fill and stroke tab and
selected
the shades of green (RGBA: 2d5016ff) and pink (RGBA:
eb245fff)I want and colored
the paths accordingly.
Connected Paths Problem and Solution
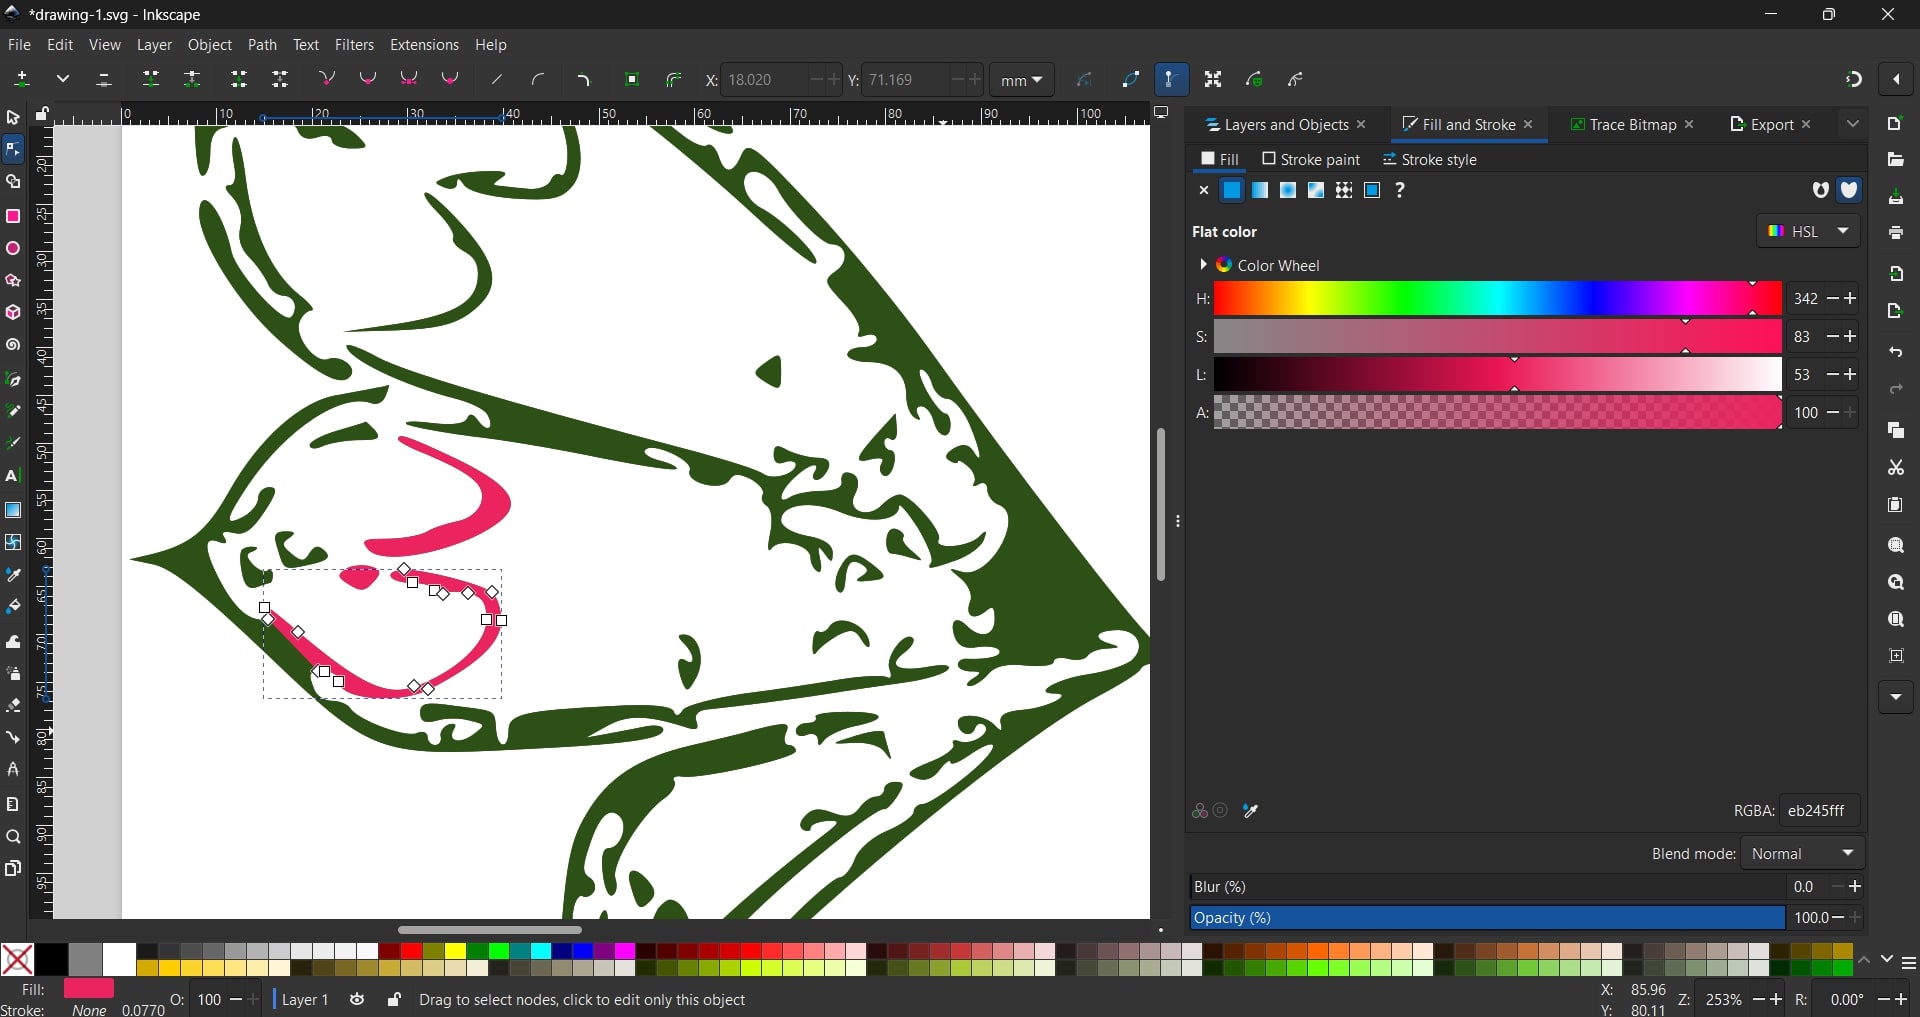
While coloring the paths, I noticed I need to split some paths again to be able to
color
the
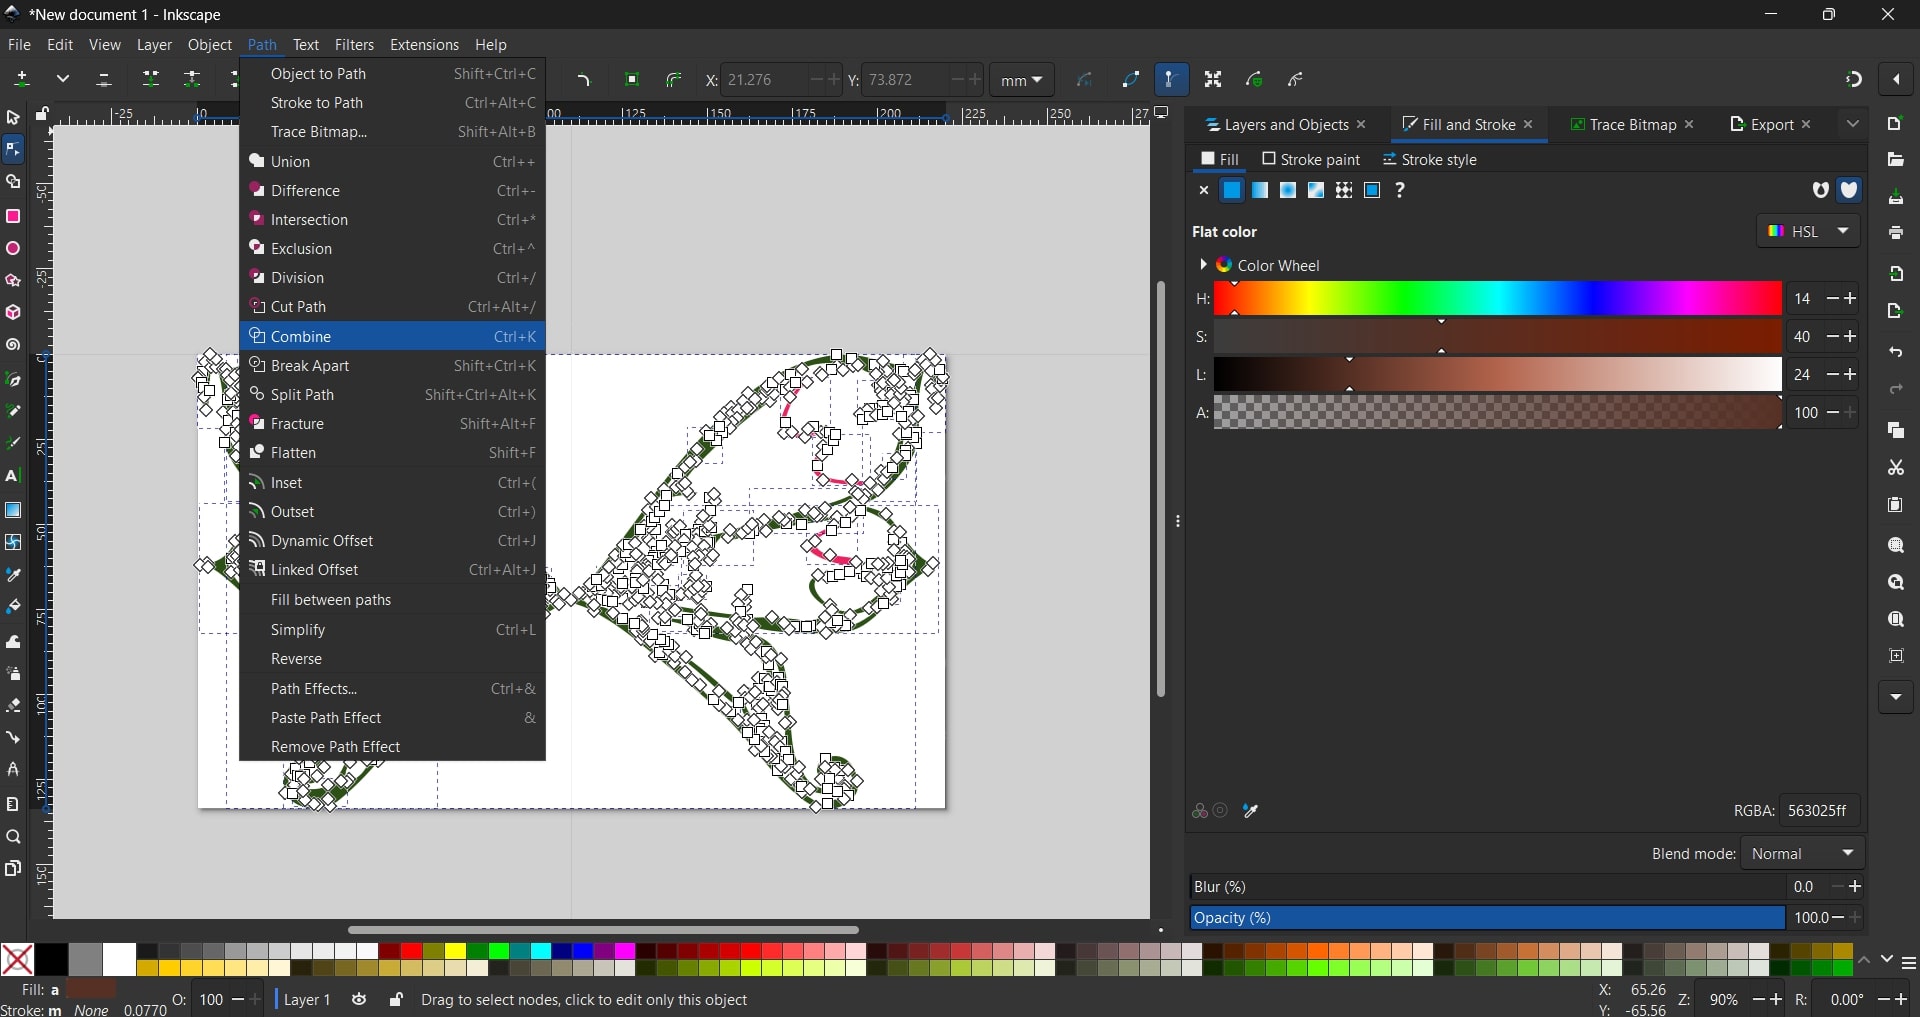
pink parts. Therefore, I took a step back, selected all boxes and went to
Path →
Combine . Now all is treated as one path.
Afterwards, I went to the positions where I wanted the drawing to be divided and
using
the
pen tool, or shortcut Shift + F6, I drew two
points
where
I wanted the cut line.
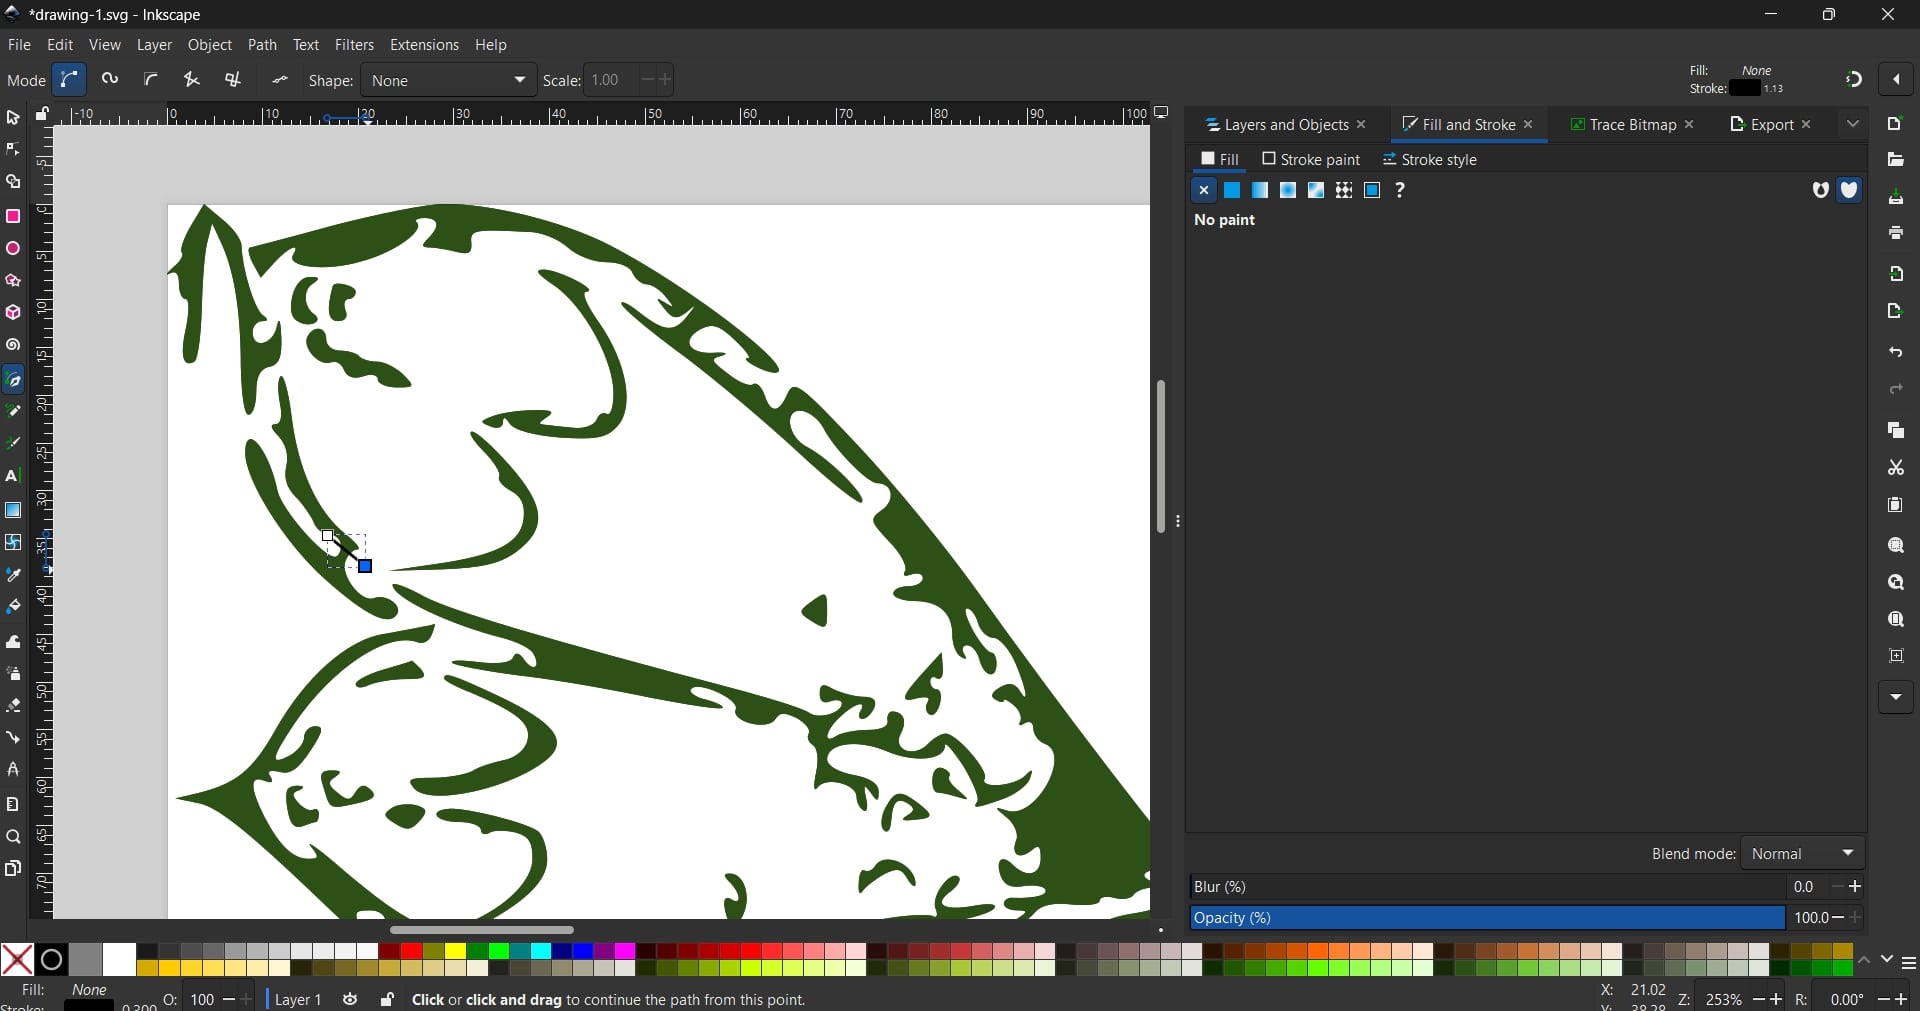
Then, I pressed shift to select both the divinding line and the
area
where
I want to divide. Afterwards, I went to Path → Divison

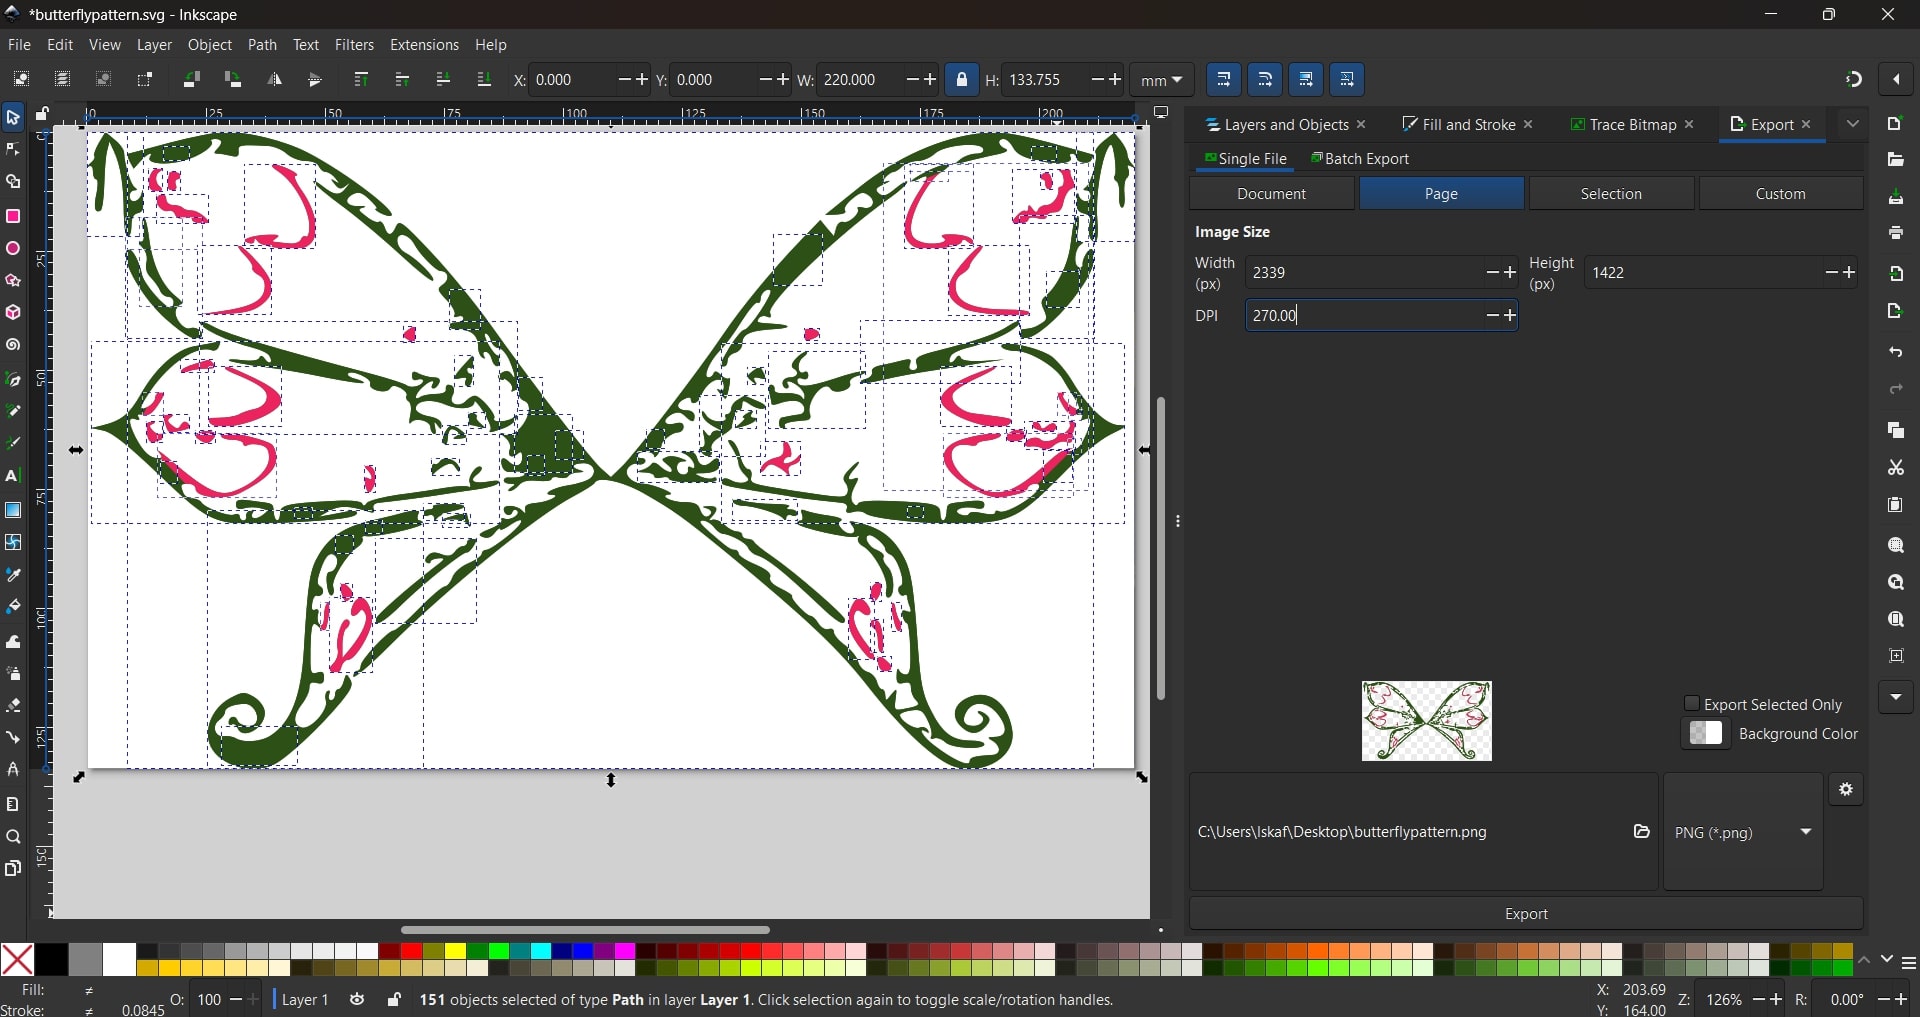
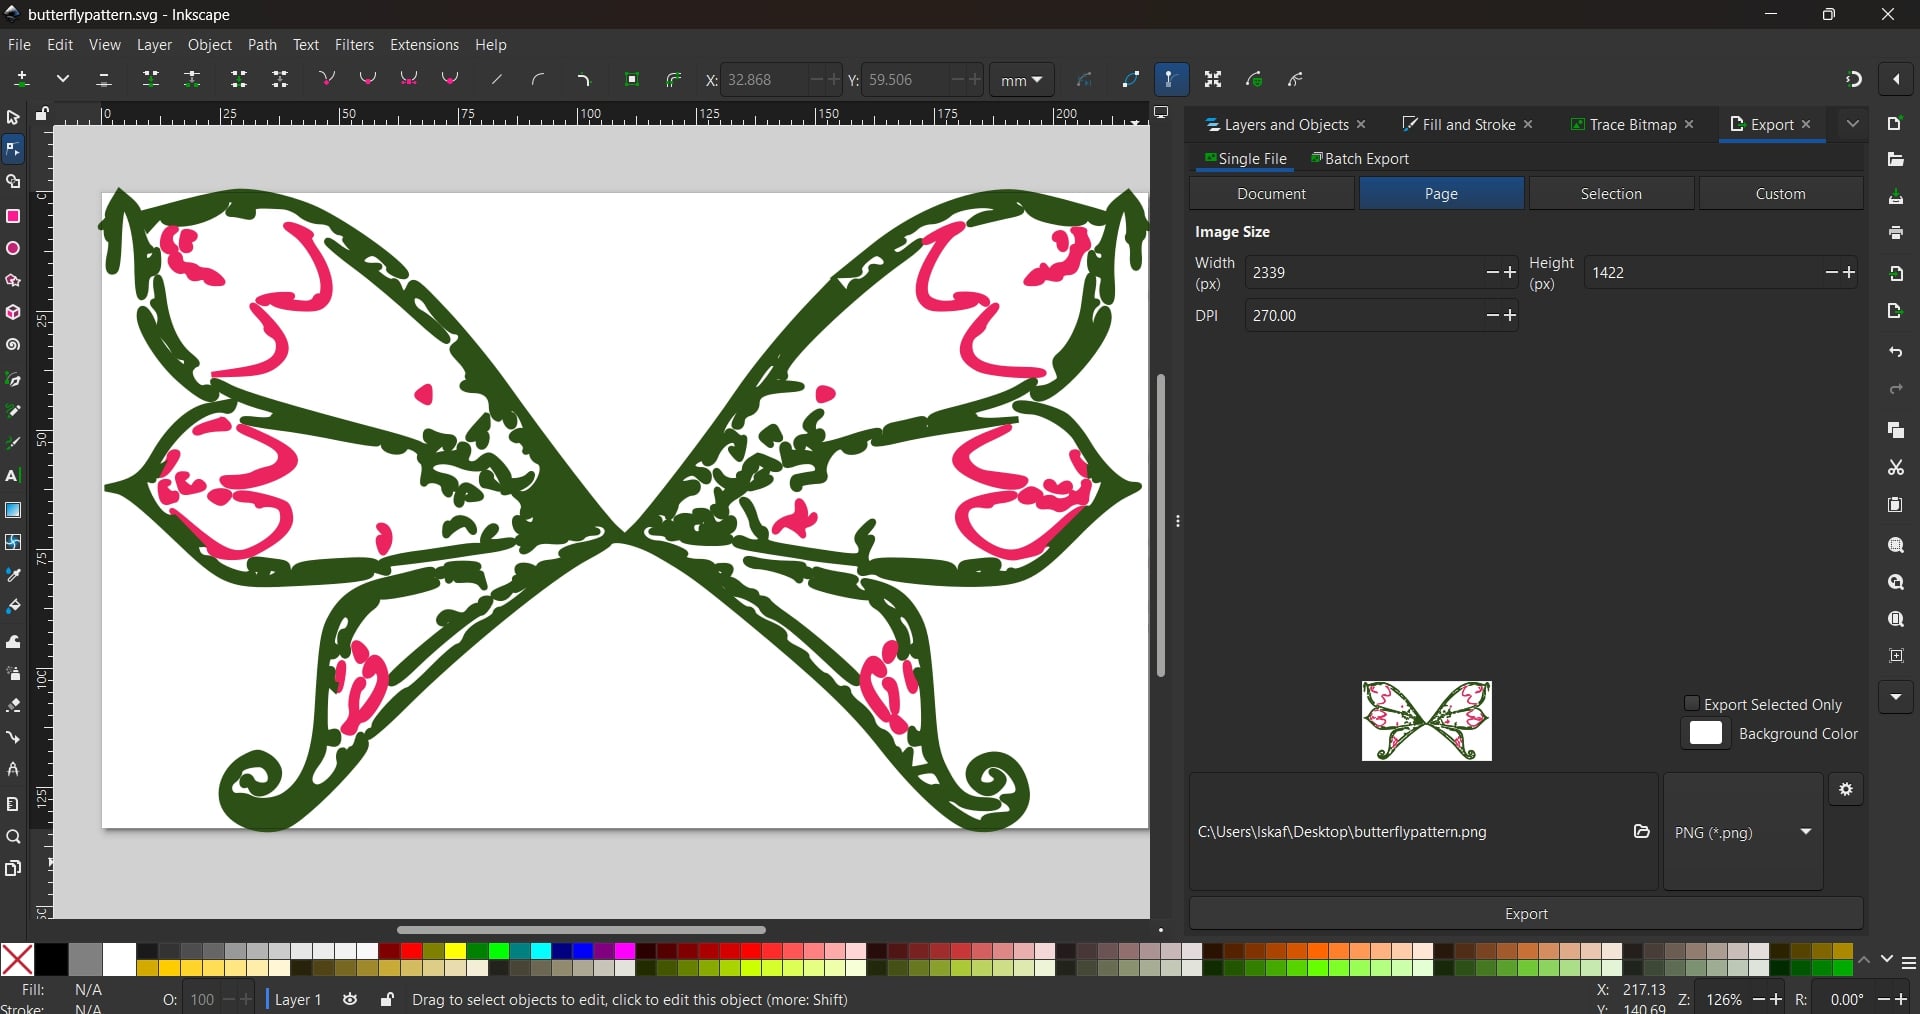
In order to increase the resolution, I increased the DPI (Dots Per Inch) value to 270, so the
embroidery turns out well and detailed.
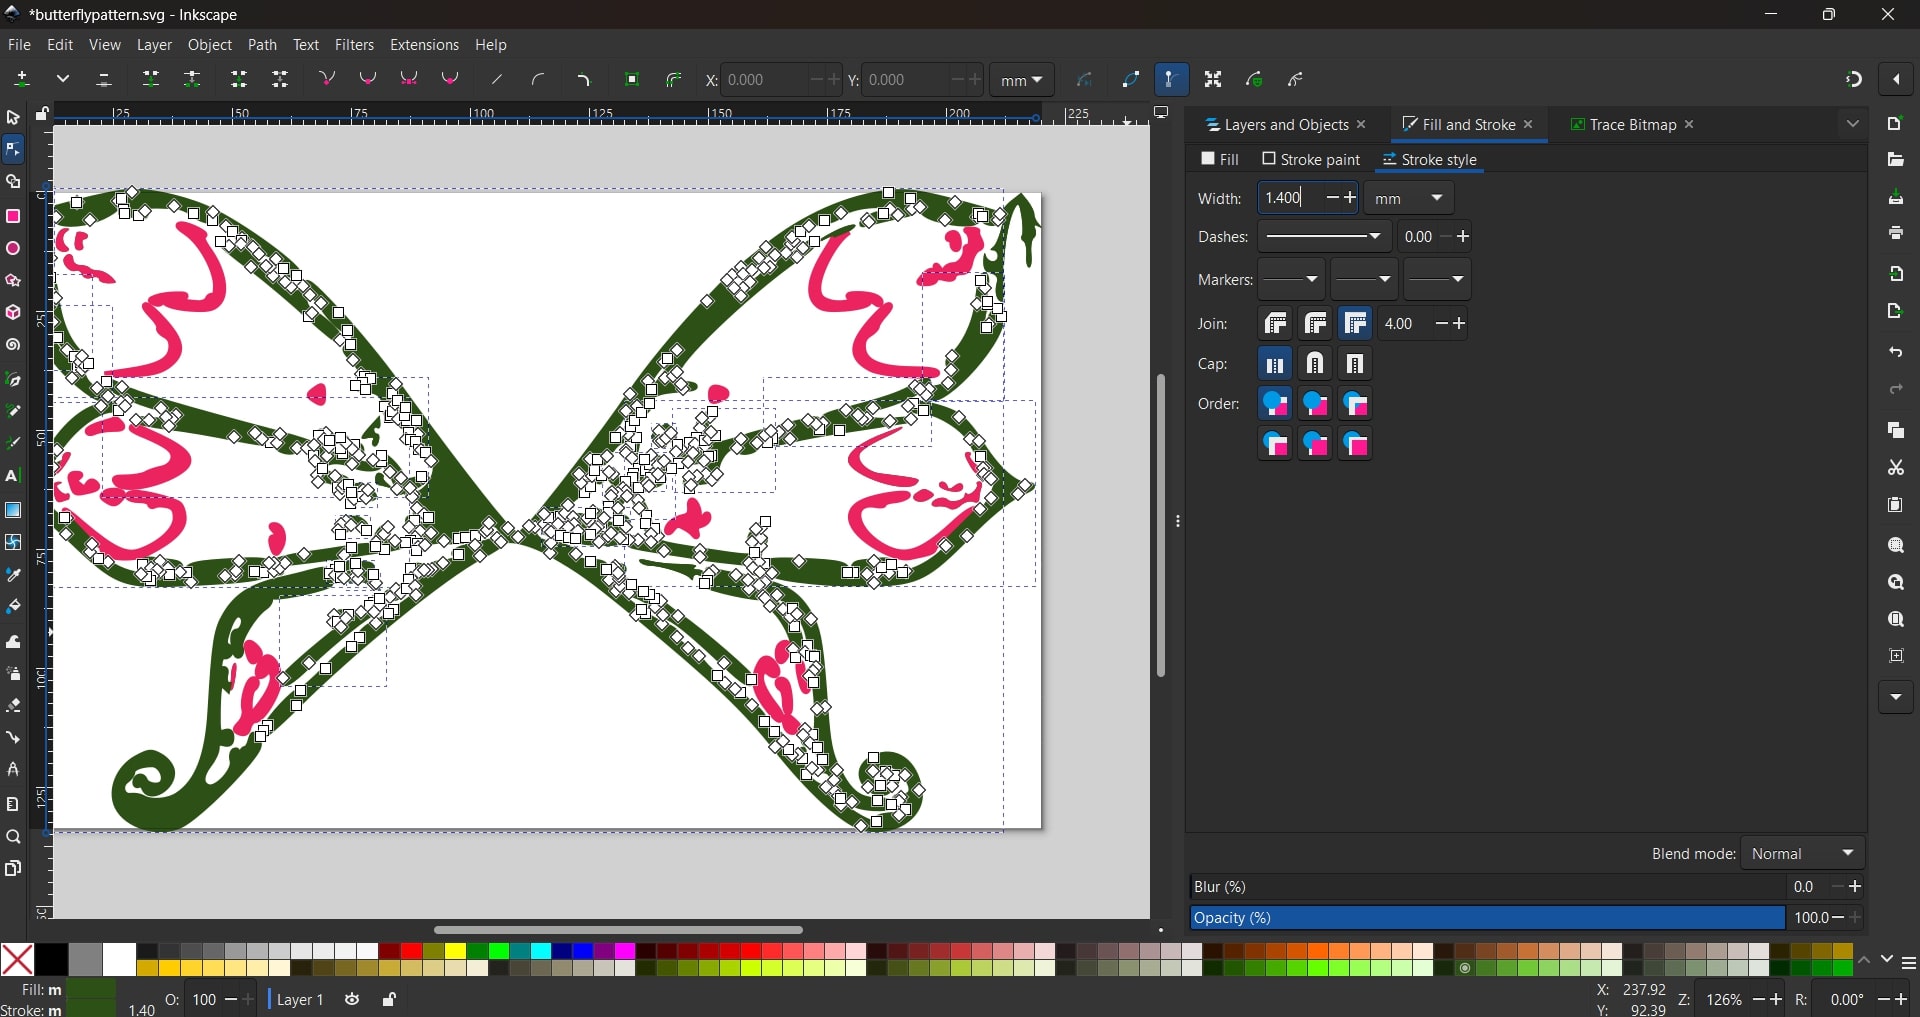
Lastly, I set the green parts stroke style → 1.4 mm, and the pink parts
stroke style → 1.4 mm (don't forget to click on flat color in
the stroke paint tab for both!).
This would help the software for the sewing machine to recognize the stitches
et voila! my butterfly is ready! :D
PE Design brother Software Workflow
In order to visualize how it looks as an embroidery, I clicked onExport → .PNG,
made sure that the background is set to white.
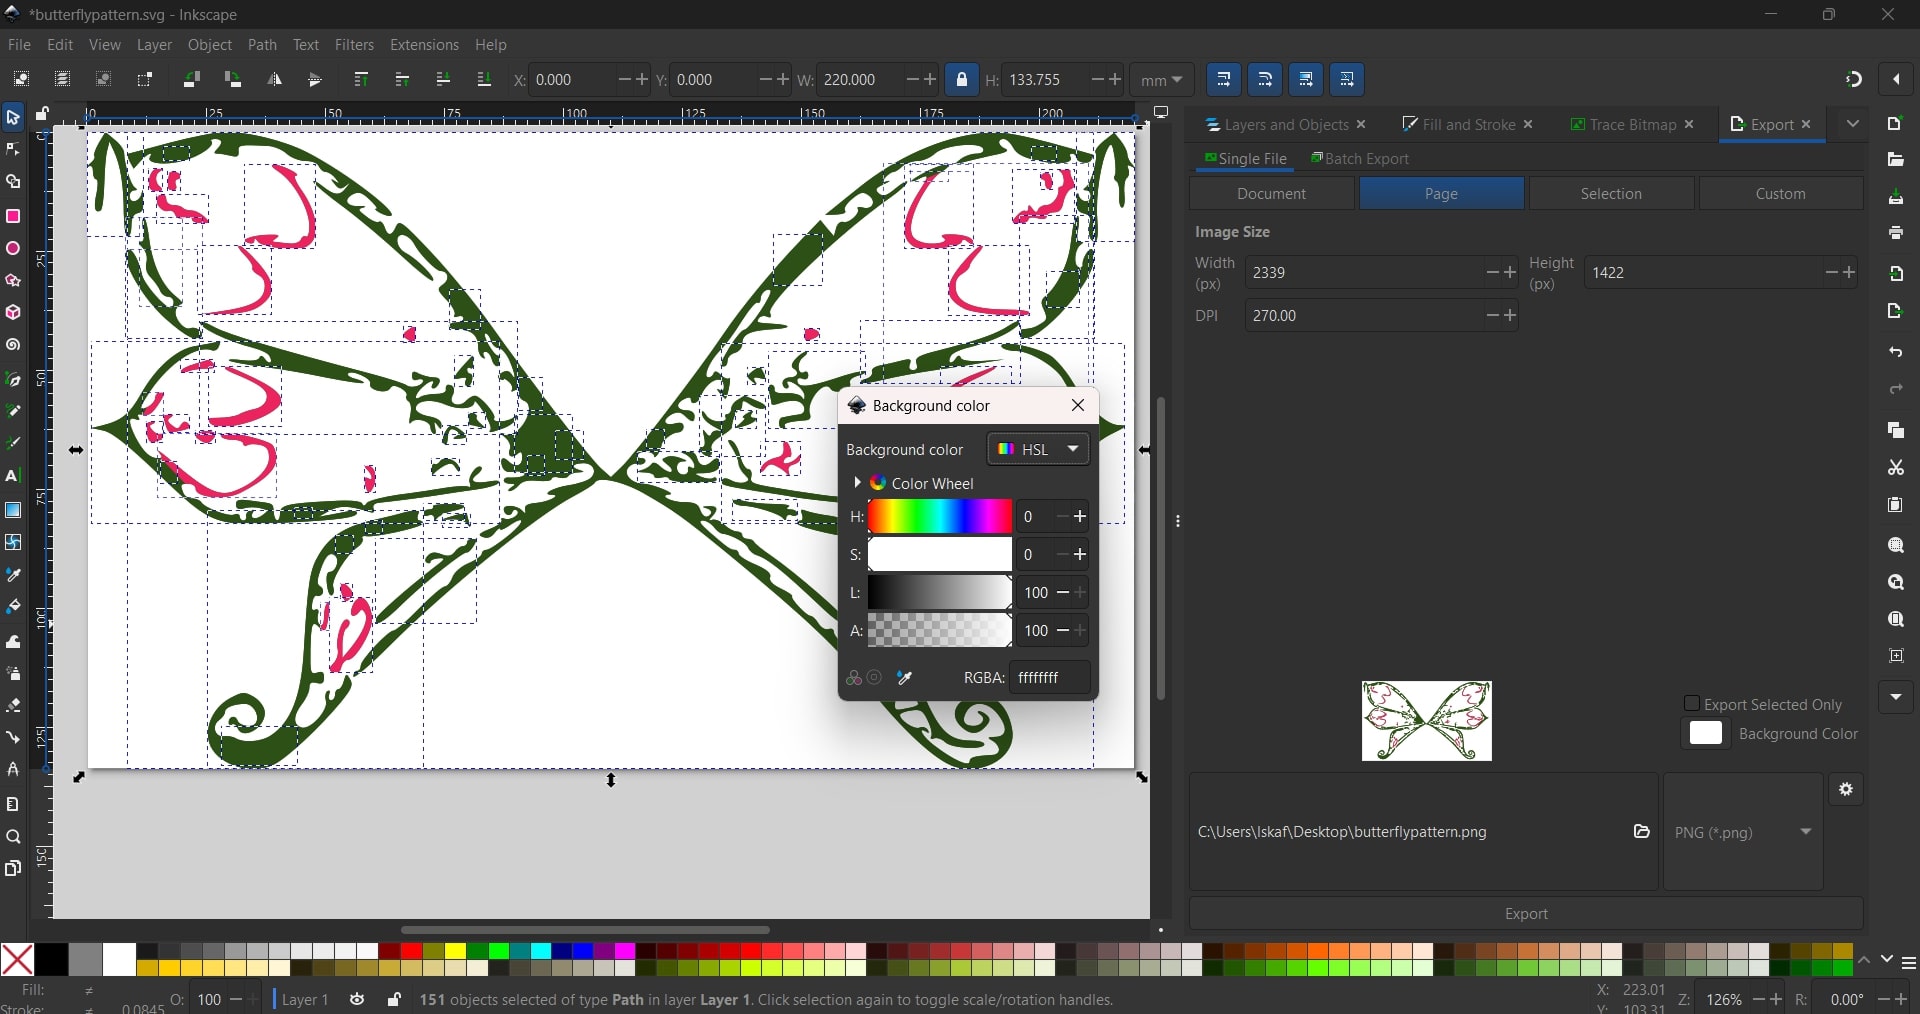
Now the file is ready to prepare inPE
-Design Next software for our brother model
PR655 embroidery machine. One downside of the software is that it is a closed source
software. Nevertheless, we had to go with it because it was the only software especially
dedicated for the embroidery machine.
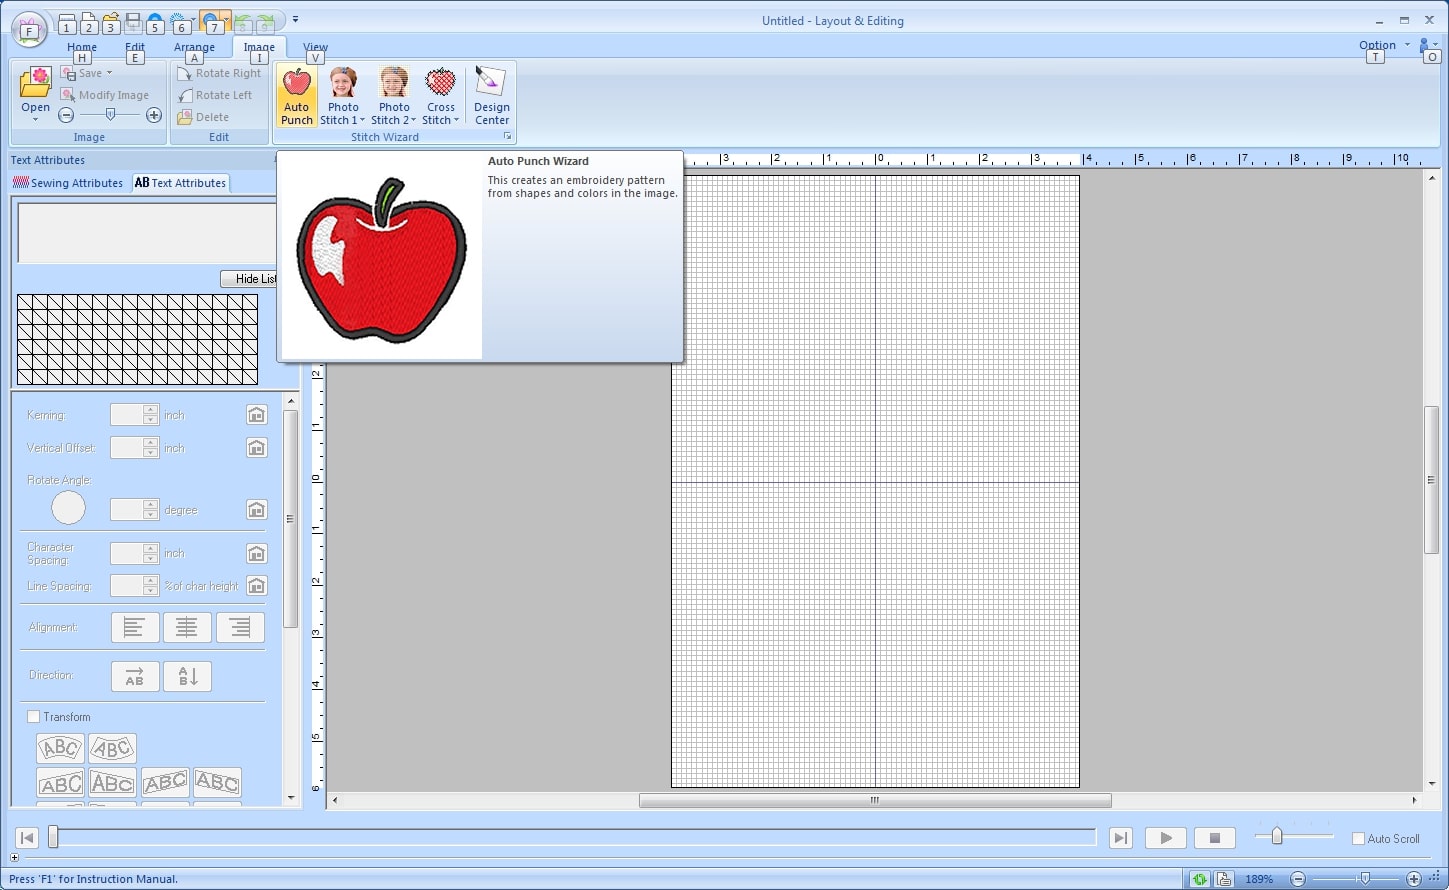
Now we open the software, import the .png file of the butterfly by clicking on
Autopunch Wizard in the tool bar.
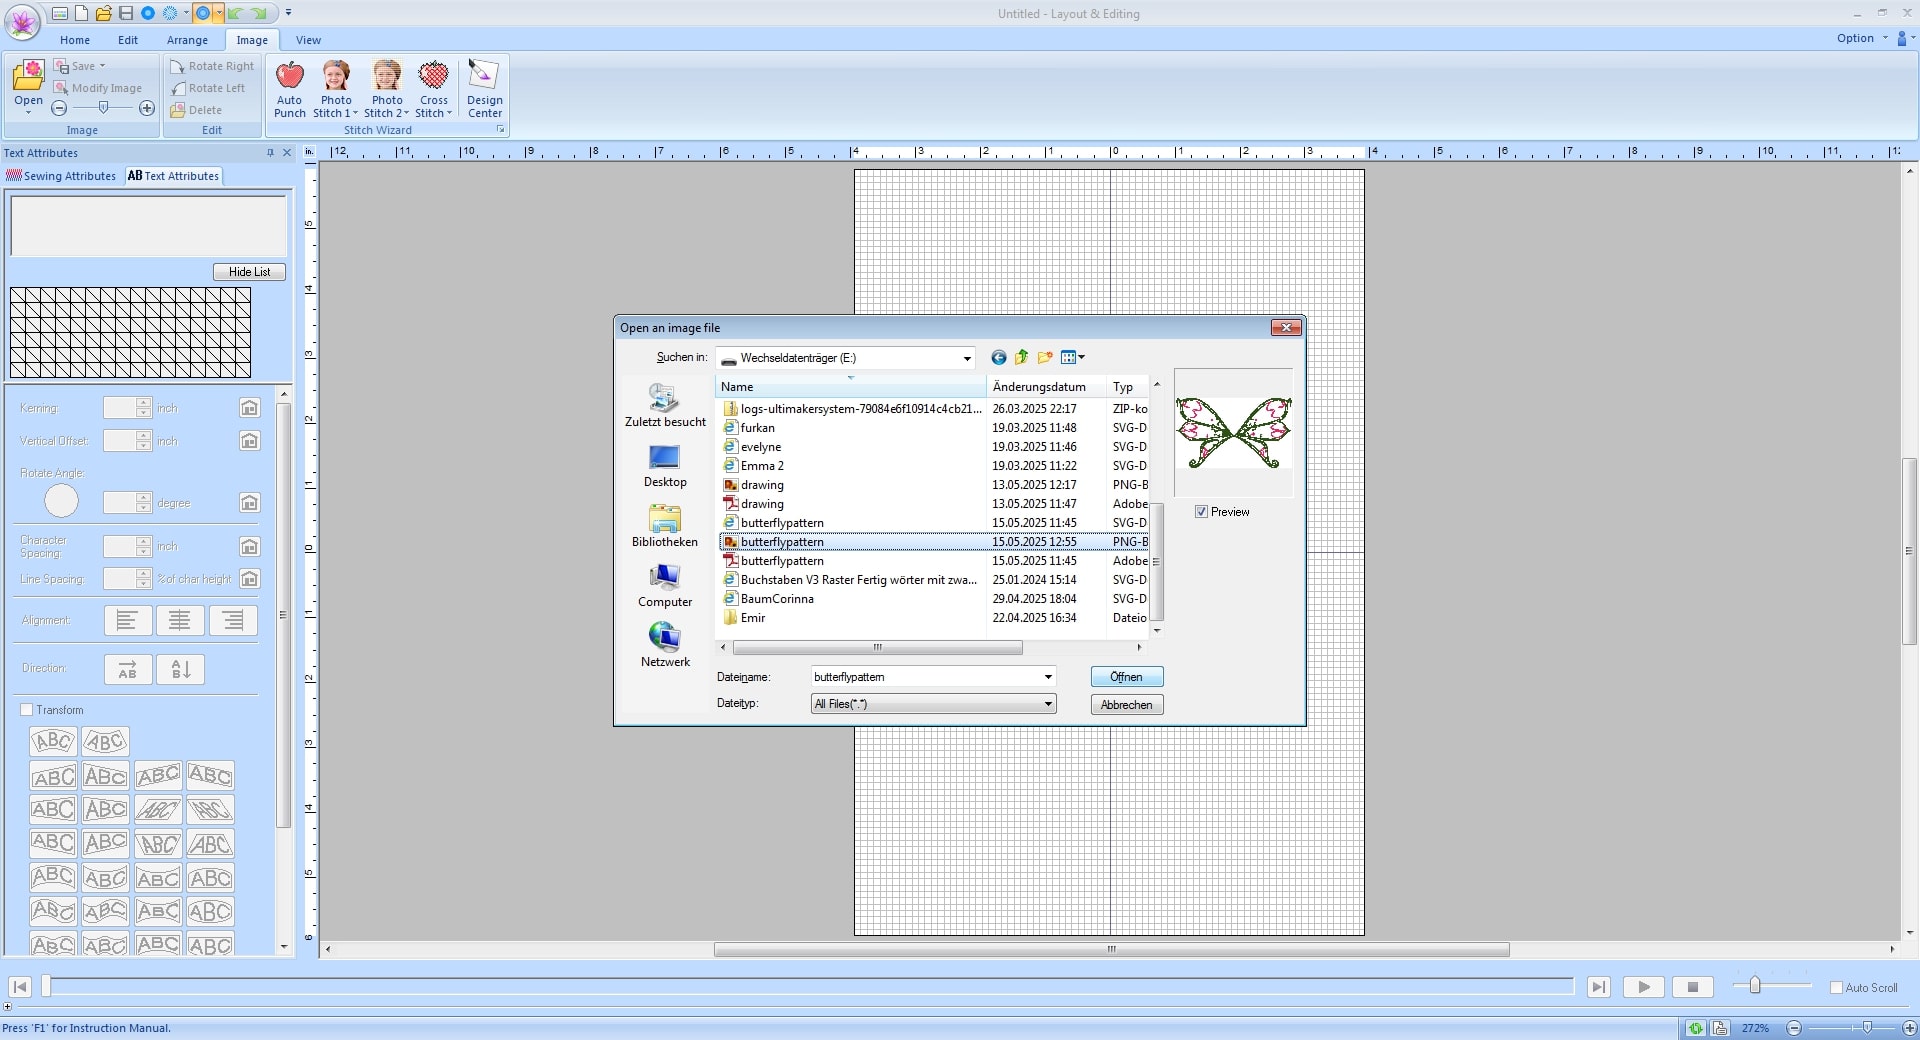
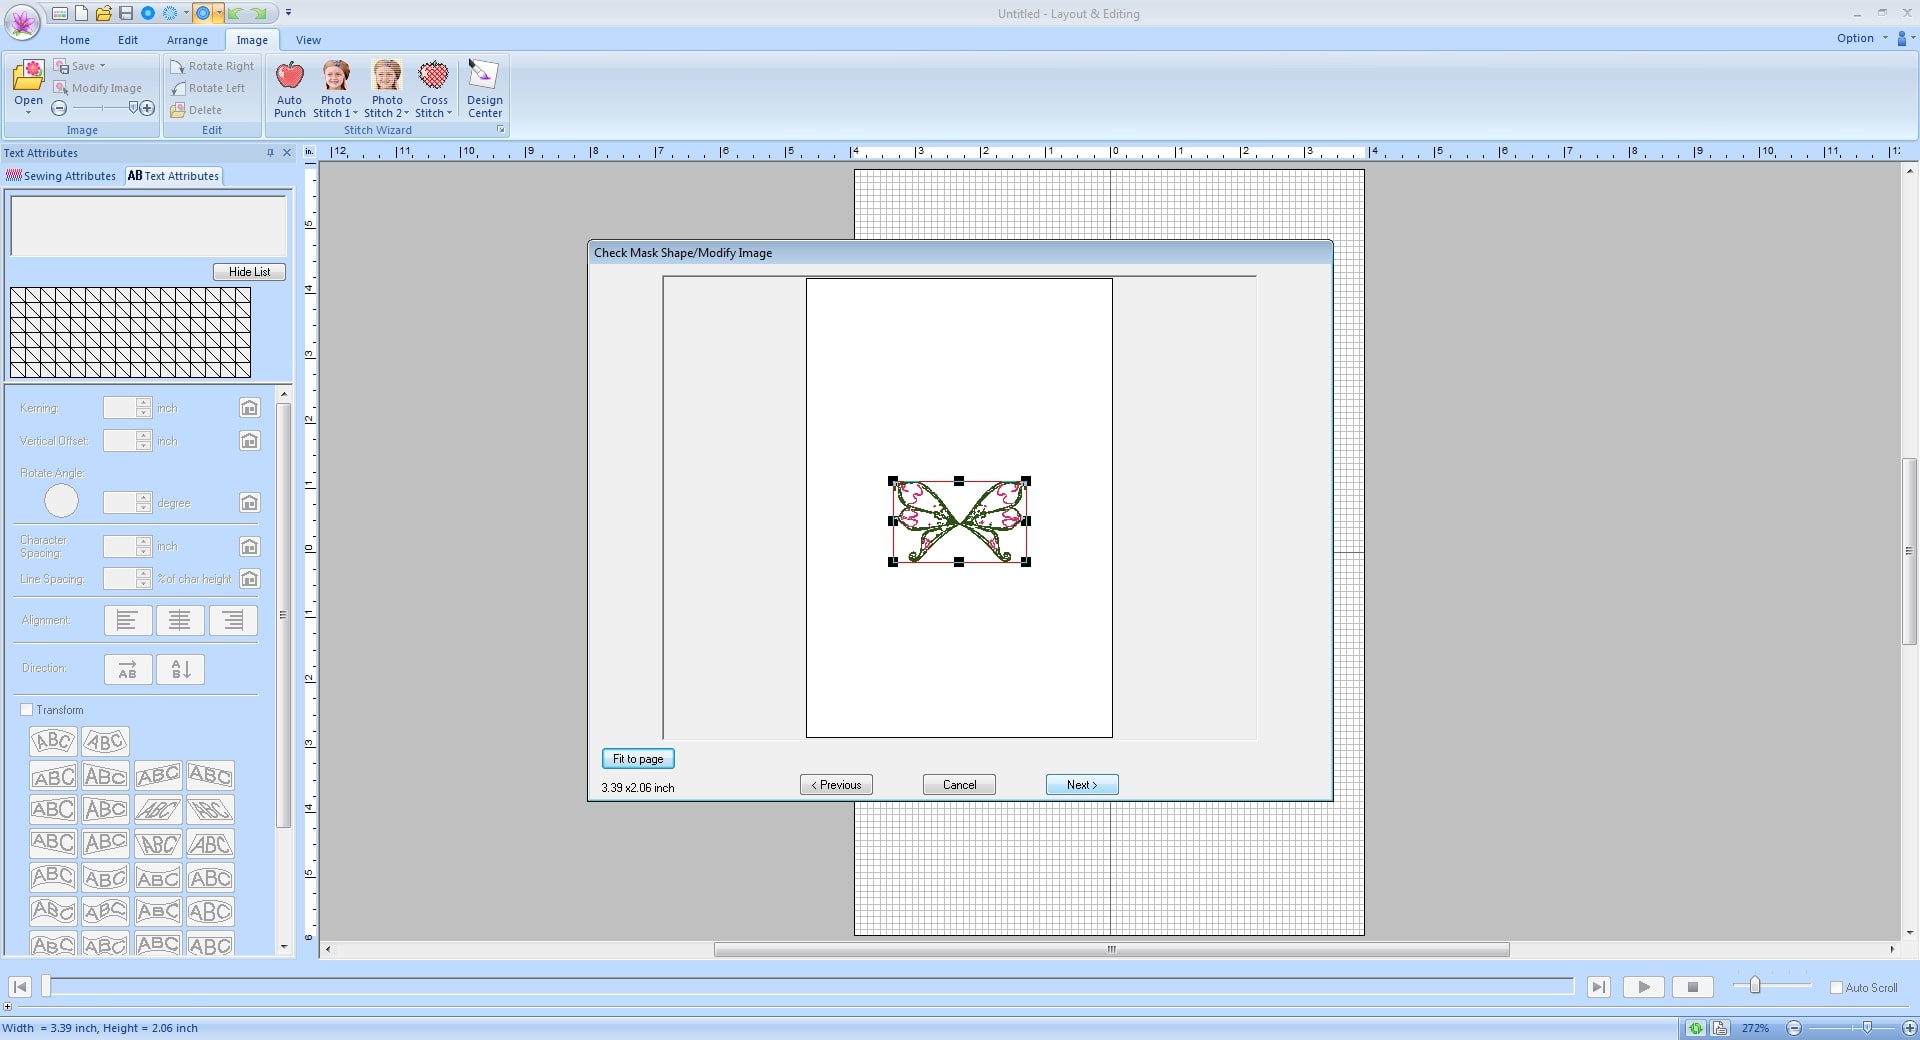
We resized it down to roughly 50% it was originally at
Then, selected the full drawing and righ-clicked to ungroup the sketch. This
would help adjust and delete the unwanted parts if there are any extra stitches.
Then, in the Sewing Attributes tab, decreased the density to ~51 line/
inch.
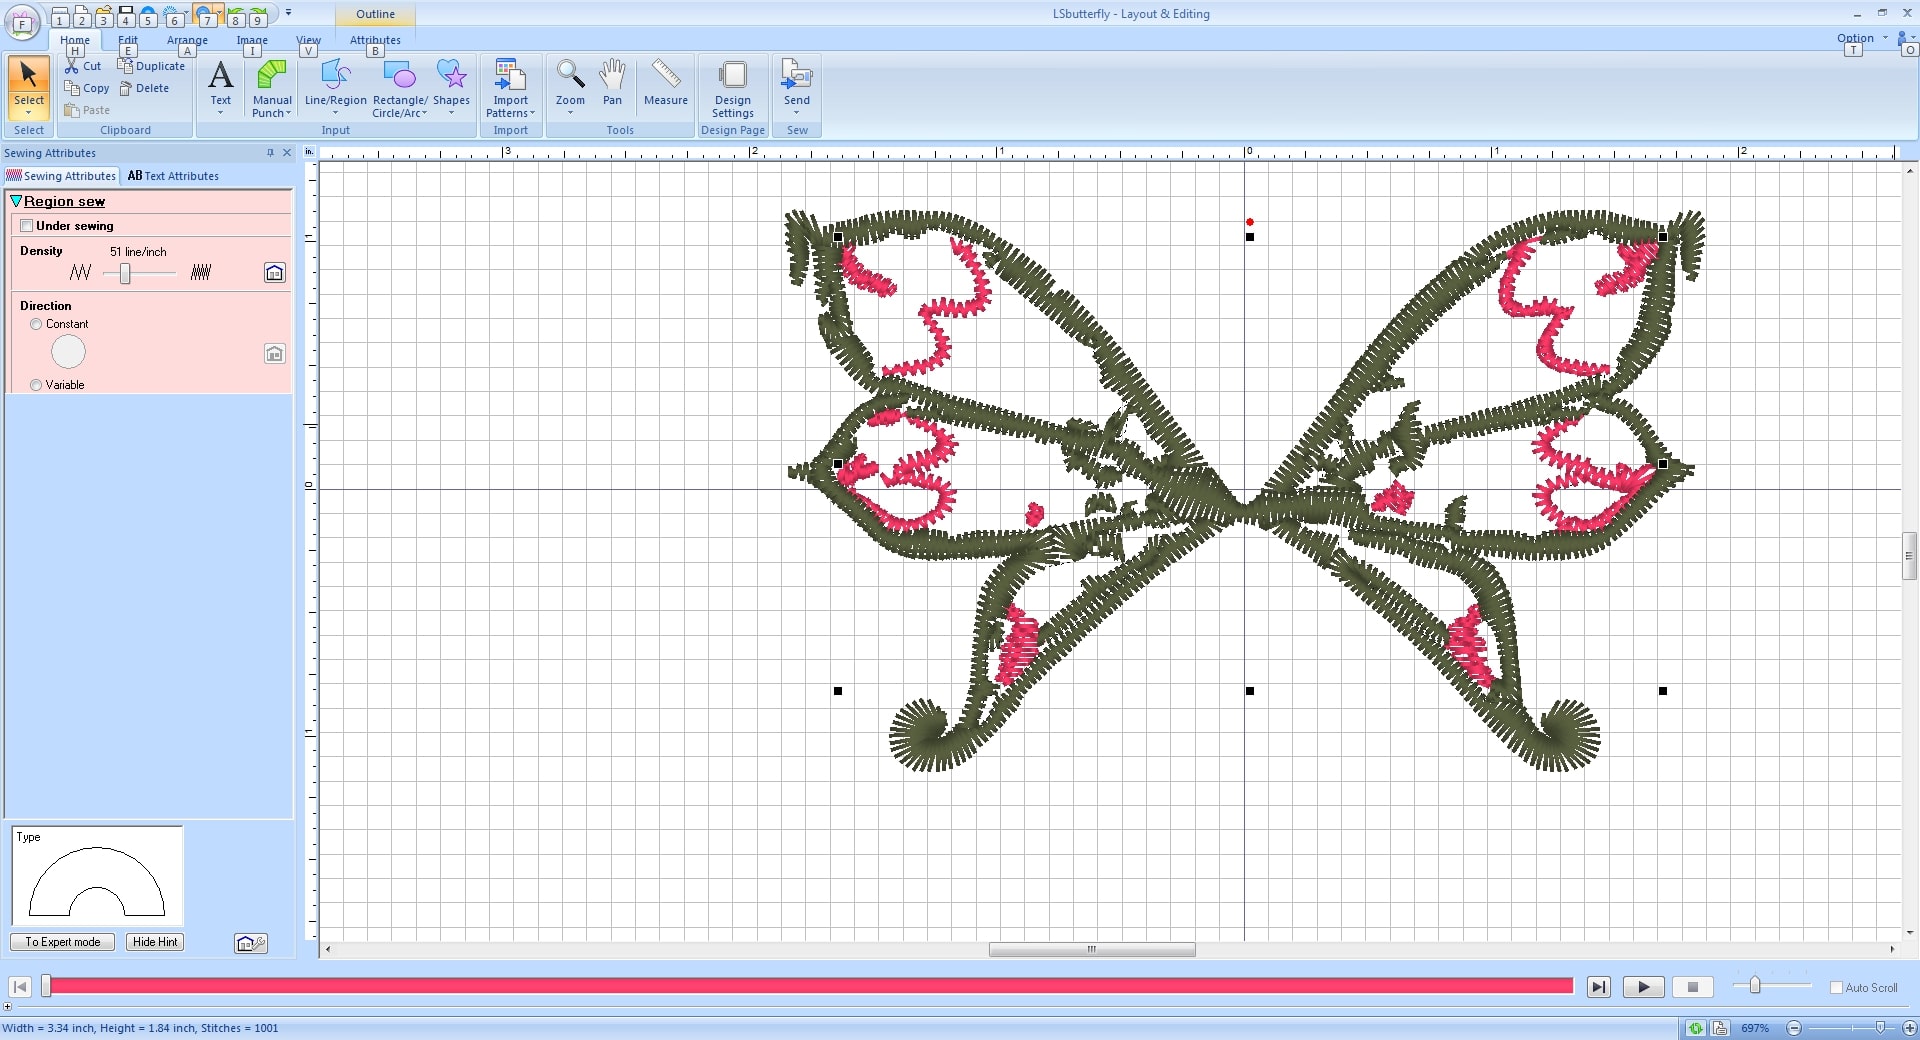
Note that you can visualize the the stitch or realistic view so you have an idea of how
it looks!
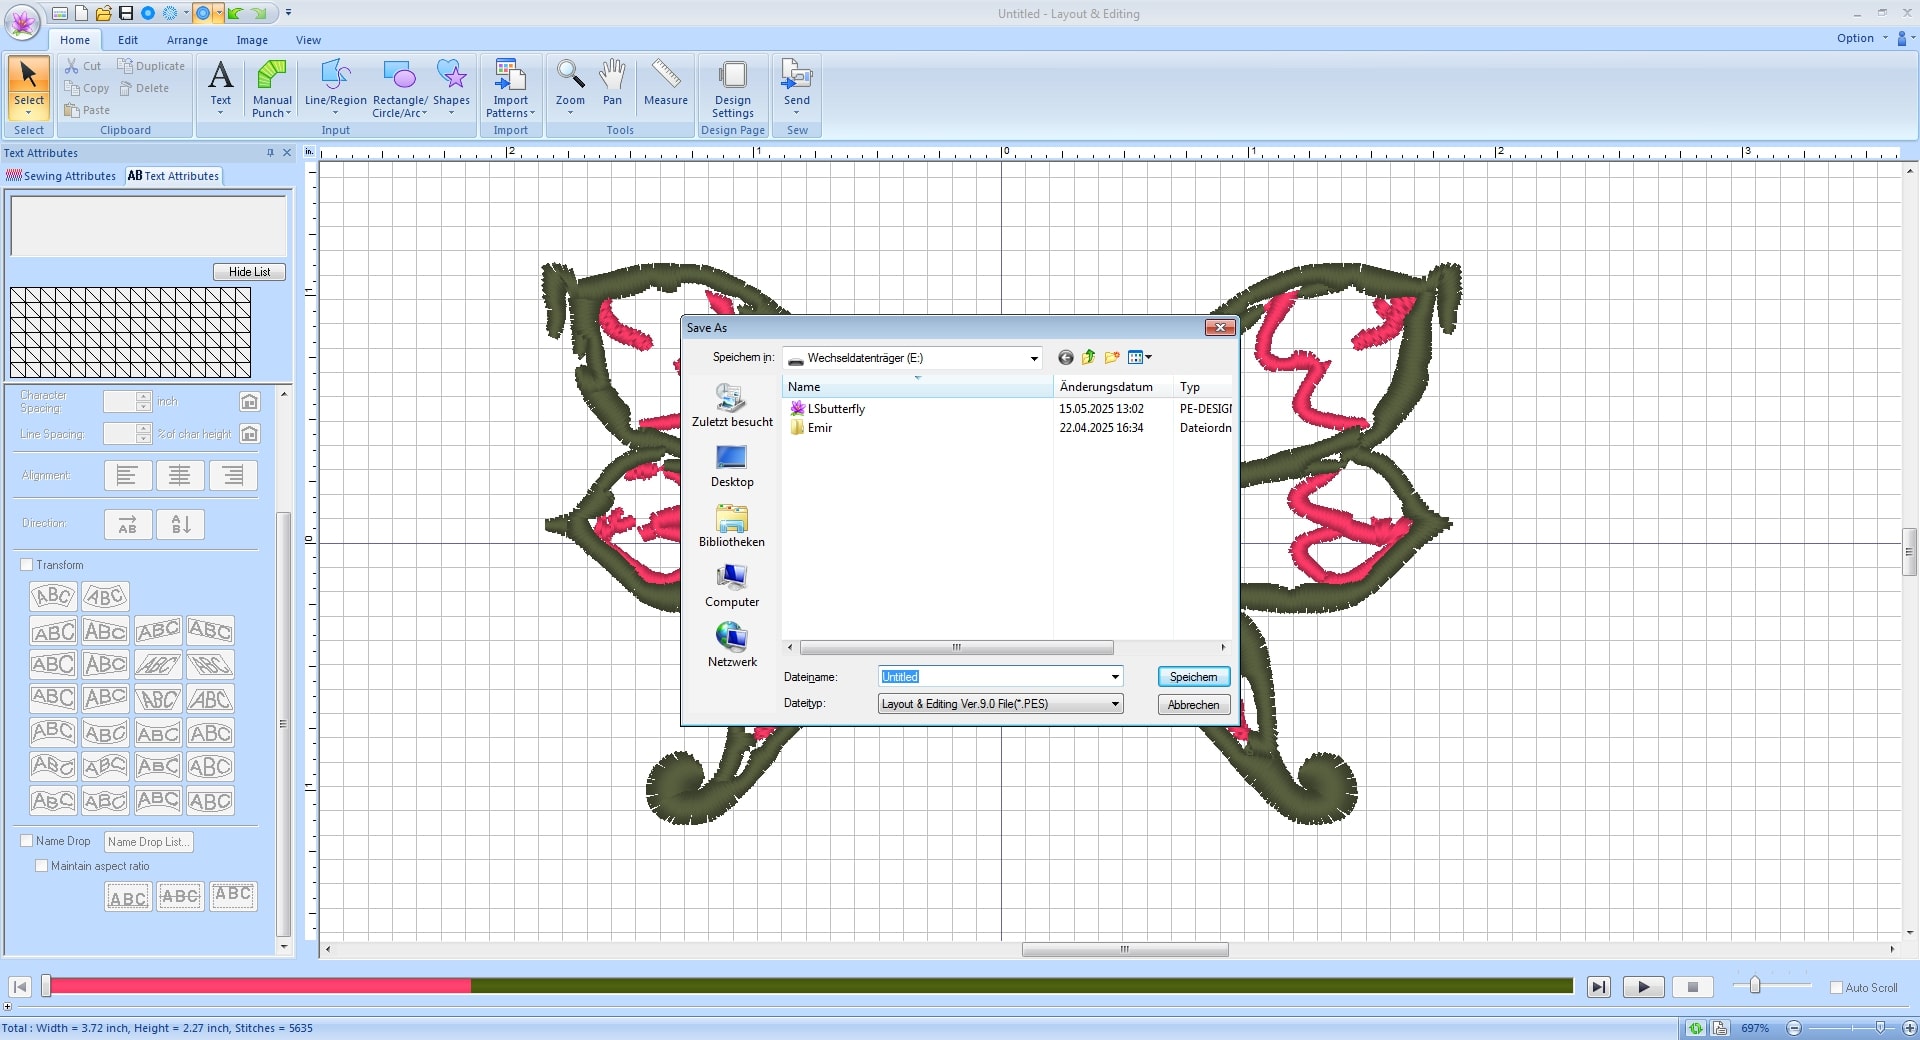
Once satisfied with the outcome, you can go to save to export the file into a
.des format, so the embroidery machine can take over the process!
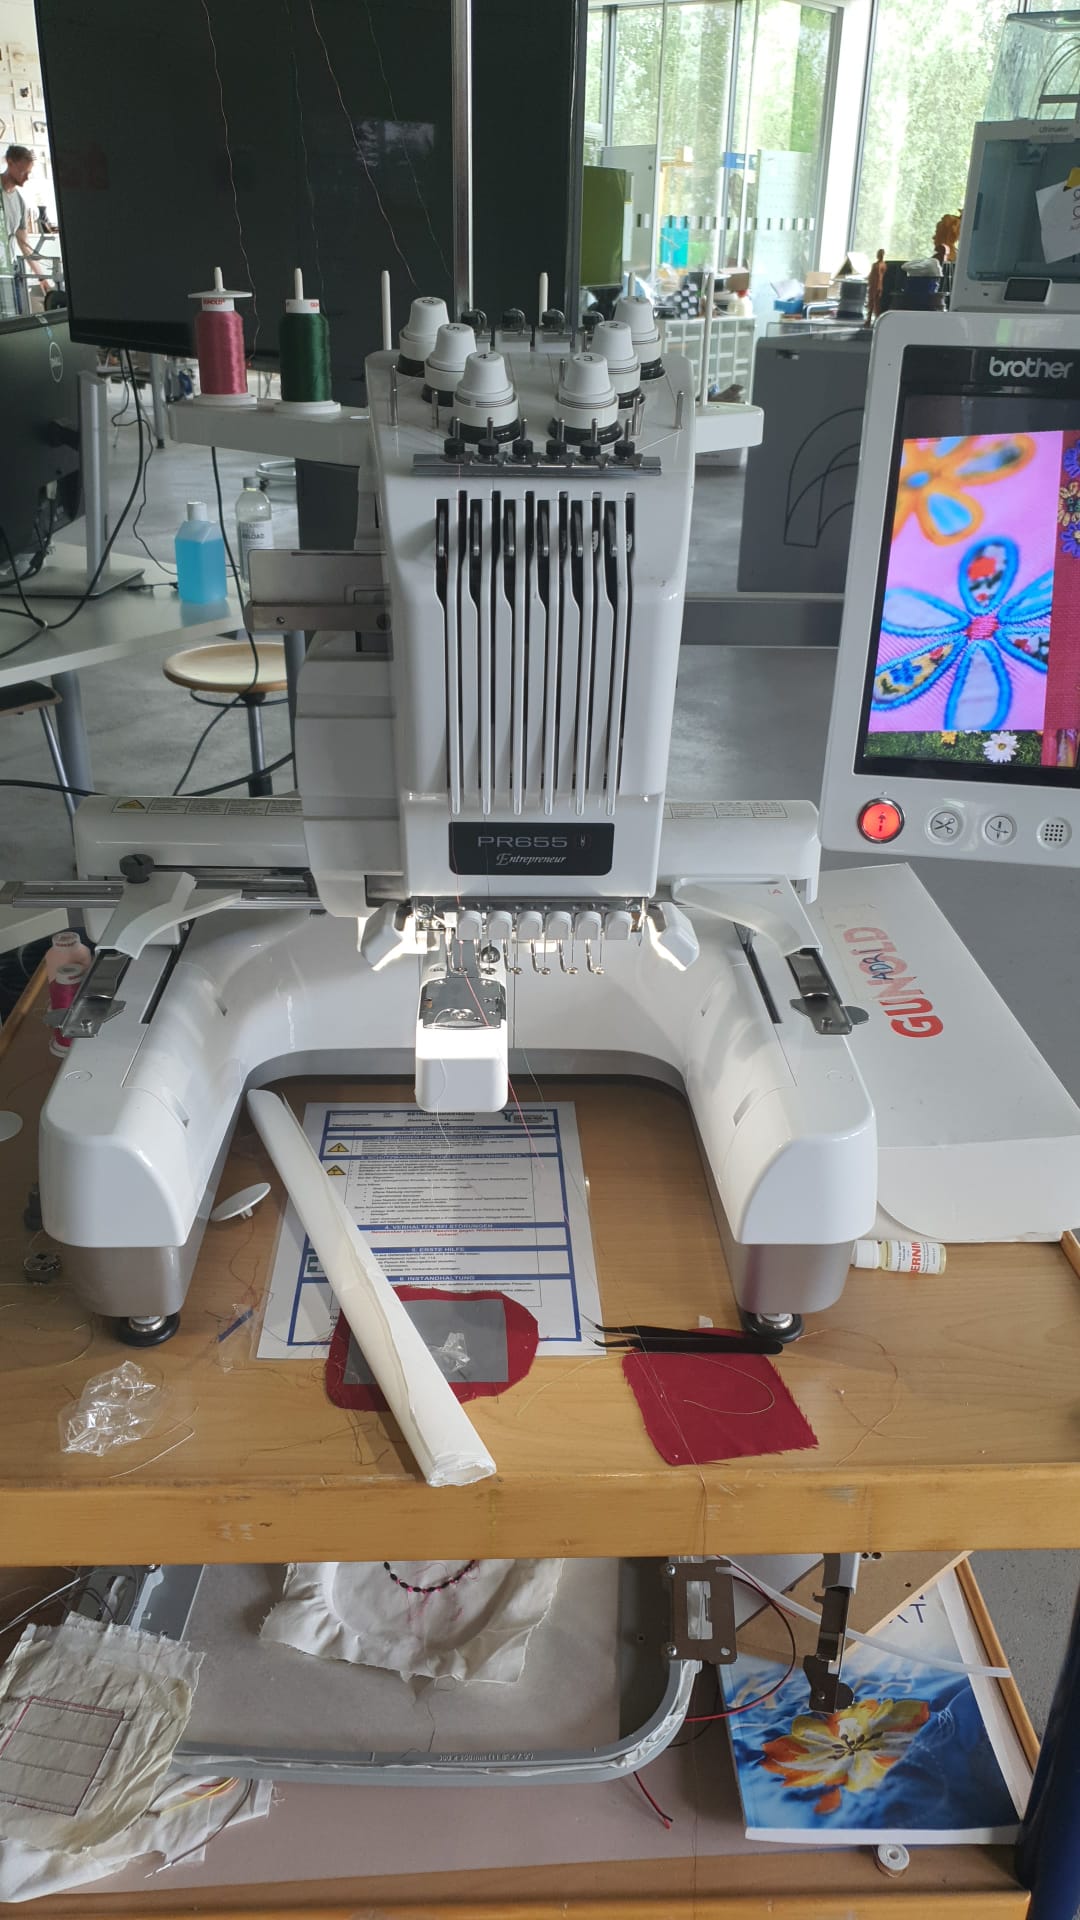
Embroidering The Handkerchief
The machine has PE -Design
Software embedded onto a screen on the side so you control the functions. On top you
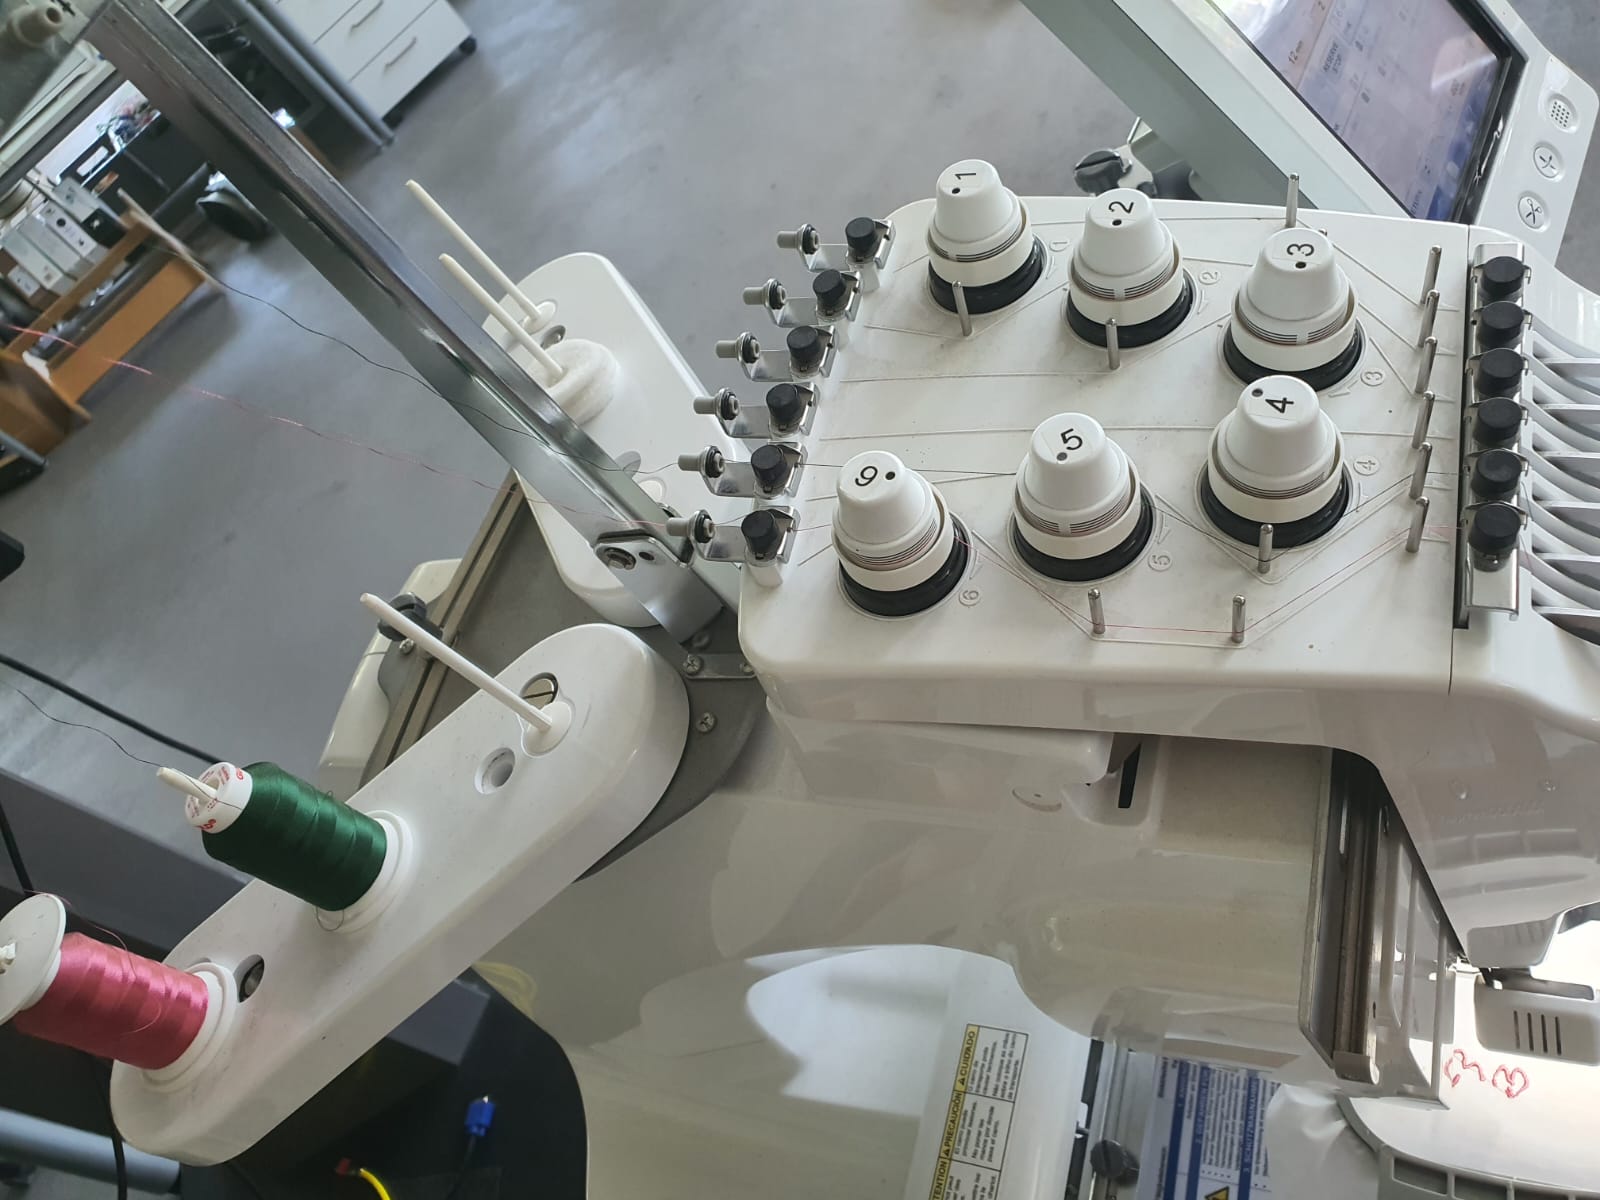
have the place where you set up th threads. Moreover, the tension can be fixed using the knobs
on top for each threads spool, pass through multiple holes to guide the thread all the way to
the needle.
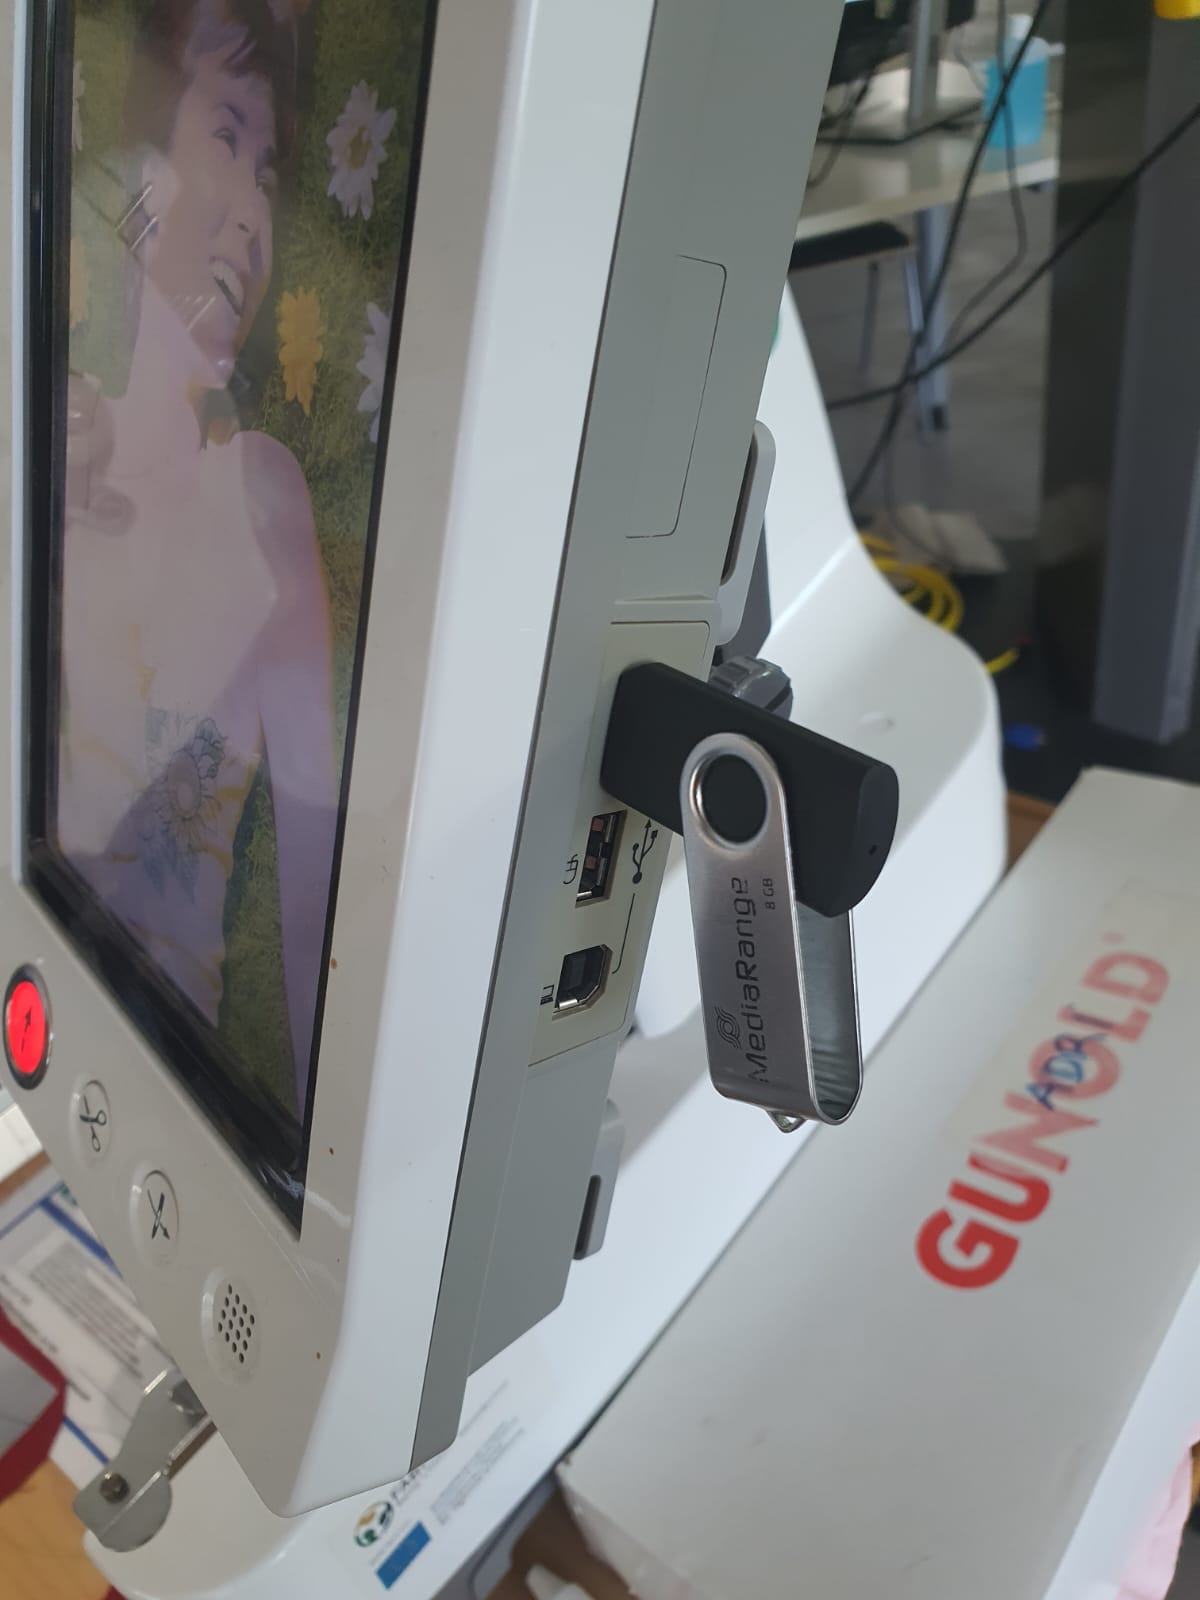
In order to start the embroidery process, you should first prepare the file in .pes format, load
it on a USB stick and place it into the machine.
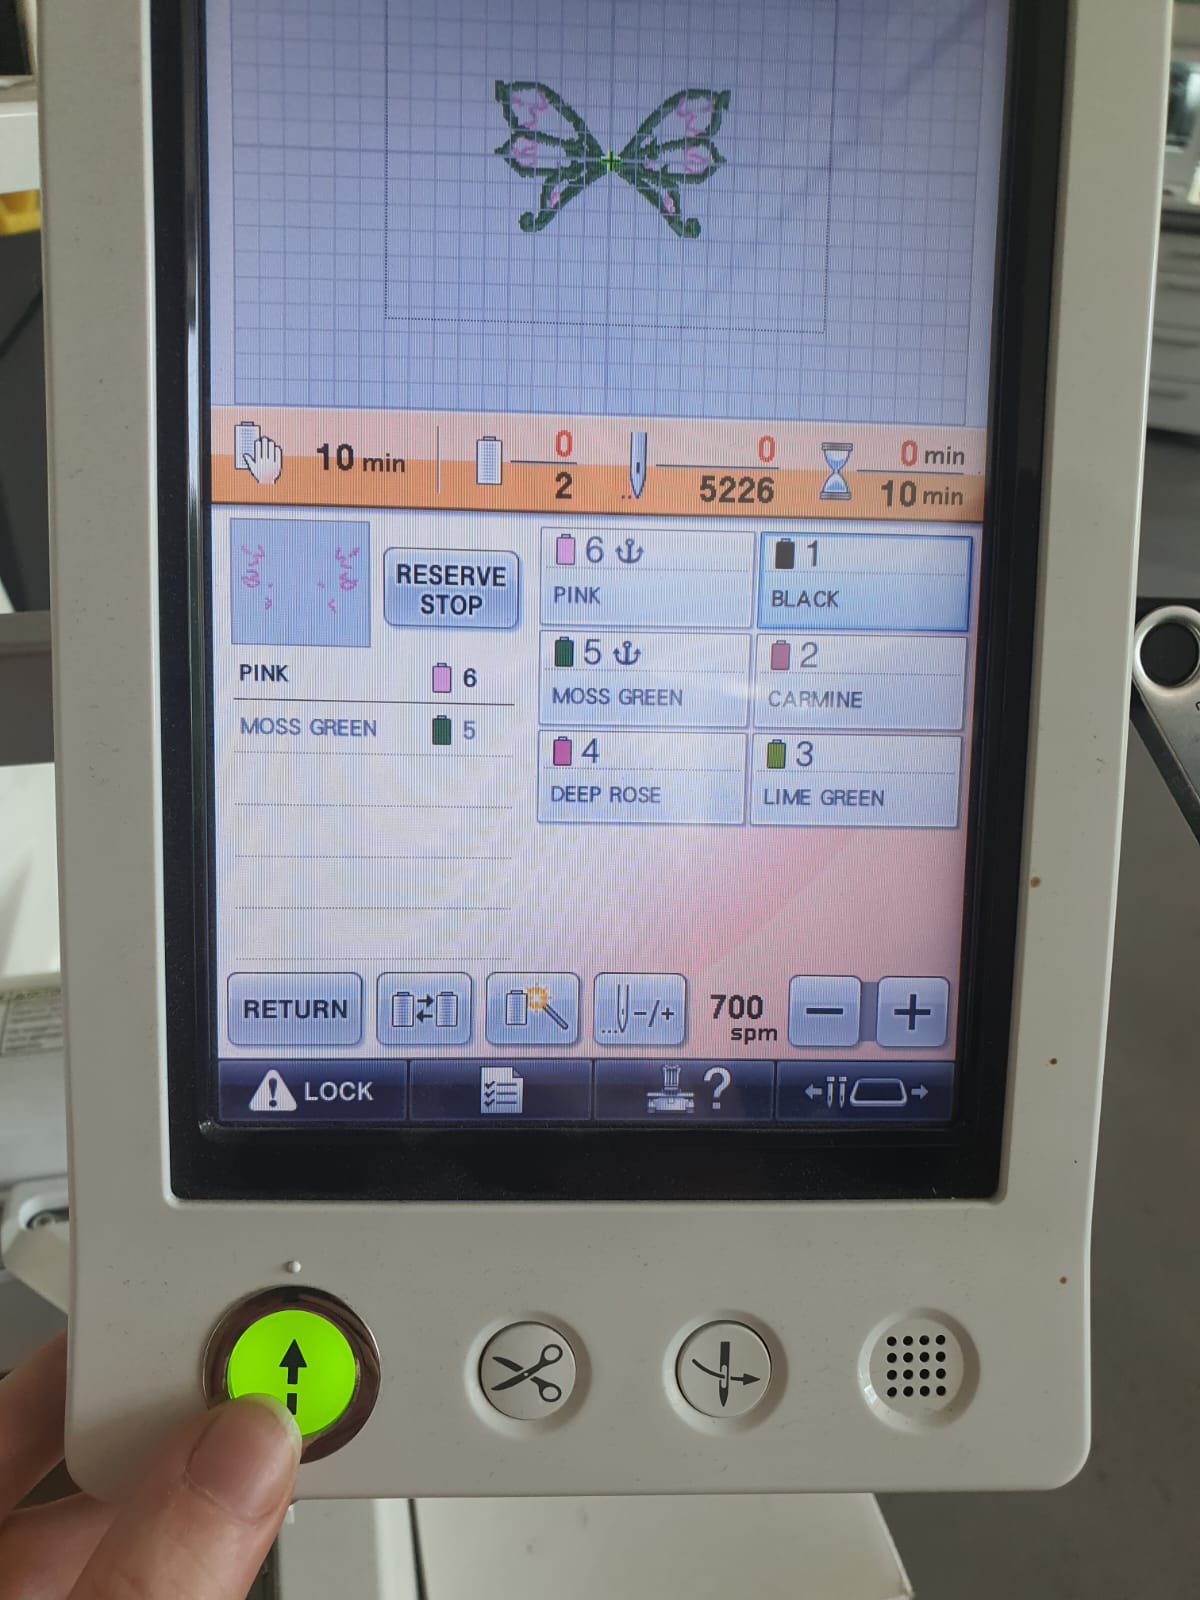
Then, you select the file that you want on the screen.
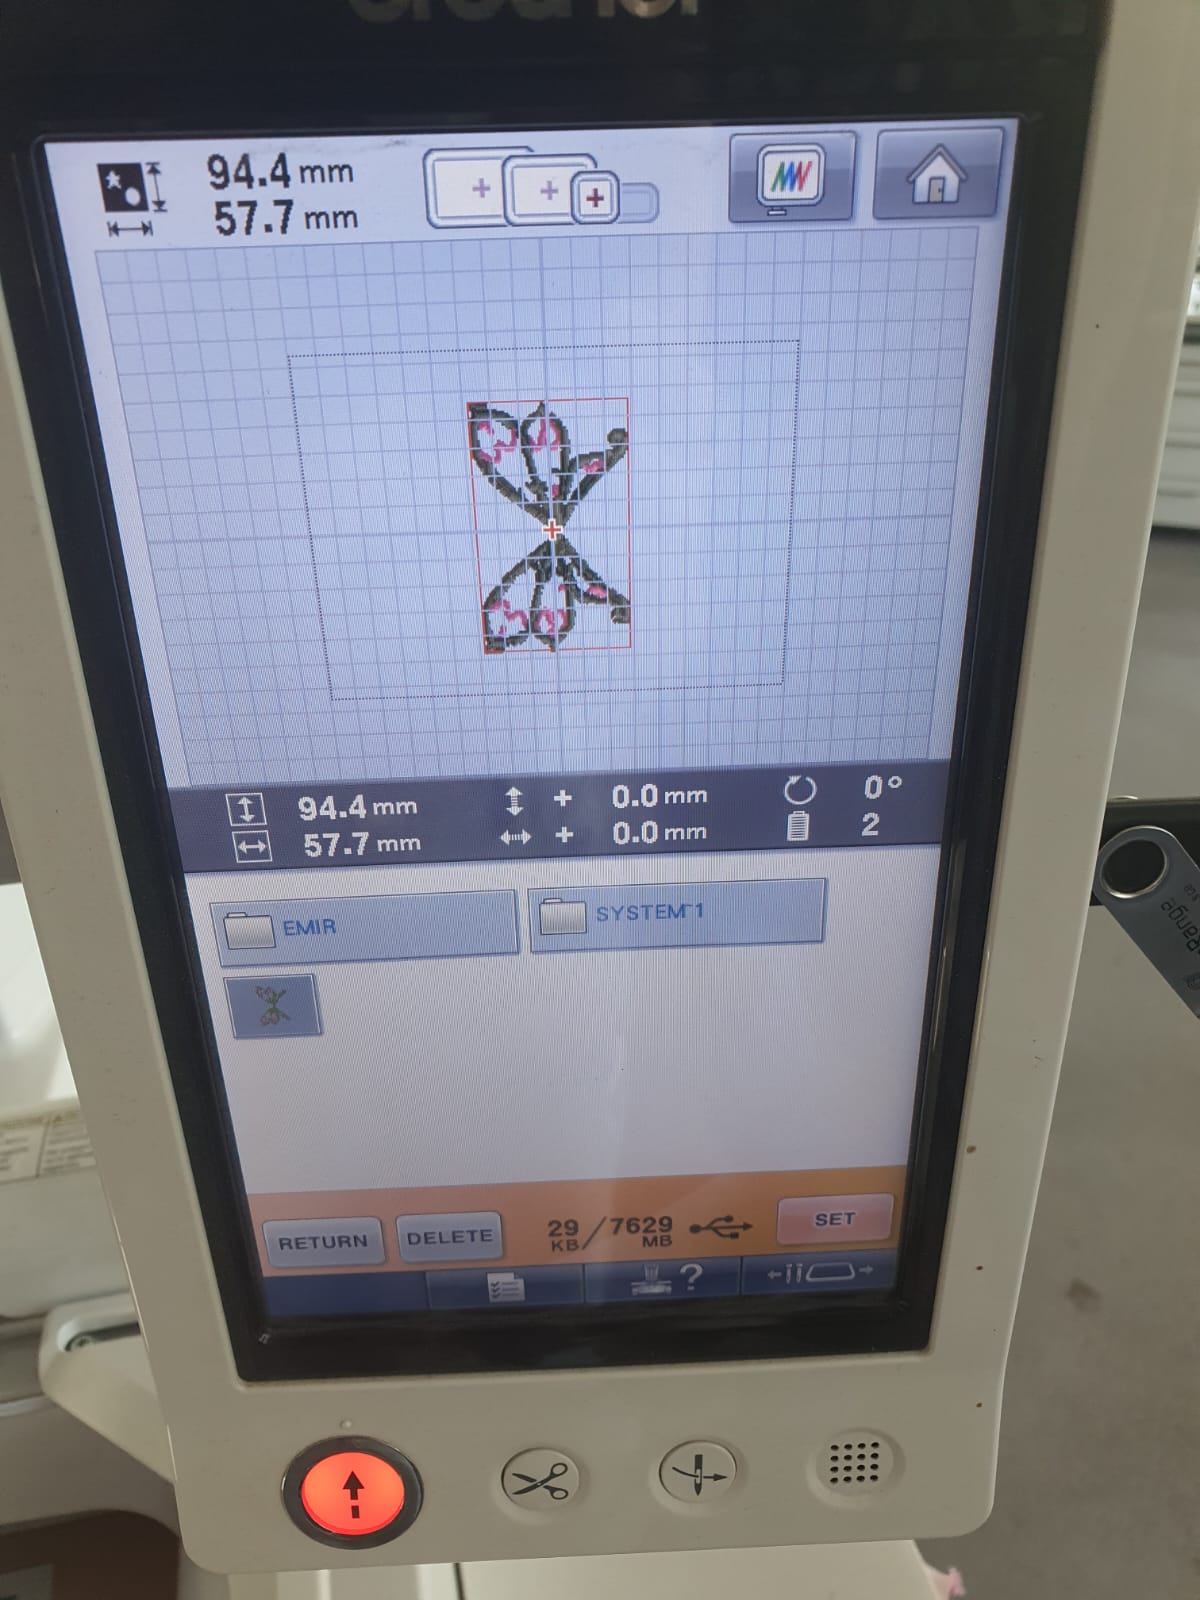
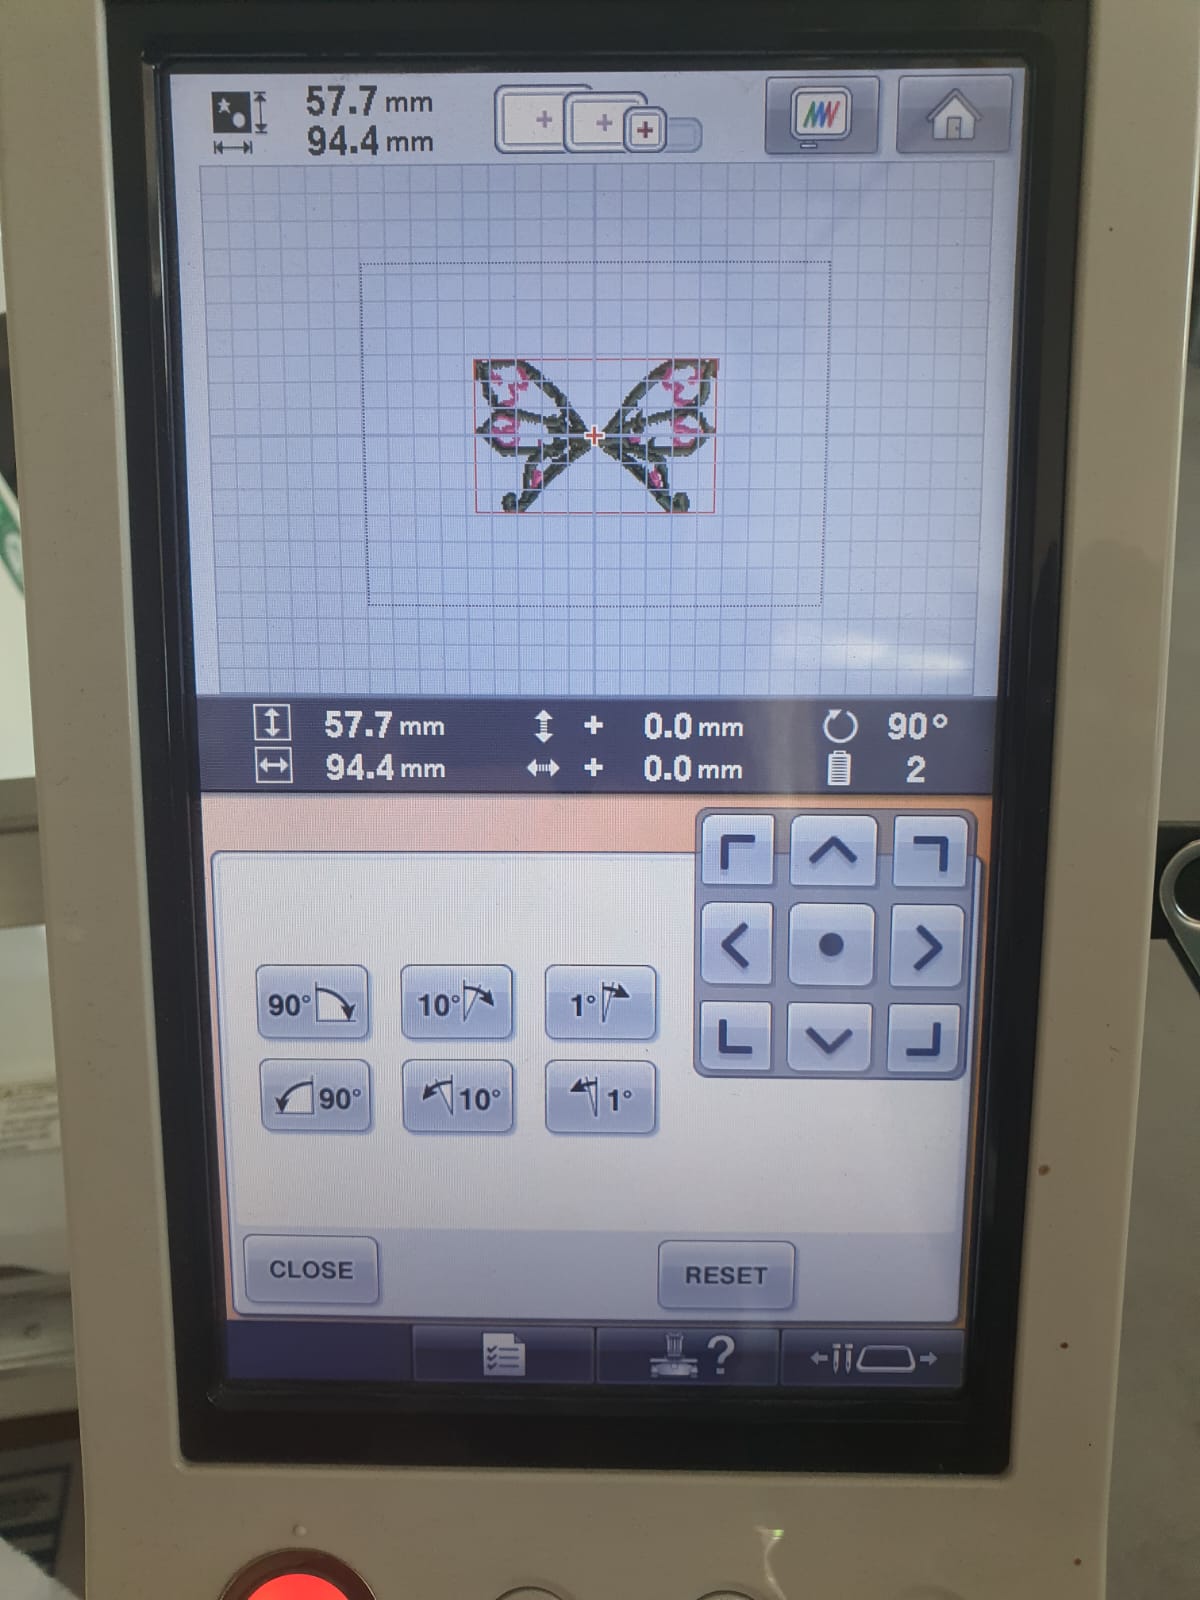
Afterwards, you set the the rotation of how you want the pattern to be
emroidered onto the cloth.
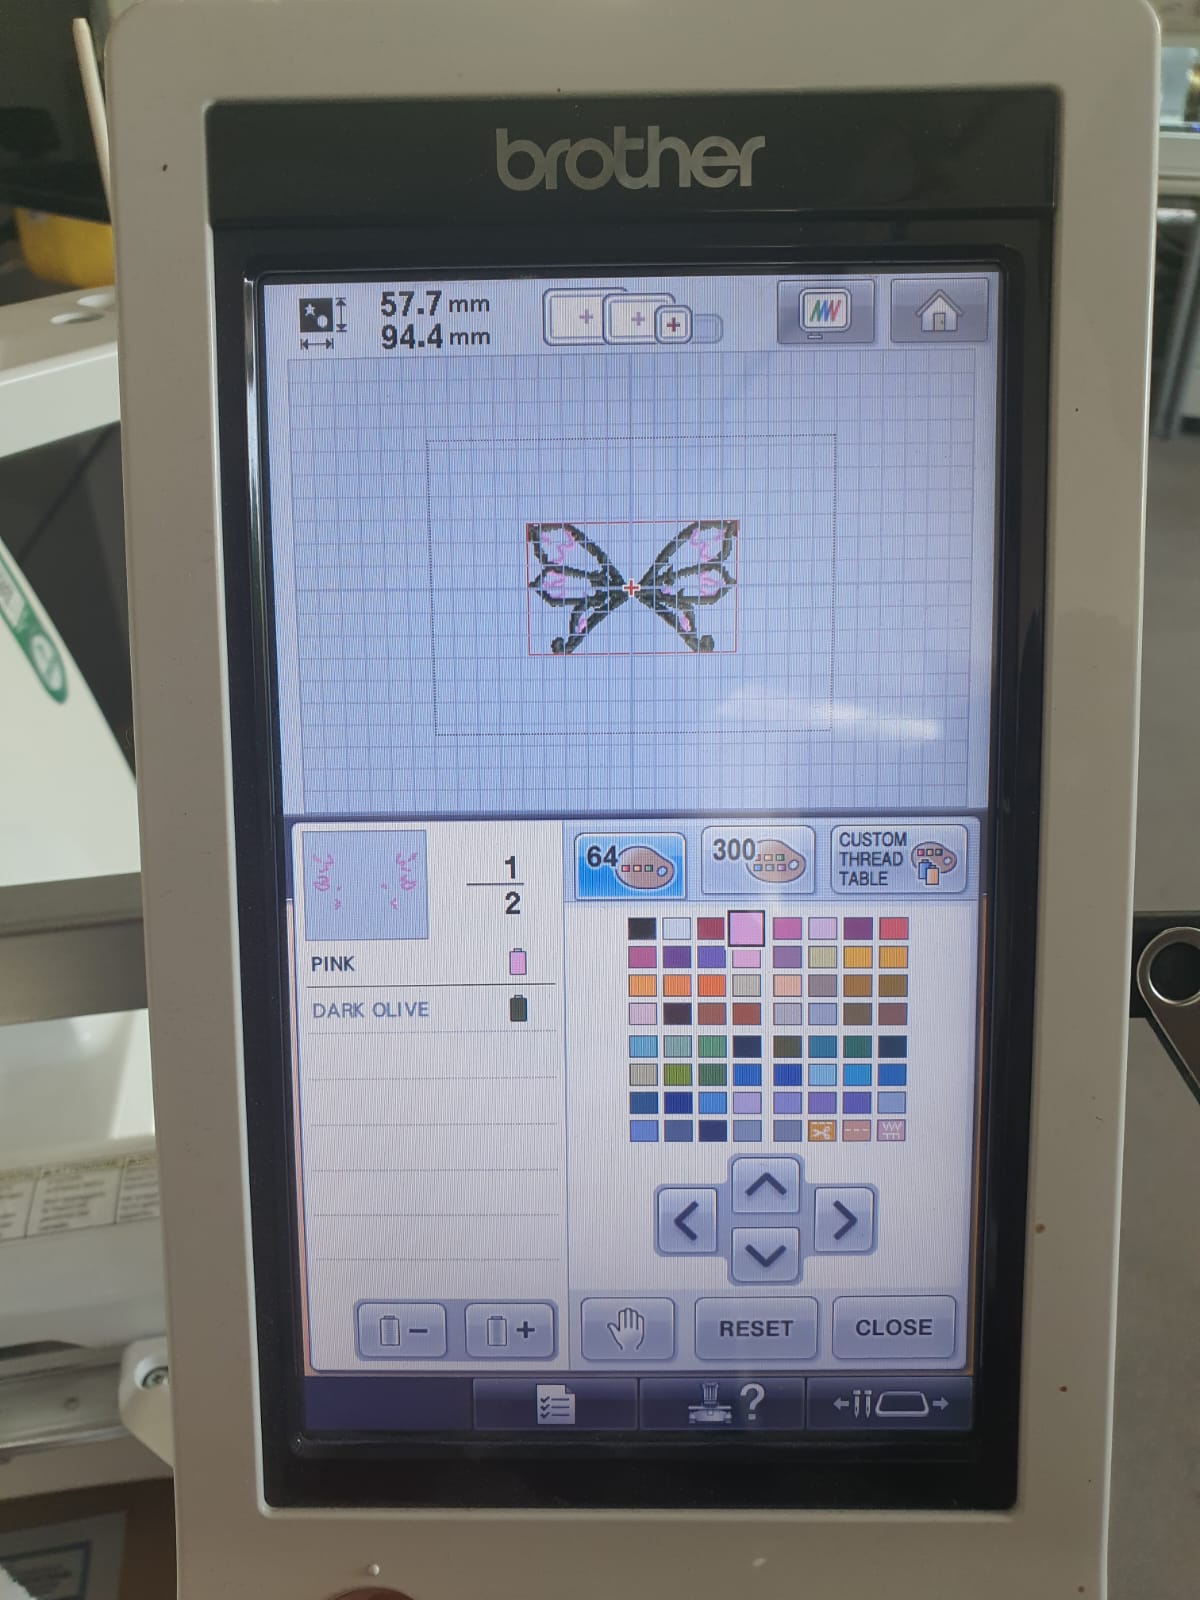
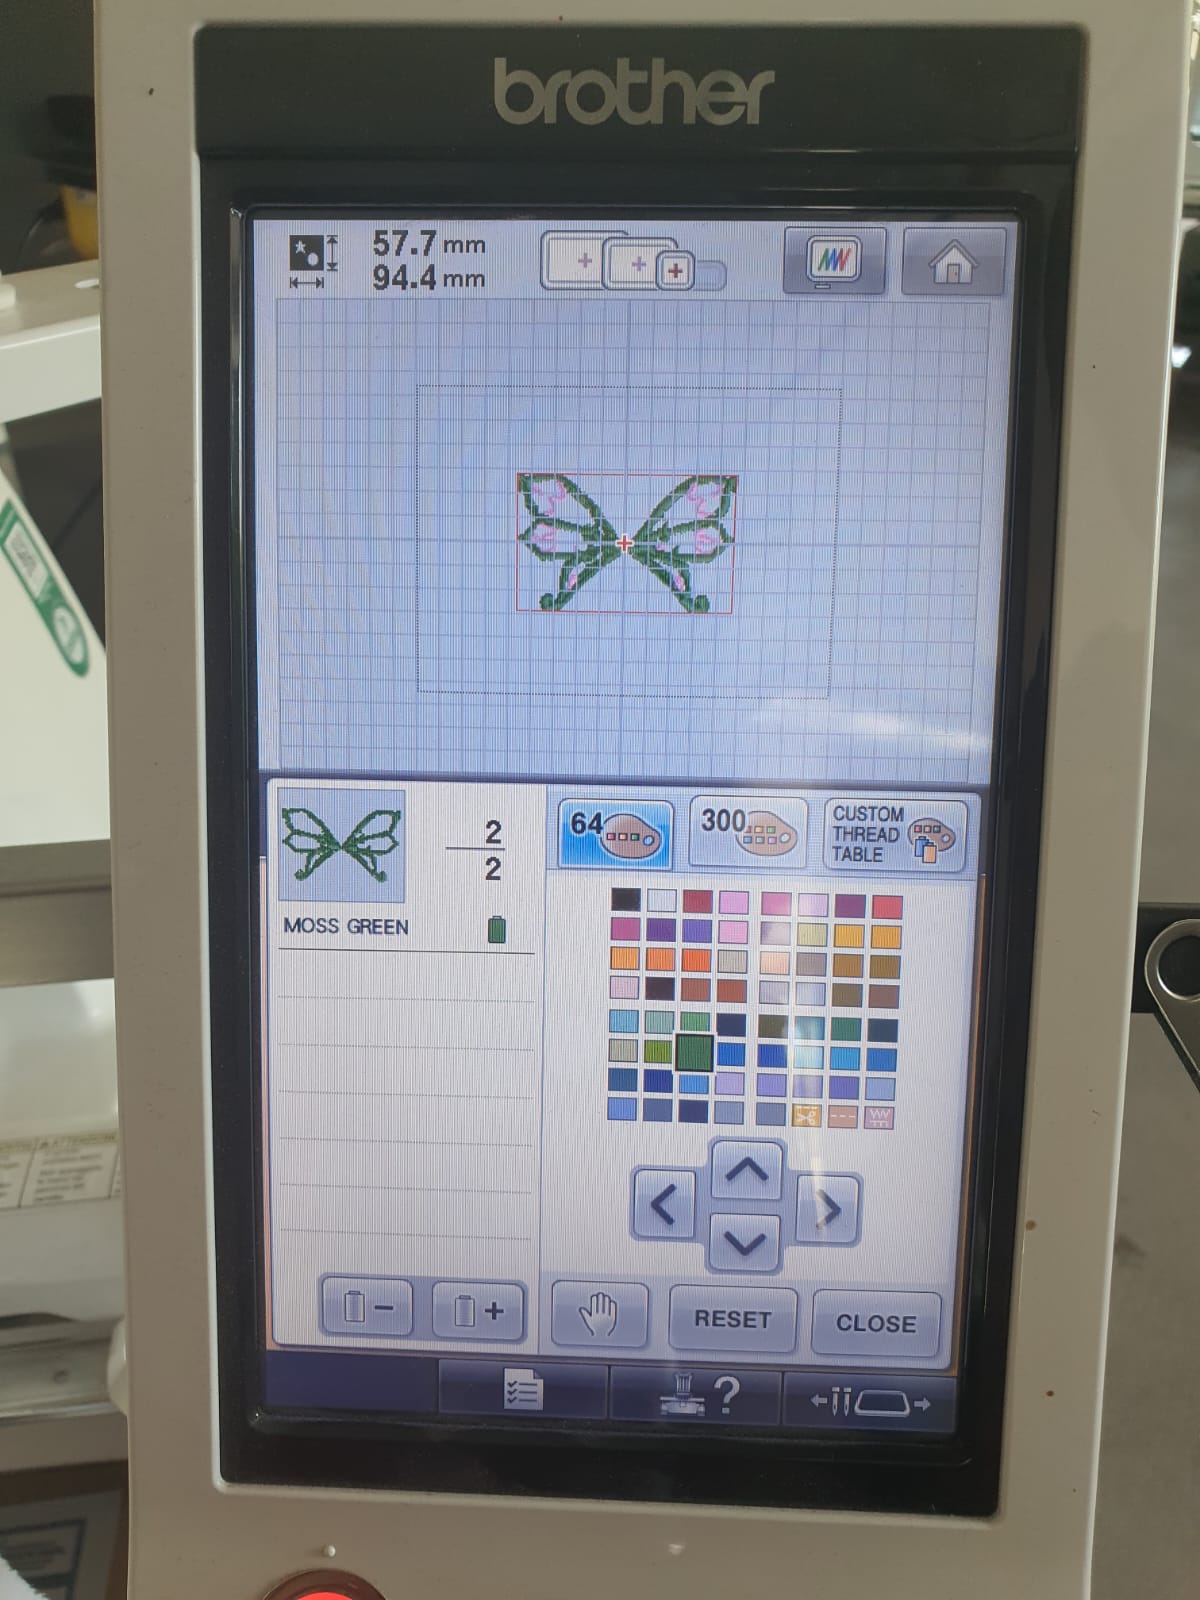
Now, you select the right colors of the embroidery. It automatically tries to assign the colors
it recognizes in the drawing to the colors' shades available in the software.
Therefore, you need to change the colors and select the right colors you assigned initially,
namely in my case pink and moss green.
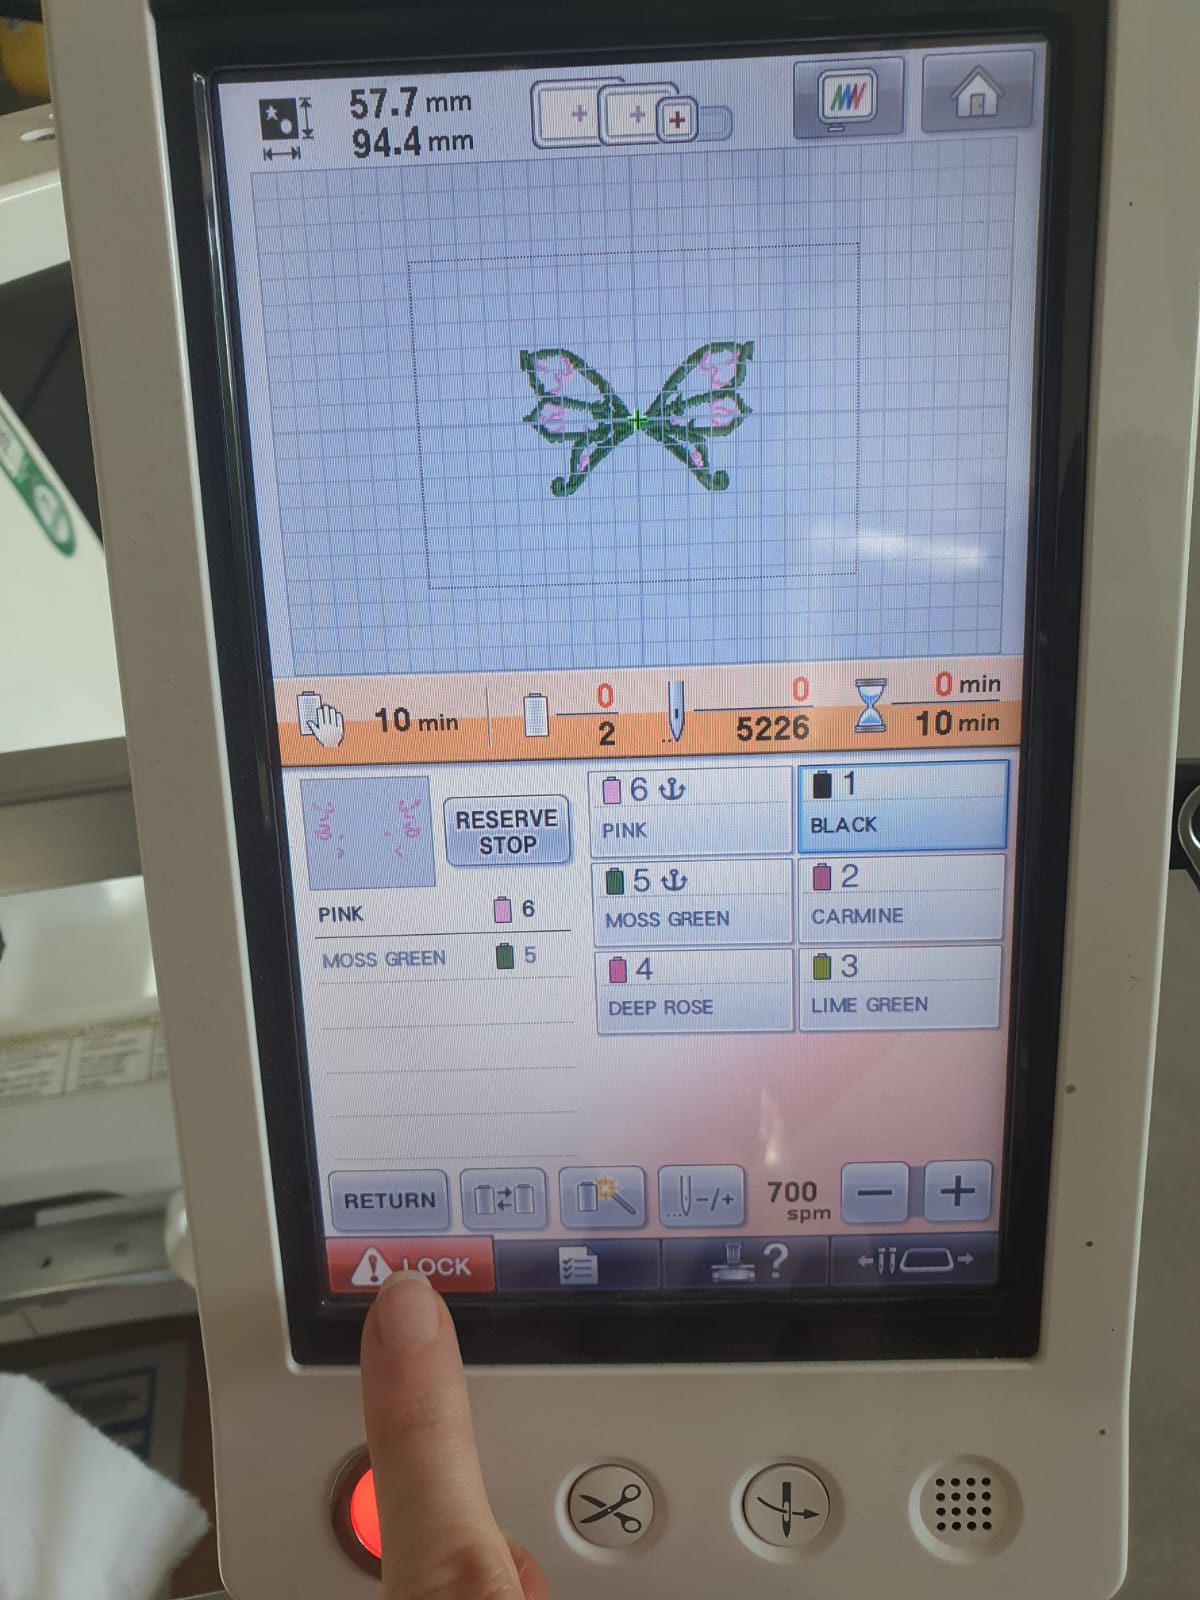
Once done, you can start the process by first pressing the unlock button, which
turs the light from red to green.
Finally, you press the green button to start the embroidery process!
Errors Issues and Struggles
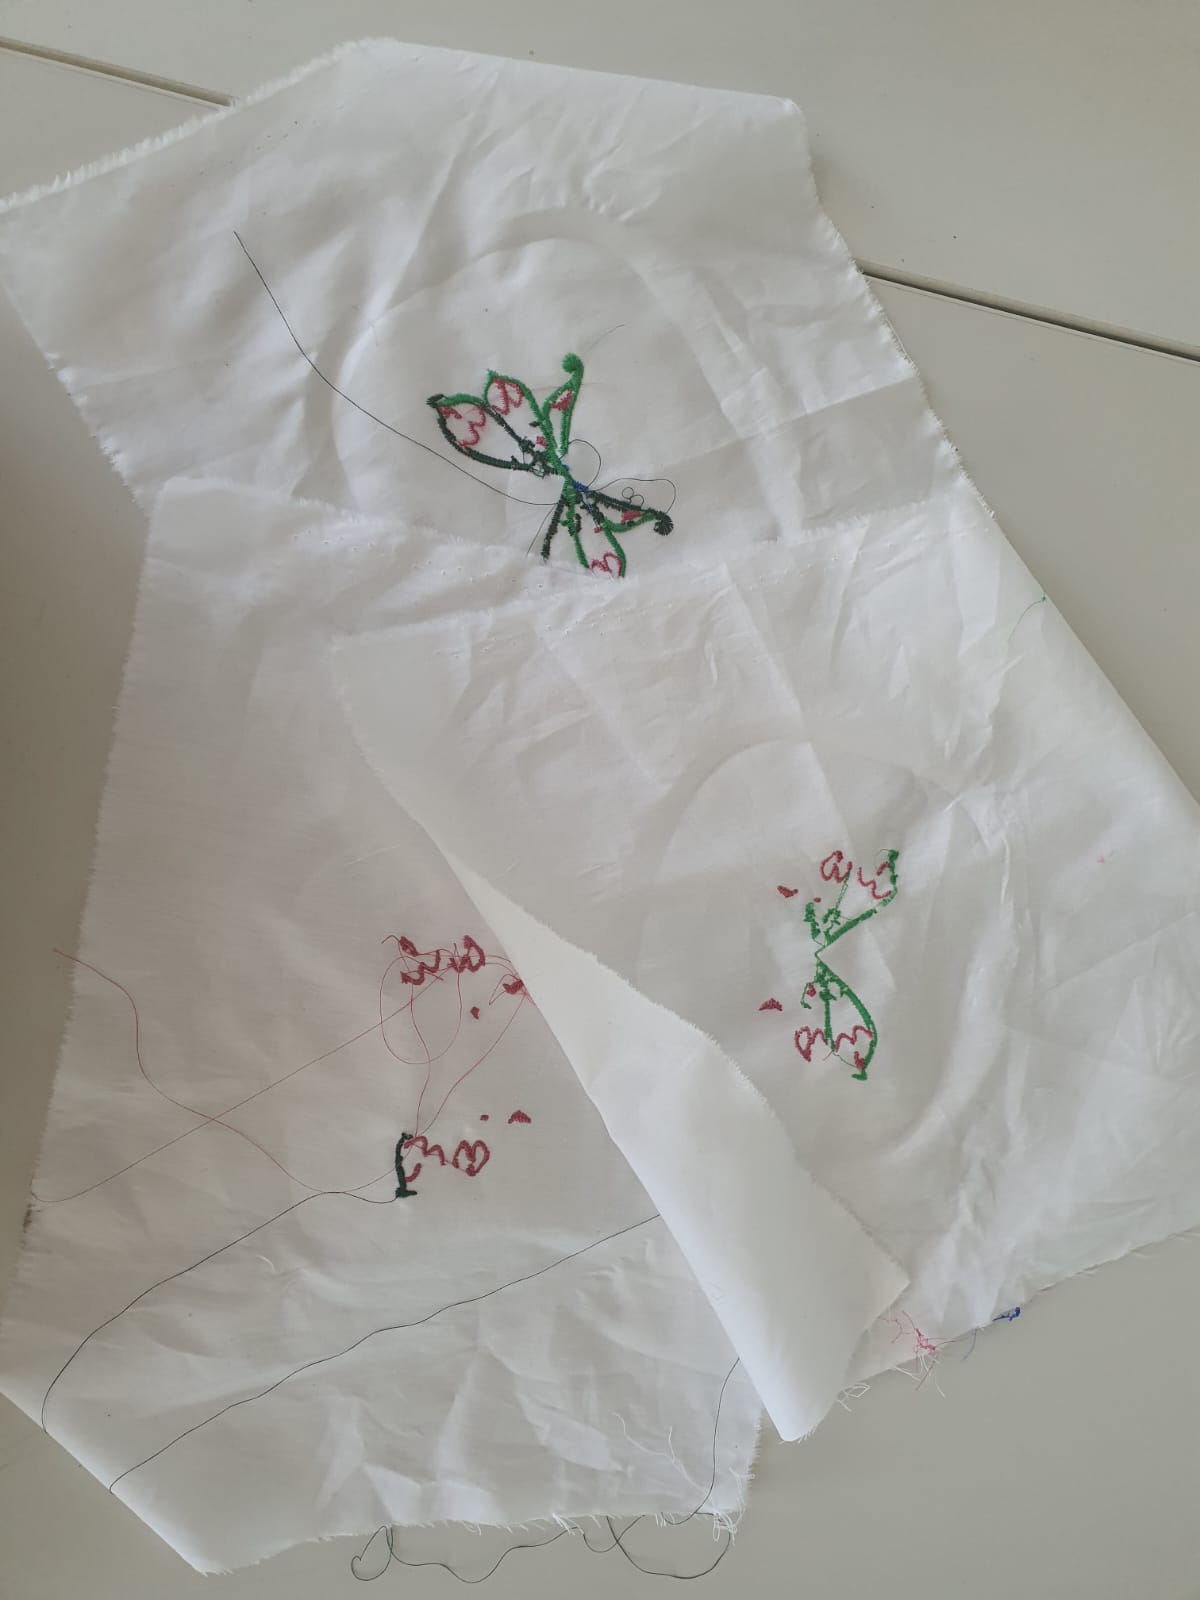
Although the final run in the video looks smooth, our earlier attempts revealed several setup
flaws.
First, the machine was untouched for years. Therefore, we expected that some patience while
reviving it was necessary.
We tested it in total 4 times before achieving the desired results.
- Multiple reasons were causing our failure:
- The underthread bobbin not being installed propery, due to the broken hook of the case (which we solved later on)
- Thread being old and brittle so they ended up snapping multiple times
- Too much tension on the thread or too little tension
- The backing cloth not being properly flat (the undercloth which helps prevent shifting, and distortion of the fabric during the embroidery process)
- The density of the sewing is too high
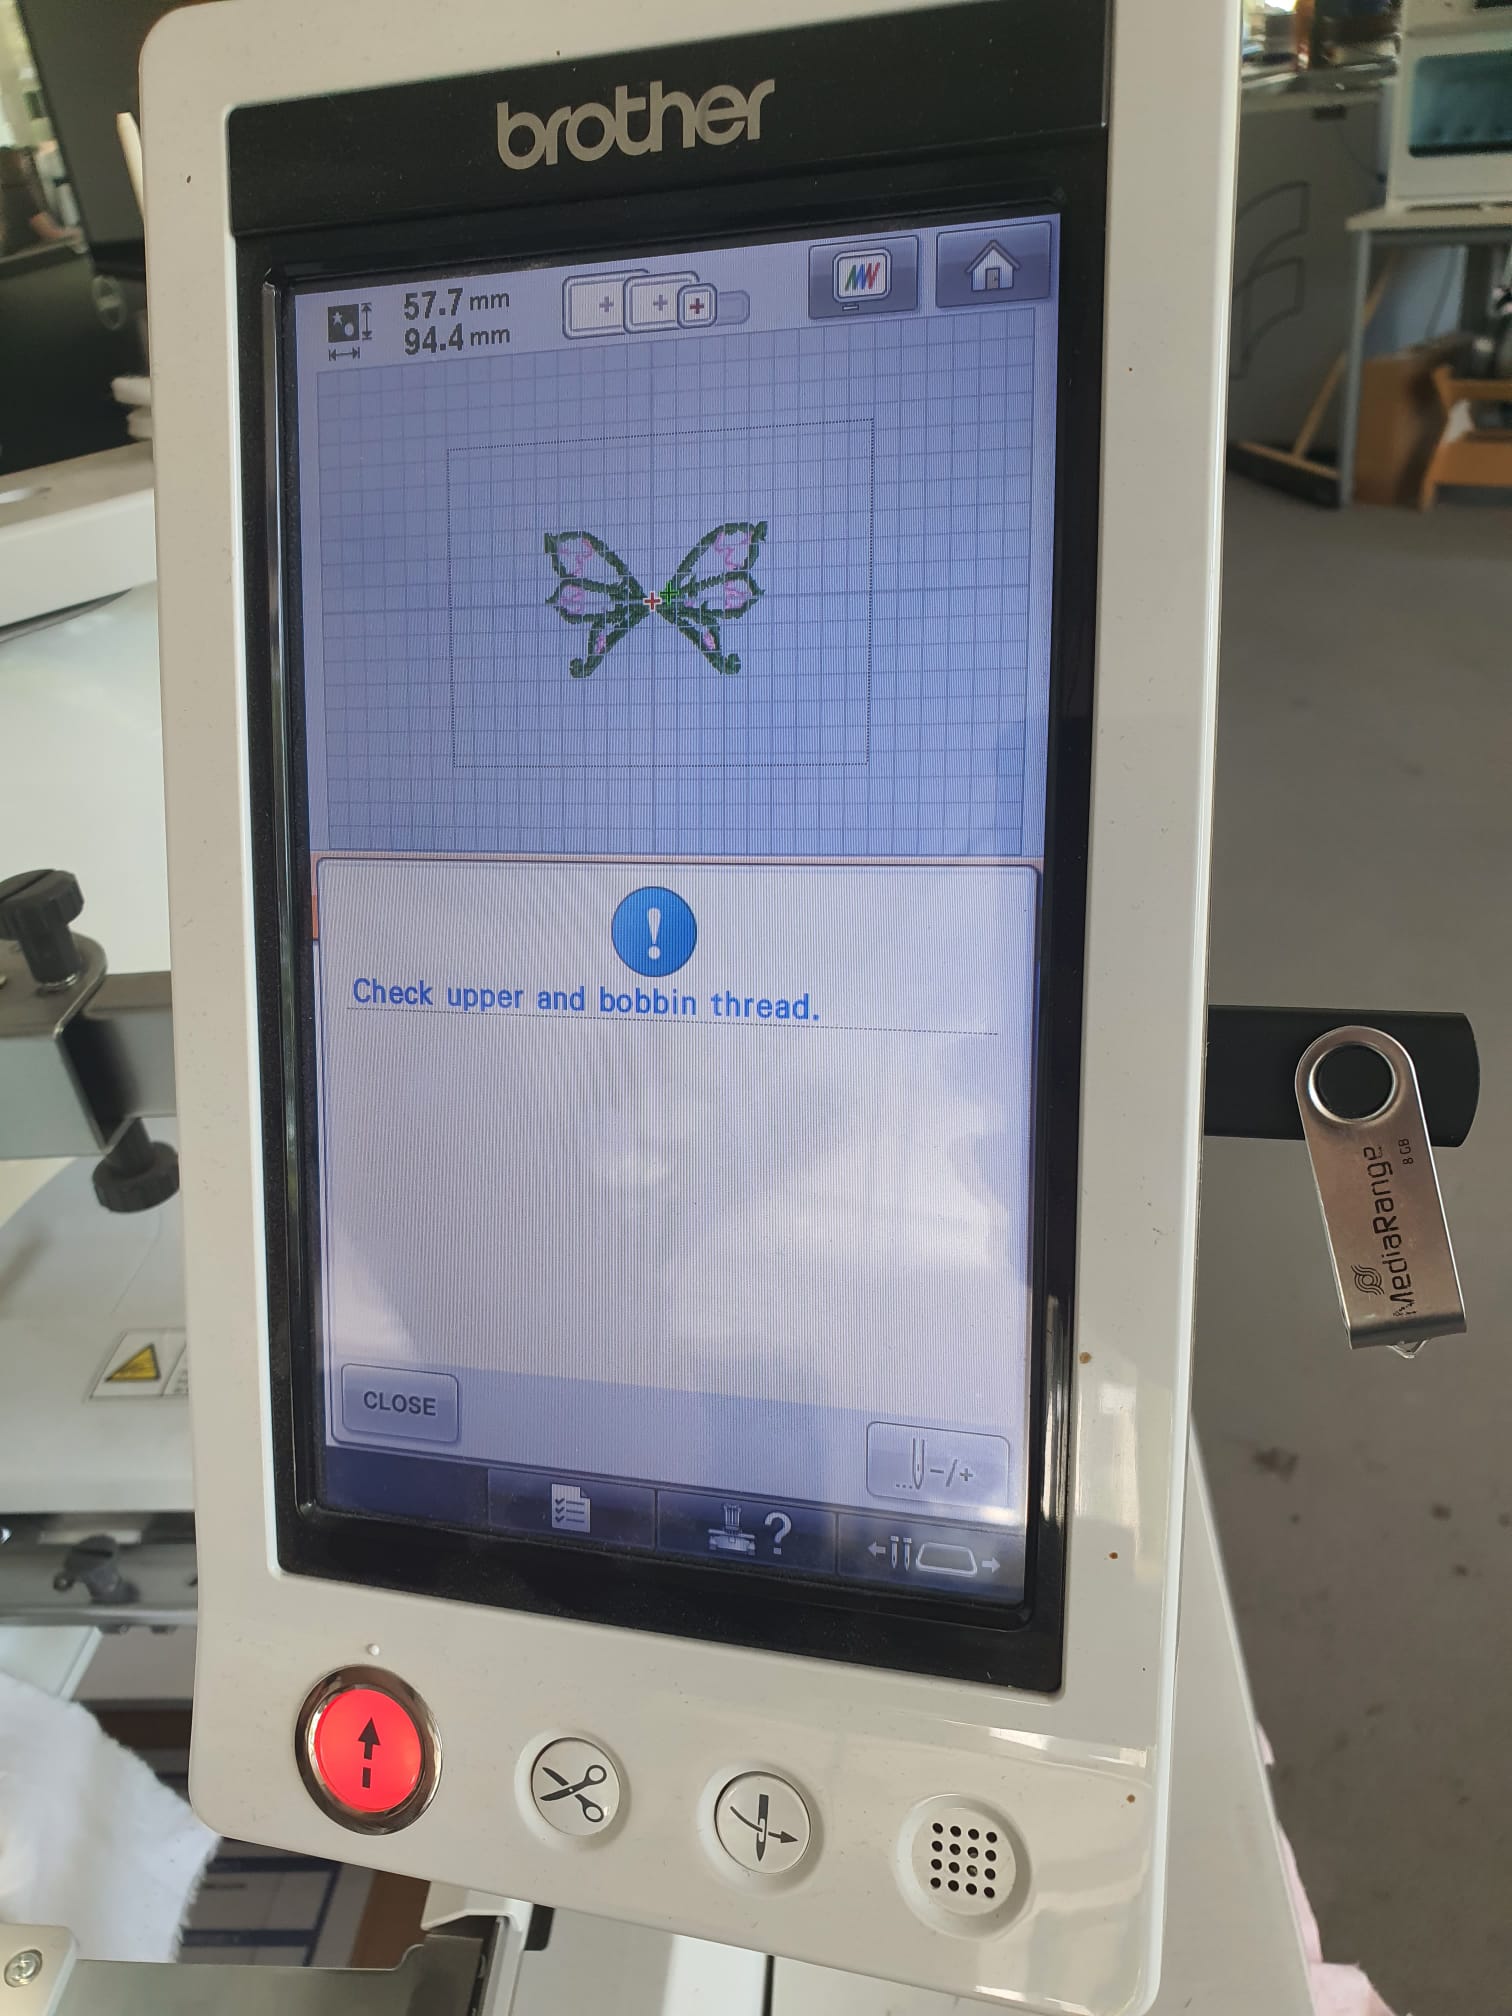
Nevertheless, with patience, perseverance, and some imporvisation on solving the frequent error
manually, we managed to have a beautiful butterfly embroidery on my handkerchief!

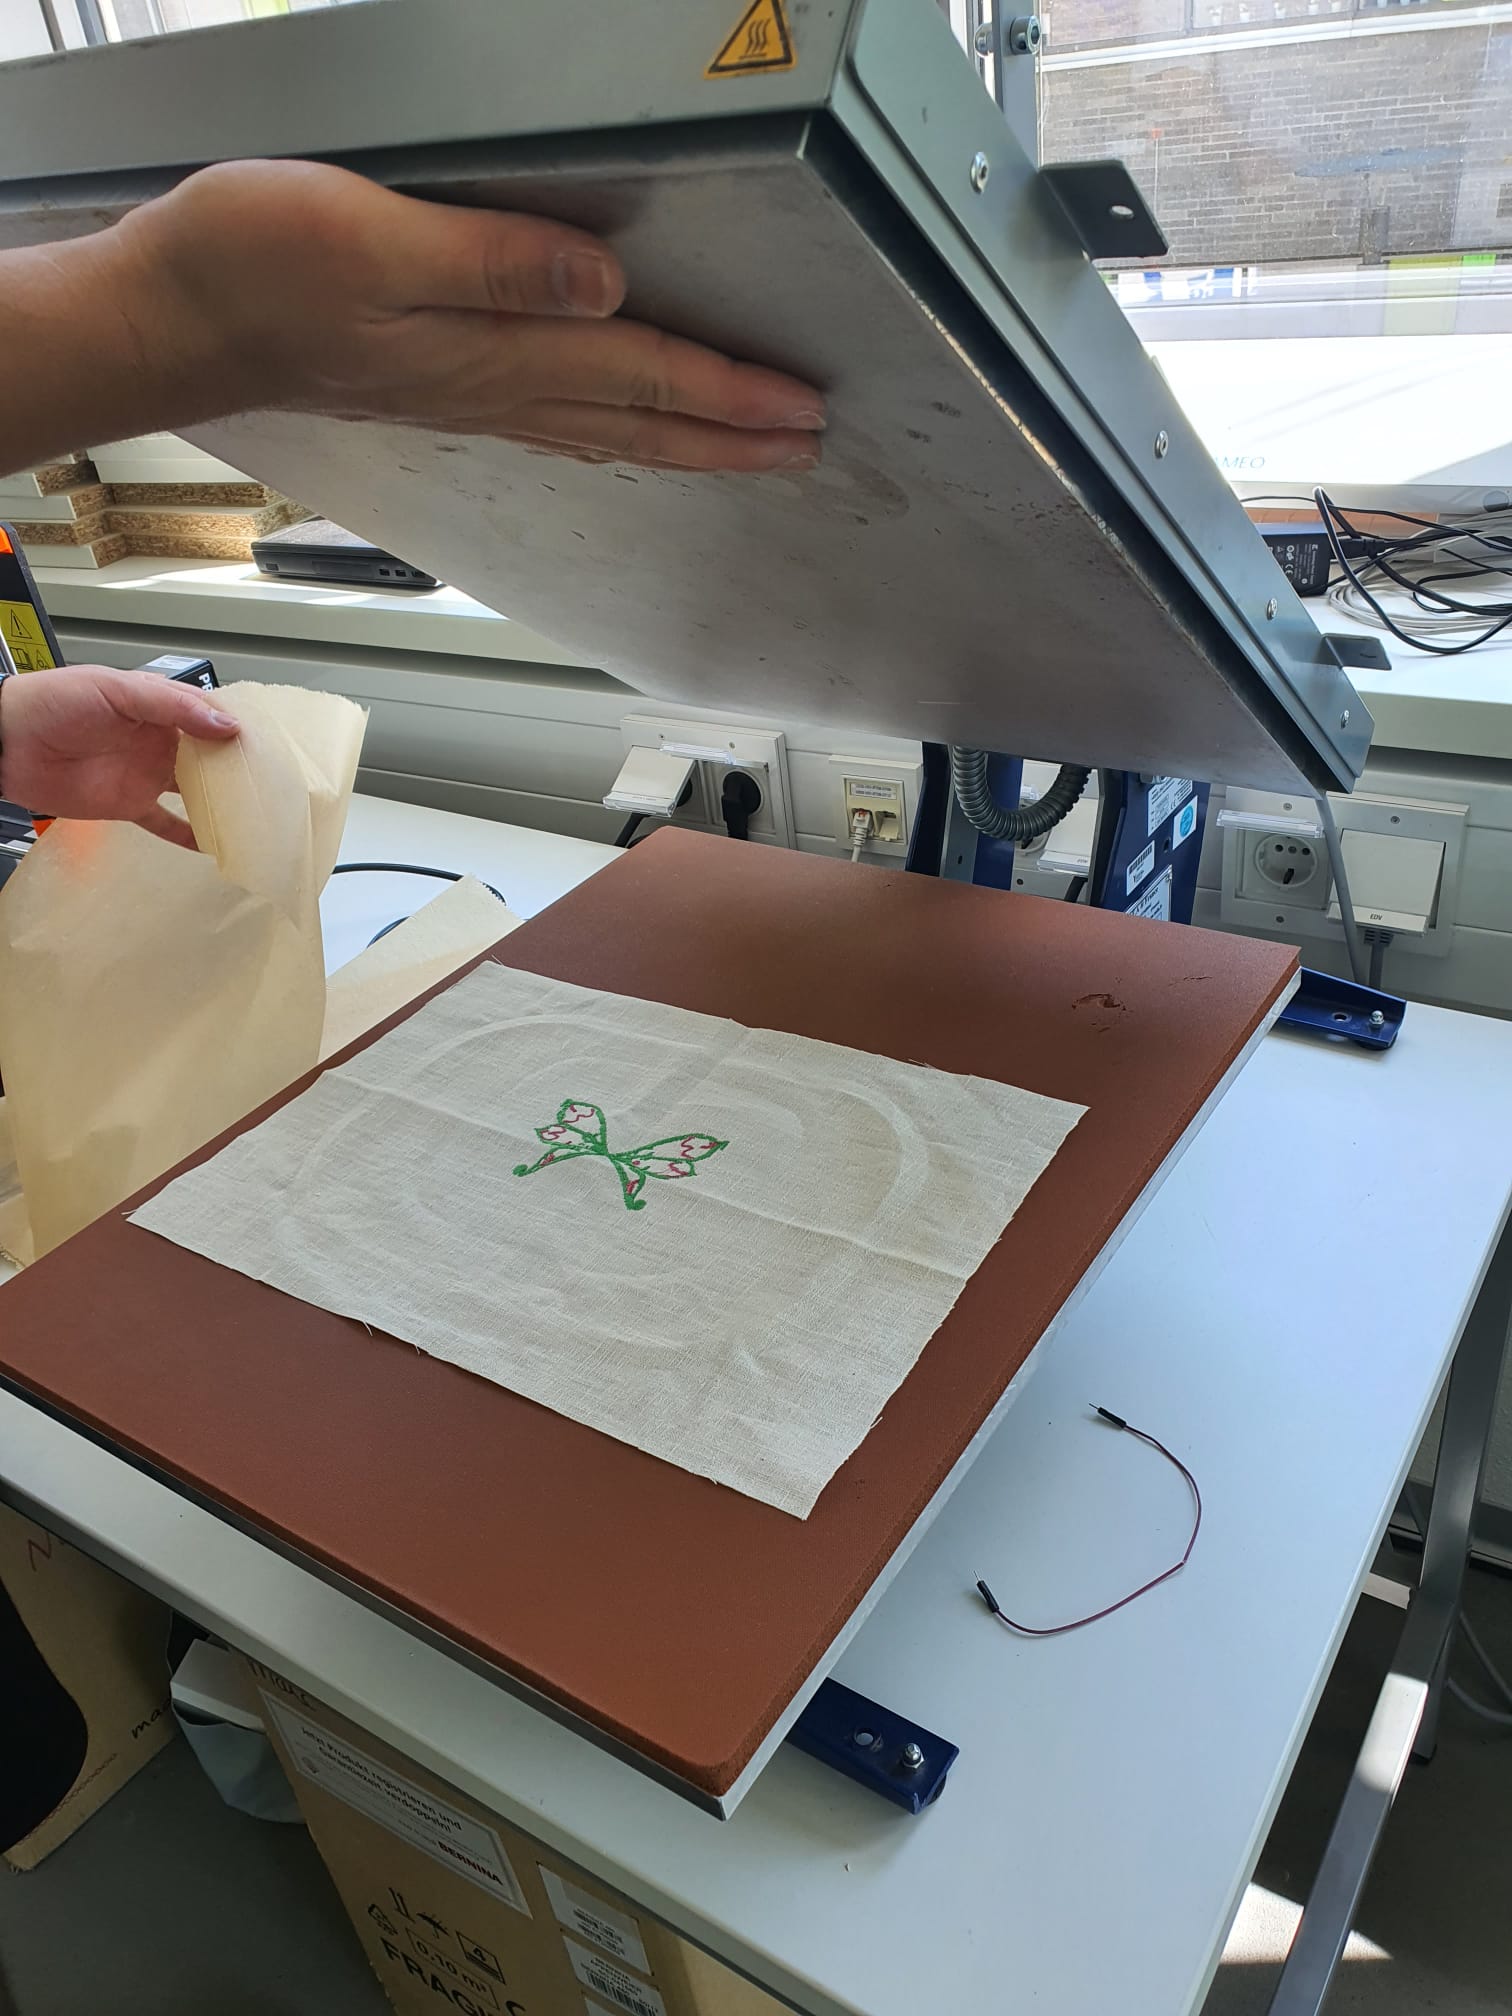
Post-Processing The Embroidered Handkerchief
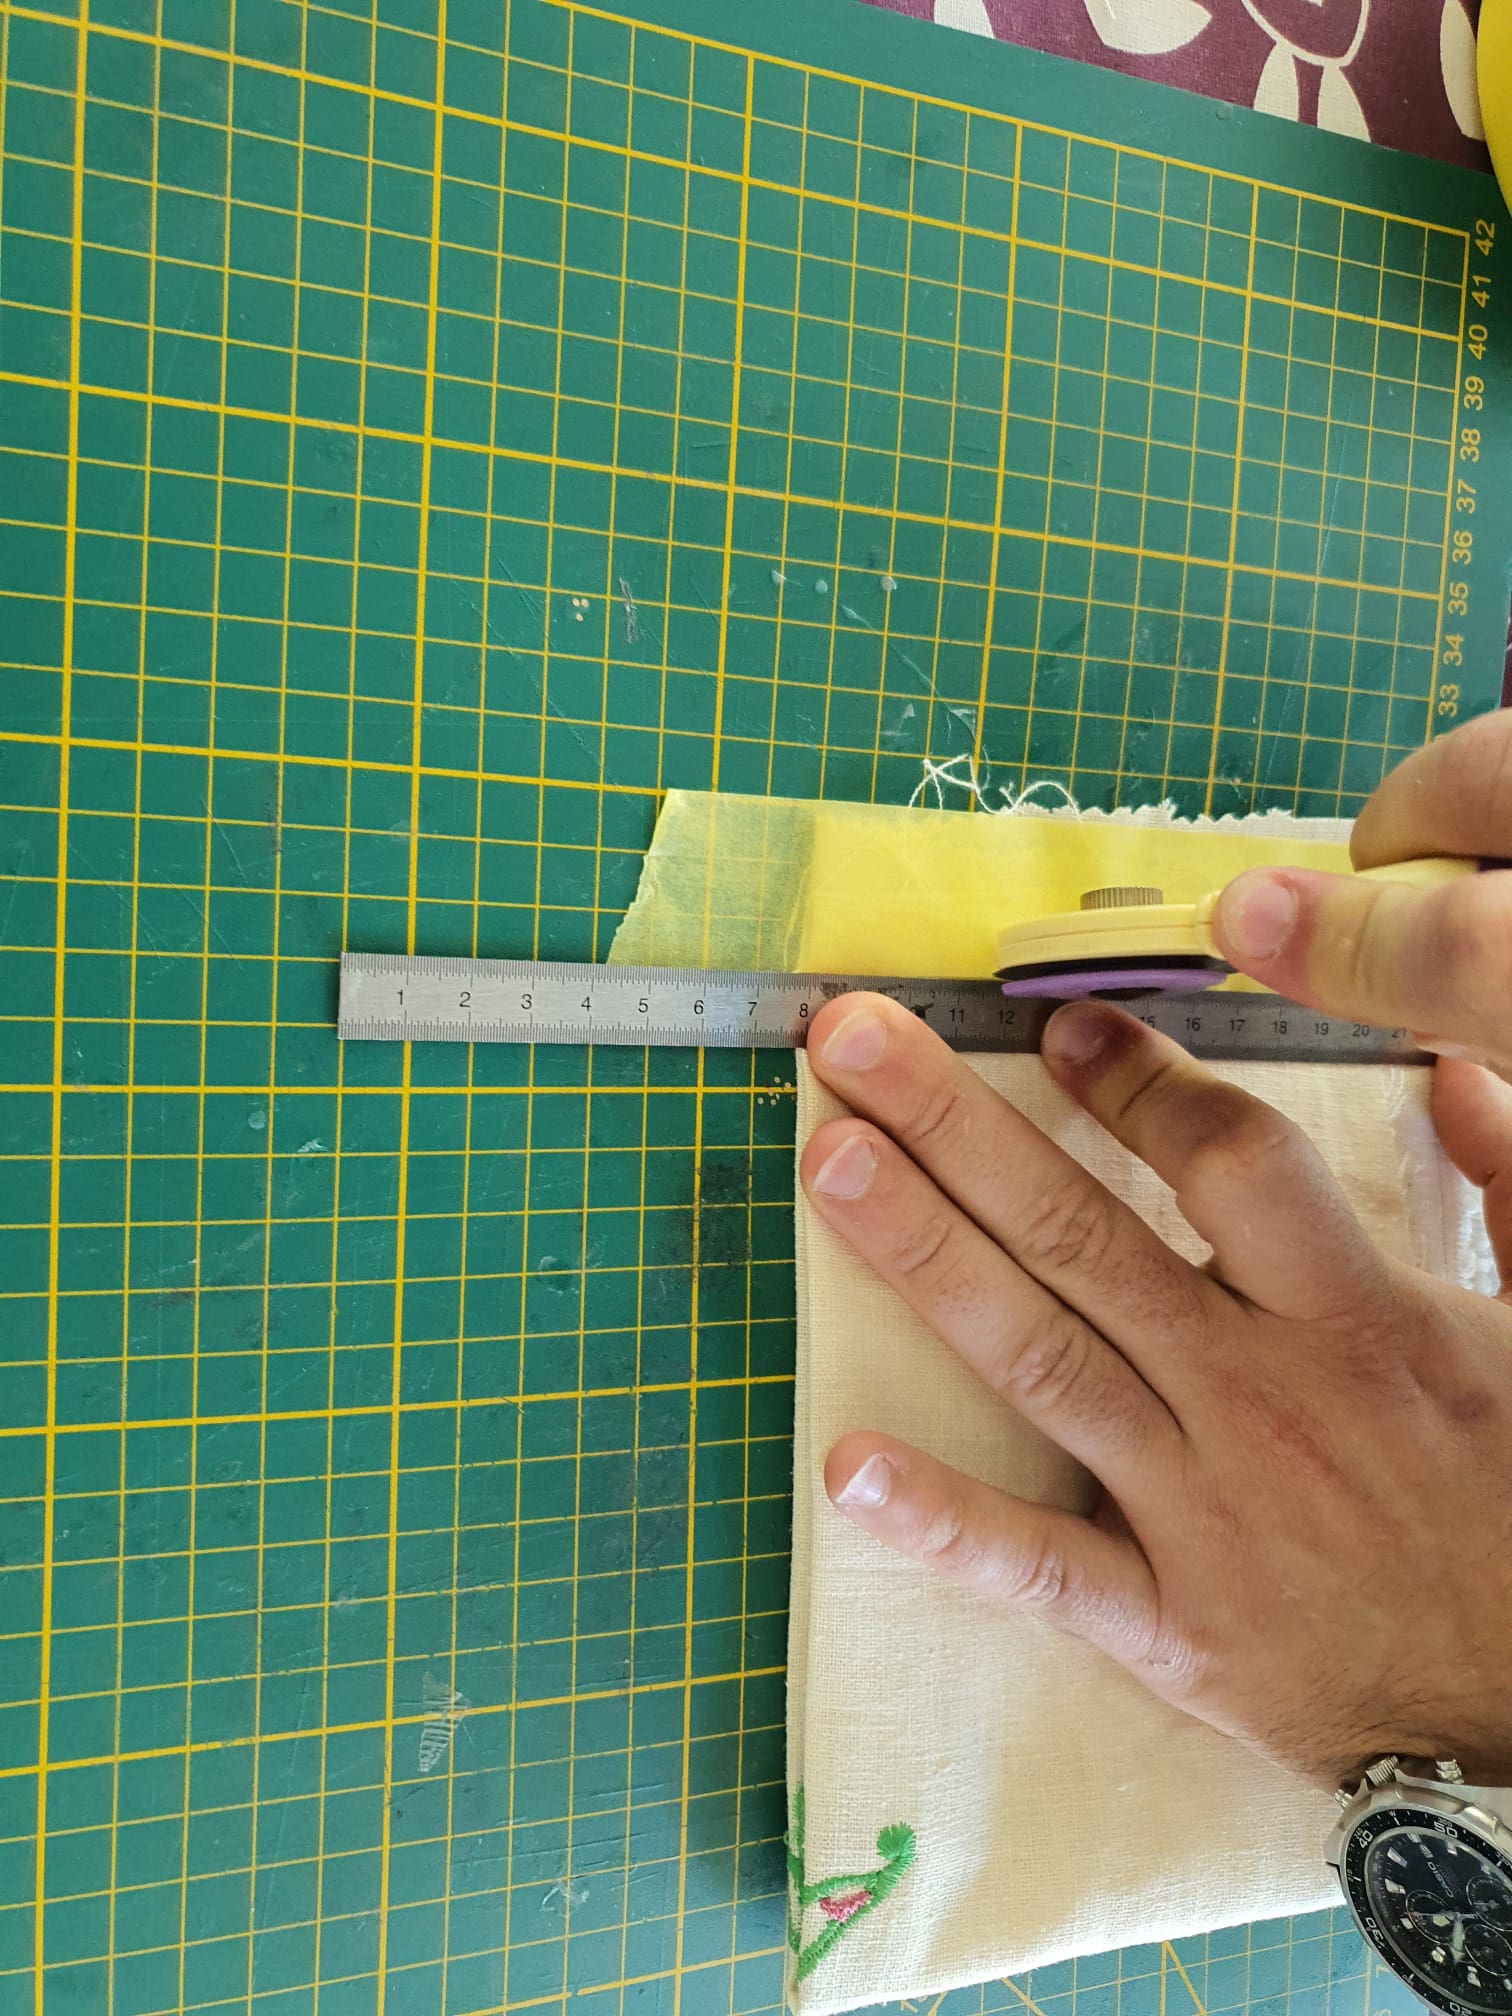
In order to make sure that it is a perfect rectangle, I folded the handkerchief so the butterfly
is in the middle, used a set square to confirm it is exactly a right angle on
all four edges, then with the help of metal ruler and a fabric rotatory
cutter, I removed the extra fabric.

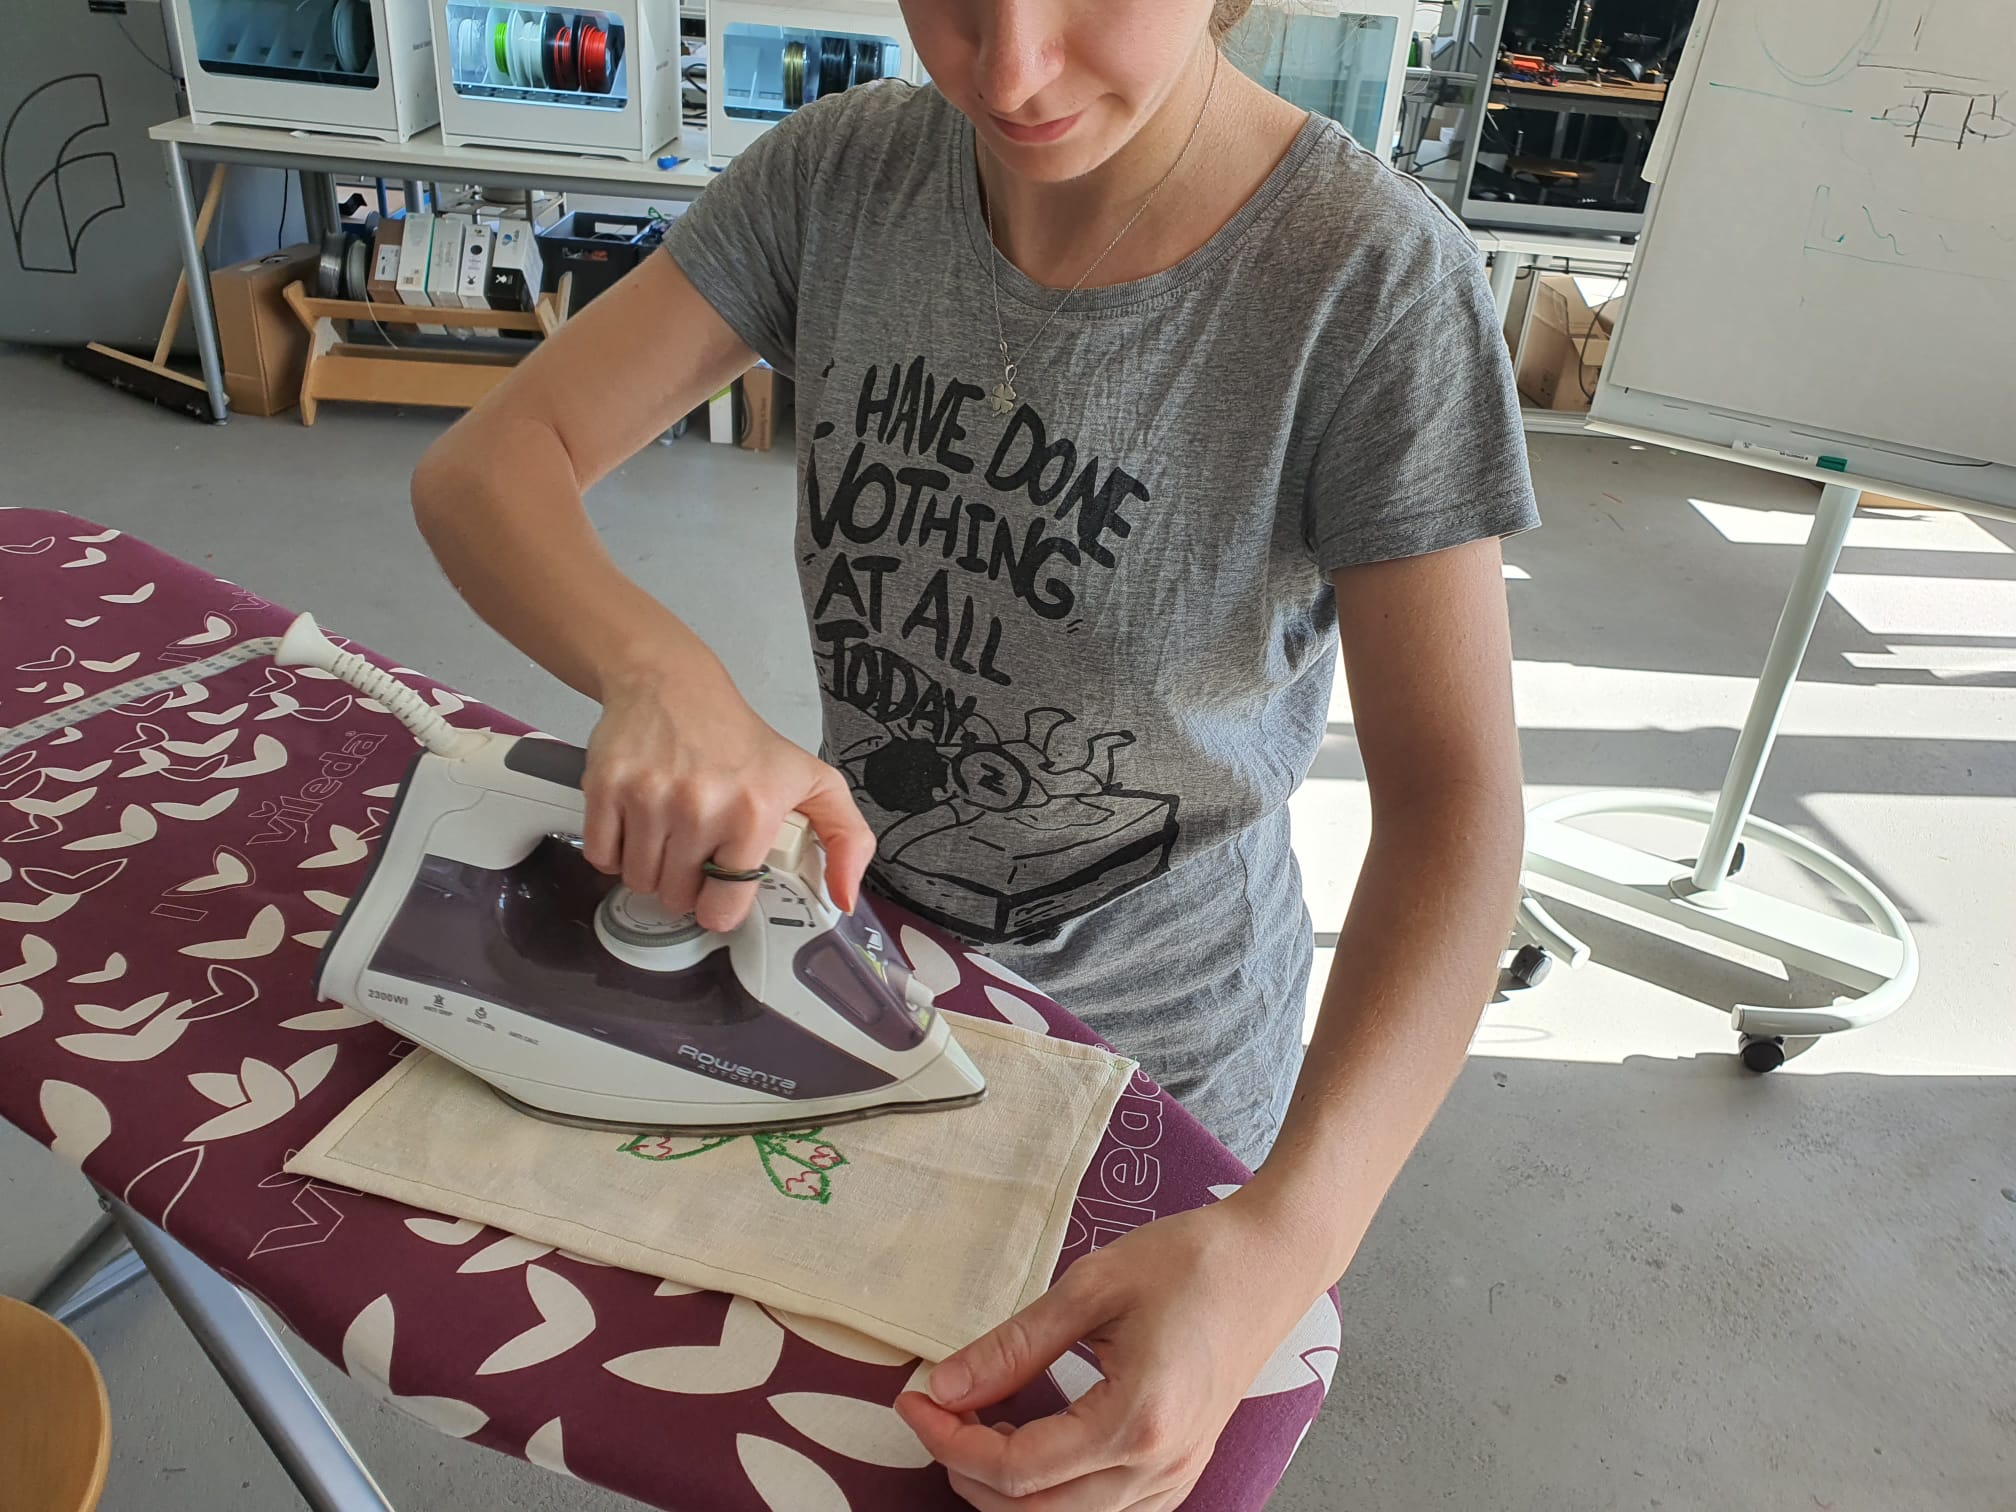
Afterwards, I ironed using the heat press to make sure it is flat and get it
ready for the sewing machine to stitch the edges and make it look neat.
Sewing Process
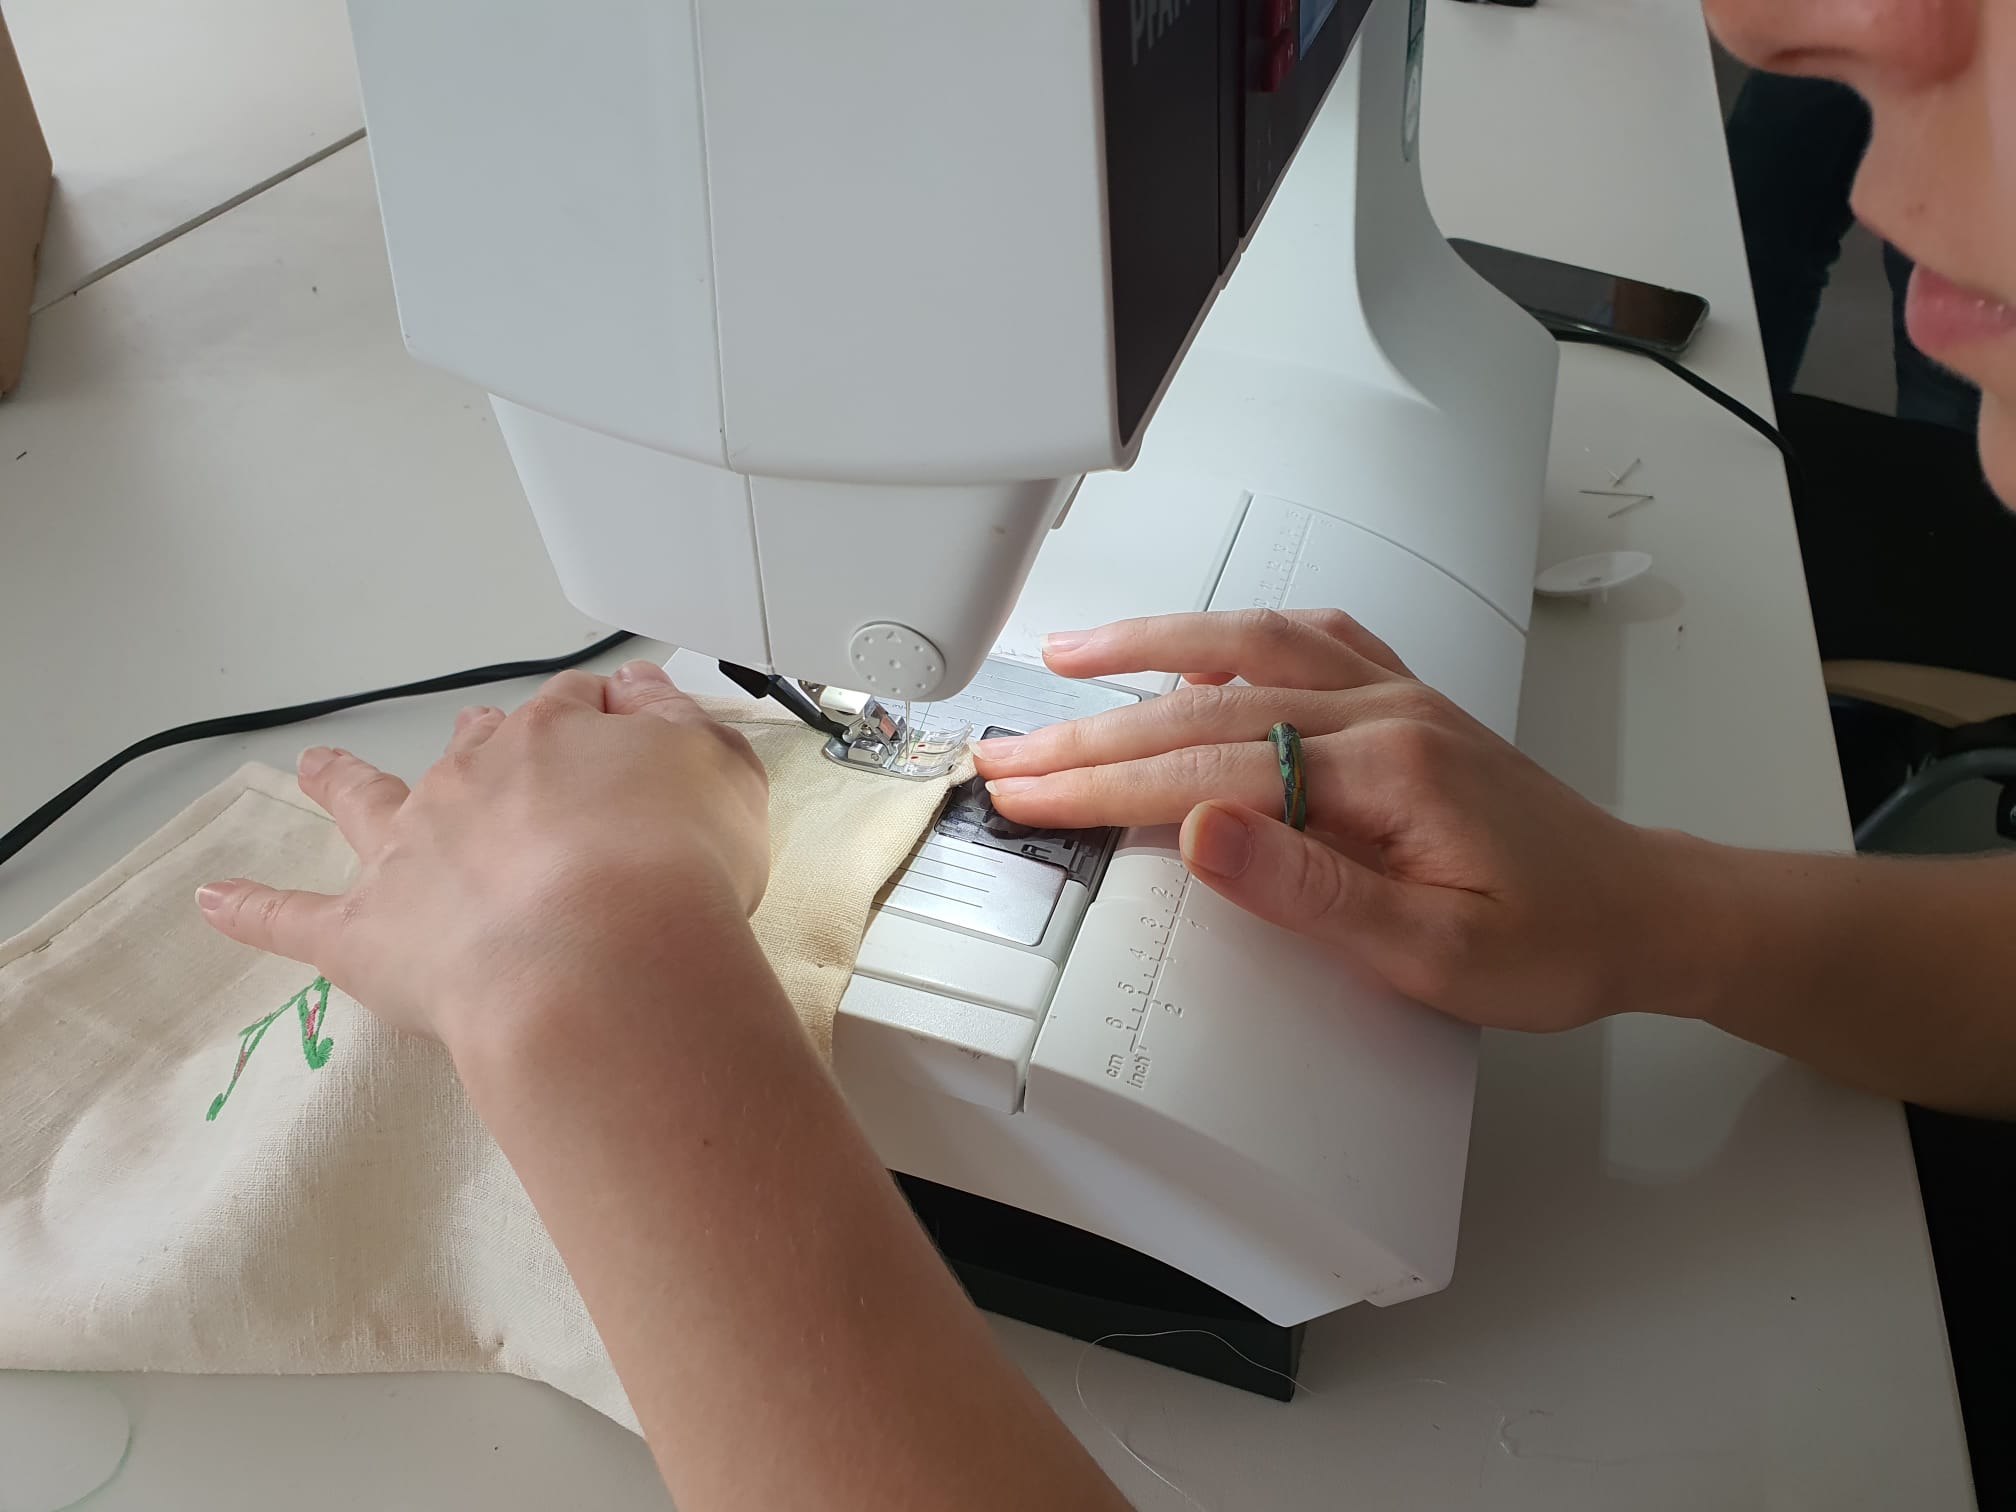
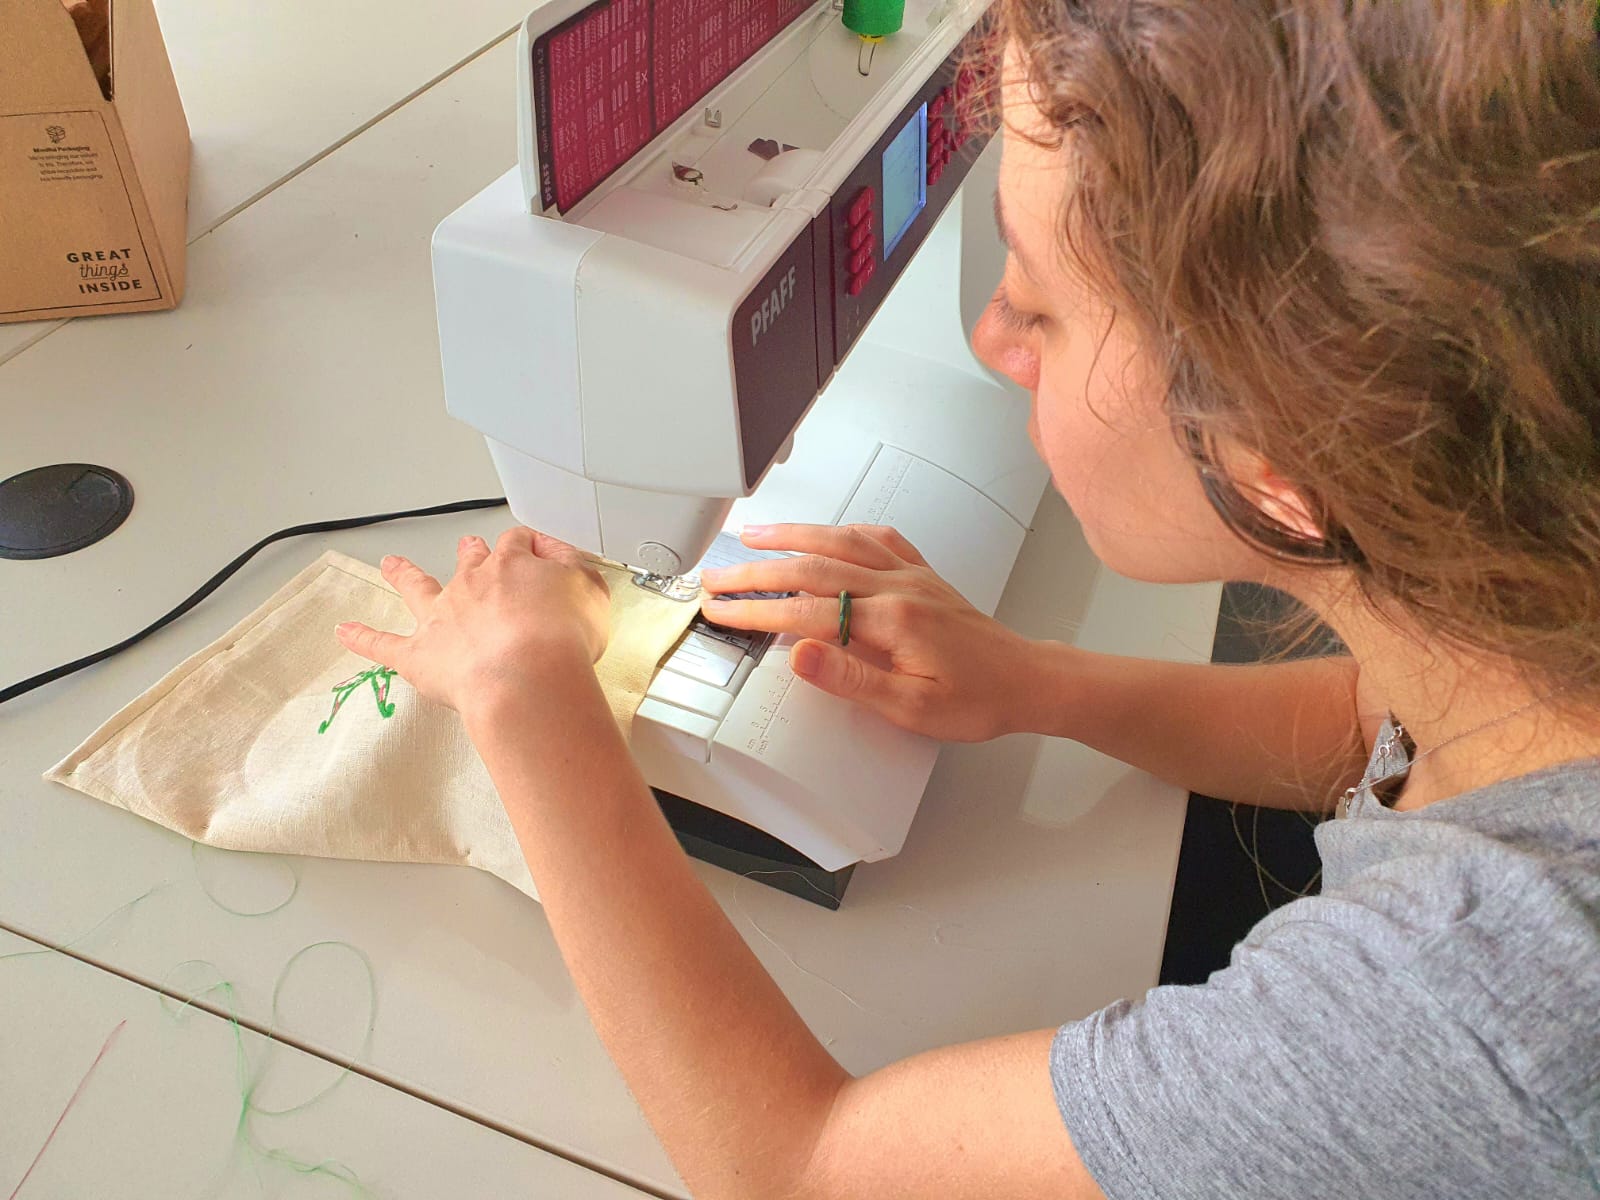
Since the cut edges were now a perfect rectangle, I decided to use a sewing machine in order to
fold the edges and sew them in matching moss-green thread.
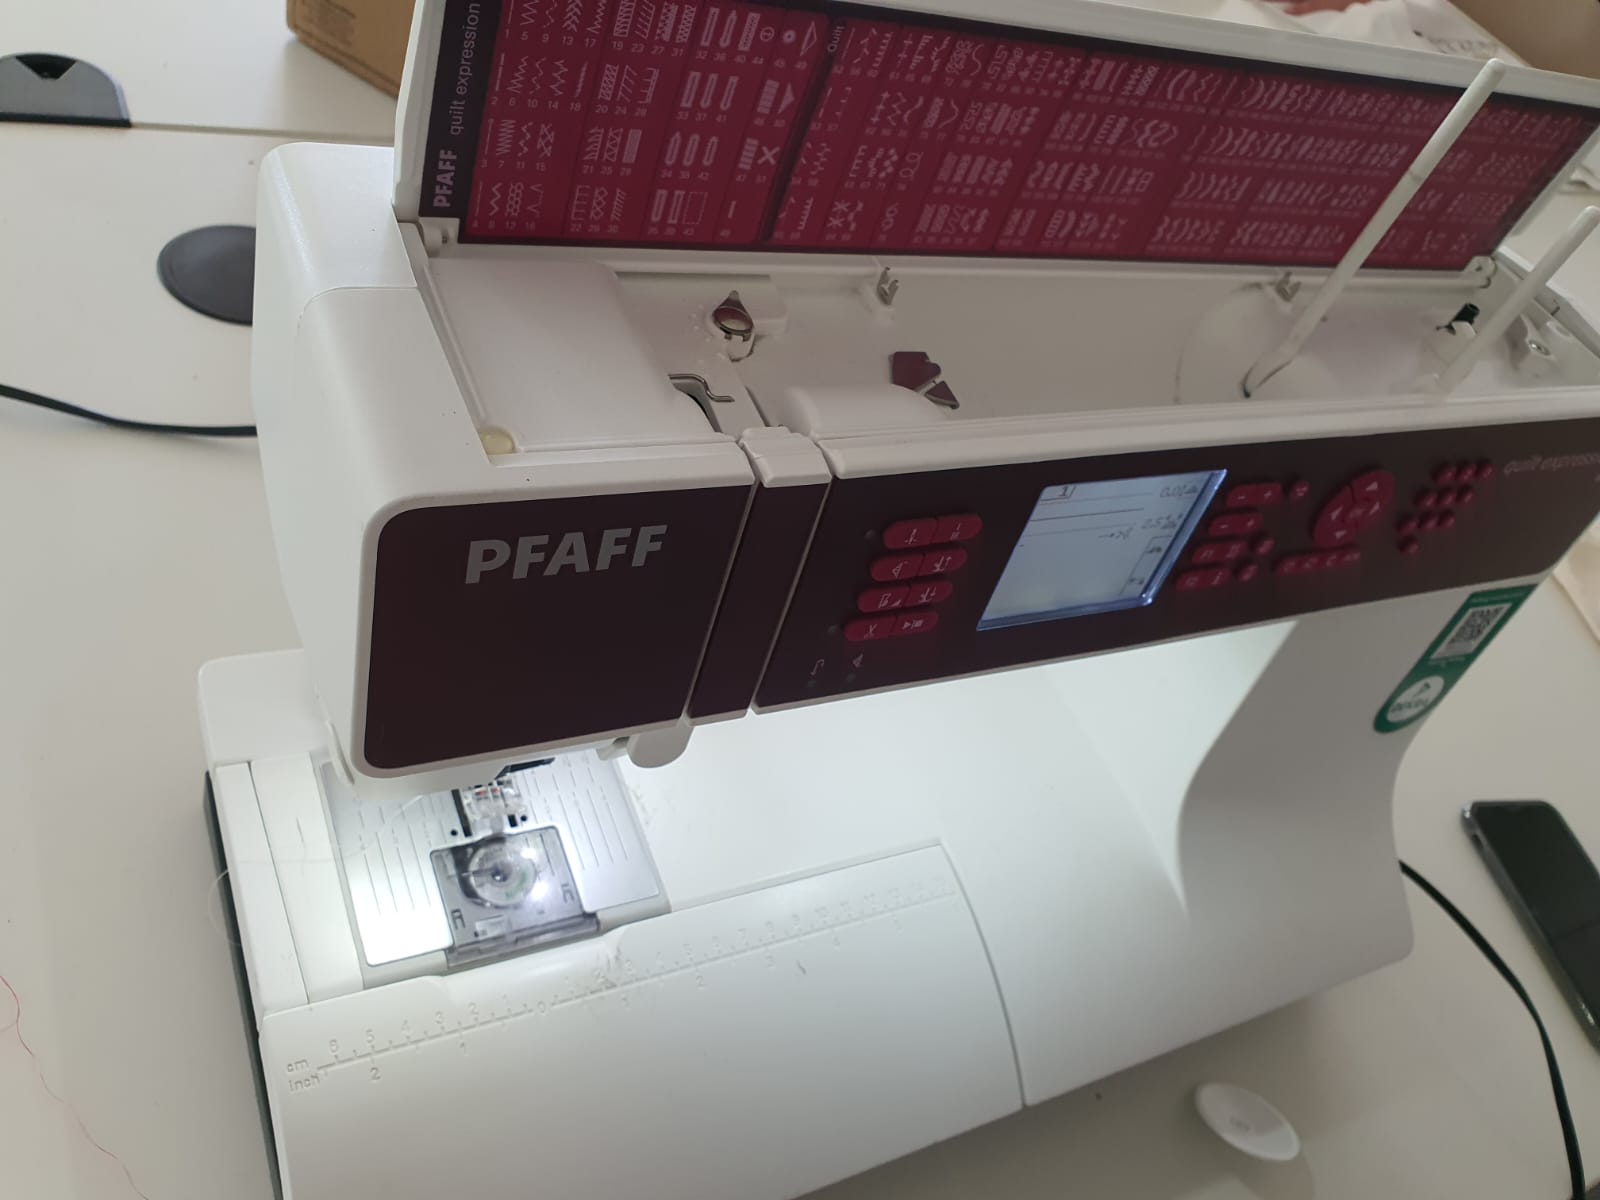
The machine I used was the Pfaff Quilt Expression
domestic sewing machine
In order to prepare the edges, I folded each one twice to hide the cut, pinned it in place, and
then used the satin straight stitch along the fold.
Aligning each folded edge with the presser-foot guide helped control my pace. I
slowed down and turned the handkerchief 90° as I finished each side.
Lastly, I trimmed any stray extra threads to keep the overall look neat!
As a final step, I ironed the handkerchief quickly to flatten any creases or folds.
Finally, the result was a beautiful rectangular linen handkerchief with a centered butterfly,
ready to use or gift! :D

Conclusion and Reflection
This assignment was very fun and creative. I worked further on my skills in 2D design using
Inkscape, attempted both embroidery and sewing for the first time, and achieved a beautiful
handkerchief. I started by manipulating an SVG in Inkscape, experimented with stroke attributes
and DPI, and exported it as a PNG file for further processing.
Then, I explored PE-Design Next by changing dimensions, adjusting density, simulating a
realistic view of my embroidery, and exporting it into a PES file. Bringing our Brother PR655
embroidery machine back to life felt like a mini battle of patience: a broken bobbin hook,
thread tension struggles, and old threads resulted in several full retries. Nevertheless, each
trial taught us
something crucial about the proper setup and the significance of improvising solutions. Once the
embroidery was finally complete, I
squared up the fabric with rotary cutting, heat-pressed it flat, and gave it a neat under-folded
threaded edges on the Pfaff Quilt Expression sewing machine. All in all, this task was
incredibly
fulfilling, and I’m proud to have created my first self-embroidered and sewn handkerchief!
Files
- Butterfly 2D Design: .SVG format
- Butterflypattern.svg
- Butterfly 2D Design: .PNG format
- Butterfly.png
- Butterfly 2D Design: .PES format
- Butterfly.pes