Week 05
3D printing and scanning
brief.
- Test the design rules of you 3d printer
- Design and 3d print an object that could not be made subtractively
- 3d scan an object
3d printers available at MixFablab
- Ultimaker S5 -- FFF process
- Formlabs 3+ - SLA process
- Stratasy F270 -- FDM process
Context + plan for the week.
- Compare and contrest FFF/FDM print process with SLA prtinting.
- Compare photogrametry with lidar scanning
helpful hints and resources.
weekly terminology
slicing engine: software useed to slice our model into 2d layers that our printer can interpolate and creat gcode. in our slice we establish our print settings like resoultion, shell thickness, support types, print speed, extruder temps, etc..
.stl , .obj : Arguable the most common file format for 3d printing. .stl files are a representation of a 3d object using a mesh of triangles. widely compatible, smaller file size, caries no color or texture. .OBJ's support more complex geometries and can make use of different polygon types to create a 3d mesh. Carry color and texture data, generally larger file sizes but carry detaild info on the model.
shell thickness: like the shell of an M&M but for you 3d printed part the thickness of the outer wall of your model before your infill begins.
infill: the internal structure of your model. The percentage of infill you choose will determine the density of your model. 100% infill will make your model solid. 0% will make your model hollow. For reference I typically prrnt at 20% infill or less. Objects requiring more strength or rigidity will require more infill.
layer height: Directly related to the "resolution" or final surface detail of your print. The smaller the layer height the higher the resolution. The thicker the layer height the lower the resoultion of your print. The trade off is print time. I typically print at .2mm layer height.
support material: Generally speaking 3d printers can't print in mid air, and always has to grow upwards off itself. If your model has dramatic overhangs or bridges that exceed the printers capabilities add supports to our model. See examples below.
resourcesto get started:
Goal 1. FFF/FDM vs SLA
Printing with the Form3+
To test the differences and compare the pro's and cons of each process i printed the test .stl's that could be found on the fabacademy's wk5 lecture page.
I began with the form 3+. I particualaruly like the SLA for parts that need a high level of detail and machine tolerence.
We begin by importing our model. we can work top to bottom on the control panel. Size imprted corectley so we moved to layout. Under layout we moved each model until it wasn't touching each other. I made the decision to print these models directly on the platform. Next we moved to adding supports.


Check print validation. Since SLA printing involves a repeadted dunking of our model in liquid resin for each layer. Care must be taken to avoid cups. Cups are instances where the model trpas air within the uncured resin and ourt model potentially causing a build up of back pressure and causing deformities in the final print. to avoid this we can position our model stratergically to avoid or use preforms hole feature to cut small hols into cupped portions of the model. The hole will act as an air vent preneting cups from trapping air.


Preform does a pretty good job at pre-inspecting your job set up for errors. Typical errors are cups or under supported models. Once we have all green checks we can proceed to print. ONce finished printing we use a 3 step post process. Since SLA is printing from a liquid any uncured resin has to be cleaned off our part before it is usable.
1 - 10-15 min wash in the form wash machine with formlabs new washing detergent. 2- rinse in ultrasonic machine with plane water. 3 - post uv cure in form cure. *be sure to completly dry your model before putting it in the curing station. We use a electric blow gun to make sure the models are bone dry before final cure.
Ultimaker
Here are the same prints printed on the ultiamker s5. The ultimaker is good for larger models, parts are more affordable, generally more durable and resistant to impact. but surface finish is more rough when compared to sla. I printed to tests on the ultimaker one with supports and one without.
Since the ultimaker s5 supports dual exctrision, I experimented with a petg support interface layer ond the second test print. The idea being a model and supports printed in pla with the thin interface between the two being petg, which dosent stick to pla. My thought that the supports would be easy to remove. However the petg didn'st stick to the start of the support and ultimatly spagetied mid print.
Here are some final shots of models I printed that highlight the advantages of each process
Formlabs SLA
Transparent material, water tight (once you seal vent hole) super smooth surface finish
Ultimaker FFF
inexpensive material cost, wasily produce interlocking, moveable parts (print in place) and much larger build volume
3d scanning
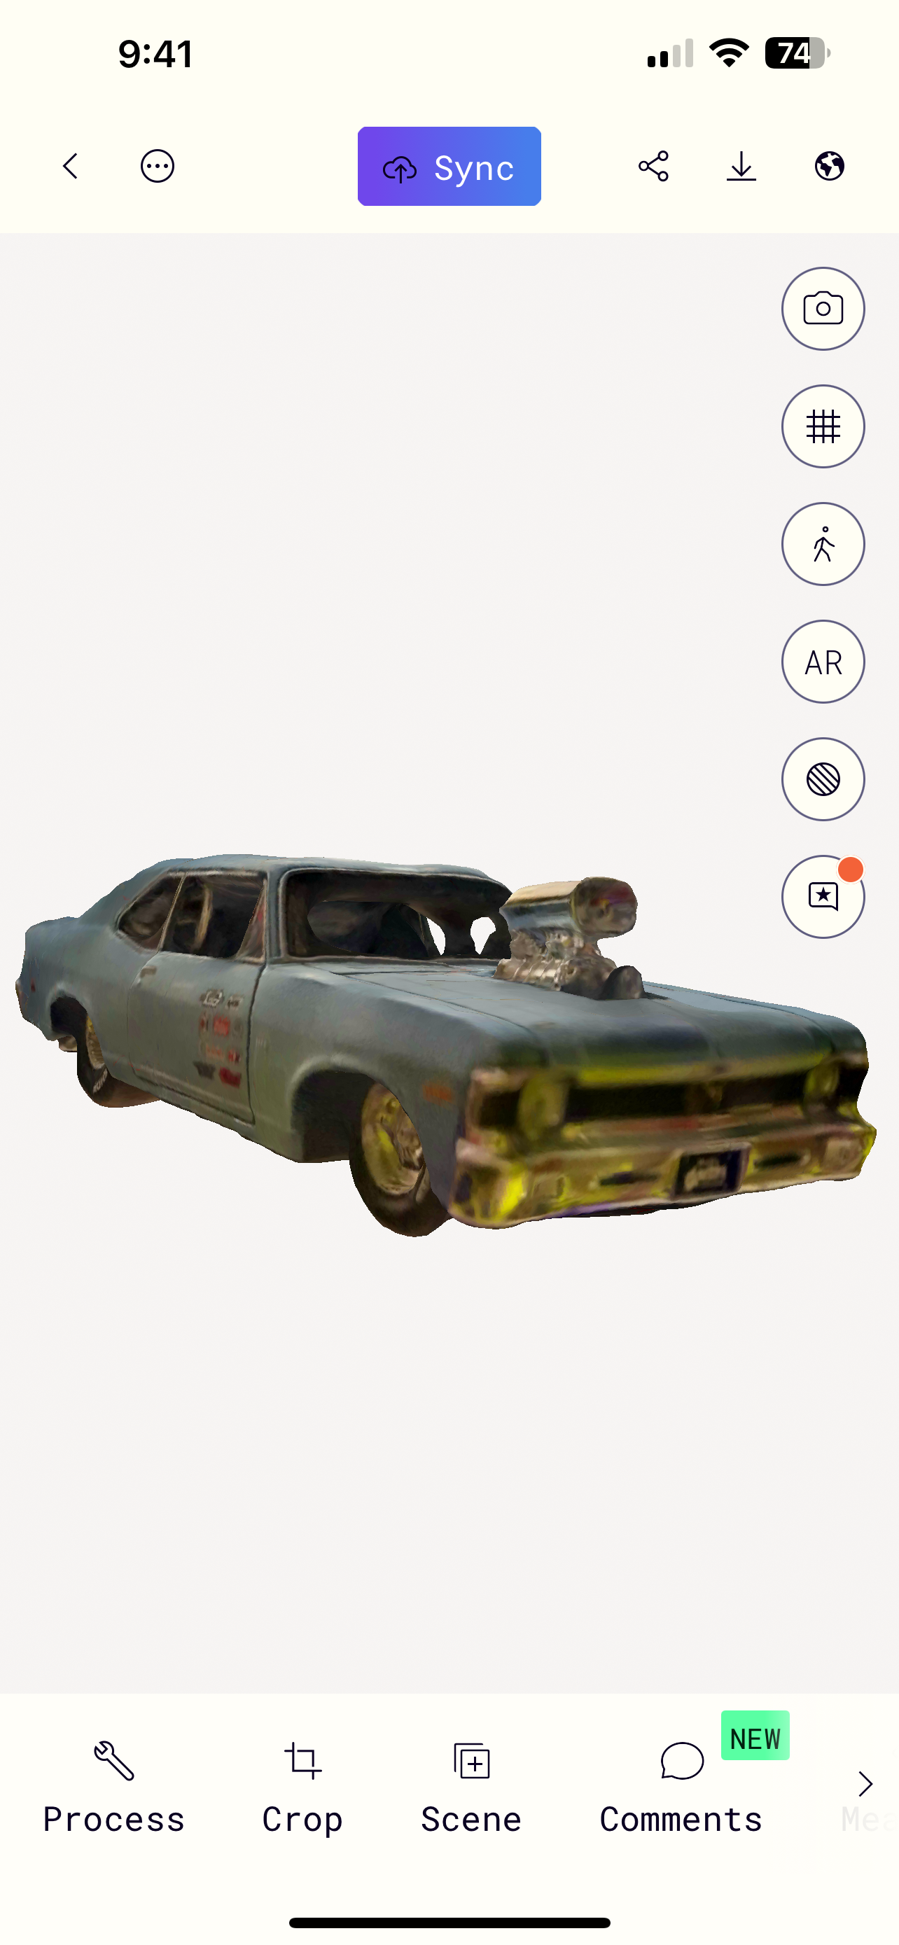
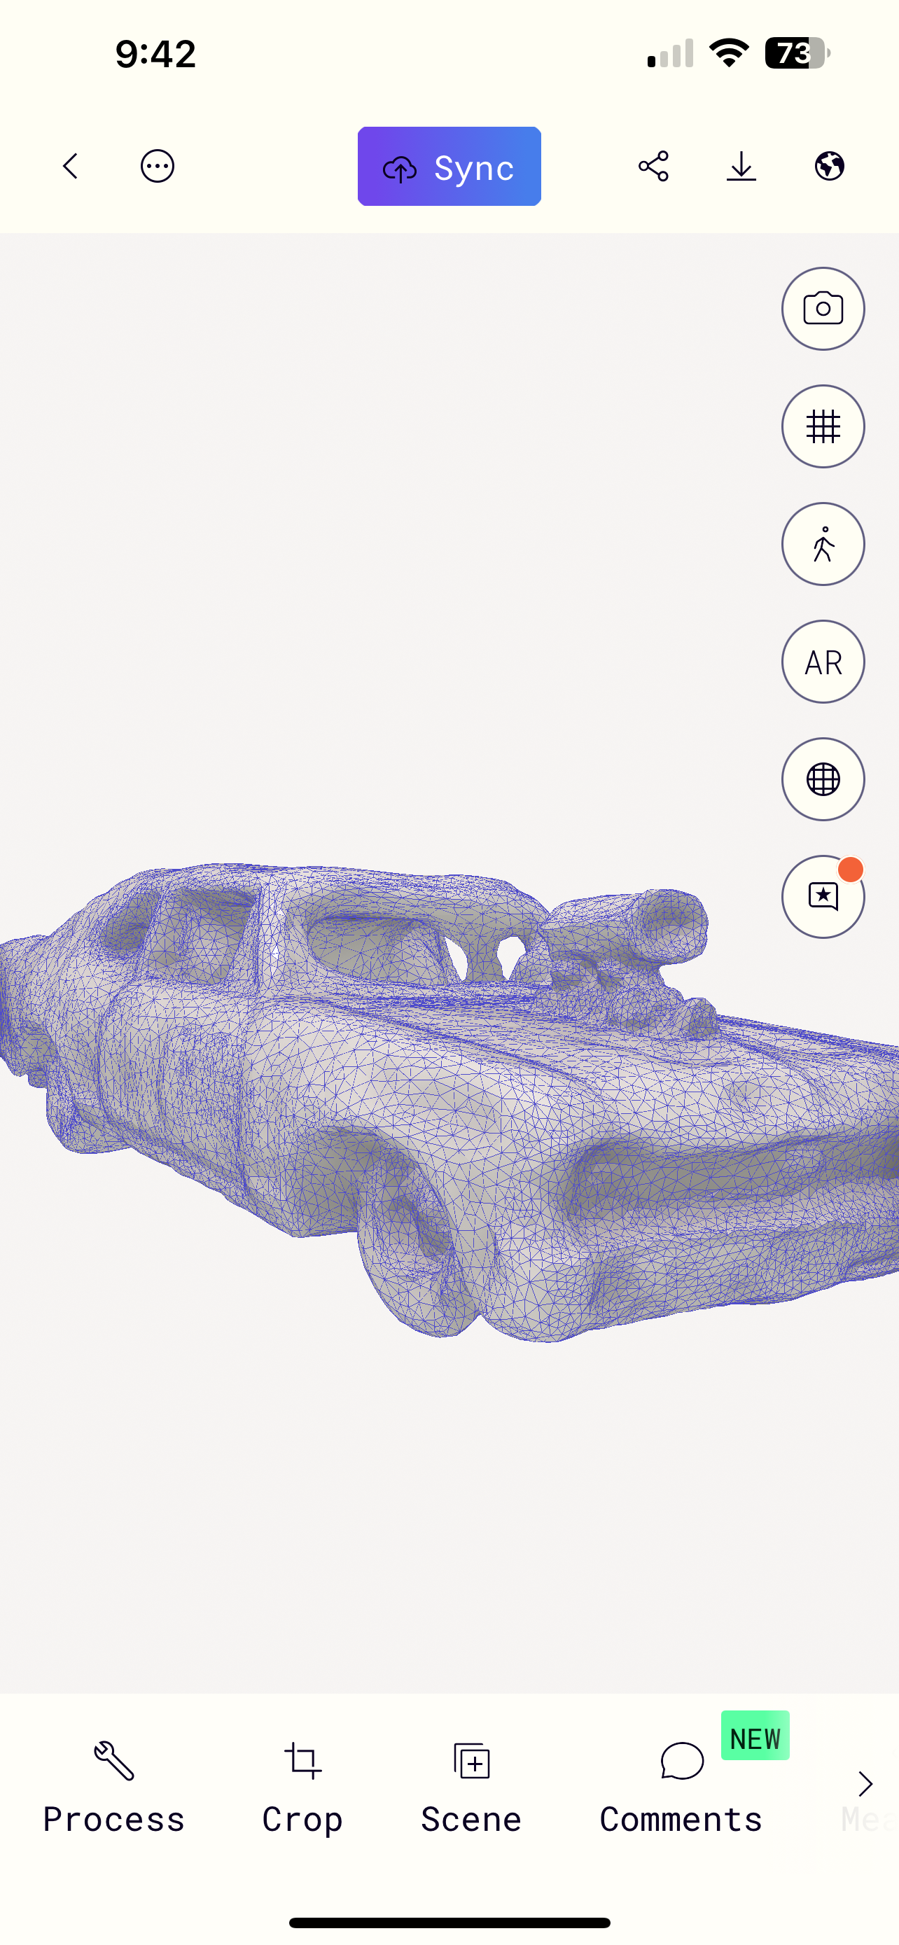
I did two tests with poly cam one organic object, my bust. And a smaller metalic object, a die cast car. Note polycam does have a free trial version where you get 10 photogrmatery scans free. The prce has gone up over the years and is now USD 26/month.
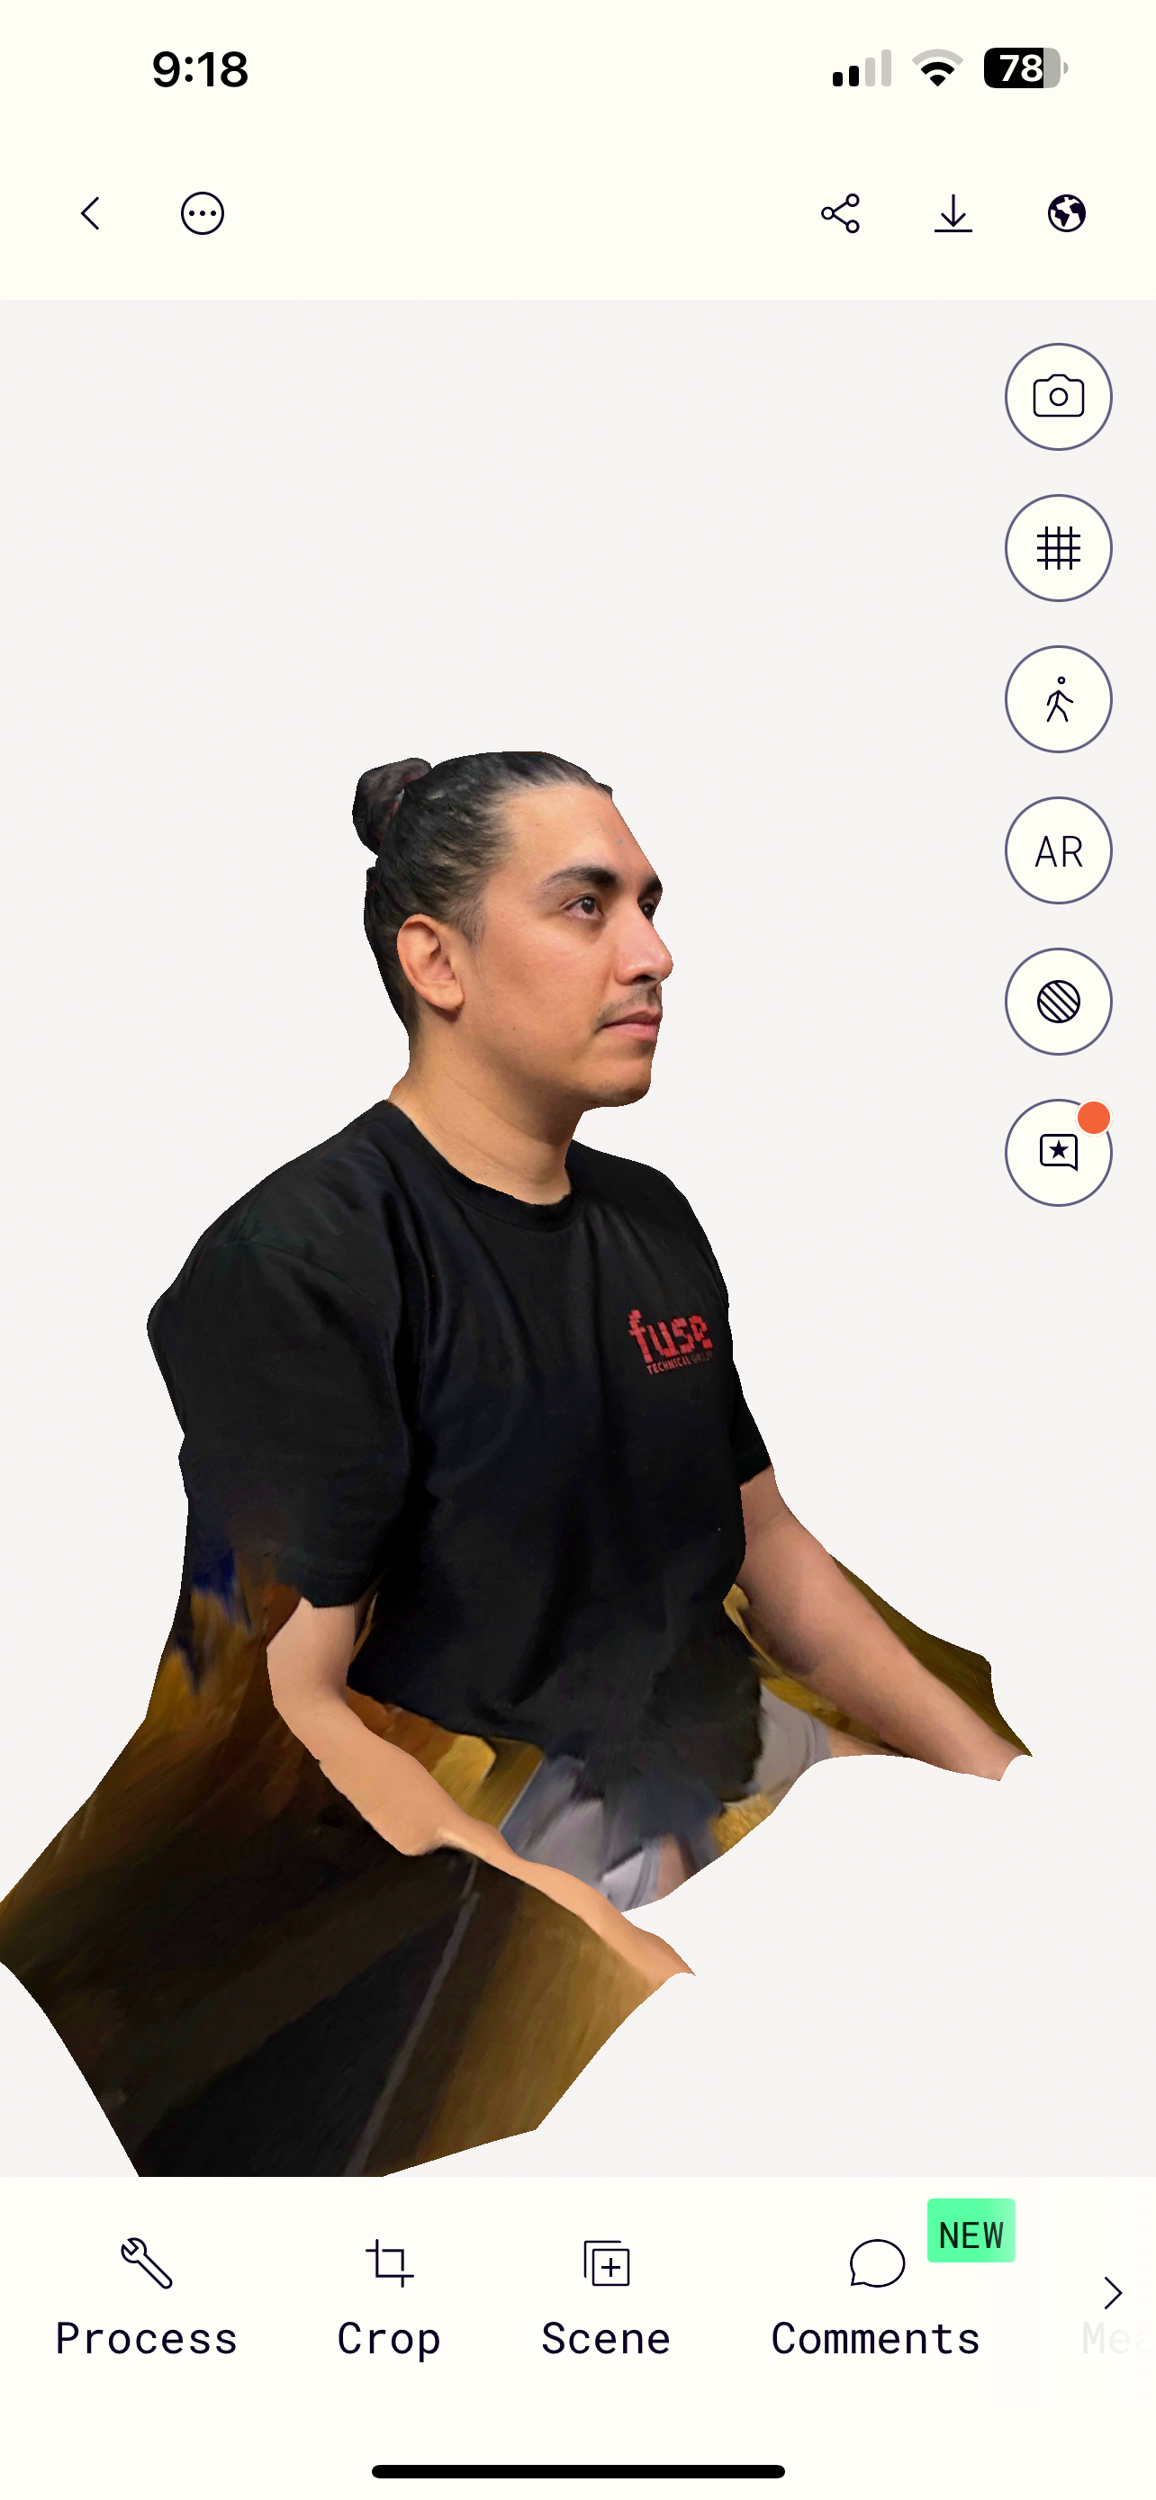
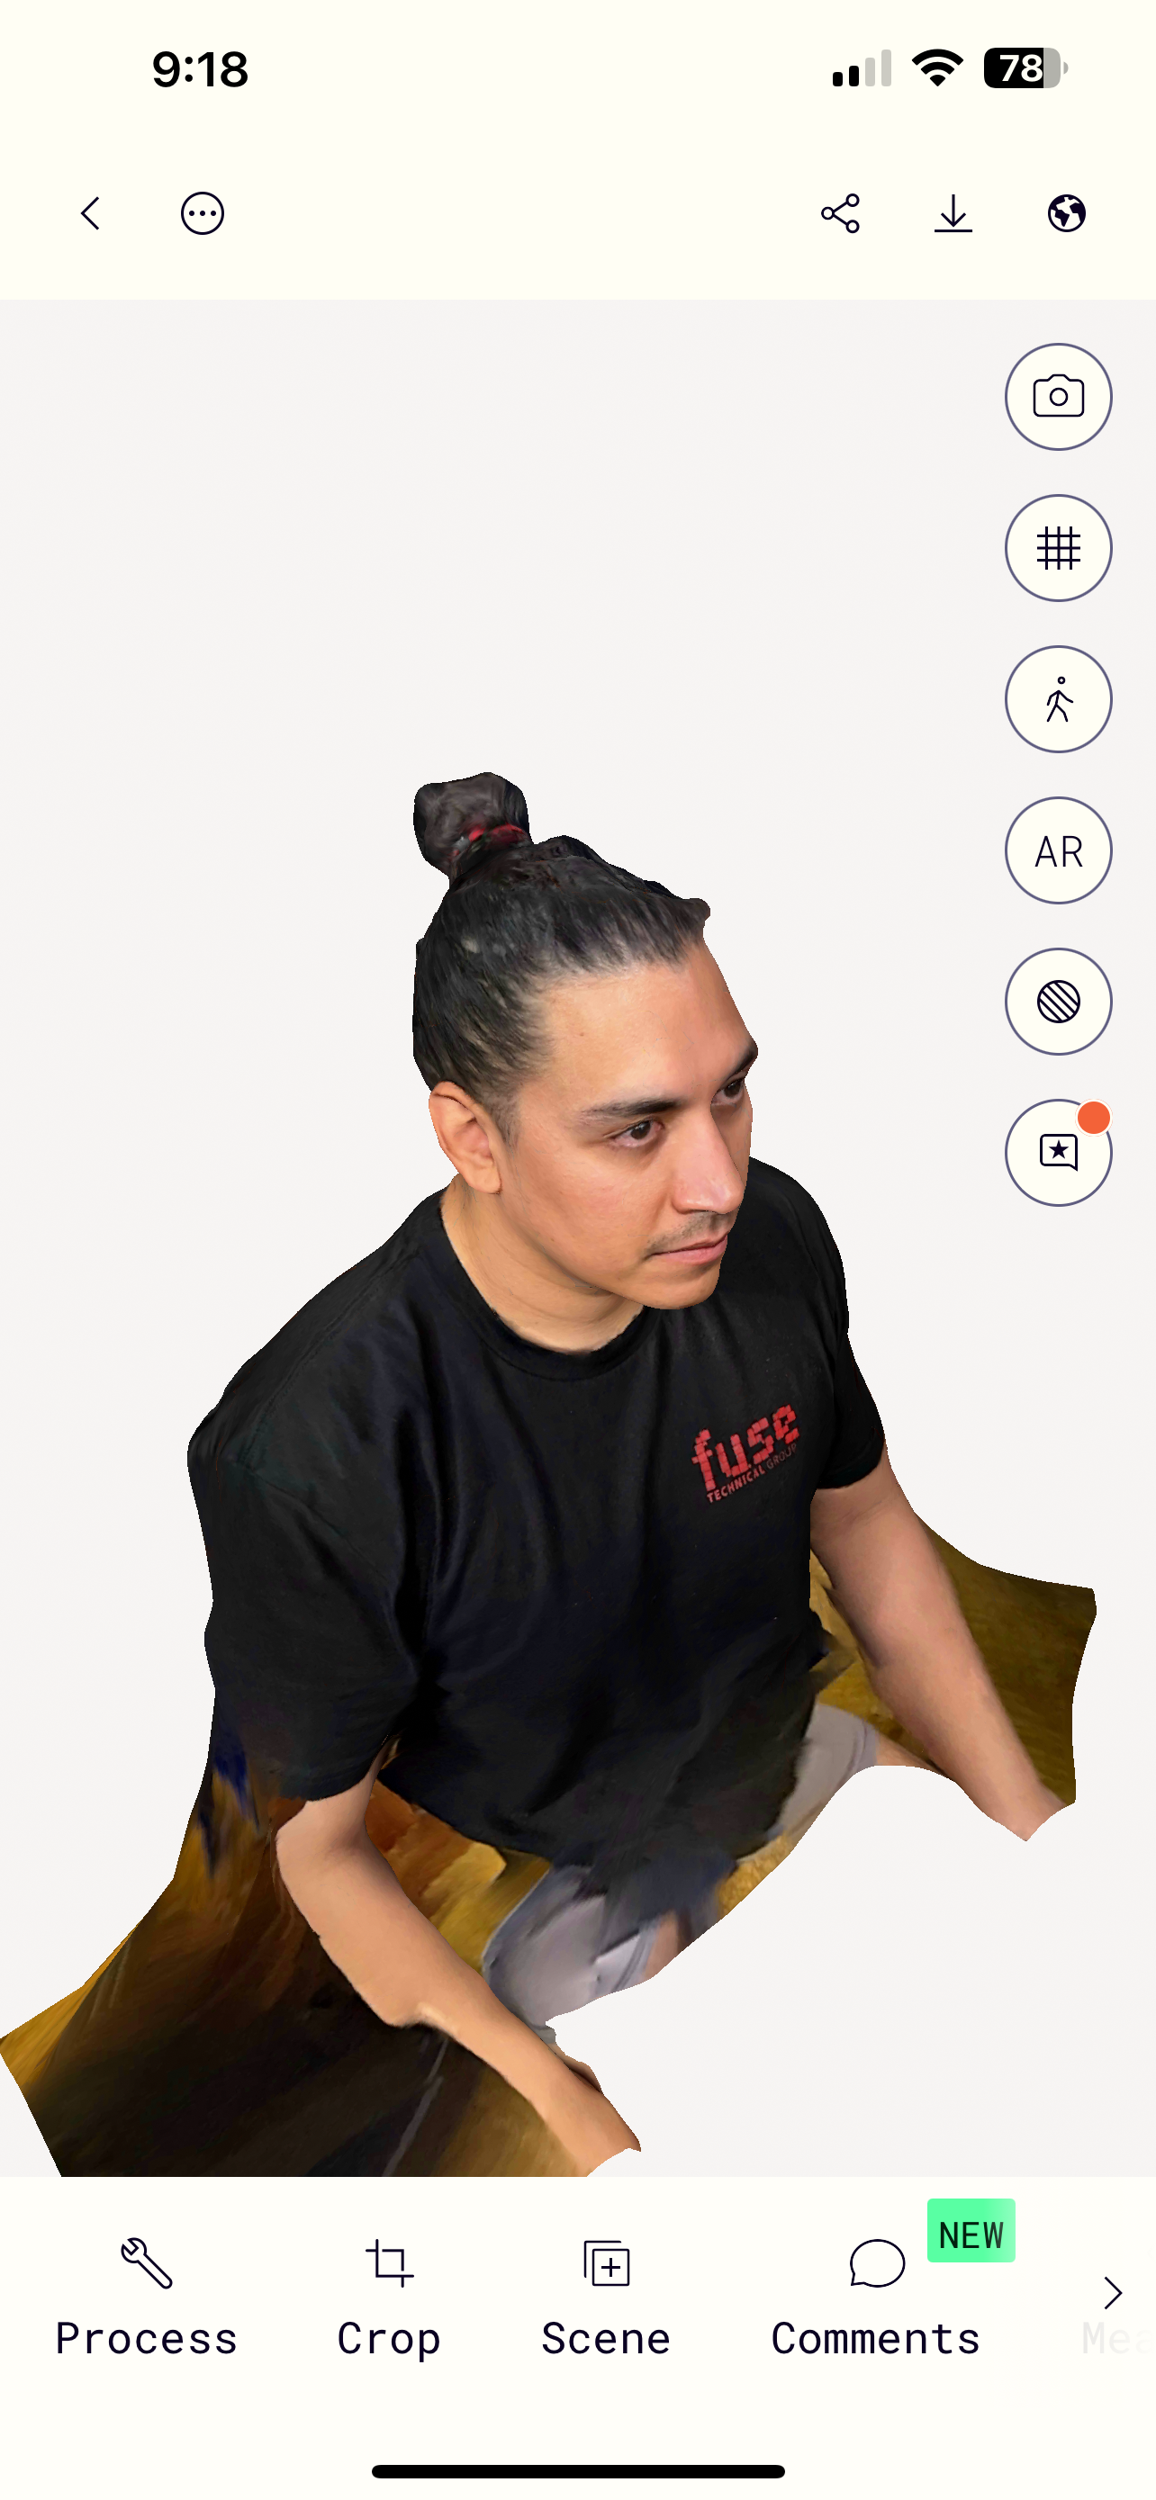
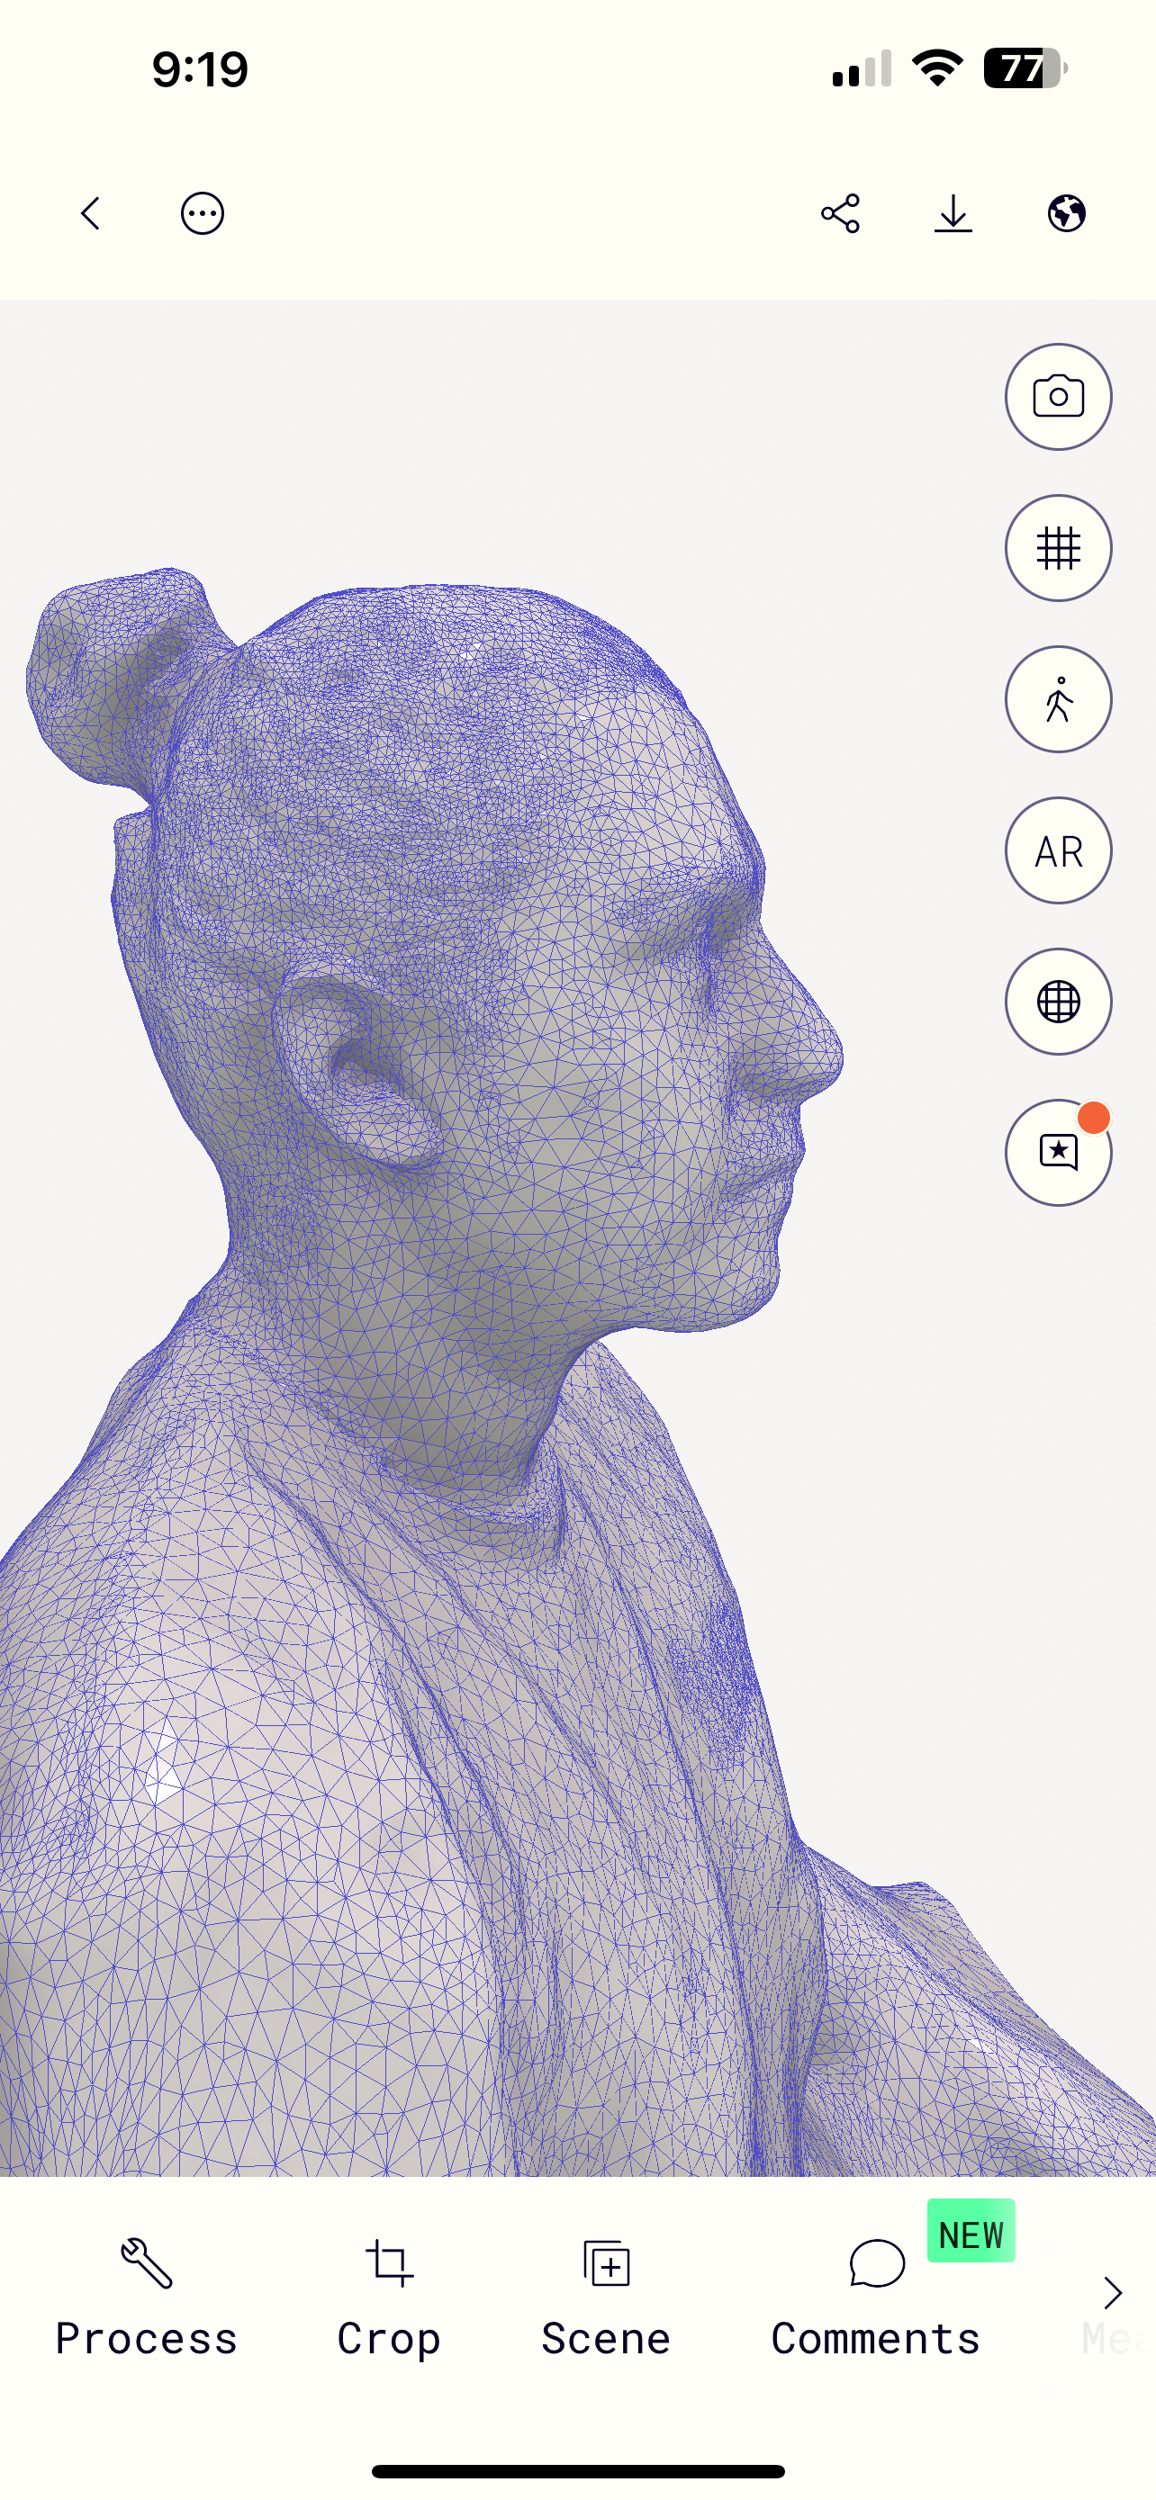
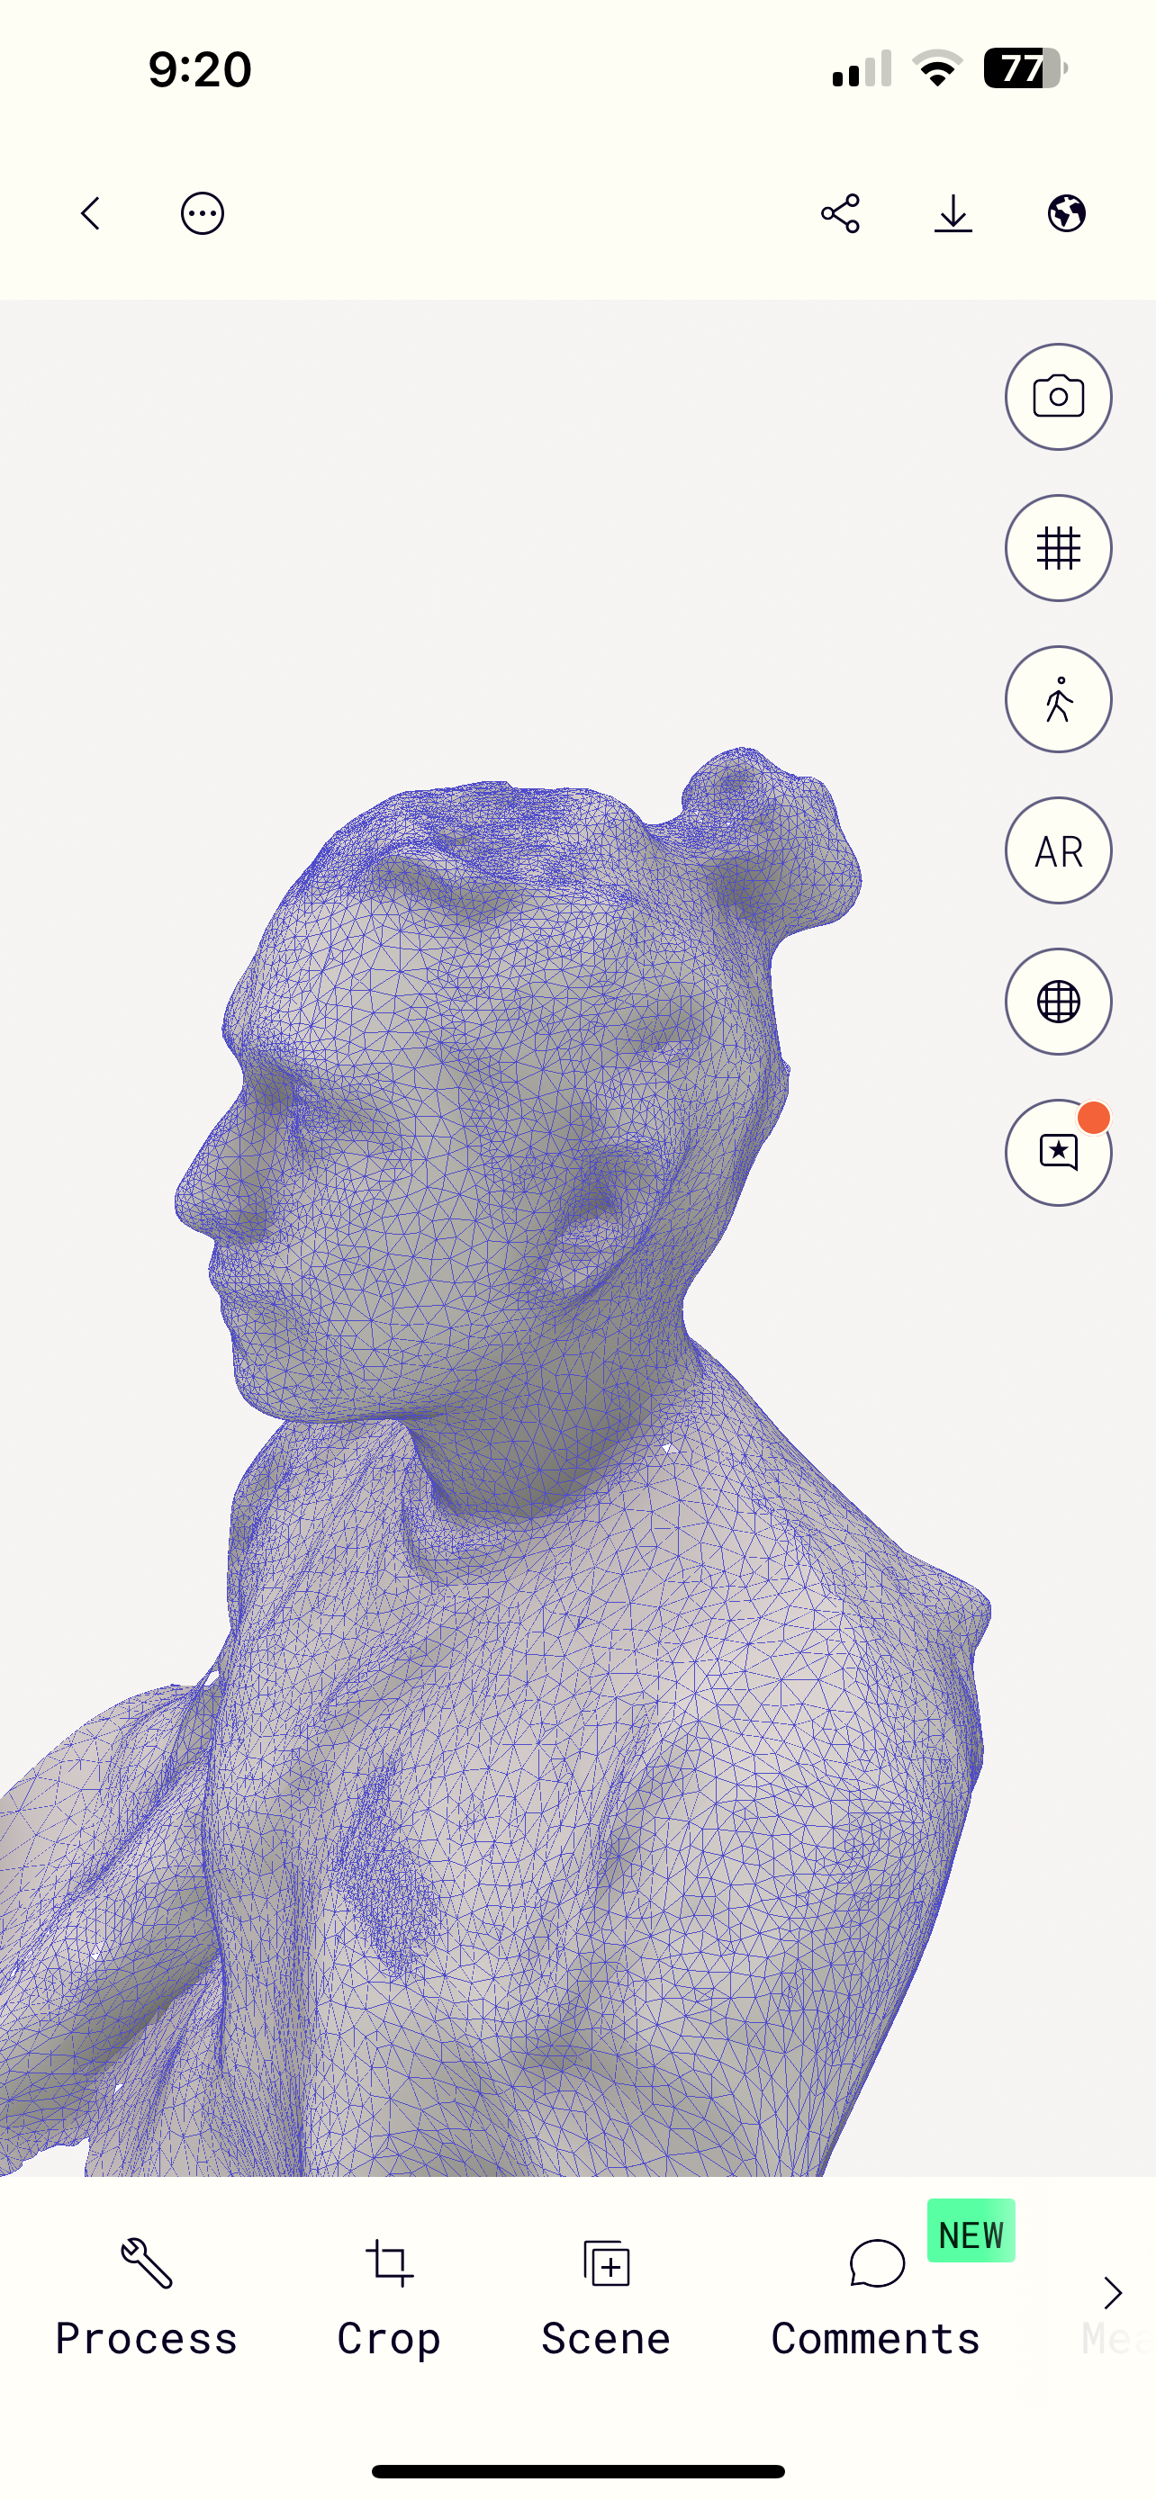
Polycam had a much easier time with the organic model. I think the diecast car was to small and cast to mush of a reflection.
conclusion
Rapid prototyping isn't always rapid, but an amazing way to democrotize design,prototyping, and manufacturing. Not all printing process are created equal. FDM offers inexpensive materials and is great for largish models and forms that dont require fine details. Finished models are robust but cannot hold fluid. SLA offers extremly fine surface detail and is very good for models needing to capture lots of detail and on the smaller side. Downsides are more expensive material to operate and parts can be somewhat brittle depending on material used. SLA wood be great to make a mold from.
Poly cam worked graet but I found it works better larger objects. Did a great job on my bust but wasnt able to acuratly make a 3d model of the dicast car which was roughly 8X3X3 inches. Thoughts moving forward:
- Polycam is great for what it is considering, you can use it from a device you carrry with you nearly all the time. Subscription is pretty expensive if you want to export .stl or .obj
- I want to explore and experiment more with our Artec leo scanner that we have in the lab. The Leo is a much more robust indusrty standard scanner.
- I want to explore on the formlabs printer creating hollow forms that can be filled with different fluids, irredescent, light reactive, etc almost like a lava lamp.
- Experiemt more with utilizing 3d printing for moldmaking and different post processing techniques.
files
Check the link below to try for yourself:
test models for 3d printing