Week 01
principles, practices, and project management
brief.
- communicate an initial project proposal
- identify and utilize version control protocols
- explore and use website development tools
a bit of context + plan for the week.
The first Week of FabAcademy!! Excited to learn, grow and share with everyone in the 2025 Cohort! What is Fab academy you might ask? Well in short its a global course that meets for 22ish consecutive weeks starting in January. The topic…Learn how to make anything! Well almost anything to be exact. This course will cover everything from digital fabrication, fab techniques, electronics, programing, embedded systems, systems integration and a whole lot of everything in between. And honestly its better if we just show you….That's what his site aims to to do. I will document all the work created, prototyped, and built through out this class. With the hops that you can follow along, and apply some of the process I implemented into your own projects. Something you see looks particularly interesting to you? feel free to reach out!
Coming into this week I had heard of git hub but had no real substantial knowledge of how to practically use it in my daily workflow. The basis of my knowledge of git was essentially “a place to get open source code.” Obviously git is much more powerful then just that. In addition I come into the week with very little coding or programing experience. The thought of writing and editing, code specifically .html was quite daunting especially the thought of creating a site to document all my work. However, after understanding a workflow and organization method that worked for me I’m beginning to get more familiar with the process and hopefully as the weeks go git more confidence in creating a solid website to document my work. For me understanding the greater workflow/pipeline helps me to better understand how to start implementing version control and actually begin to develop my site. Let’s begin with some key terms that are helpful to know coming into this week.
helpful hints and resources.
weekly terminology:
ssh (secure shell): Neteork protocol that allows data to be exchanged using a secure channel between two networked devices. think of it as your passcode between your computer and the gitlab server.
gui (graphic user interface): a type of user interface that allows users to interact with electronic devices through graphical icons and visual indicators, as opposed to text-based interfaces, typed command labels or text navigation.
version control:version control: process of managing changes to our files over time. Kepping track of updates and cycling between different versions of our files.
gitlab: web based open source code repository and version control system that allows us to manage and track changes to our files.
repo // repository: where we store our files and code.
resources i found extremely helpful to get started:
W3Schools
How to do the git hub
How to use github desktop with gitlab
Fabacademy git/week01 resources
html templates
key takeaways.
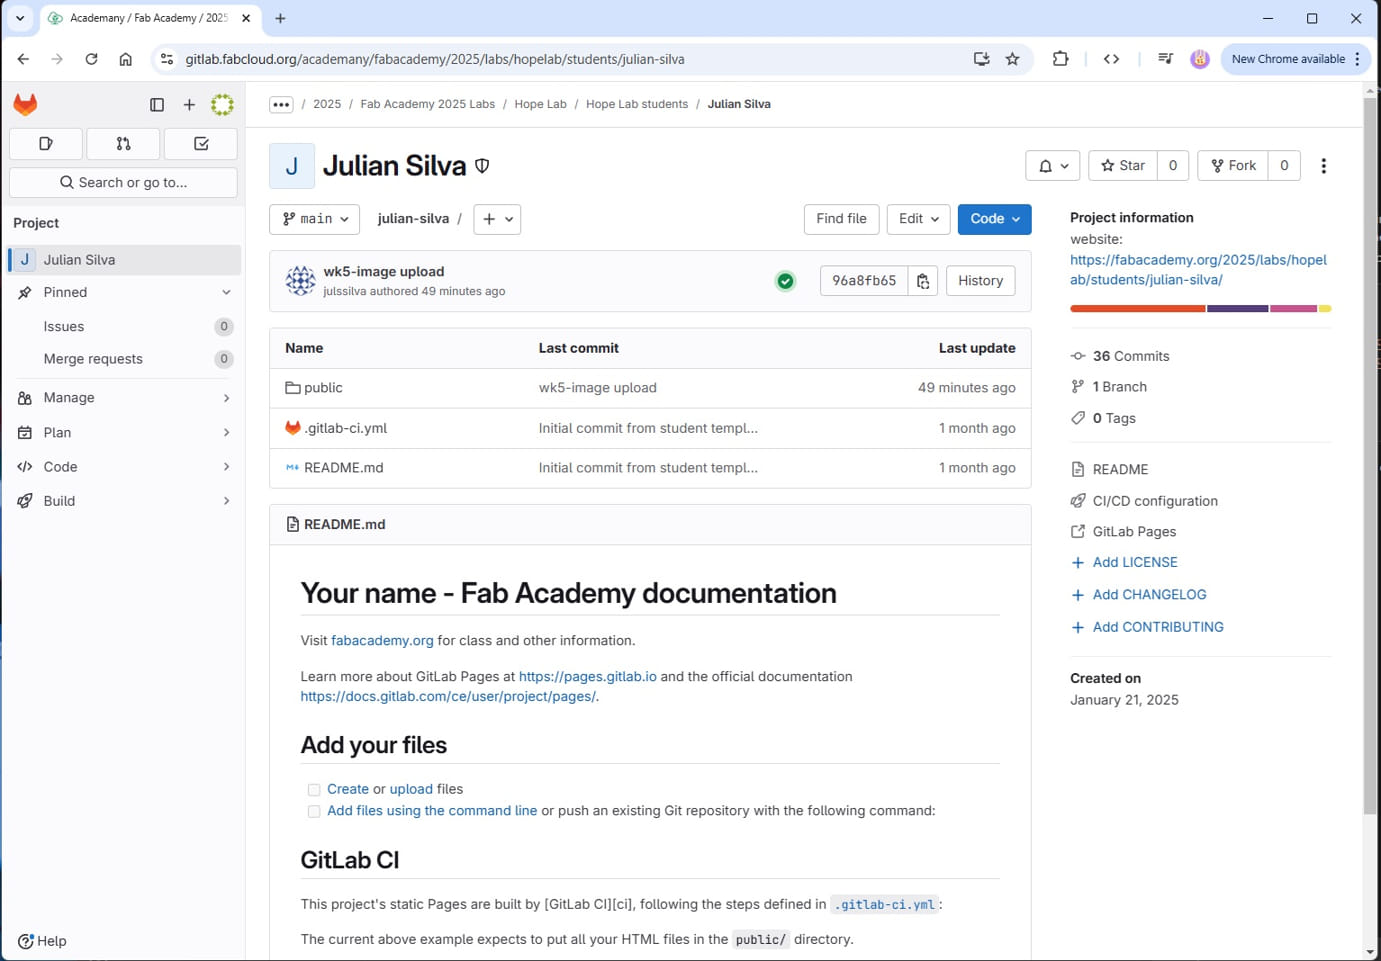
version control works both at a local and global/main level. We work locally (on our local drive on our personal computer)commit changes to our work, and push them to our main repo (push meaning upload to our main repository which is stored on our gitlab account. By committing changes we create a history of all changes made to our project files. This is incredible helpful for many reasons. We can prototype changes and always refer back to old commits if we decide we don’t like the change. Think of commits as breadcrumbs or checkpoints. if we go to far along a path that we no longer want we can always “go back” in time to any of our old previous commits and pick up where we left off.
*Don't forget the global search bar within Fabacademy’s database was very useful for searching for examples and to troubleshoot ideas.
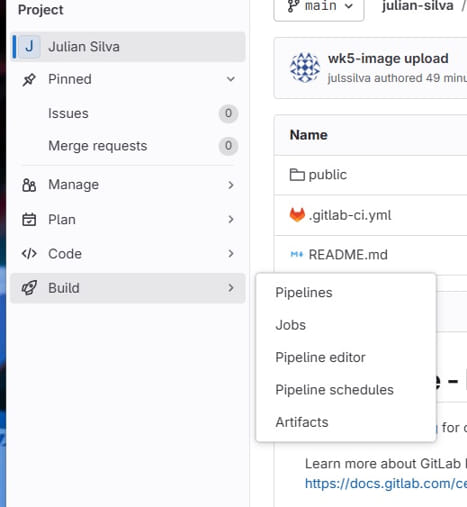
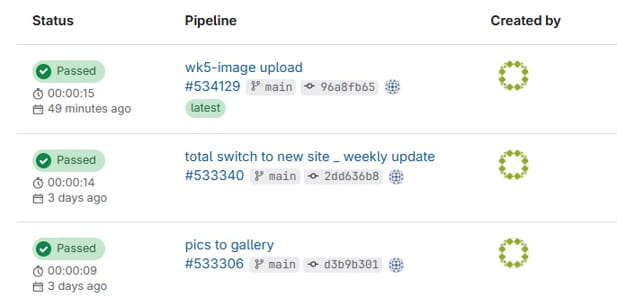
After making a commit we can go to build --> pipelines and see and check the status of our file update.
process // pipeline.
It's important to know that everyone’s workflow is different. After trial, error, and research I discovered the following workflow that worked best for me **note that we already started with a gitlab repo with sample files and site to get started with fabacademy**:
Pipeline/workflow: git Lab repo —>clone repo to local device—> Use GUI (github desktop) to push/pull files—> Use Visual Studio Code (vsc) to edit and work on code —>commit changes in vsc—>Use GUI to push changes back to main git lab repo.
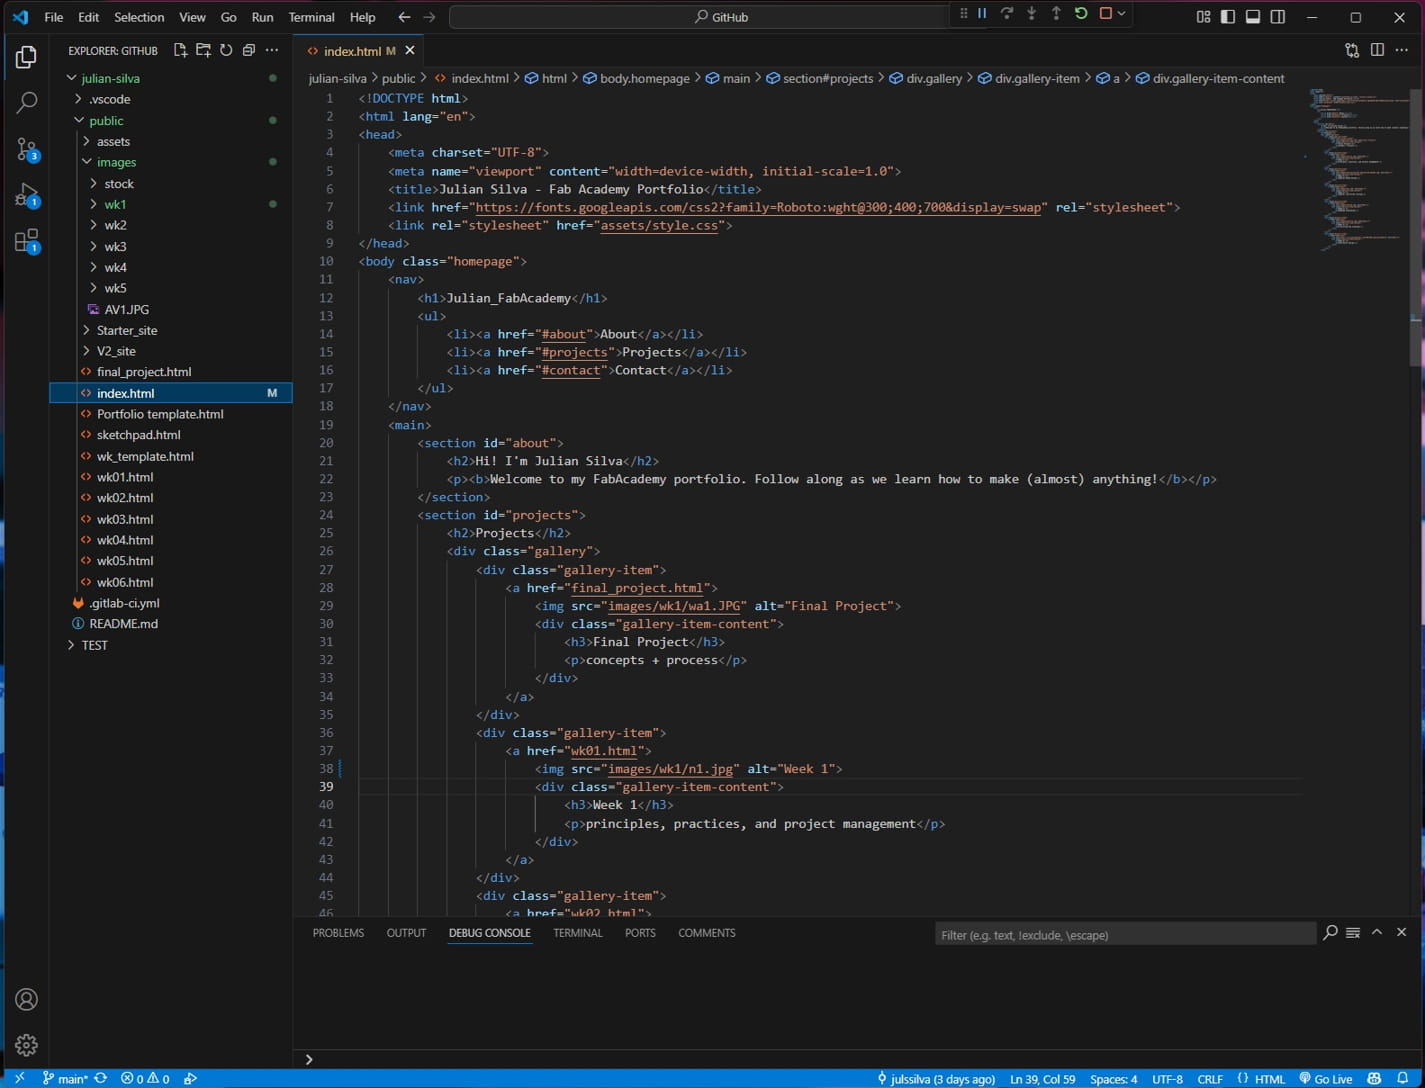
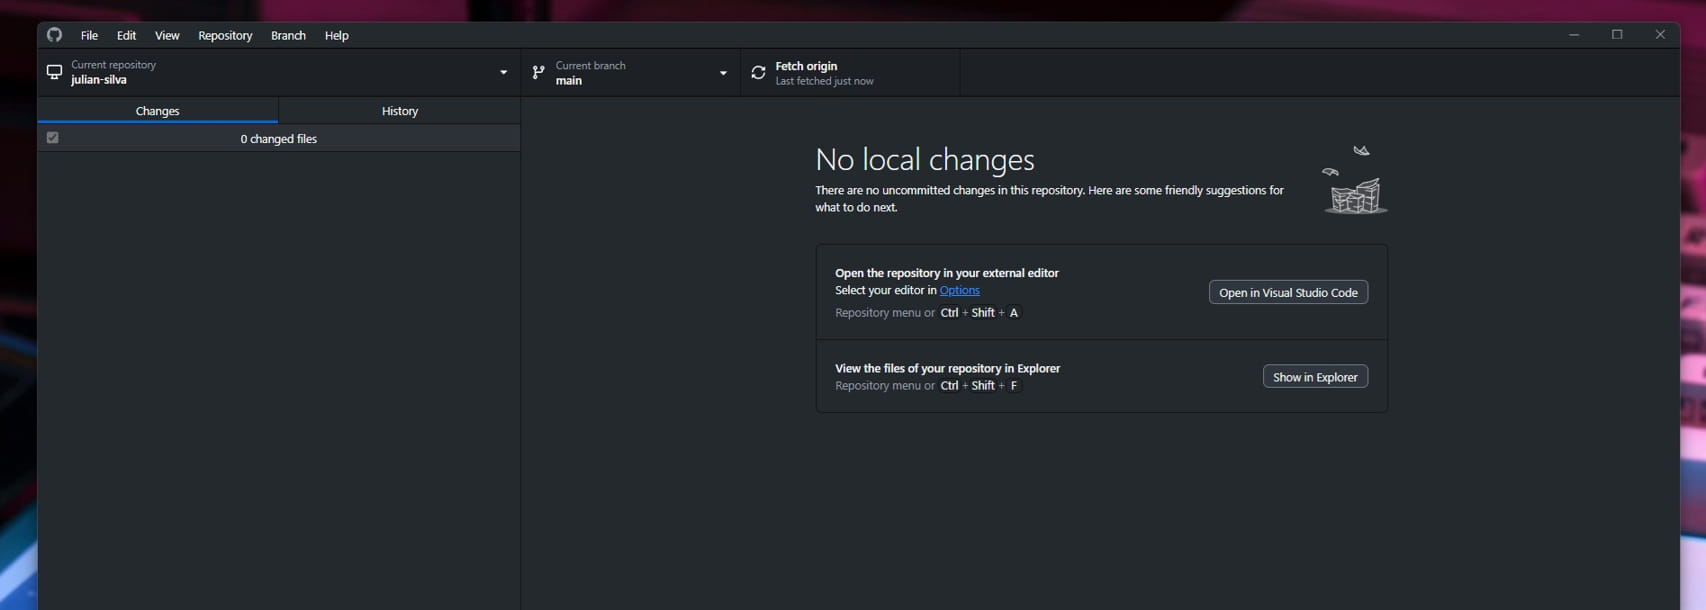
Before we begin we must first clone our assigned GitLab repo (files) from academy to our local drive. To do this I followed Shedrack Akintayo’s medium article (linked above). Next, I downloaded Github desktop. This will by my gui to help organize and track commits, pushes, and pulls to git lab. For me having a graphic UI that was visually nice and well organized was a lot better then using a command terminal that some people prefer. I’m not a programmer so the terminal option was a bit overwhelming to me. I next downloaded VSC which is where all the “work” is done. Here we edit and modify our code. Vsc is just one of many text editors you can use. For me I liked its UI and the addition of copilot Ai which helped speed up the learning process, more on copilot later. From there we have the foundation set to get to work.
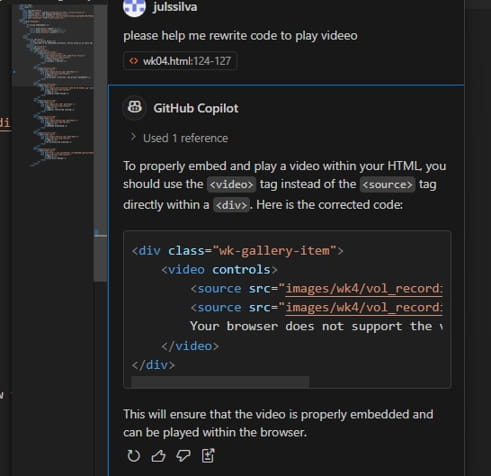
I played around with FabAcademy’s sample site for a while to get a better understanding of html and to see what changes affected what. I used W3 schools (linked above) as a reference to write and test code within the sample cite. I eventually downloaded a template named hyperspace from html 5 (linked above) to use as the basis for my overall site. With the template downloaded and pushed to my gitlab repo i was able to modify the template for my own needs. I tried copilot, an ai dashboard built in to vsc. Using copilot i was able to highlight code in my file and ask it to explain what it was doing. A process i found this extremely helpful. It allowed me to build a base line understanding of how to code html and was a good resource when I felt stuck. I continued to modify the site and create templates for our weekly assignments.

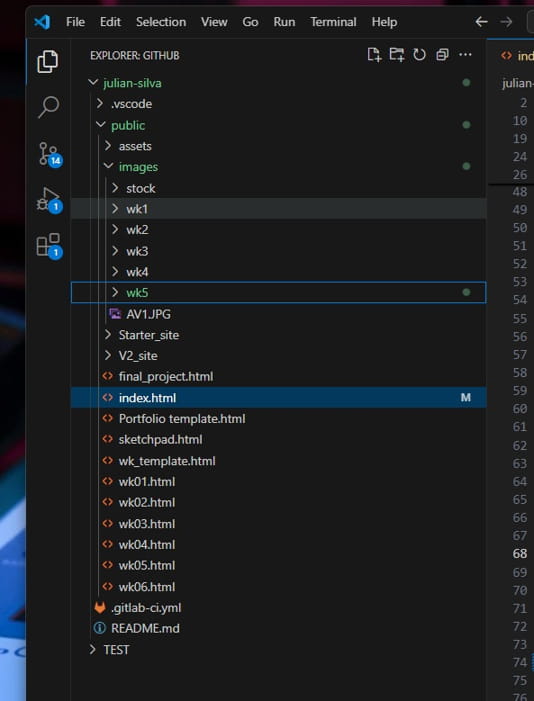
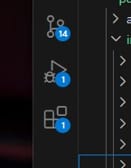
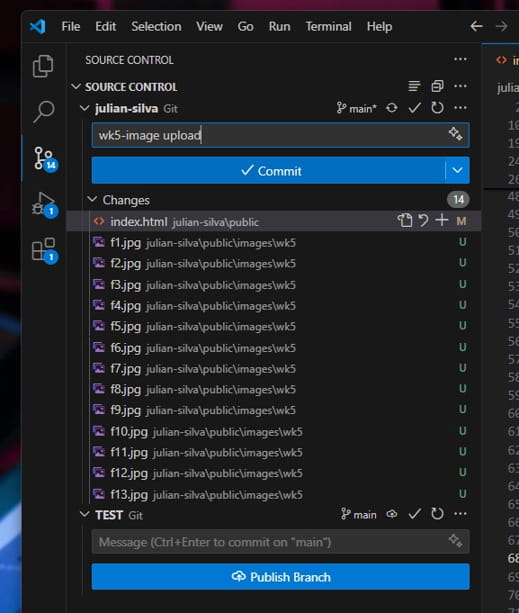
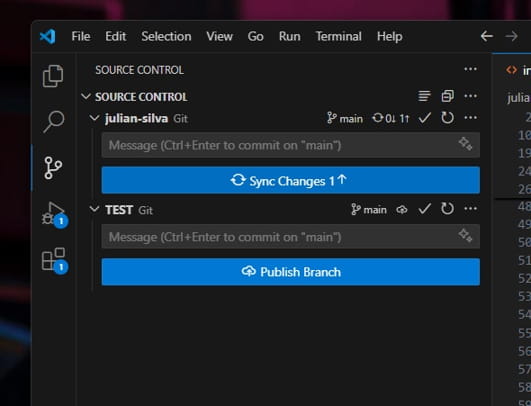
When we make changes to our file in vscode we can see a status tree of tracked updates in the upper left corner of the screen. From top to botom the are: explorer, search, source control, run and debug. make your updates, navigate to source control, commit changes (don't for get to add a brief explanation of changes, this helps ypu track what changes where made), then push to repo.
lastly, don't for get to make use of copilot, which is integrated into vsc. Really helpful to ask it qwastions or explain code when your stuck.
!!UPDATE!!
I recently revamped my site to the current formatting you now see. The html5 hyperspace template proved to be to cumbersome to use and I ultimatly was not working for my needs. I have been using perplexity.ai to learn and dive deeper into html. And was able to collaborate with it to creat a much cleaner and easier to use site!
conclusion
The site will be a constant work in process but excited to use it change and taker shape through our weeks in the course.
- Utilize Git and version control, its a nincredible powerful resource. Web IDE for quick on the go changes
- spiral developmetn! don't get caught up in a complex task work small and develop ideas as you go.
- Document, document, document as you go
- I created a notion Fabacademy log to keep me organized, and to keep track of all the course material