Assignment:
So this week is fun. I get to try something that is not included in the Fab Academy Assignments. For this week I want to embroid a custom design to a t-shirt and Emboss a Brass plate using a galvo laser.
Embossing
I will be using the F1 Ultra for this processes. F1 Ultra is a dual laser (Fiber and Blue Diode) Galvo Laser. I will be using the Xtool Studio and the Fiber laser to emboss my design into a brass plate. I will first design something simple in Inkscape.
Design
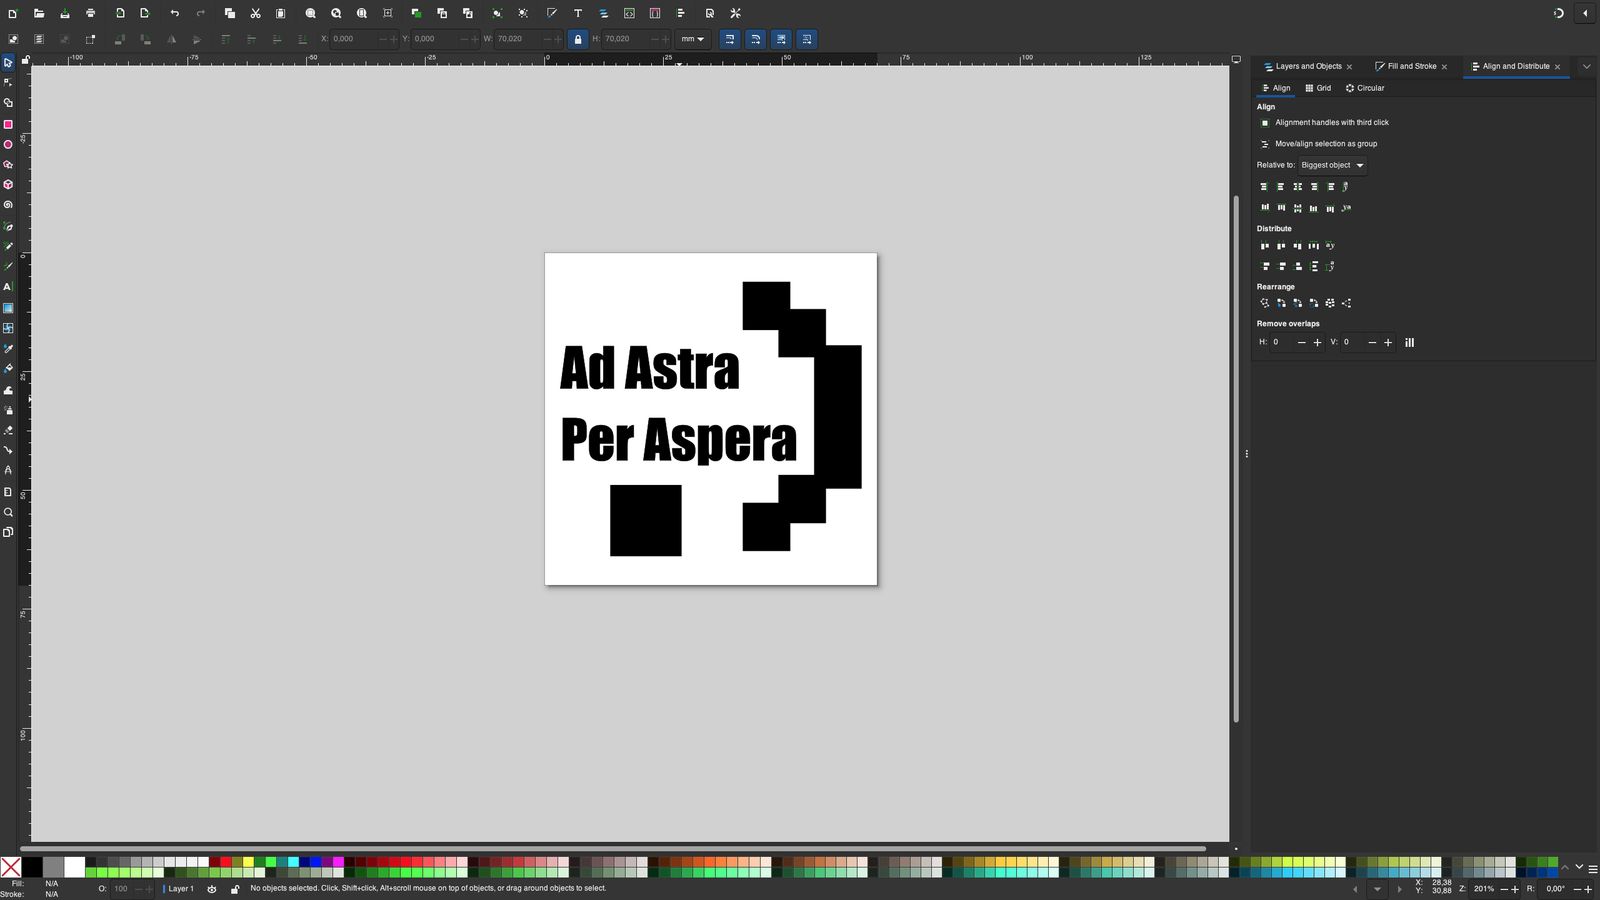
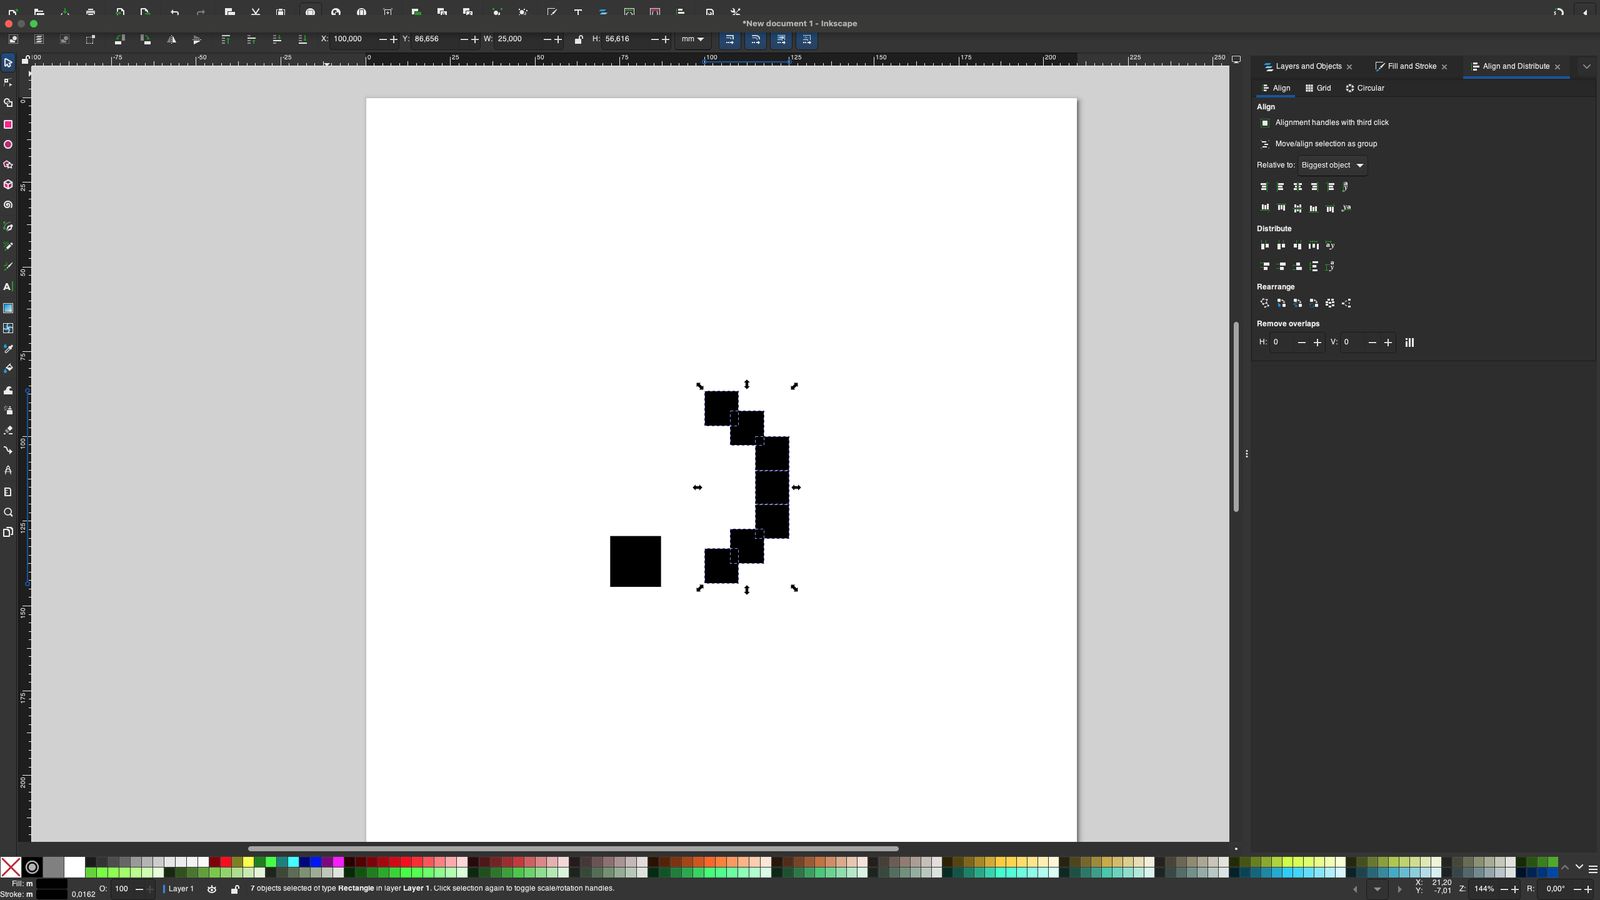 I started by placing some squeres to form a .) logo the parentheses is compirised of 7 even squeres and the dot is one square that is 1.5 times bigger then one of the squares in the parentheses
Then using the Union tool and selecting the squares in the pharantheses I merged them into a single path.
I started by placing some squeres to form a .) logo the parentheses is compirised of 7 even squeres and the dot is one square that is 1.5 times bigger then one of the squares in the parentheses
Then using the Union tool and selecting the squares in the pharantheses I merged them into a single path.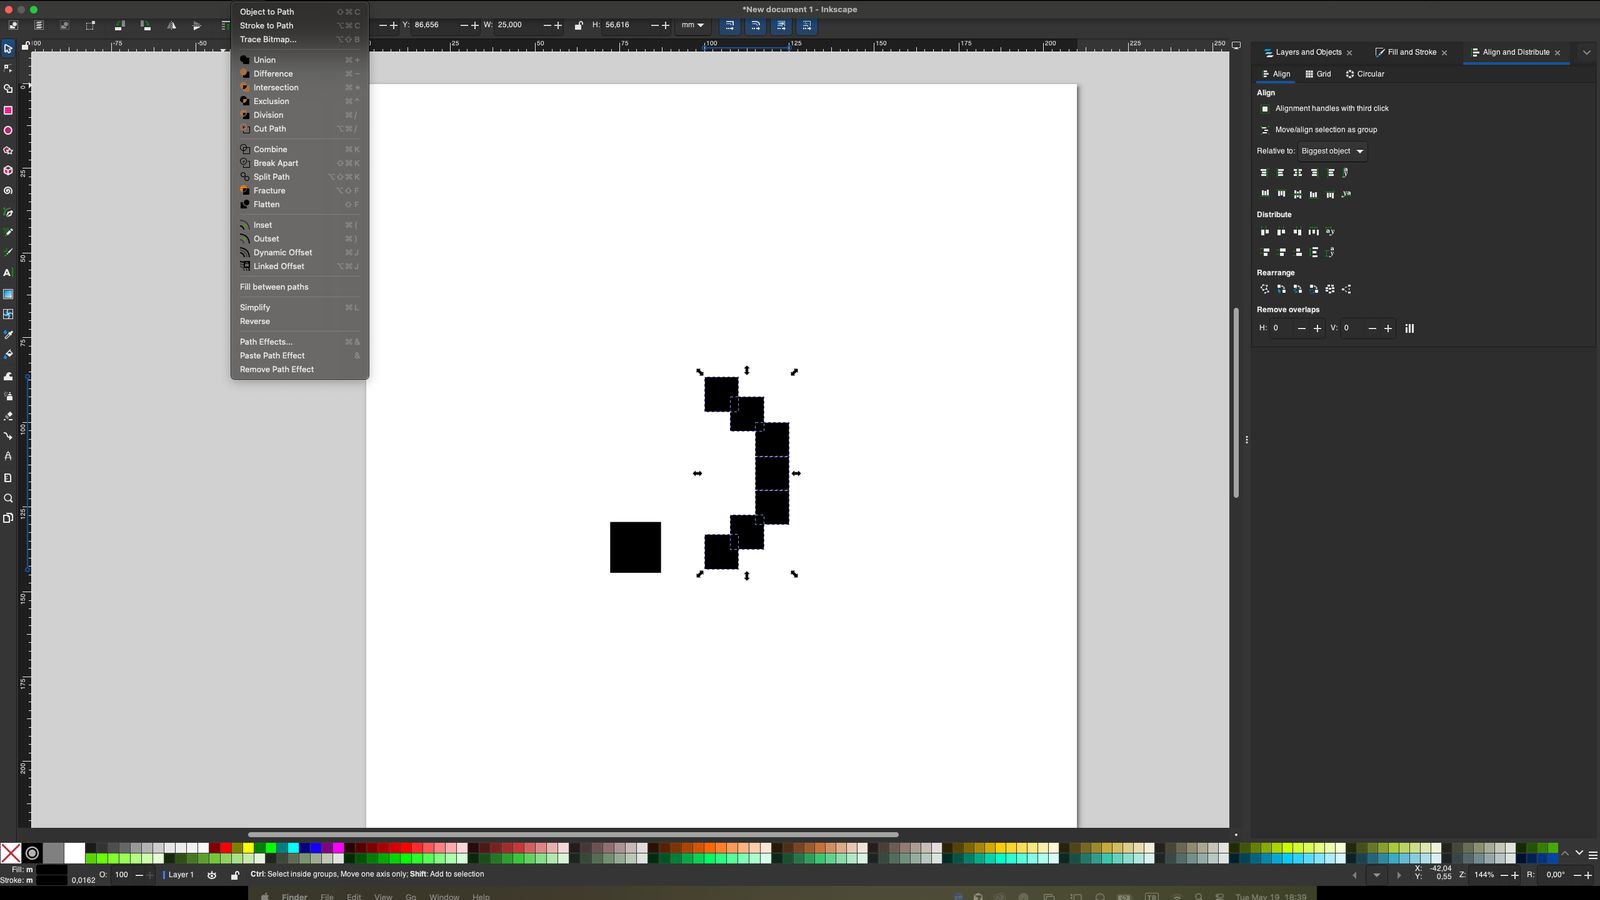 Then Using the Text function I added the Slogan using the font
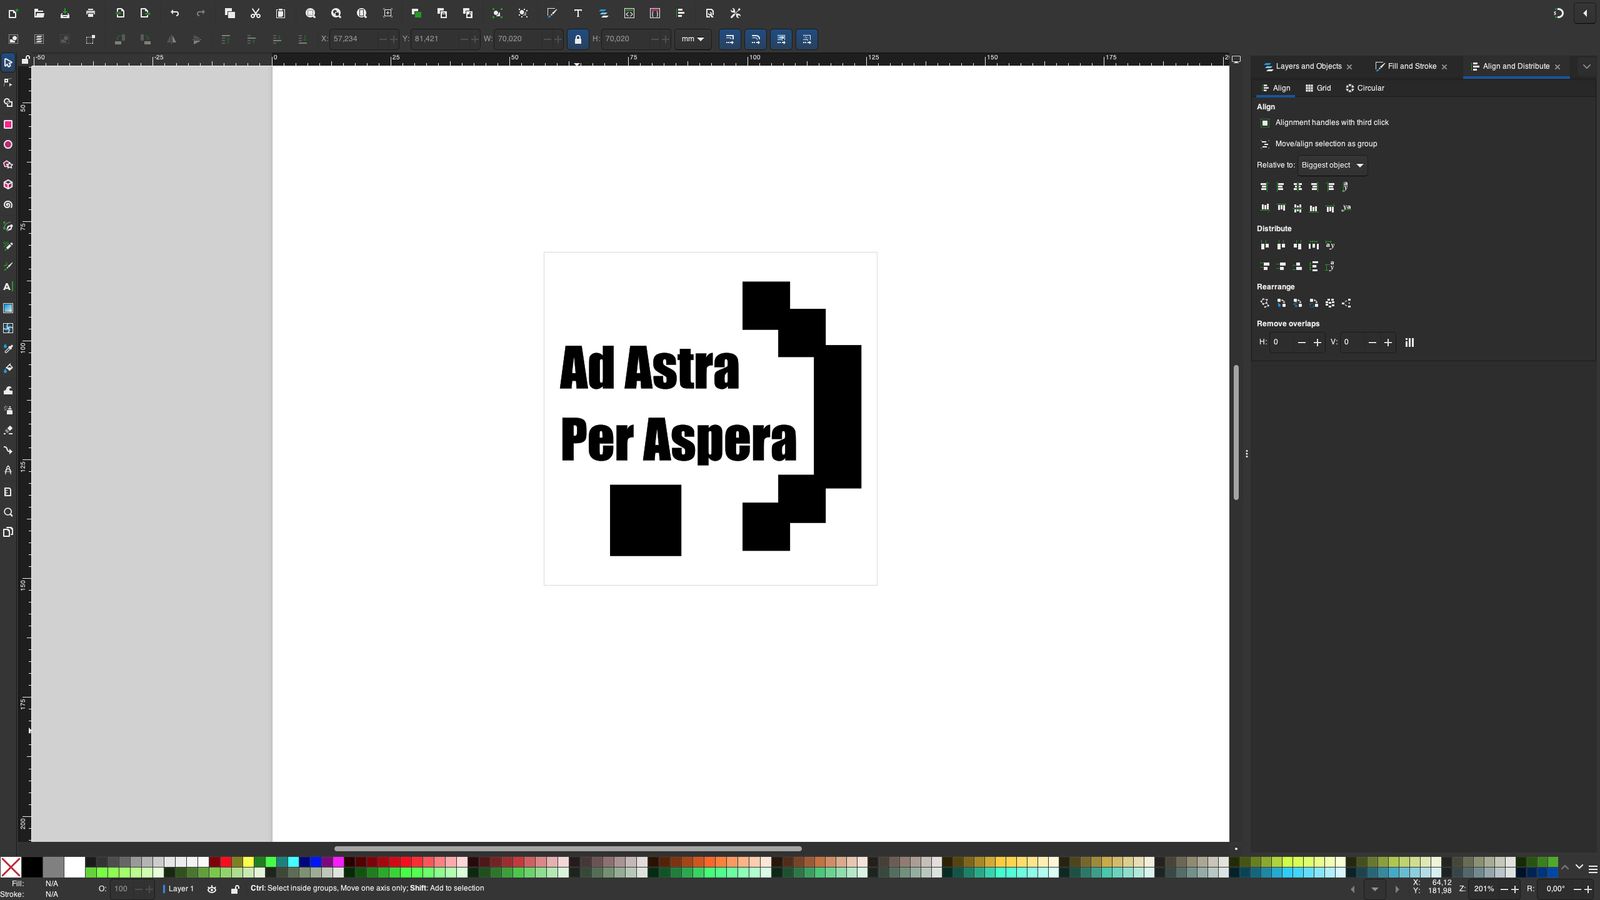 Then Using resize page to selection function I resized the canvas to size
 Then I exported my design as SVG to import into Xtool Studio
Embossing
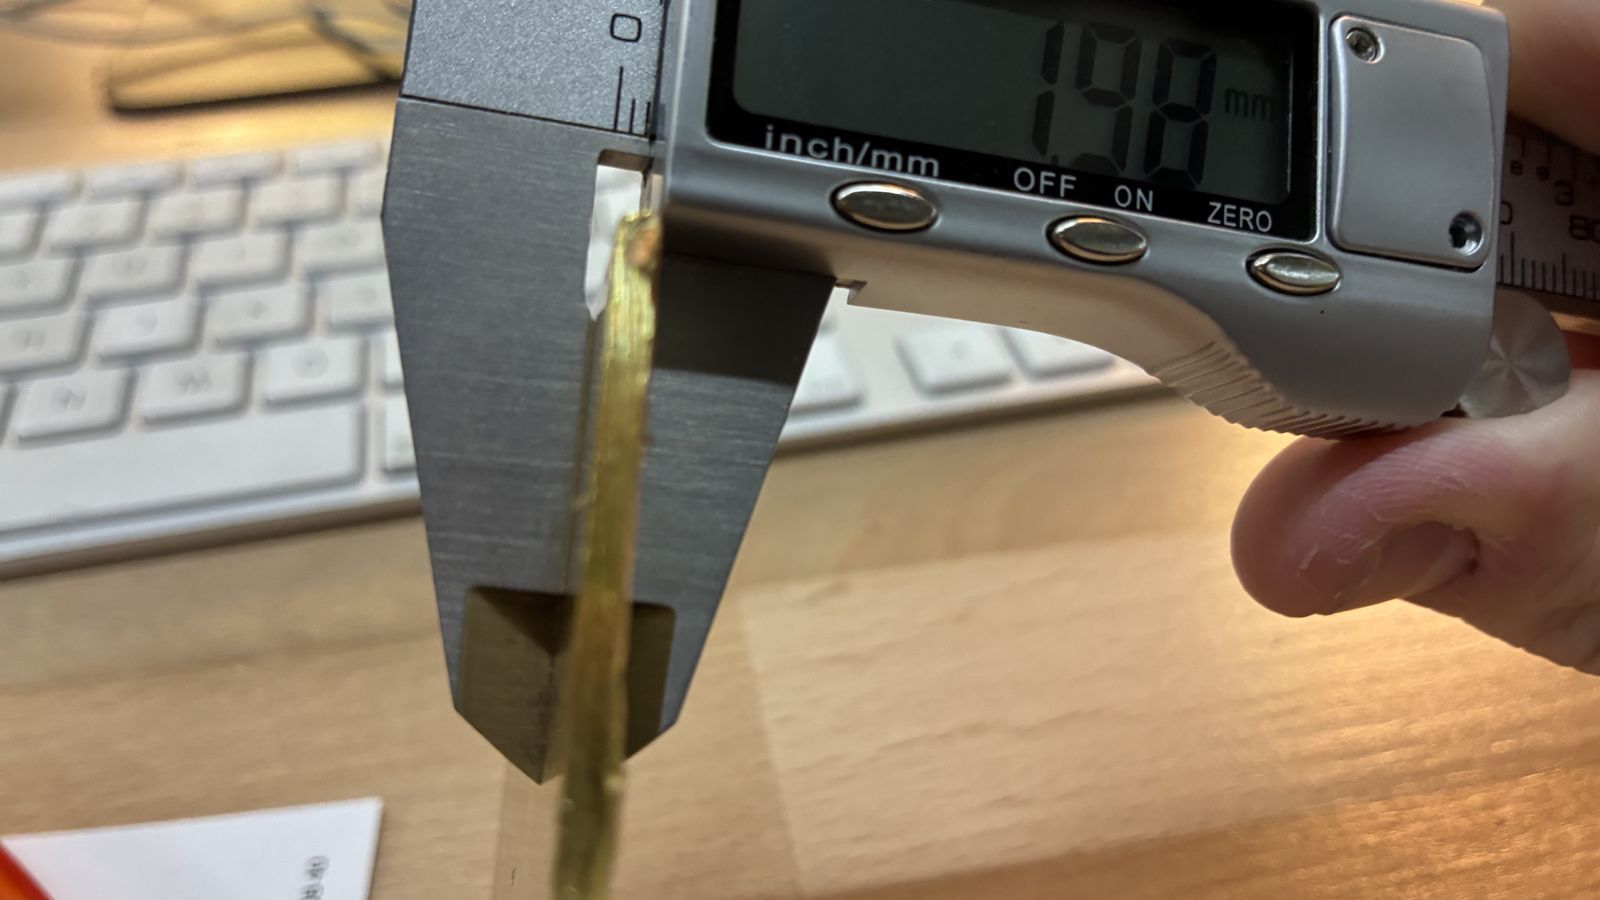
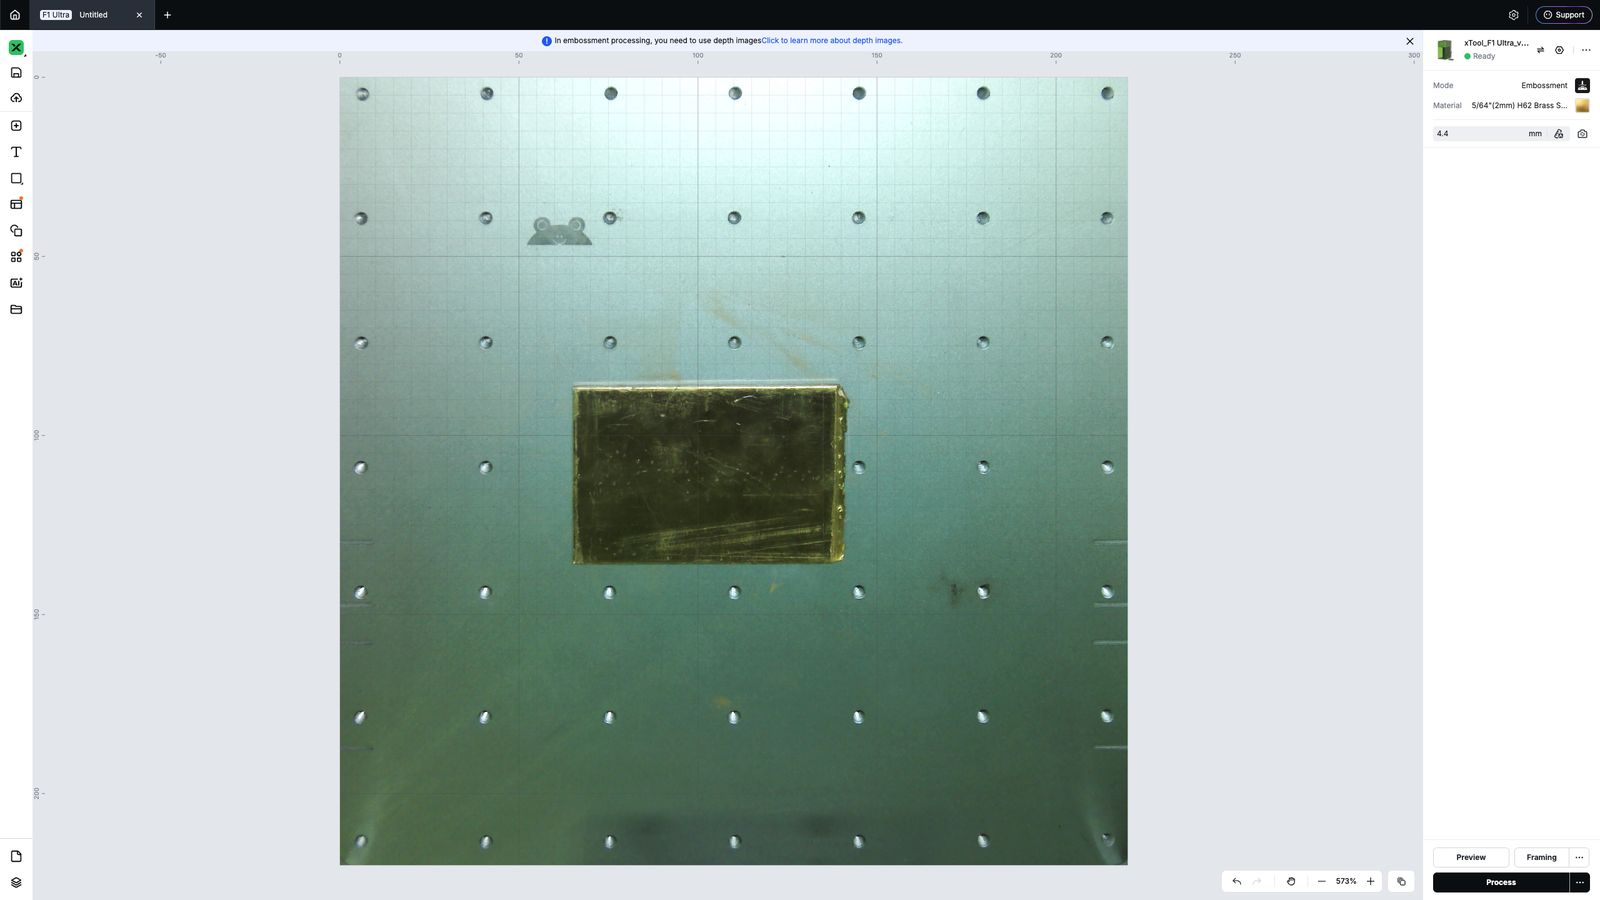
For embossing I opened xtool studio and after powering the F1 ultra and Connecting to it I chose my material as brass and changed the processign type to embossing. I used calippers to find the thickness of my material
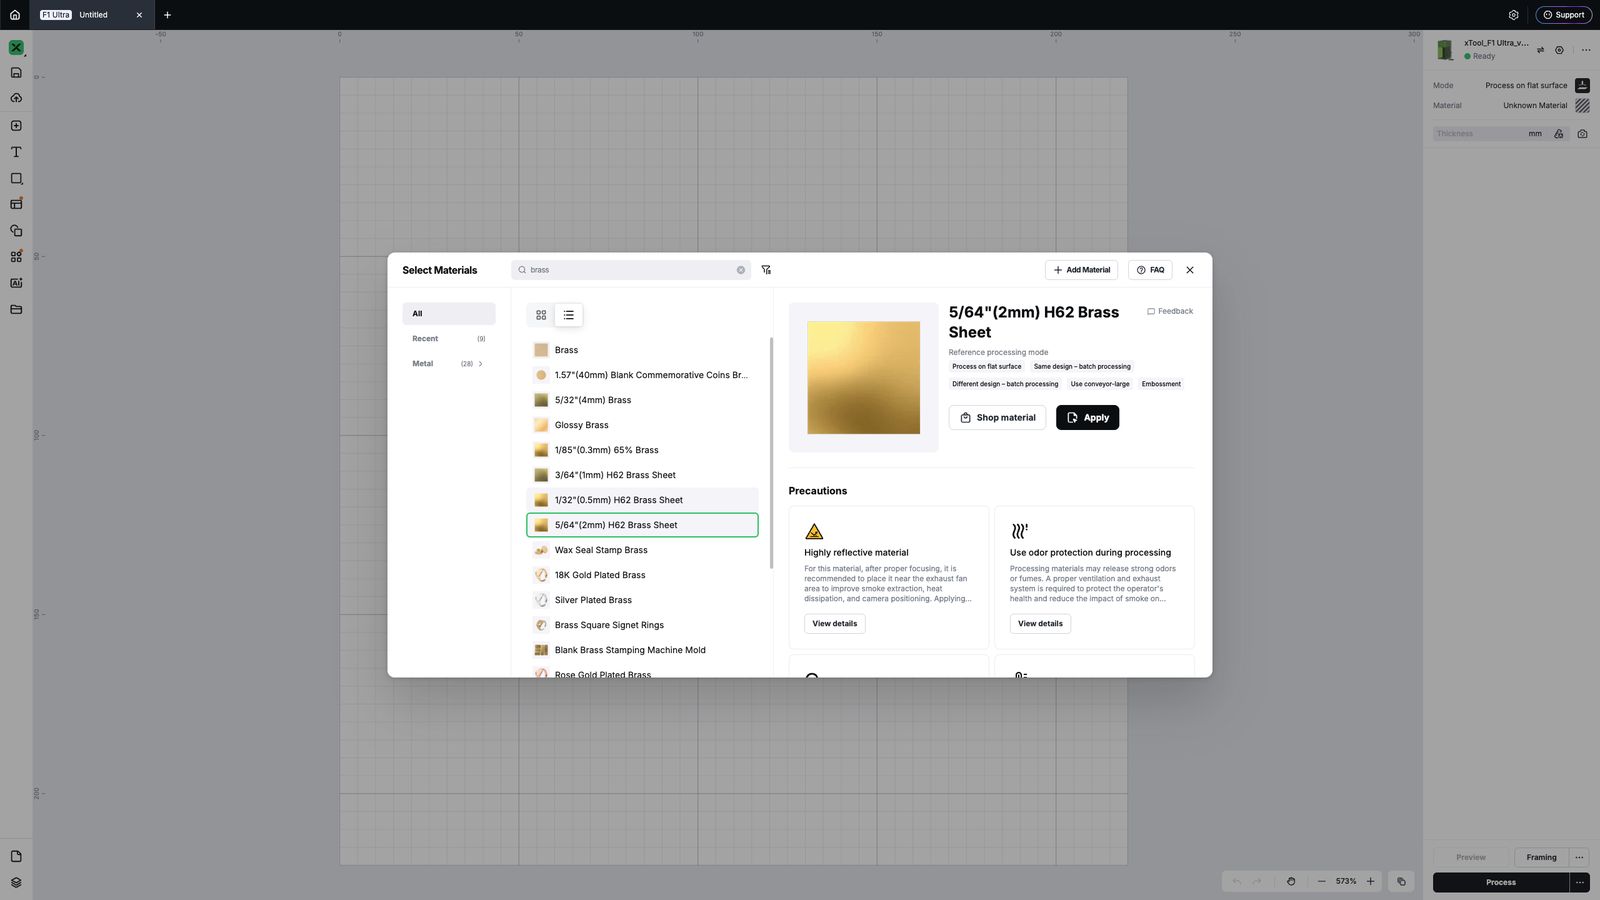 Material Selection
 Then to focus the lens to the material I used the auto mesuare function which is the ruler icon next to the material thickness text box (I made sure the material I placed was within the red dot projected by machine when the lid is open)
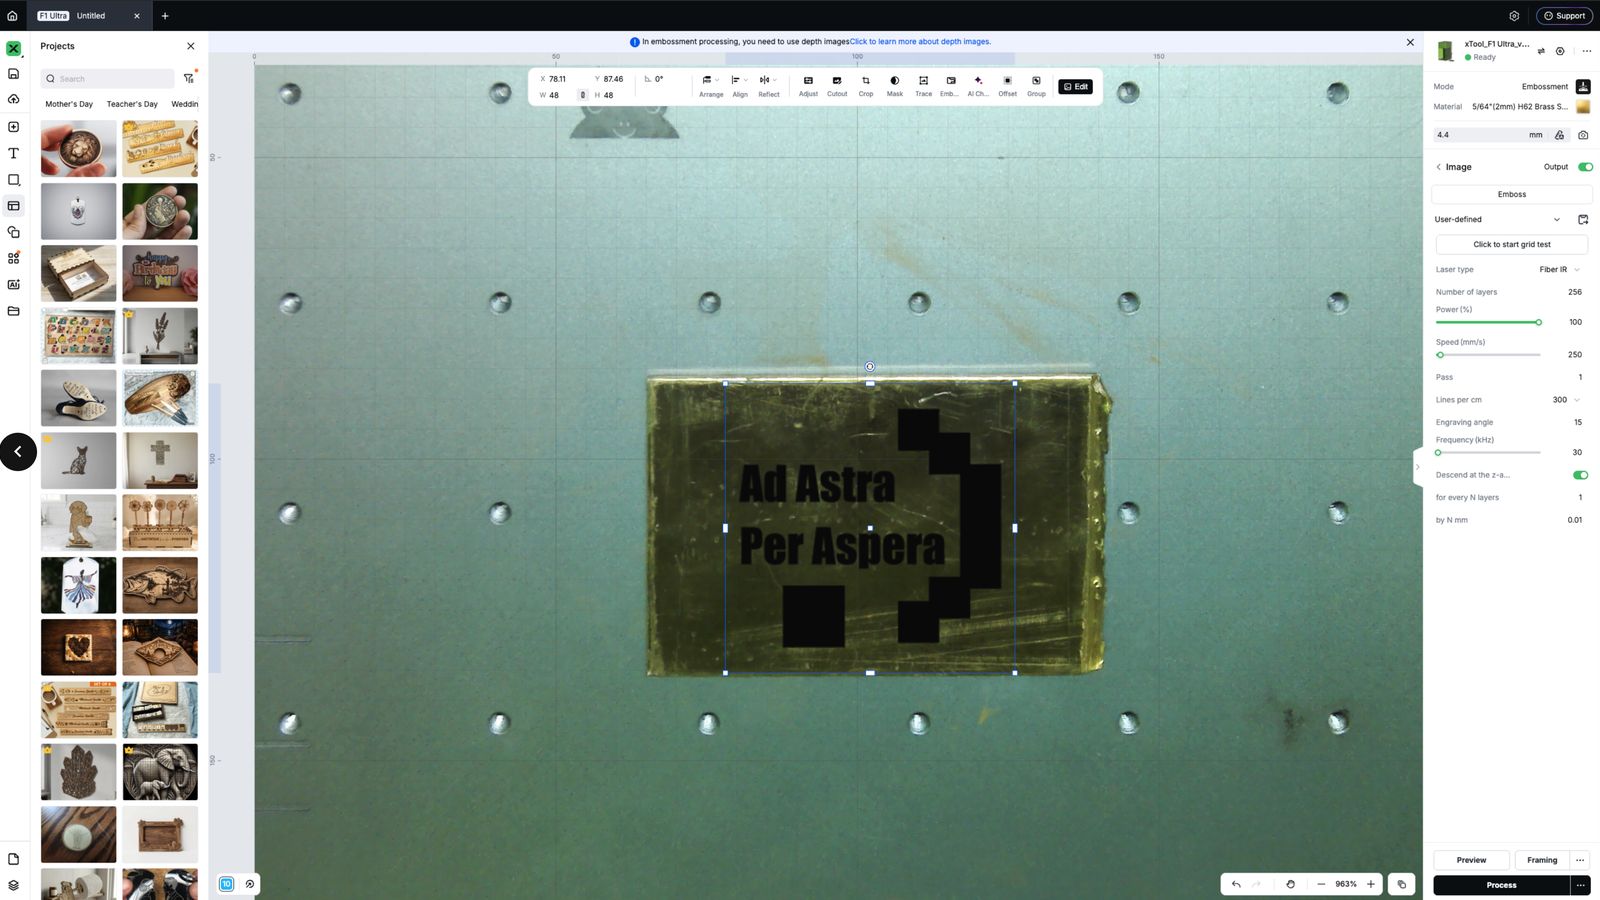
 Then I imported the design into the studio
 scaled it to fit into the material
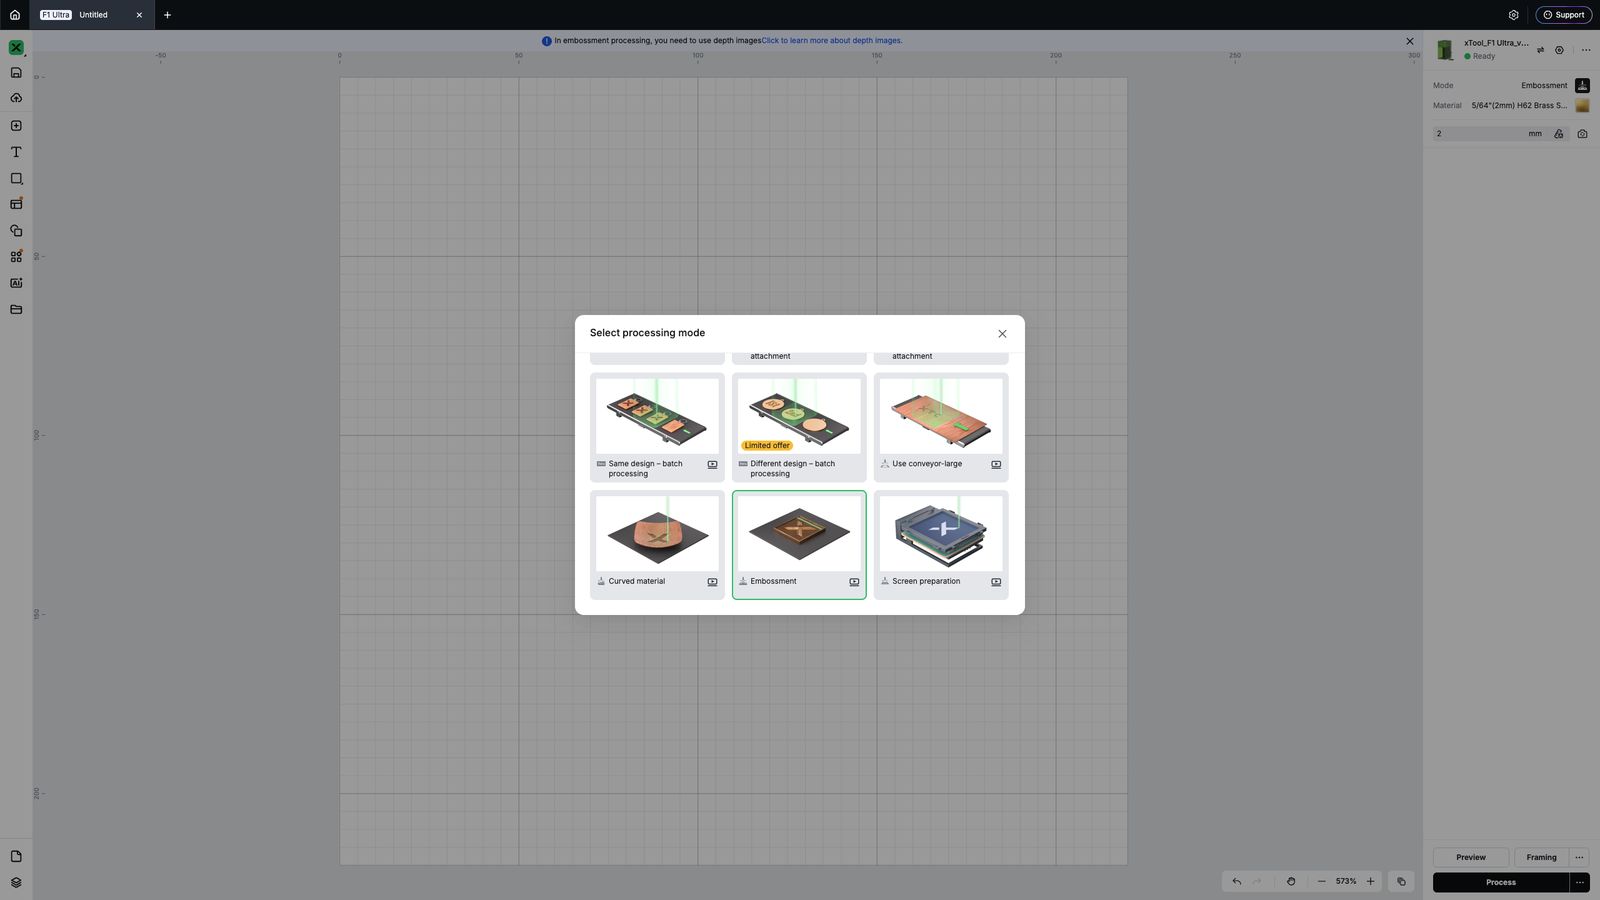
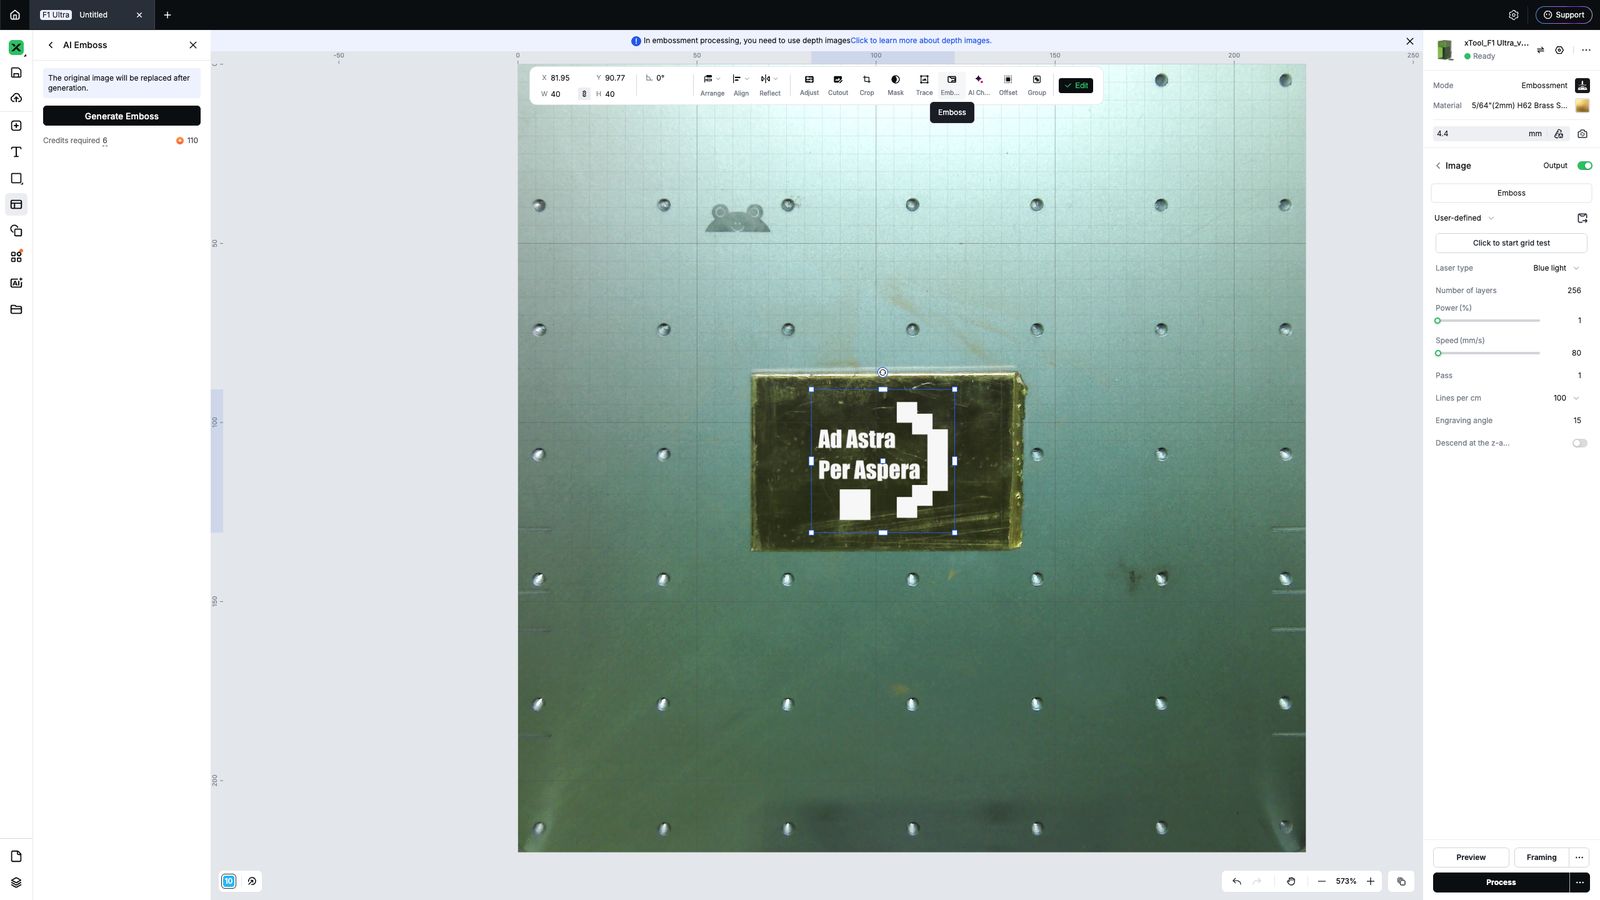
 Then I used the Emboss function in the software to turn the design into an embossable one
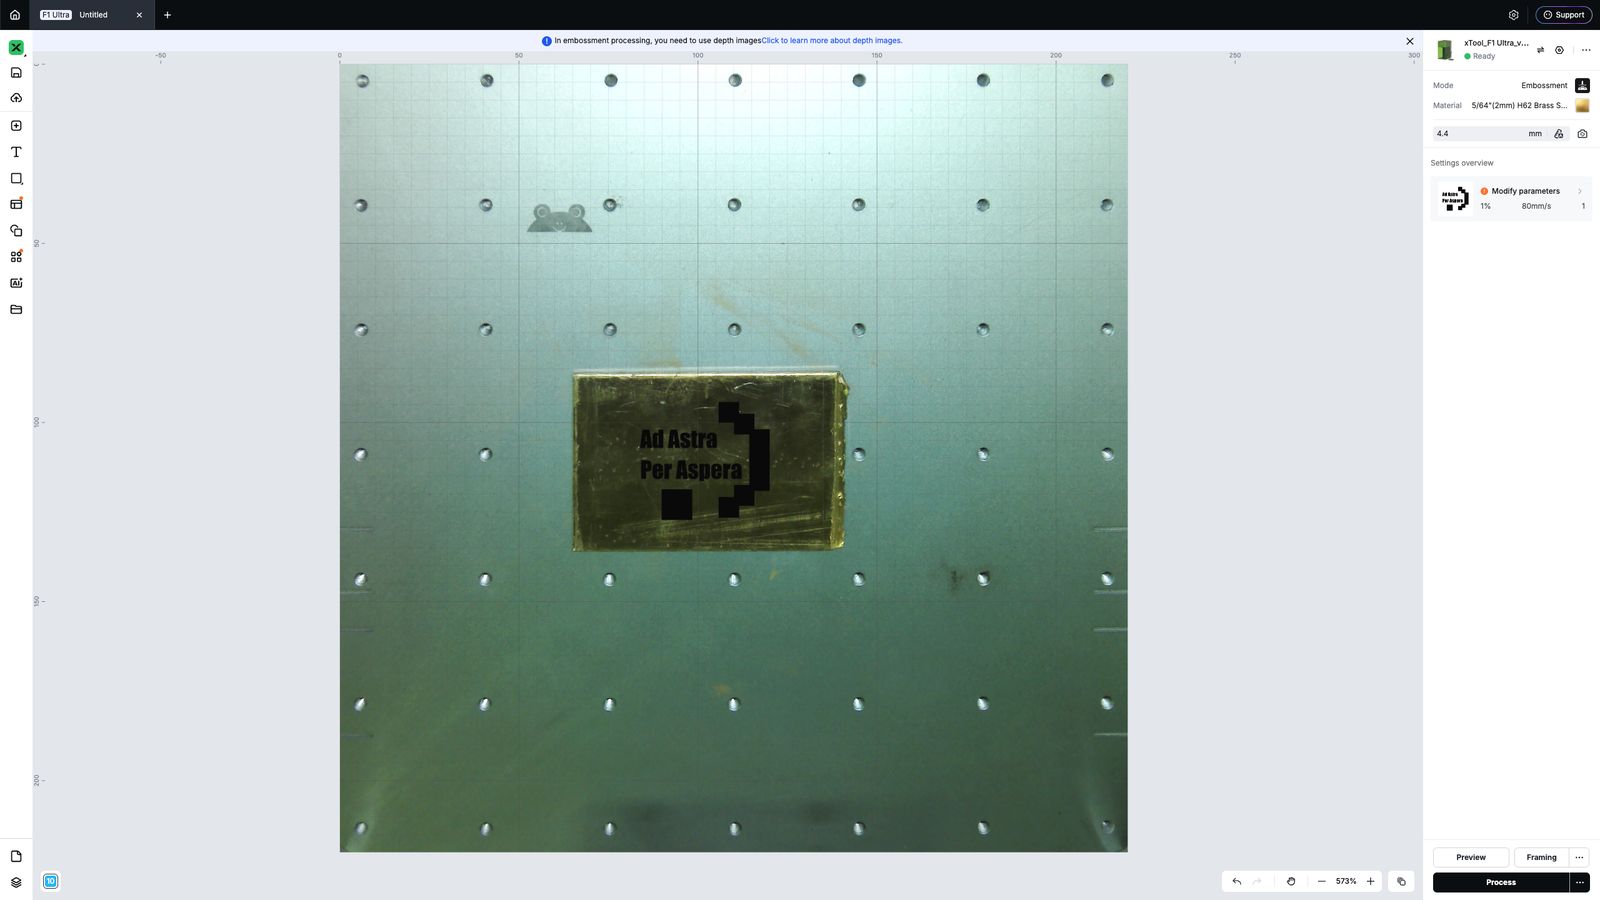
 Then I change the Embossment parameters that you can see the values in the image blow which I referenced from this facebook post
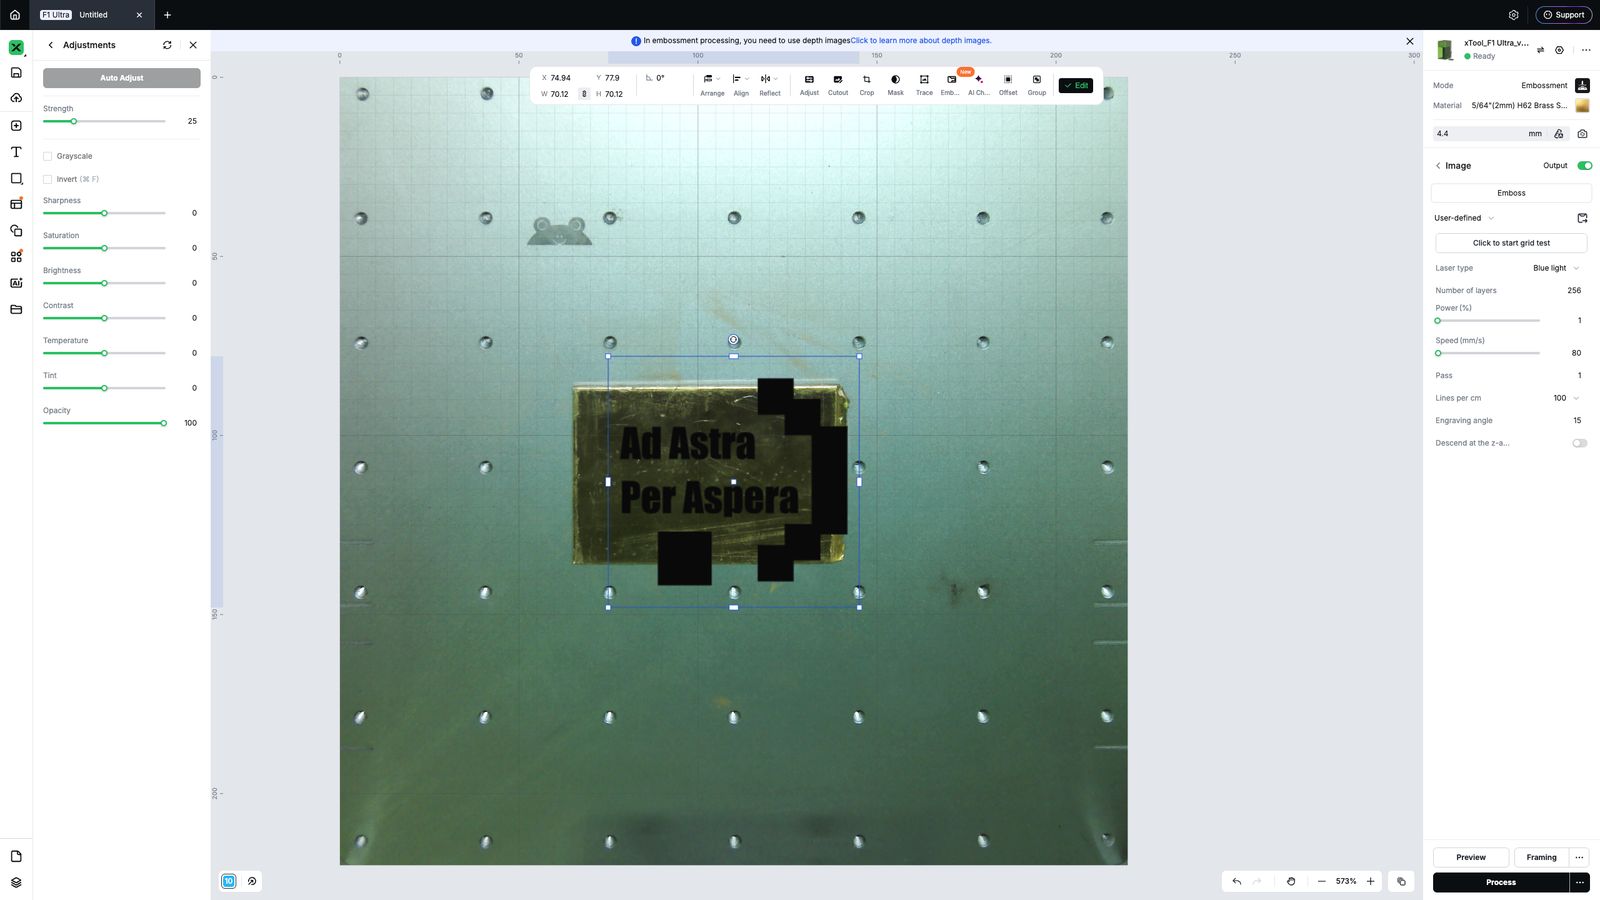
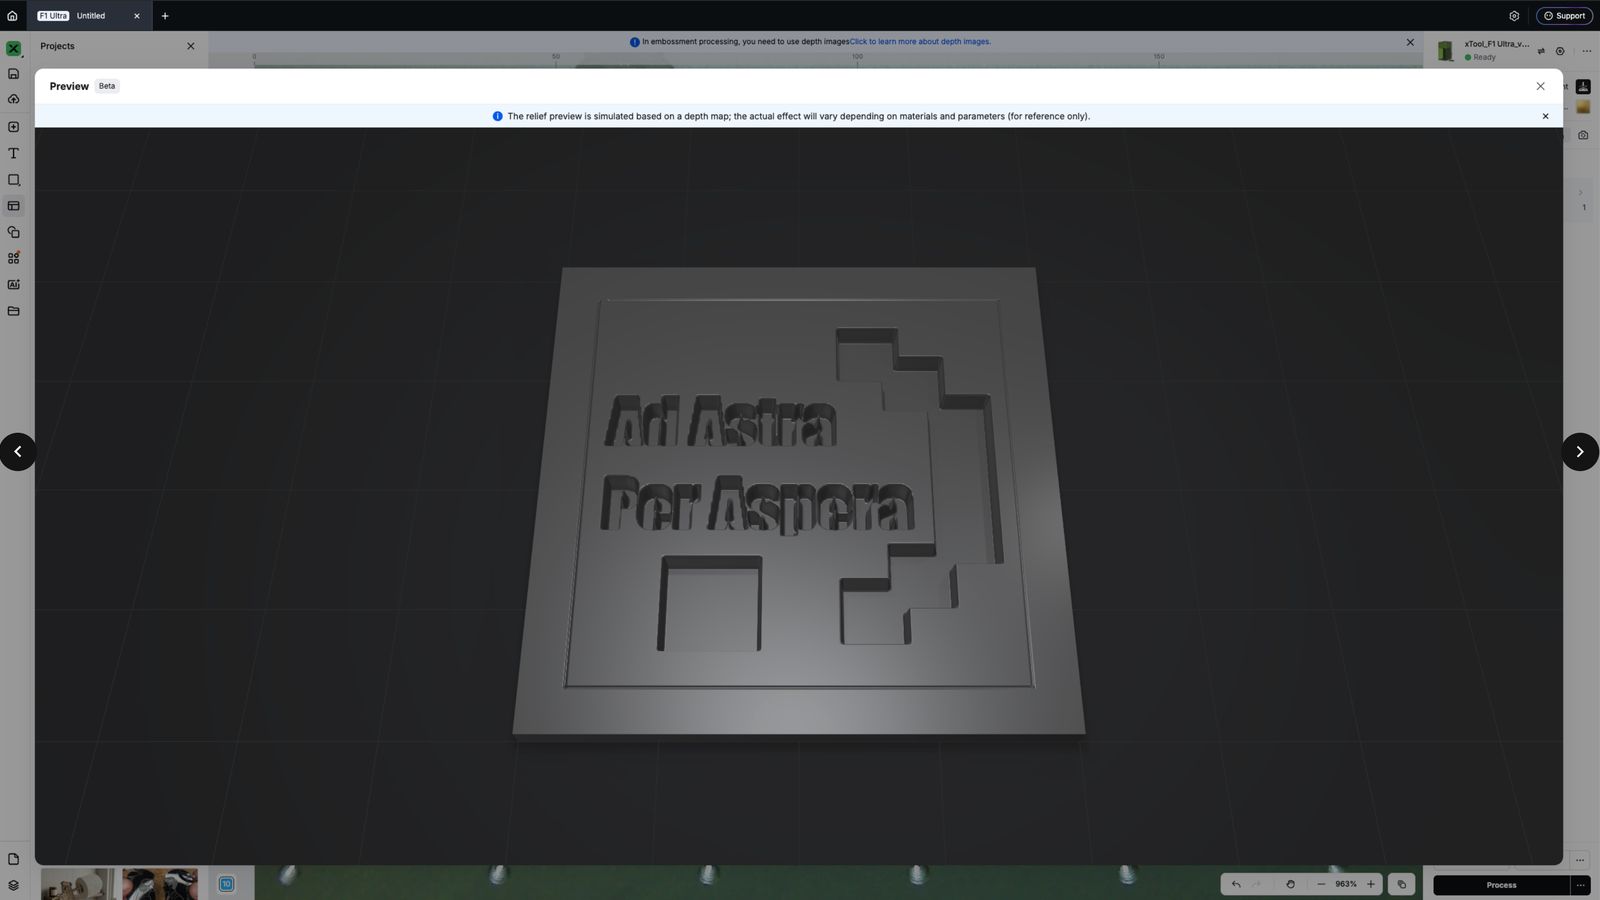
 Then I previewed the design as in the xtool studio
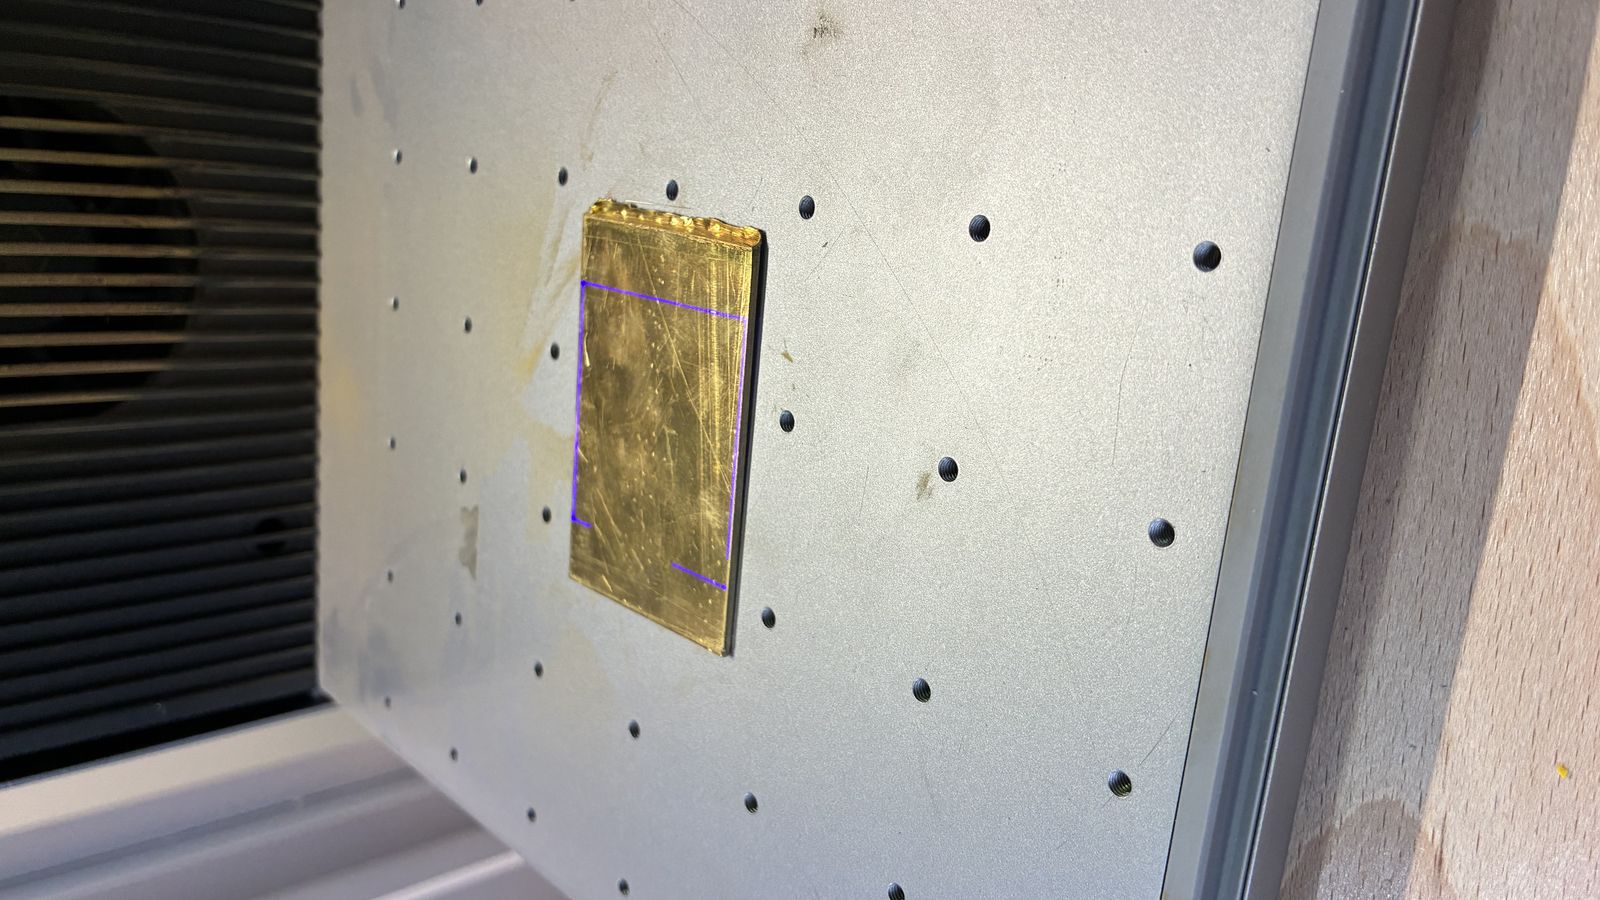 Then I used the framing to see if the design fits to material.
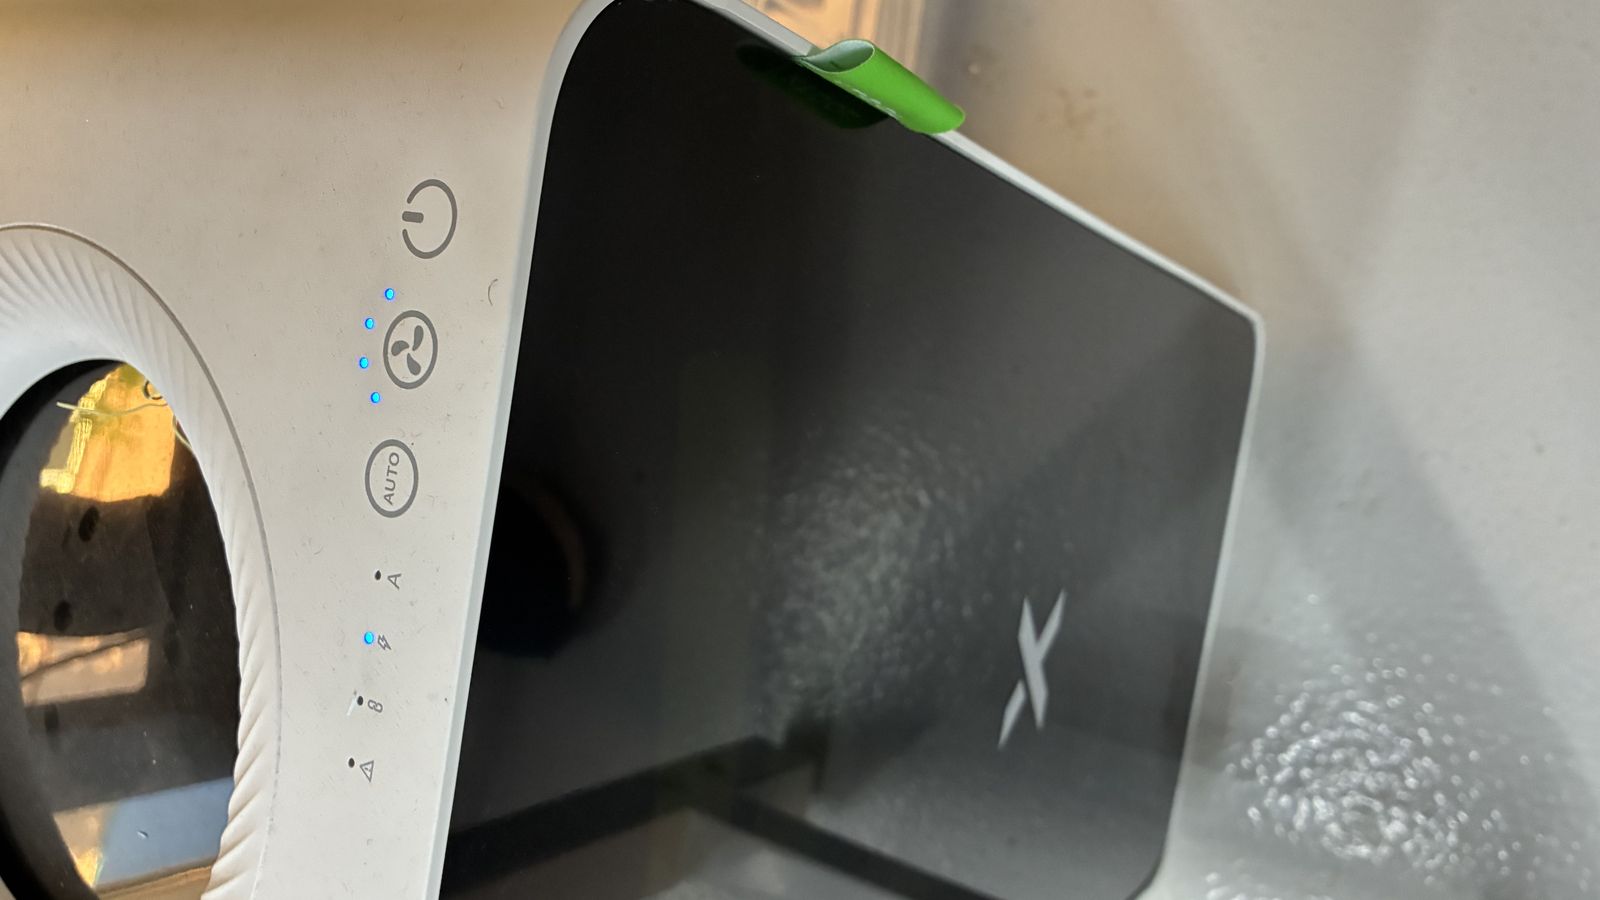
Then I opened the air filter to take the smoke up
Then I pressed start to start embossment
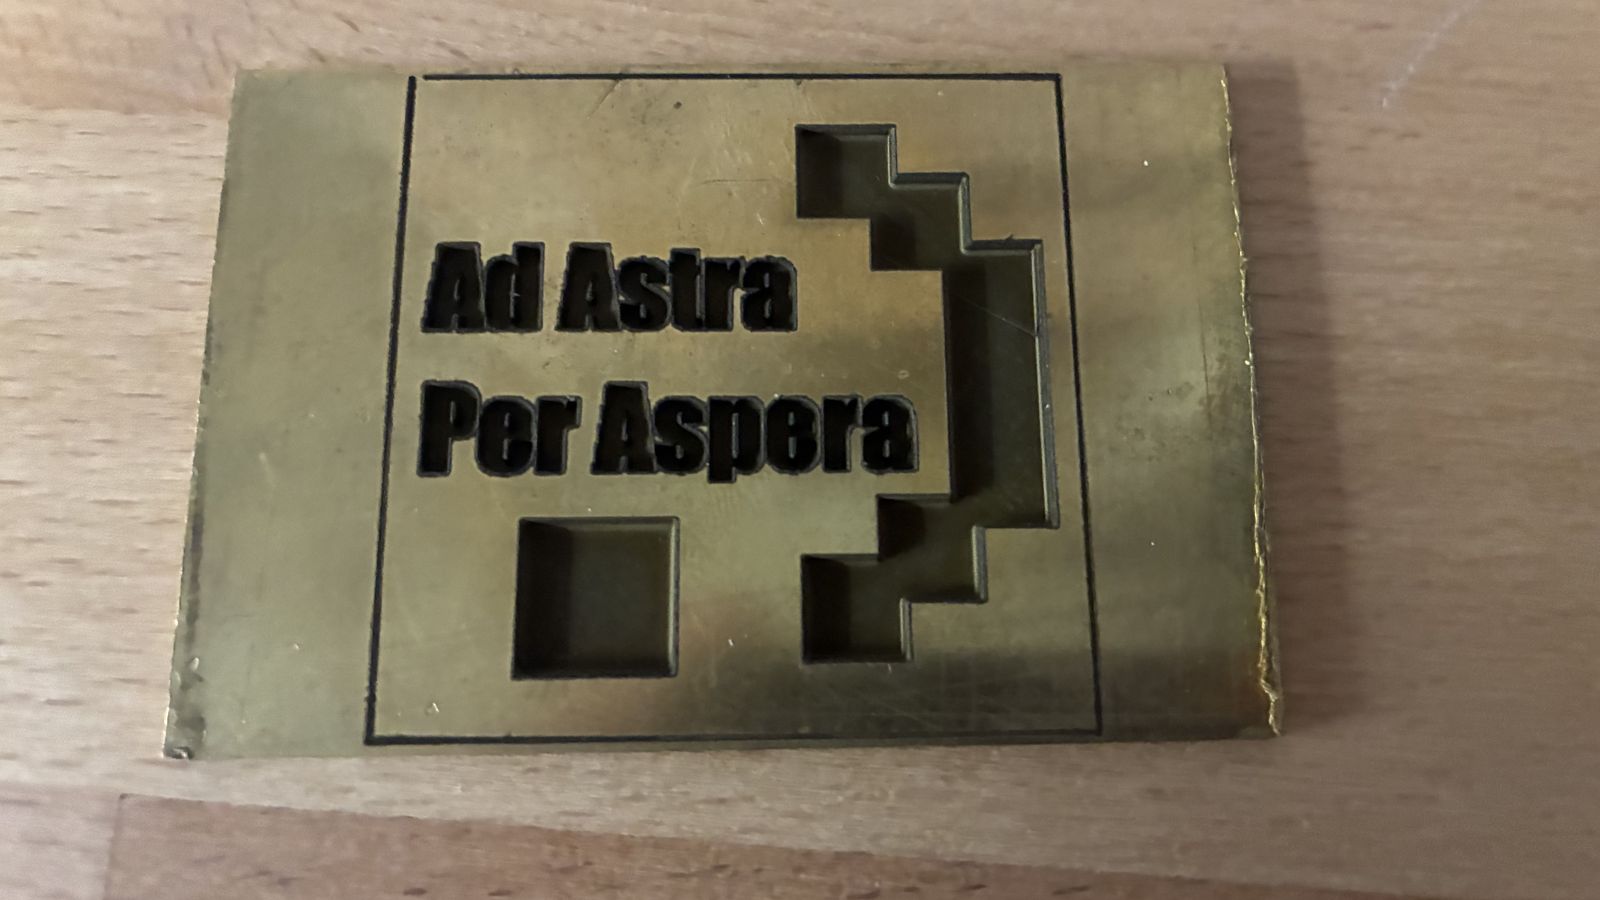
Here is how it looked at the end of the procsses
Embroidery
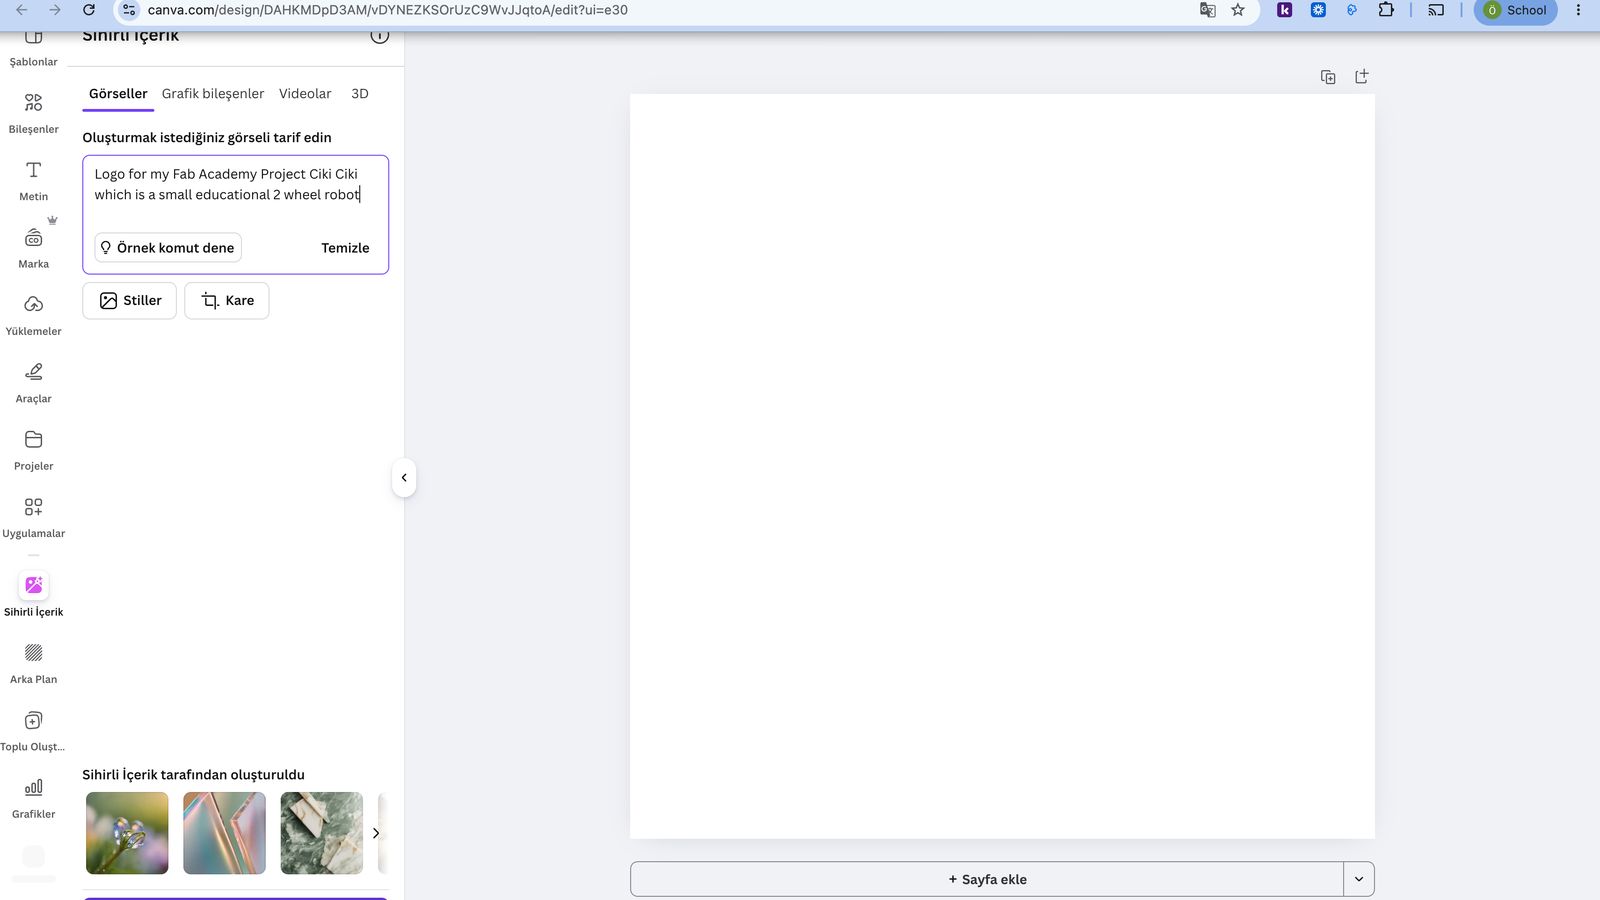
I first used Canva Ai to design a logo for my project you can see the prompt I used in the image below.
 Then I selected the one i liked from the generated designs and exported as png
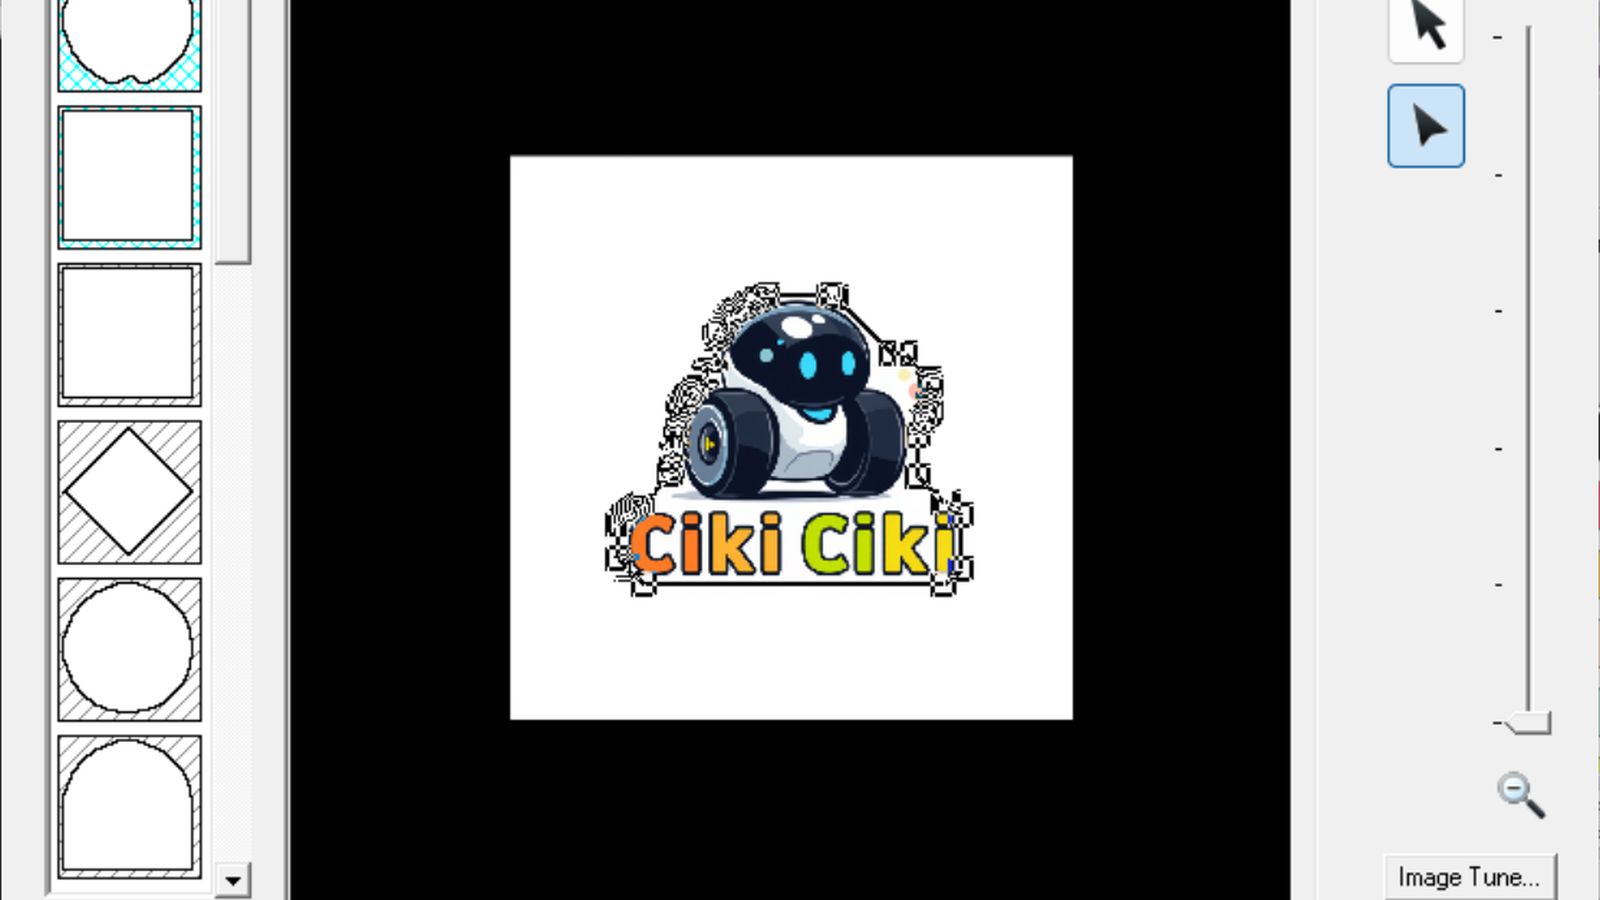
 Then using the PE design software the embroidery software of the Brother Machine. I
 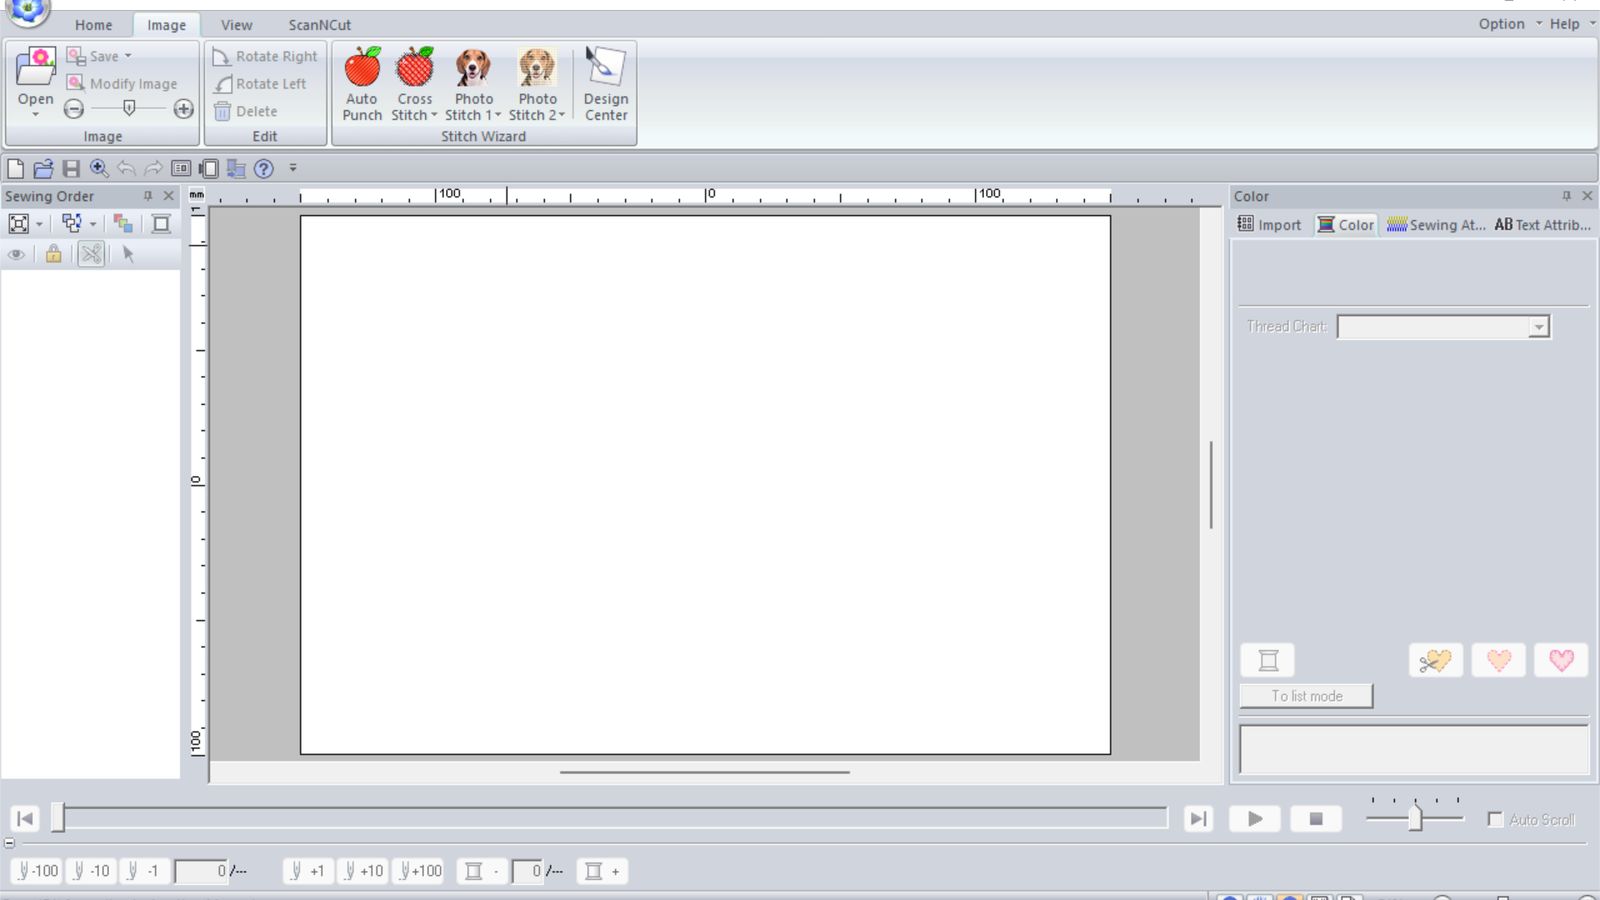 I used the Photo Stich1 Function to Convert my PNG into stiches. I opens the clipping page
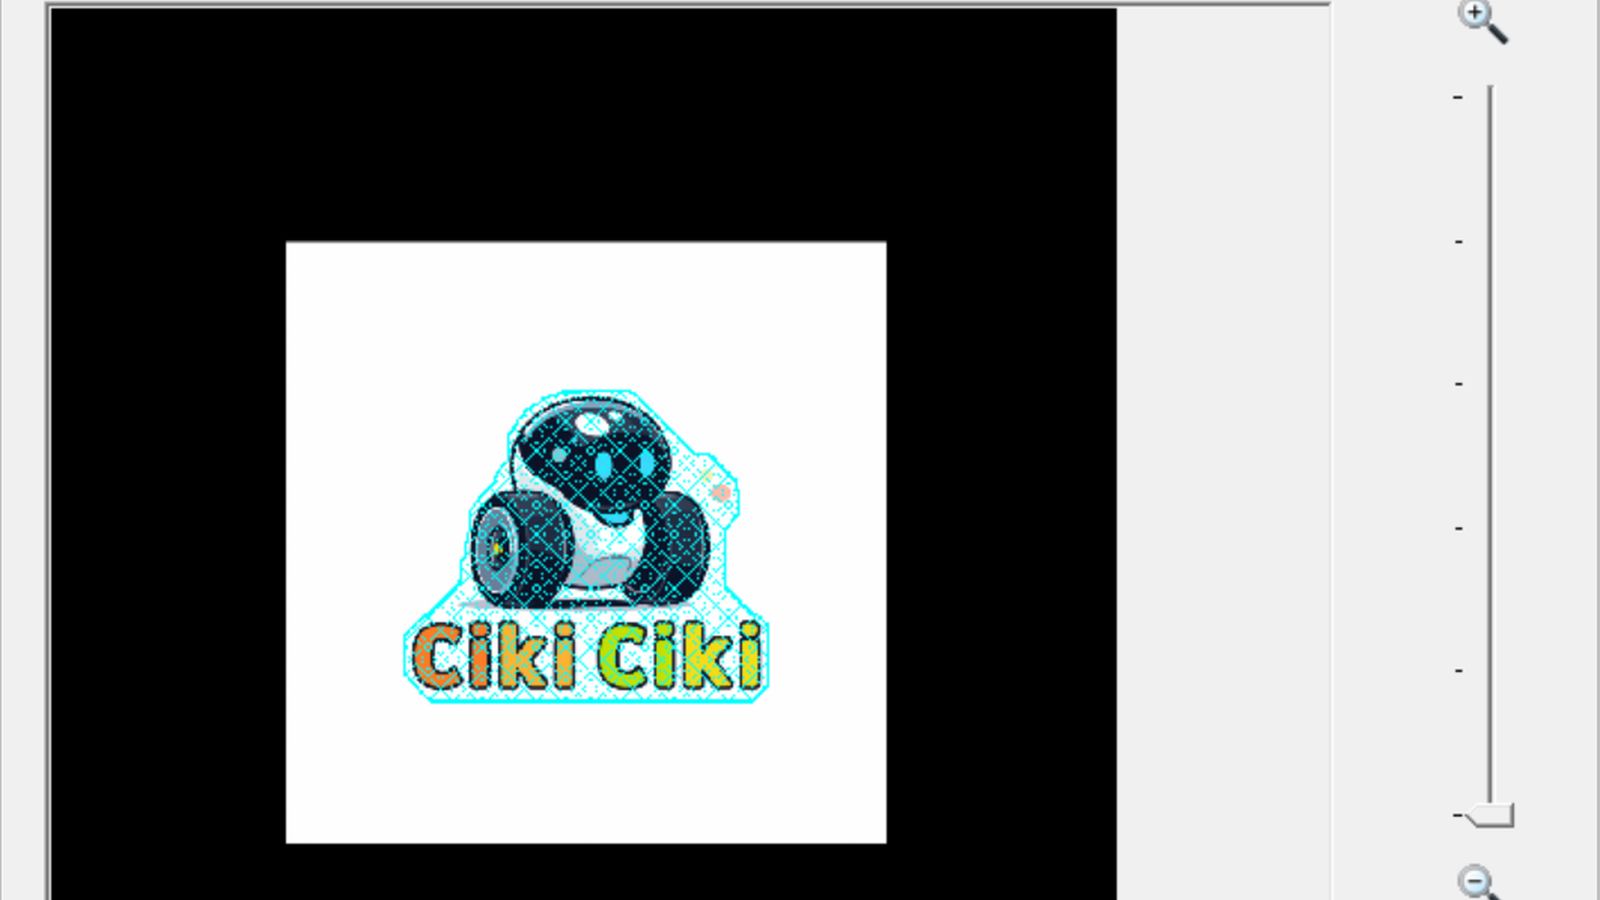 Where I select and clip the designs outer
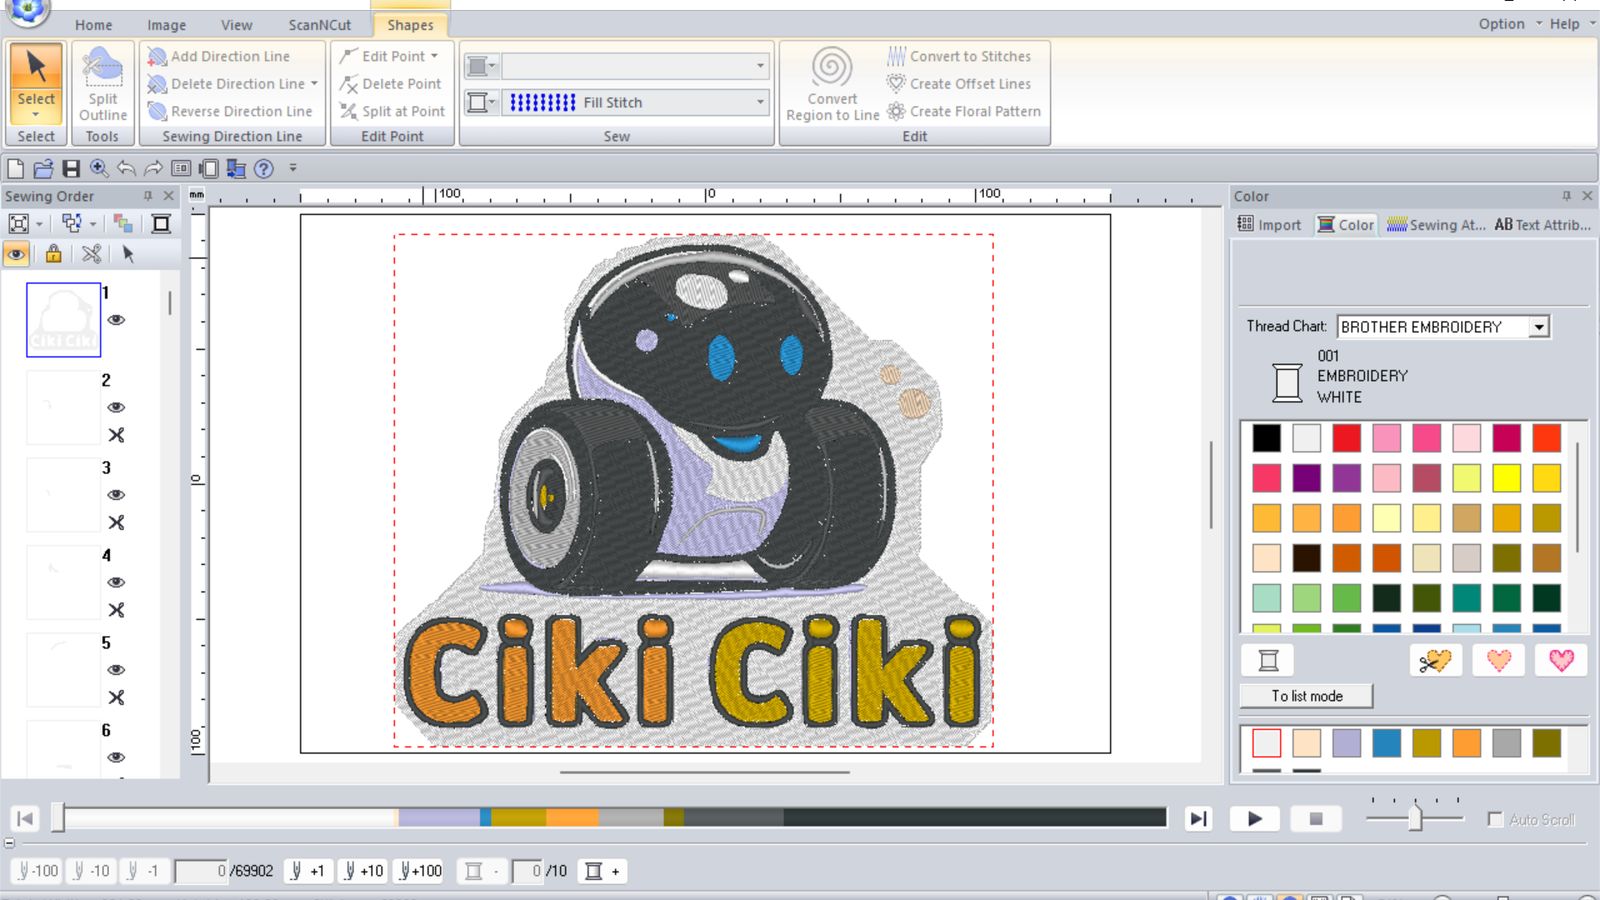
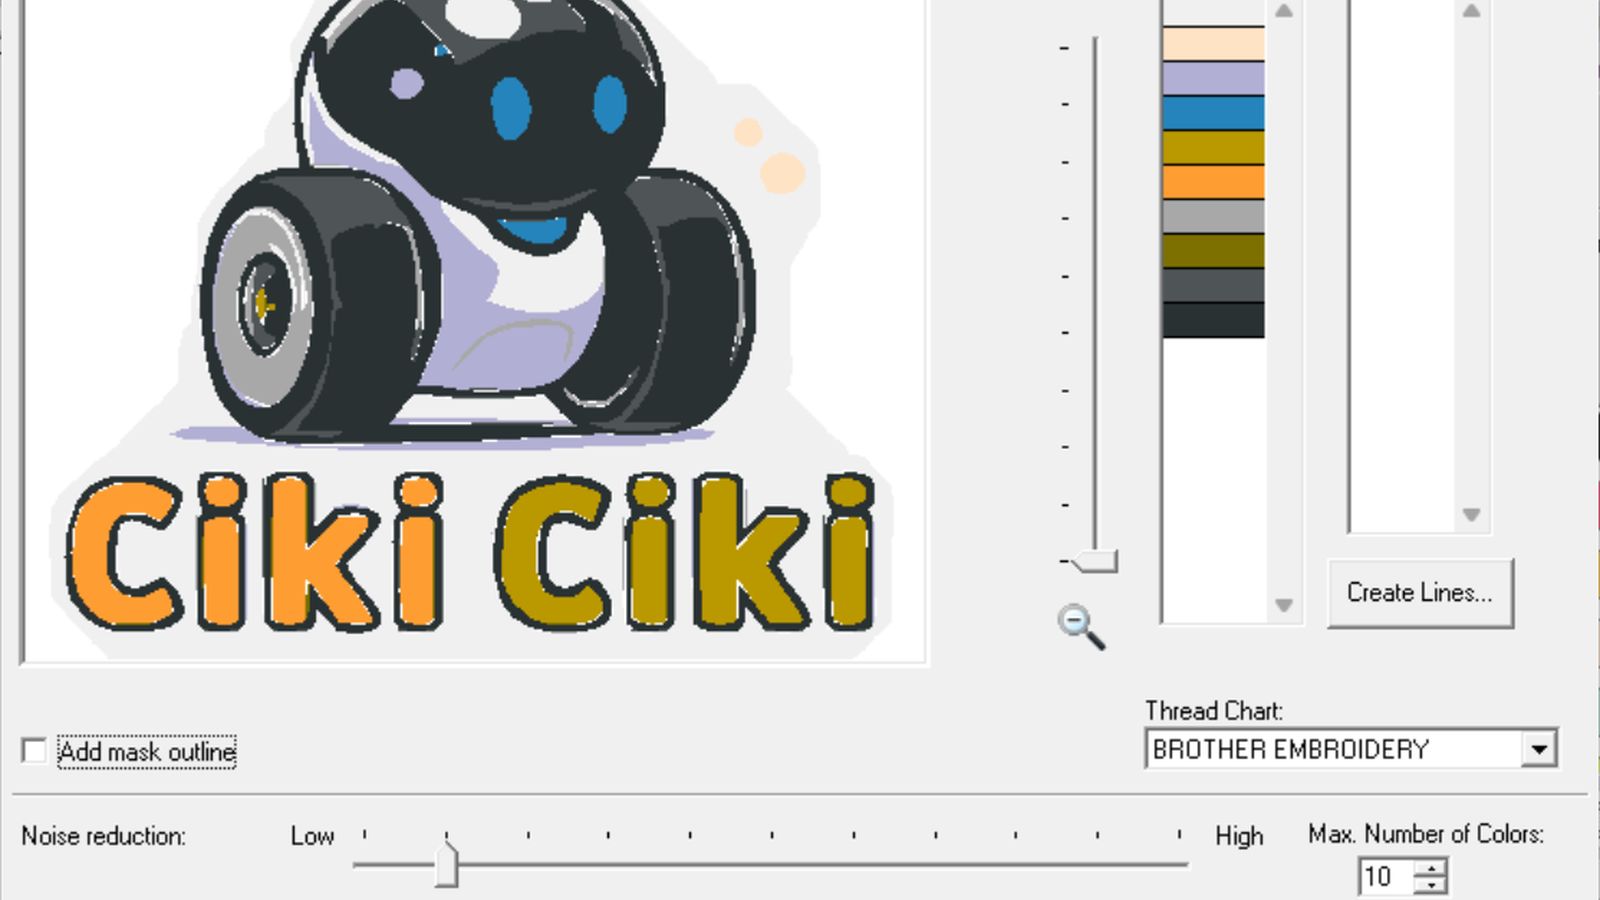 Then it detects the colors and converts the image into stich paths. I adjusted the noise reduction and segmentation to my liking
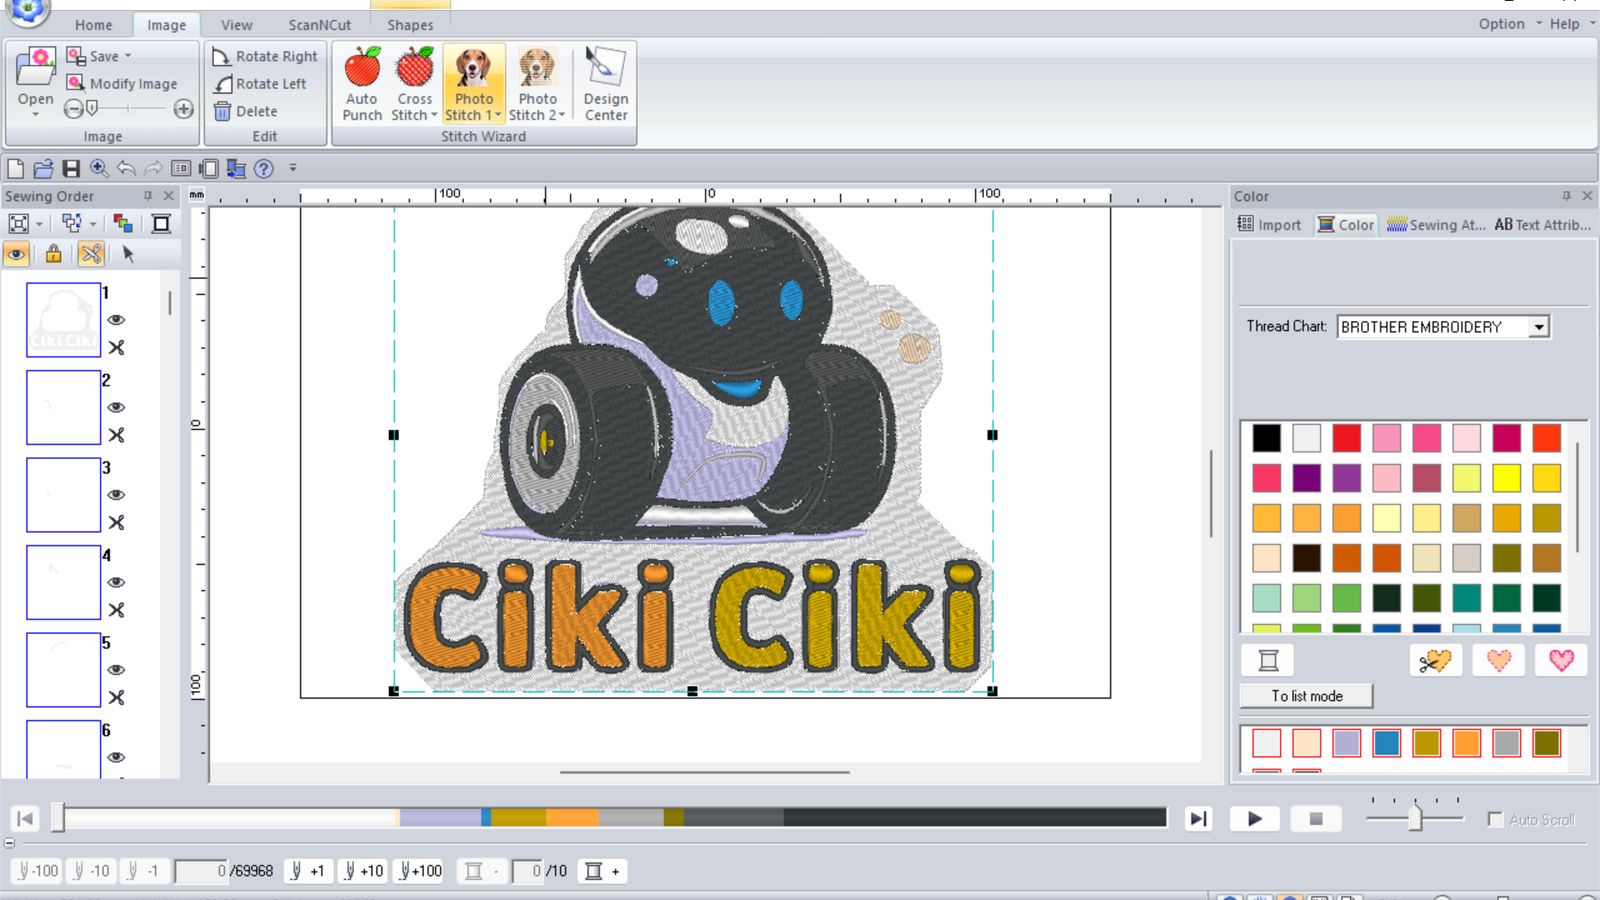 This was the result of the conversion But I didn’t like how the text turned out and I didn’t wan’t to embroid the background so I hand selected those components and selected no stich as the stich pattern which effectivly doesn’t stich them so deletes them.
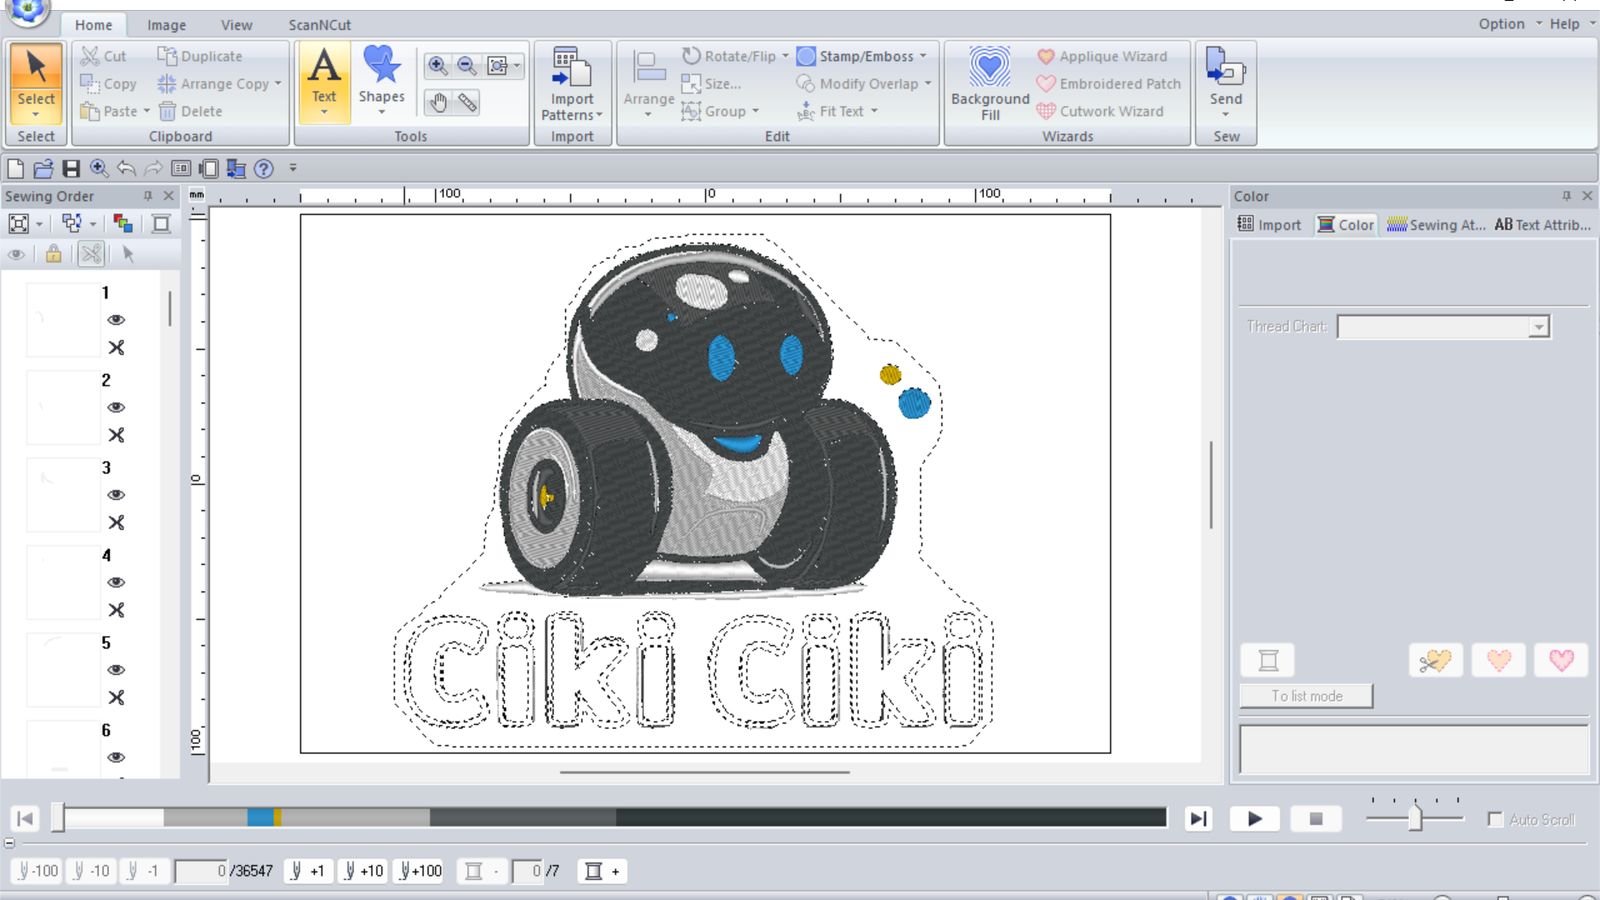
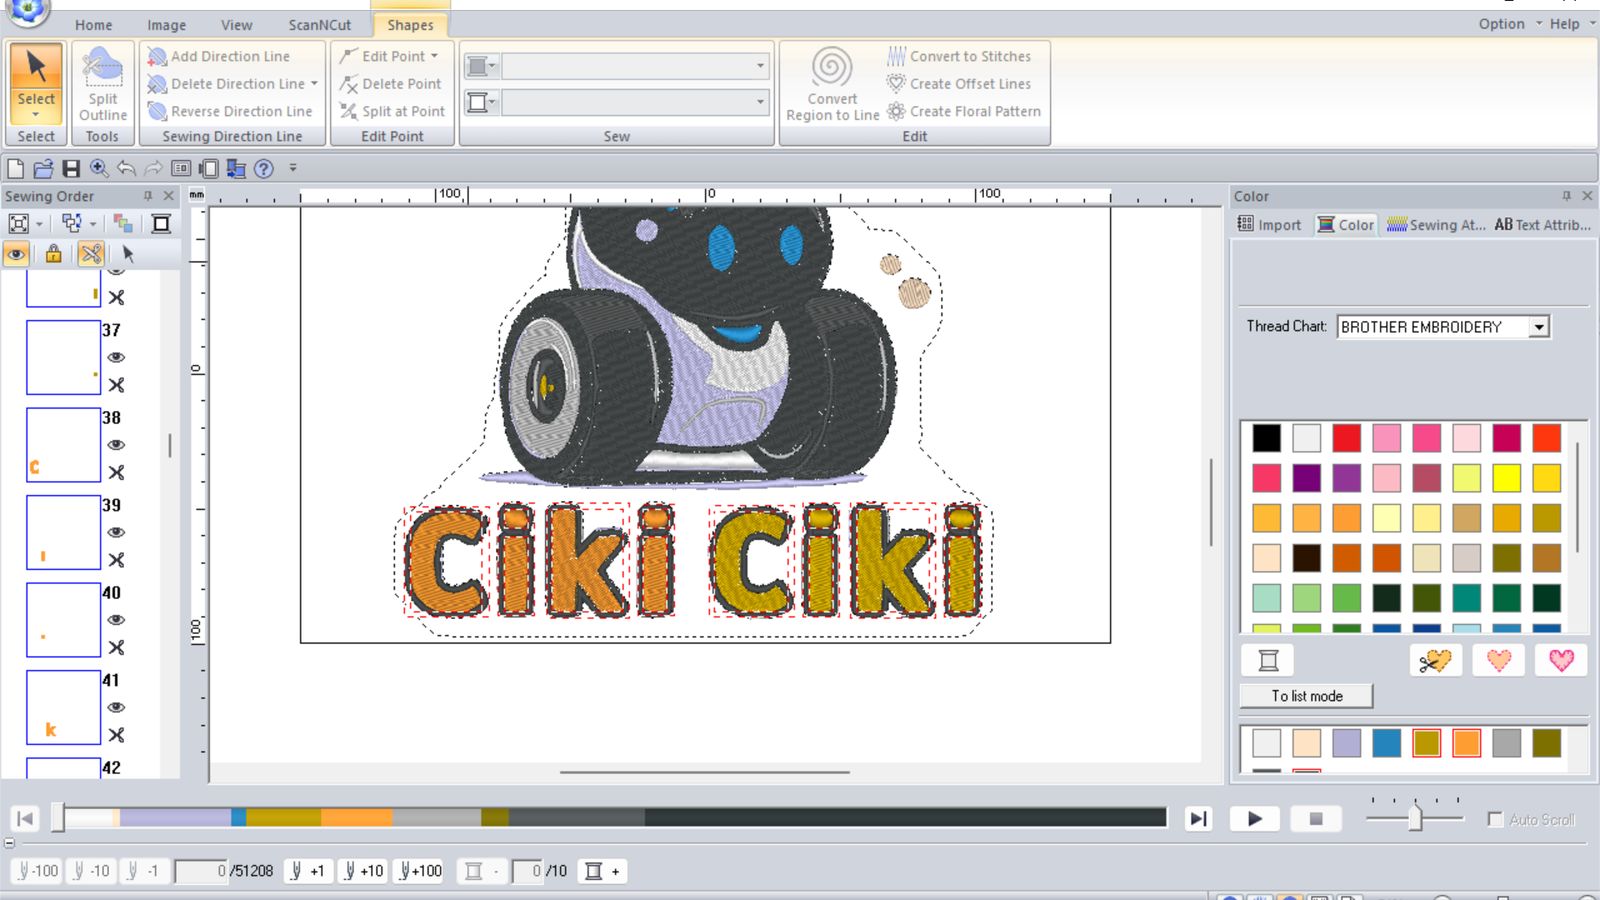
 This is how it looked like when the no stich patterns were assigned.
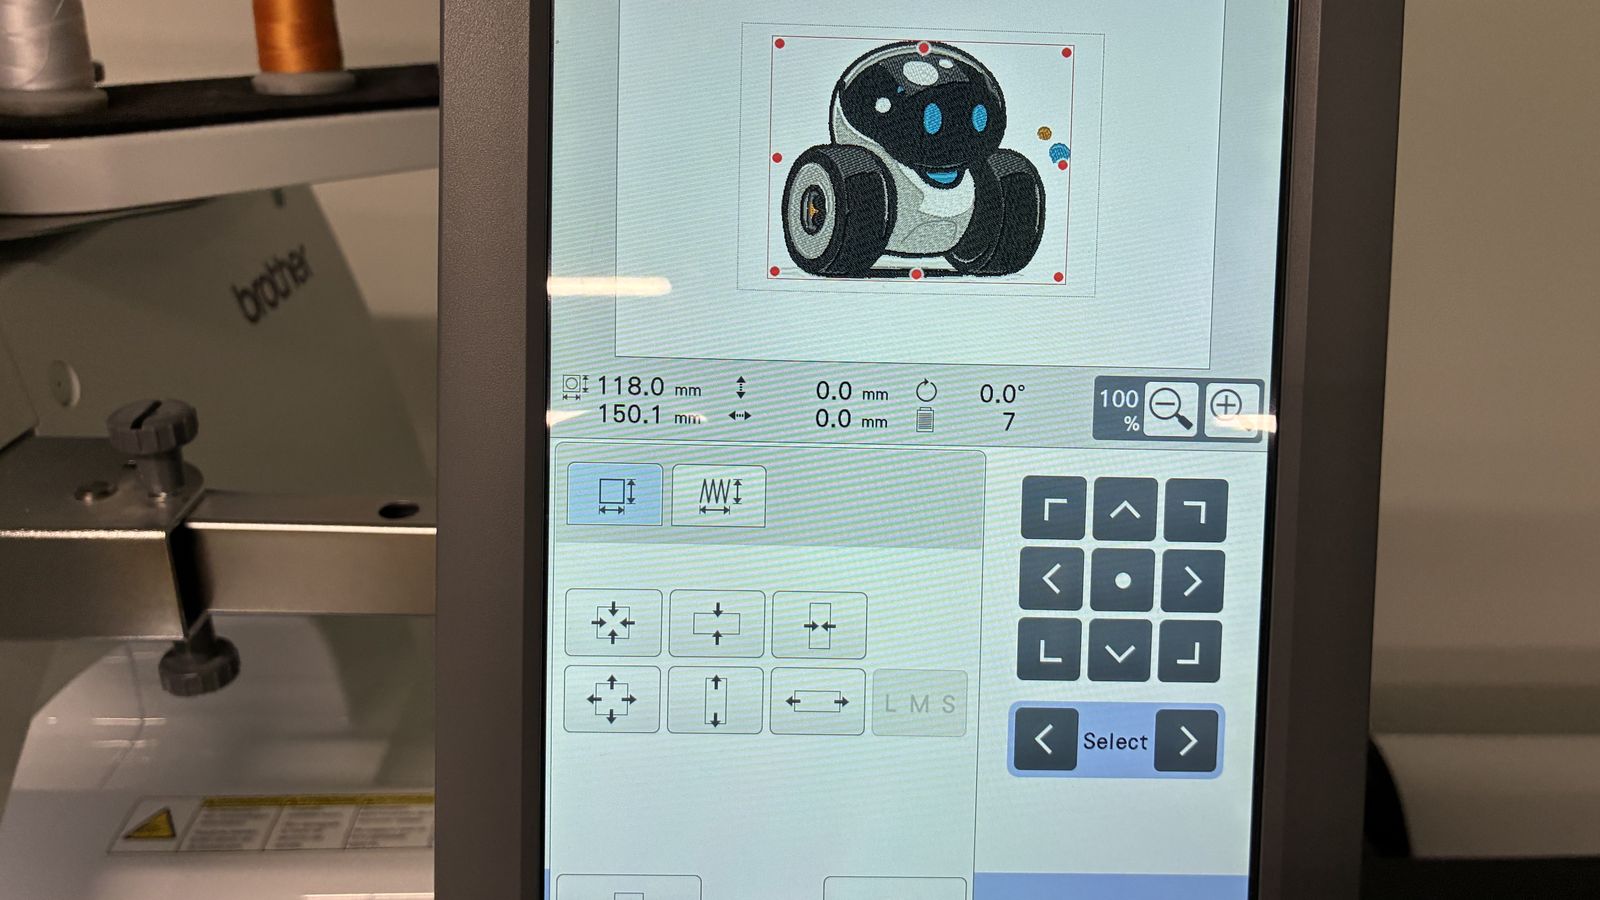
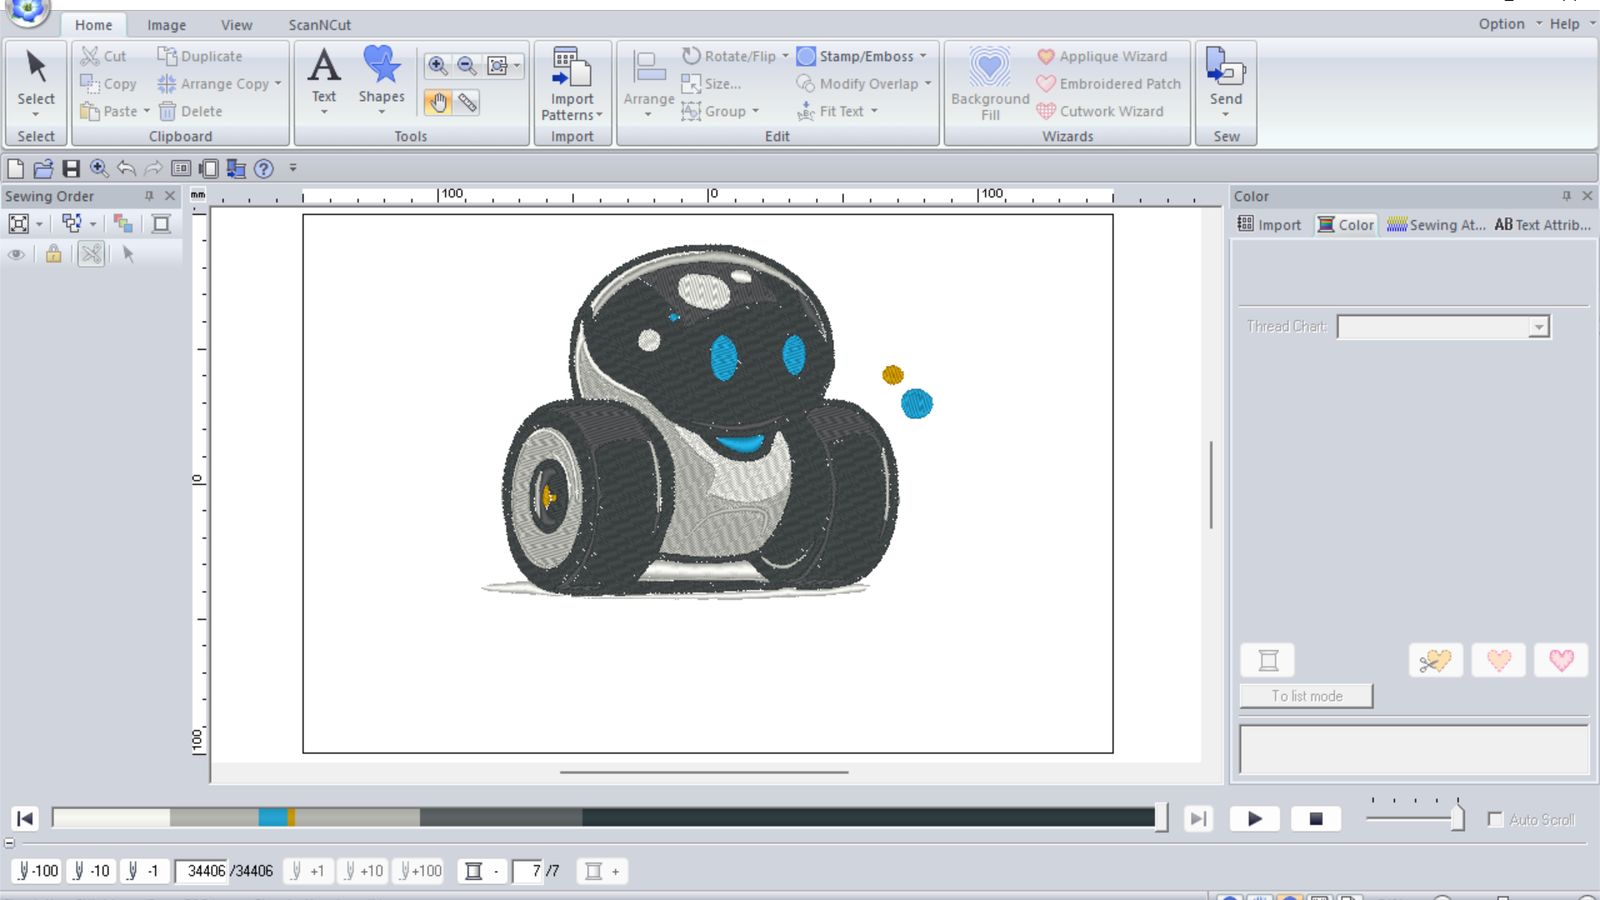 This is how the end of the similation looks like
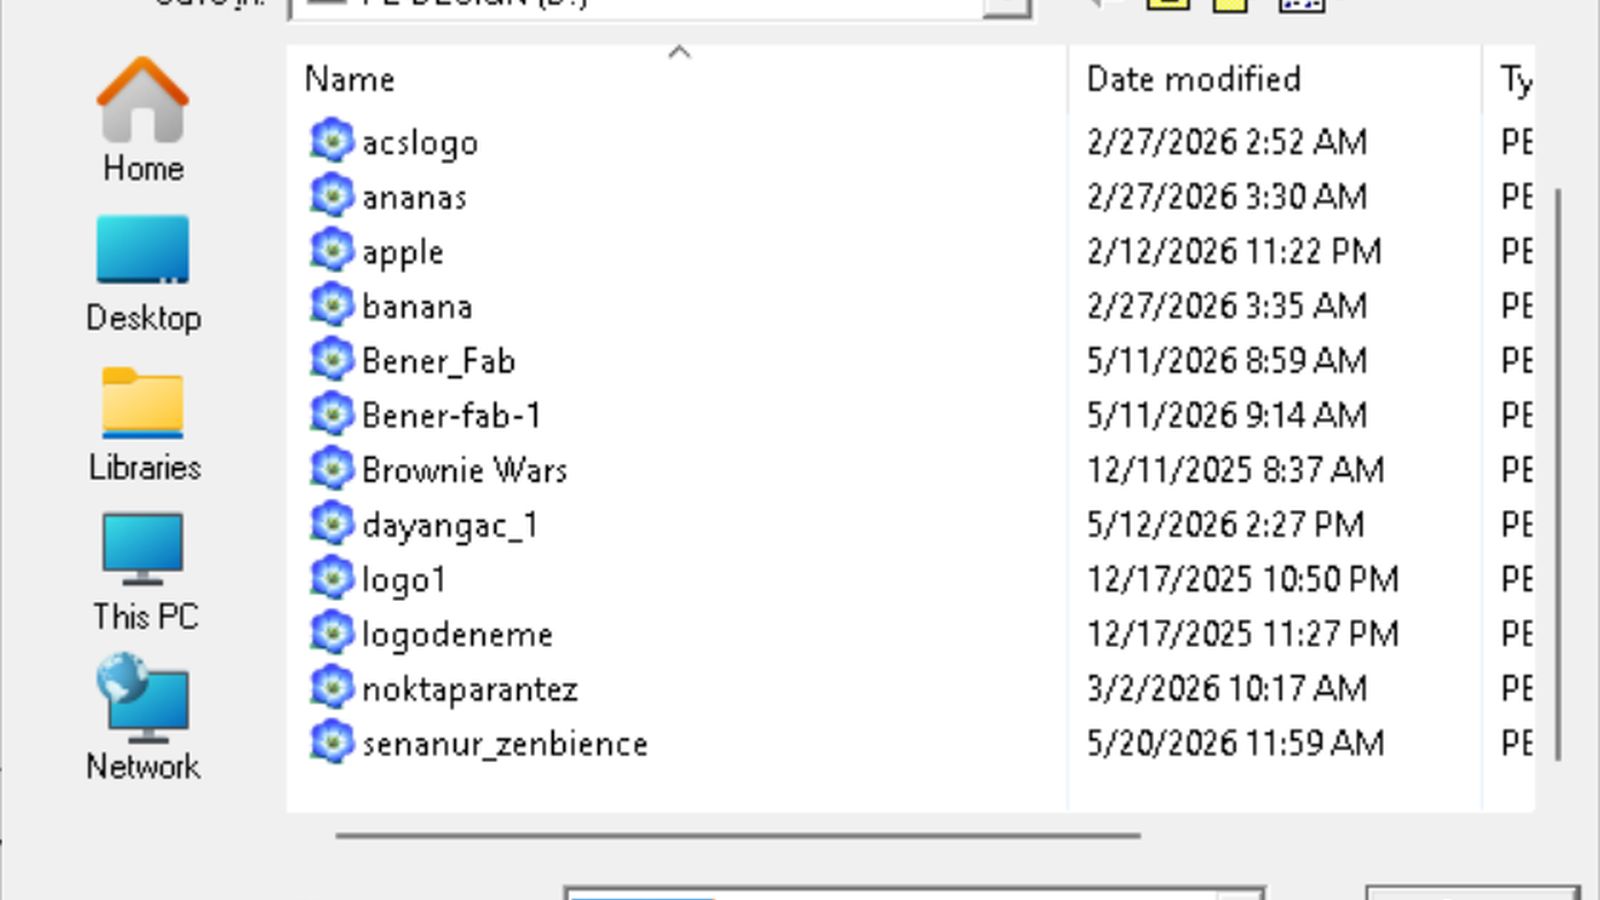 I was satisfied with the result so saved the design into the usb key that comes with the machine as a .PES file.
I loadeed the design from the usb into the machine
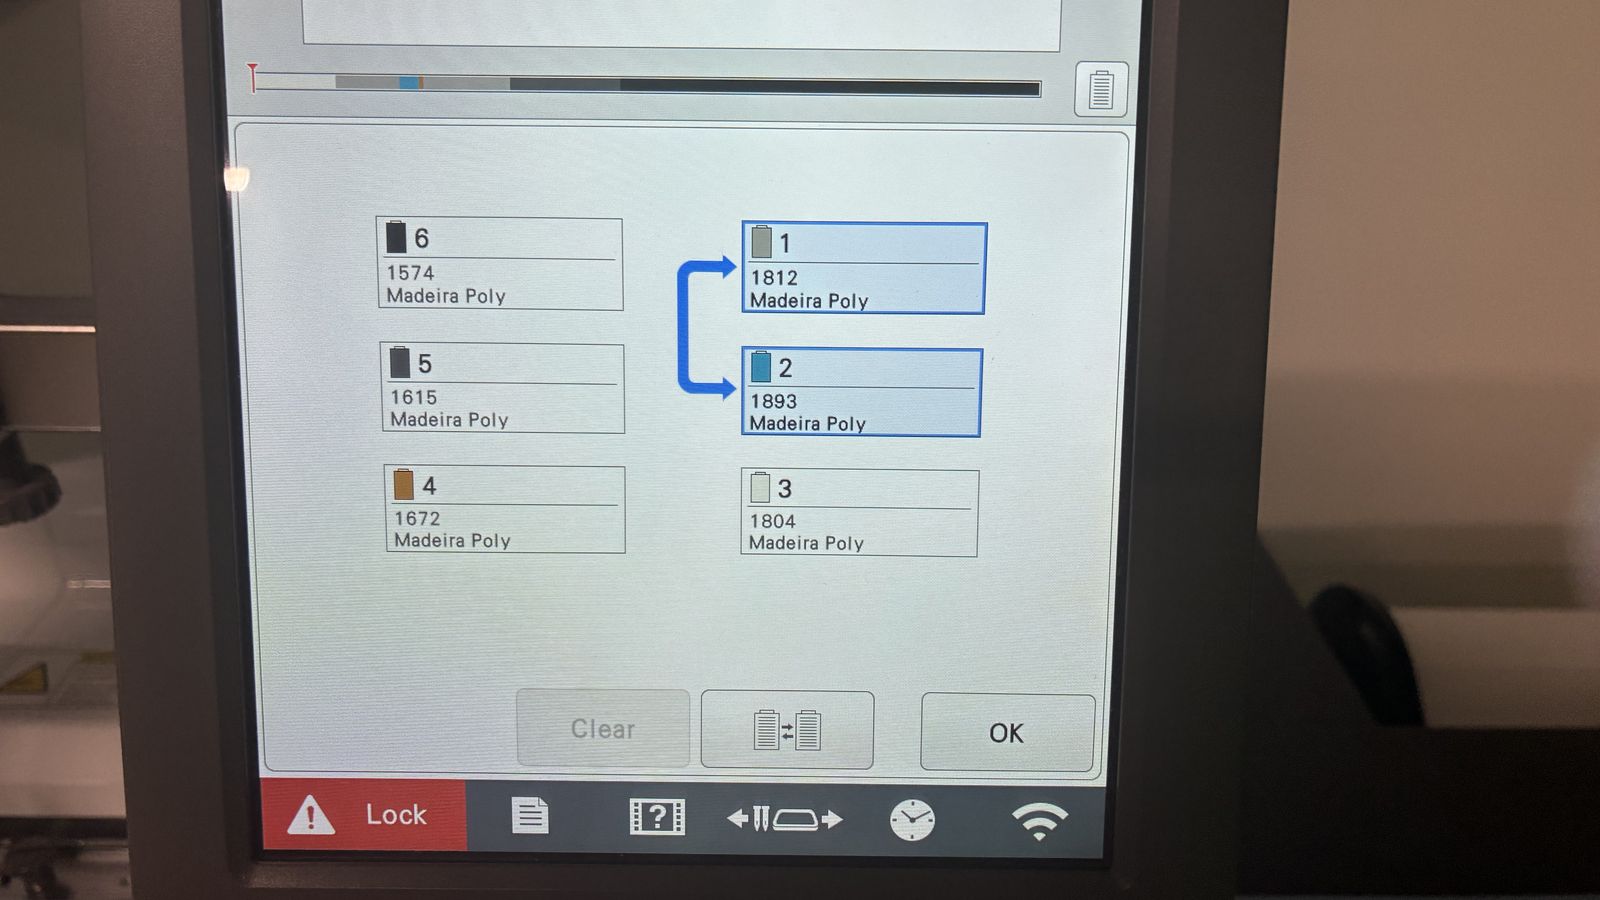
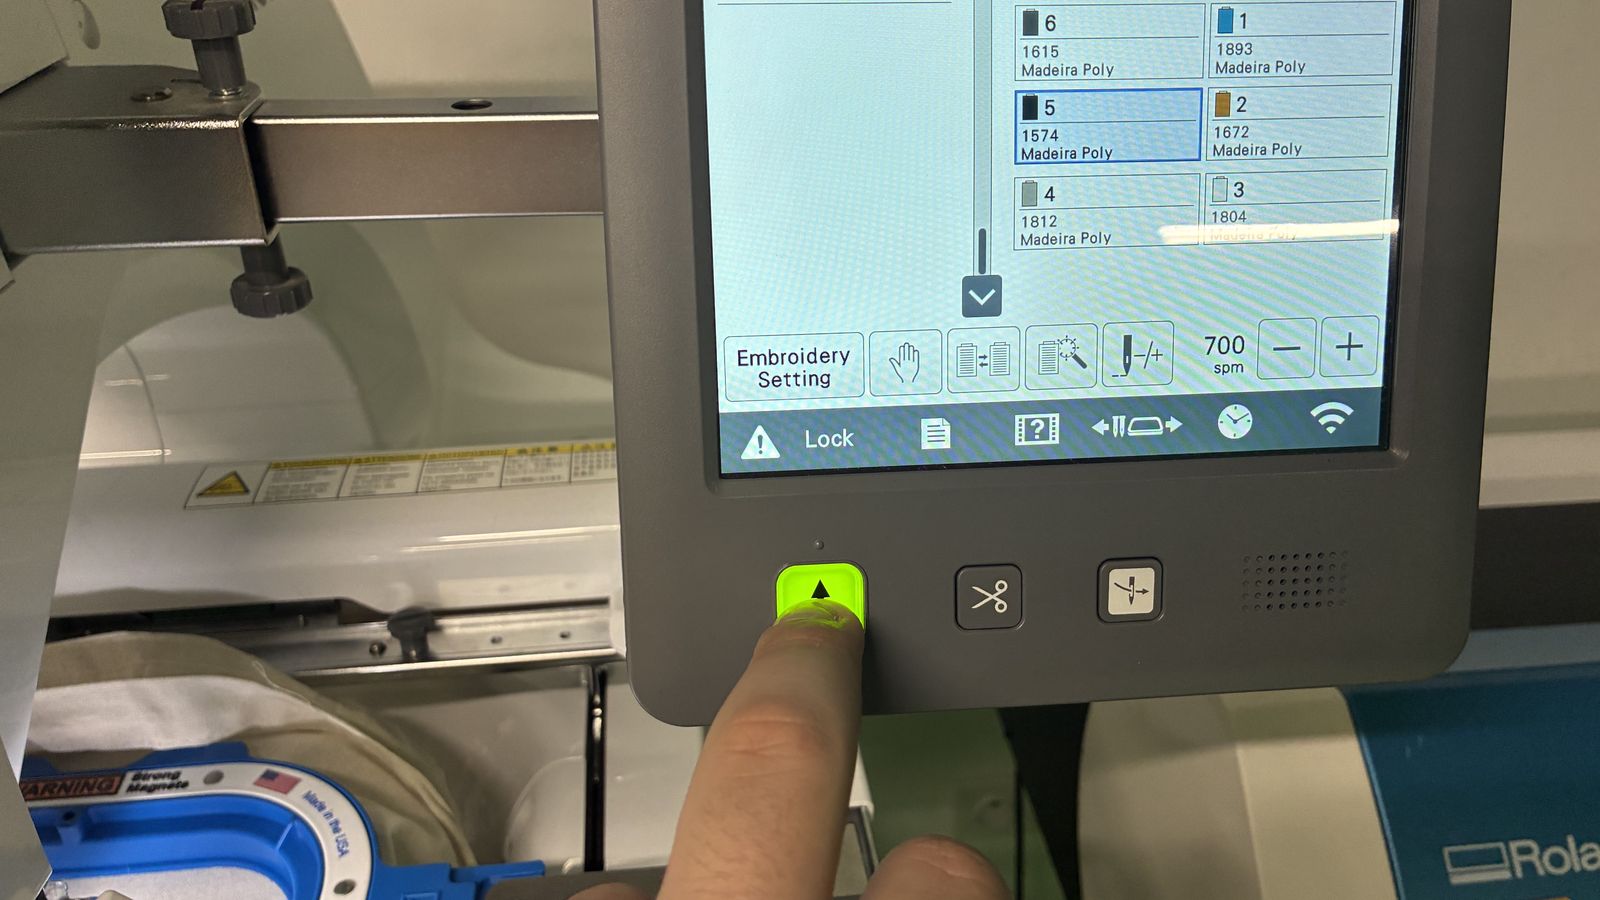
 The design had colors configured but it didn’t machted the colors in the machine so I switched the color places according to the locations on the machine

 In this screen I switched around the colors to match as many colors that are already in the machine but silver wasn’t loaded so I need to load it
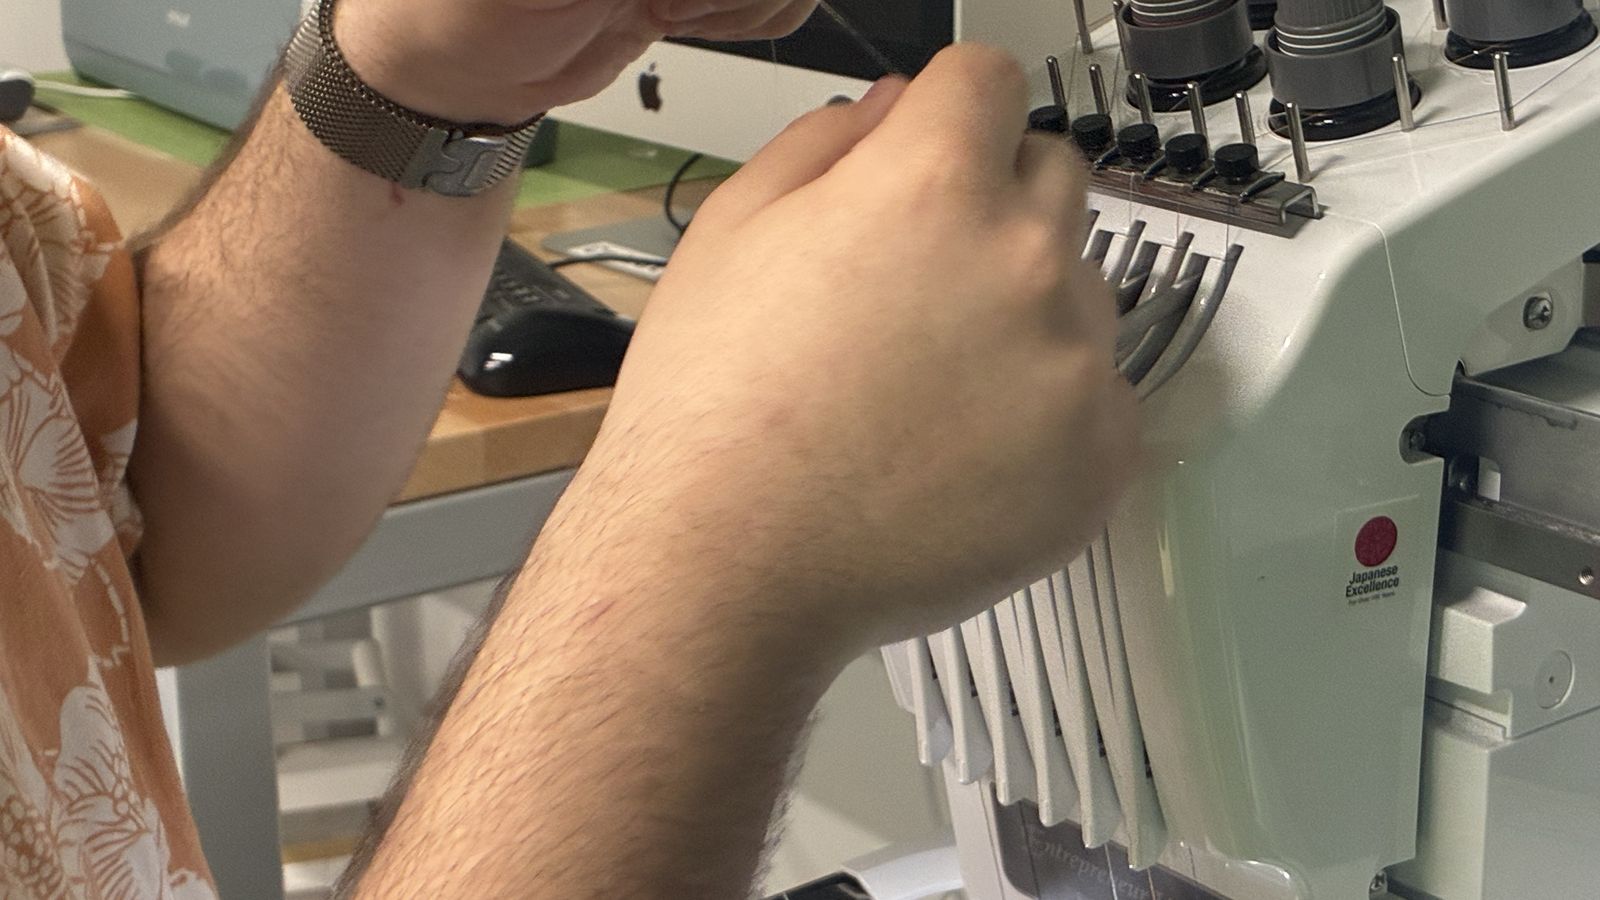
 So using the video guide that is on the machine I loaded the silver tread into the machine using the predetermined path for the tread and changed the color to match the silver in the design.
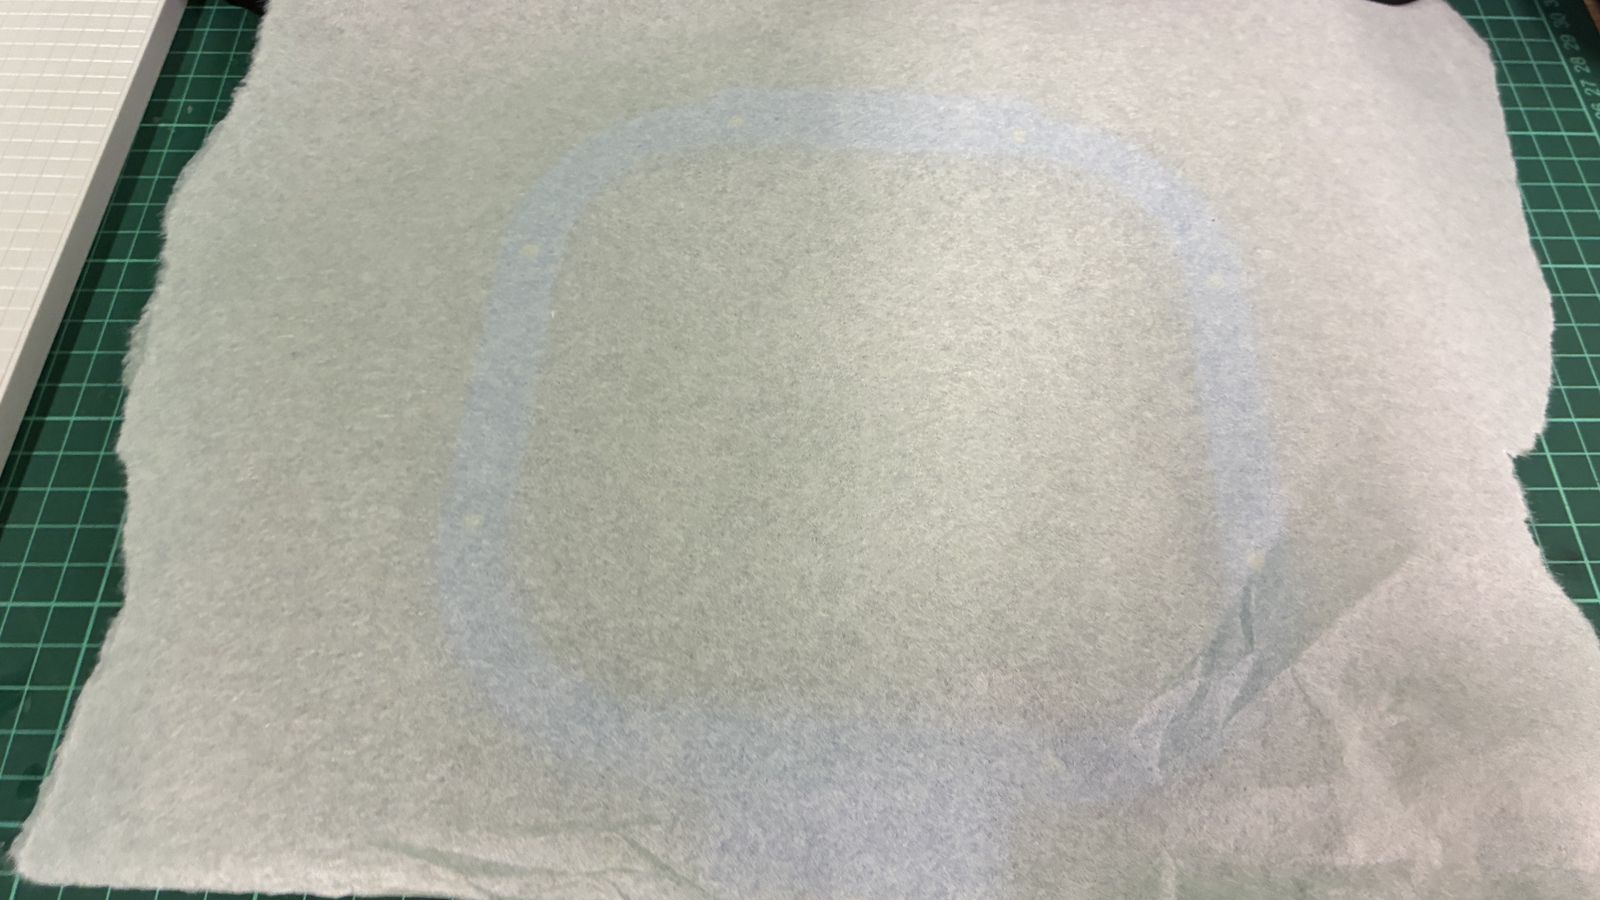
 So for loading the workpiece I used a tear away backing and a magnetic hoop
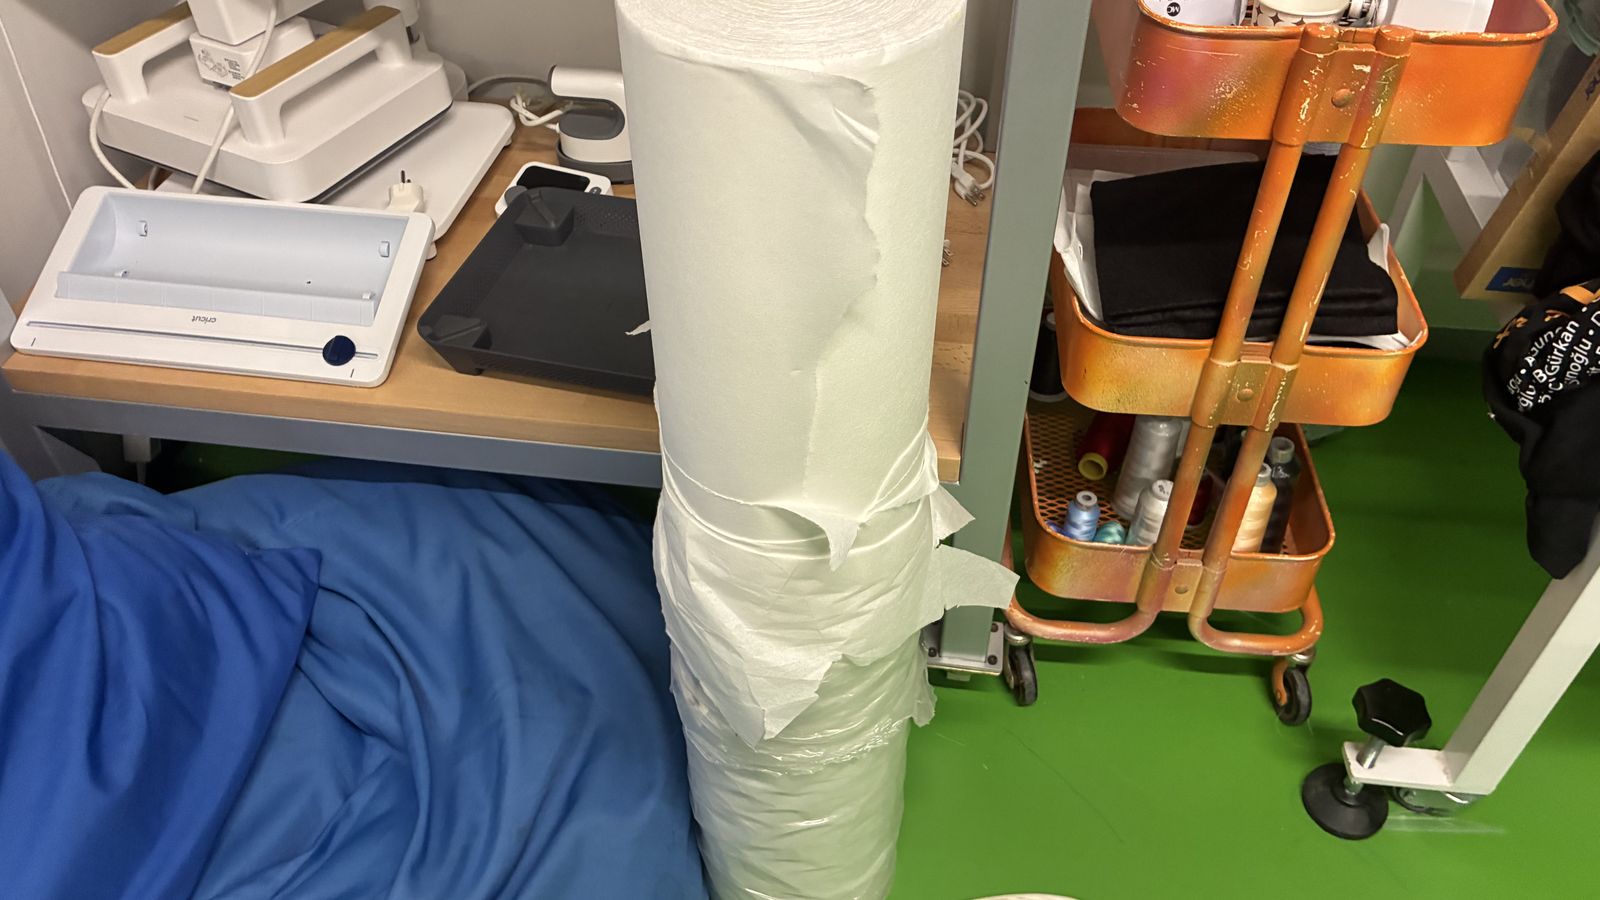 I just tear away a piece of backing from this main pile
 Then placed it on to the hoop and then I put the two parts into the tote bag that I want to embroid and
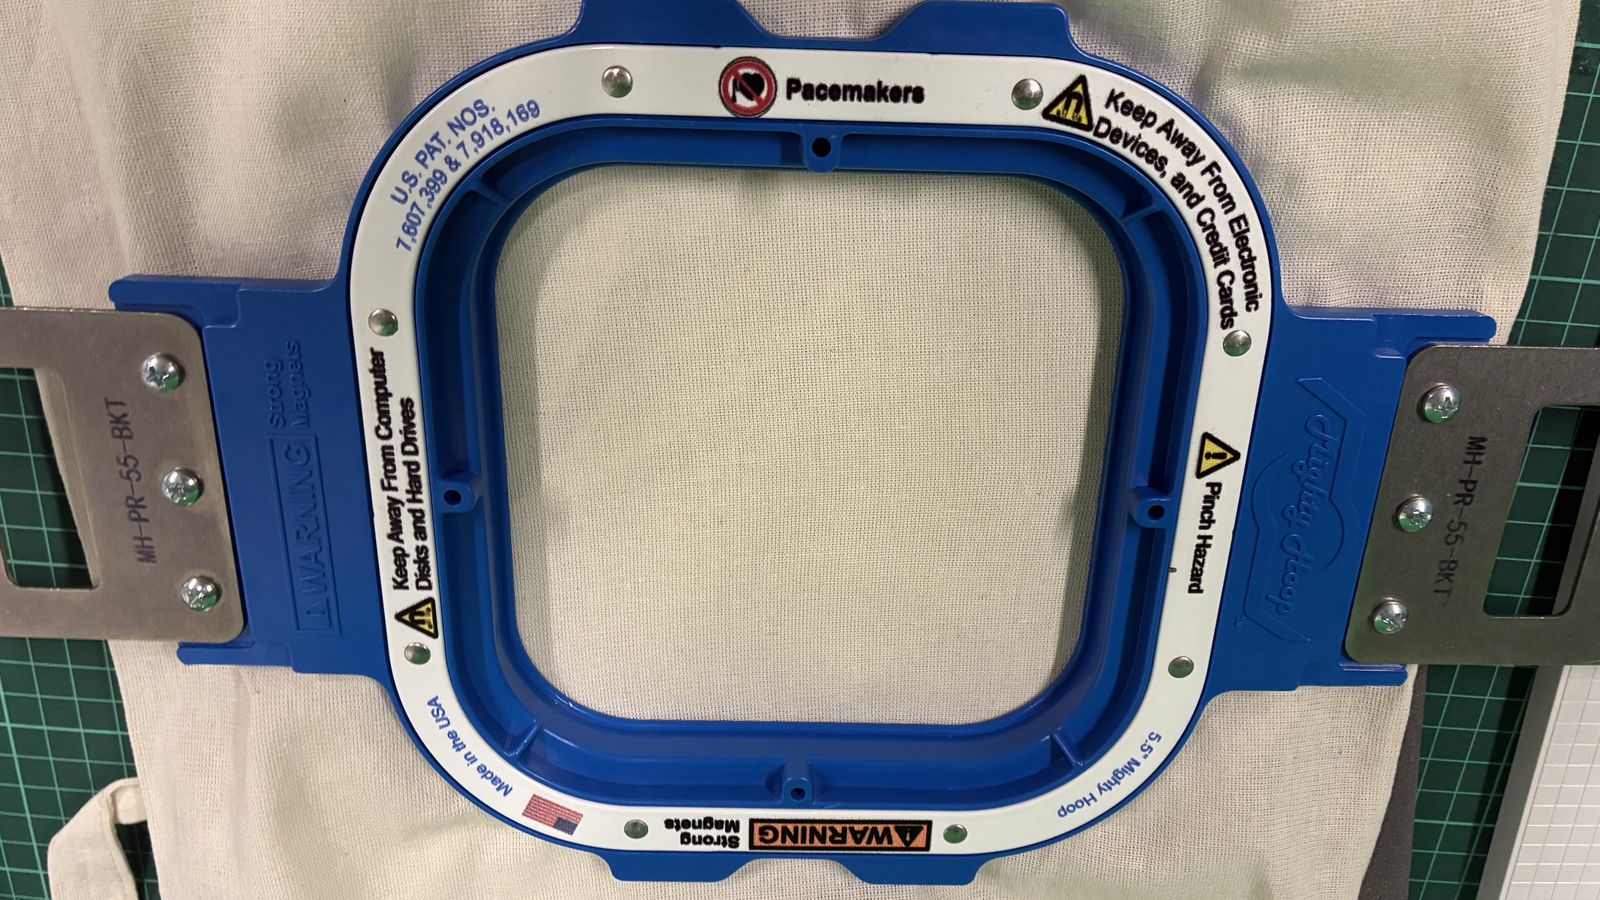 then I attached the second piece of the hoop since it is magnetic it was pretty easy I made sure the fabric was tight
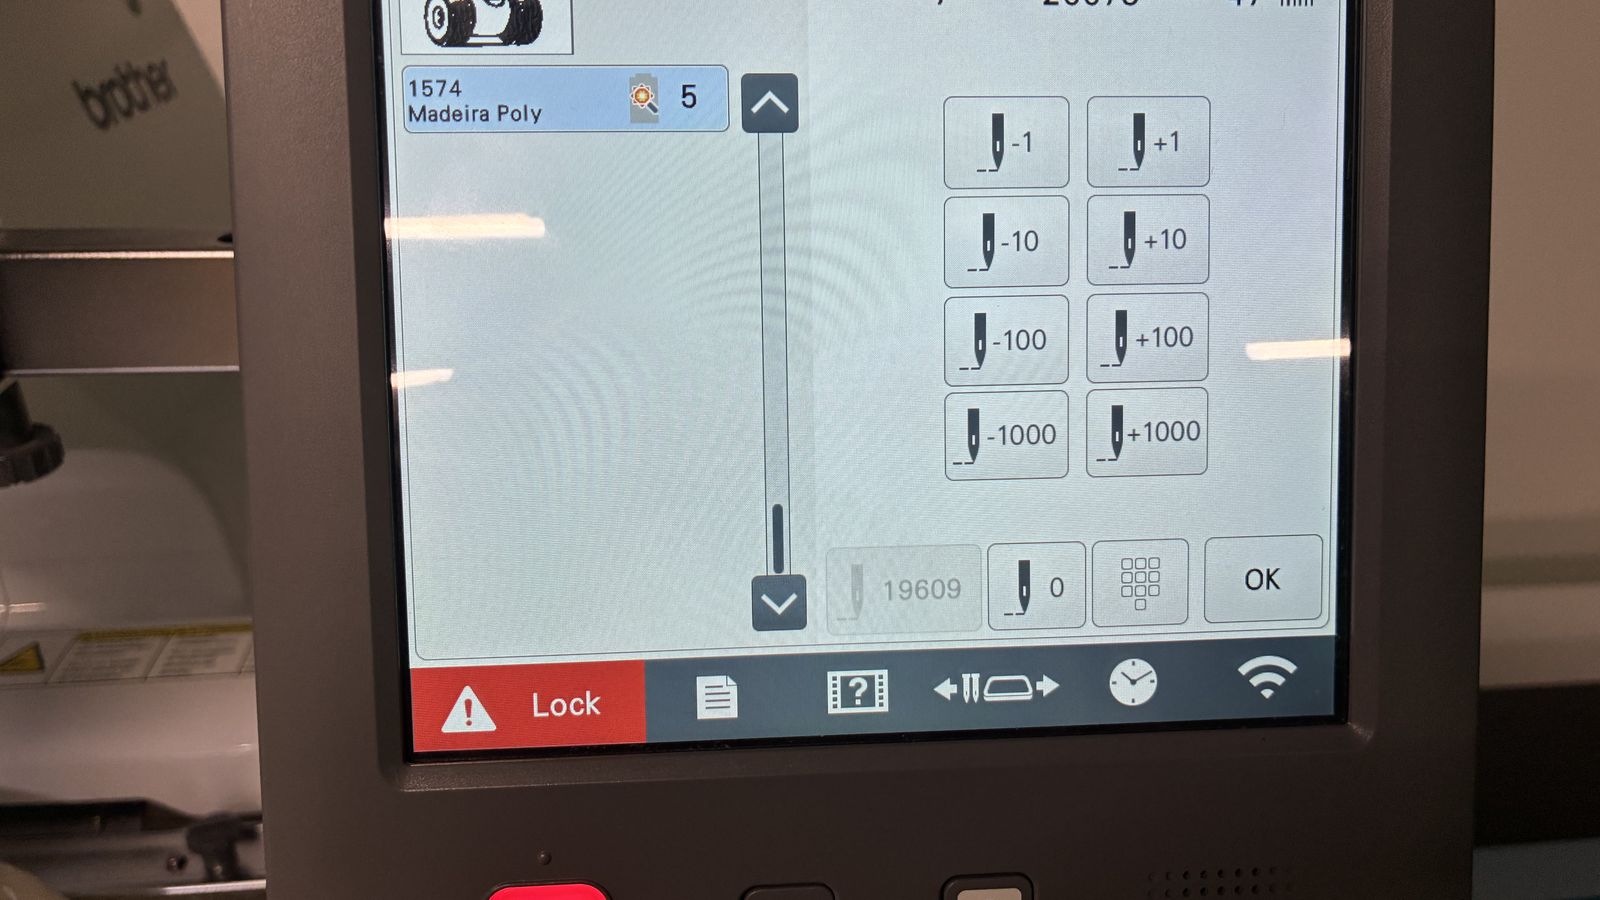
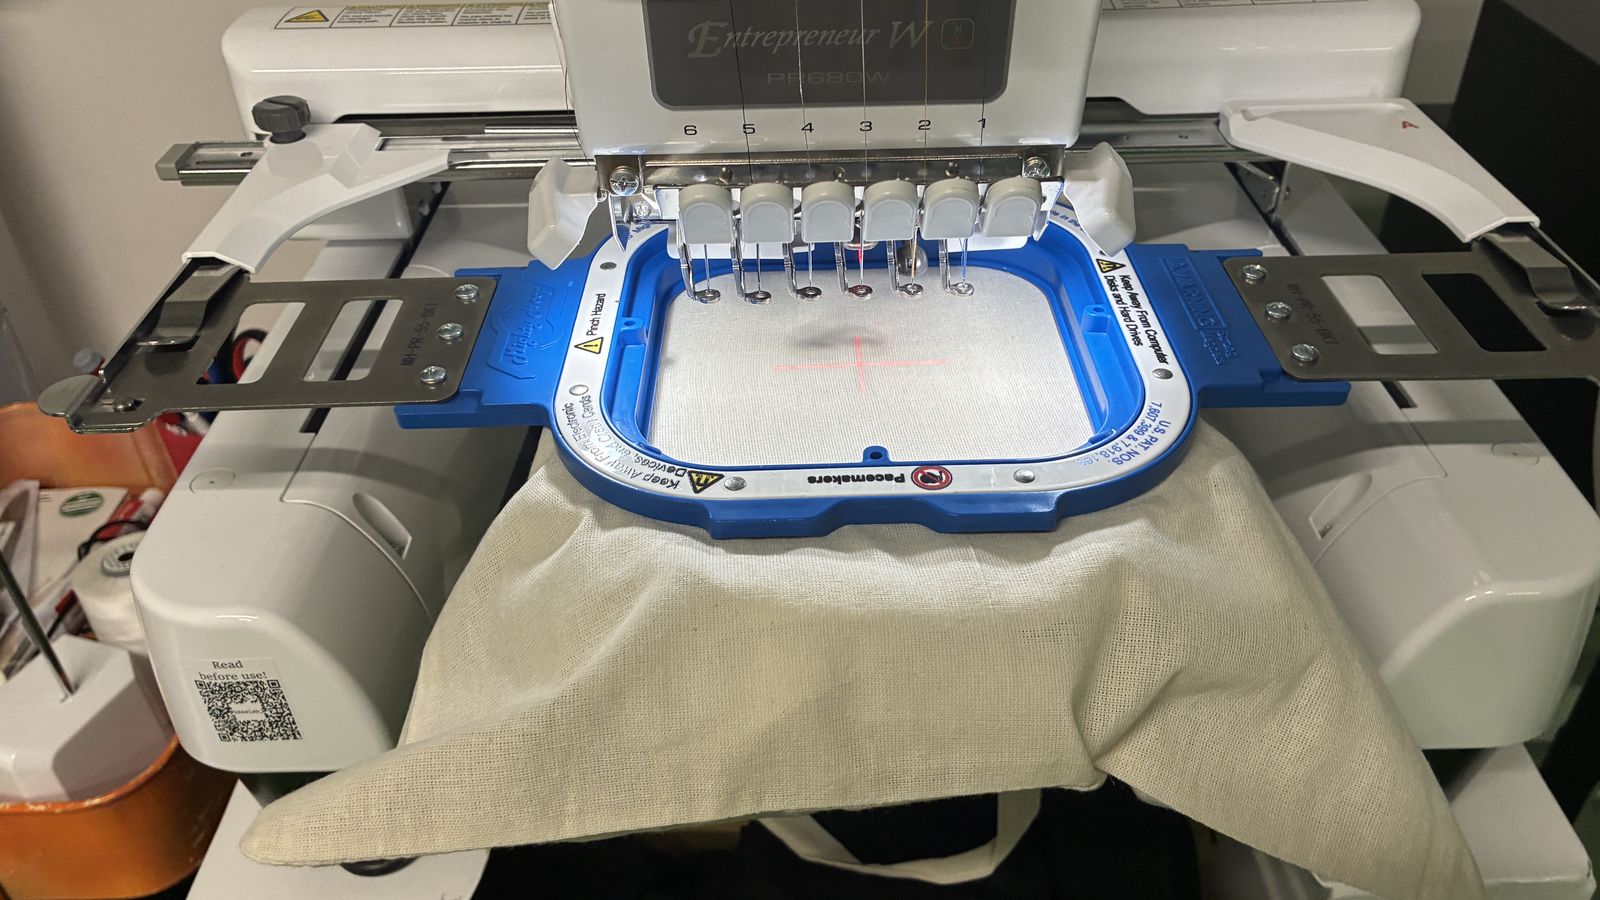 Then I loaded the hoop into machine but since the hoop is a 3rd party accsesory I checked for collisions since it is a bit smaller then the nearest standart size
And it colided so I got back to editing and made design smaller on the edit page in the machine
Then I loaded the hoop into machine but since the hoop is a 3rd party accsesory I checked for collisions since it is a bit smaller then the nearest standart size
And it colided so I got back to editing and made design smaller on the edit page in the machine
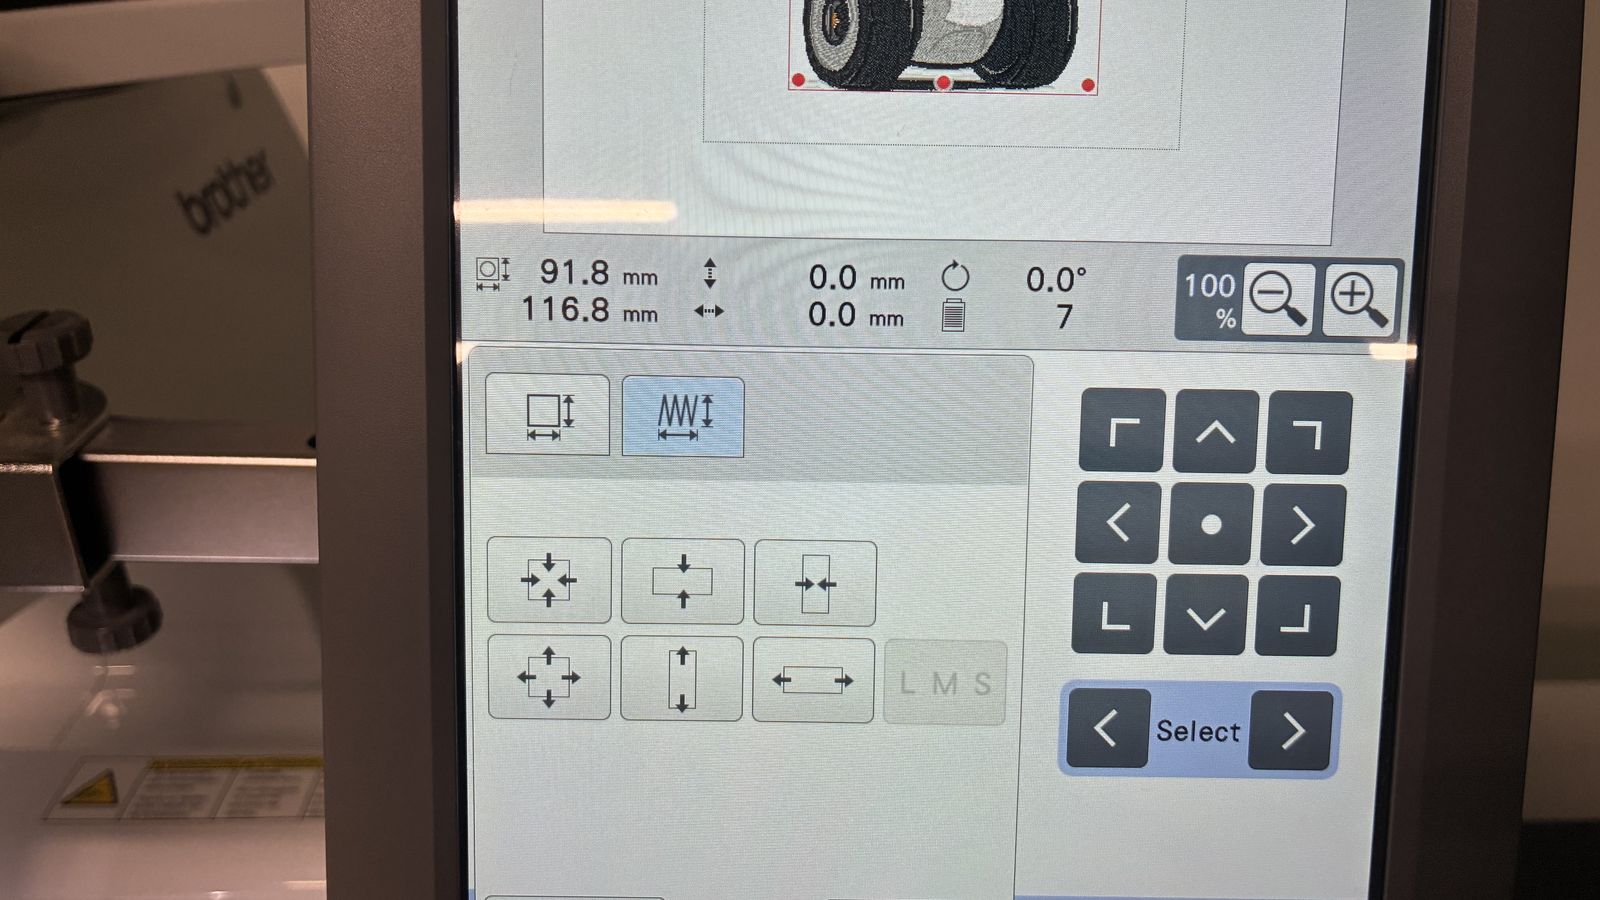 And rechecked for collision and it cleared so I moved on to the embroiding!
the first treads were swen!
And rechecked for collision and it cleared so I moved on to the embroiding!
the first treads were swen!
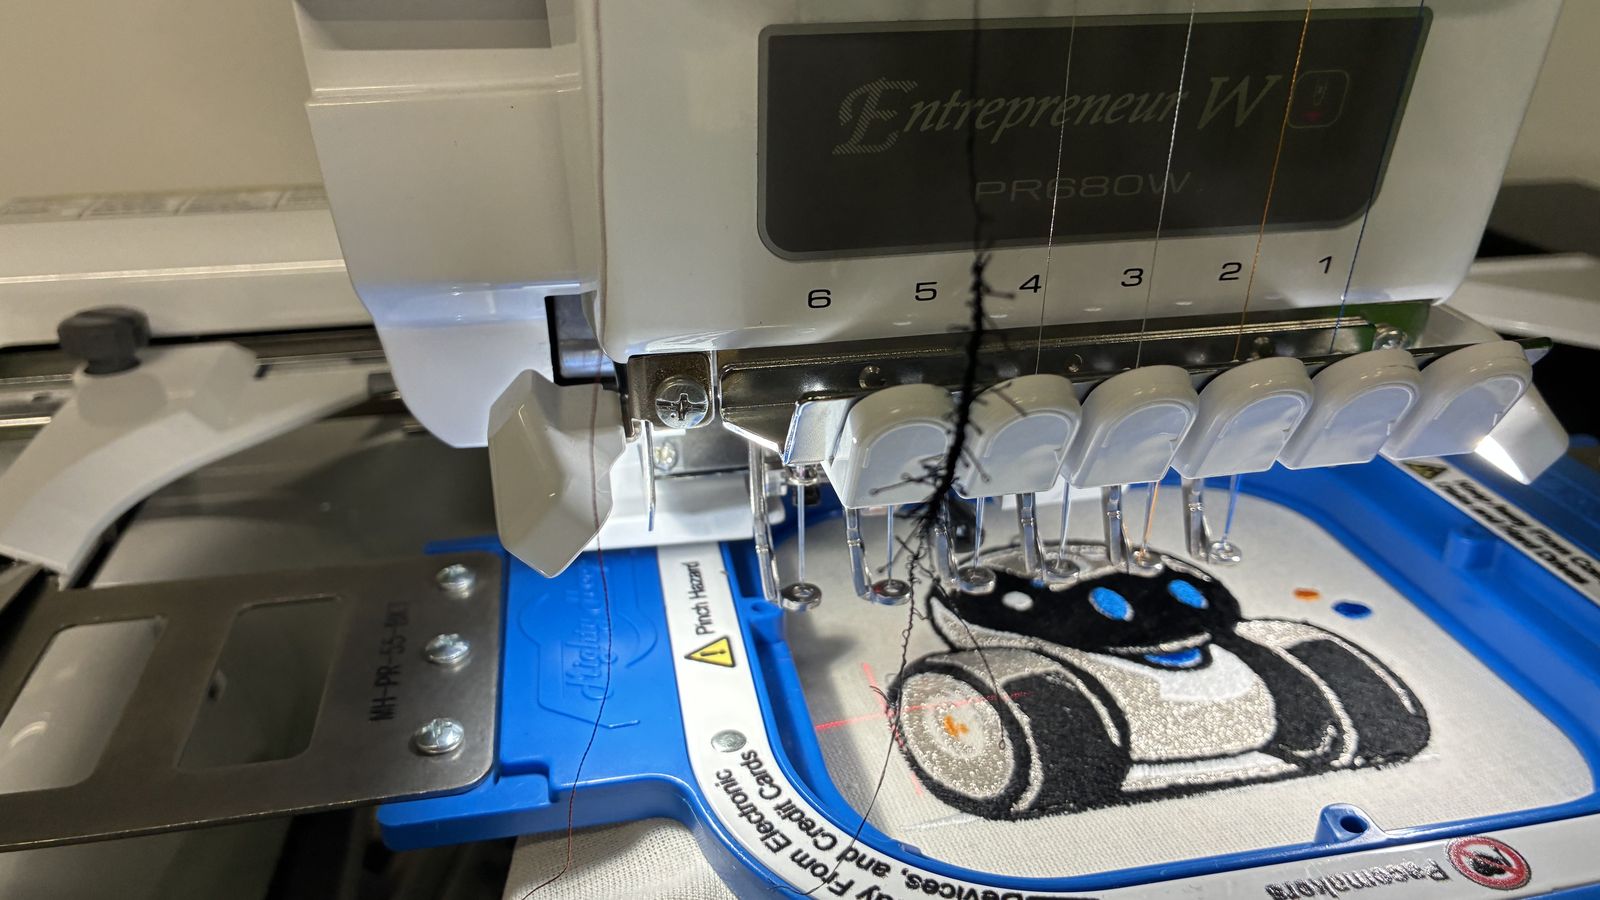 Near the end of the design the black tread broke
 So I reloaded it onto the machine
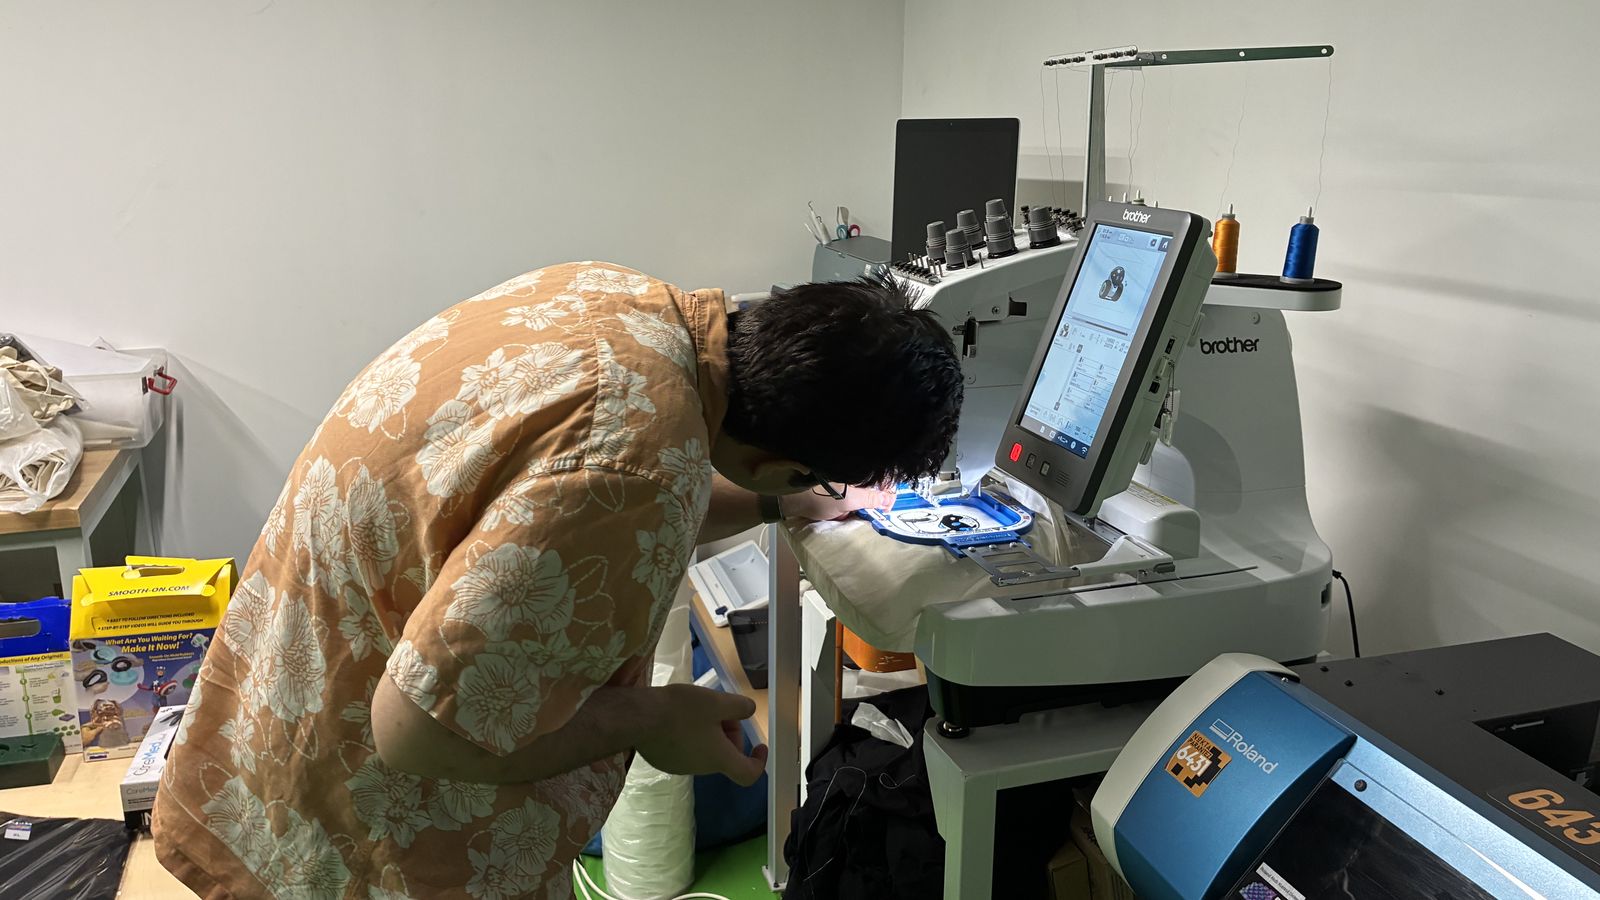 I walked 10 steps behind since the machine takes a bit of time to detect the tread brake and pause
 Then I restrated the machine and finished the design
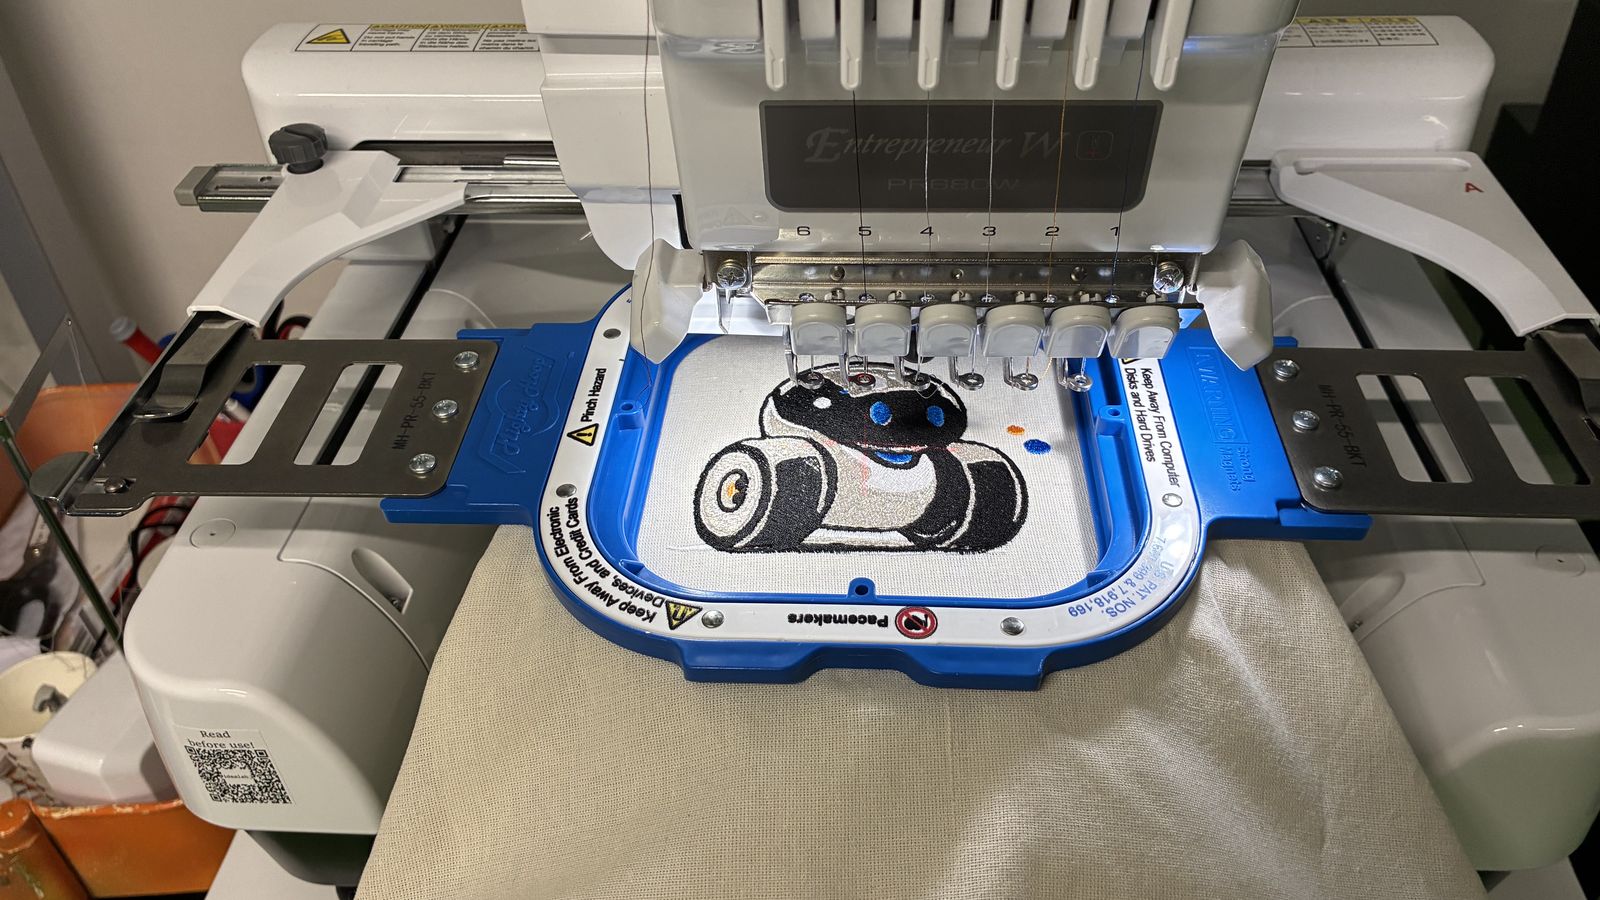
 This is how it looked finished on the machine
 I then tared away the extra backing by hand
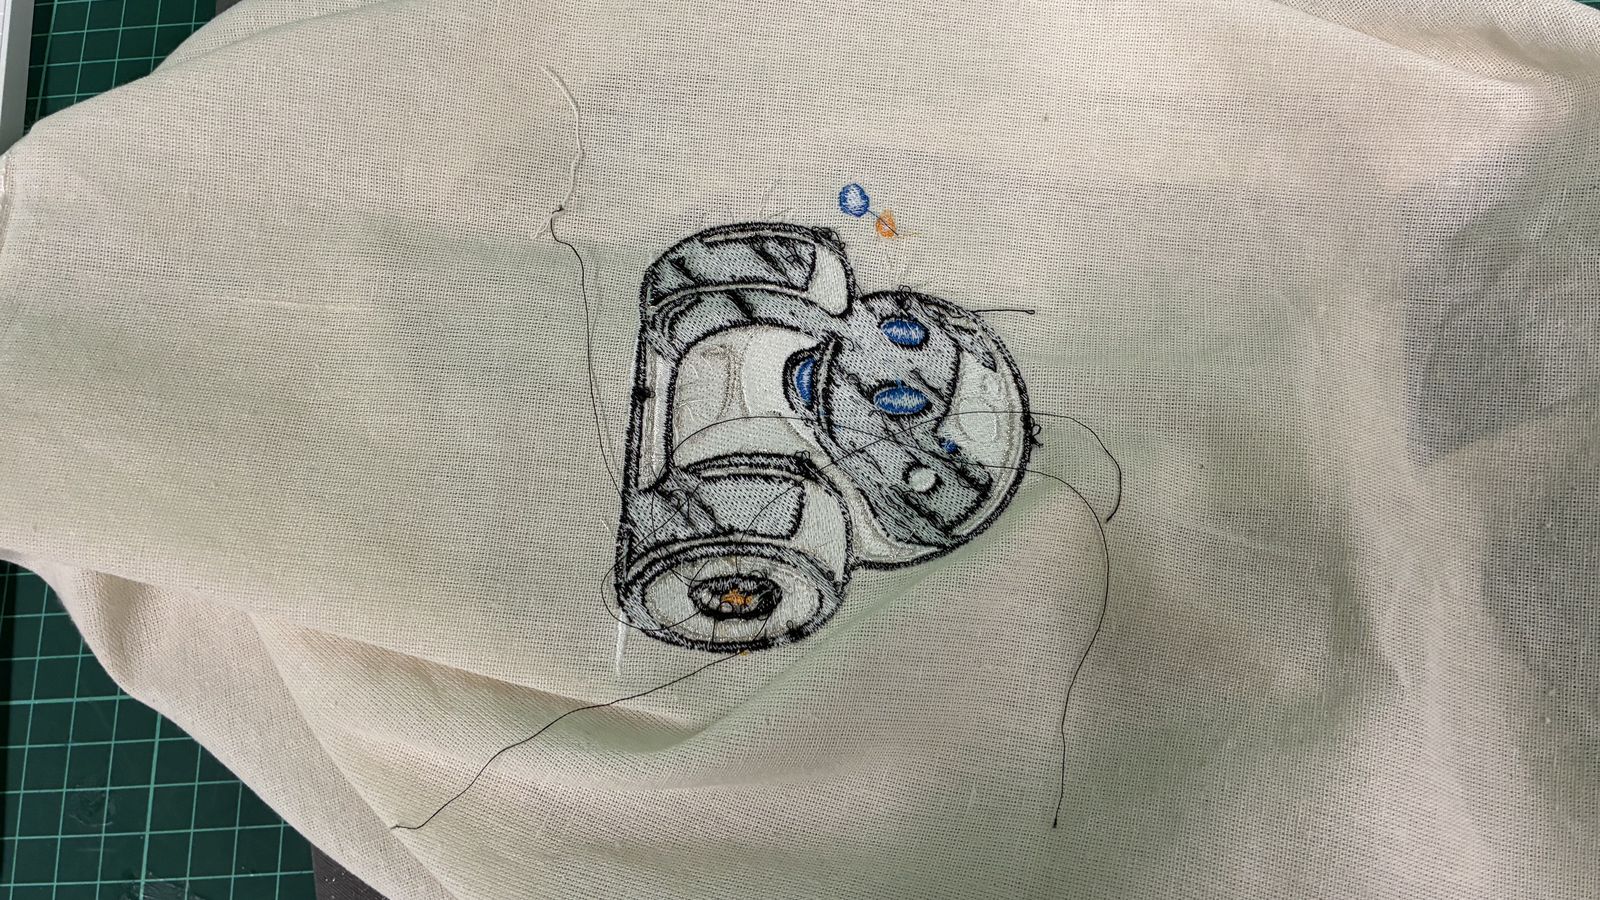
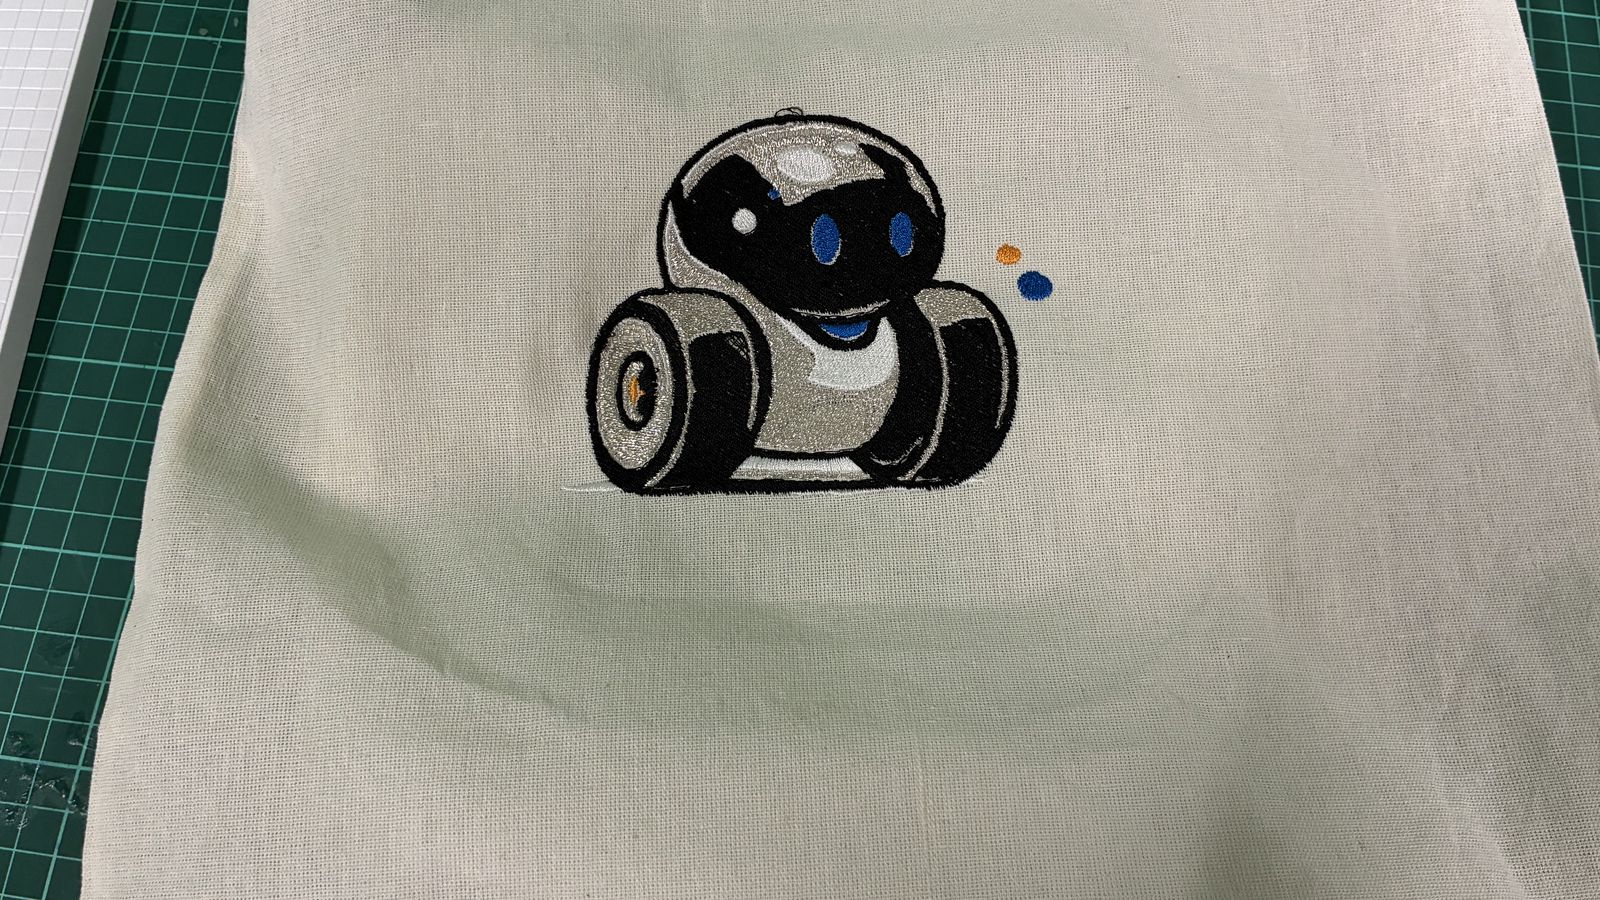
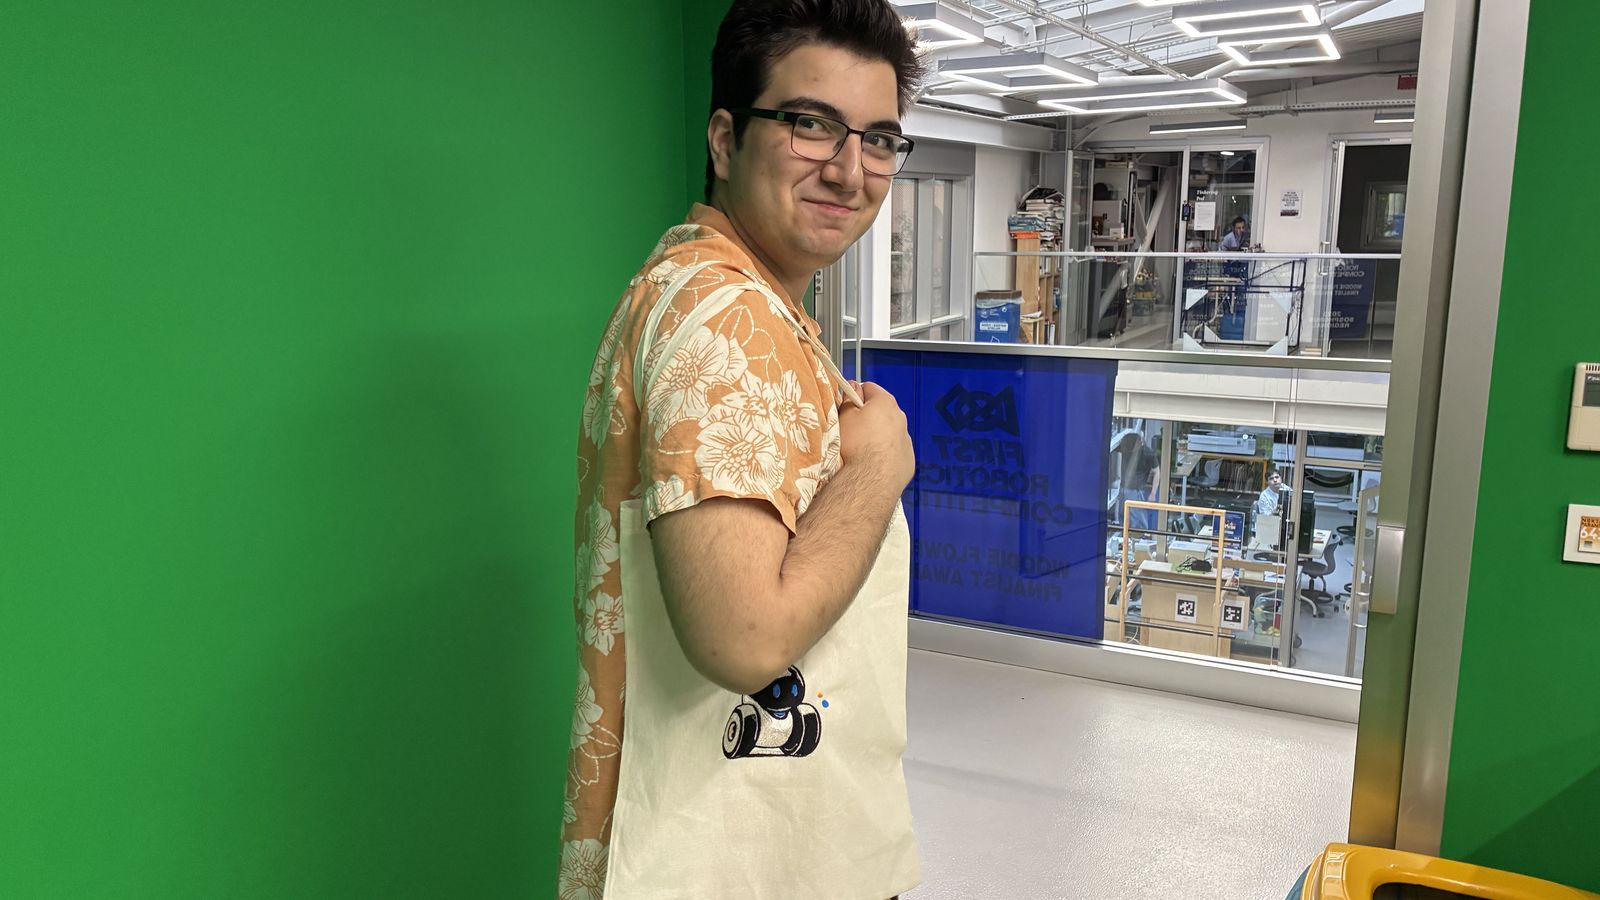 And this was the result