Assignment
- design, document, and 3D print an object that could not be made subtractively (small, few cm3, limited by printer time)
- 3D scan an object (and optionally print it)3D Print
3D Scanning
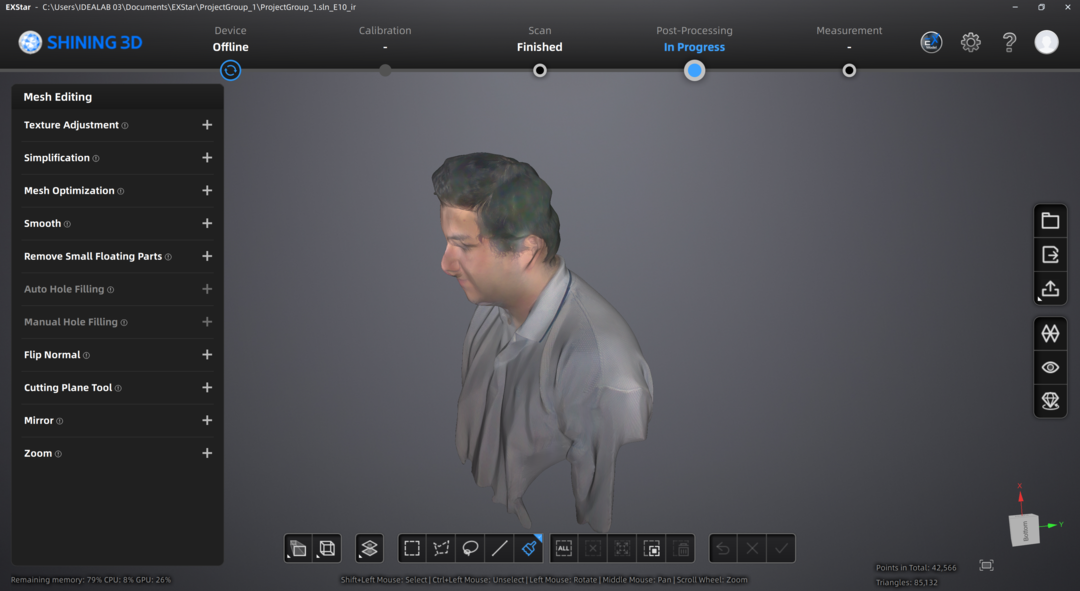
I am going to scan my self and use the Einstar scanner and Einstar Scanning Software EXstar software. I pulleg in the Einstar scanner and oppened the app. Generating the point claude was fairly easy. I selected the setting to scan a person since I was going to scan my self and followed the on script instractions to keep my distance fairly even and not miss tracking. After the scan the result was a bit noisy
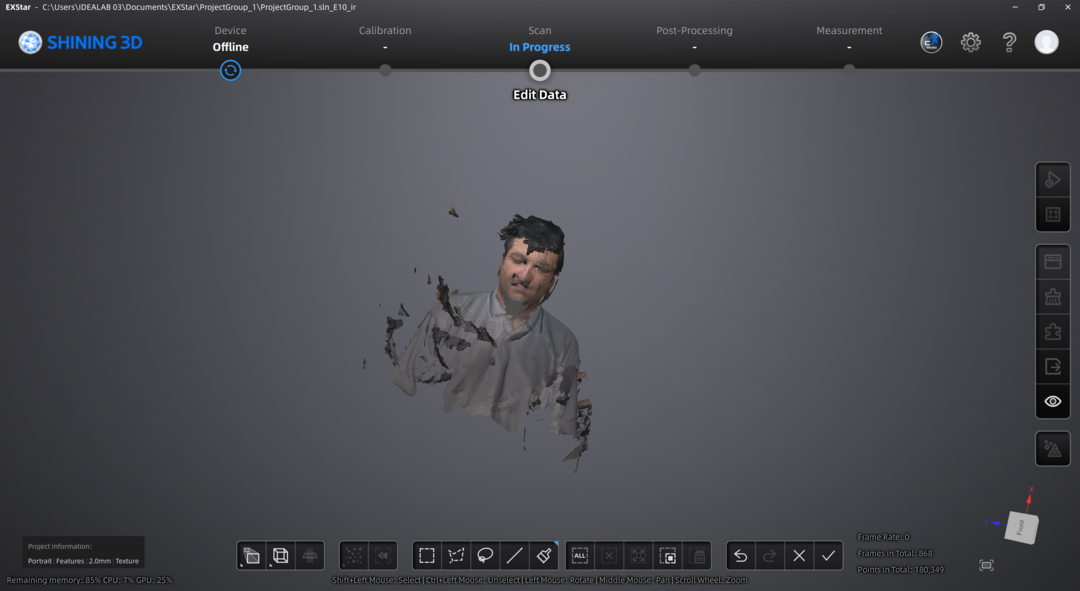
So I selected the points that were not supose to be there by selecting them by using various selection tools like paint brush or the lasso to select the points.
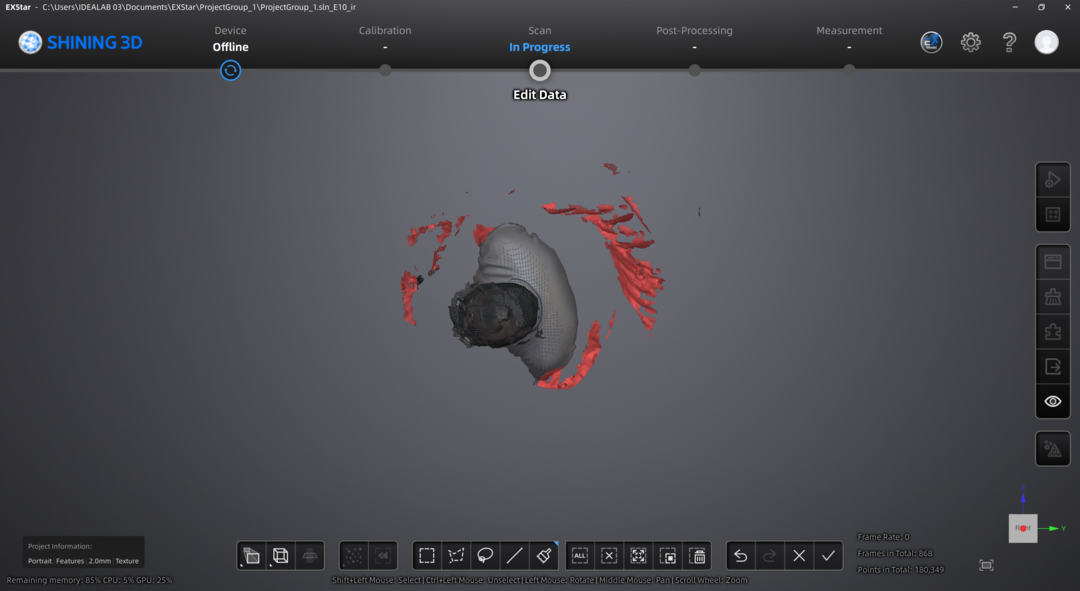
Then I just deleted theese selections.
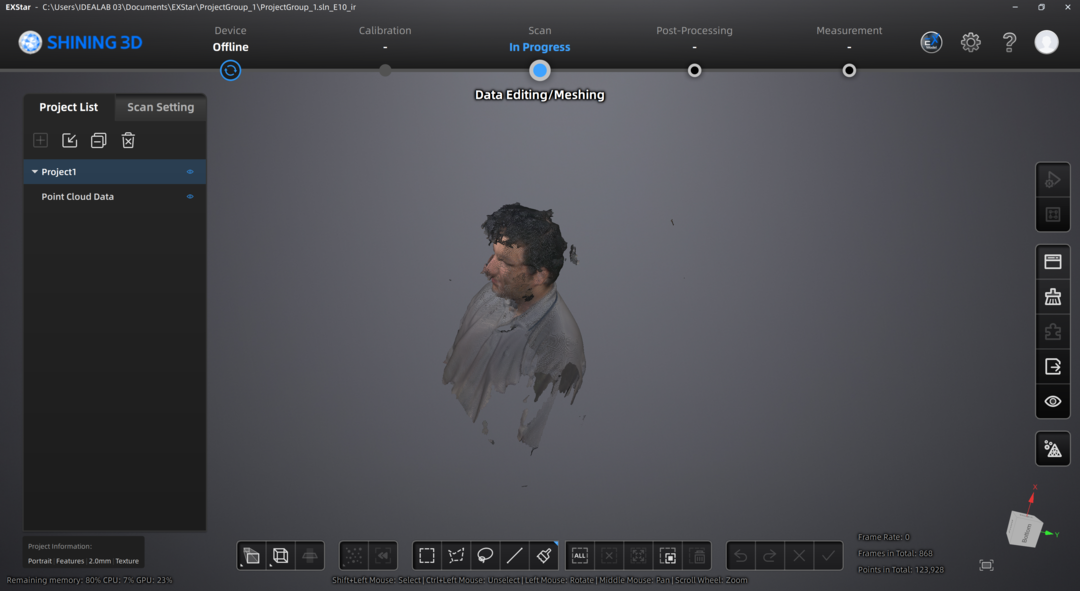
Then I used the convert to mesh fuction after selecting all of the remainging points
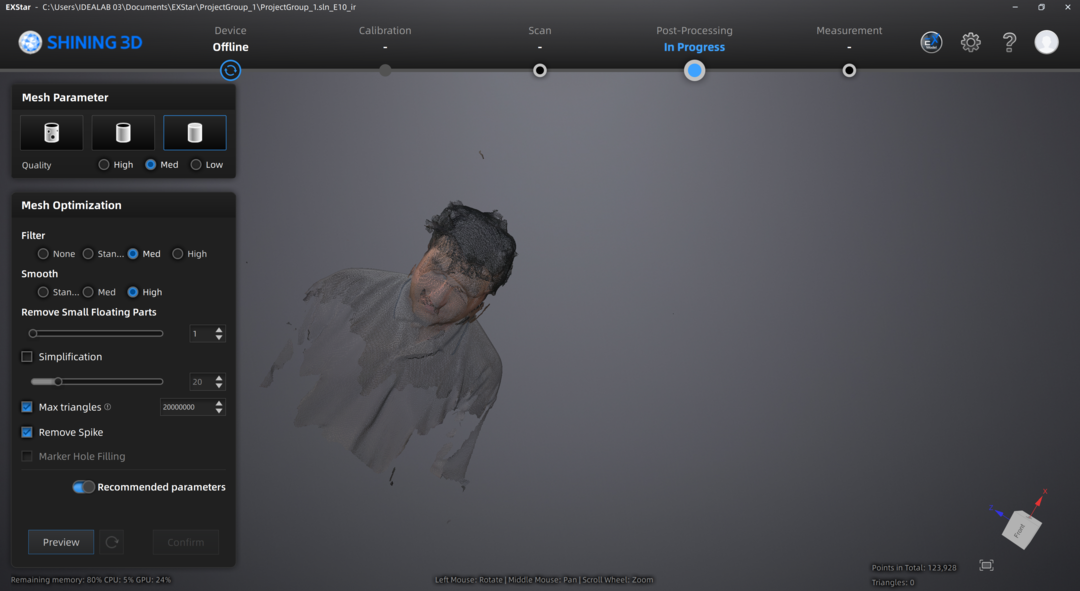
Here is the final result:
3D Printing
I am going to use Bambu Slicer and Pla to print a object that could not be made subtractively at least in the confides of a FabLab.
Designing the a Ball in Cube
I will use Fusion360 to design.
I started skethcing a square for the cube.
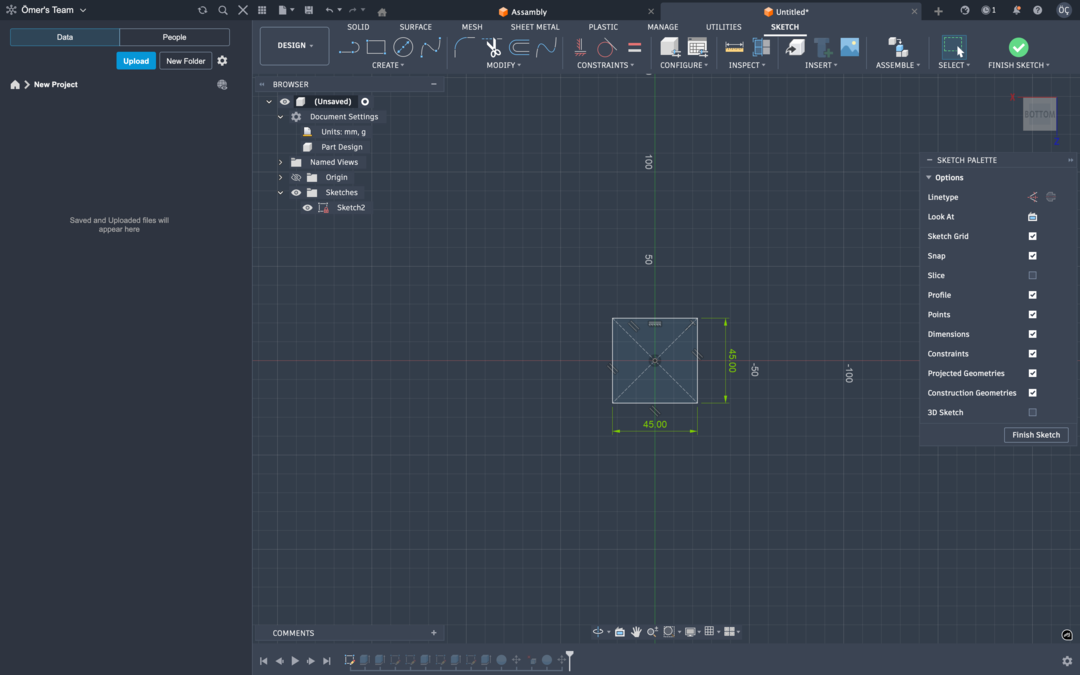
Then I extruded the square so it is a cube of 45 mm
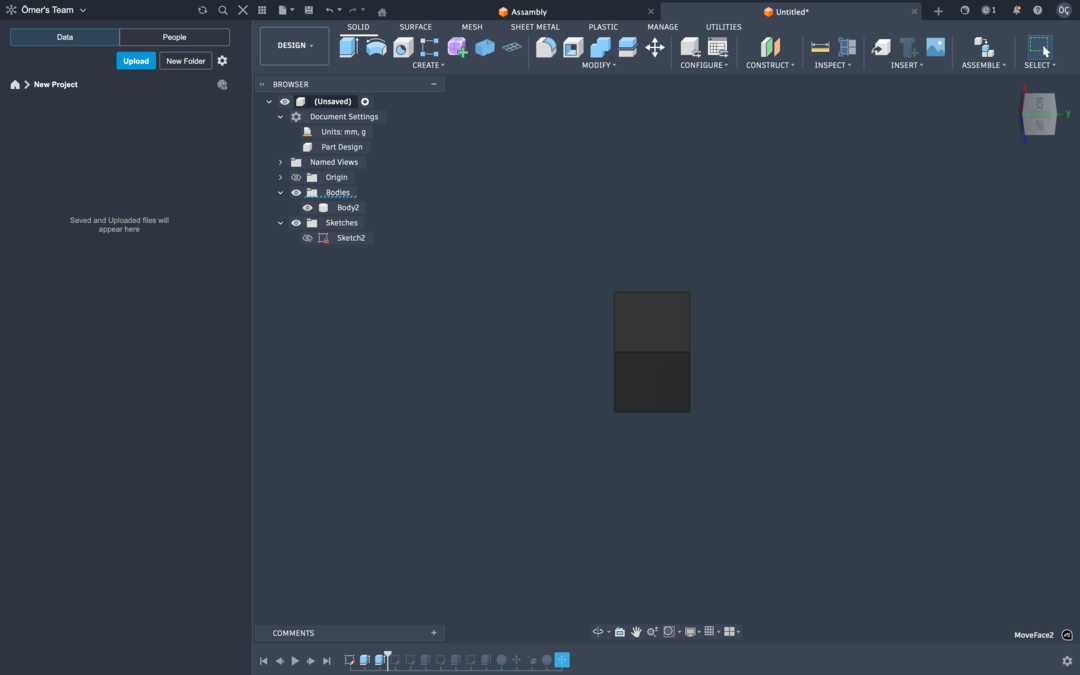
Then I sketched over each face of the cube and cut through the cuve using that sketch.
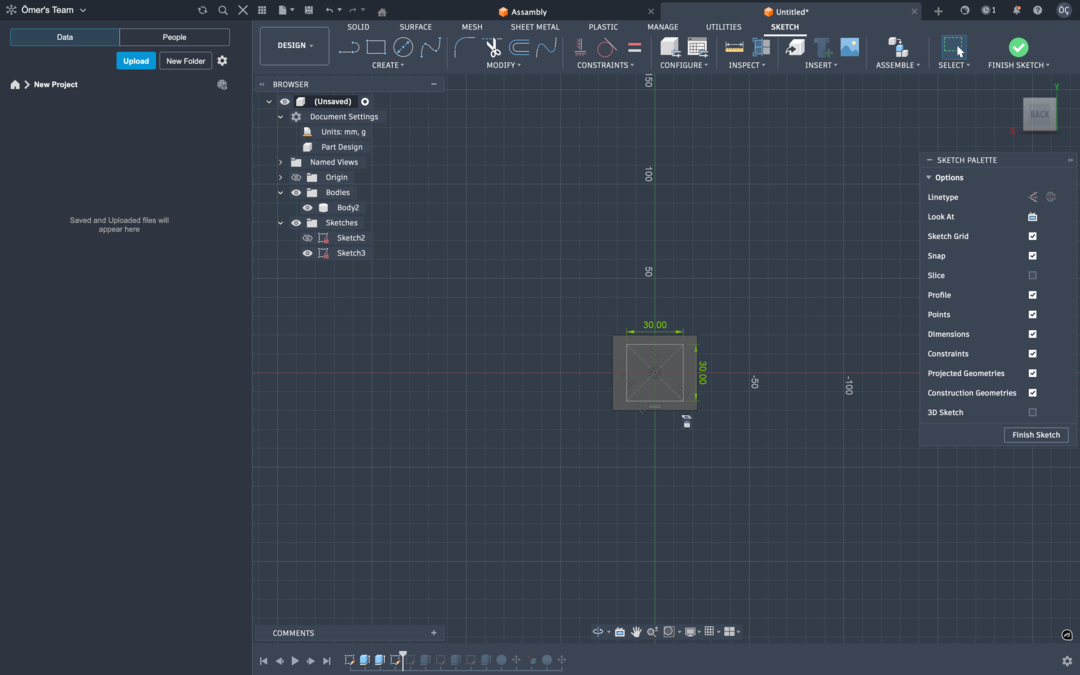
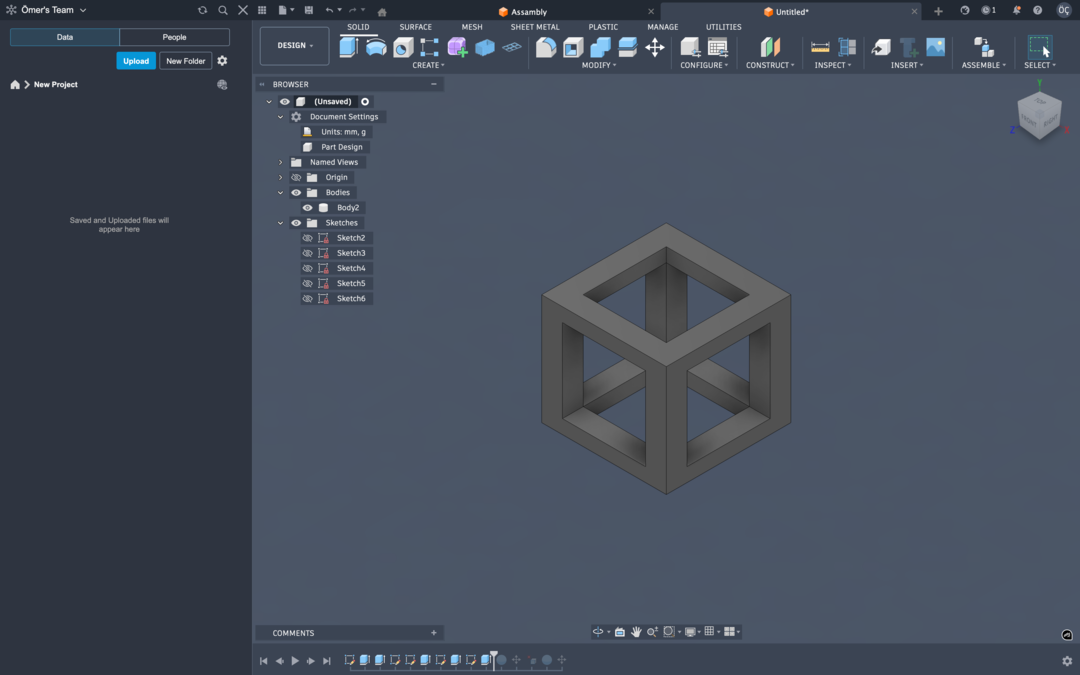
Then I added a sphere using the sphere tool which in diameter was smaller then the cube but was both wider and taller then the cut outs.
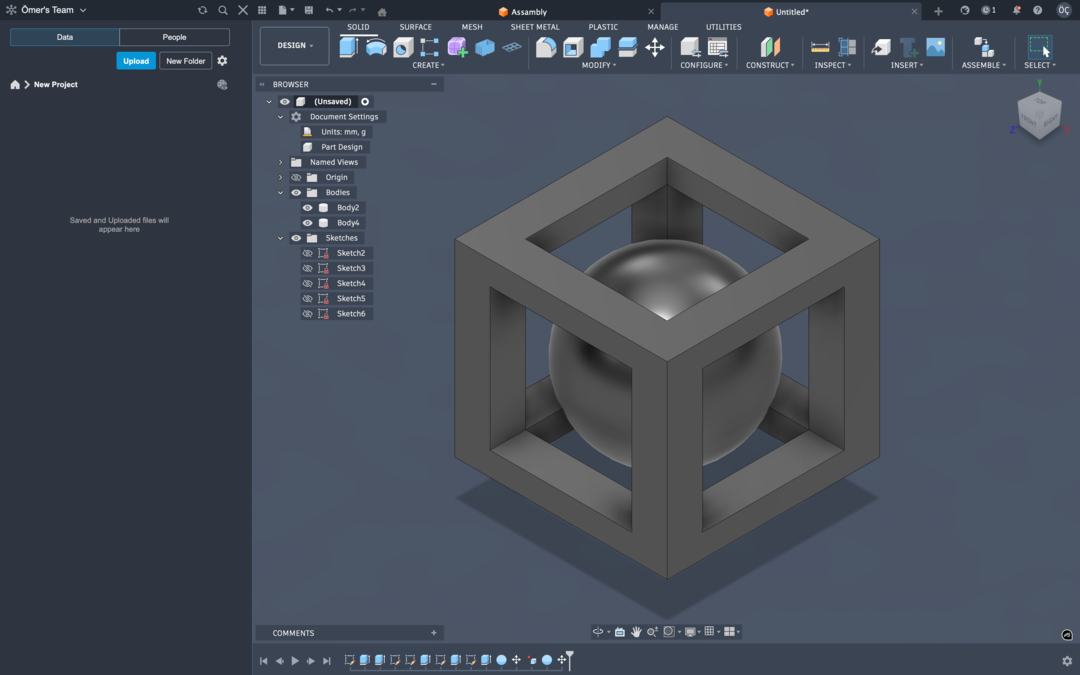
Then I exported the file as 3mf and imported it to bambu slicer. Then Configured support settings so there was actually material that the ball can be printed on. I configured it to only support on build plate and also tree support since it is easier to remove. I also cut down the sparse infil density to %10 from the defualt %15 since this is not a functional part and I do not need it to be strong so to save material I chose to cut down the sparse infil. I also used generic PLA as the filement setting since Porima PLA which is what I am using is not profiled by BambuLab like their own filement (or some other international filement producers.)

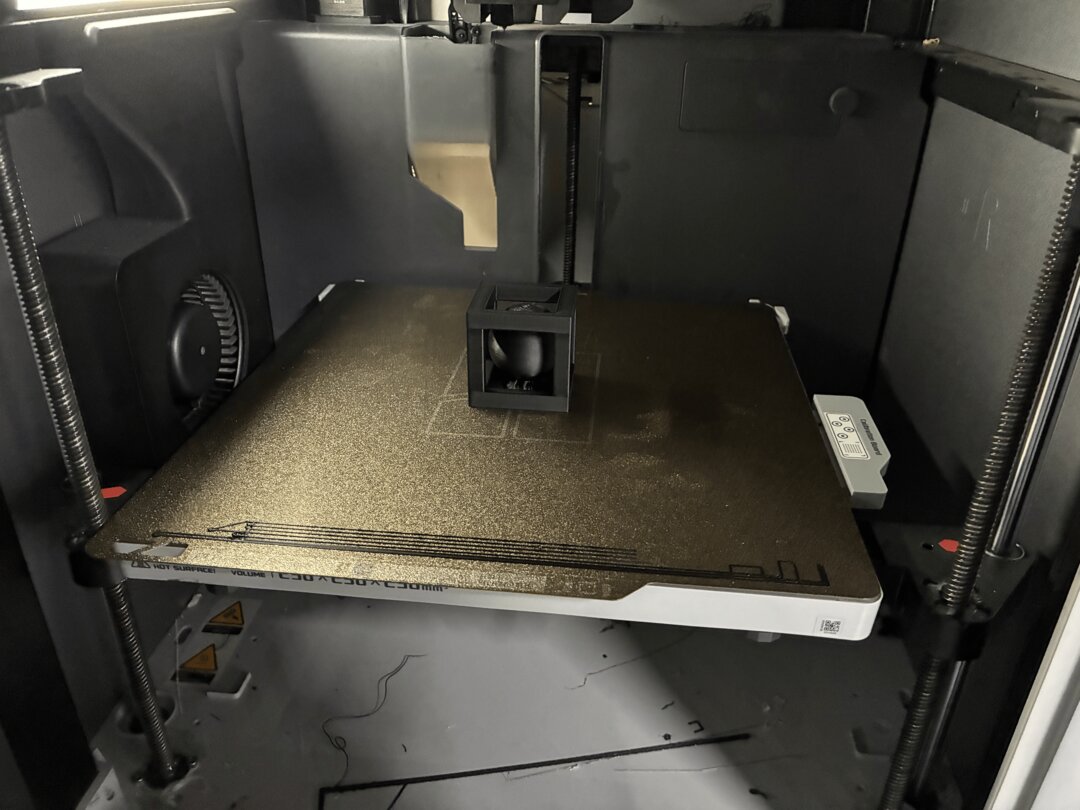
Then I send it to the X1Carbon by pressing Print Plate.

After the Print is compelete the print bed looks like this:
Here is a close up to the Result:
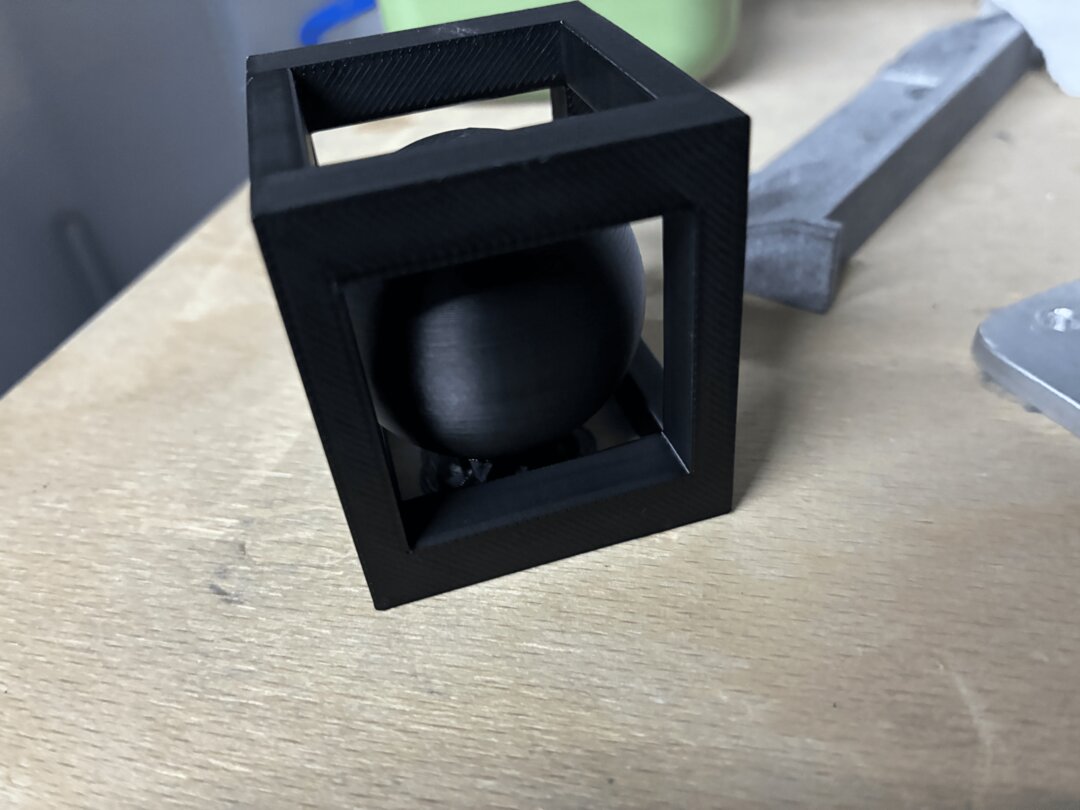
After the removal of results the ball is traped in the cube as intended.
Final cube shaking (video)
This I think is particularly hard to manifacture subtractivly since you would need the subtract all the space between the cube and the ball while ensuring a solid mount of the ball until the maching ends but after some searching I found out that people actualy machined this exact same thing using mills probes and custom fixtures mounted vises. But I still think it is considebrly harder to subtractivly machine rather then additvly manifacture.