Cricut Maker 3
The first thing I did was to choose a design from here after turning the machine on. I picked up some smart, matless, removable vinyl paper and placed it right at the cricut paper entrance
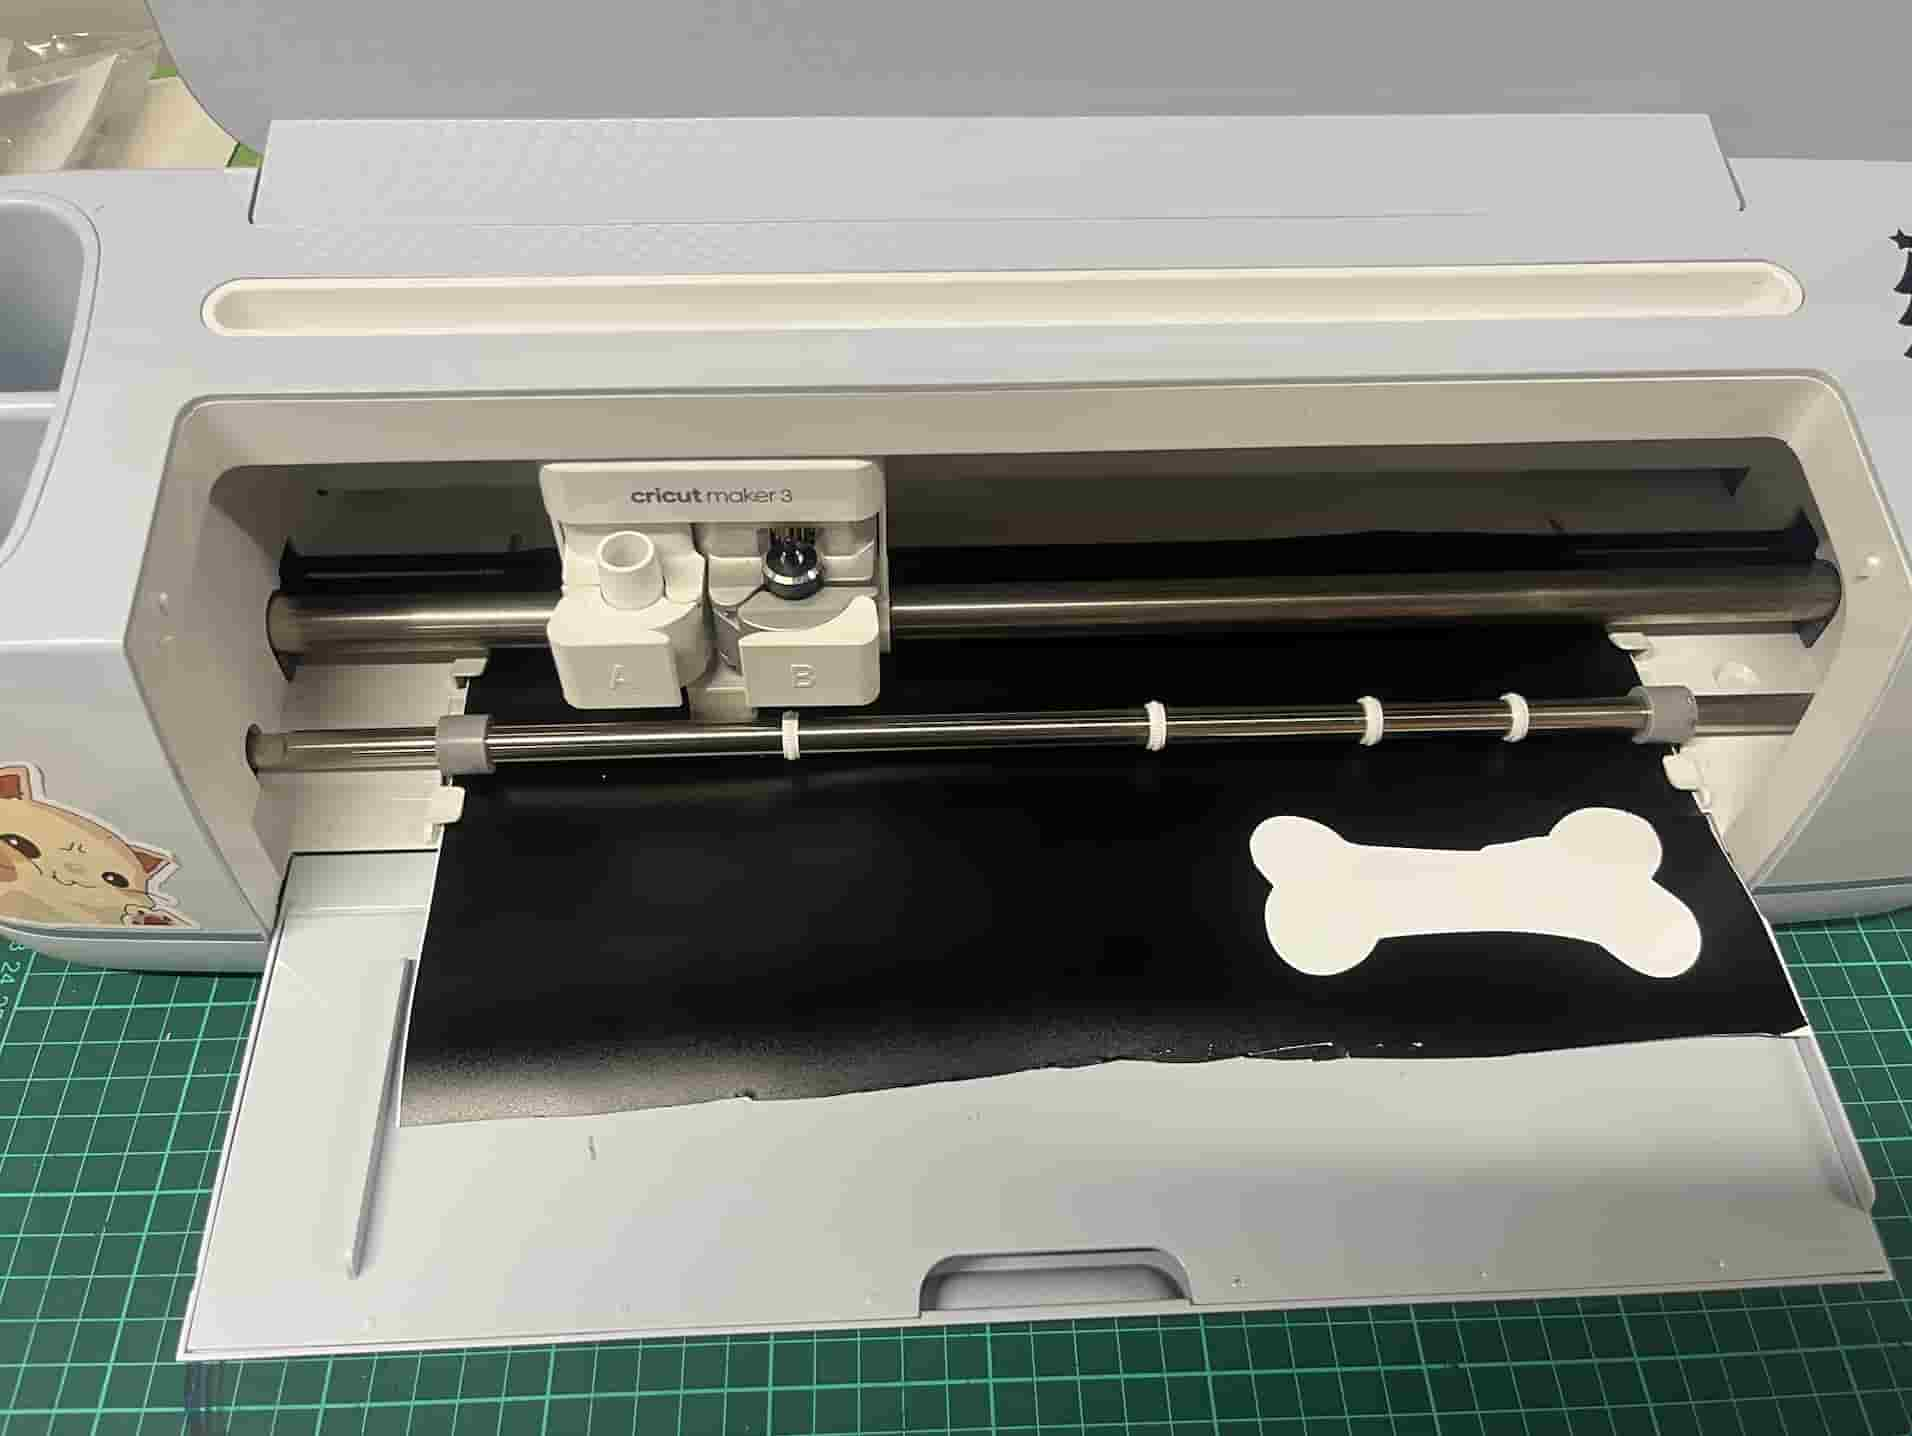
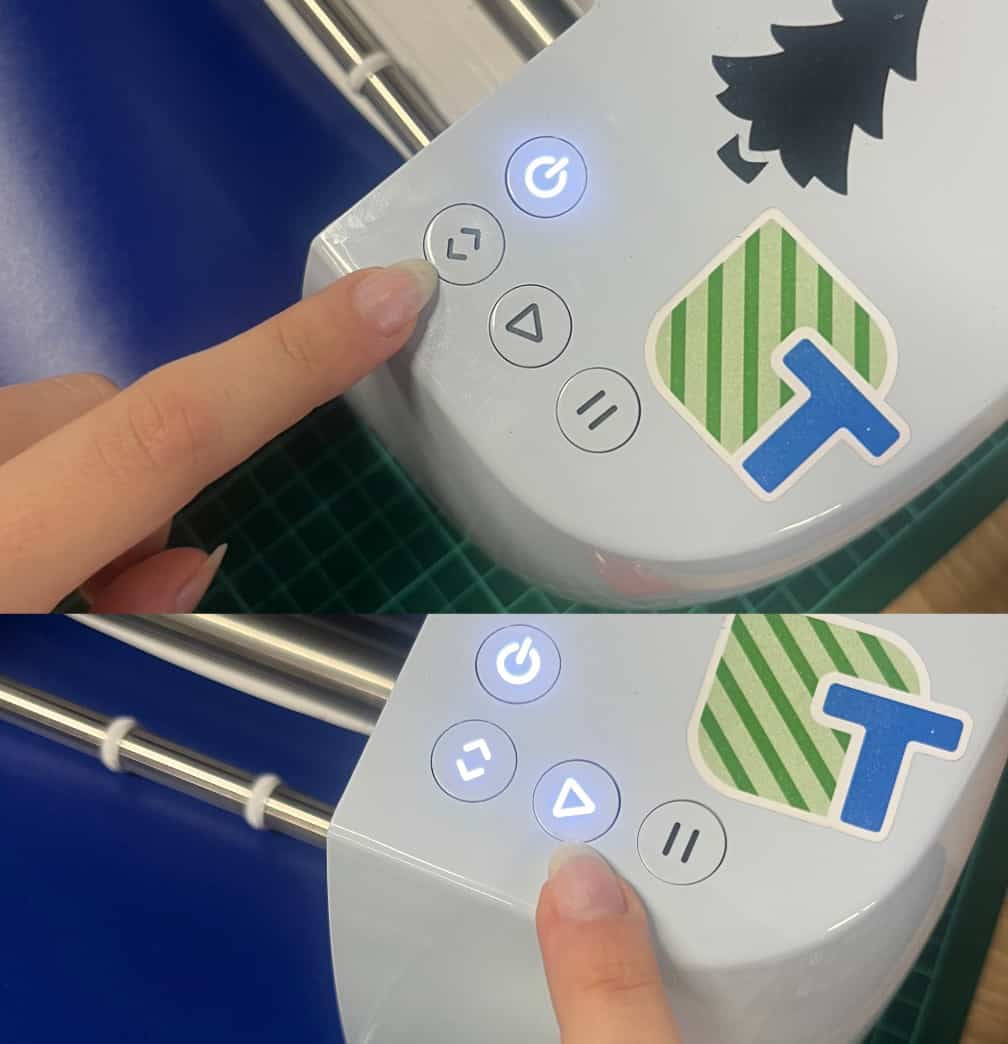
After I chose my design I clicked Make > Without Mat > Smart Vinyl Matless Removable Vinyl on the computer. I went back to the machine and clicked these buttons in this order
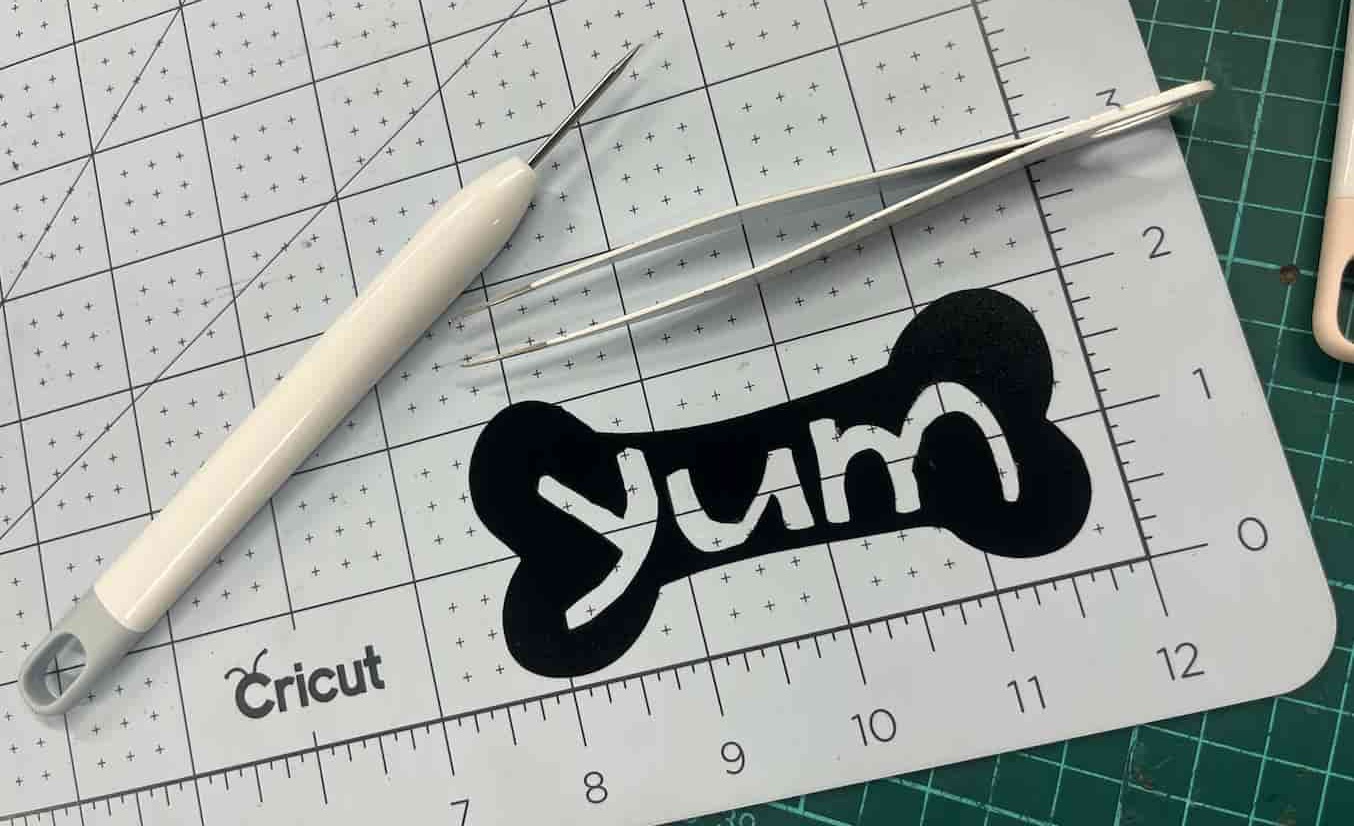
After it was done the outline of the design was visible and I had to scrape the sticker out using special tools
Laser Cutting Machine
Personal Project
Name Sign
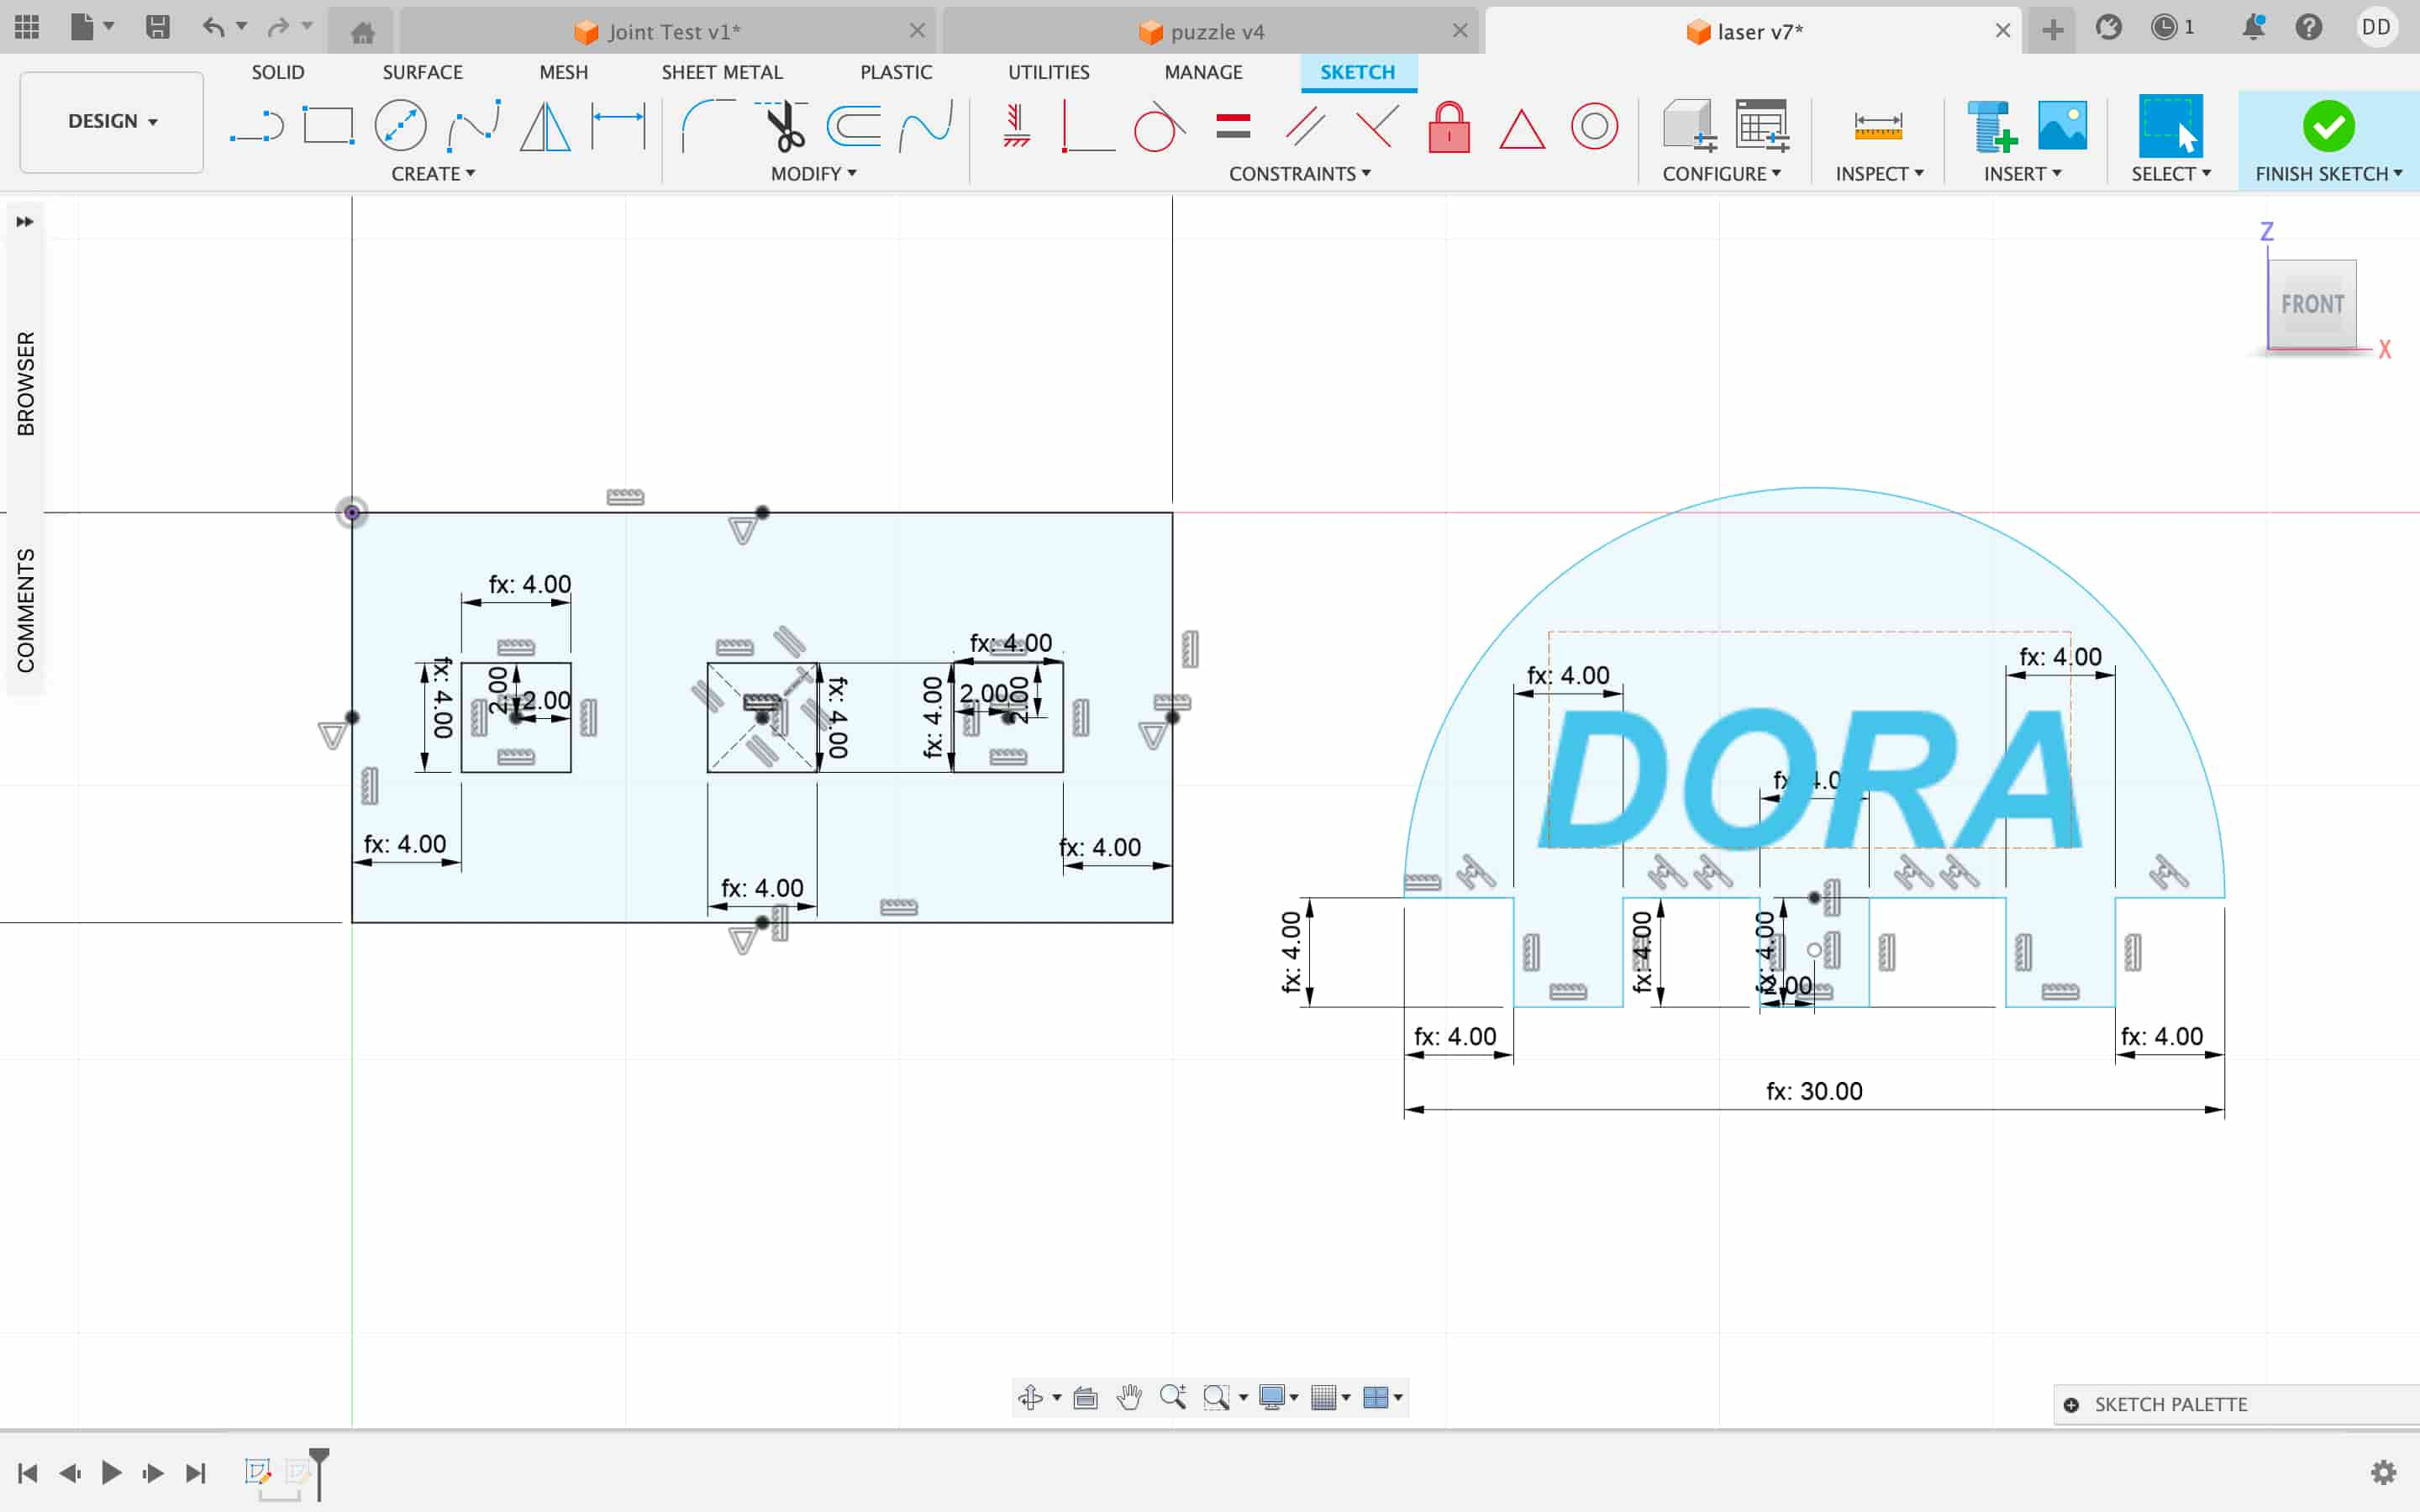
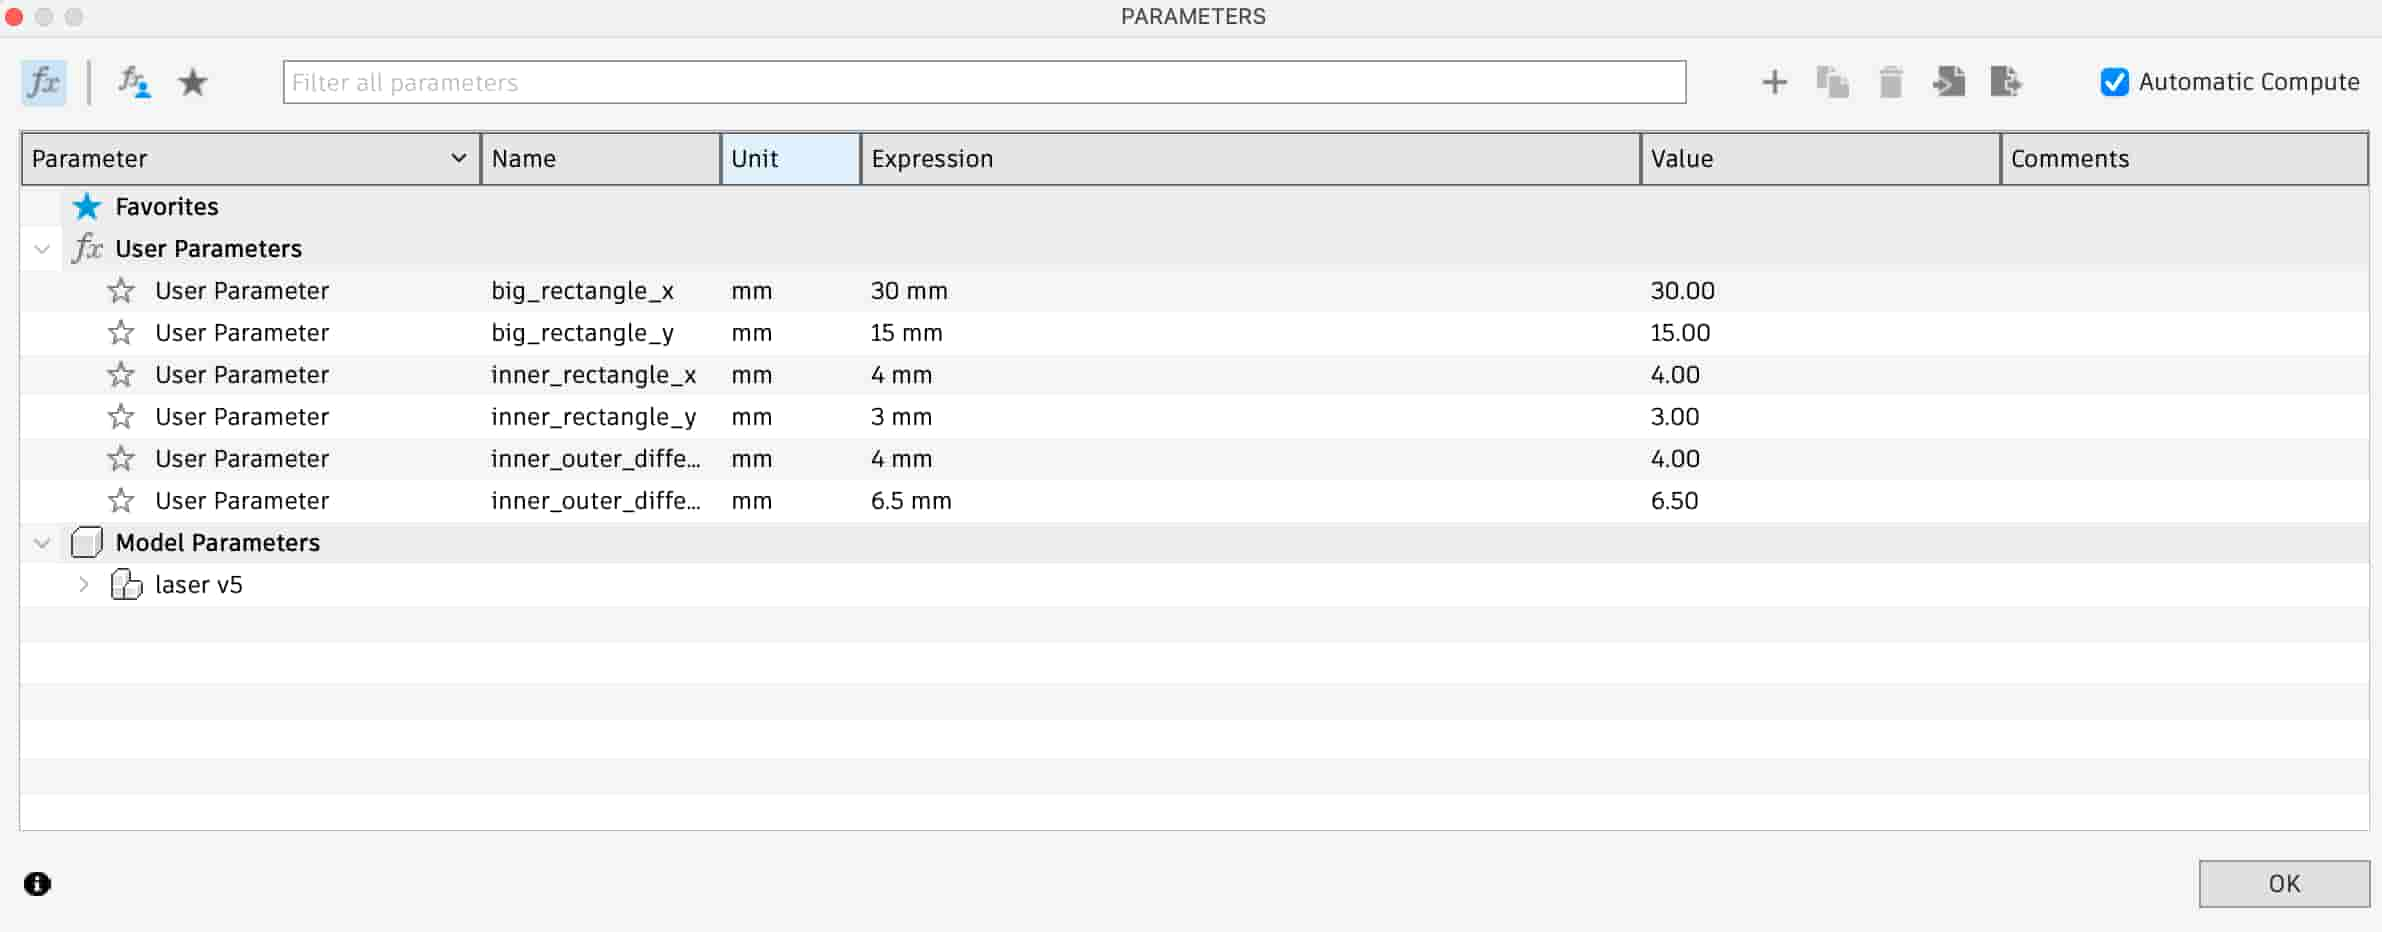
I designed my project with Fusion360 with parameters
Parametric Design
Parametric design means creating models where certain dimensions are controlled by parameters (variables). Instead of manually adjusting dimensions each time, you define rules (ex: w = 2 × h) and if you change one number, the entire design updates automatically. Parametric design is very beneficial beacuse it saves time, reduces human error and is flexible and scalable.
For example for my name sign, I had to change the scaling beacuse the original size ended up being too big. This only took a few seconds beacuse I had created my design with parameters.
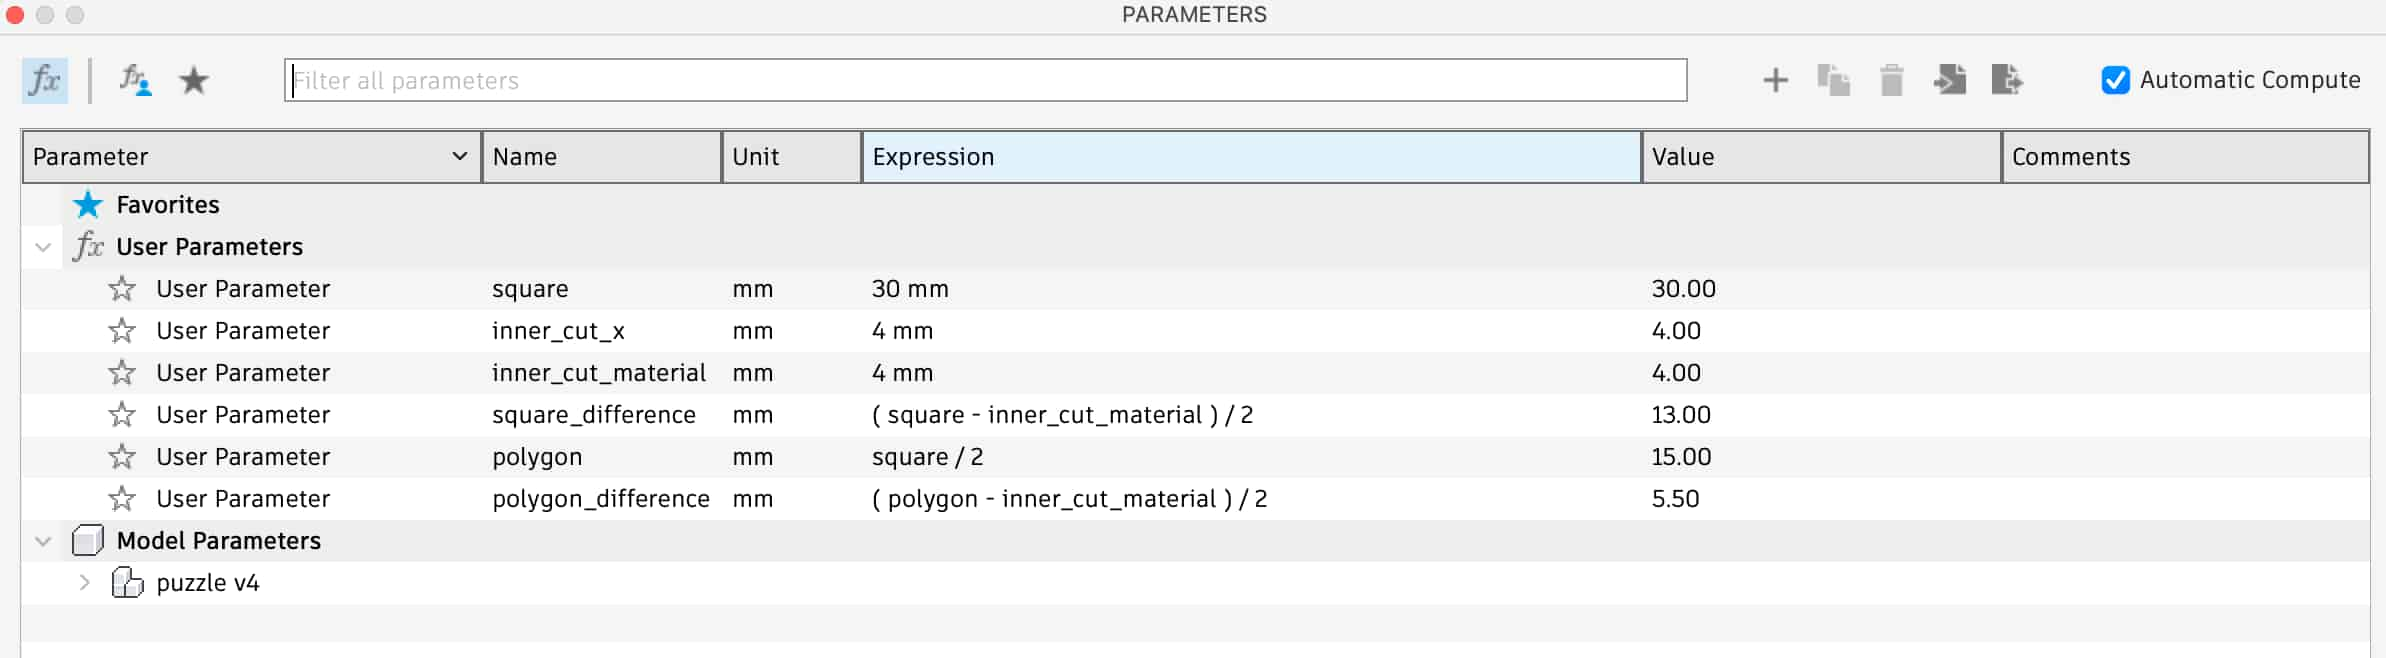
Here are the parameters I created, the material I used was 4mm and I adjusted the parameters according to that.
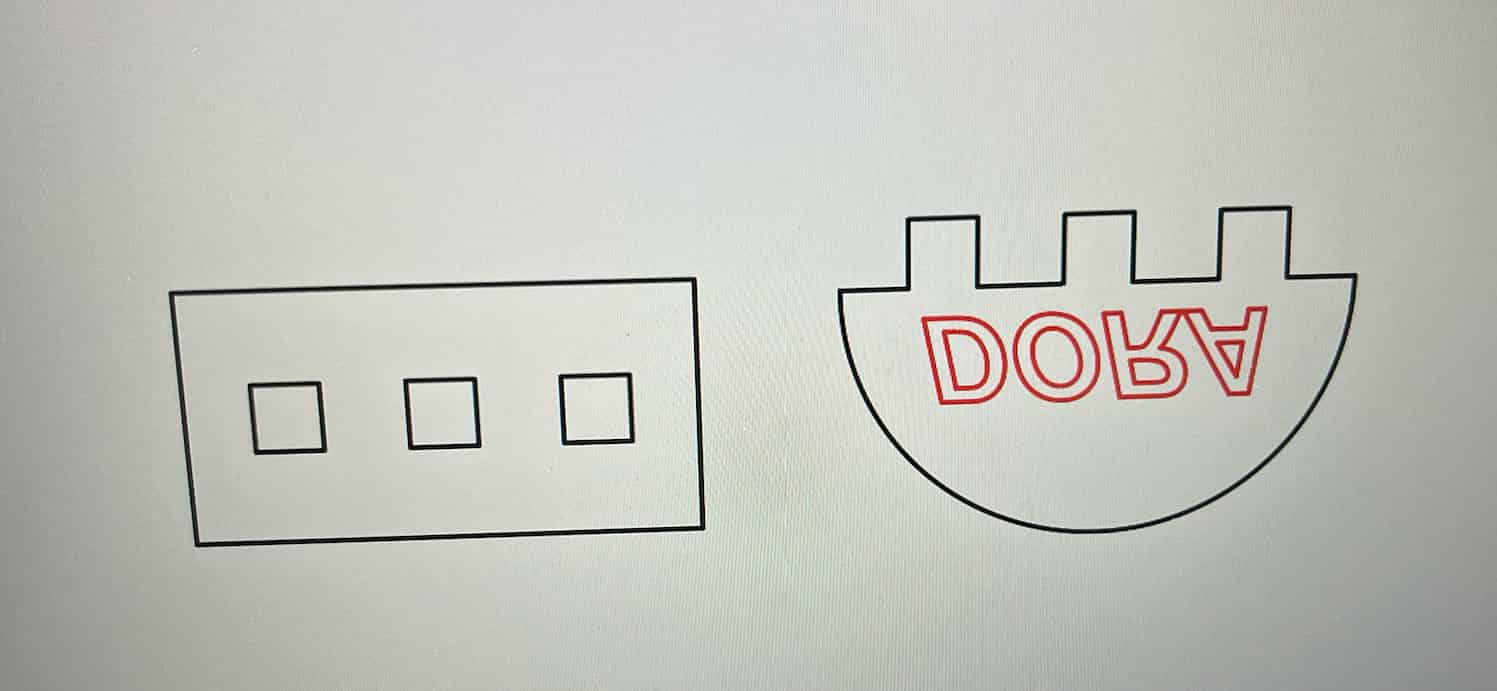
I exported the file in DXF file format and opened it in Adobe Illustrator to edit it. I made the color of “DORA” red so I could change it Epilog Manager to have the red lines engraved and the black lines vector cut
But while I was exporting it to Adobe I chose “Fit to Page” instead of “original size” and it messed the scaling up. It came out way too big and the pieces didnt fit together
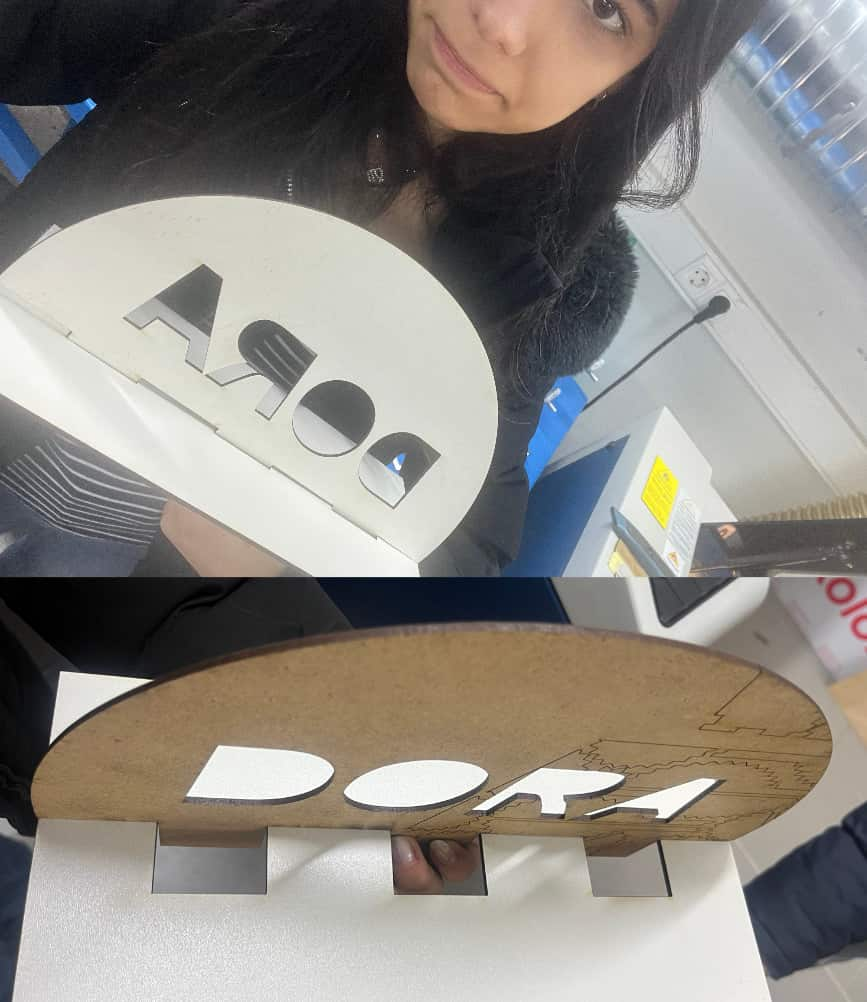
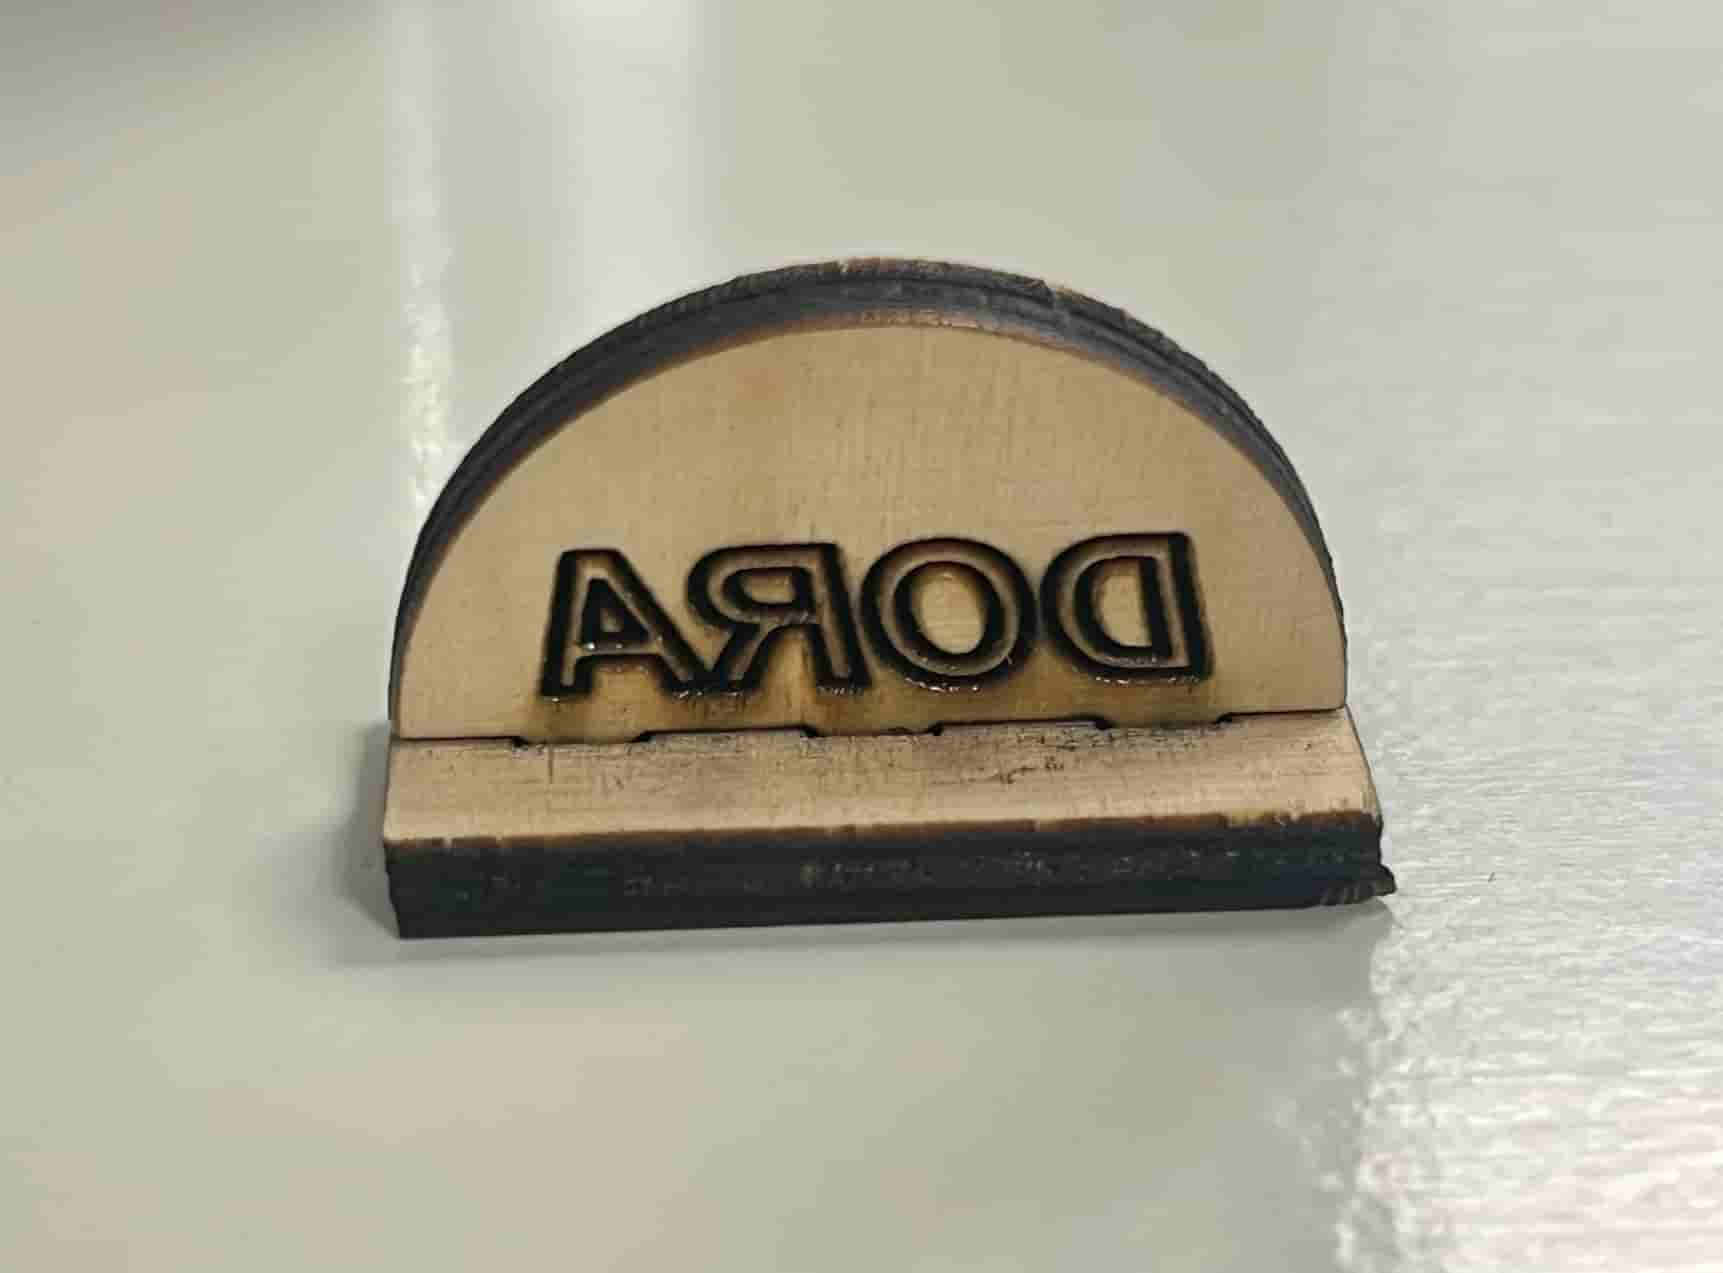
I did it again but chose original size instead and the size came out normal and small. This time I used:
- engrave: speed=10 power=60
- vector: speed=5 power=60
We figured out the optimal speed and power while doing our group assignment.
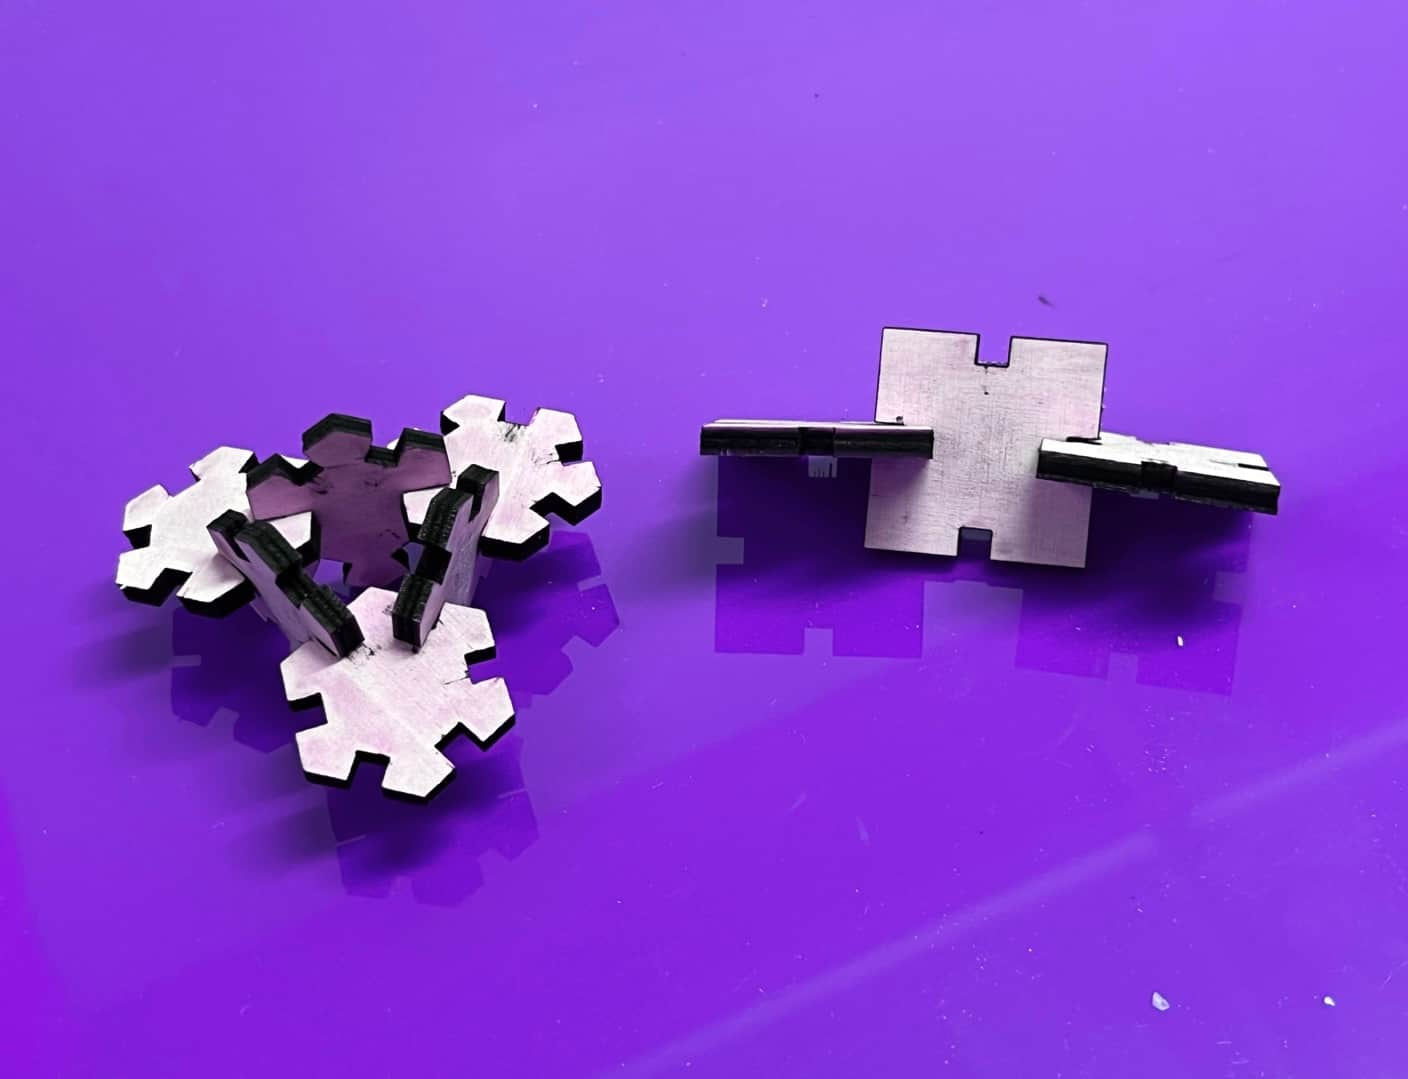
Parametric Construction kit
I made another puzzle-like design on Fusion with two shapes that could work together as puzzles.
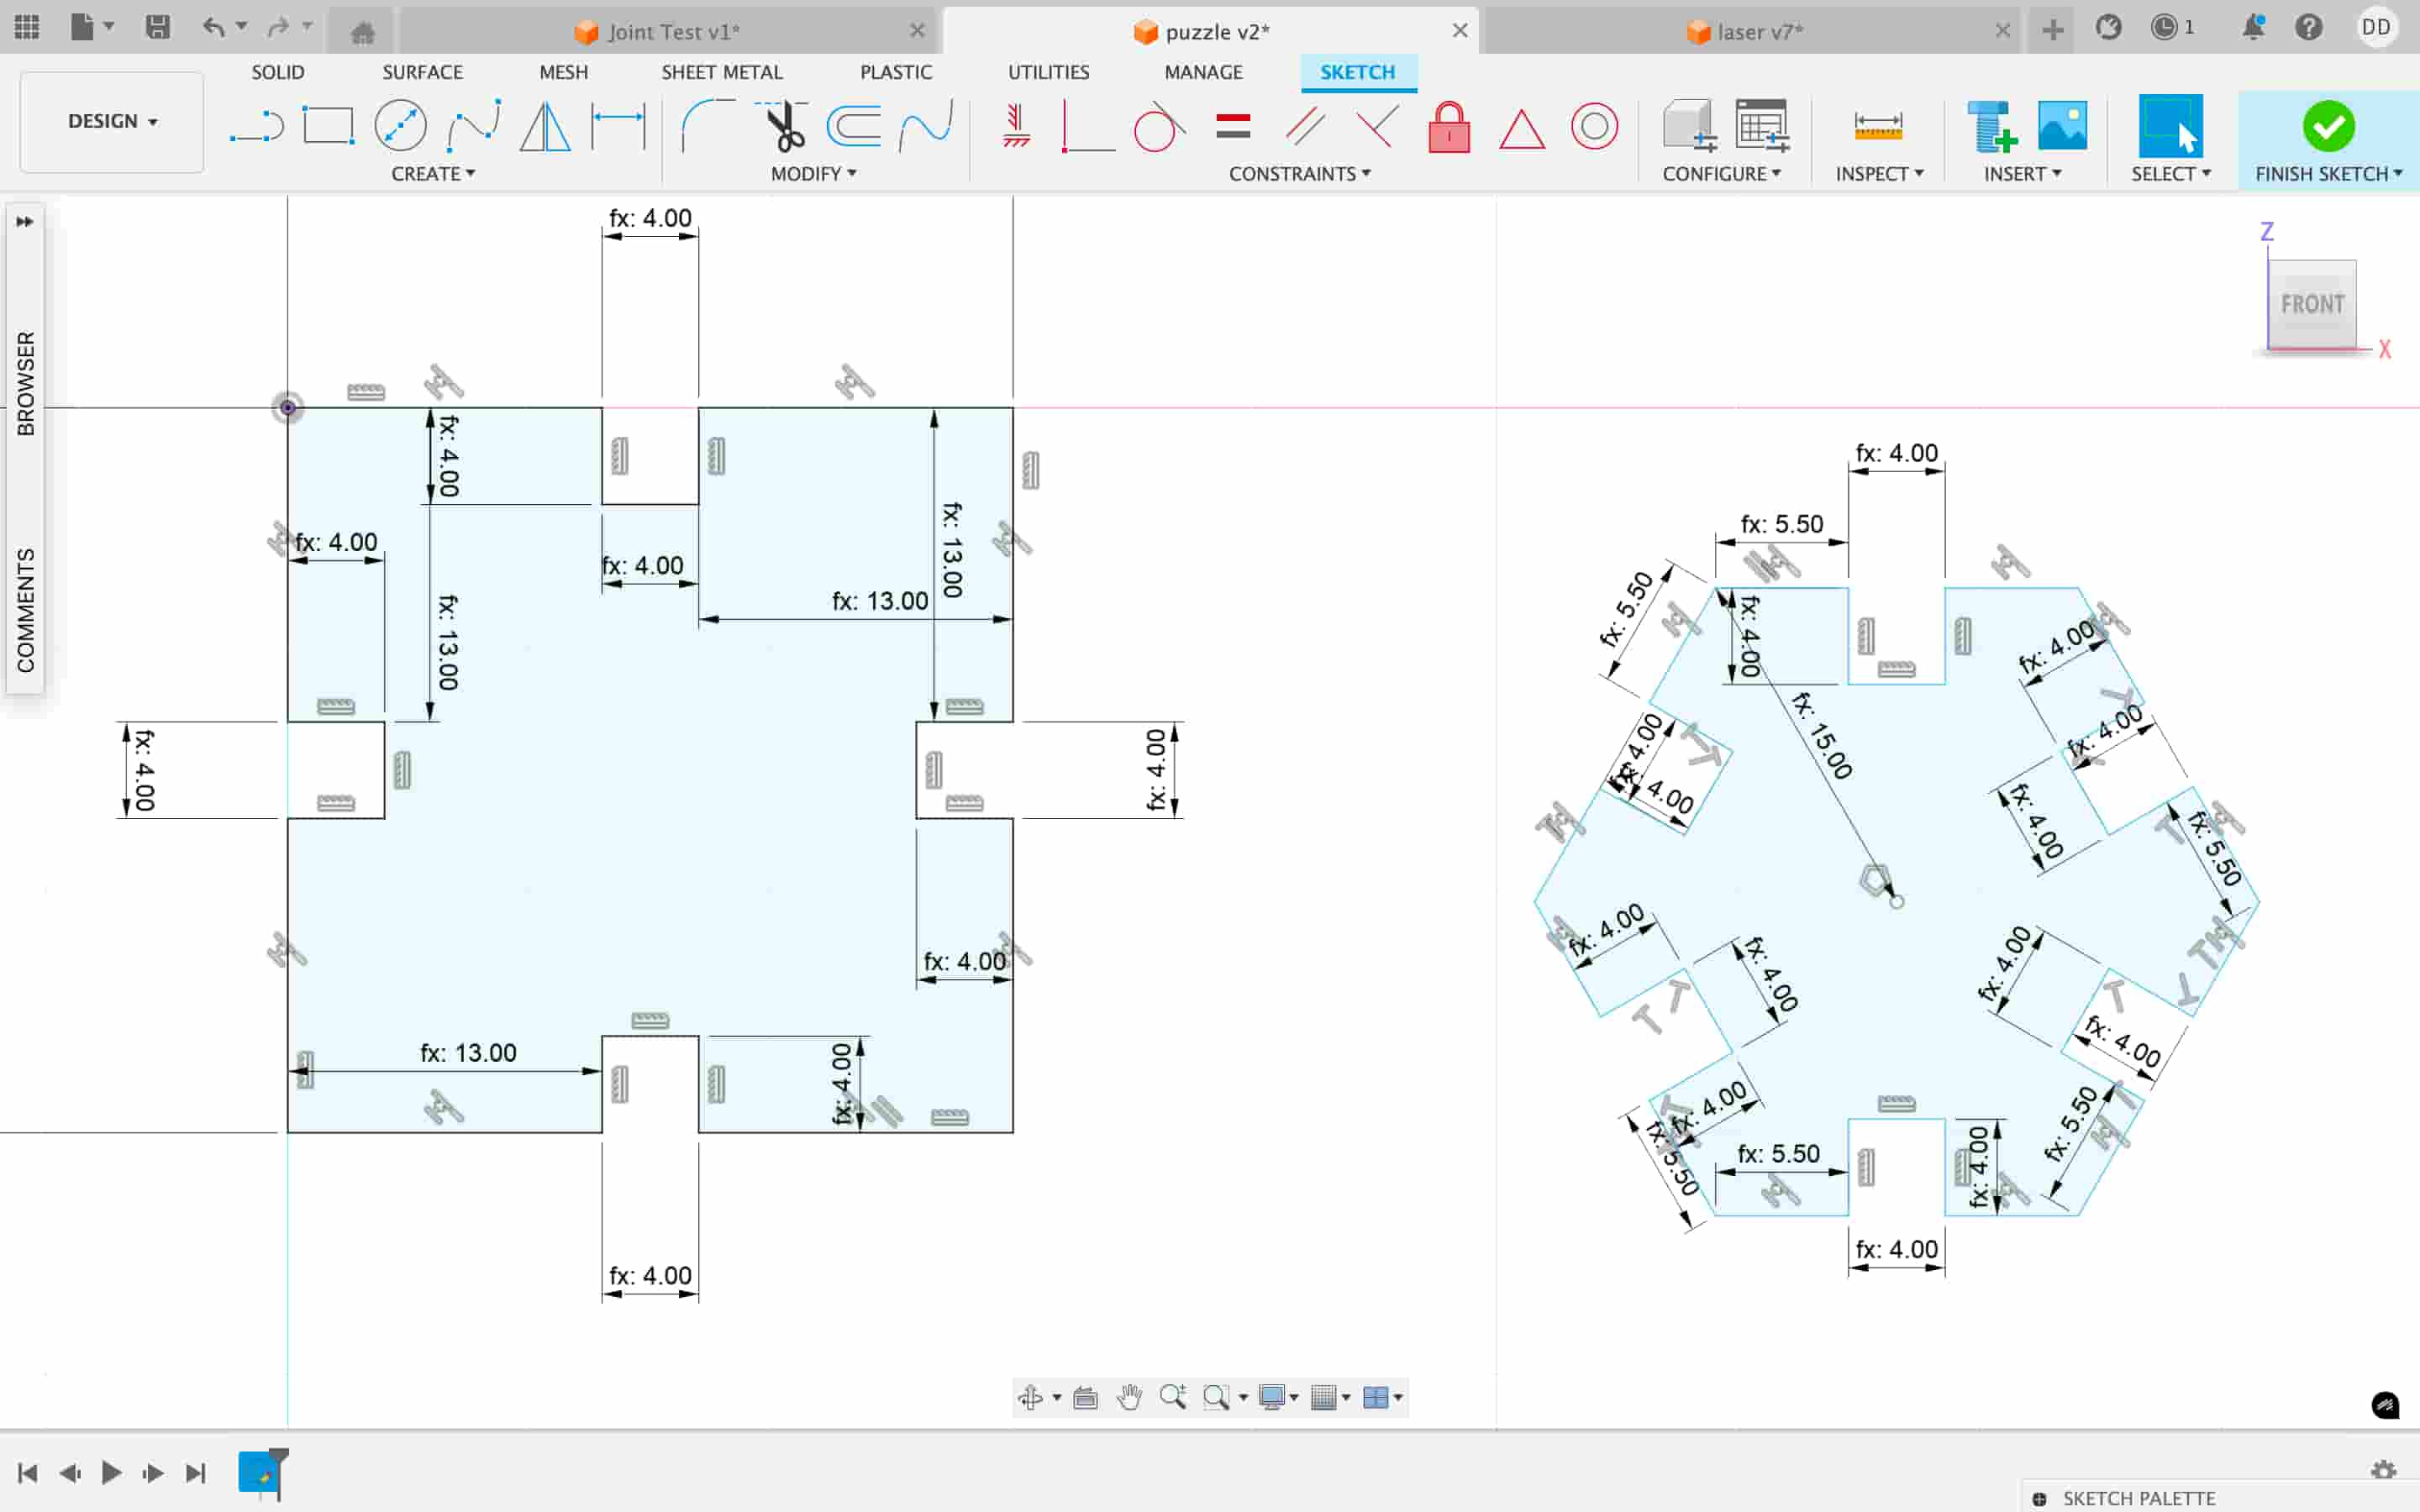
Here are the parameters:
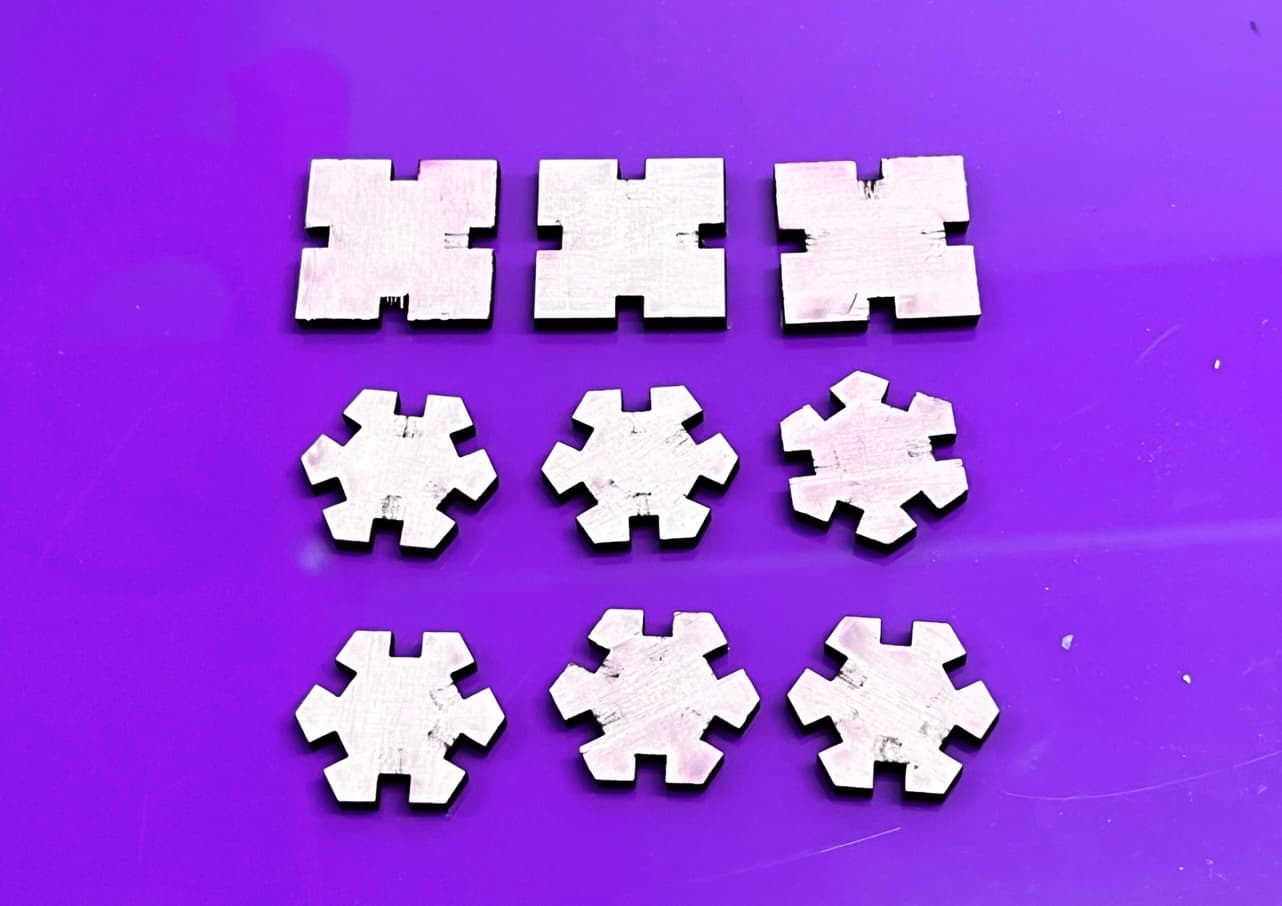
I opened it in Adobe Illustrator, copy pasted the shapes a number of times and sen it to the laser cutting machine through Epilog Manager. The setting was vector with speed=5 and power=60. Here are the shapes printed out
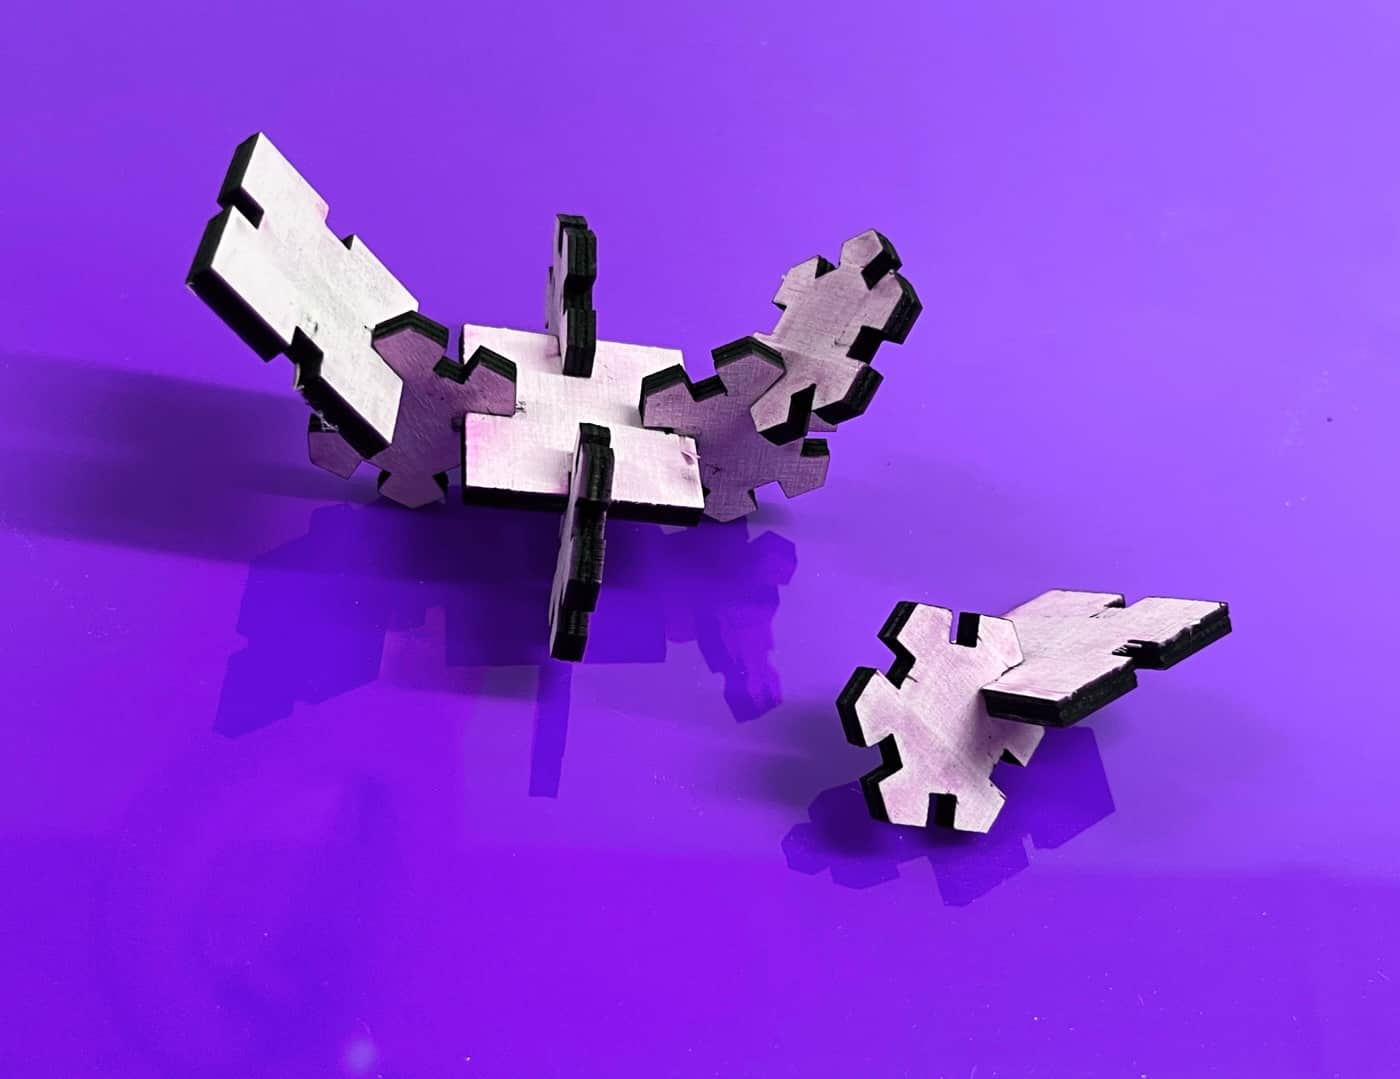
The shapes coming together
Group Project
You can check our group project here
Files
What I learned
CAD and Parametric Design
I learned how to set up parameters in a CAD program and it made me realize that designing with parameters forces you to think more carefully about relationships between parts.
Laser Cut Machine
I learned that you need to find the balance between speed and power to get clean cuts without damaging the material which is why testing small samples first is important.