2D Sketch
Collanote
I drew a more detailed sketch of my final project
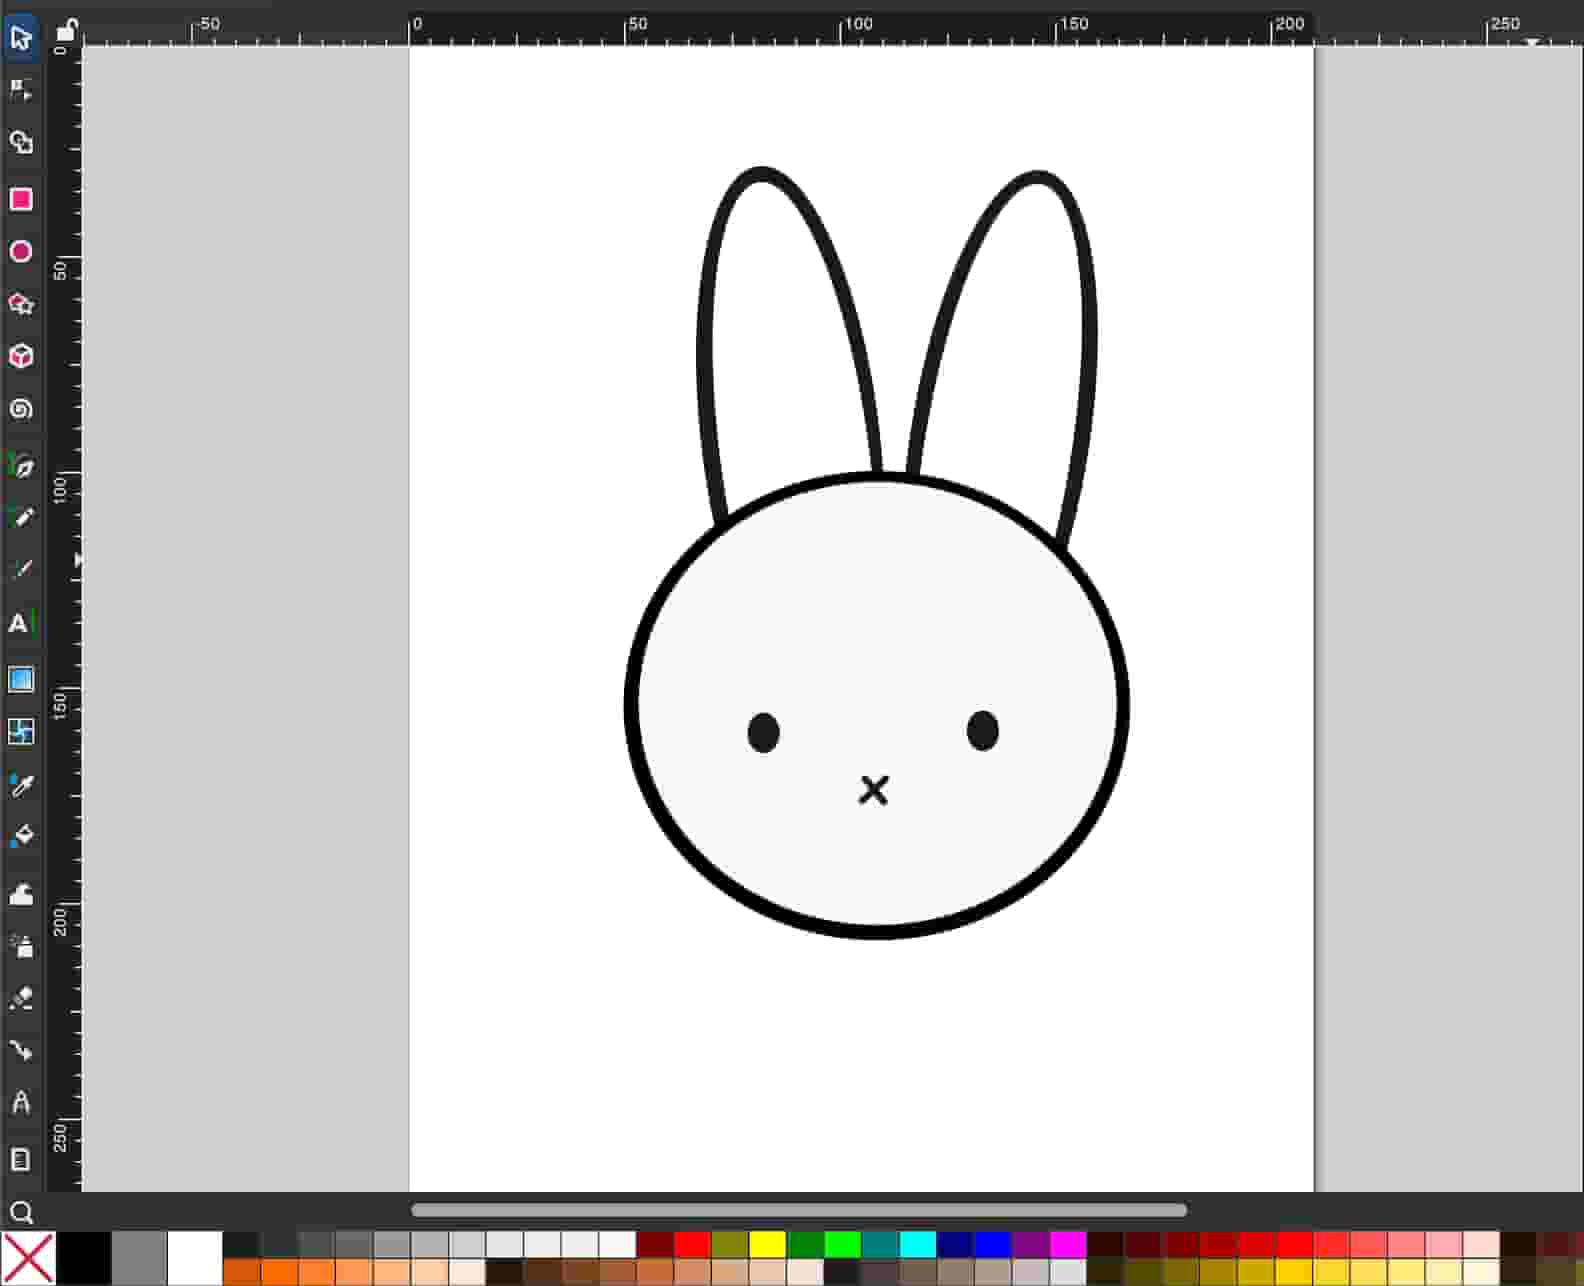
Inkspace
I used the Ellipse / Arc Tool to create the head and ears. I used 3 layers; ears, head, face (in this order). I first made black shapes and then smaller white ones inside to create the outline look. I used font comic sans to create the “x” mouth.
I added spirals in the background using the spiral tool
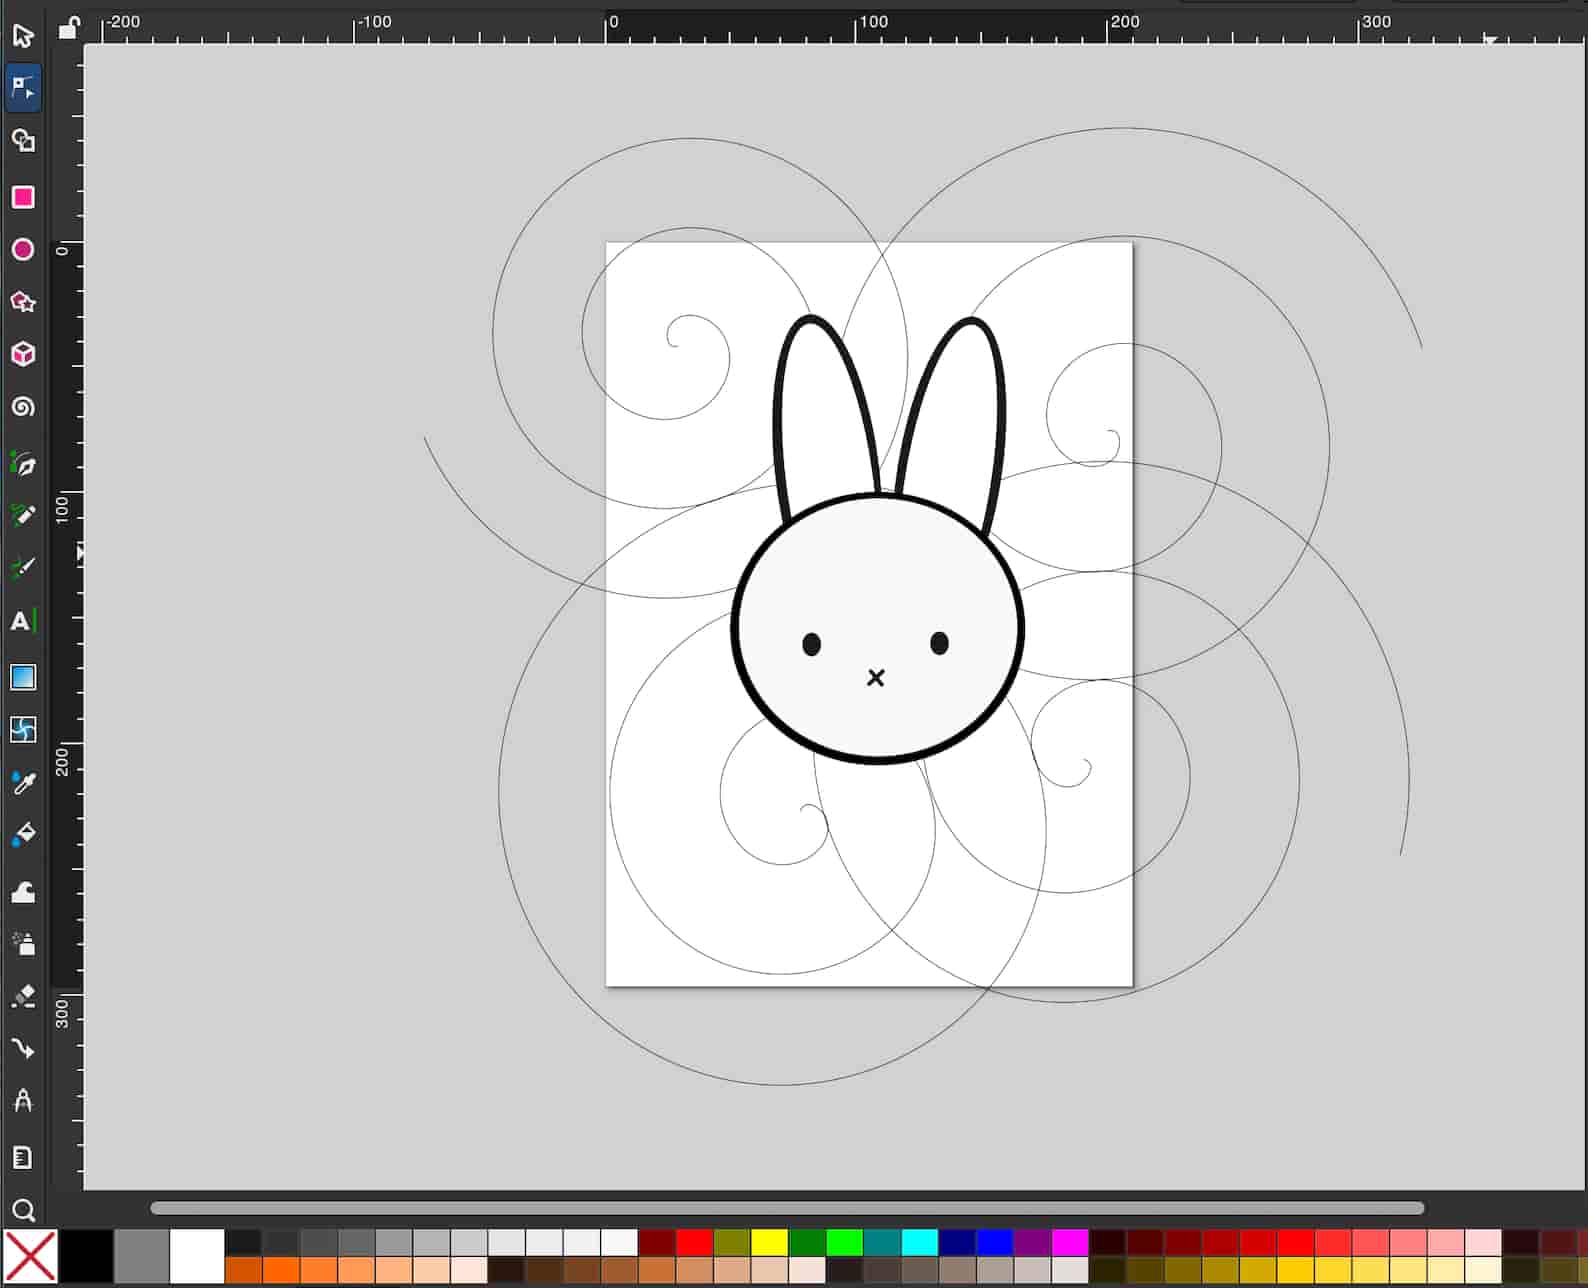
I used Mesh Tool to fill in the spirals and the Node Tool to move the coloring around.

I exported the file in svg format.
3D Design
Fusion 360
I then went onto creating the sketch in 3d form in fusion
Design 1
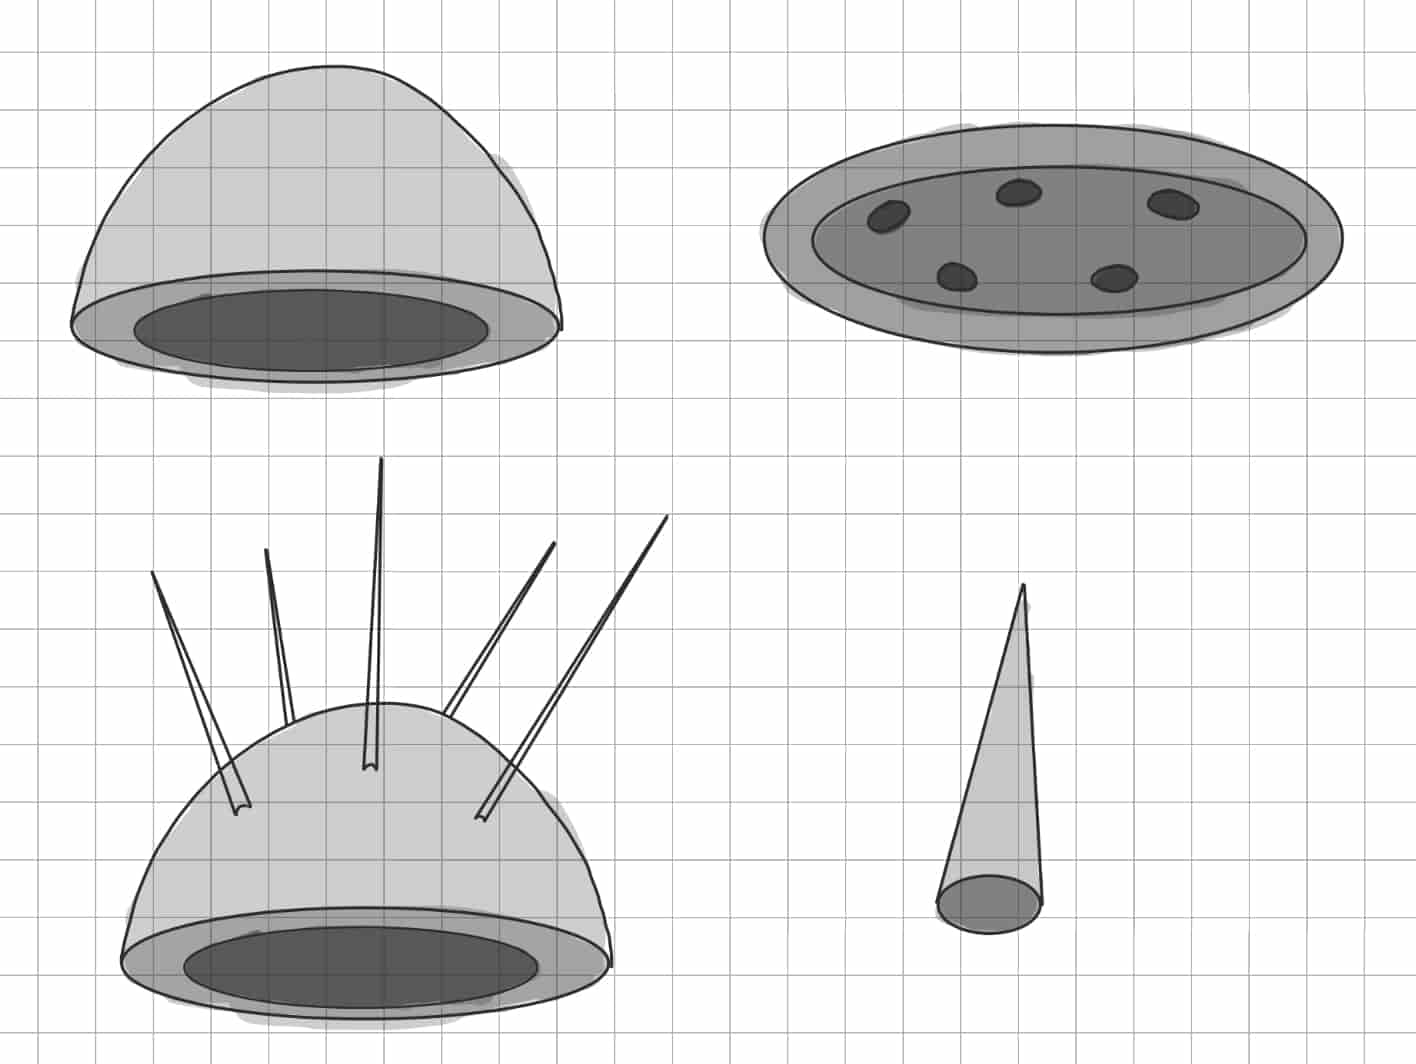
Creating the Body
I started with creating a sketch. I created a semicircle through create > arc > Center Point Arc and connected it with a line
I created parameters for dimensions and used them
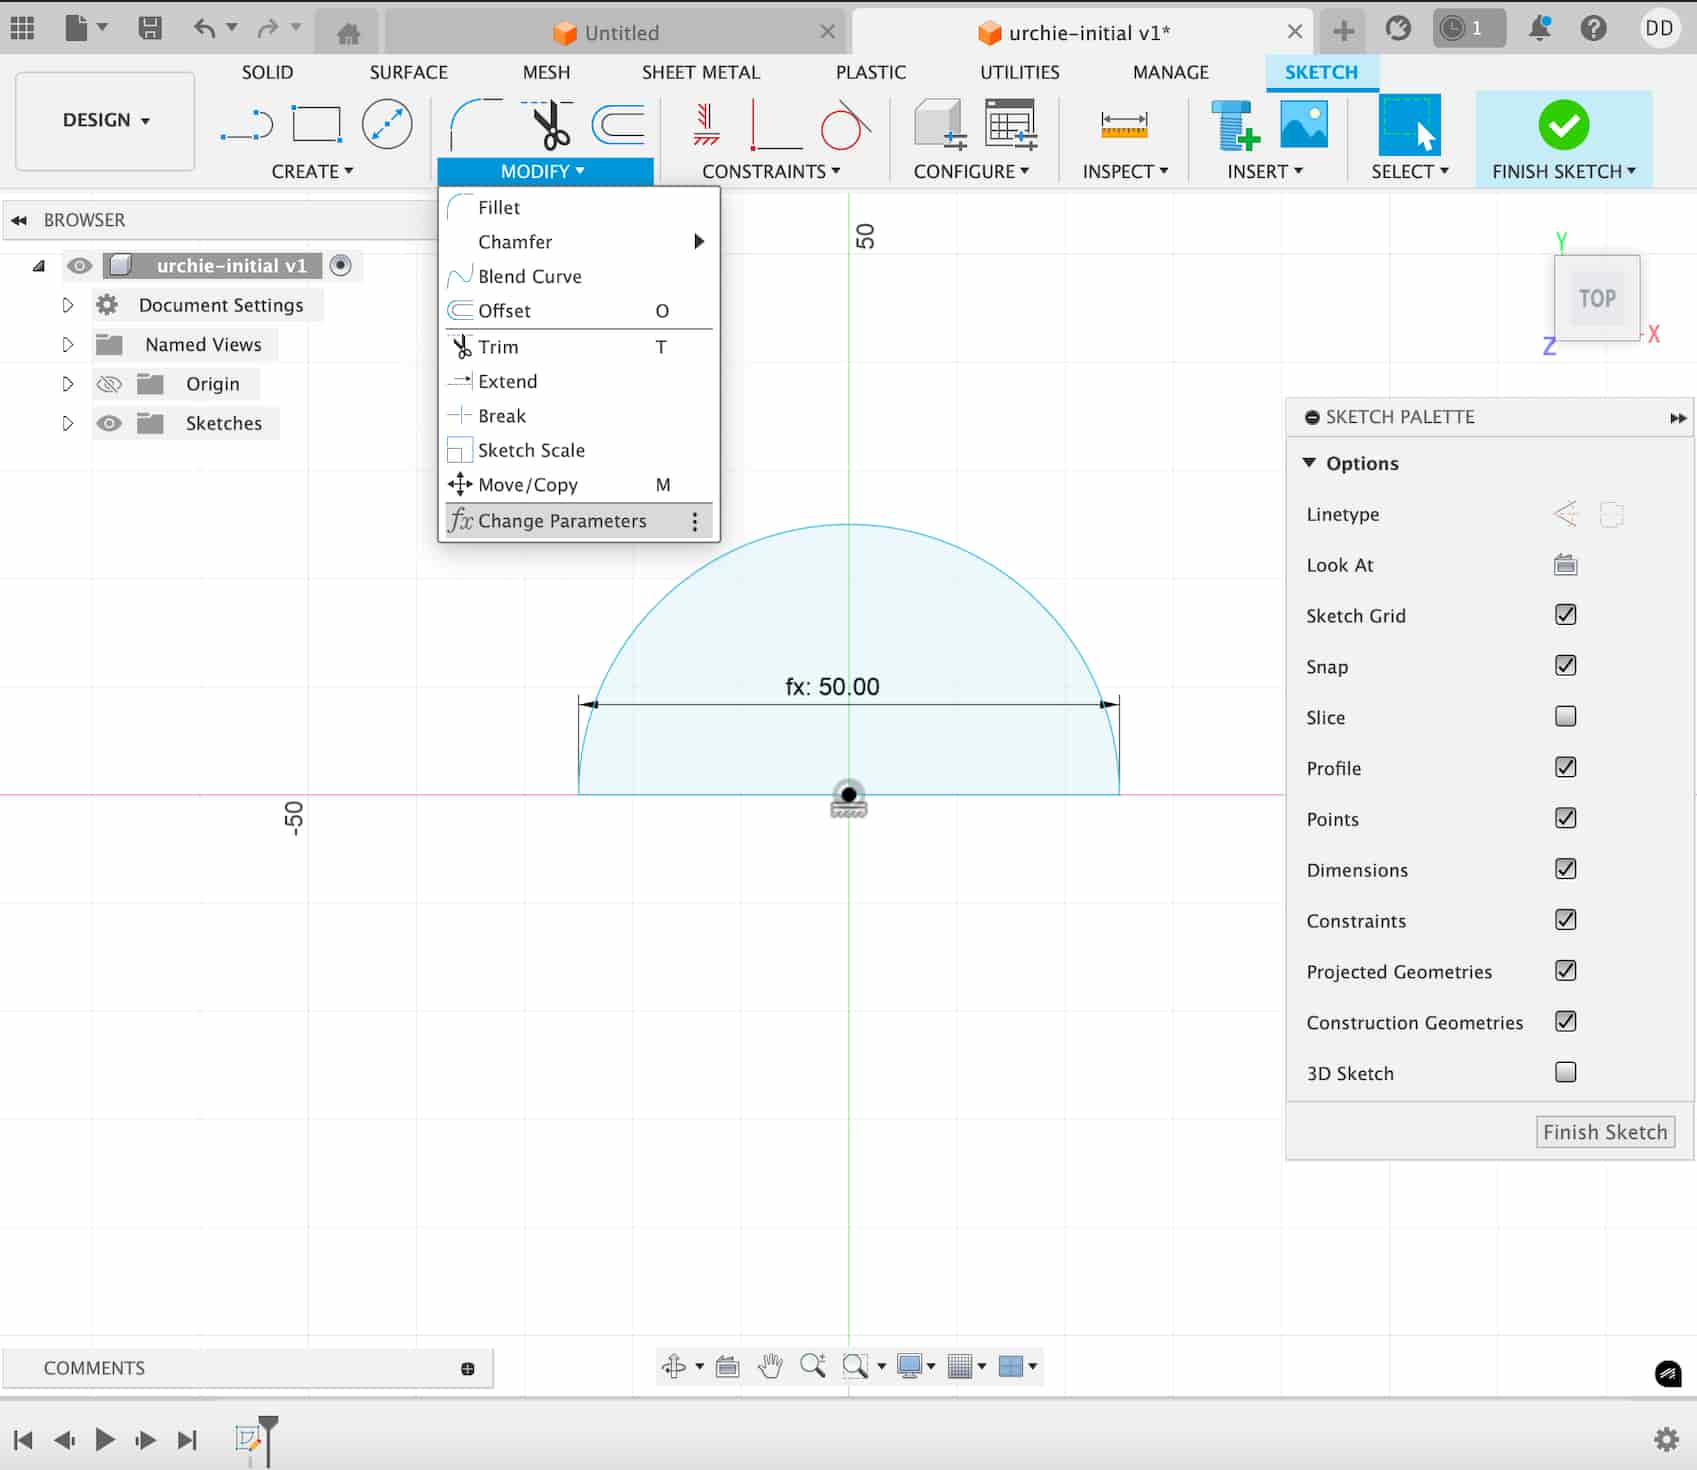
I used revolve to make it 3D
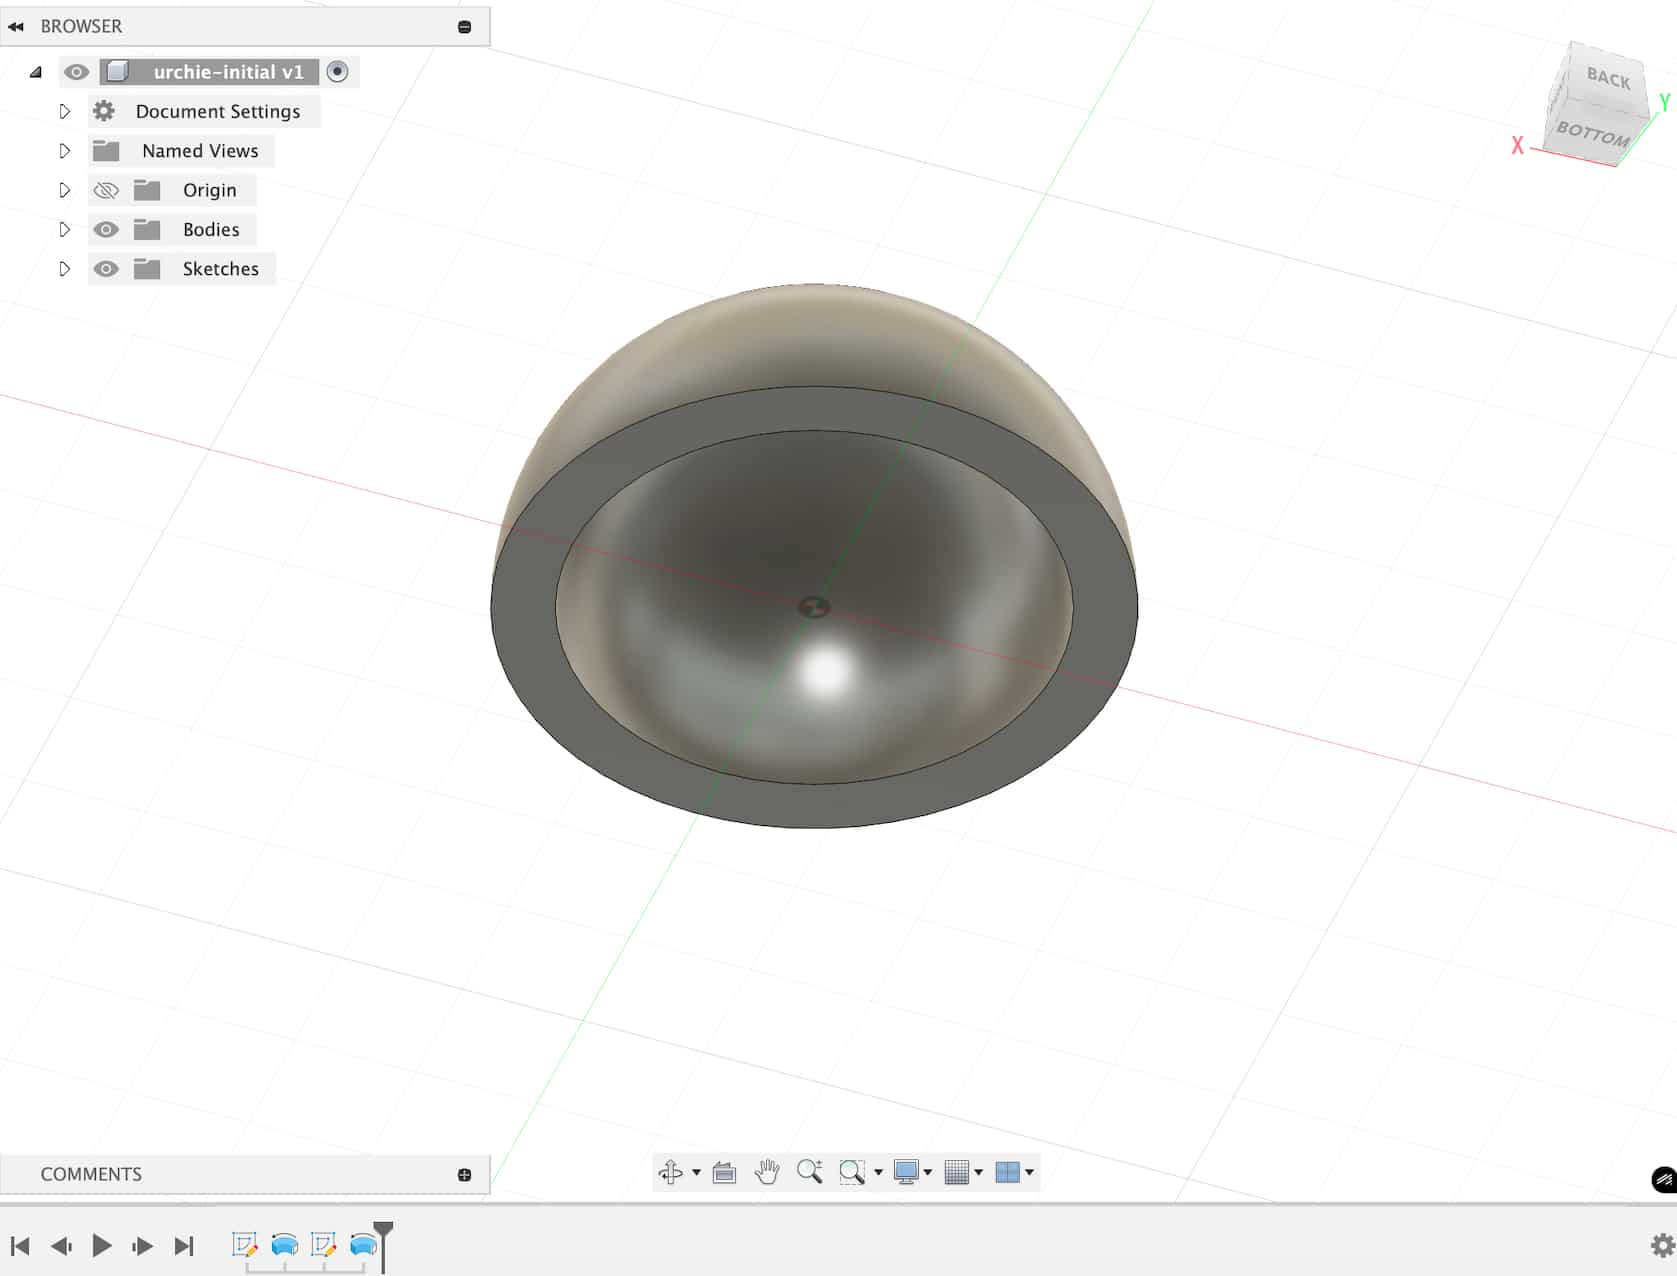
To empty the inside of the body (where the spikes shrink in) I did the same process with a smaller semicircle to make the inside empty i drew another (smaller) semi circle inside the bigger circle
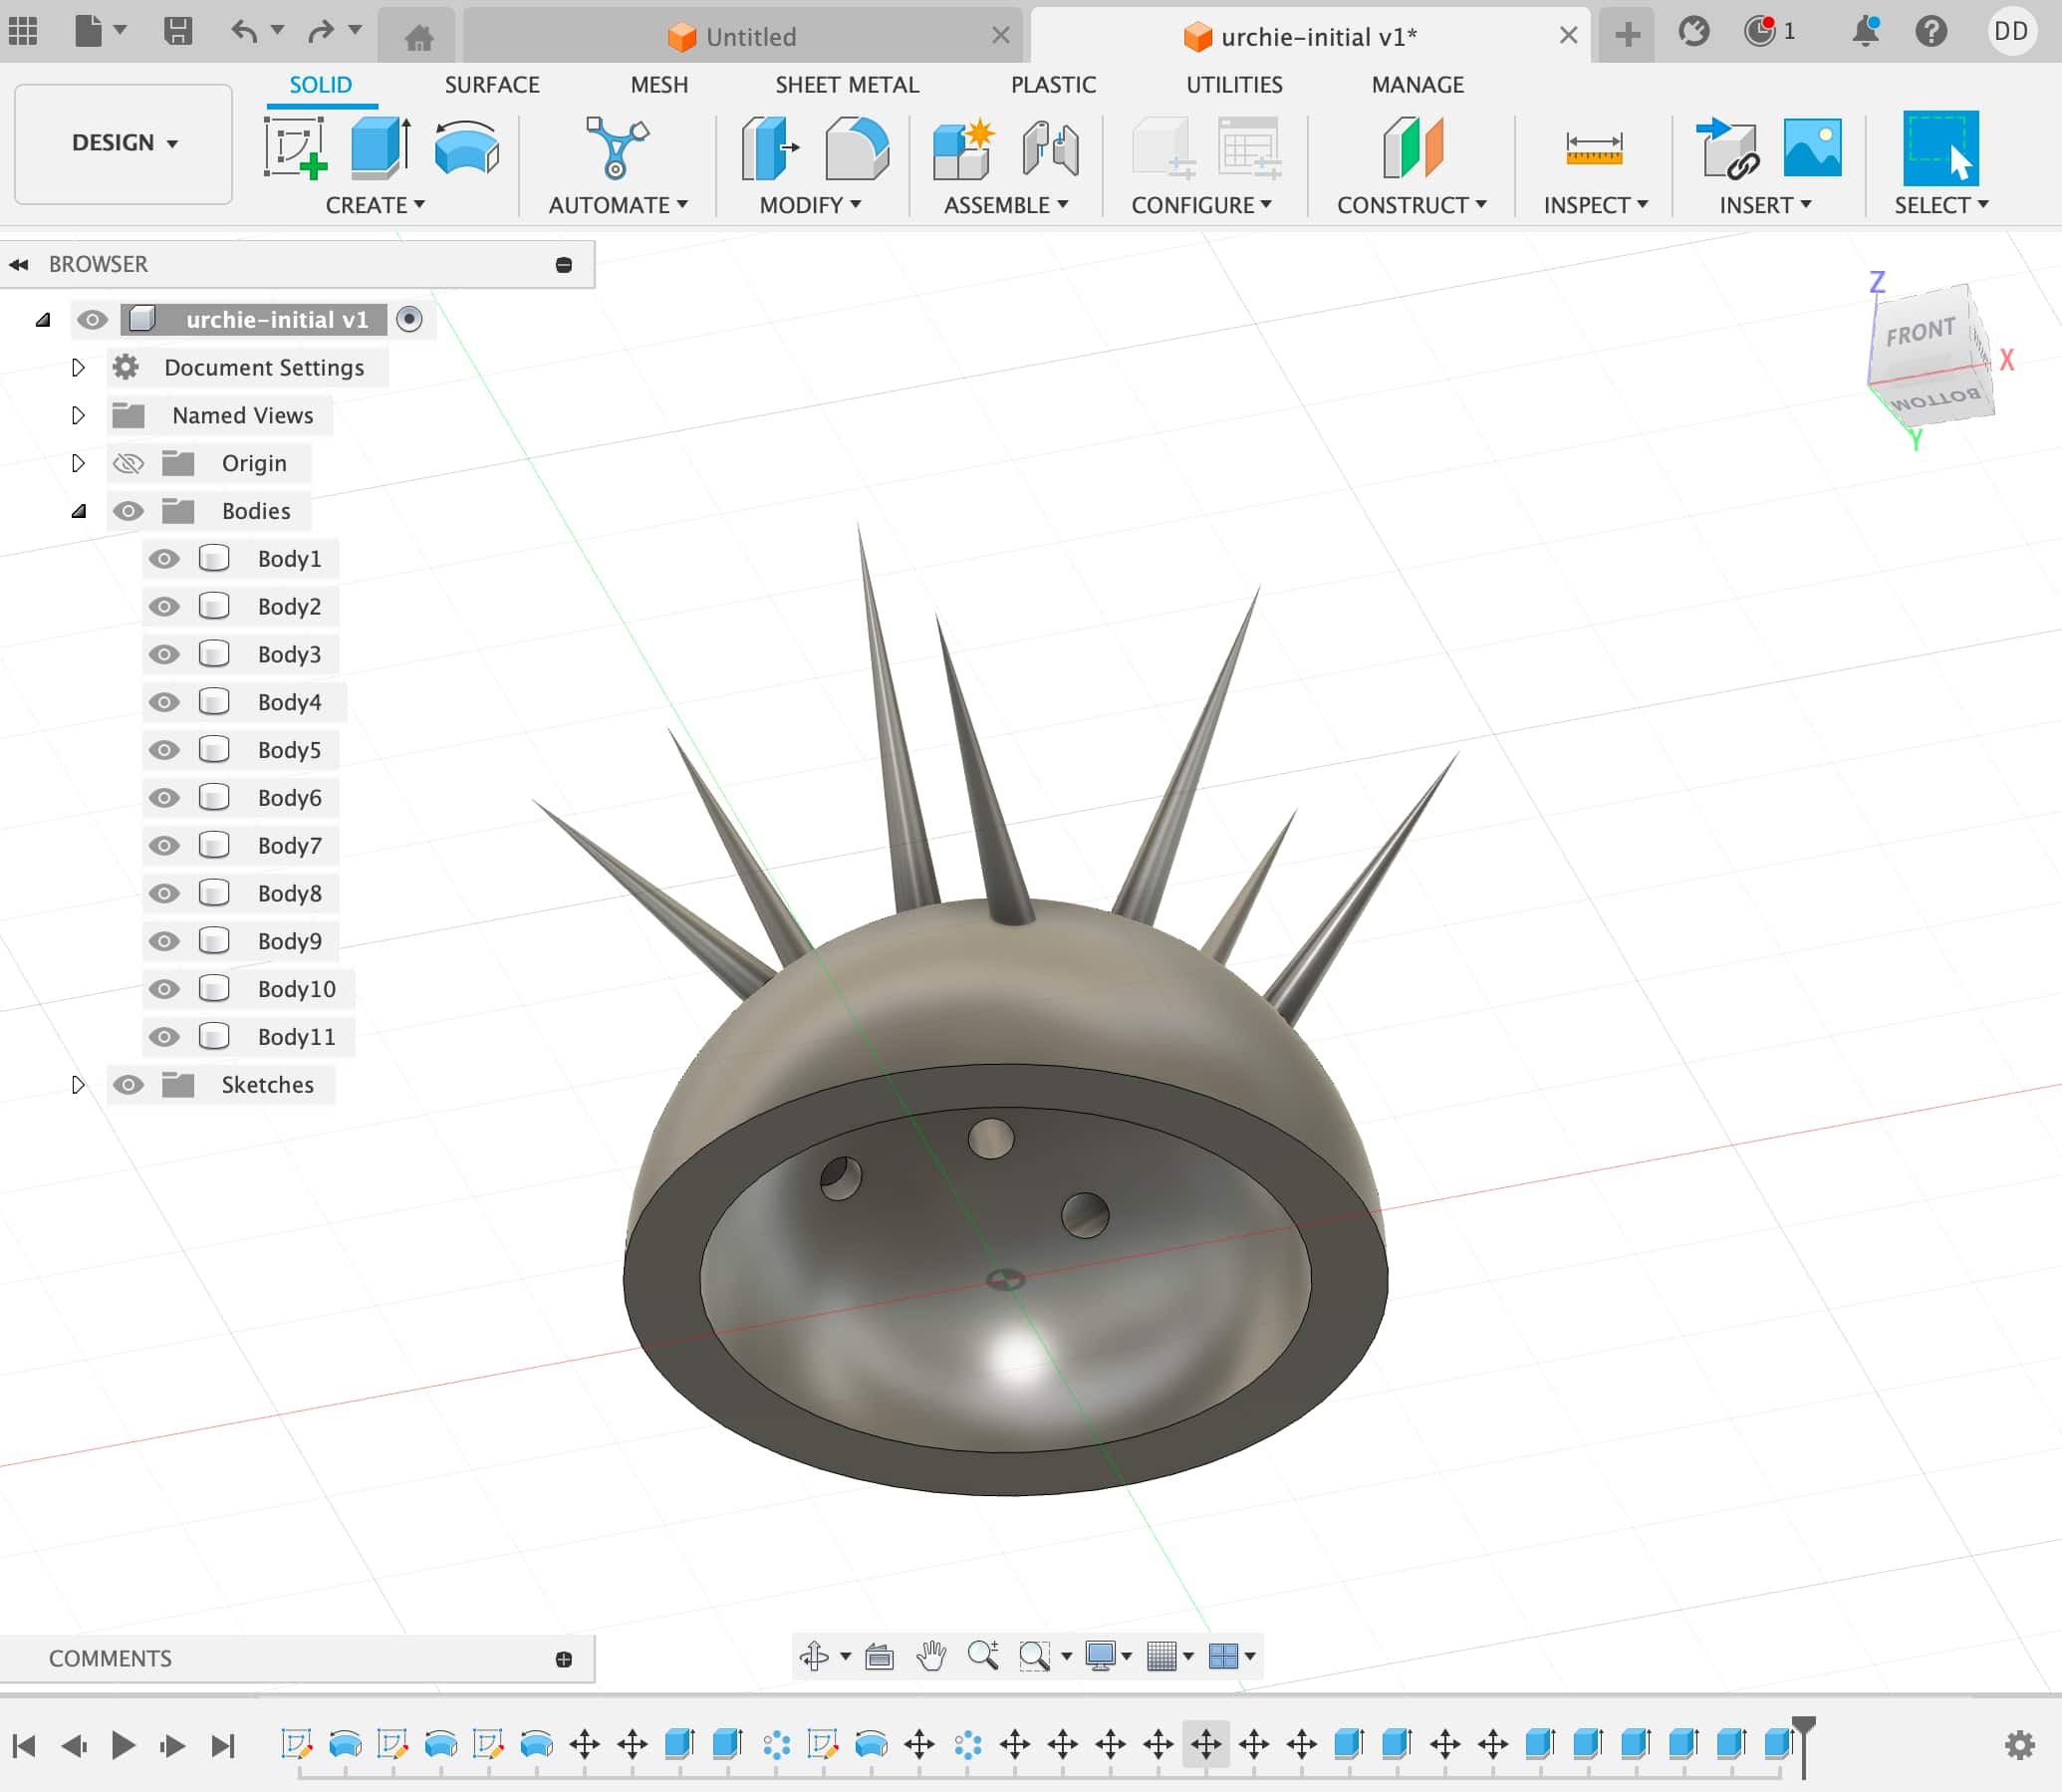
Spikes
I created a right triangle with parameters and then used revolve to make it cone shaped. I used modify to move the spike on top of the body, create > circular pattern to make it go around the body and extrude > cut to make the holes in the body where the spikes are placed
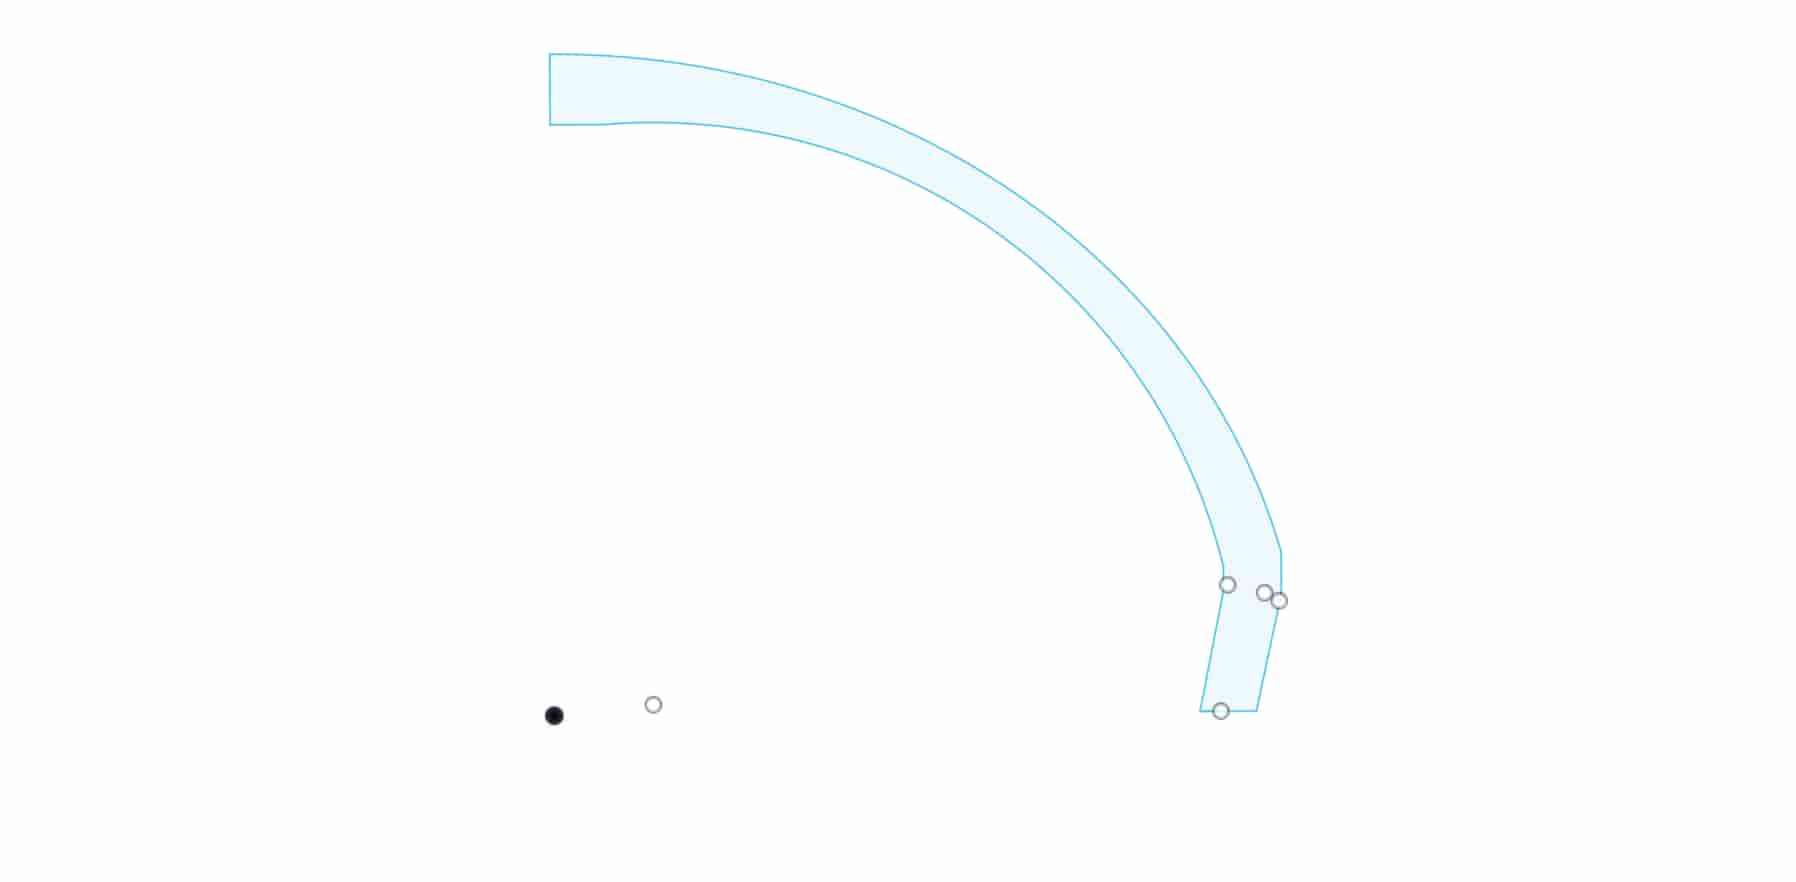
Design 2
I created the sketch below using create > arc > Center Point Arc and a few modifications.
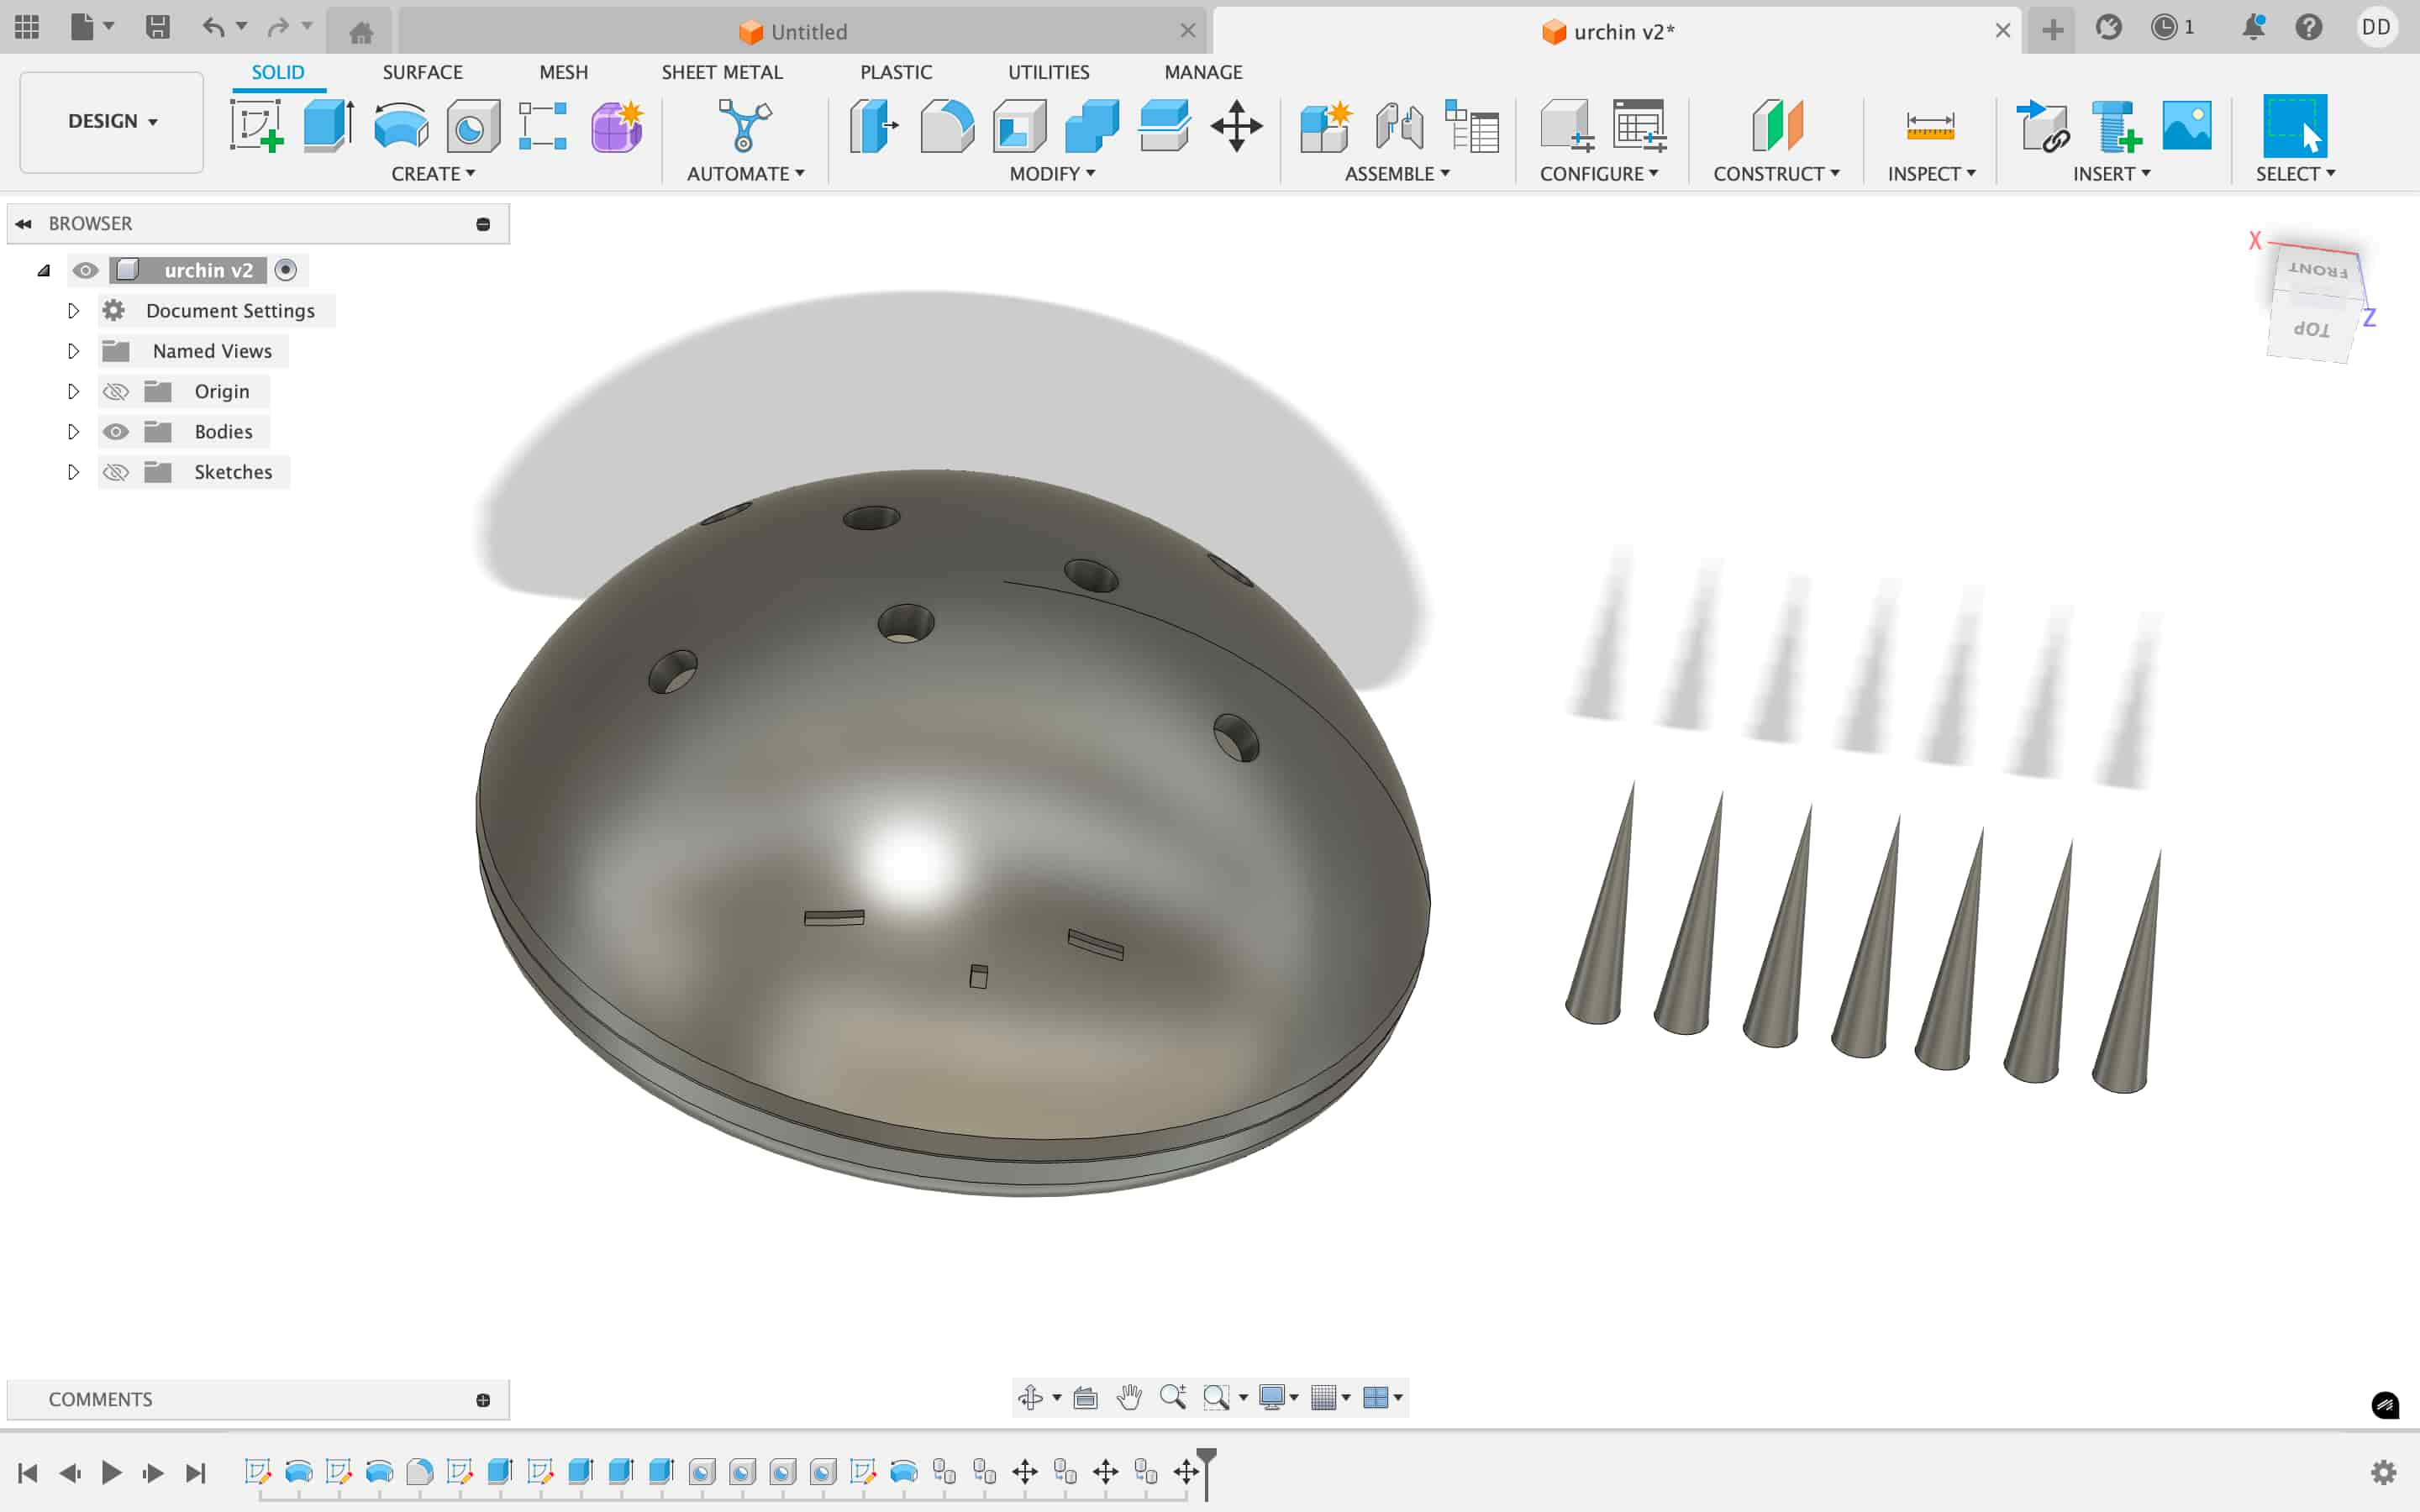
I used revolve to make it 3D.
To create the text for the face Sketch > Create > Text and used Extrude > Start:Object
Finally I used Hole to create the 5mm holes.
For the spikes I drew a right triangle with the bottom 2.5mm and then used revolve to make it 3D.
Files
I exported the file in f3d format and compressed into zip: