Components
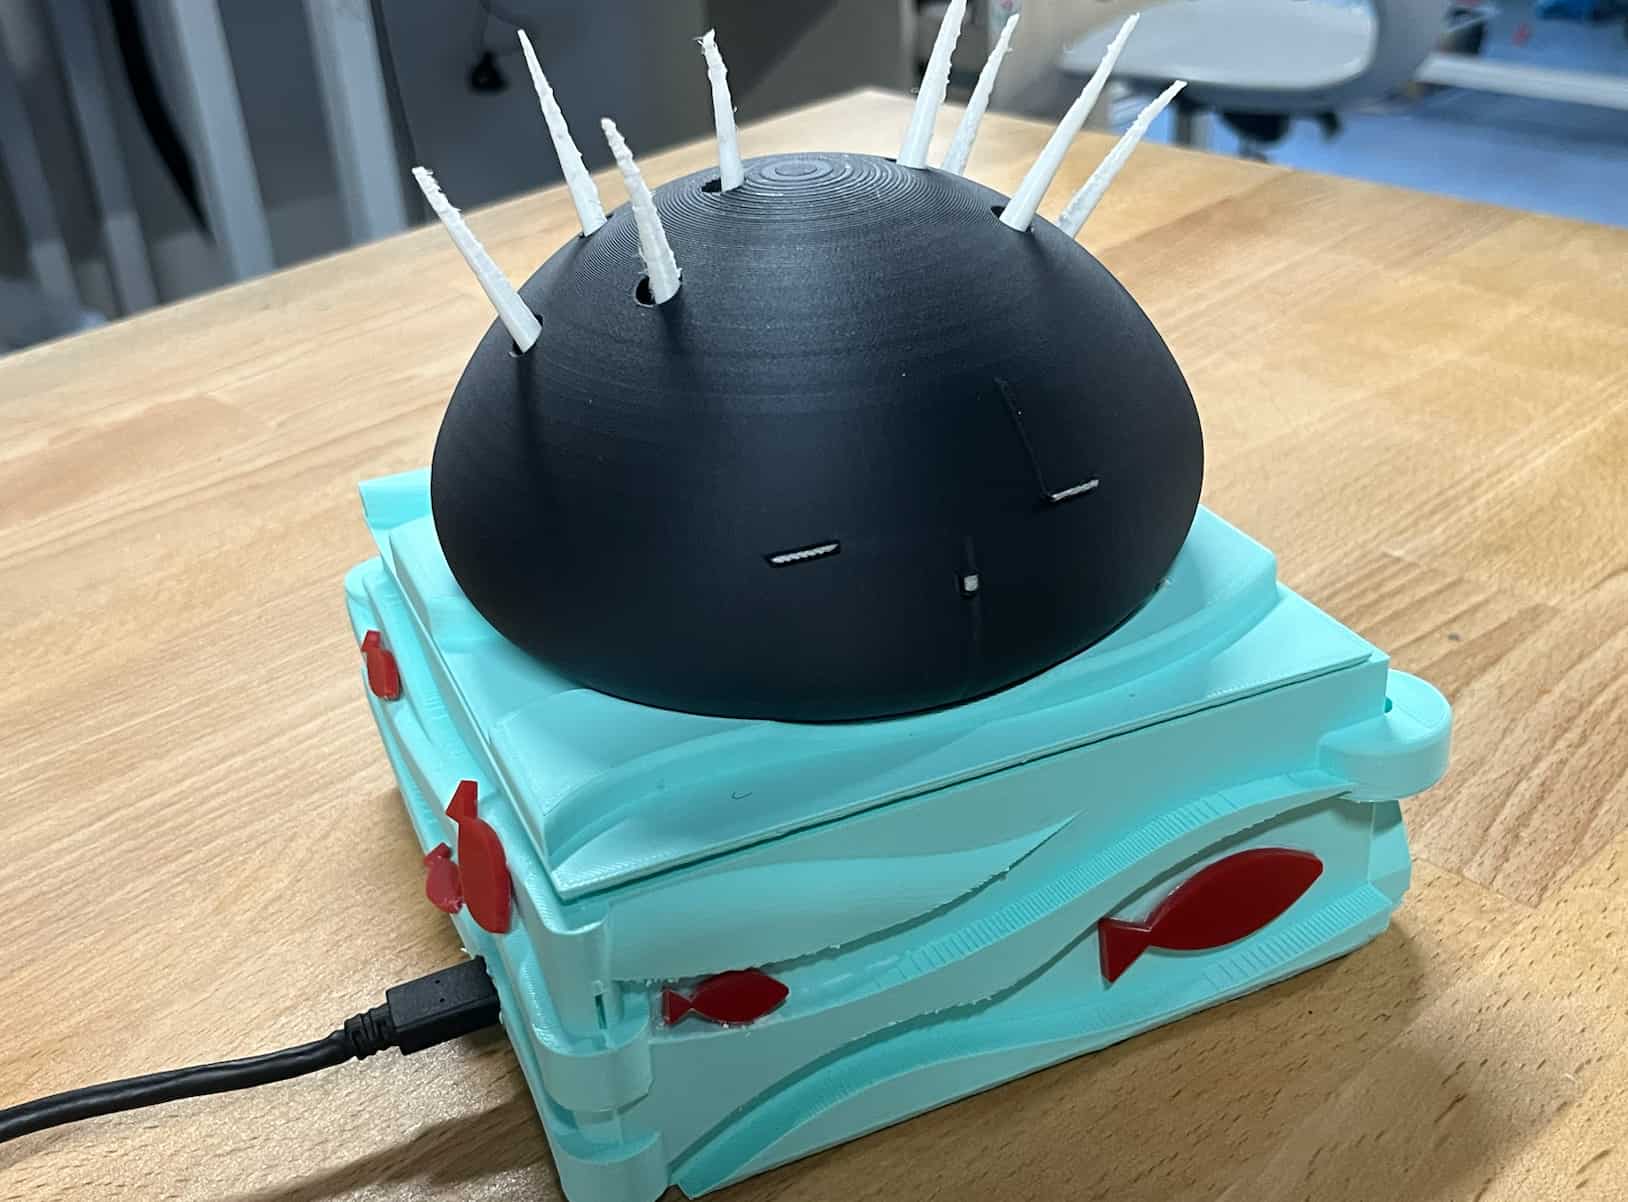
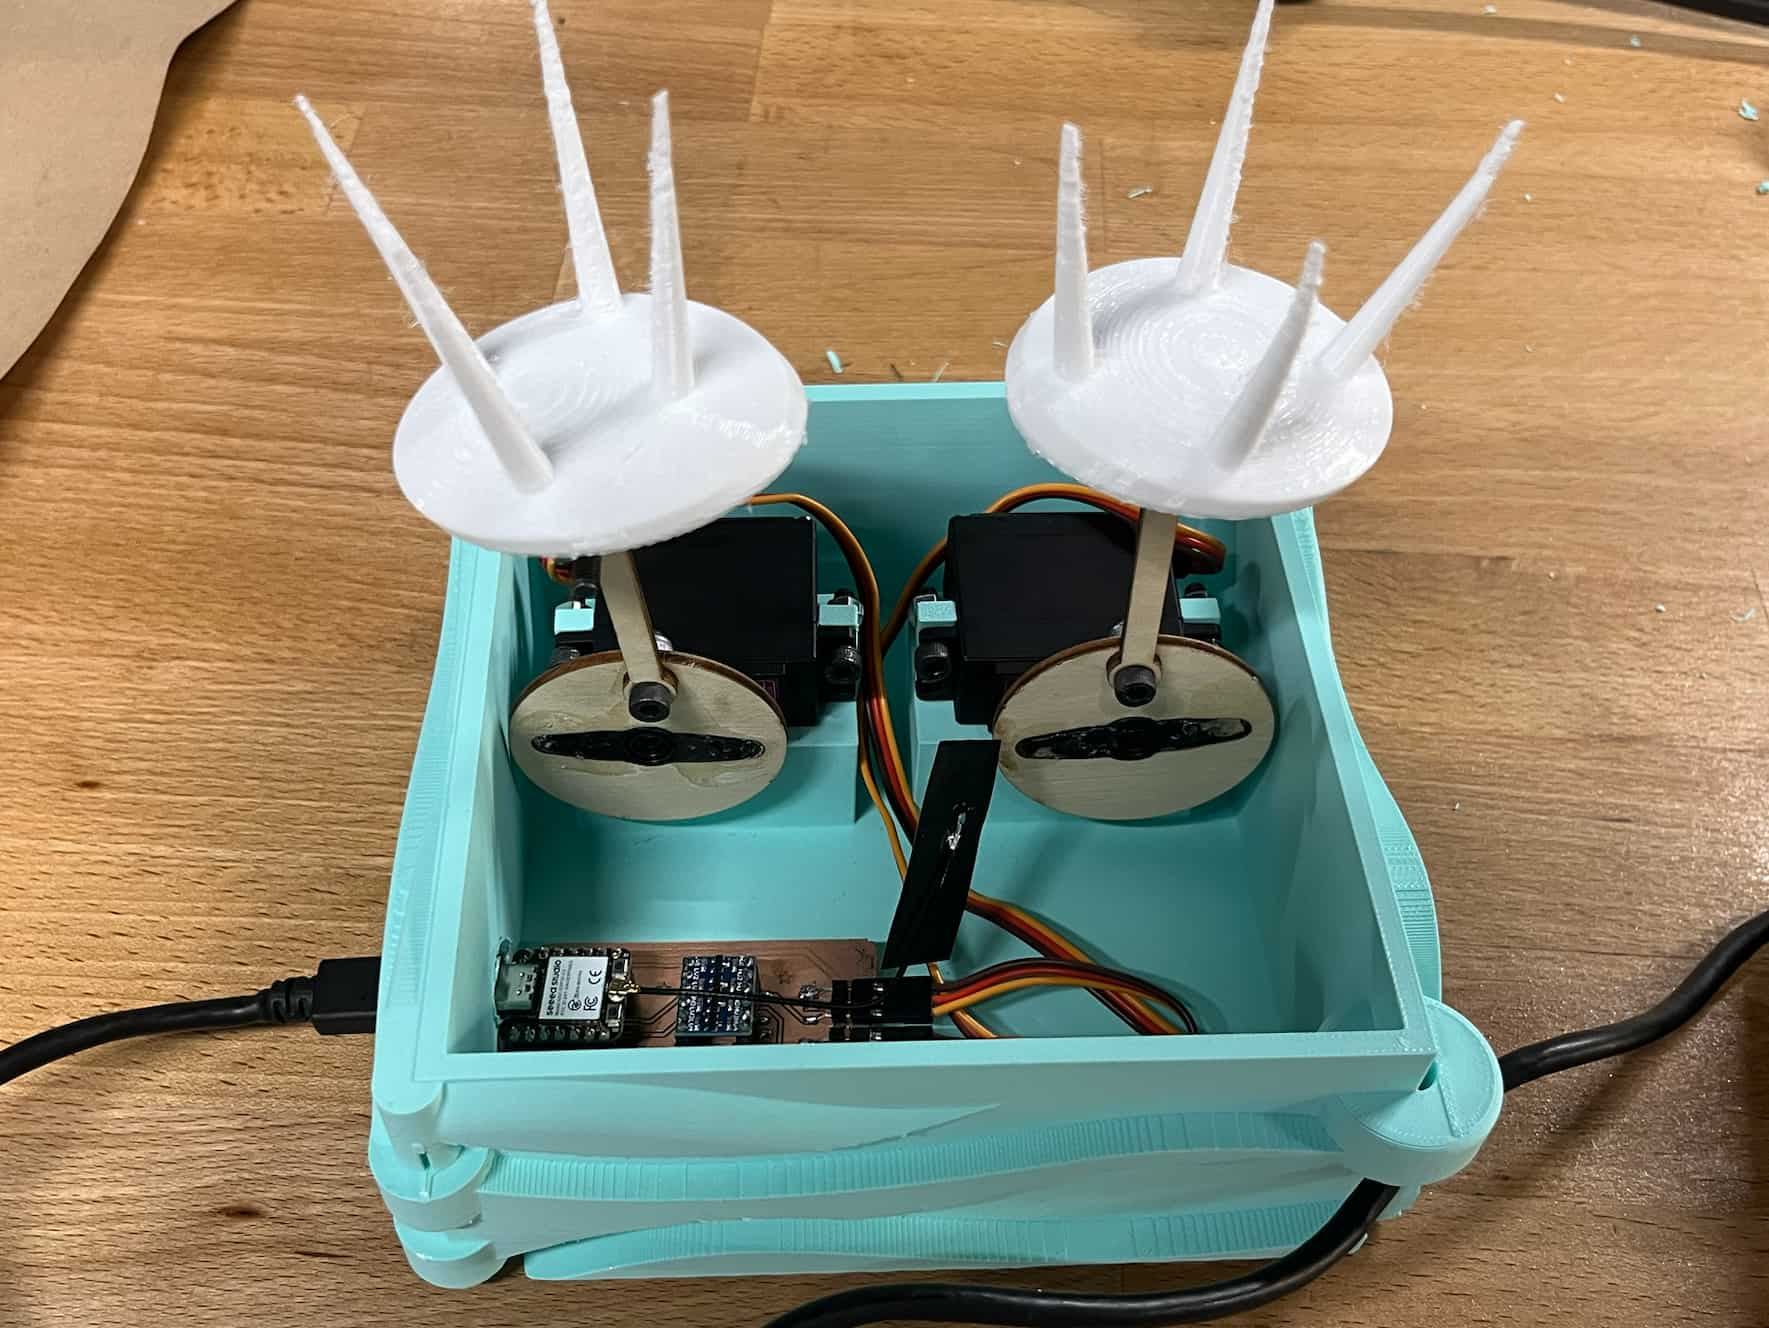
UrchiTime uses two servos to push the spikes up and down according to time input from a web interface
- 2x Servo MG996R
- 1x ESP32-C3
- Logic Level Converter (3.3V - 5V)
Project Schedule
| 20 May - 26 May | Initial CAD and PCB Designs |
| 26 May - 28 May | Finalizing CAD Designs, 3D printing, Printing and soldering PCB |
| 28 May - 3 June | Look into mechanical systems for spikes |
| 3 June - 7 June | Start Implementing mechanical design for the spikes, work on interface programming |
| 7 June - 9 June | Finalize Packaging and interface |
| 9 June - 12 June | Edit poster and video |
Packaging
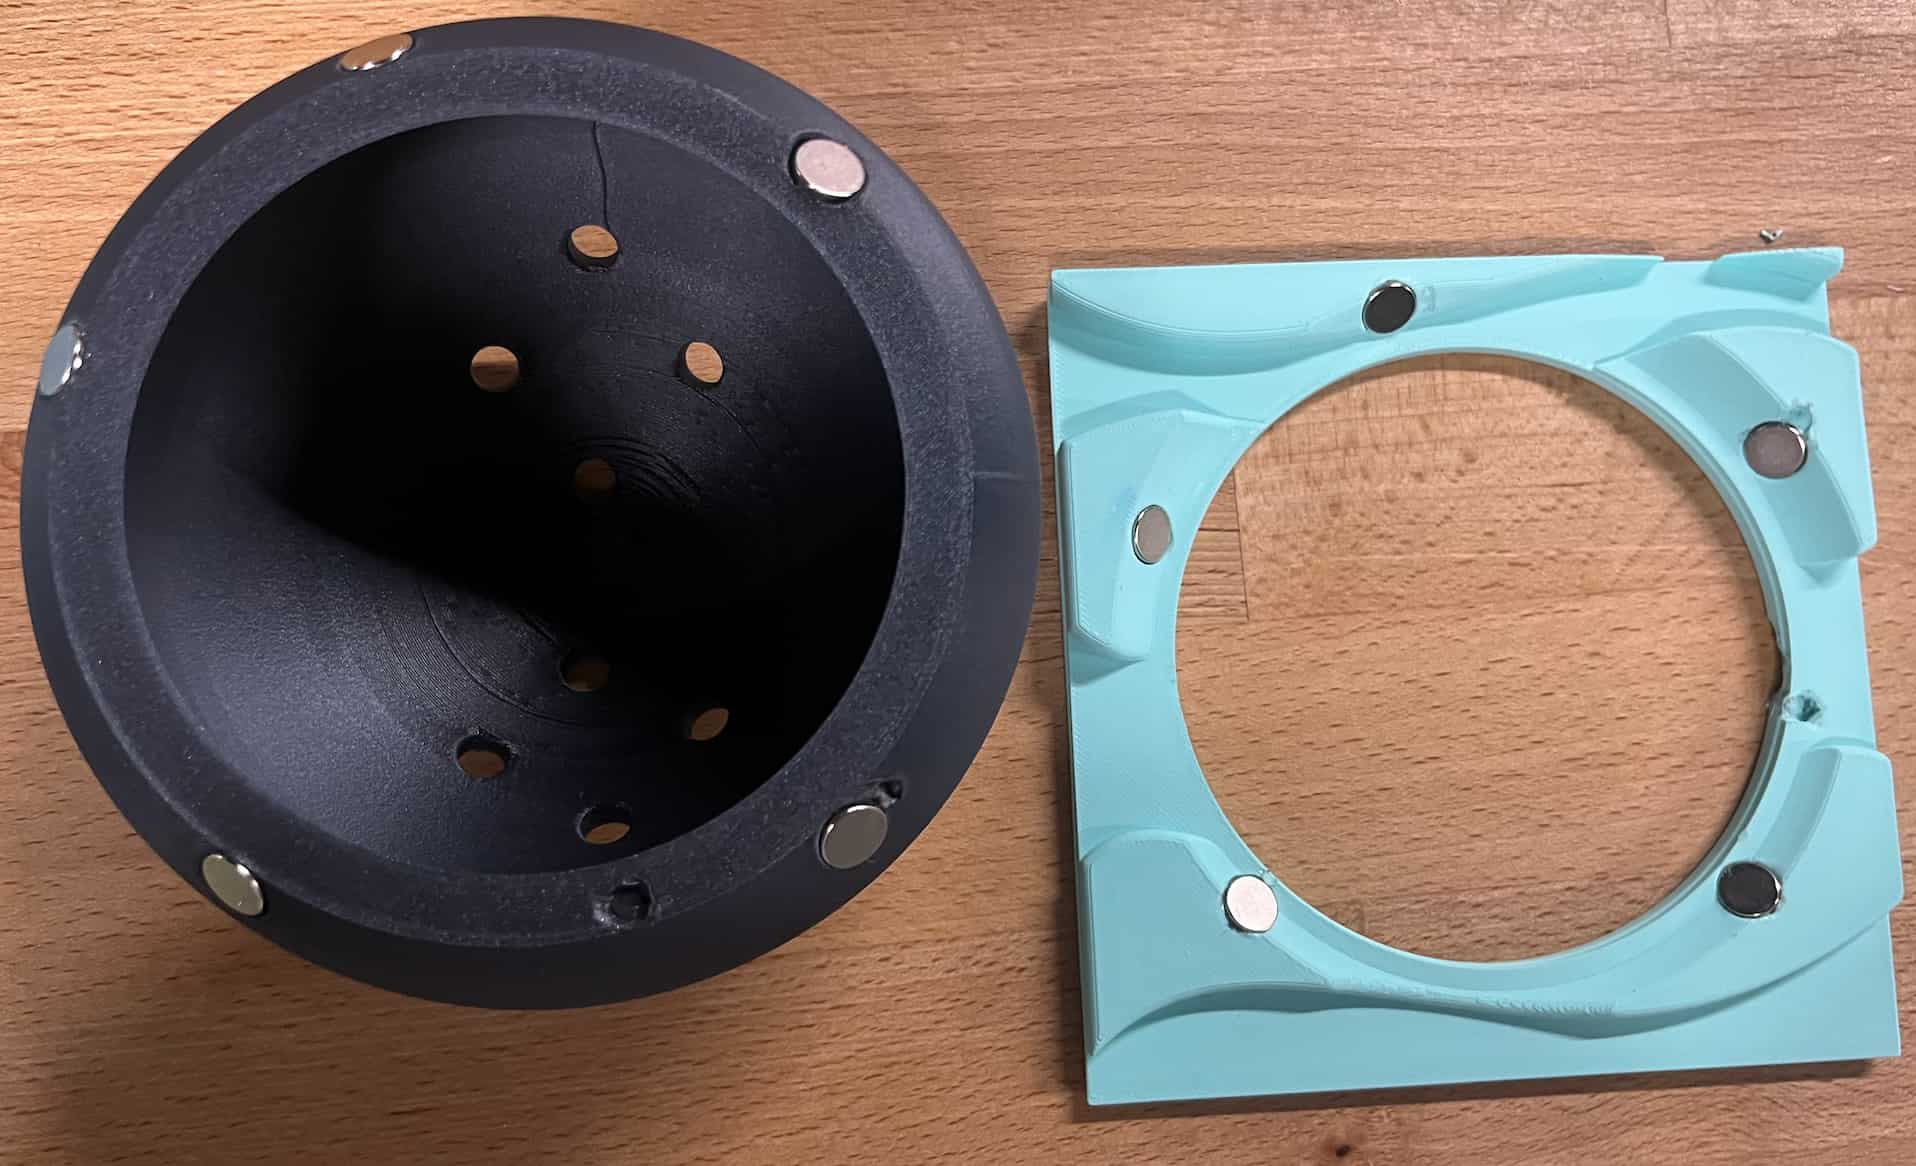
The stand and body were both 3D printed. I used PLA for the body & stand and flexible TPU for the spikes.
Servo MG996R model was used to create the appropriate screw places.
M4 screws were used to secure the servos onto their places.
The places are held together by magnets - I used bigger magnets as they are much stronger than smaller ones.
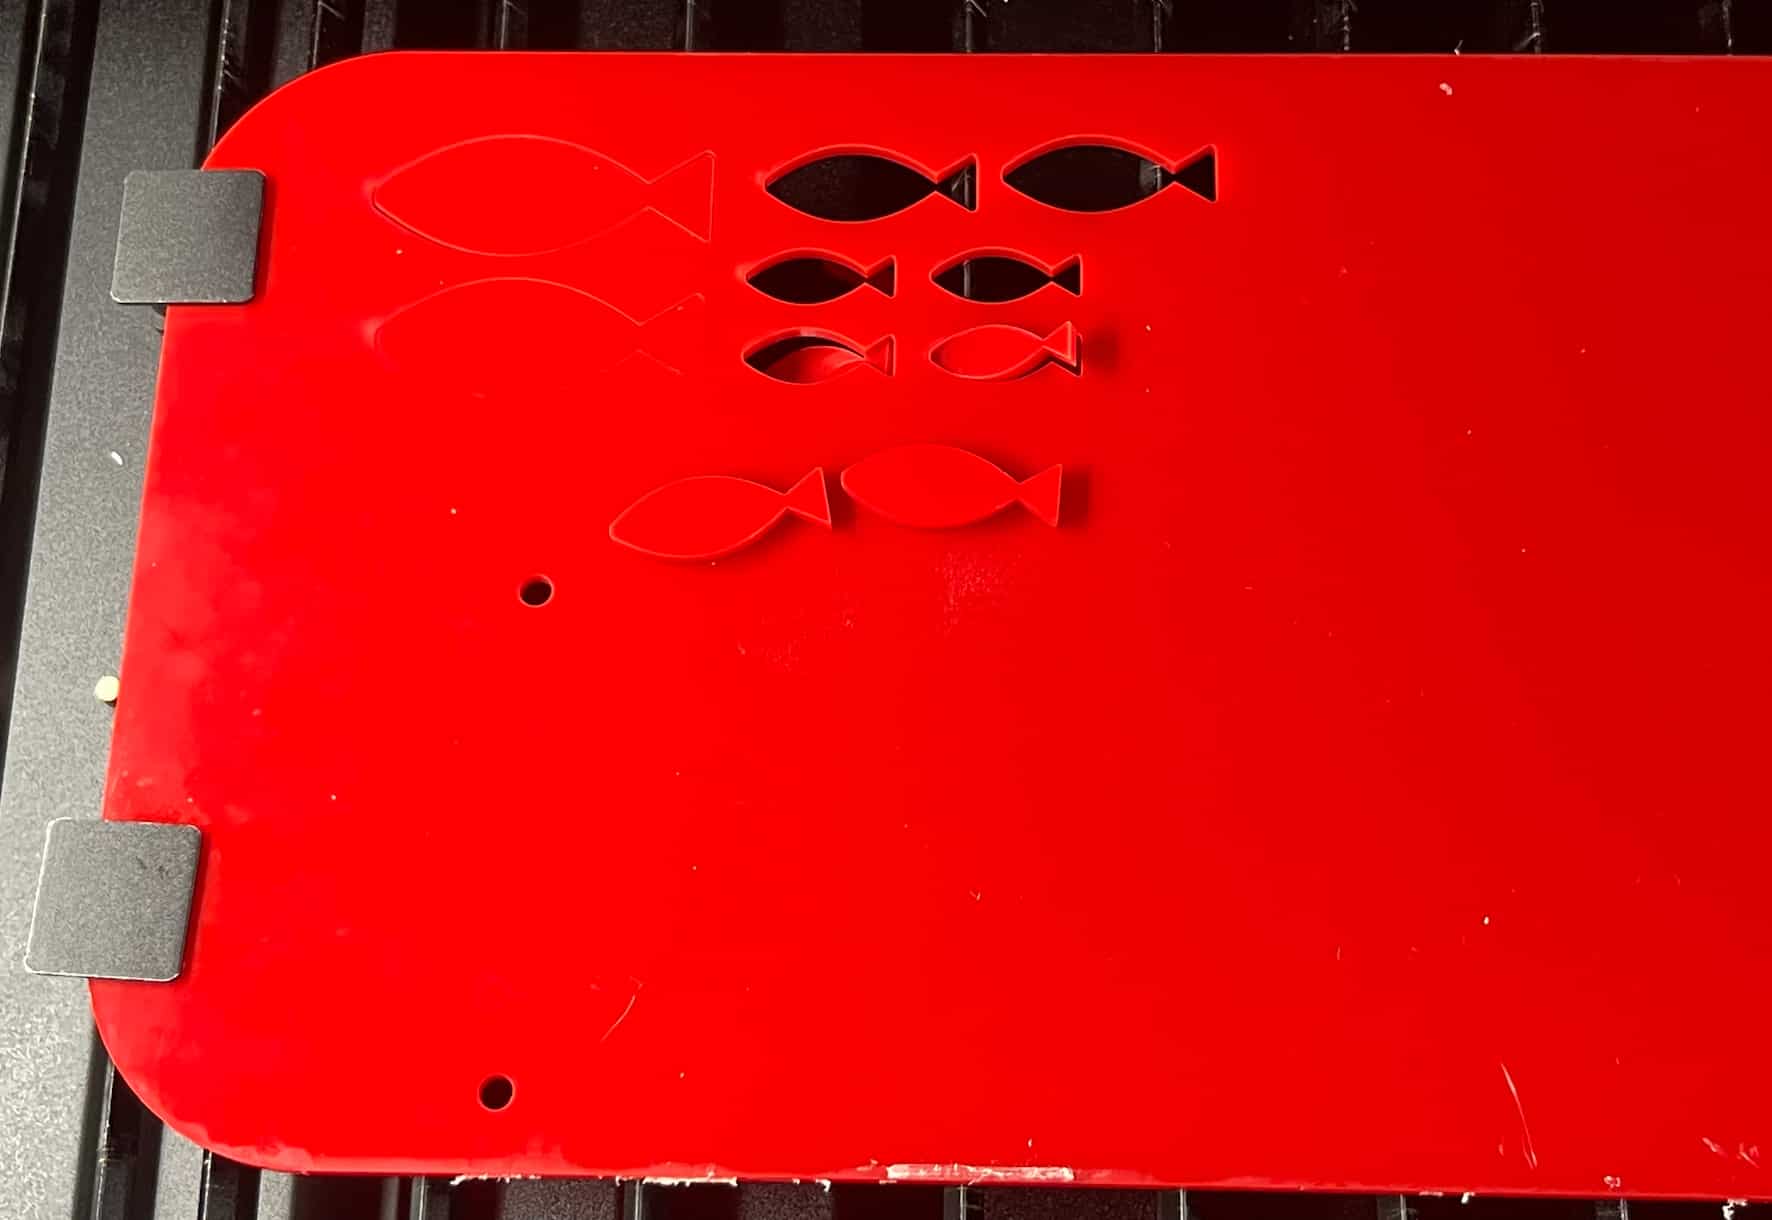
I used a laser to cut the fish on the stand.
Power
I left a hole on the bottom side of the stand for the USB cable to pass through and connect to the pcb which is placed inside the stand.

The ESP32-C3 is connected to a 5V 3A power source
Final Form