Fusion 360
First I designed the mold. I drew a sketch of the shape I wanted. I used ellipse with different radius to create all the shapes. I created sketches only one on side and then used the symmetry tool to make it symmetrical for the other side.
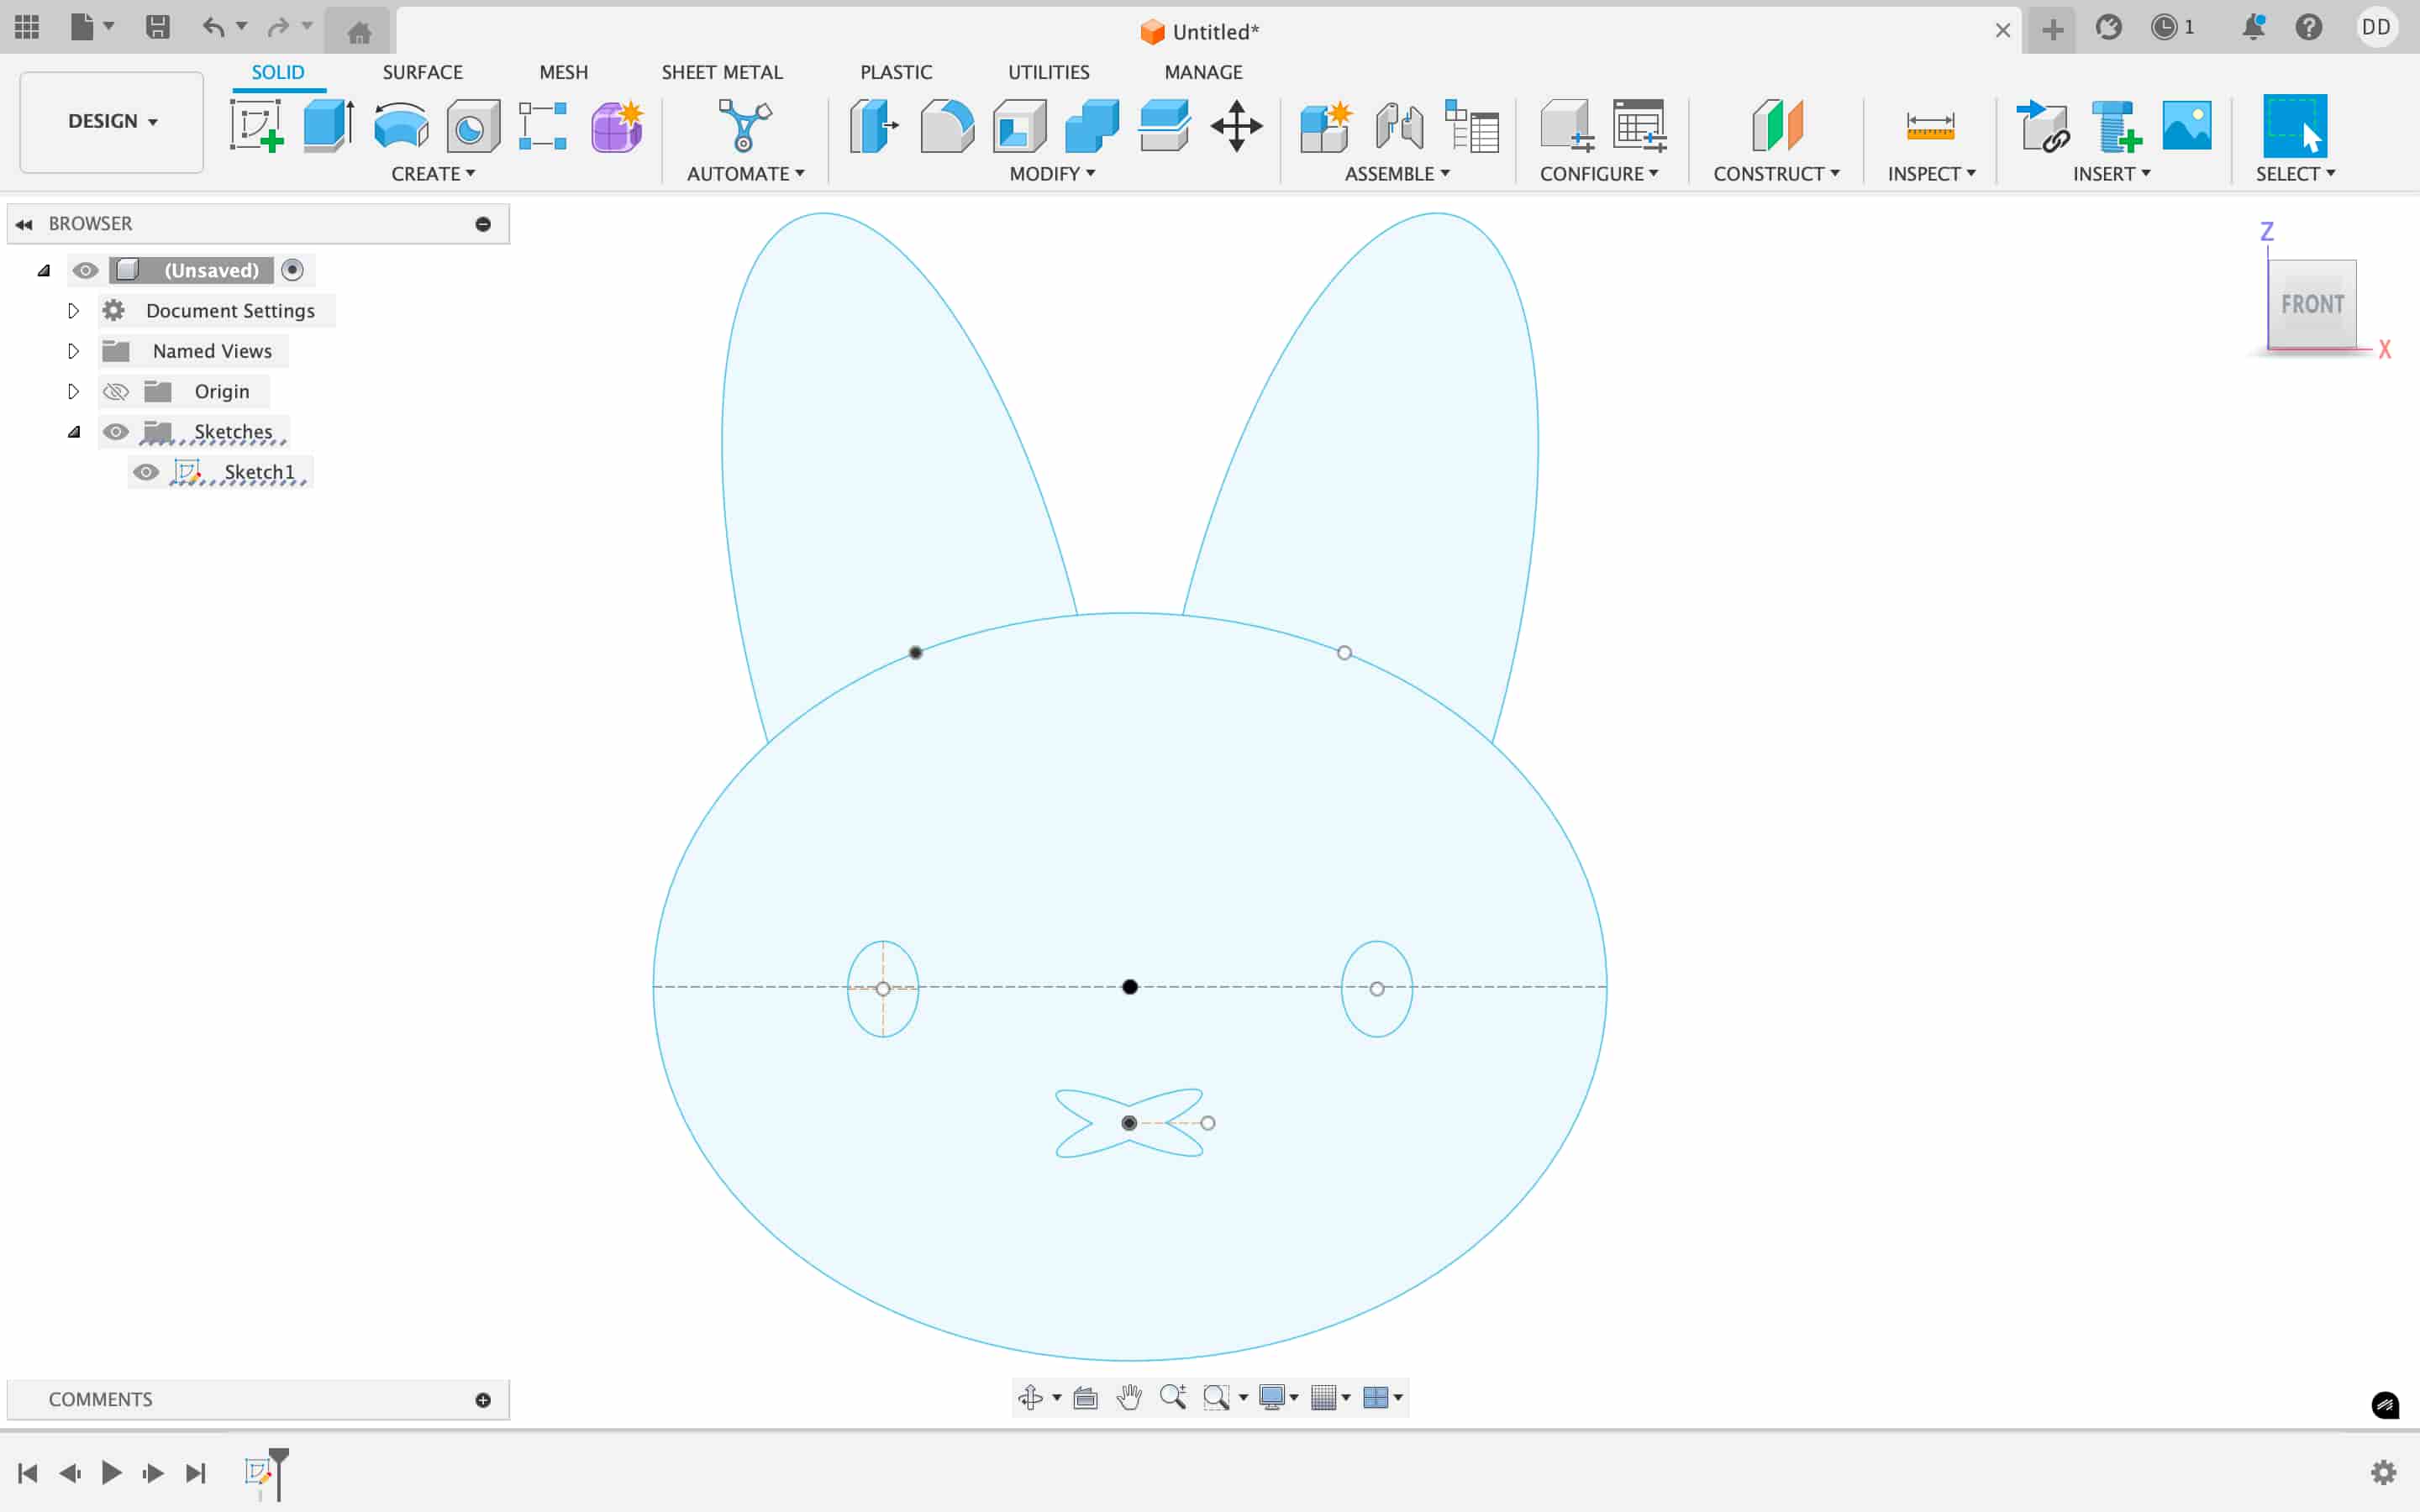
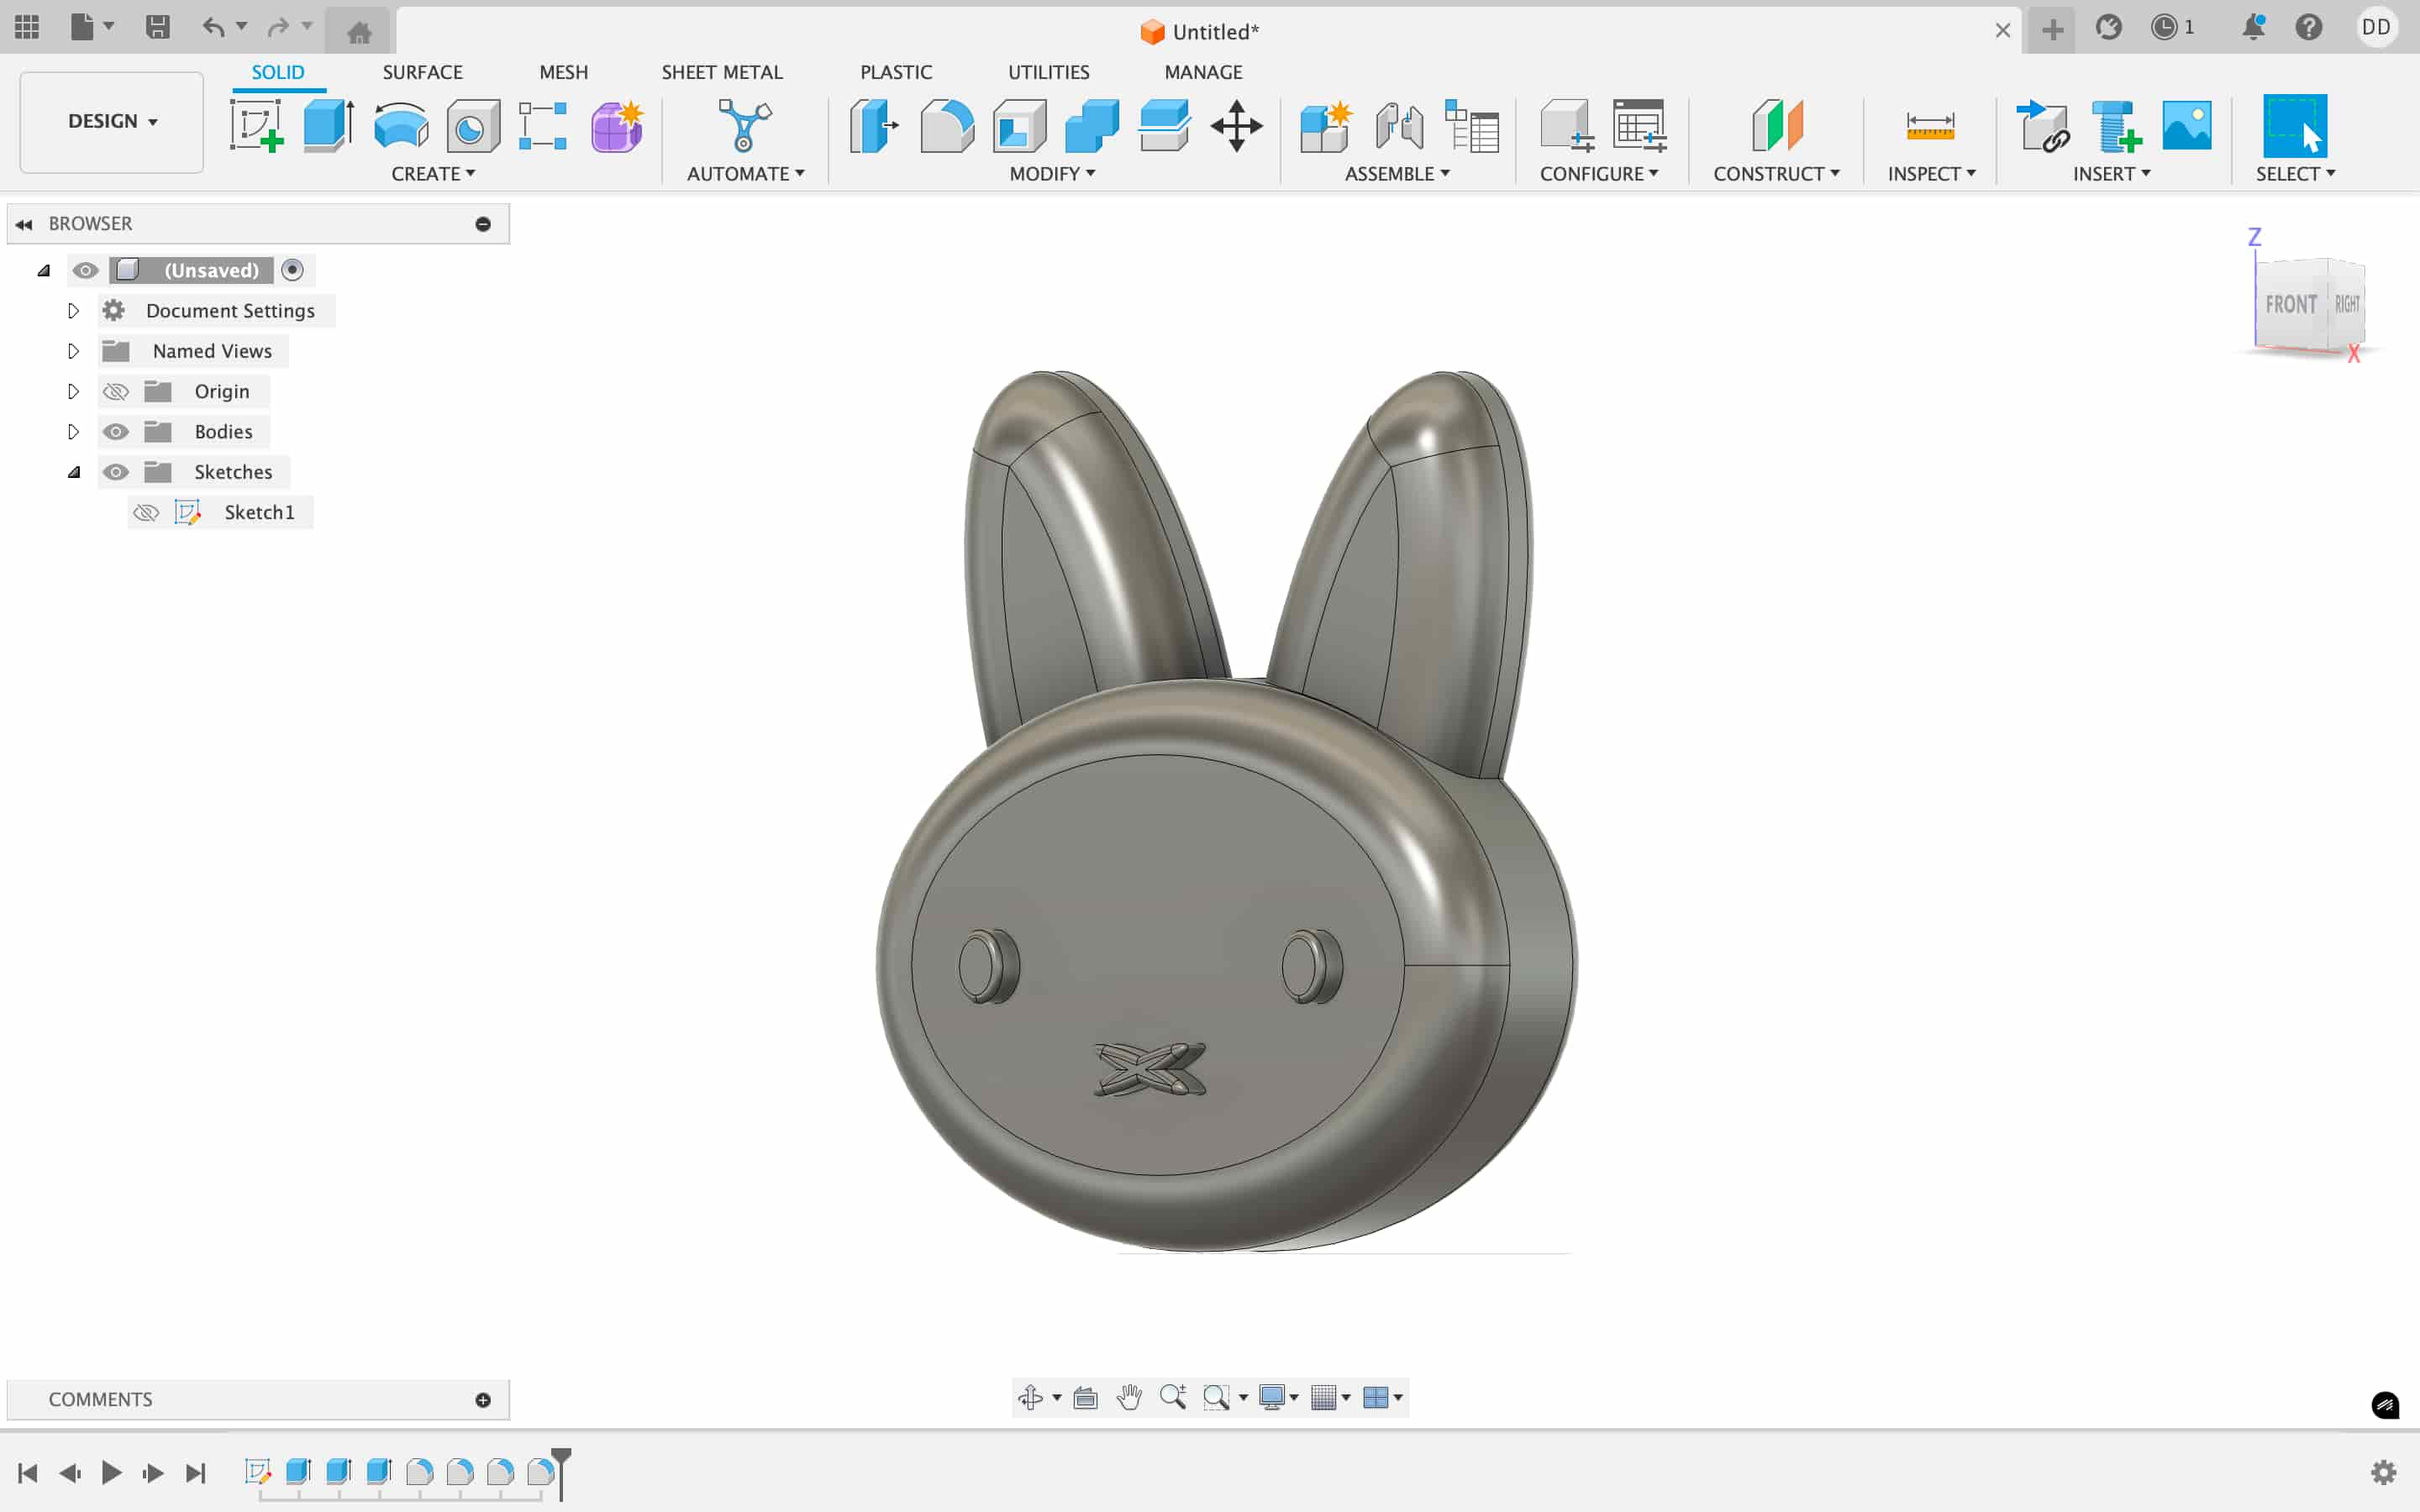
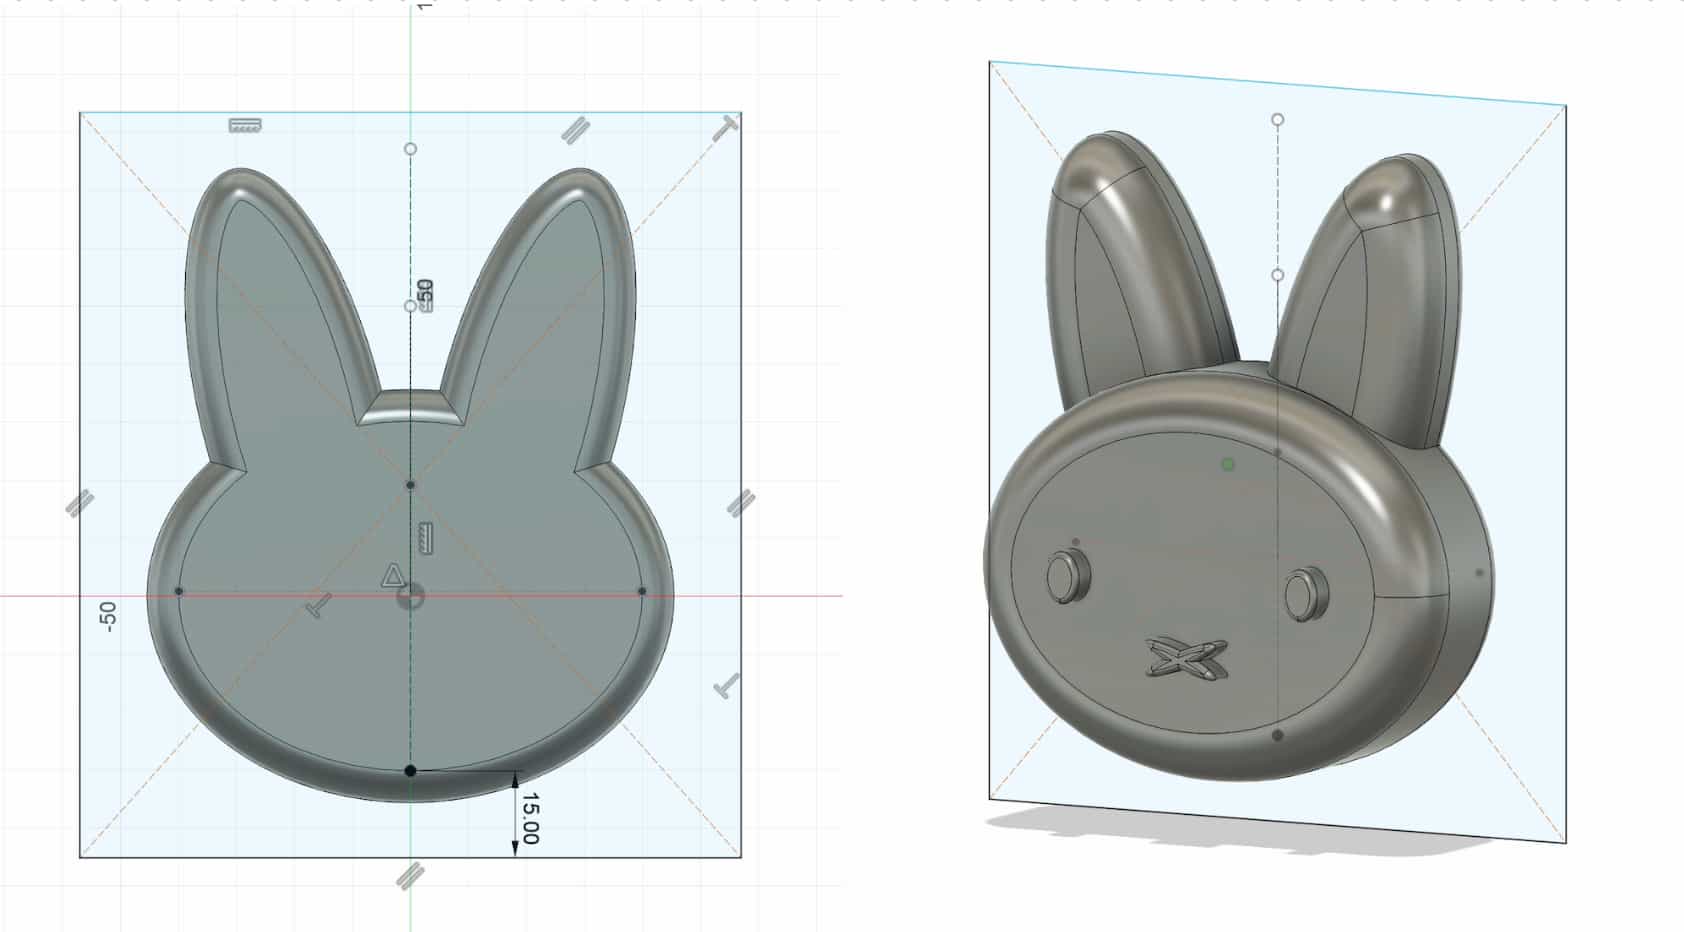
I used extrude to make the shape 3D. Here are the measurements for extrude:
- 35 for the face
- 20 for ears
- 30 for head
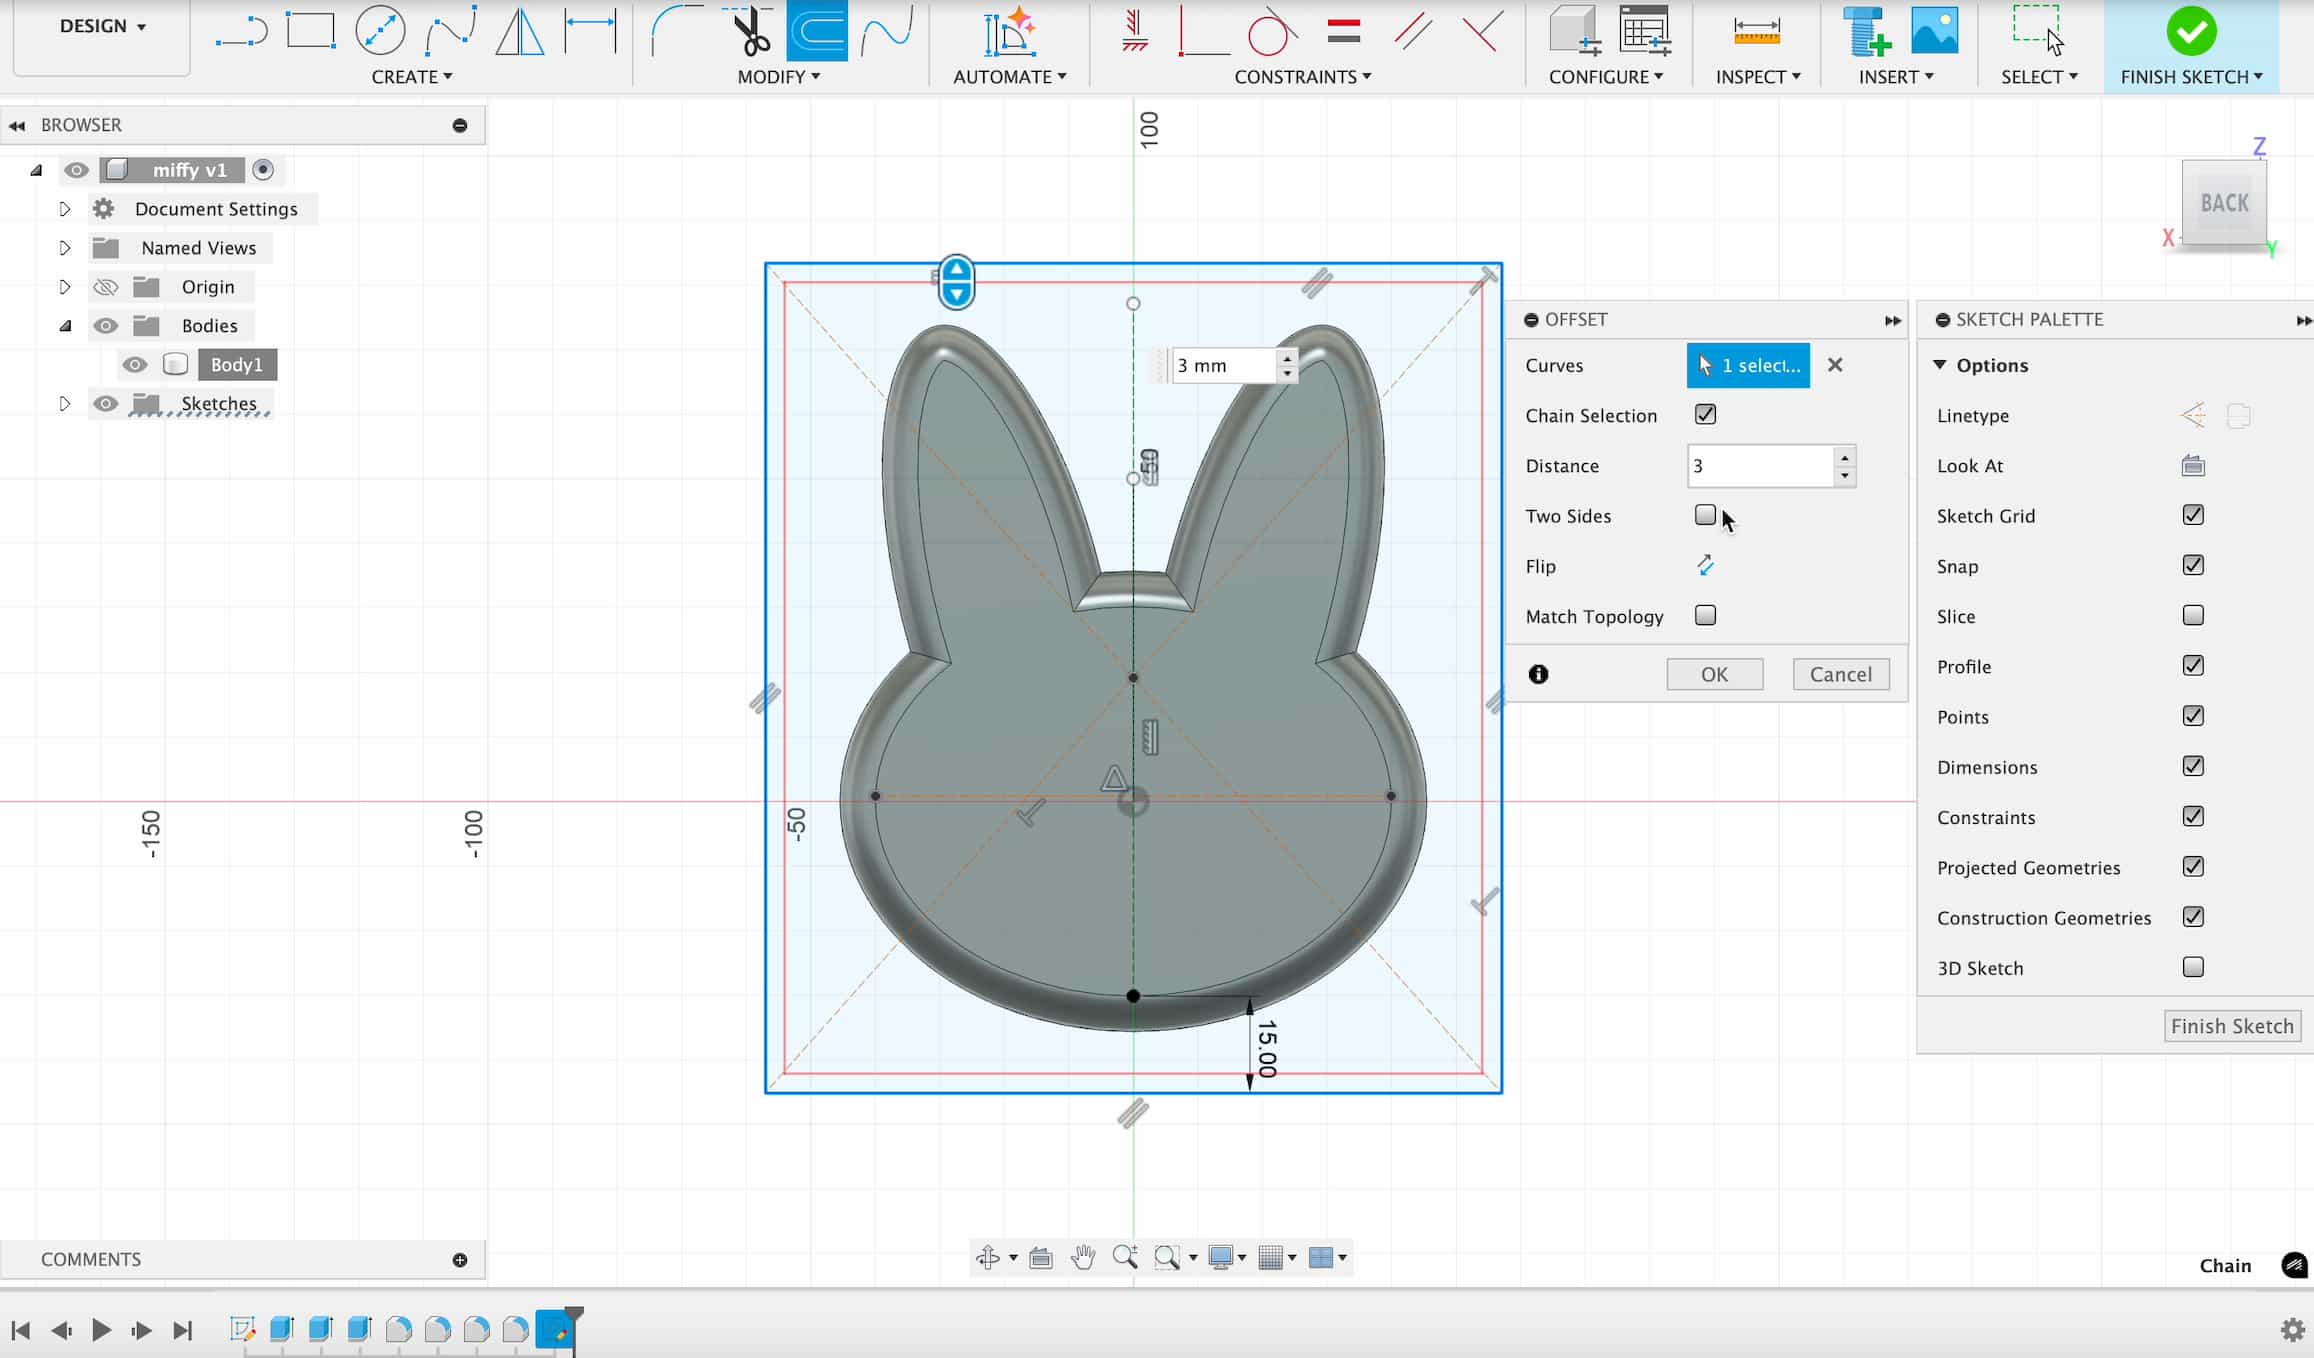
To create the mold shape I started out by creating a new skech at the back of the head. I drew a rectangle and adjusted shape.
I used fillet 3mm to create an inner rectangle.
I selected the inner rectangle and used extrude -> join to make the bottom of the rectangle.
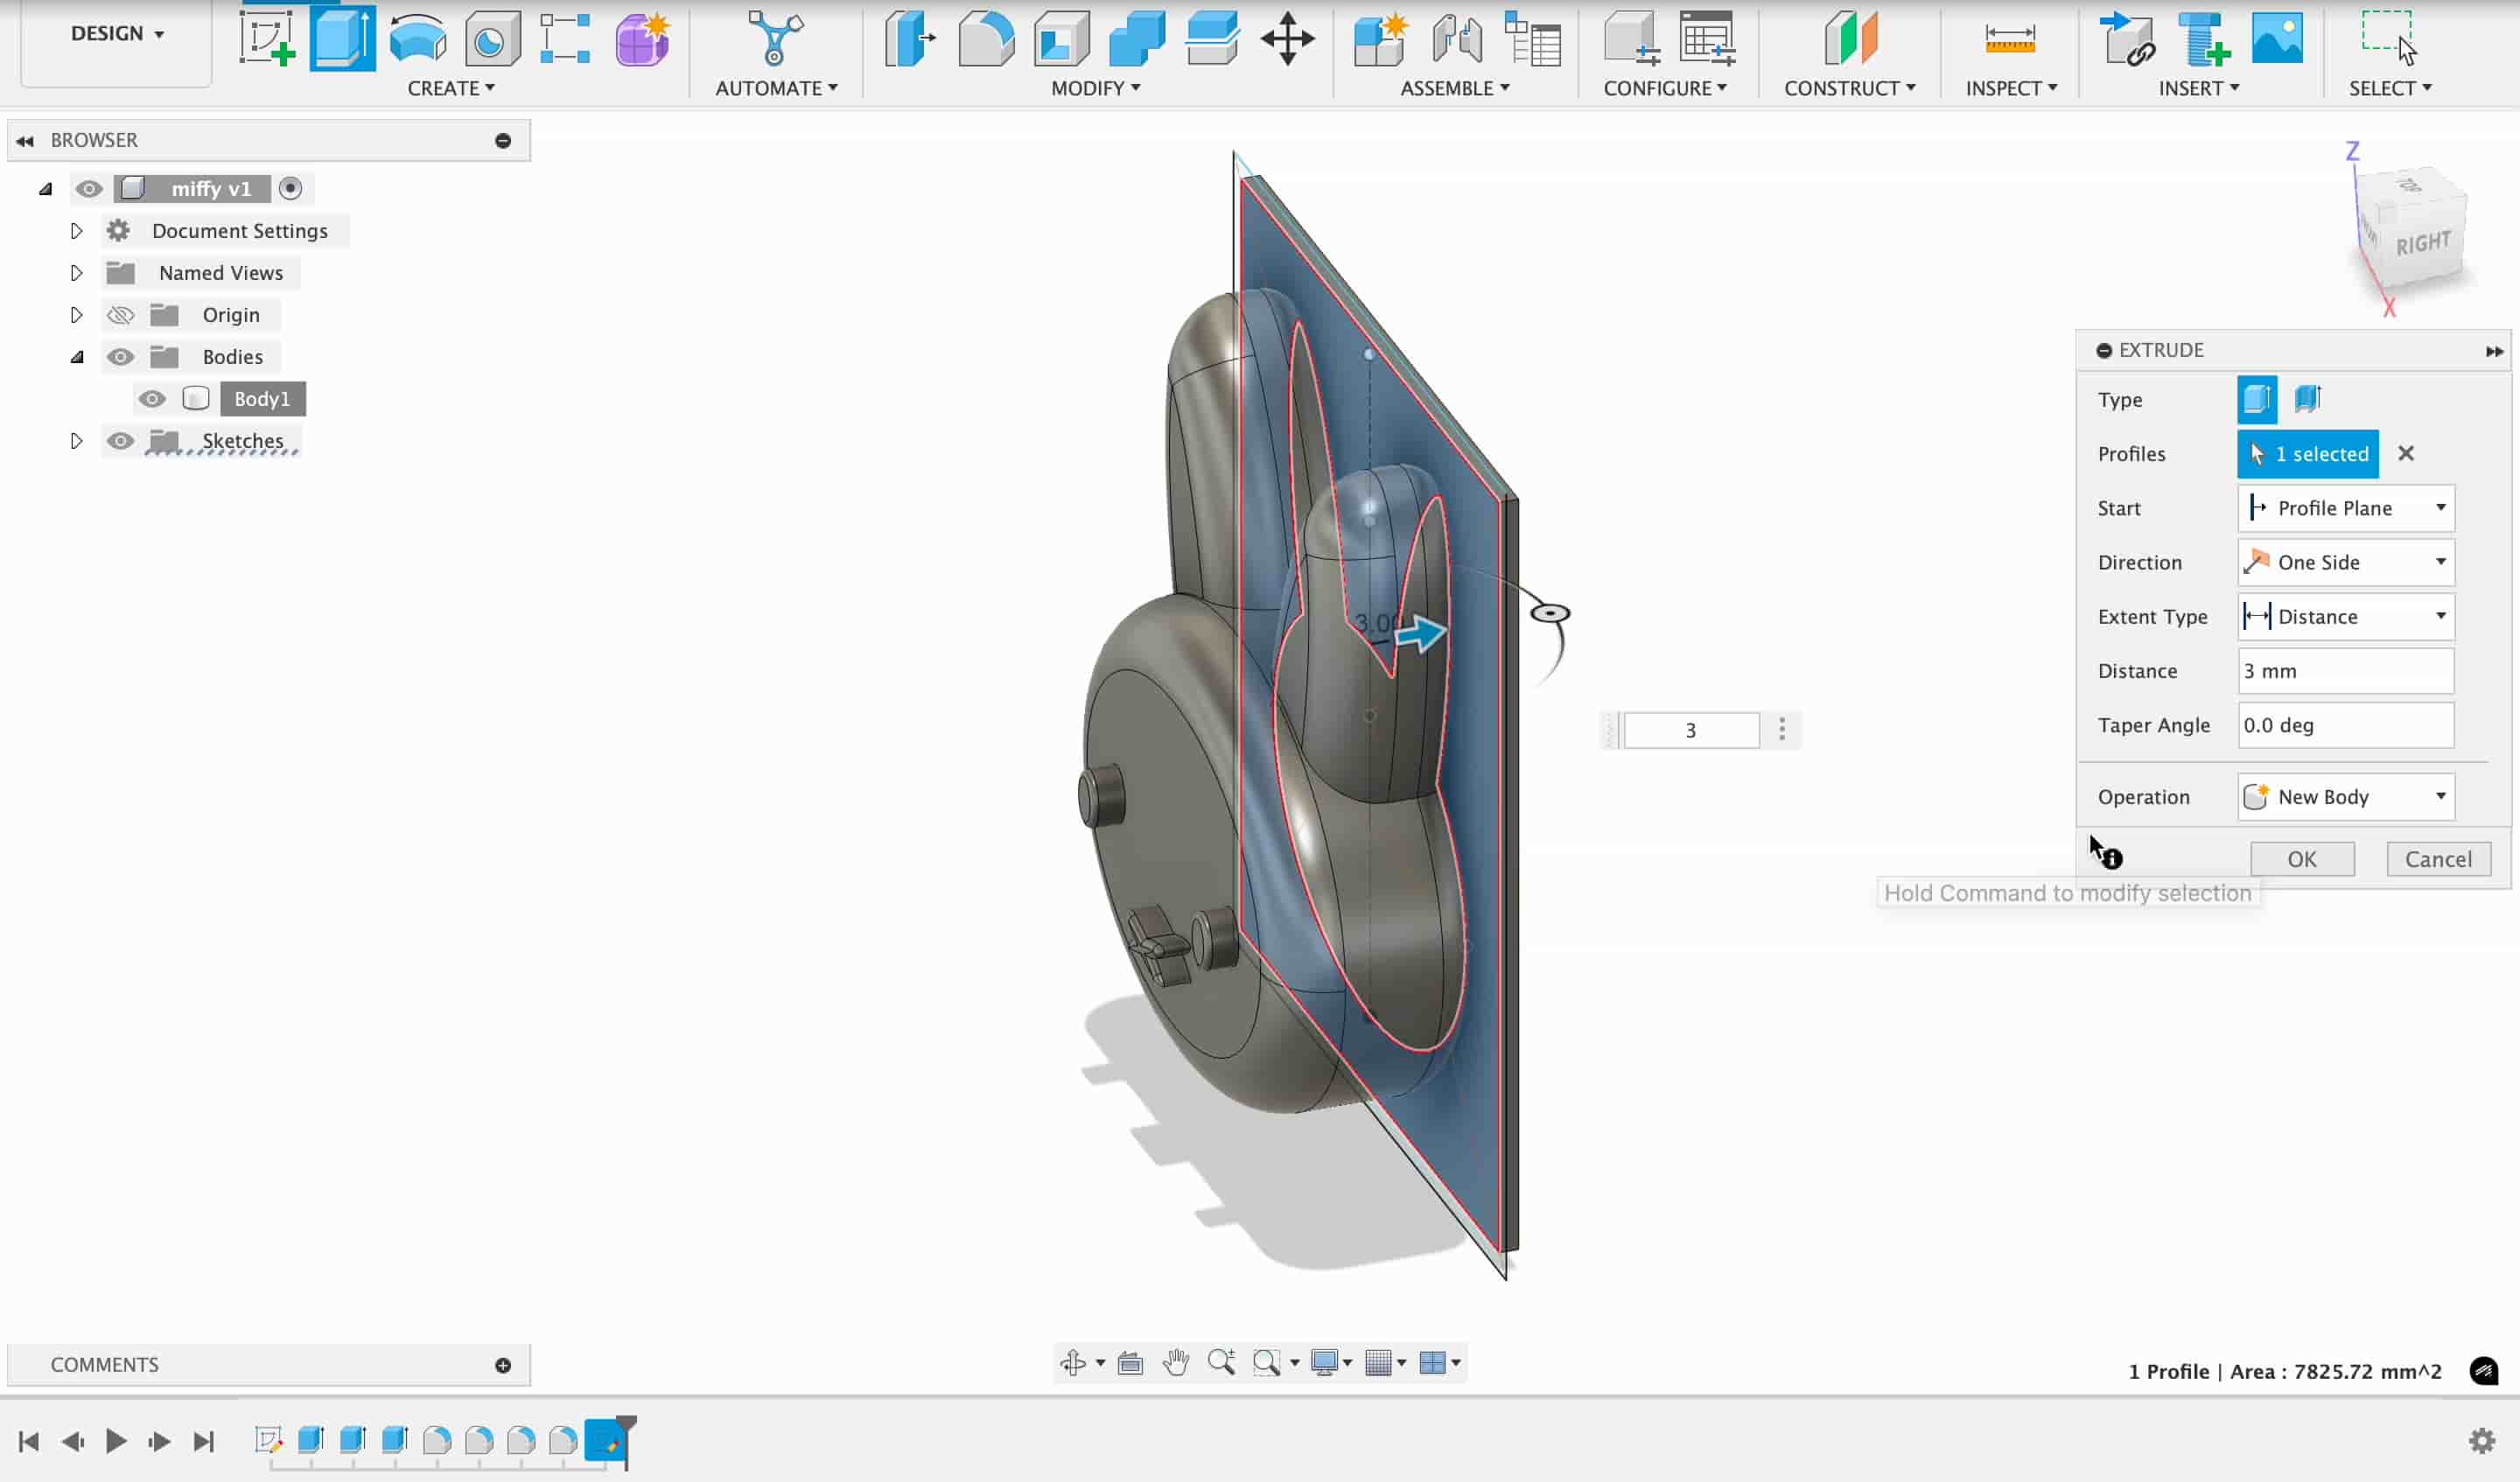
I selected the outer rectangle and used extrude again.
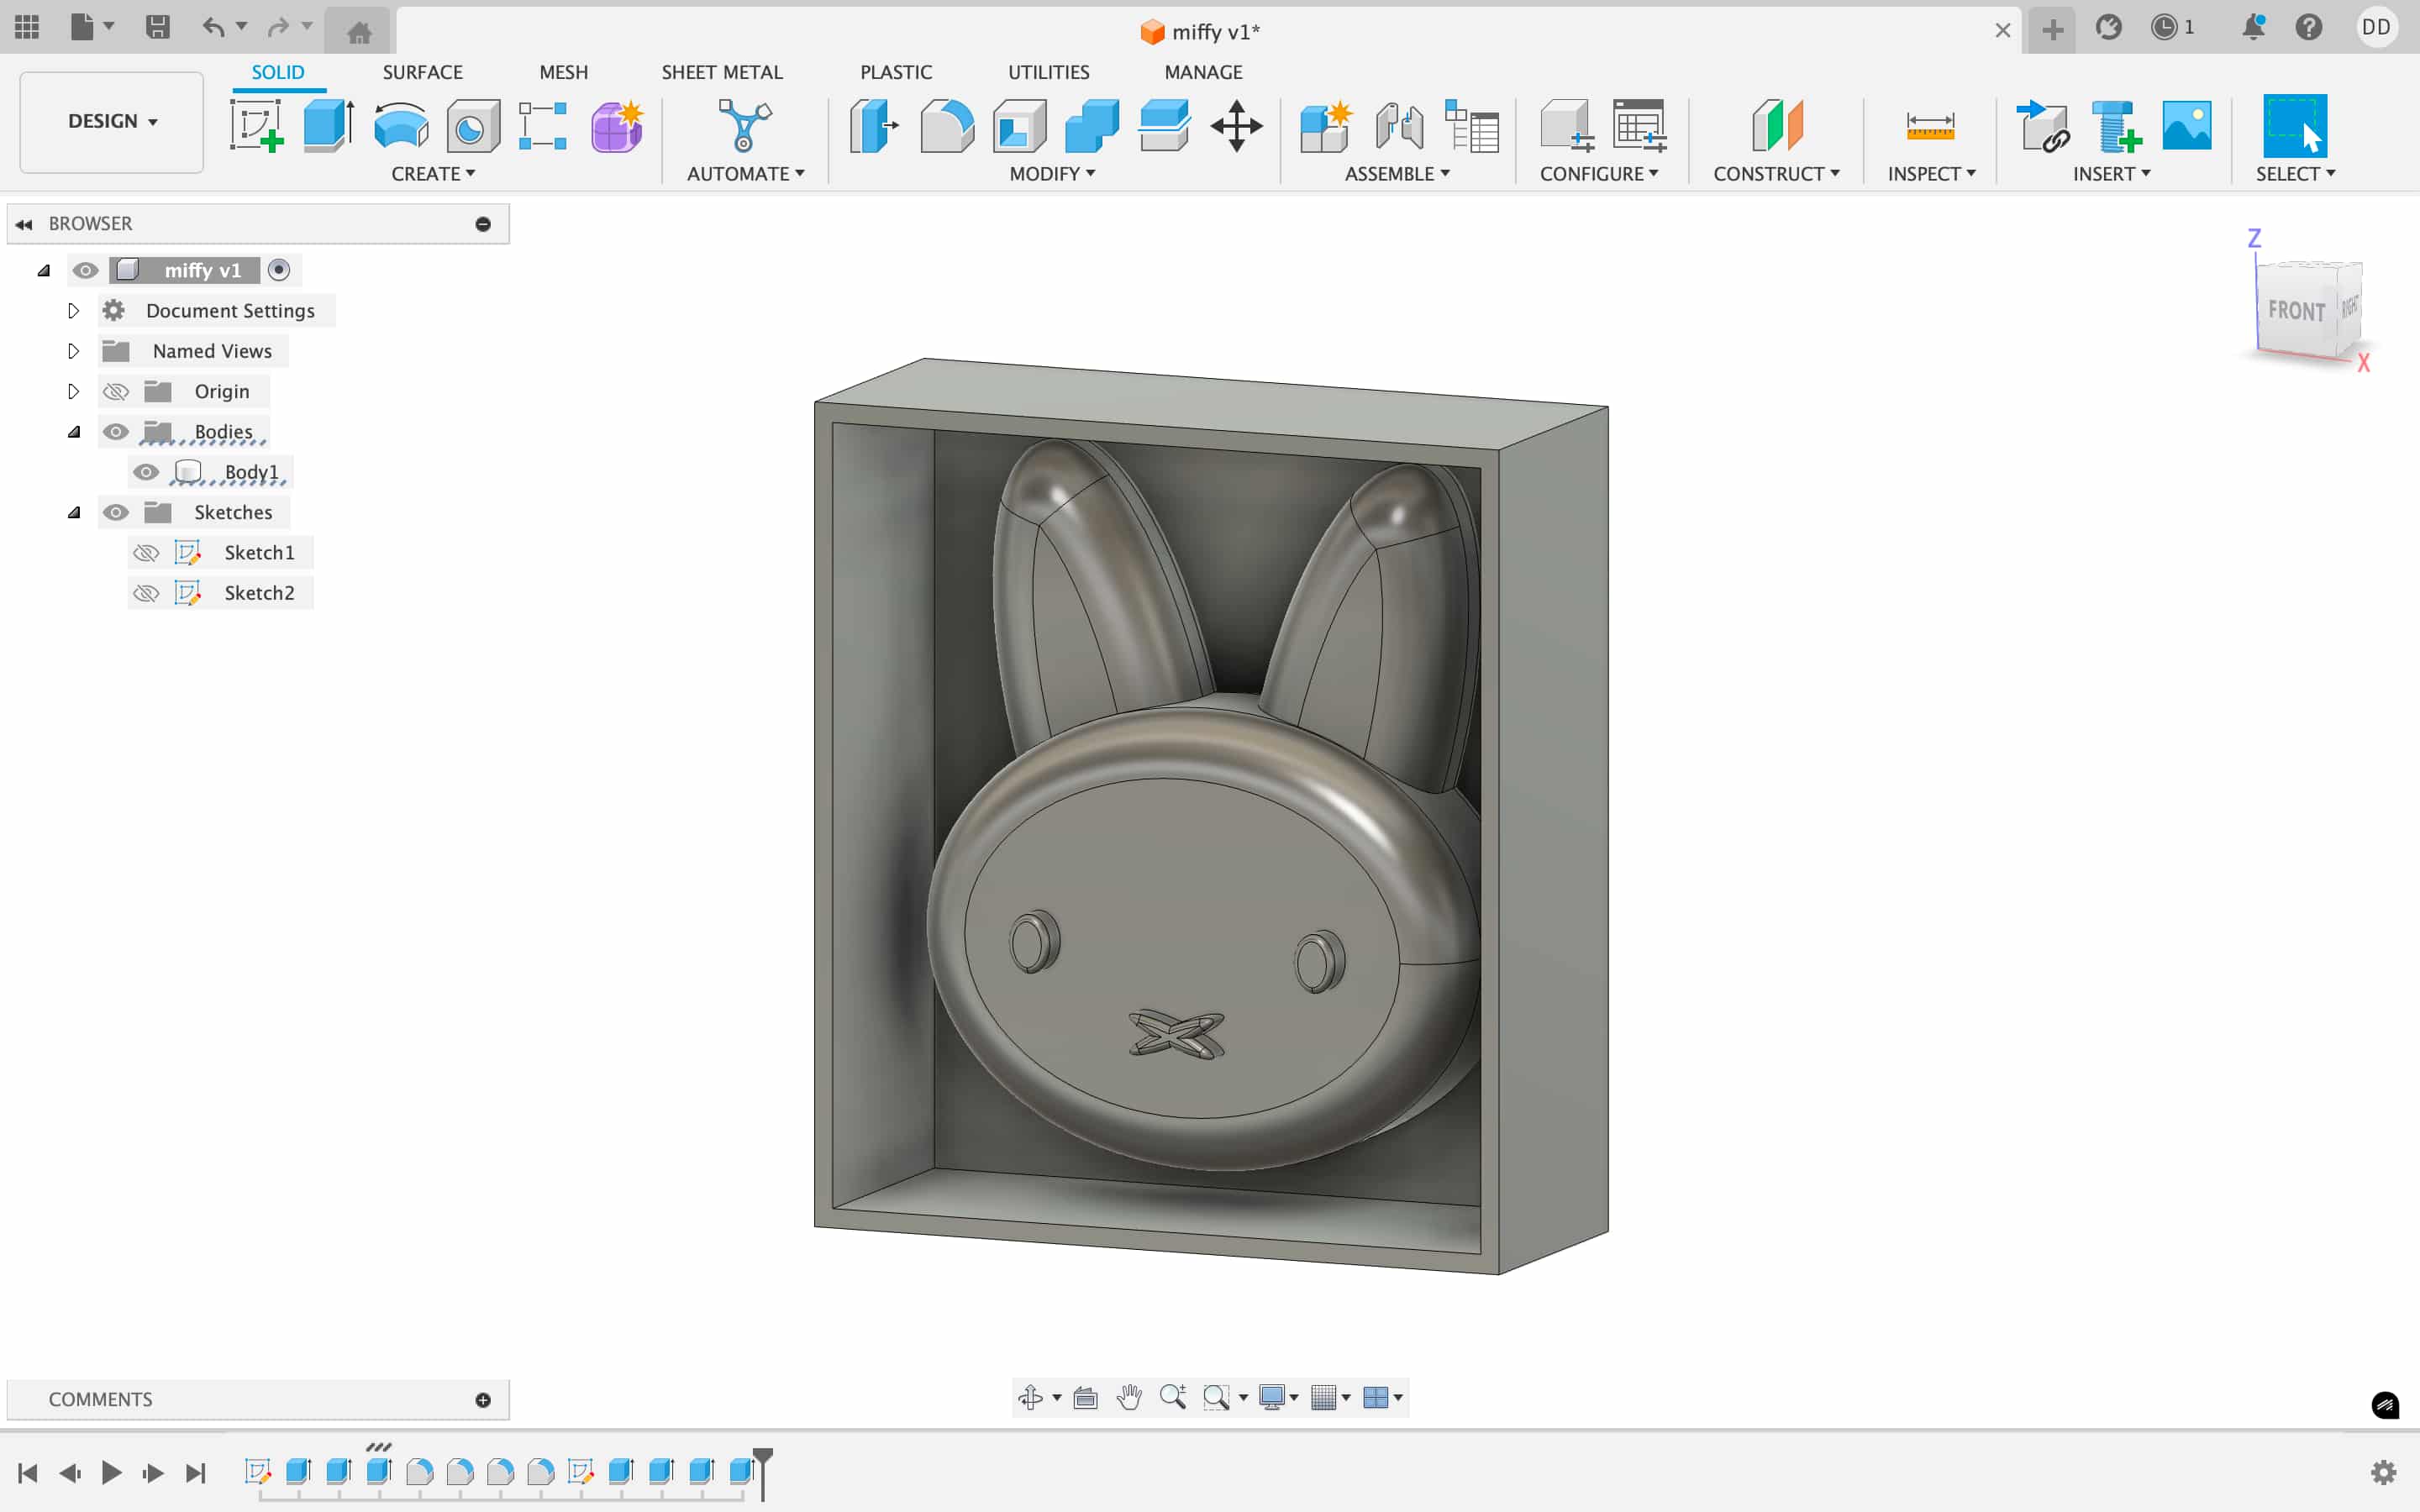
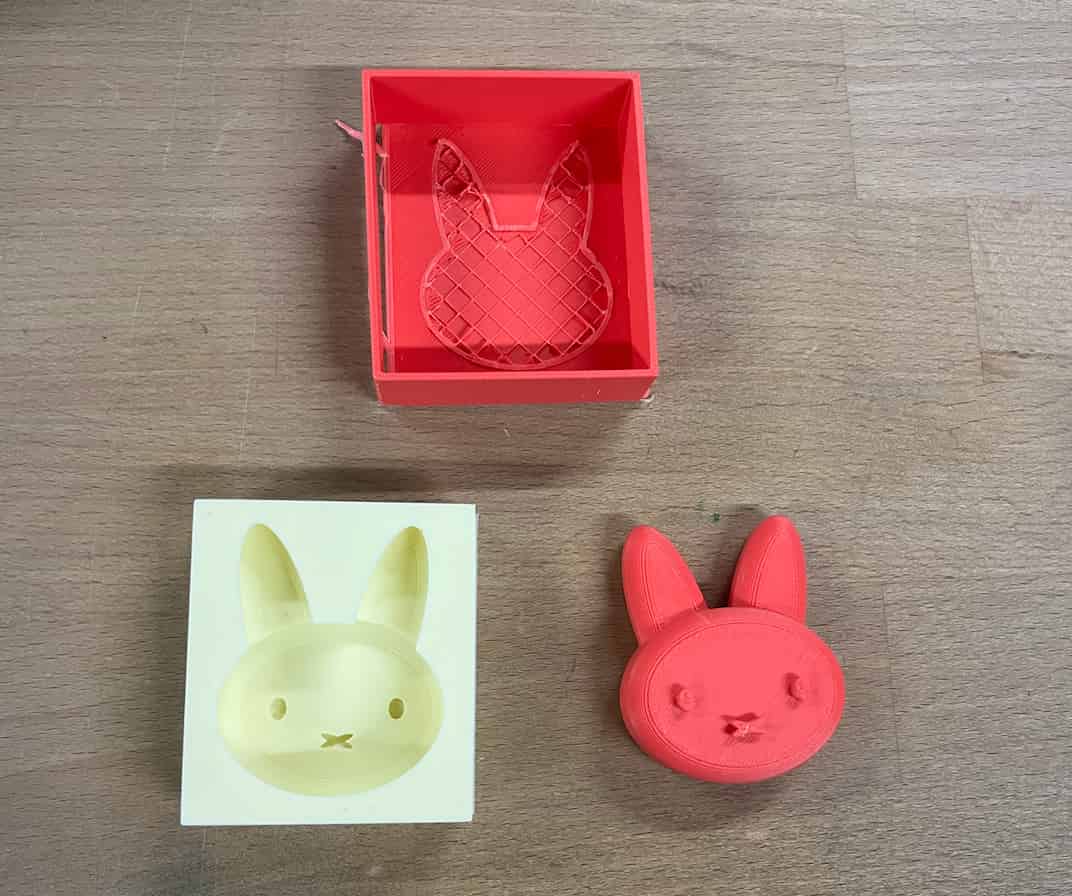
Mold
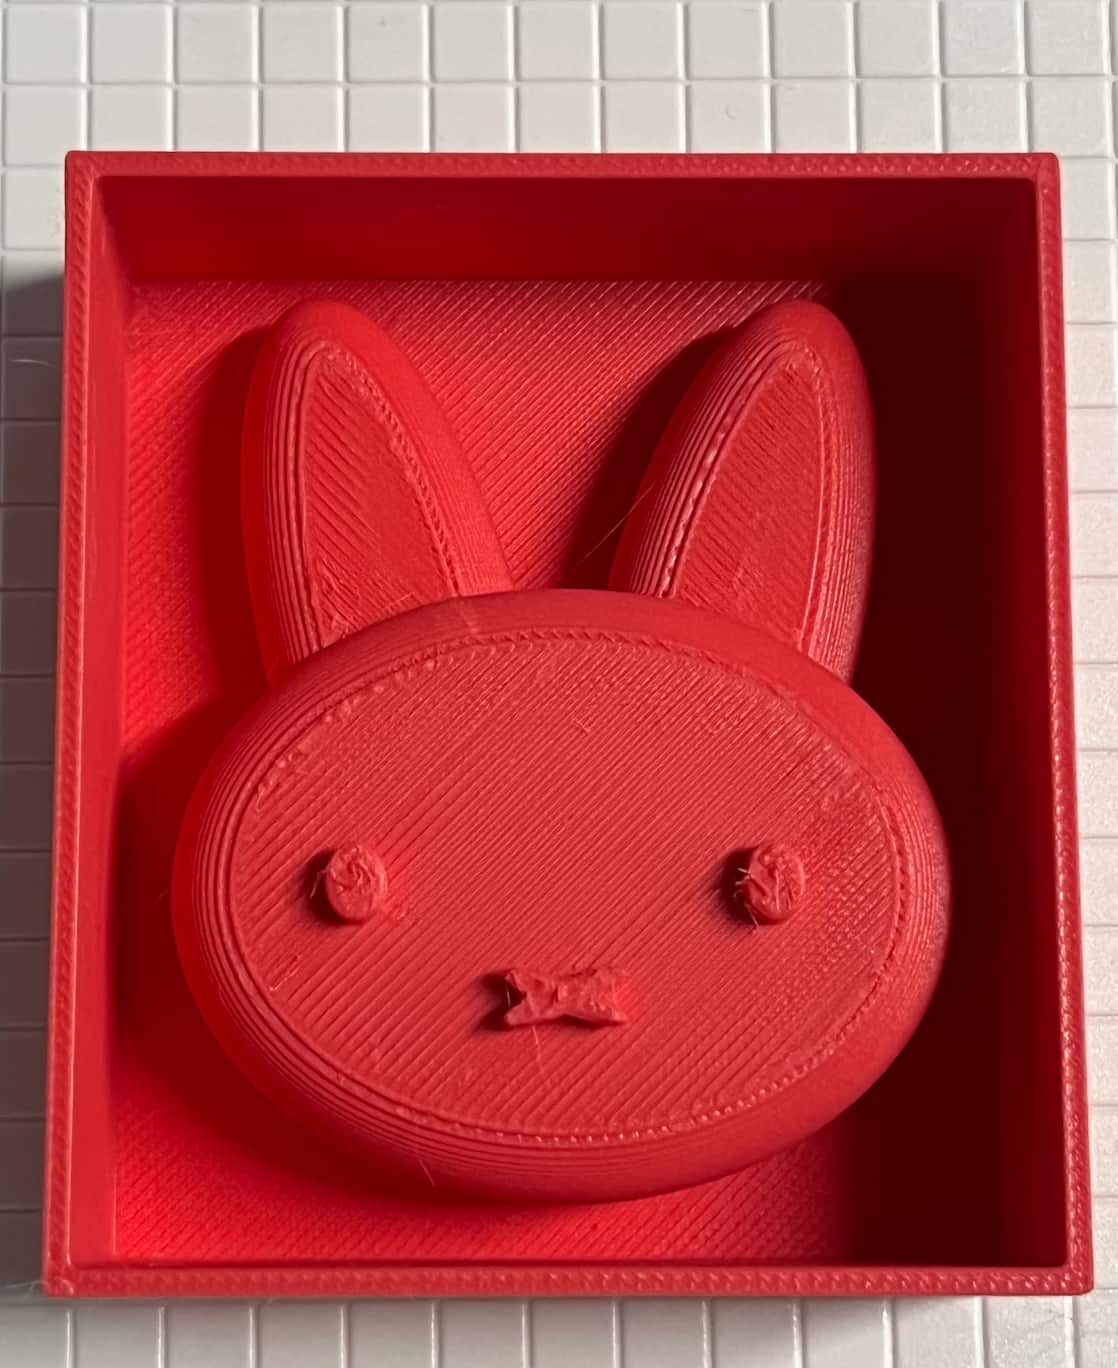
Here is the mold 3D printed:
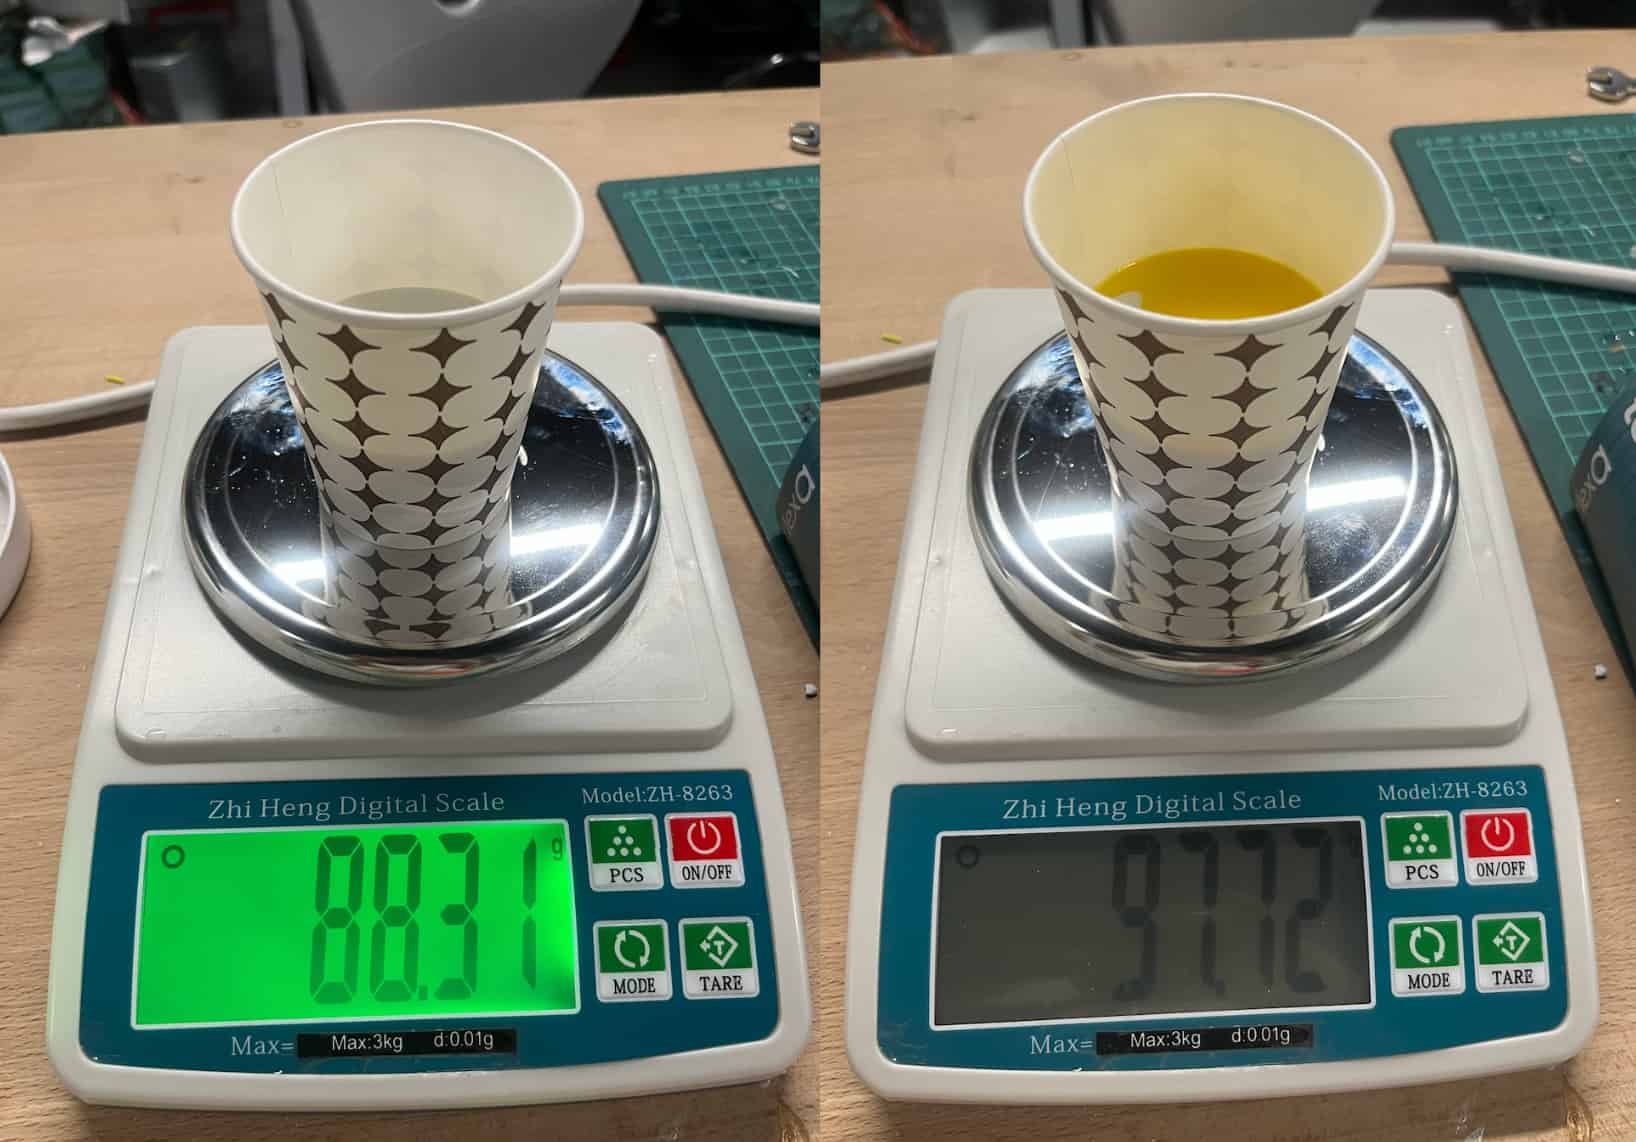
The materials I used:
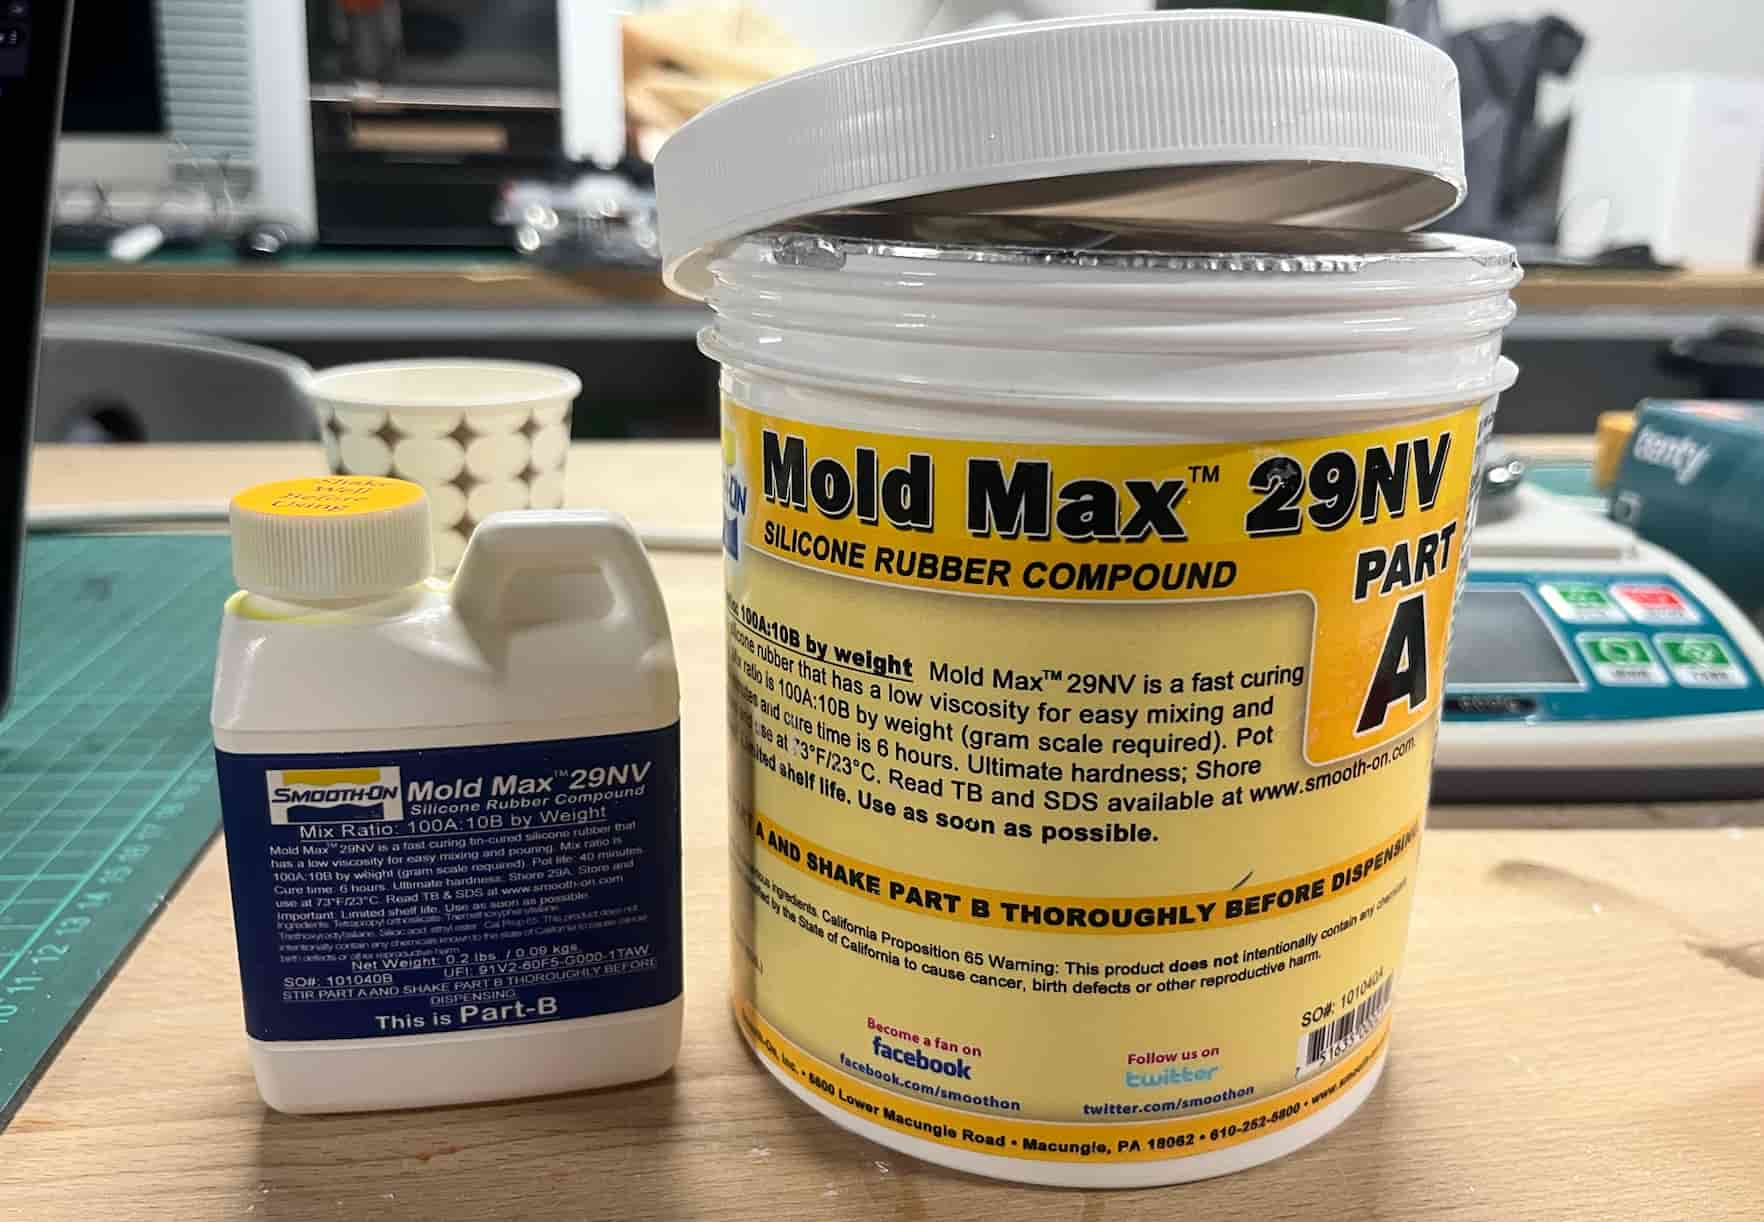
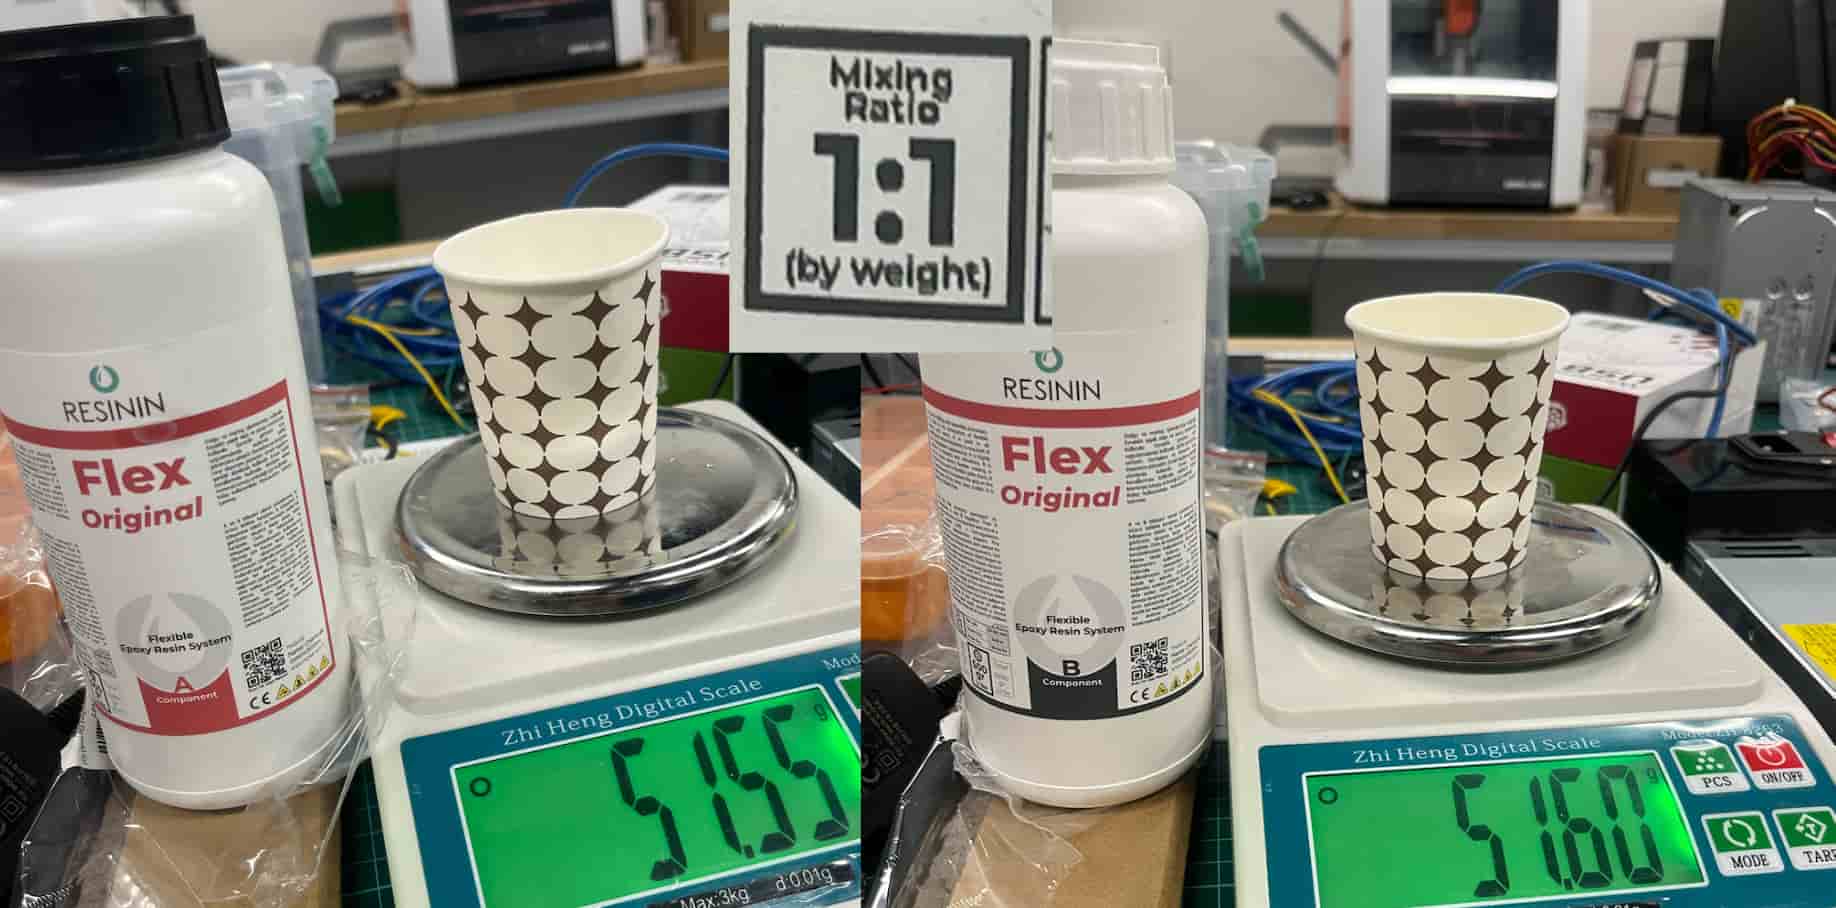
The ratio of the two (A and B) should be 100A : 10B. I measured as shown:
Mixed very well:
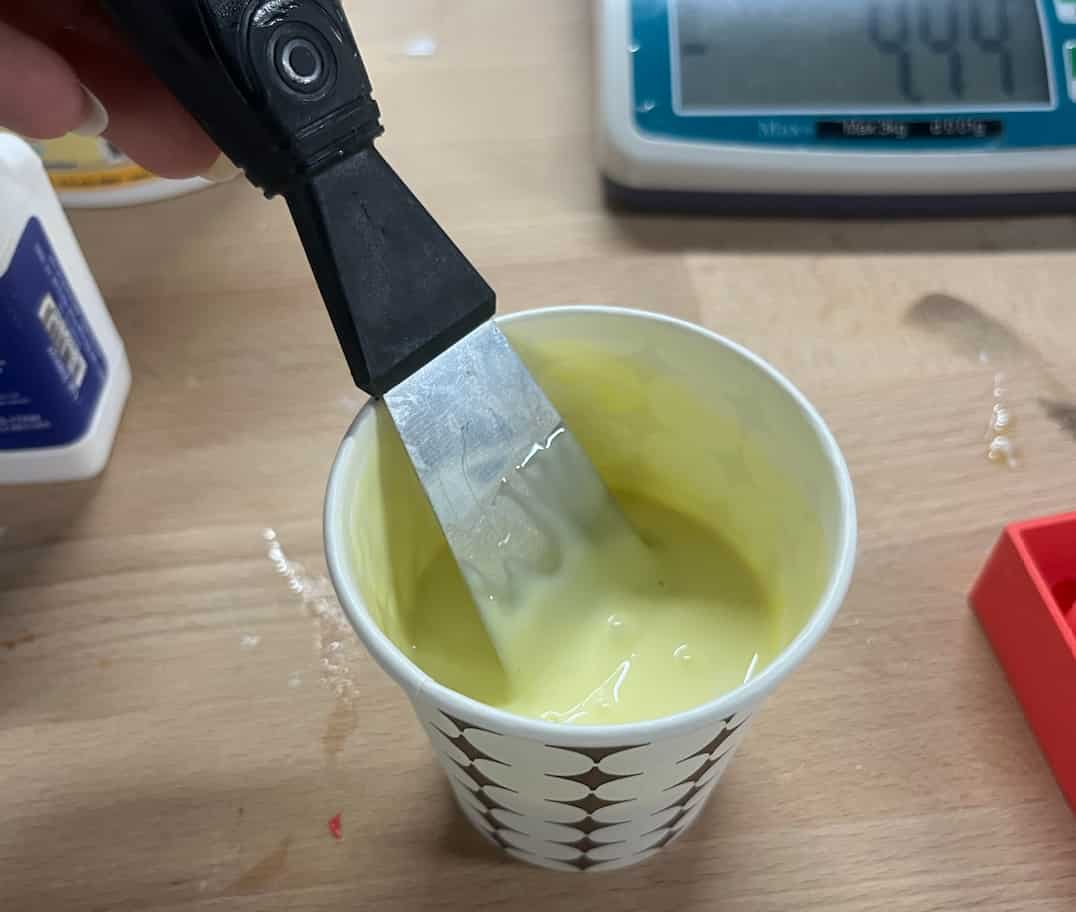
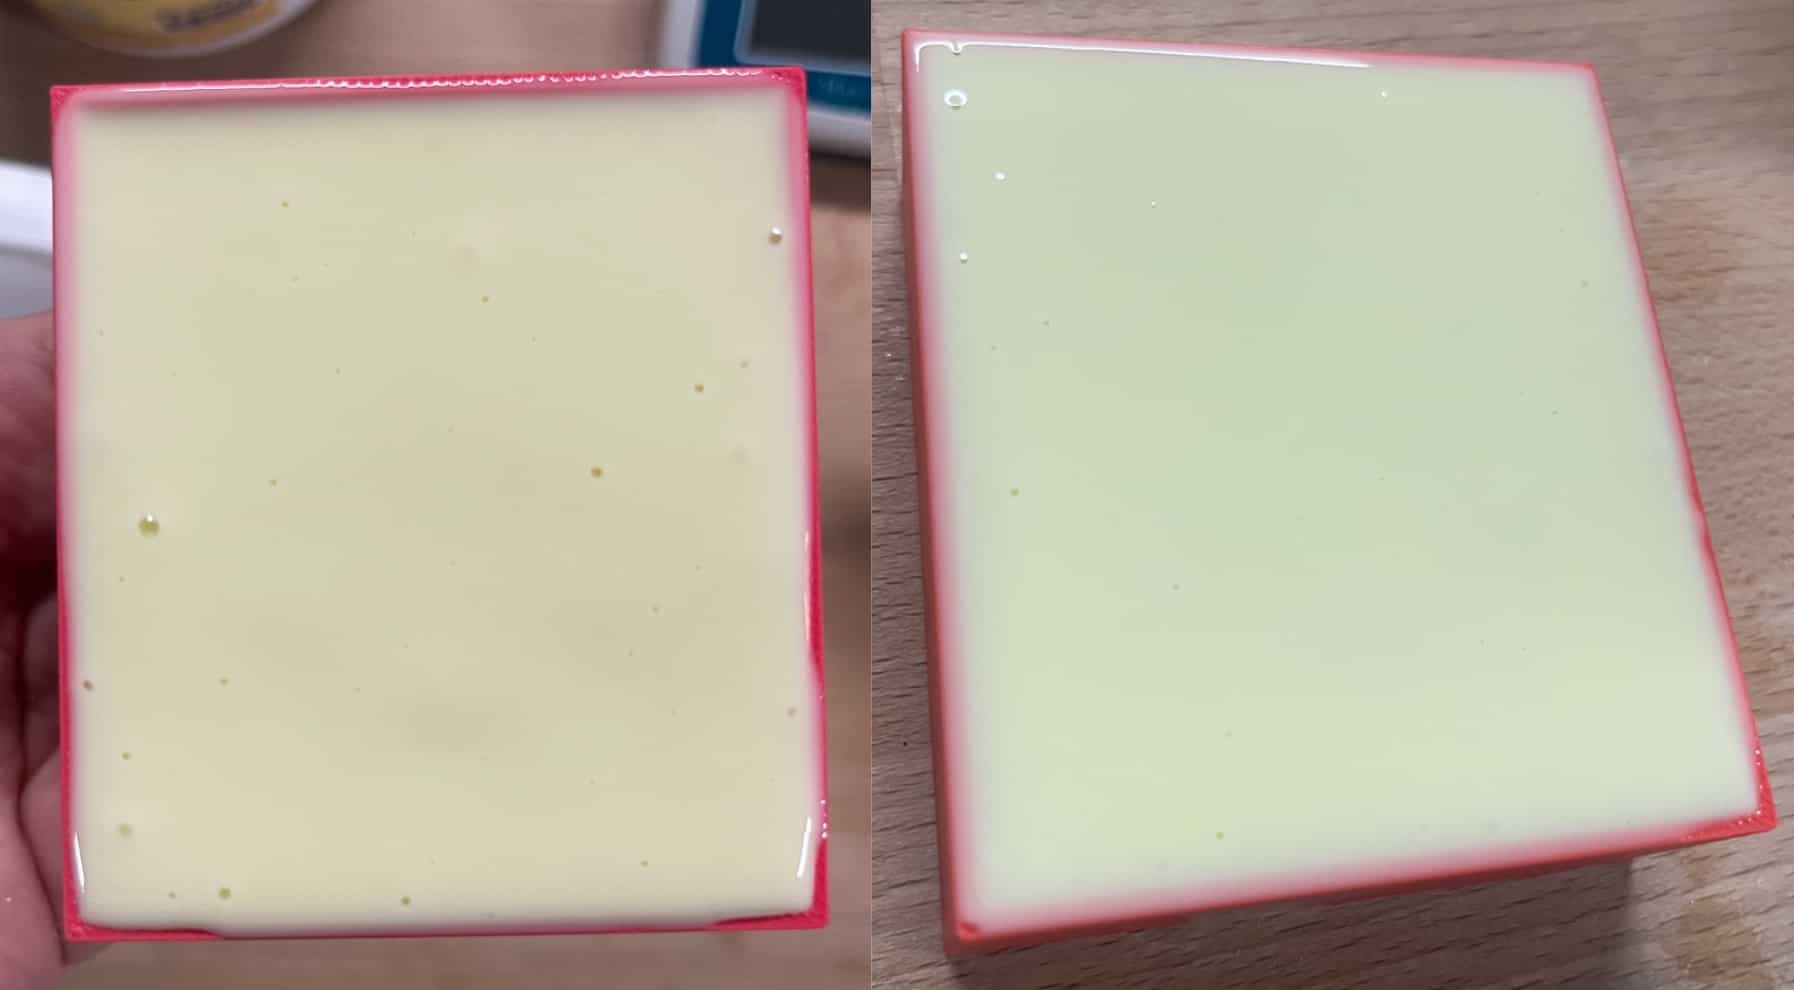
I popped the small bubbles that came on the surface. Here is the before and after:
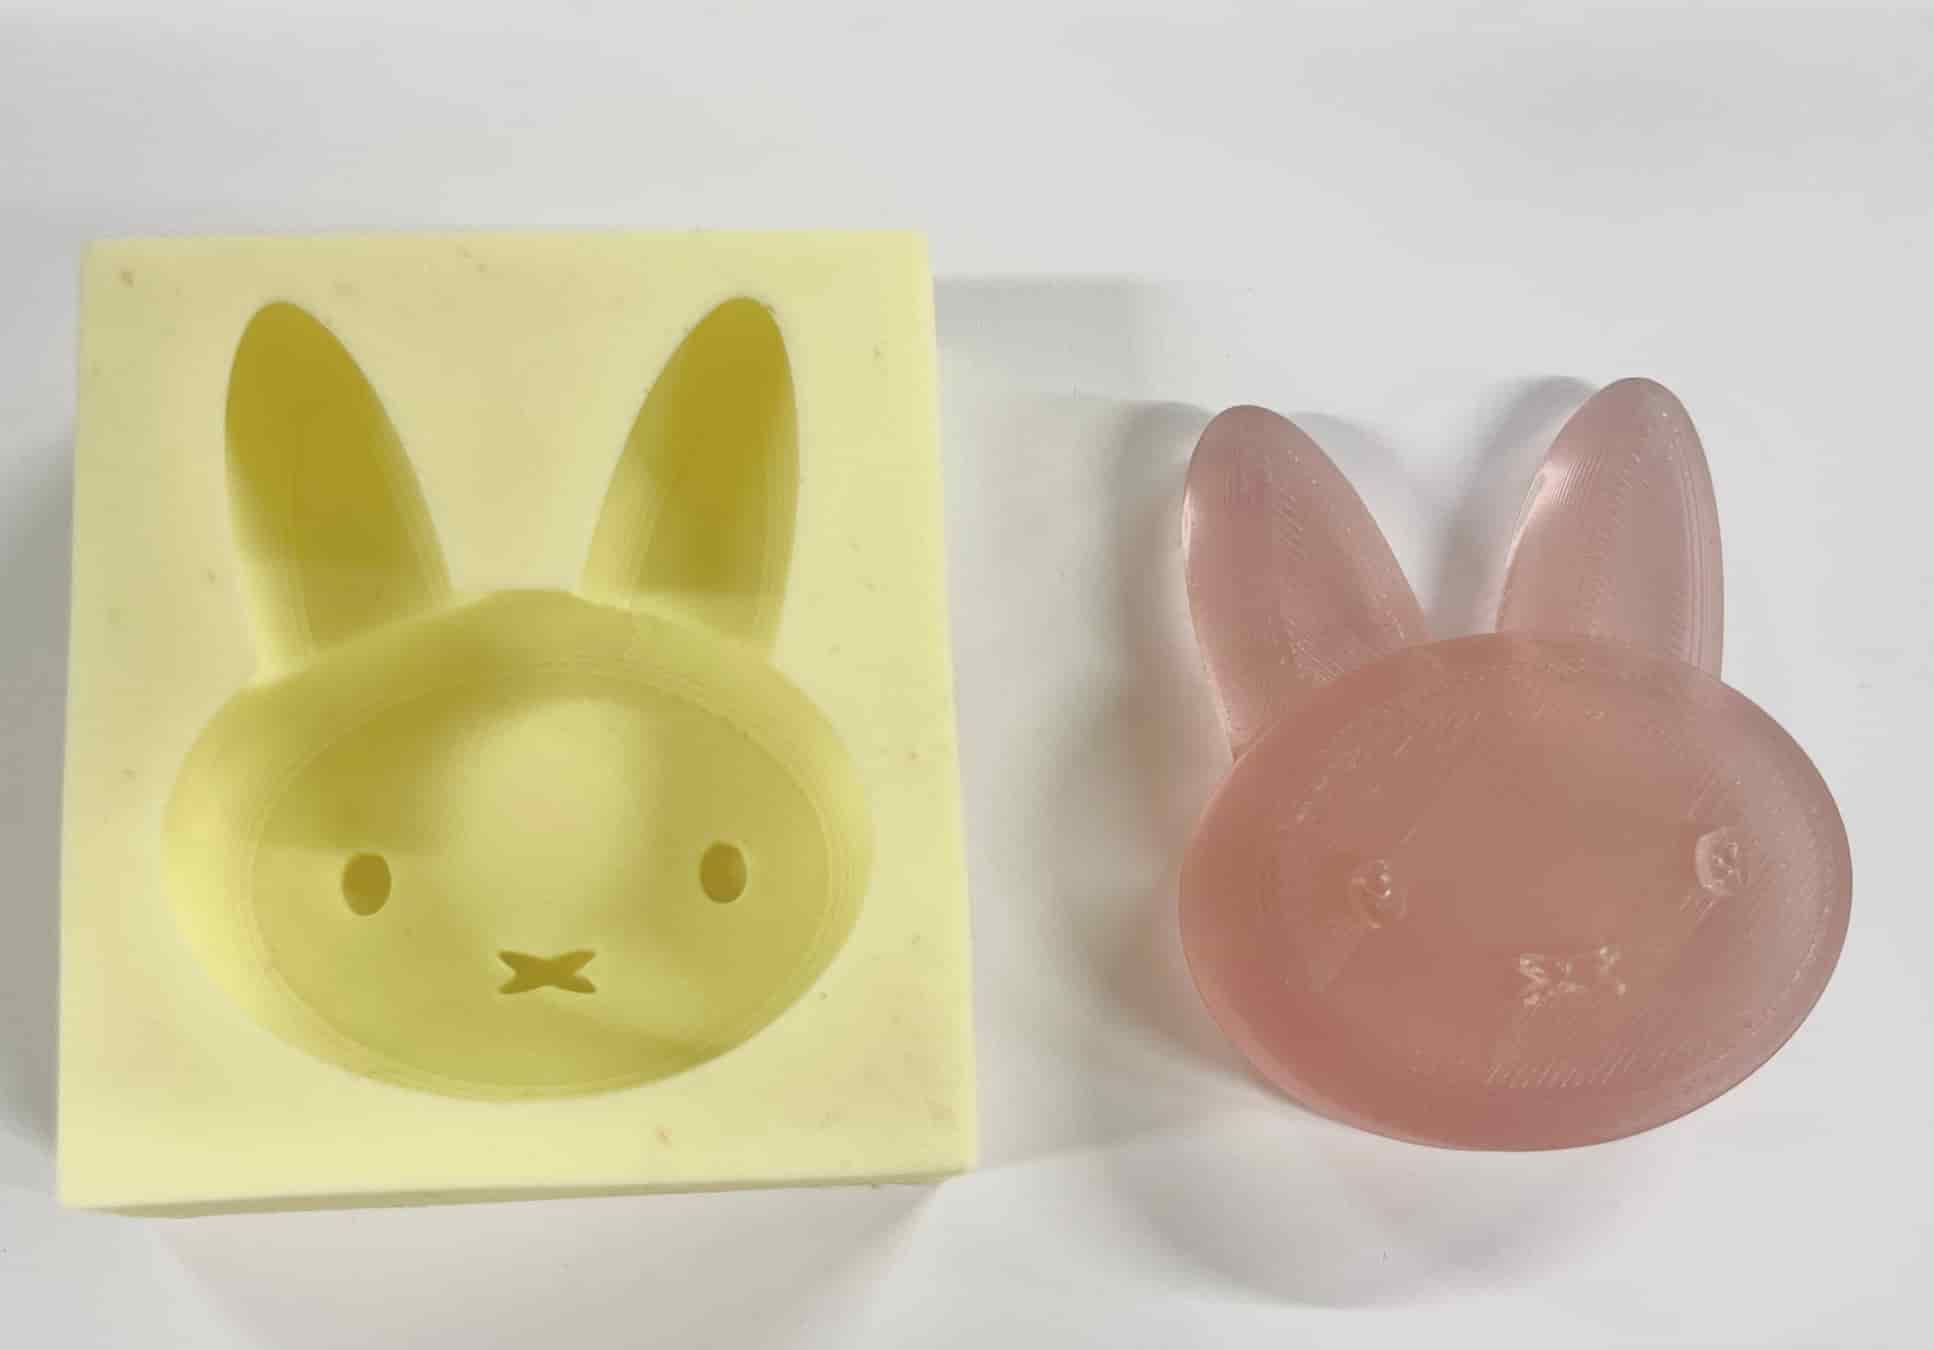
Once the mold had dried, I broke the 3D print to get it out.
Resin
I then mixed the A and B for resin. The ratio was 1:1 this time.
I also added some purple dye and poured the resin into my mold

Final Product:
Files
Here are the files: