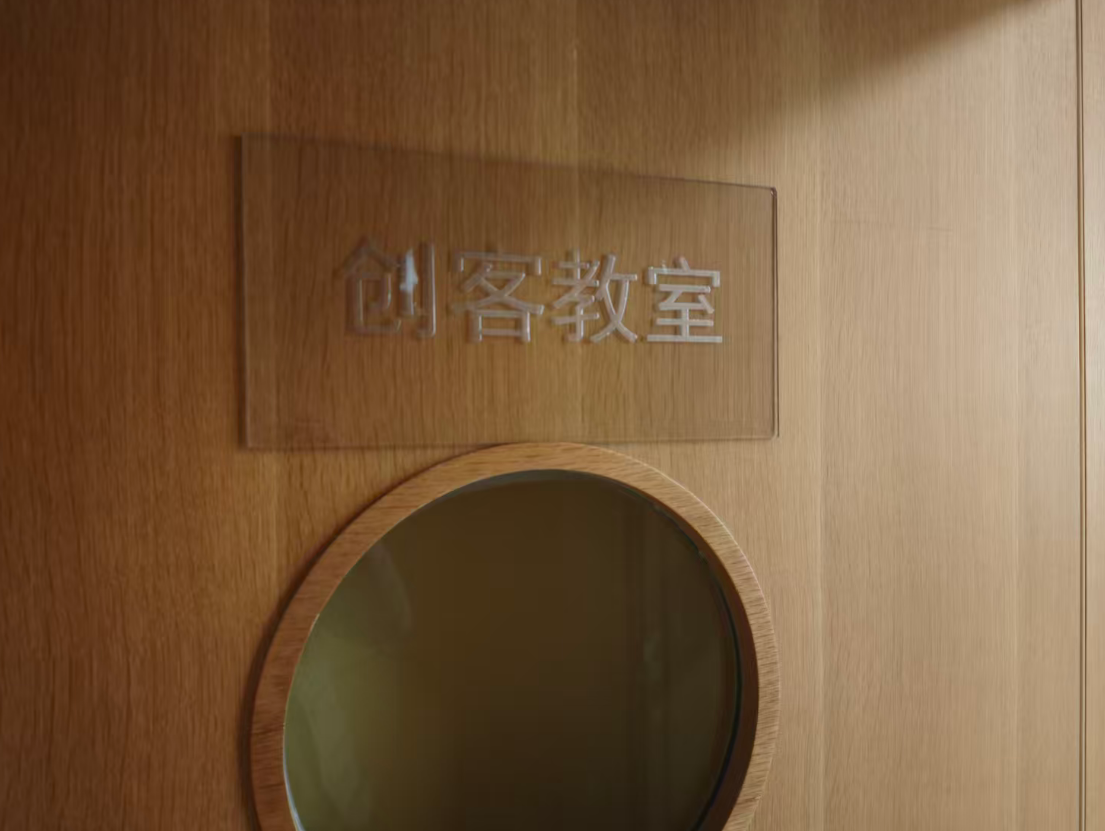
This week, I visited the vocational college affiliated with GoerTek Inc. and used a high-precision compact vertical machining center (FANUC ROBODRILL α-T21iFb) to design and manufacture classroom nameplates in two different materials for the school’s maker space and science classroom.
Assignments of the Week
Design and produce something using a digital process (incorporating computer-aided design and manufacturing) that was not covered in another assignment.
Document the requirements your assignment meets and include everything necessary to reproduce it.
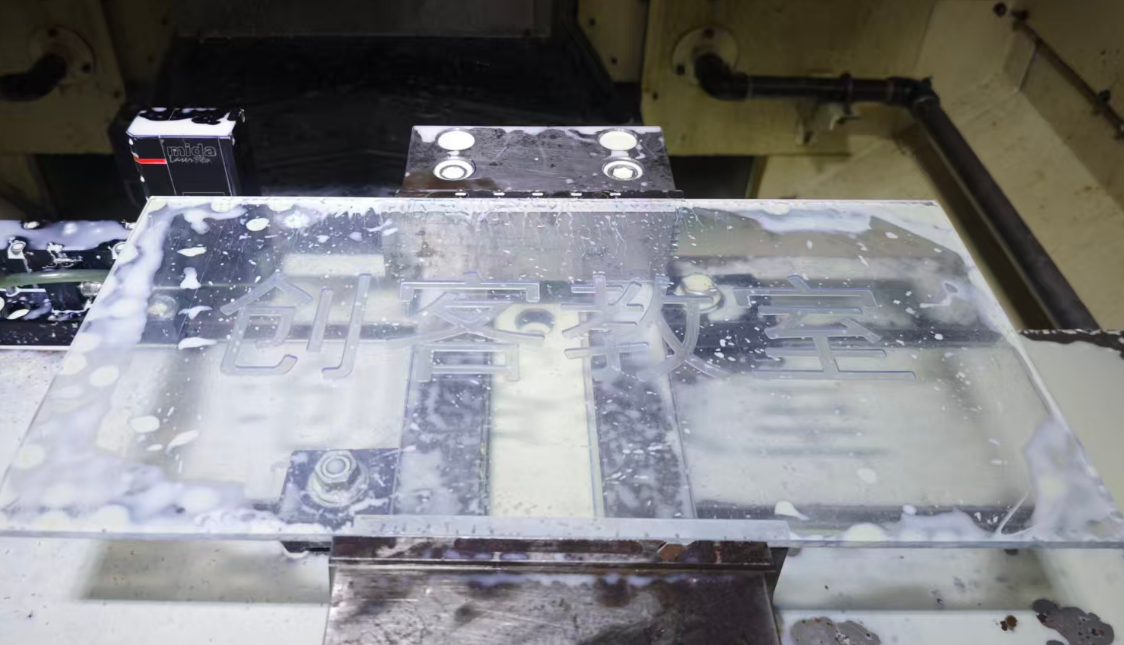
1.1 Hero Shots
Specifically, I designed, machined, and produced an acrylic nameplate for the Maker Classroom and a wooden nameplate for the Science Classroom.
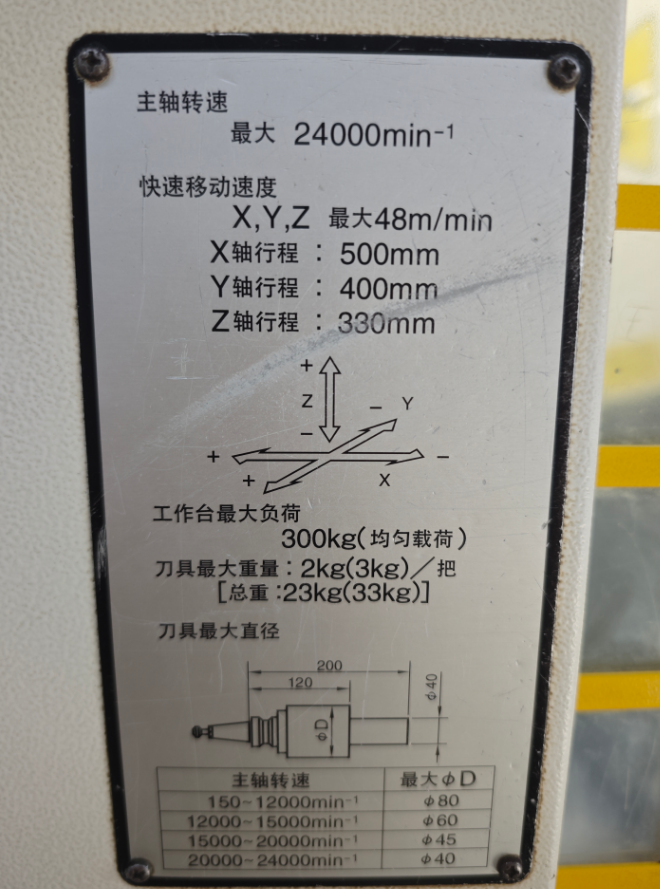
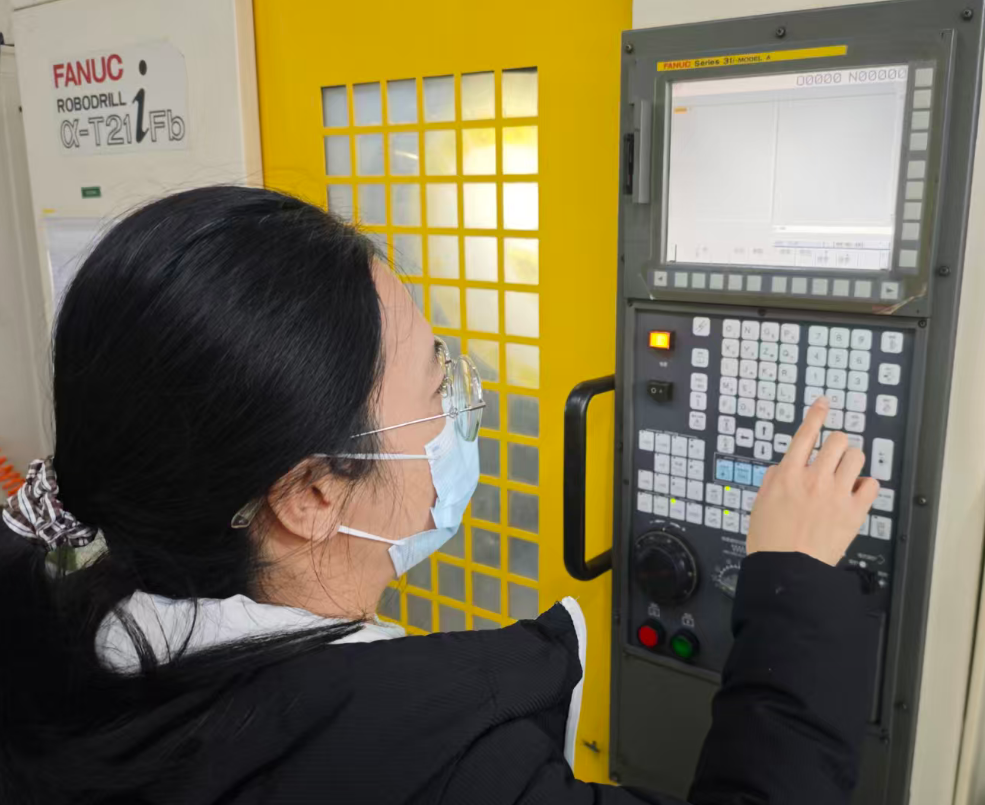
1.2 ANUC ROBODRILL α-T21iFb small machining center
This is a high-precision, compact vertical machining center manufactured by FANUC Corporation in Japan. It is equipped with a high-speed BT30 spindle and an automatic tool changer, supporting various machining operations such as milling, drilling, and tapping. Its key features include high speed, excellent accuracy, and a small footprint. It is well-suited for machining small metal components and is also ideal for process demonstrations and experimental machining in educational environments.
Equipment Specifications
1.3 Design
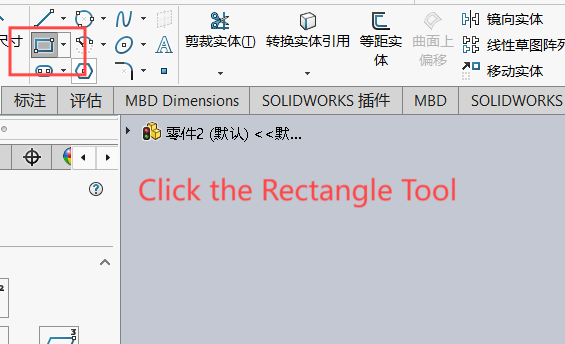
I used SolidWorks to design the nameplate for the Maker Classroom.
Create a new sketch and click the Rectangle tool
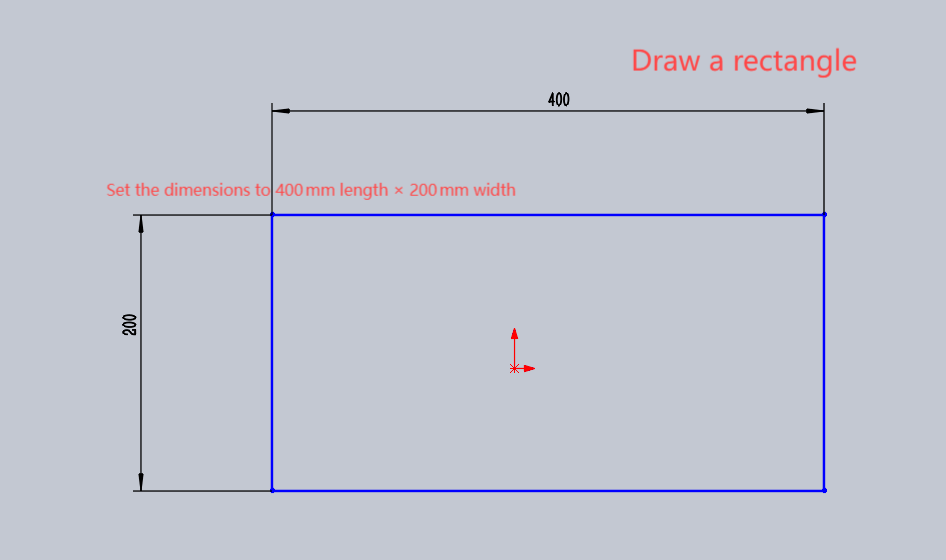
Set the rectangle dimensions to match the acrylic sheet (Length: 400mm × Width: 200mm × Height: 5mm)
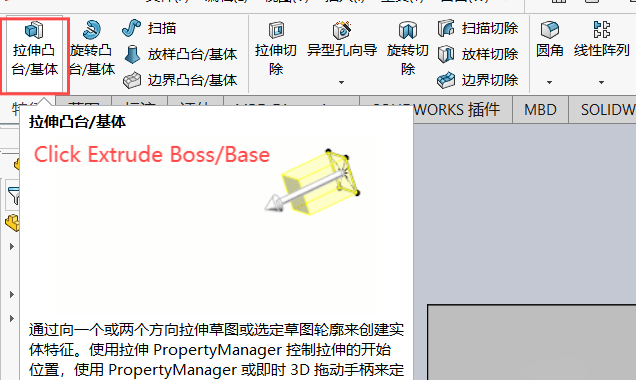
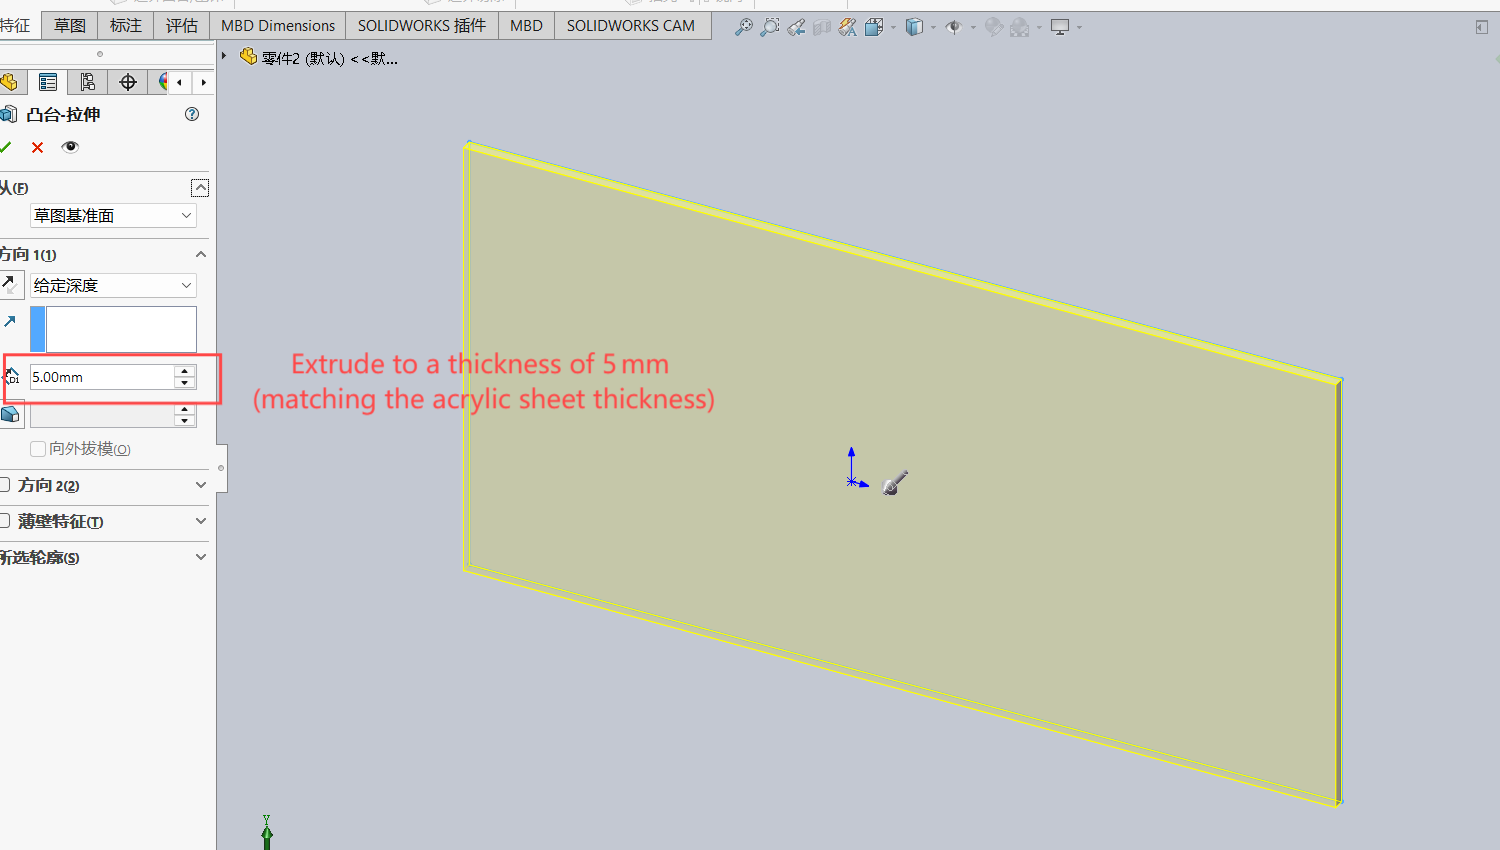
Click Extrude Boss/Base
Extrude to a height matching the acrylic sheet thickness of 5mm
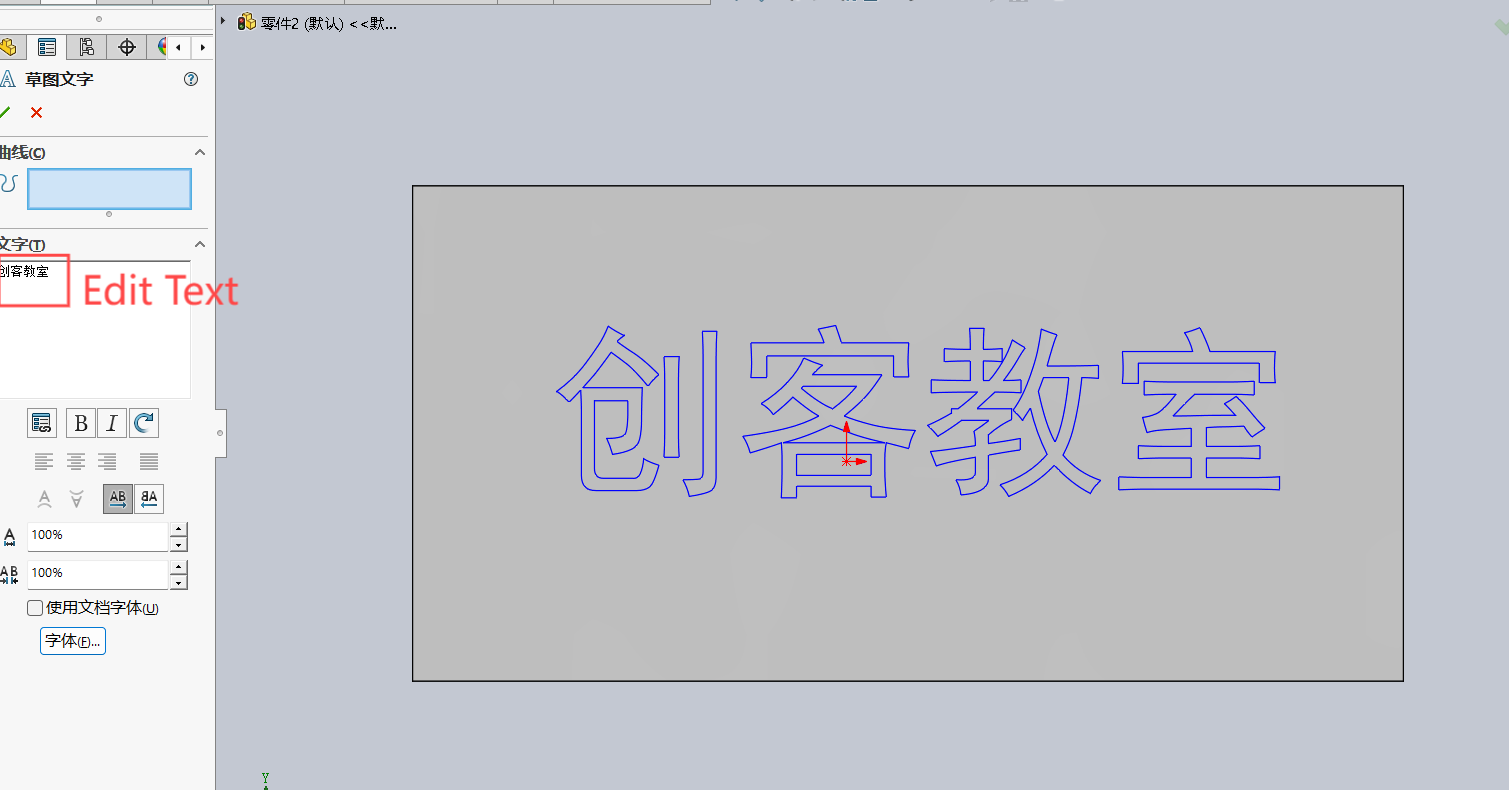
Click Text and enter the text
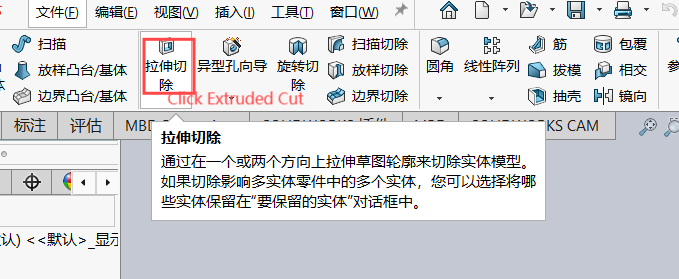
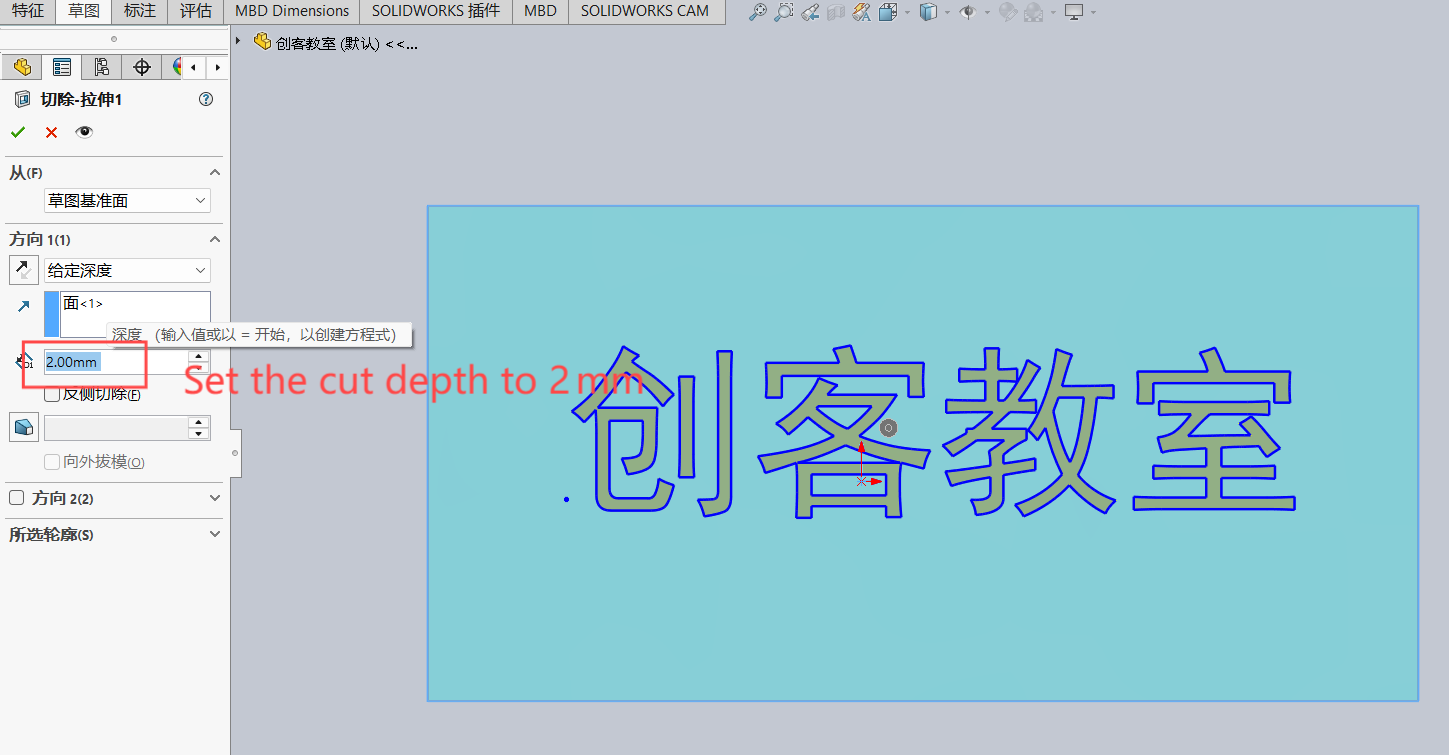
Click Extruded Cut
Set the cut depth to 2mm
1.4 CNC Manufacturing
1.4.1 Generate G-code
Use NX12.0 to generate the code
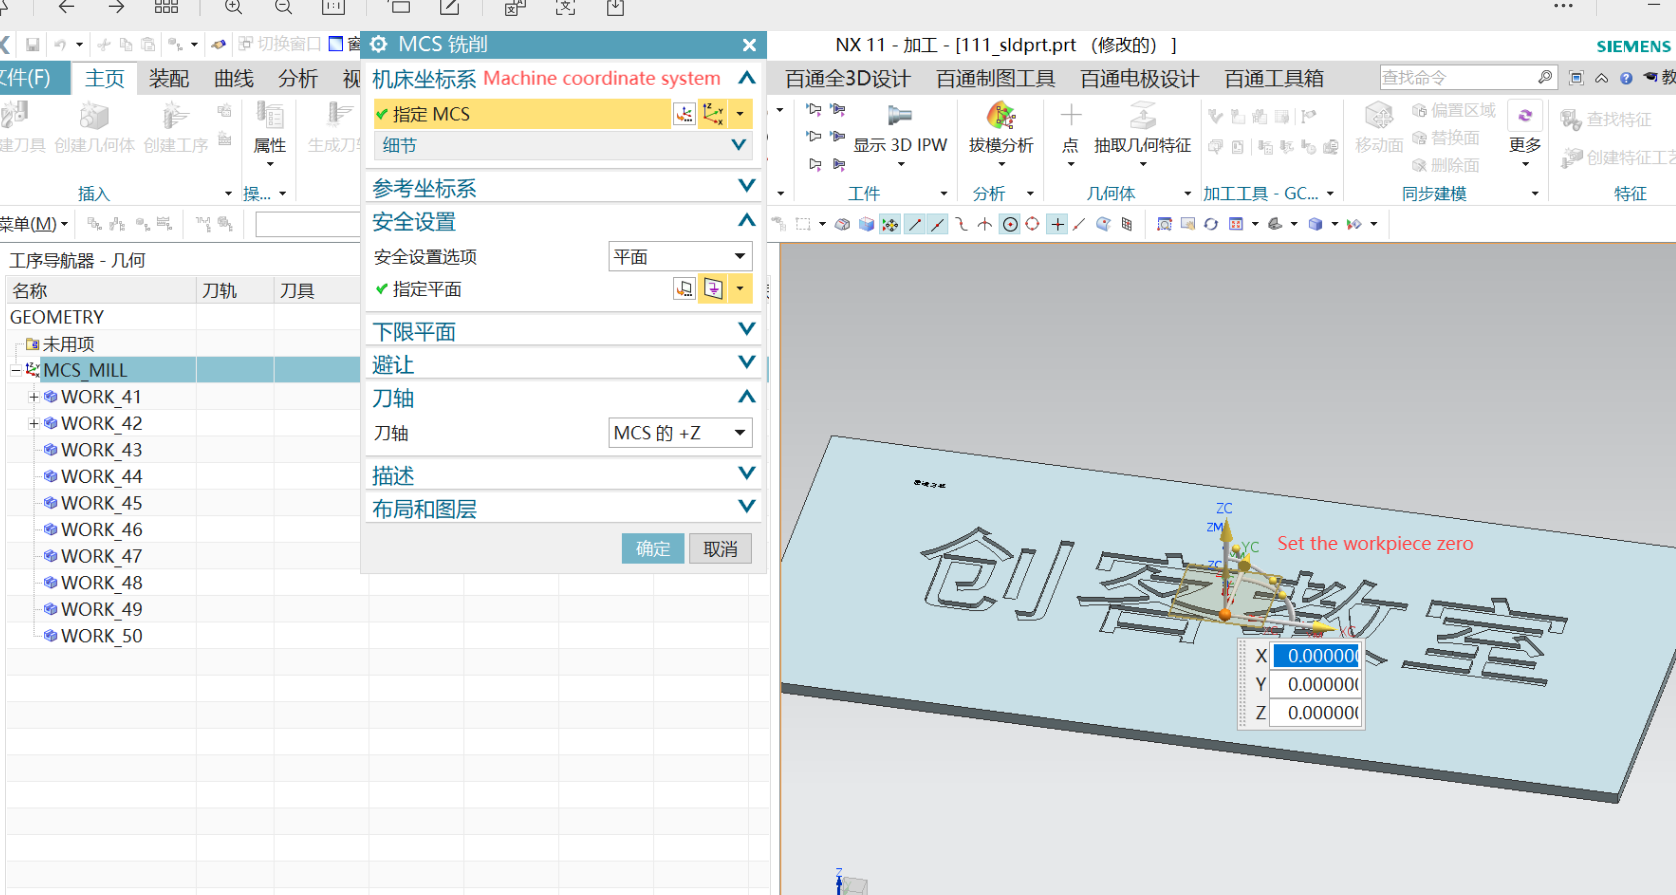
Import the file, establish the machine coordinate system, and set the stock center as the origin
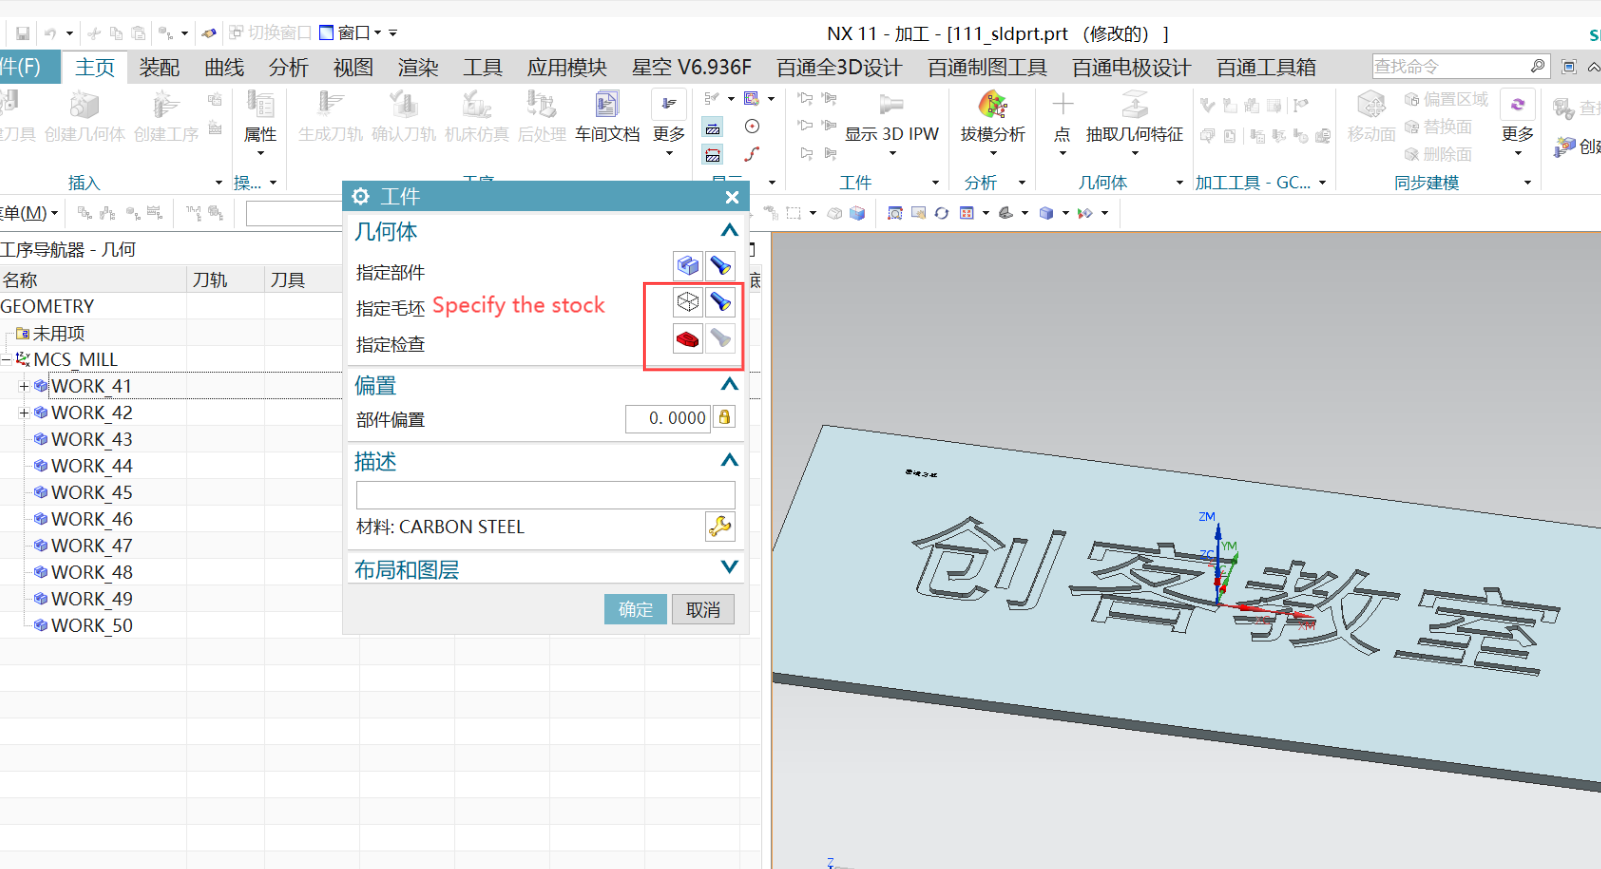
Select the stock material, which will automatically generate cutting parameters consistent with the acrylic sheet
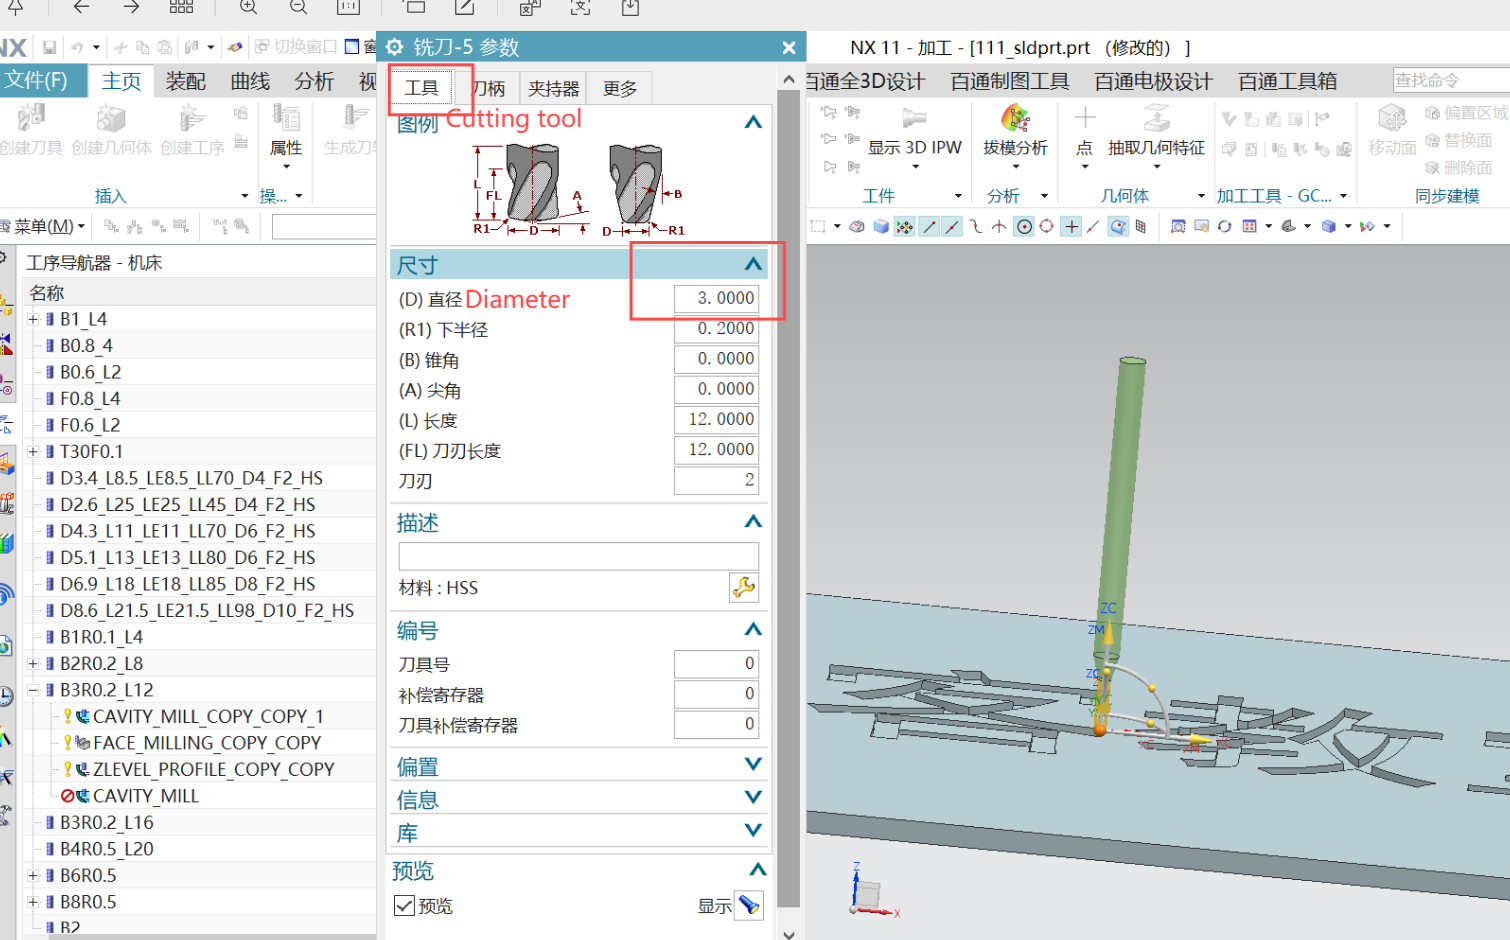
Select the cutting tool, using a 3mm flat end mill
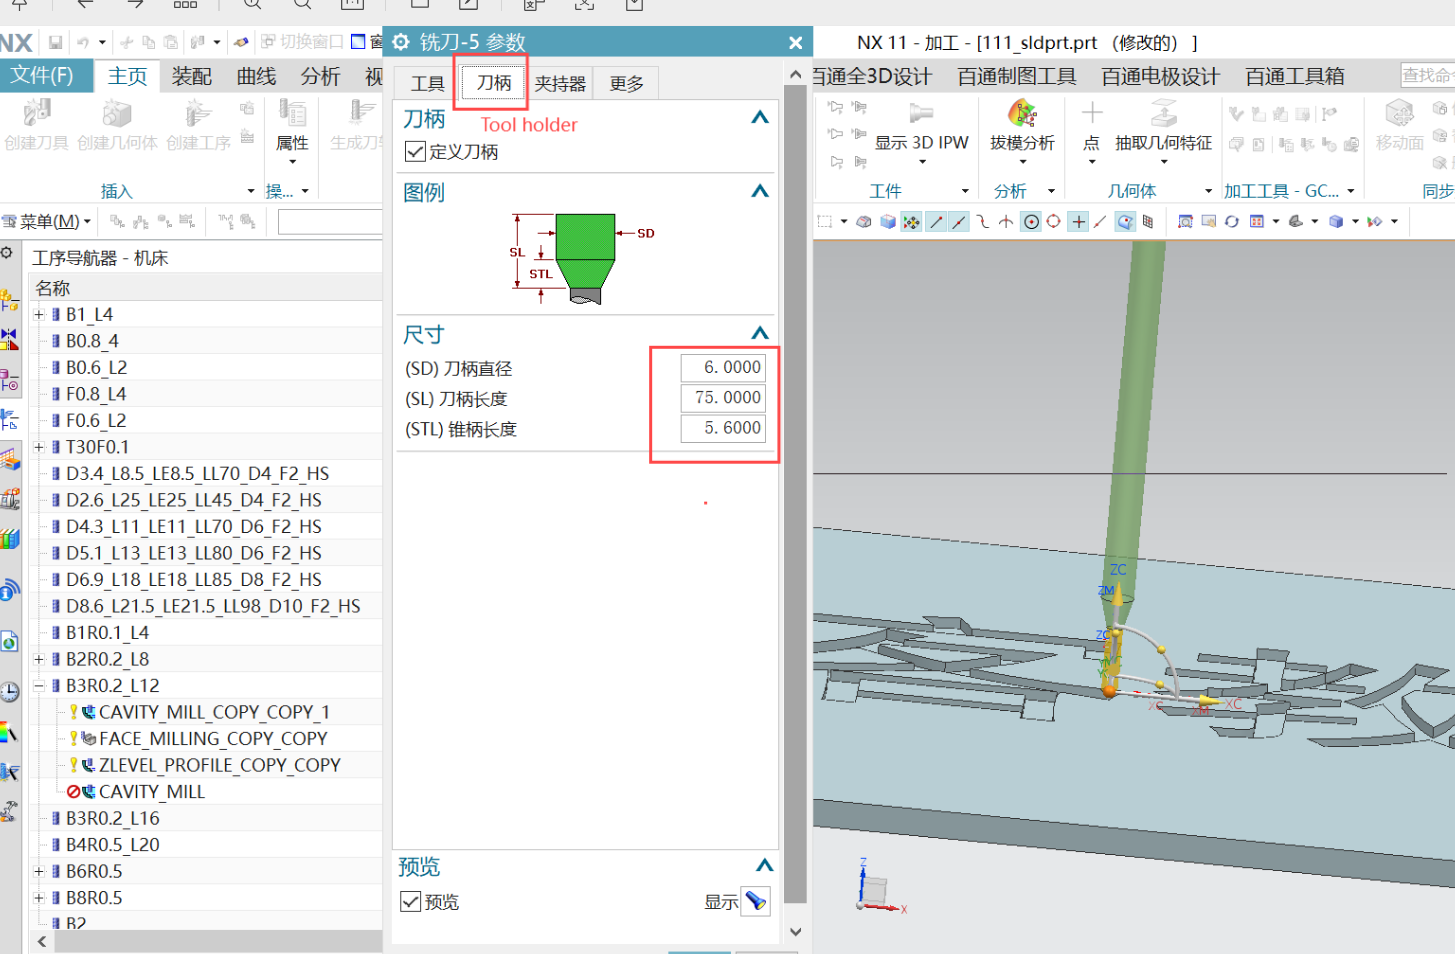
Set the tool holder
Set the spindle speed and feed rate
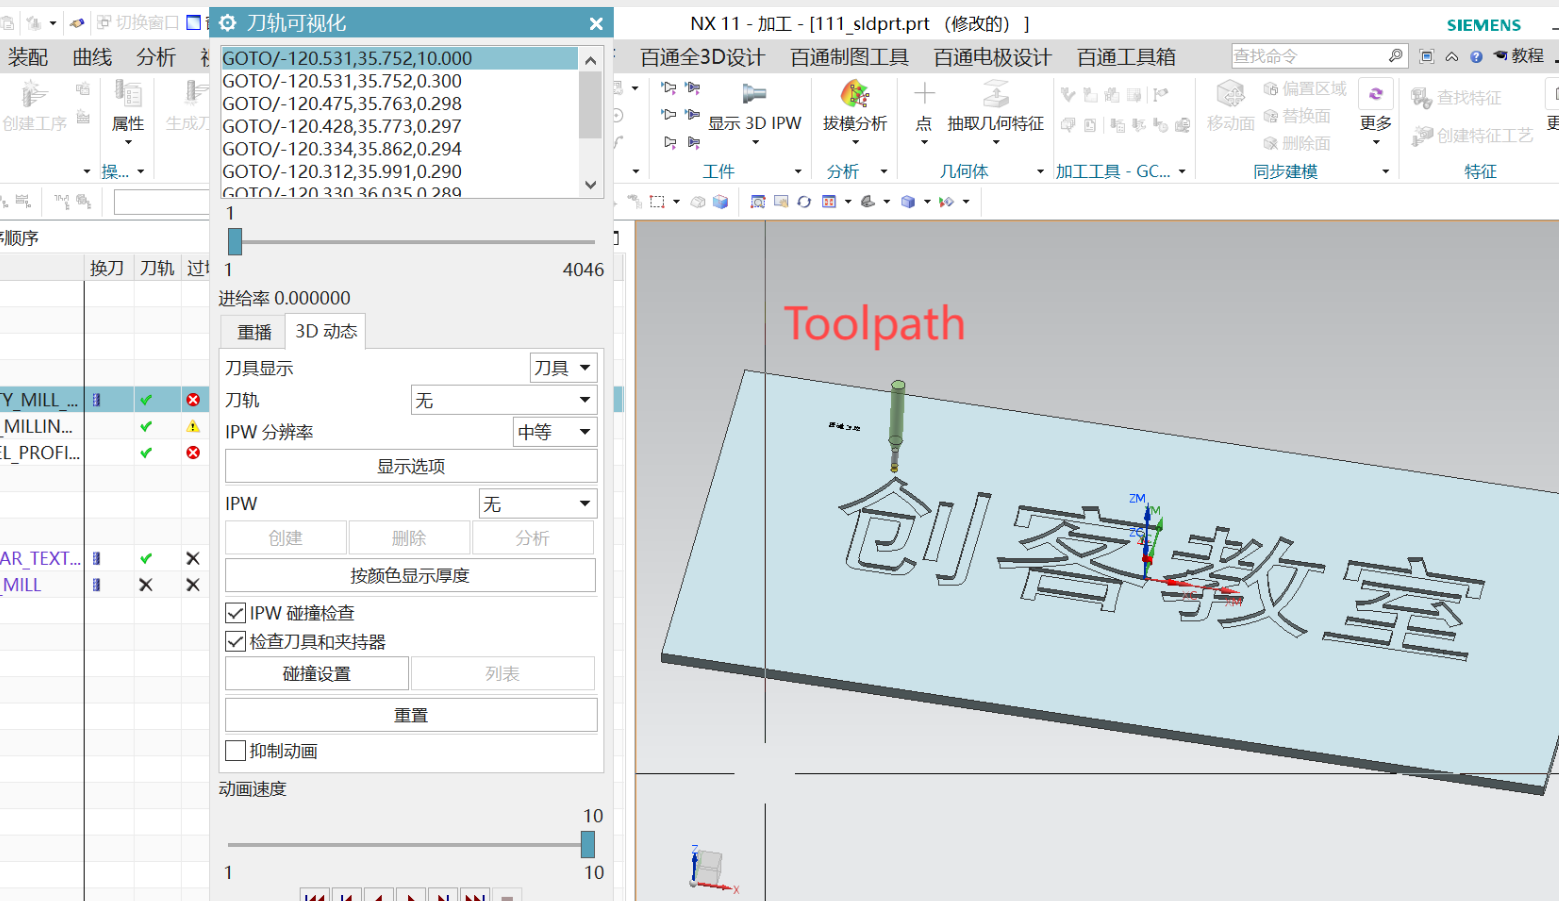
Generate the toolpath simulation
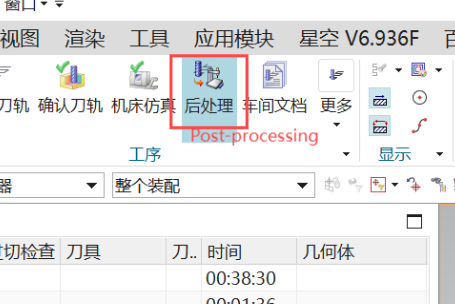
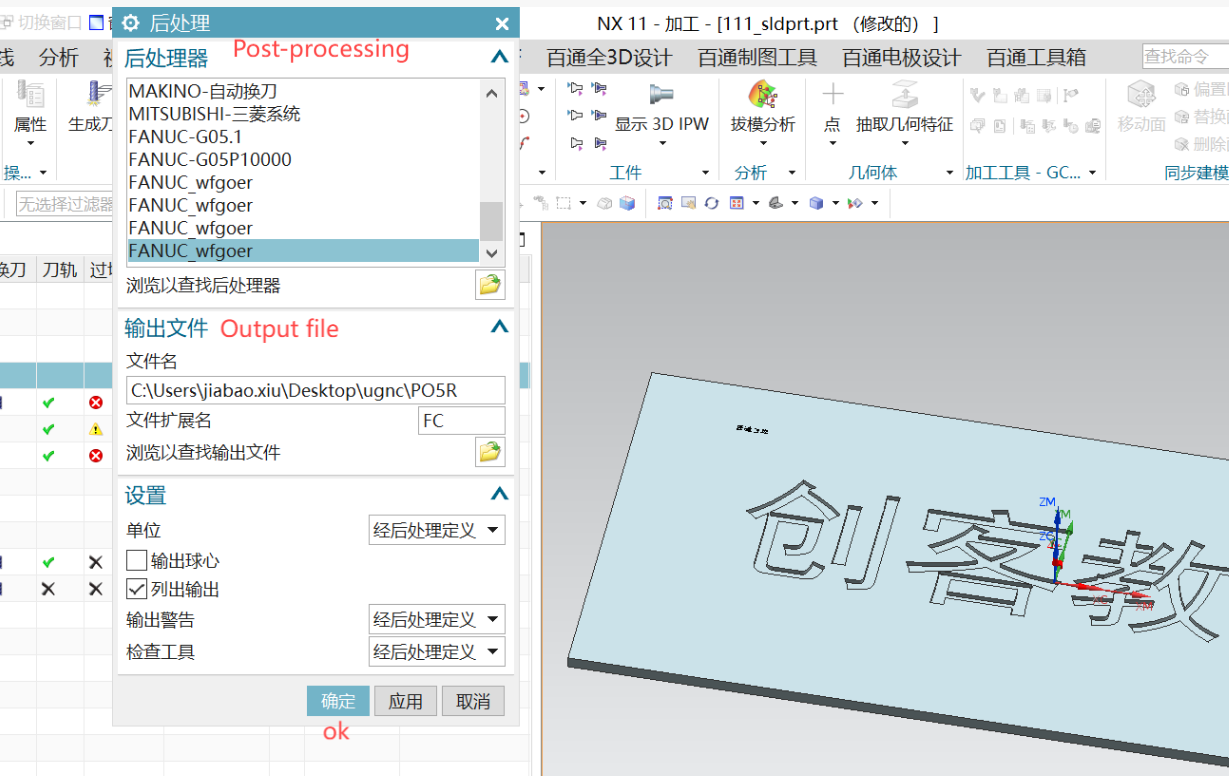
Click Post-processing
Generate the file and save it
Machining
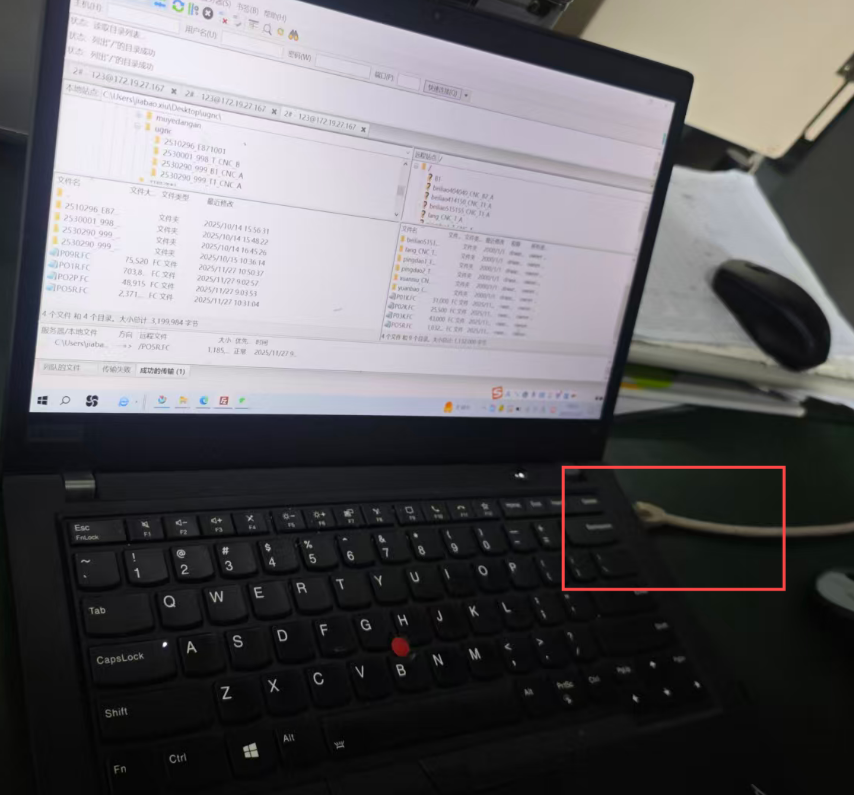
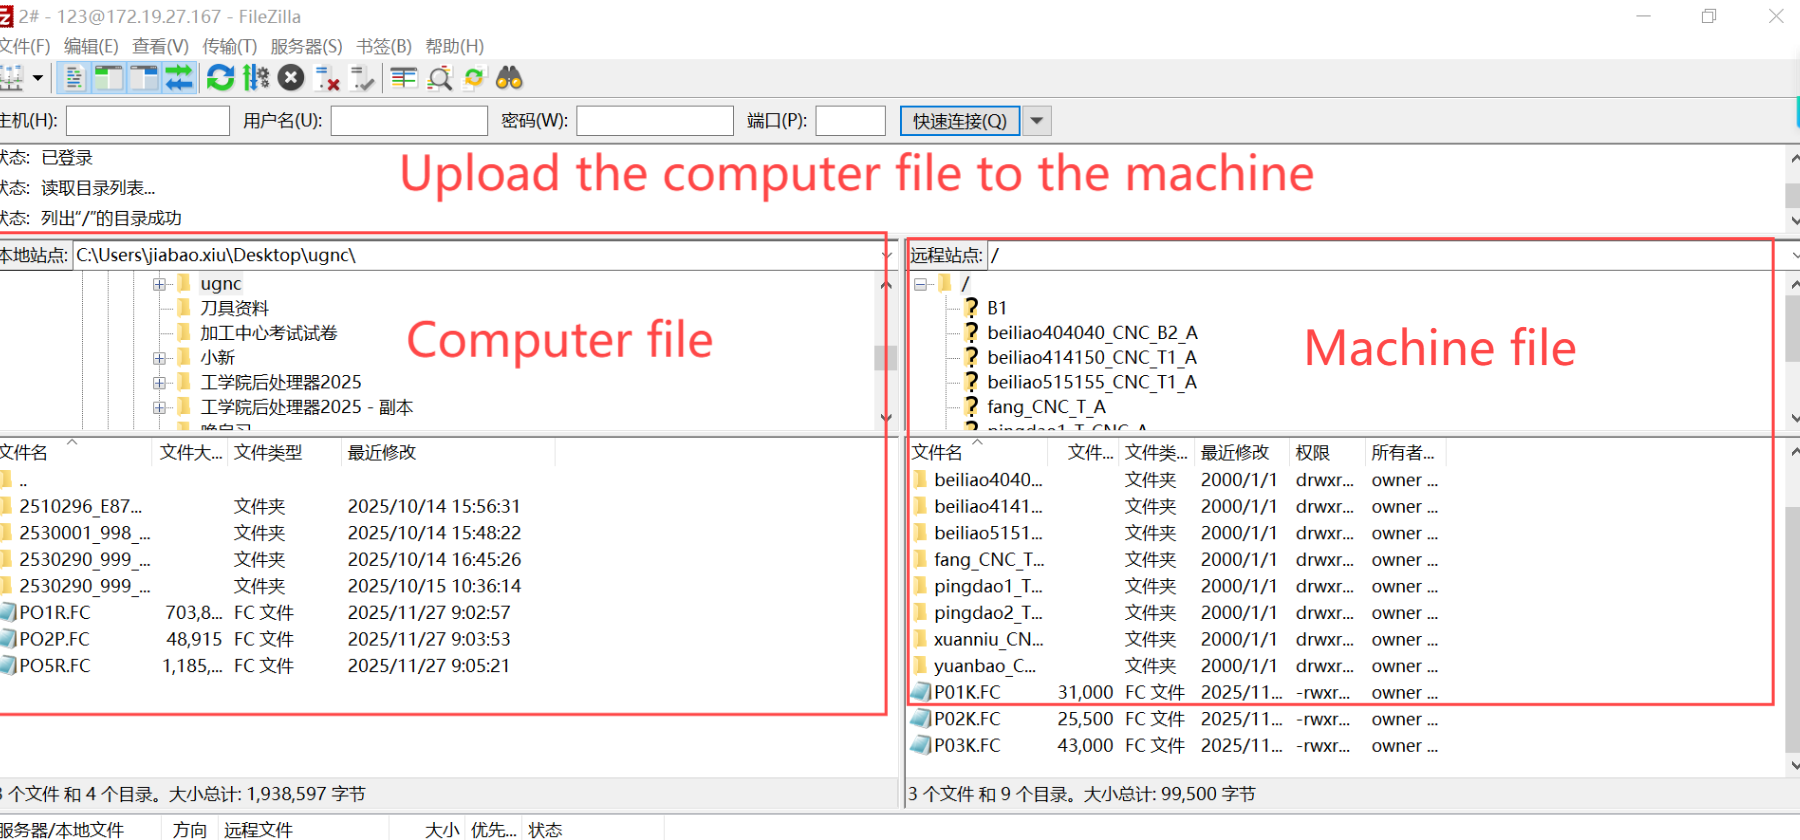
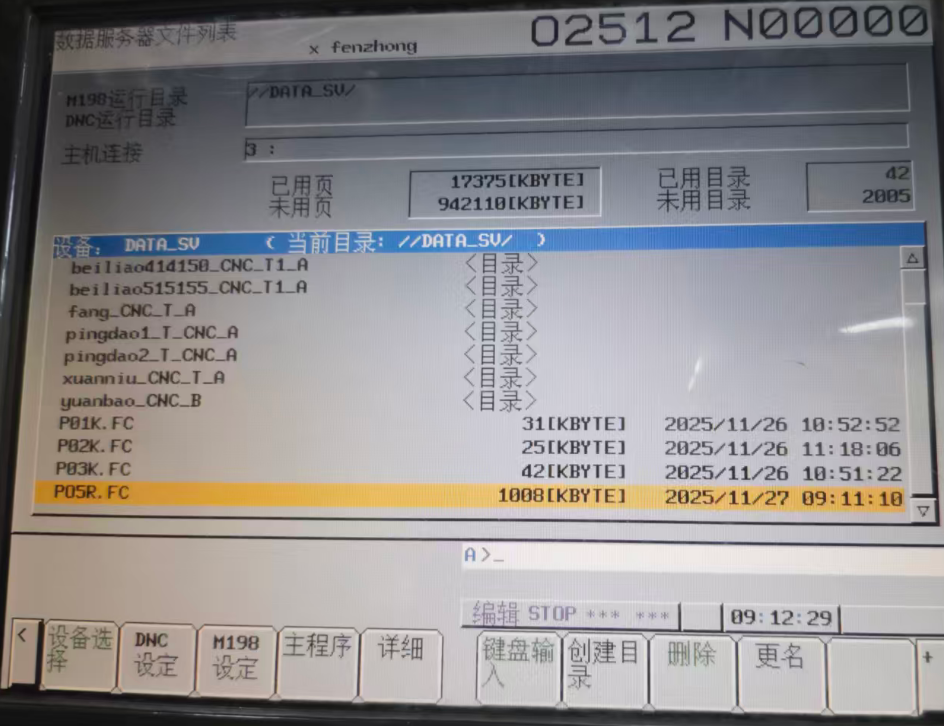
Upload the G-code file from the computer to the machine via the network cable
Upload
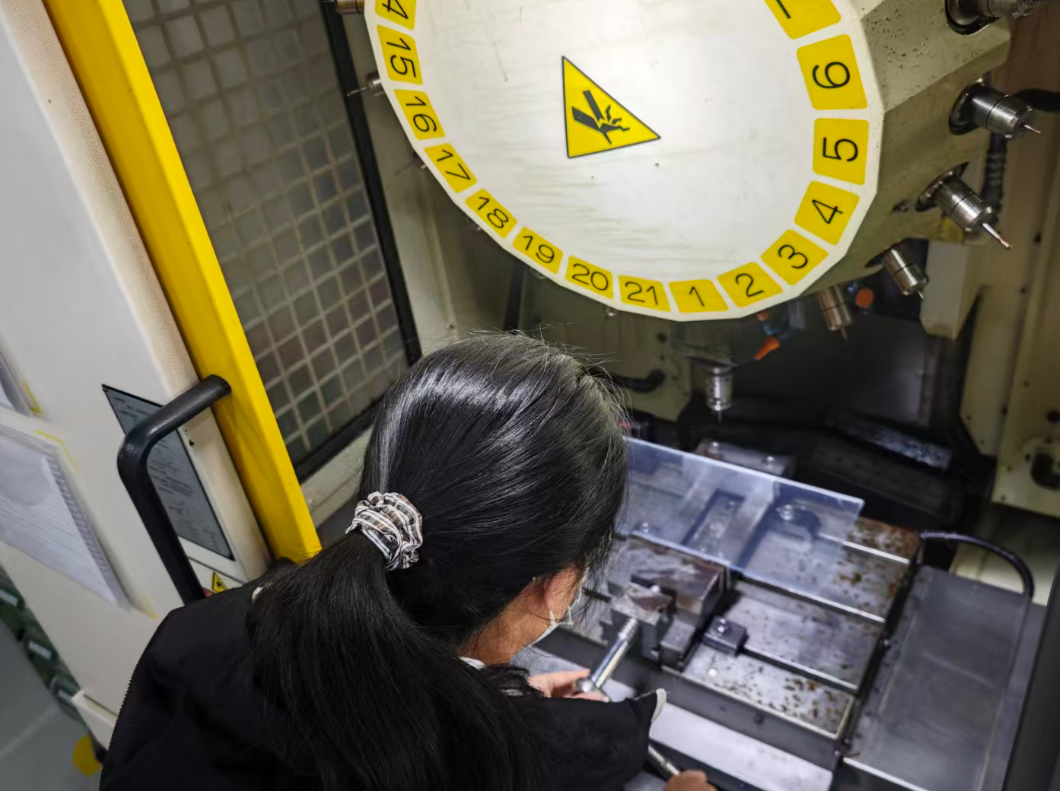
Install the acrylic sheet on the machine
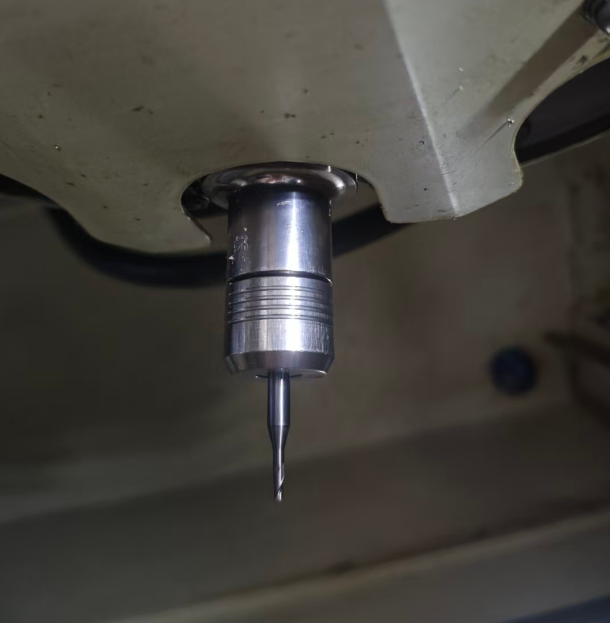
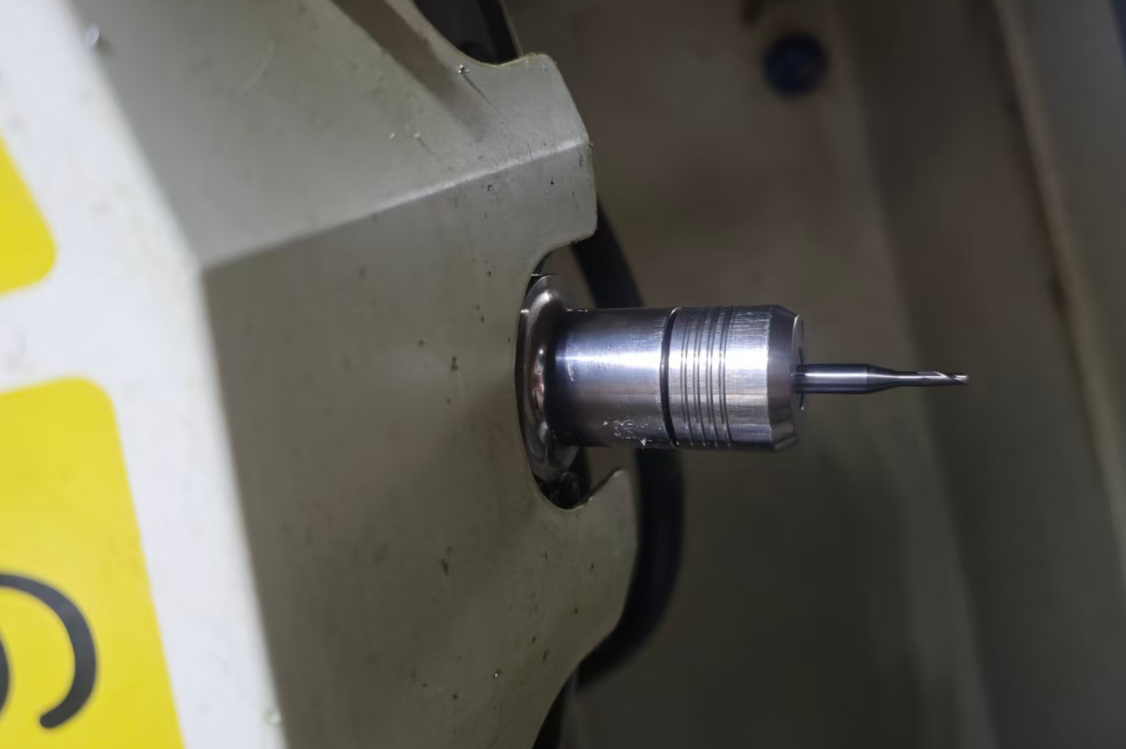
Use a 3mm flat end mill
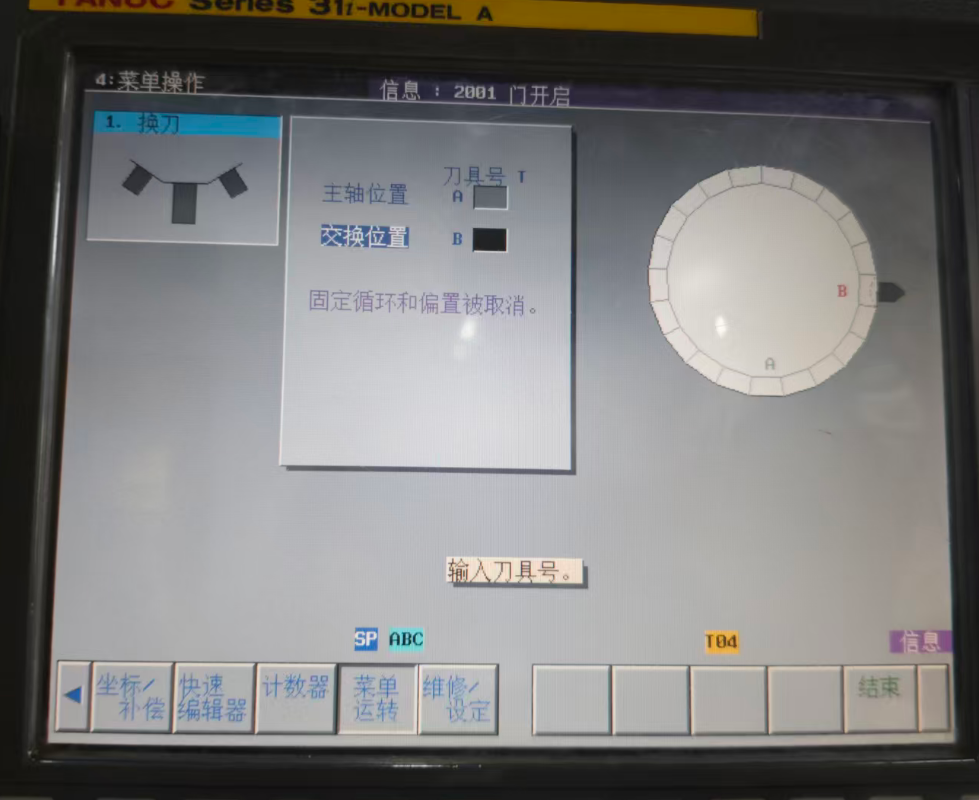
Tool Change
Open the G-code file
Check the code
Start machining
Machining complete
Cleaning complete
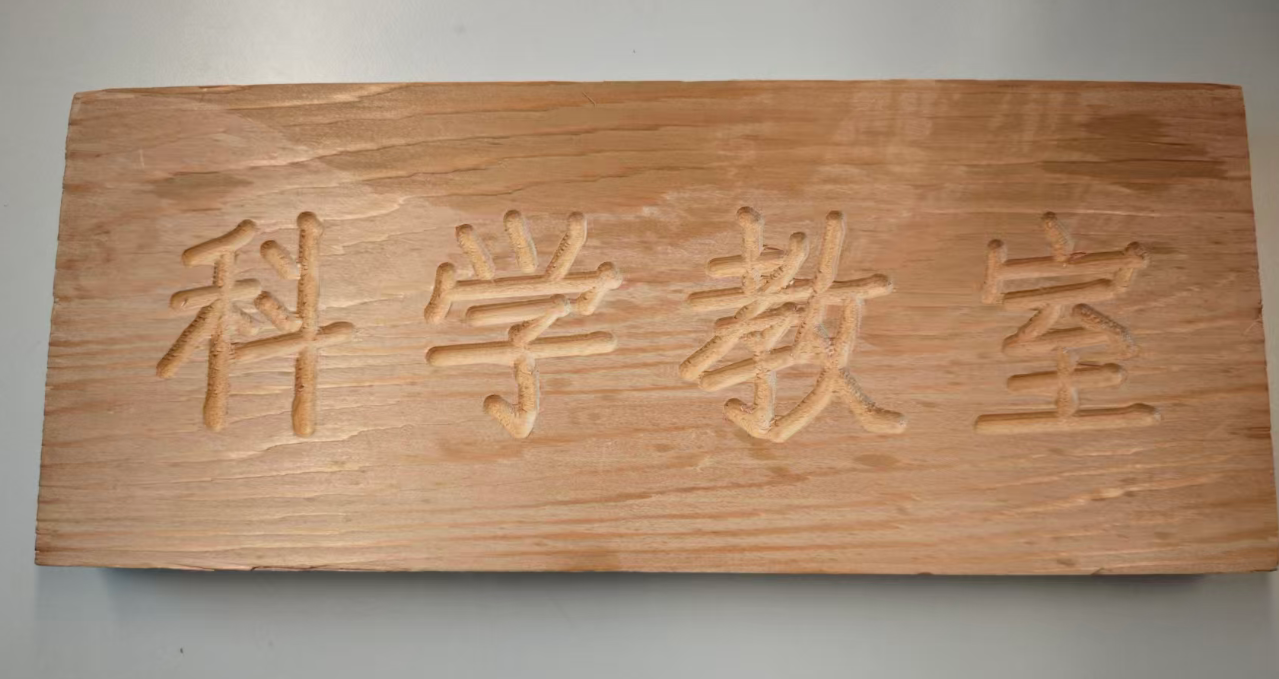
1.5 Wooden nameplate for the Science Classroom
Complete the cutting of the wooden board following the same design and machining process as above.