This week, I focused on the system integration of my final project The Honor Tree, which is an interactive classroom display that celebrates students’ achievements.
assignment:
Design and document the system integration for your final project.
1.1 System Overview
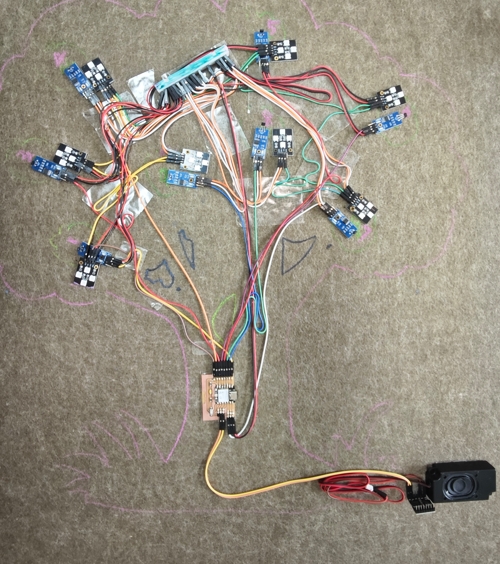
The Honor Tree consists of multiple components working together:
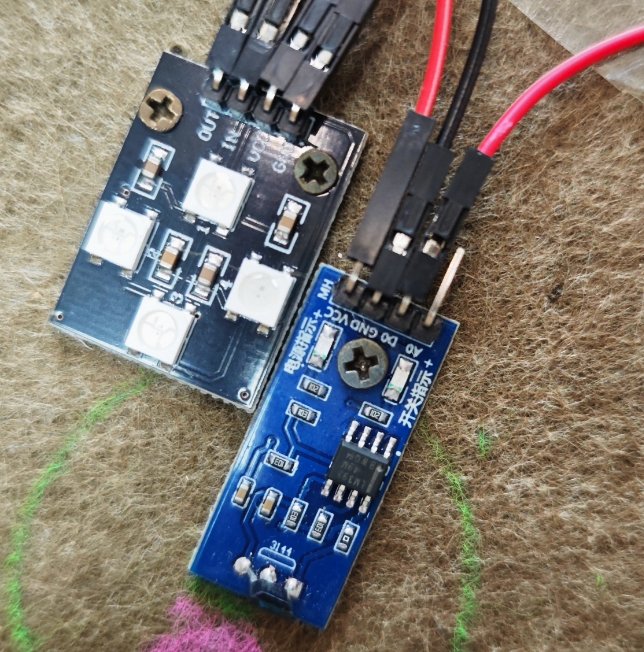
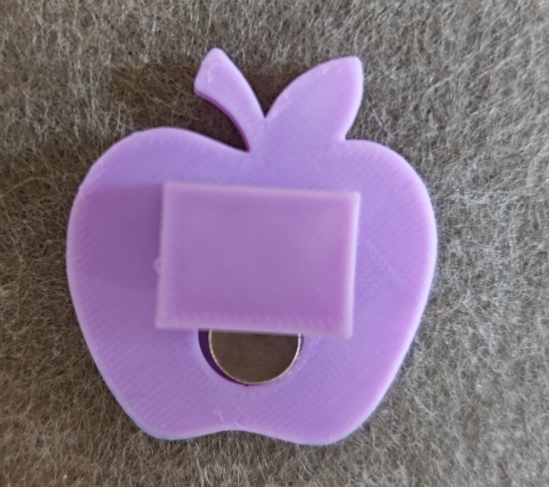
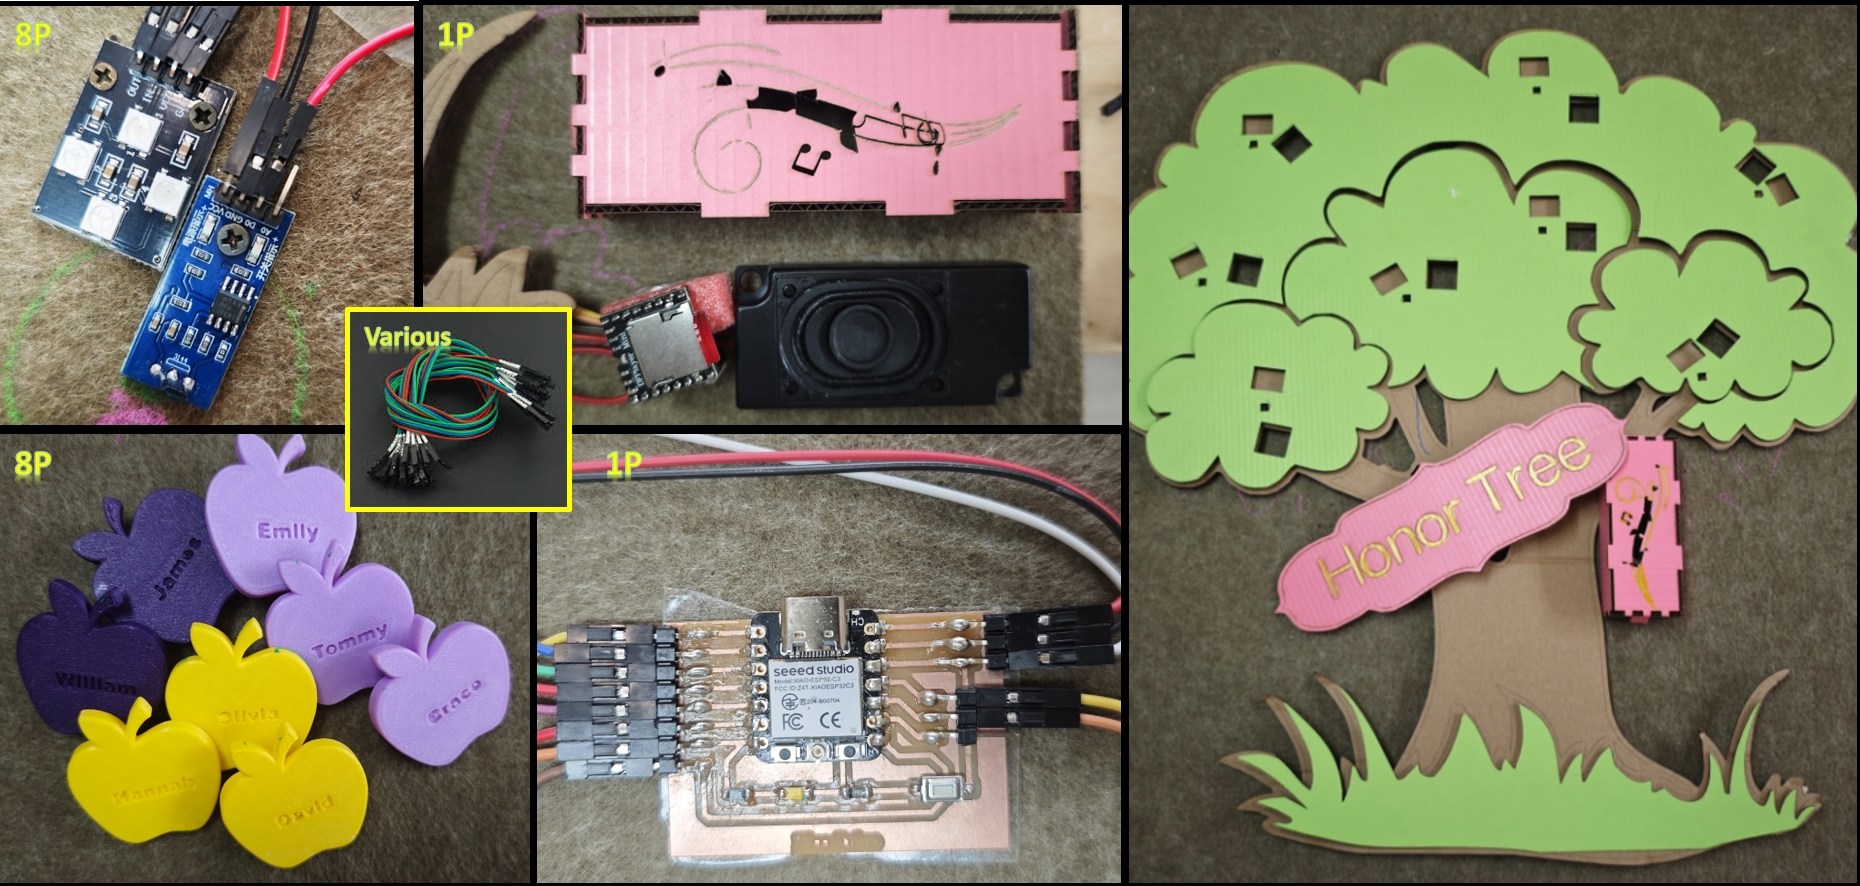
Input: Hall sensors detect 3D-printed apples with embedded magnets.
Output: WS2812B LEDs light up and DFPlayer Mini plays a celebration sound.
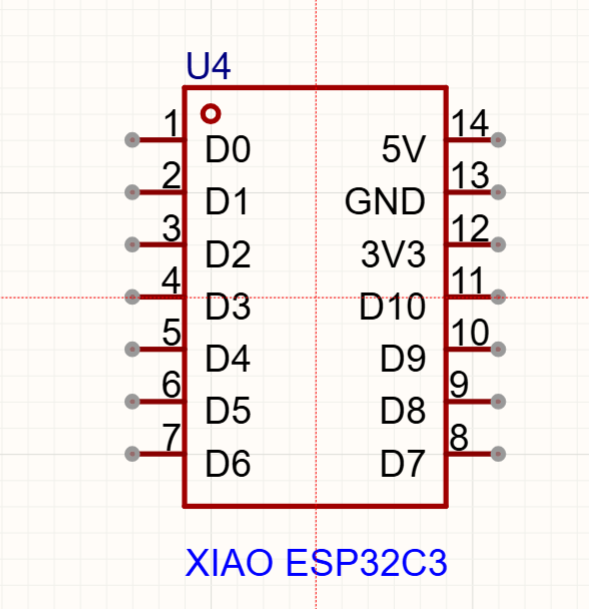
Controller: A XIAO-ESP32-C3 serves as the central microcontroller.
Structure: A multi-layer tree made from laser-cut cardboard and a felt board holds the electronics.
1.2 Bill of Materials
Component
Quantity
Unit Price (RMB)
Notes
PLA Filament
93g
--
Provided by FabLab Formshop
3mm Corrugated Cardboard
3 pcs
--
Laser-cut tree structure
9mm Felt Board
1
21.8
Tree background
Seeed XIAO-ESP32-C3
1
34.05
Main microcontroller
WS2812B RGB LEDs
8 pcs
17.36
Light up apples
A3144 Hall Sensor
8 pcs
17.6
Detect magnetic apples
Neodymium Magnets
8 pcs
3.3
Inside 3D-printed apples
DFPlayer Mini
1
39
Plays sound effects
Speaker (3W 8Ω)
1
4.12
Connected to DFPlayer
SD Card (8GB)
1
3.7
Stores MP3 files
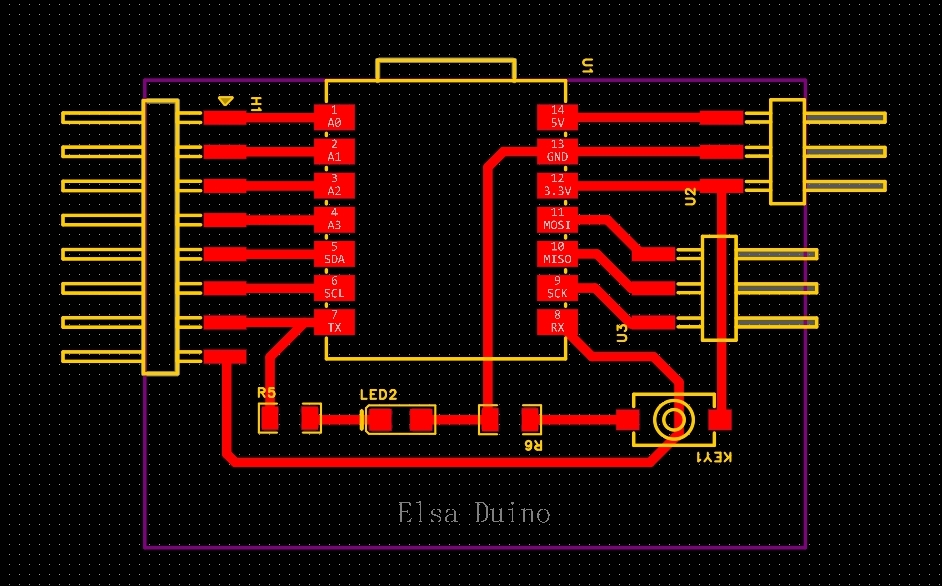
1.3 Circuit and Electronics Integration
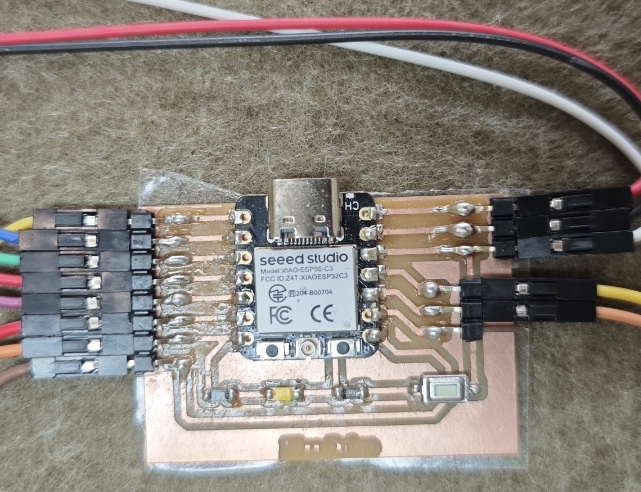
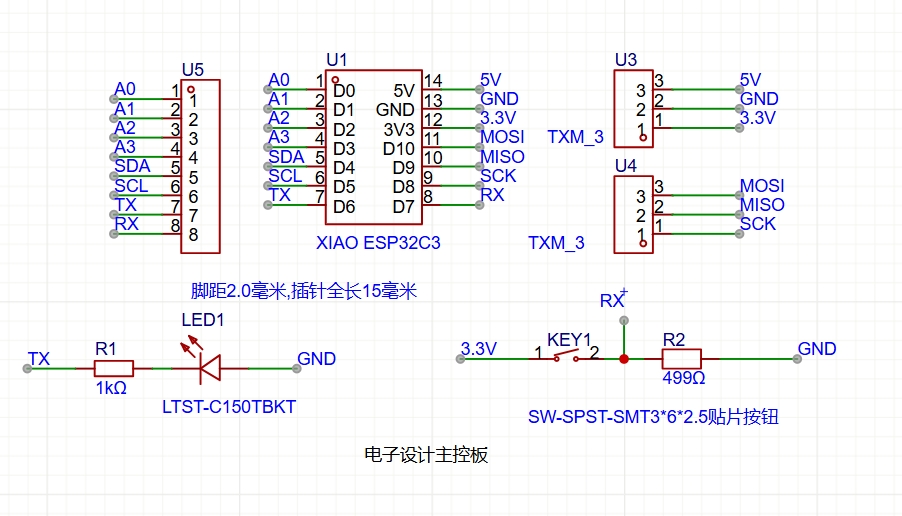
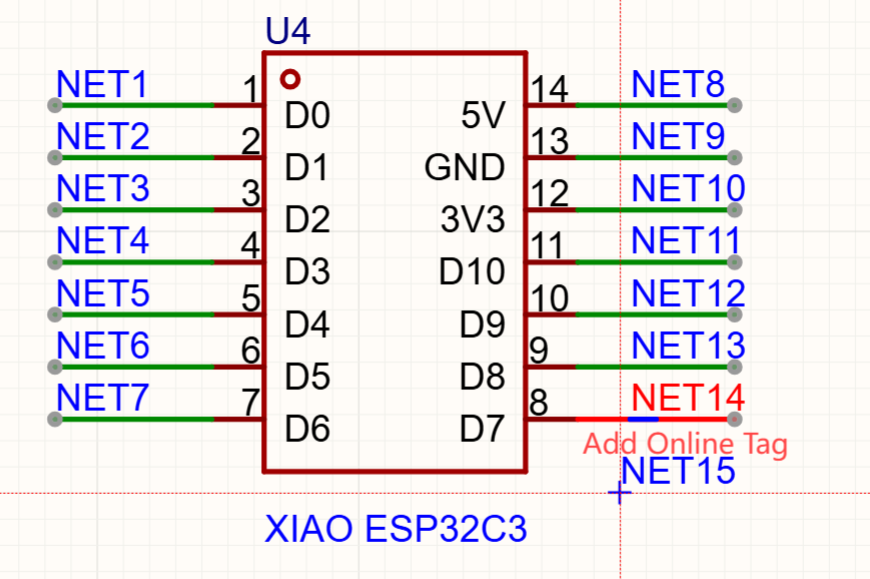
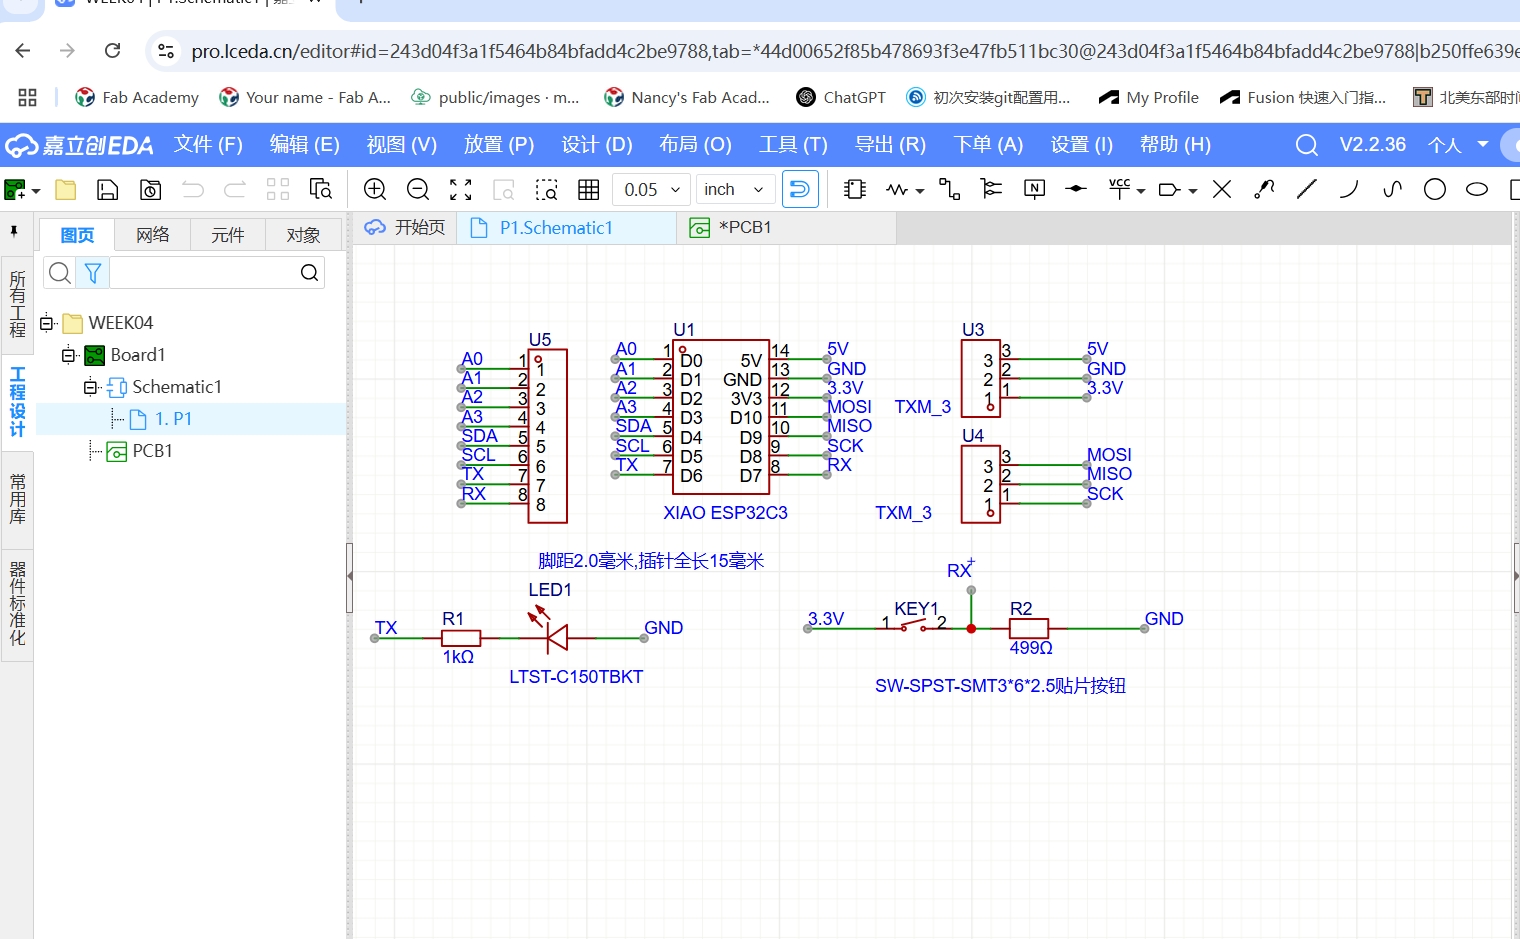
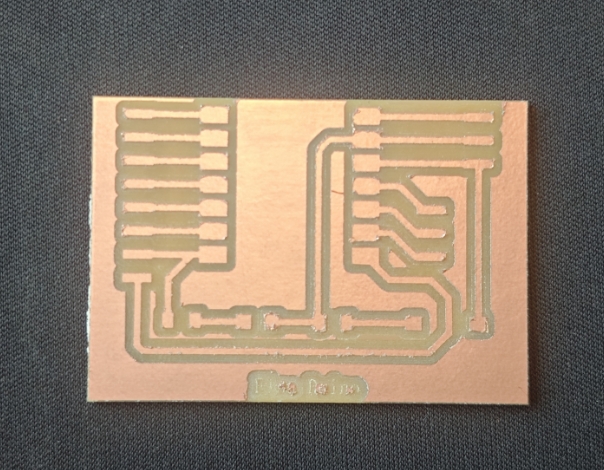
I designed a custom PCB using EasyEDA based on the XIAO ESP32-C3,A total of 8 pins are required for the Hall sensors and 1 for the LED, plus two pins for the mini player, along with power and ground pins. No additional pin expansion board is needed for the Xiao.
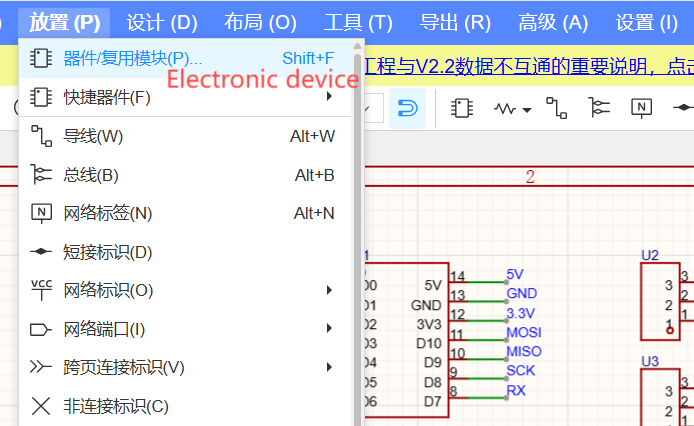
Design Process
Click Place - Component
Enter the component name in the search box and select the model you purchased
Click the mouse to place the component on the canvas
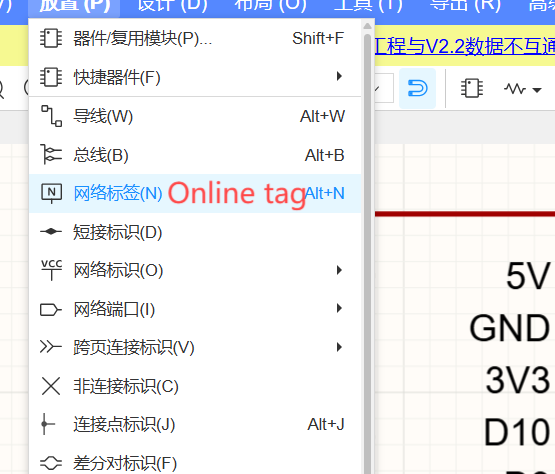
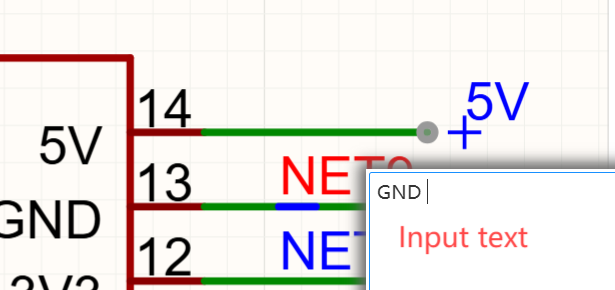
Click Place - Add online tag
Connect one by one
Enter the tag name
Finish the design
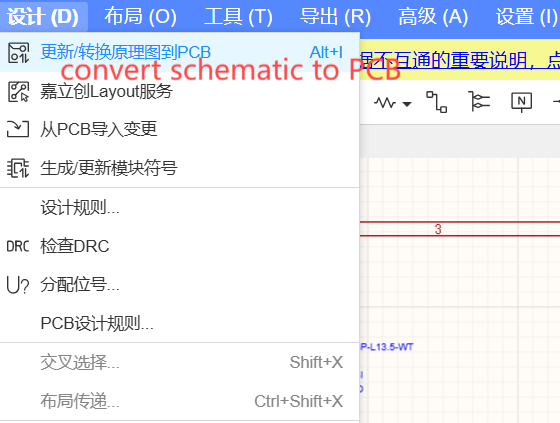
Design - Convert schematic to PCB
Arrange the components
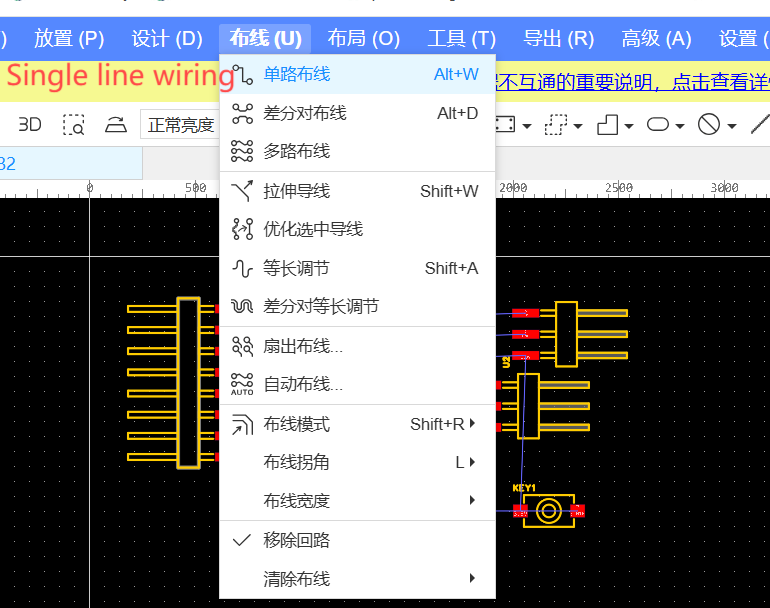
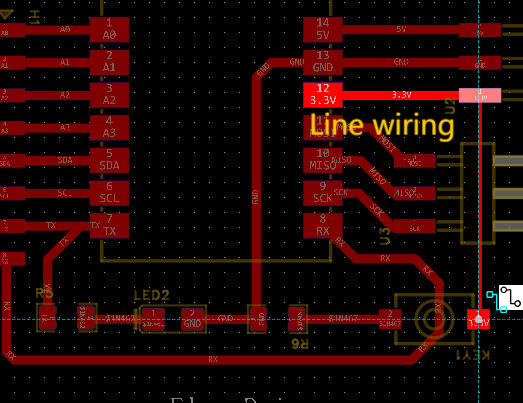
Routing - Single Track Routing
line Wiring
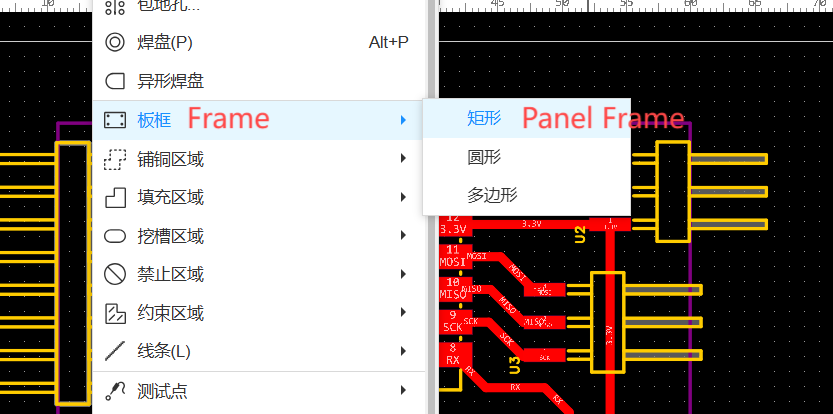
Click Place - Frame - Panel Frame
Board Frame
Place - Text
Input Text
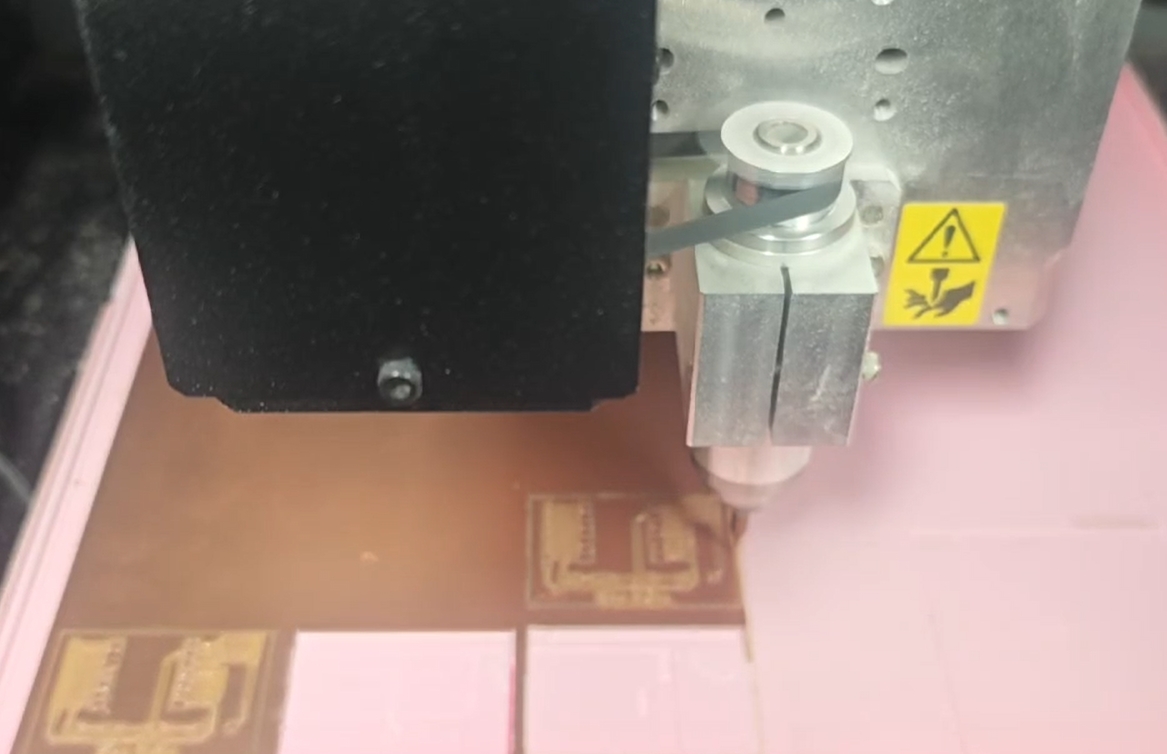
Design and Manufacture
PCB board
1.4 Code Test
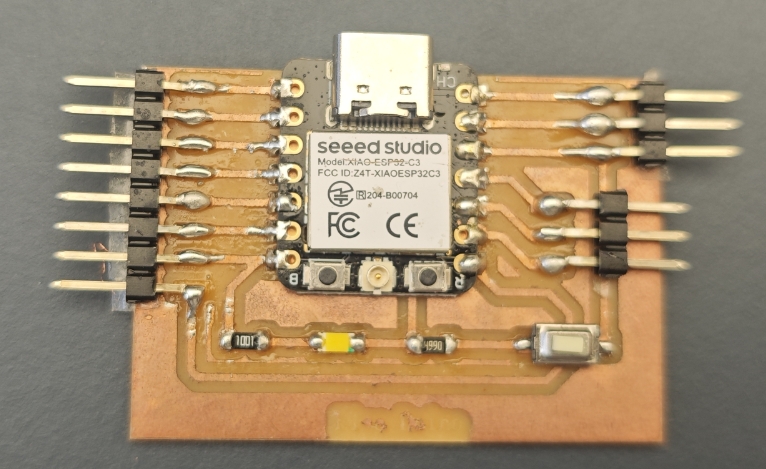
Pins D0–D5 & D8-D10 are connected to Hall sensors and WS2812B LEDs.
D6 and D7 are connected to DFPlayer Mini.
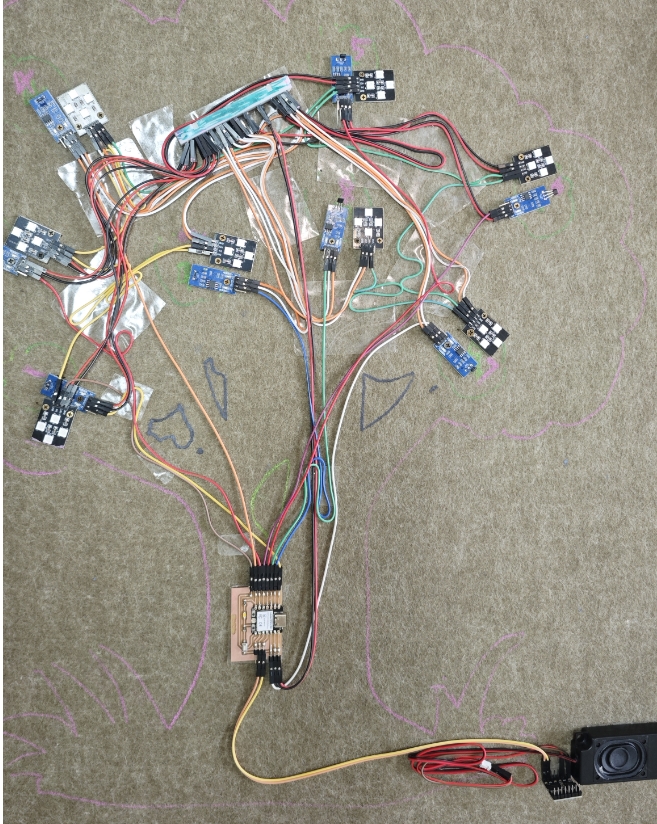
Connection layout
code
Test
When a student puts their apple near the Hall sensor, the LED lights up and a happy “Great job!” plays.
1.5 Structure Integration
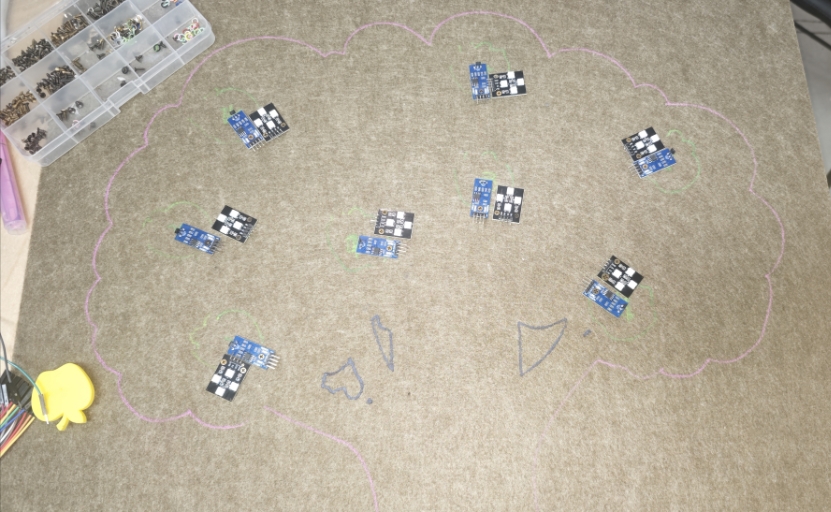
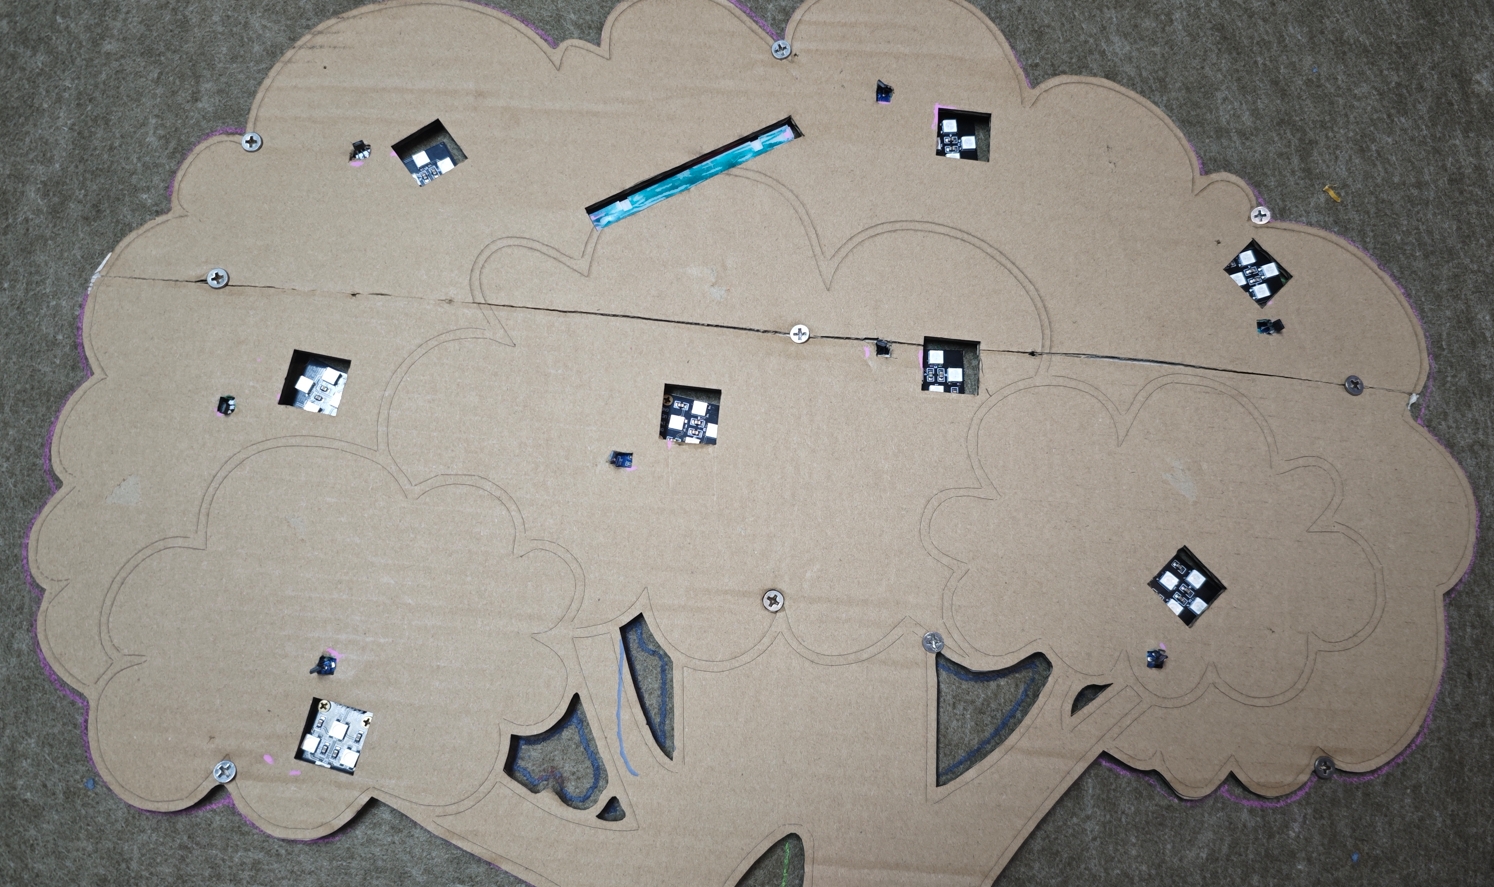
In the first layer, use screws to attach the Hall sensors and LED lights to the felt board.
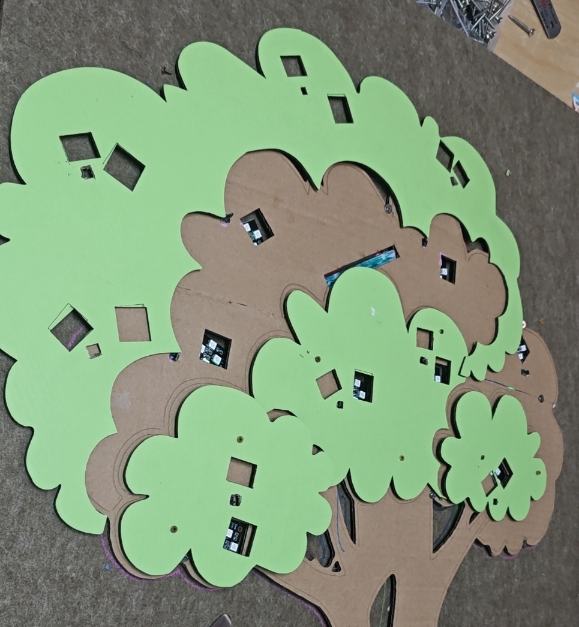
In the second layer, laser-cut gray corrugated cardboard to form the tree trunk. This layer encloses the wiring from the first layer. Be sure to design openings so that the sensors and LED lights align with the apples, enabling the switch sensing function.
For the third layer, laser-cut green corrugated cardboard to represent the tree leaves. Make sure to include slots that fit the size of the apples, allowing the 3D apples to be hung securely so that the magnets inside can trigger the Hall sensors.
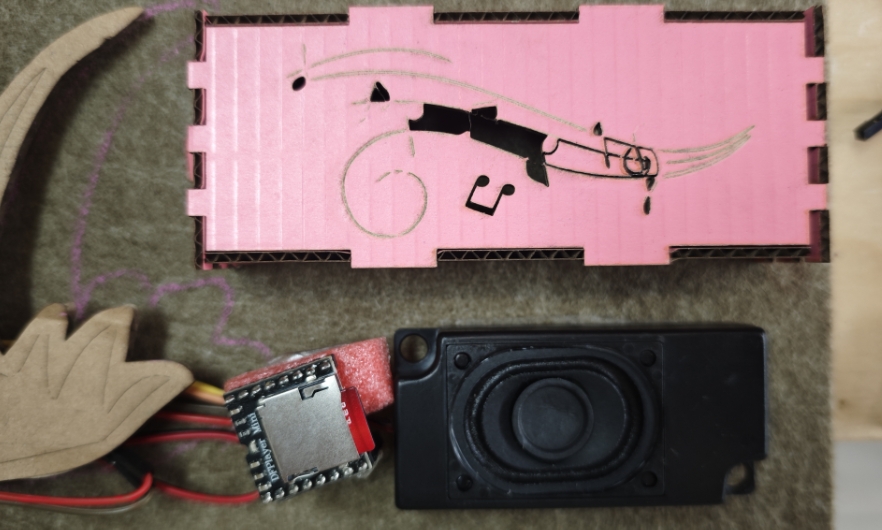
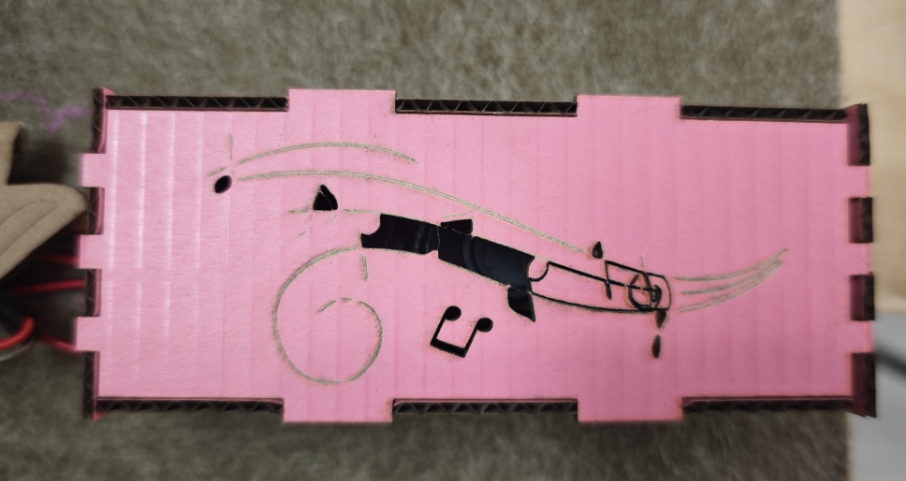
Finally, laser-cut a pink corrugated cardboard music box, embed the speaker inside it, and attach it to the lower right corner.
1.6 System Test & Result
When a student attaches their apple:
The Hall sensor detects it.
The matching LED lights up.
A “Great job!” message plays from the speaker.
This provides immediate feedback and motivates students through interactive celebration.
Here is my first version — an Honor Tree made of a wooden box. Since the surface area was relatively small, I upgraded to the second version to enhance the visual effect.
Reflection
Integrating all the parts was challenging yet rewarding. Aligning structure and electronics required multiple iterations. The result is a beautiful and meaningful classroom interaction tool that helps students feel recognized and proud of their efforts.