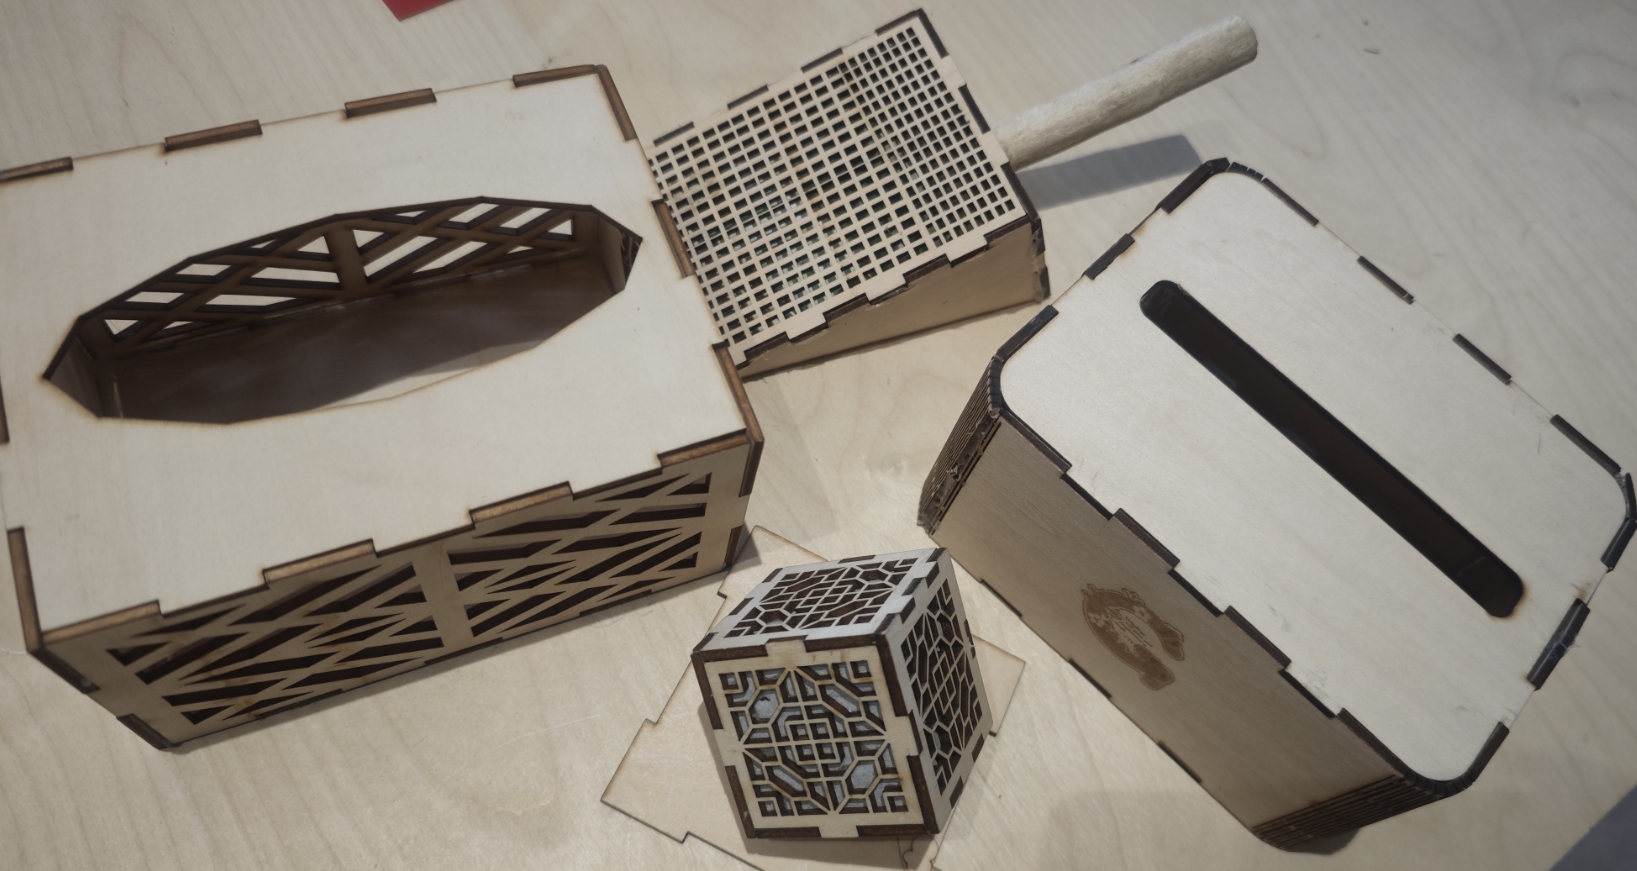
In the third week, we begin to know and use the machine. I learned the laser cutting machine in the school very quickly, very happy. It can be cut out a lot of interesting shapes according to the 2D design and combined into different works.
Learning Objectives
Group assignment:
Do your lab's safety training
Characterize your lasercutter's focus, power, speed, rate, kerf, joint clearance and types.
Individual assignment:
Design, lasercut, and document a parametric construction kit, accounting for the lasercutter kerf, which can be assembled in multiple ways.
Cut something on the vinyl cutter.
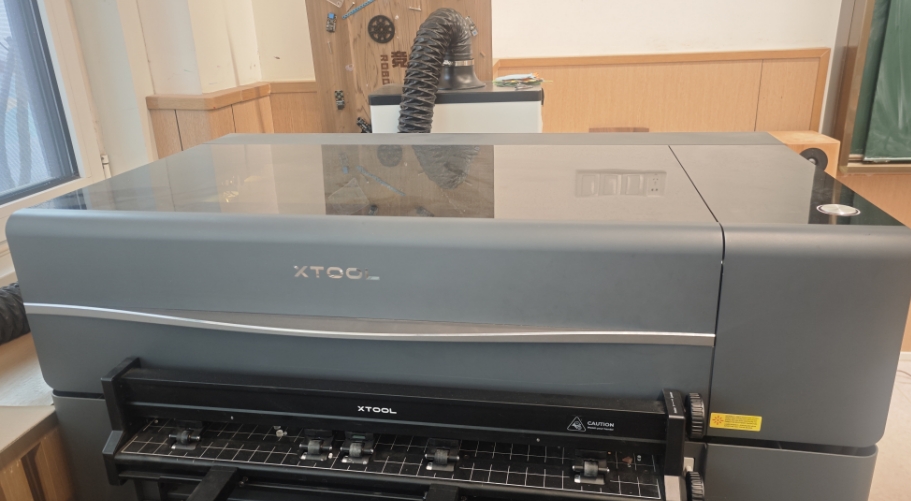
1.Laser Cutter
1.1 Our School's Laser Cutter: xTool P2
Laser cutting is a manufacturing process that uses high-power laser beams to precisely cut materials. It has the characteristics of high precision, fast cutting and strong flexibility.
Determines the energy intensity of the laser beam, affecting cutting speed and material thickness processing capability. Higher power results in faster cutting but also increases energy consumption and costs.
Speed
Controls the speed at which the laser head moves, affecting cutting quality and efficiency. Different materials require different cutting speeds; too fast may result in incomplete cuts, while too slow may cause excessive heating of the material.
Frequency
The frequency of laser pulses affects the fineness of the cut and the size of the heat-affected zone. For certain materials (such as plastics), appropriate pulse frequency can reduce thermal damage.
Assist Gas
Used to blow away molten material, keeping the cut clean. Commonly used gases include oxygen, nitrogen, and air. Choosing the right gas can optimize the cutting effect.
Focal Length
The focal length of the lens system determines the position of the laser beam's focus point, affecting cutting depth and precision. Longer focal lengths are suitable for thick materials, while shorter focal lengths are suitable for fine cutting.
1.3 Laser Cutter Safety Training
Completed safety training for the xTool P2 laser cutter, covering:
Emergency stop procedures.
Ventilation requirements.
Material compatibility and fire hazards.
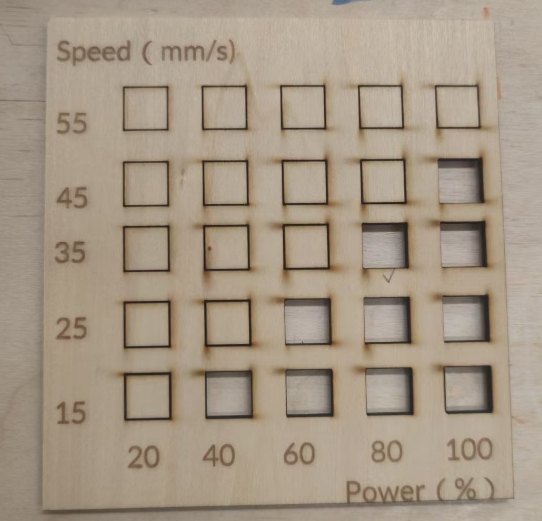
2. Material Testing
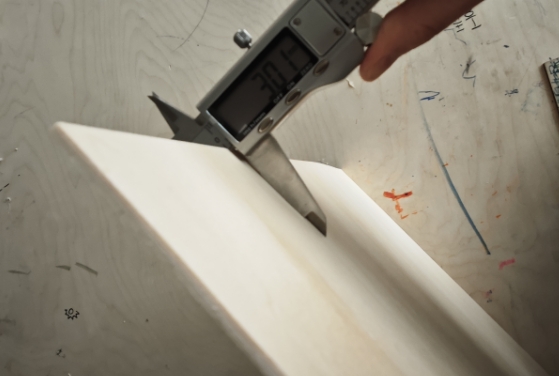
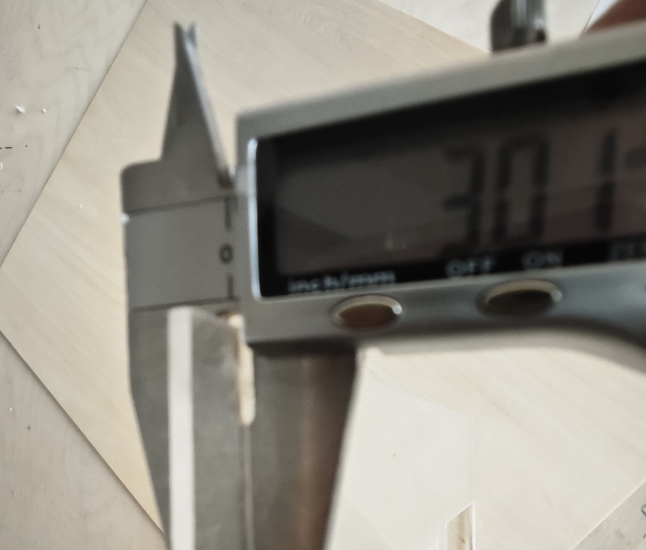
Material A: 3.01 mm basswood & B: 3.01 mm acrylic
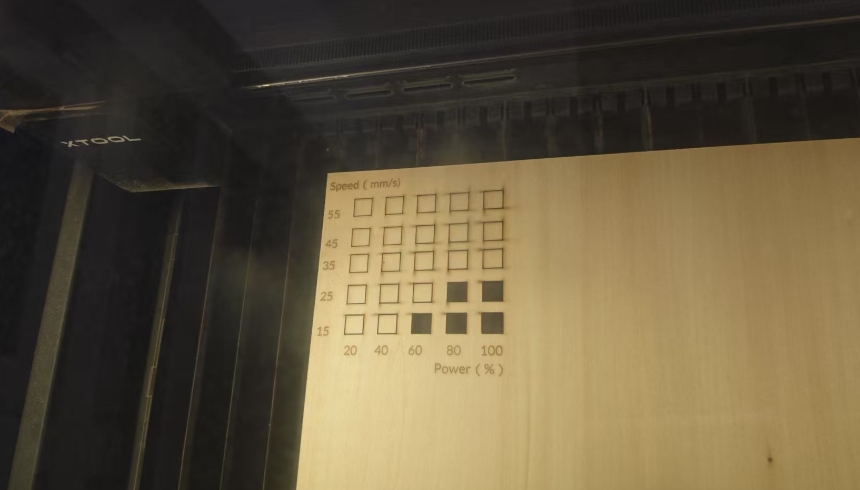
2.1 Optimal Power & Speed Testing
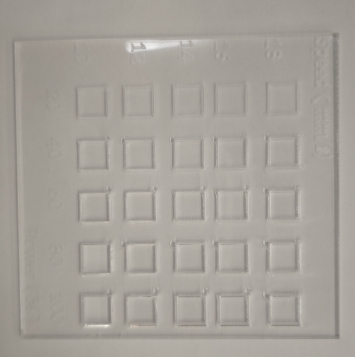
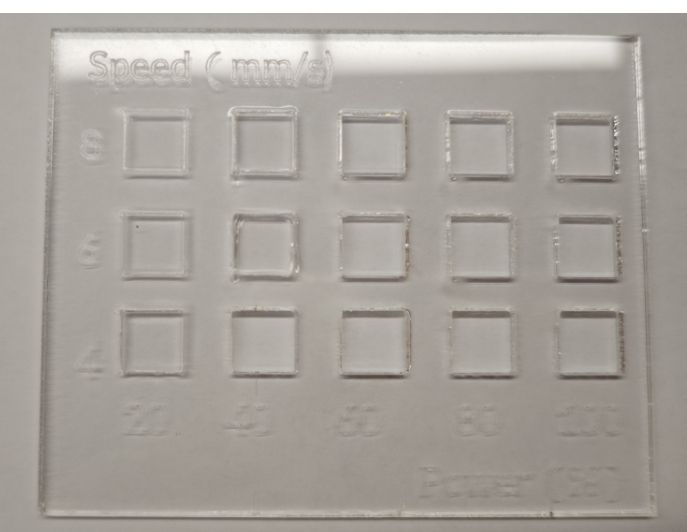
Test different materials for optimal power and speed. First of all, draw a 1*1cm square in the software of the laser cutting machine, the cutting process, set different cutting power and speed for each square, and finally, confirm the best power and speed.
2.1.1 Material A: 3mm basswood
Test results of 3.01mm thick Tilia wood board, relatively economical and efficient power | speed is set to 80% power, speed 35mm/s.
2.1.2 Material B: 3.01mm acrylic
3mm acrylic plate test results, relatively cost-effective power | speed set to 100% power, speed 10mm/s.
2.1.3 Test conclusion
Material
Power
Speed (mm/s)
Quality
Notes
3mm Basswood
80%
35
✅ Best
Clean edges, minimal charring
3mm Acrylic
100%
10
✅ Best
Smooth edges, no melting
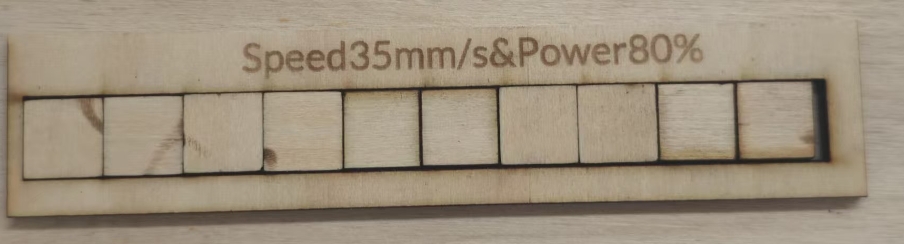
2.2 Kerf Test
Test the cut of 3mm Tilia wood board, first of all, the laser cutting machine software draws 10 side by side 1*1 squares, after cutting, the square is closely arranged in the gap, and then use the vernier caliper to measure the size of the remaining gap, which is the sum of 11 cuts.
Test conclusion: Using power 80%, speed 35mm/s of 3mm Tilia wood is 16mm.
Basswood Kerf: 0.15mm per cut → Total 1.65mm for 11 cuts.
Design Adjustment: Compensate by offsetting paths by 0.15mm in CAD.
2.3 Joint Clearance Test
Test joint gaps of different materials. Laser cut the two materials of the comb joint test board, the width difference between the adjacent joints is 0.05mm, and then test with 3mm lime wood and 3mm acrylic plate, respectively, to see which seam is the best.
Test conclusion
Material
Ideal Clearance
Fit Quality
3.01mm Basswood
2.75mm
Snug fit
3.01mm Acrylic
2.50mm
Tight fit
2.4 Living Hinge Test
By cutting different textures, the Linden board can achieve different degrees of bending.
Individual Assignment
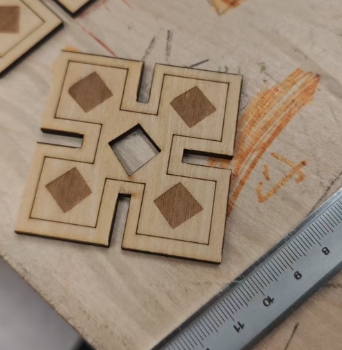
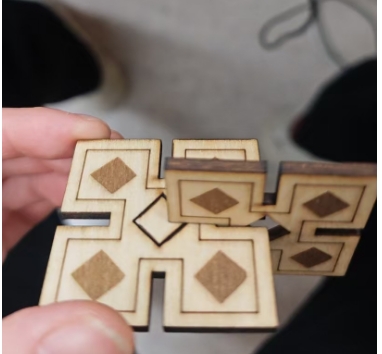
3. Square block building blocks
Use parametric design to create square inserts with adjustable material thickness and frame size.
3.1 Design square inserts
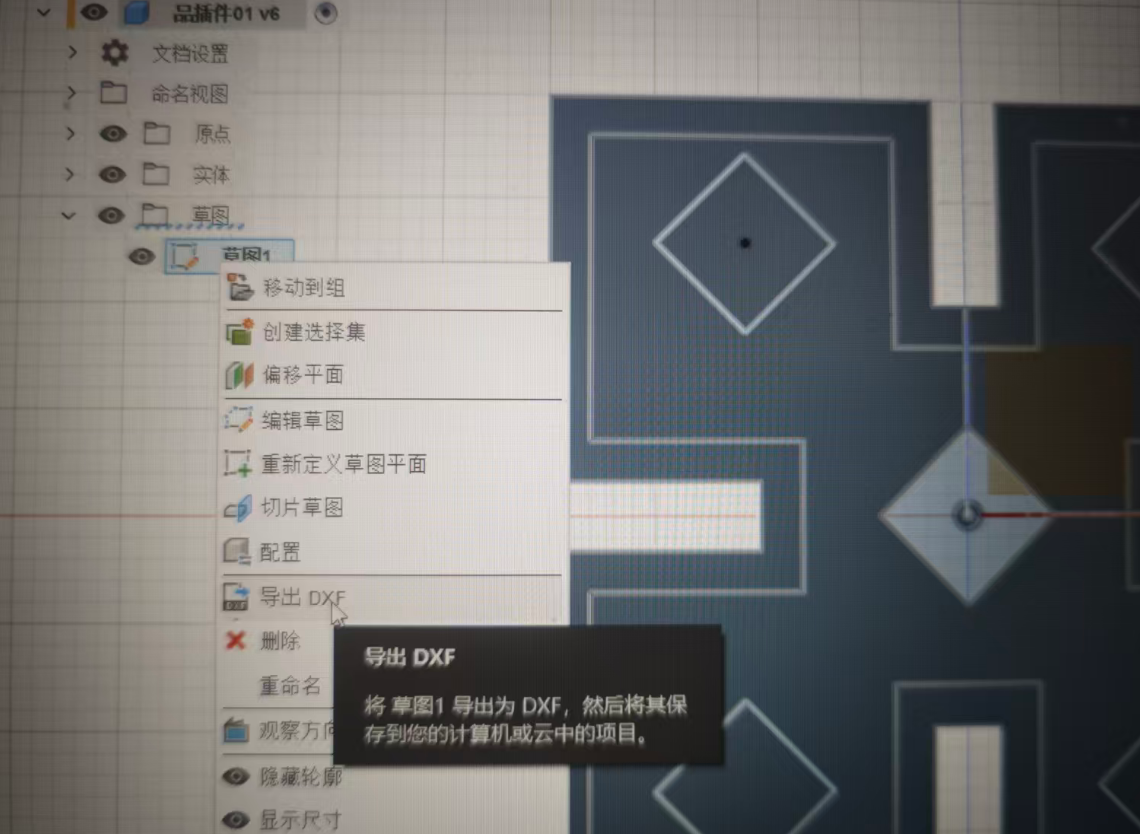
Create a sketch and select the XY plane.
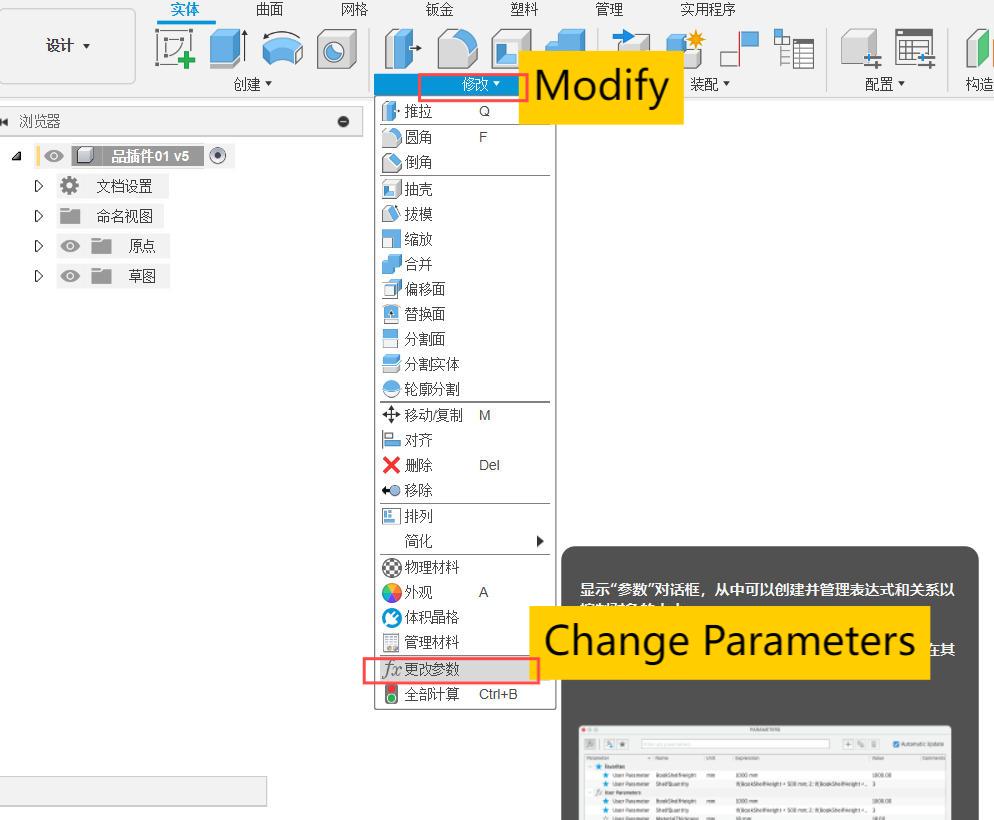
Click the menu: Modify → Change Parameters.
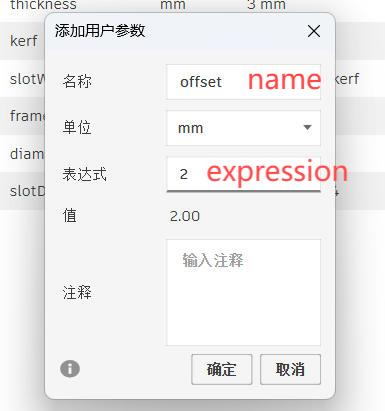
Click the + sign (+ User Parameter).
Fill out the form and enter the corresponding name, units, expression, and description.
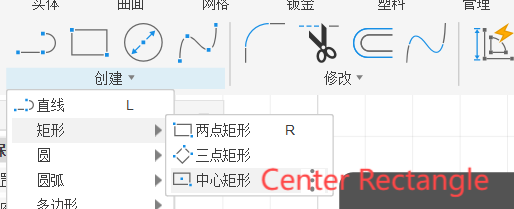
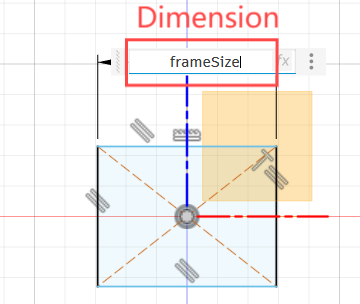
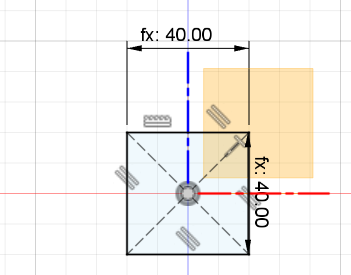
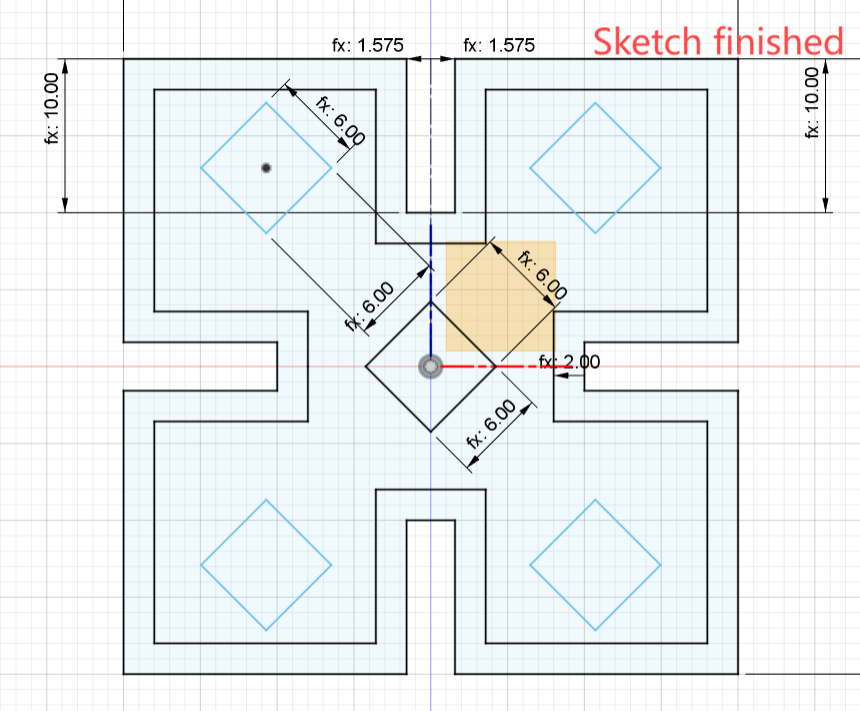
At the center, draw a central rectangle.
Define the size as “frameSixe”.
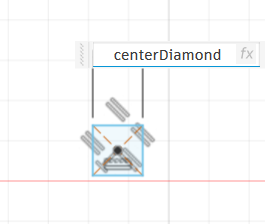
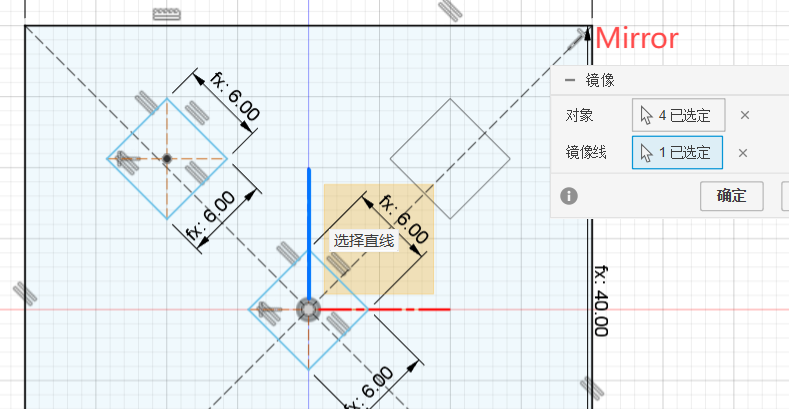
Draw and define a diamond pattern, then move and set the definition as “centerDiamond” for the central rectangle.
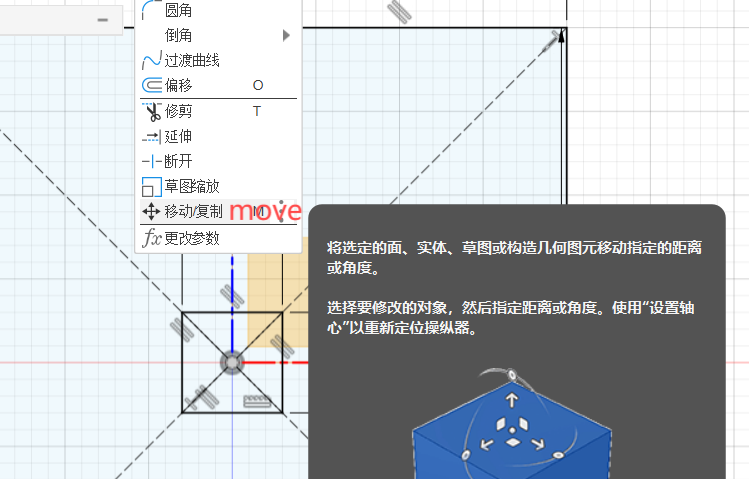
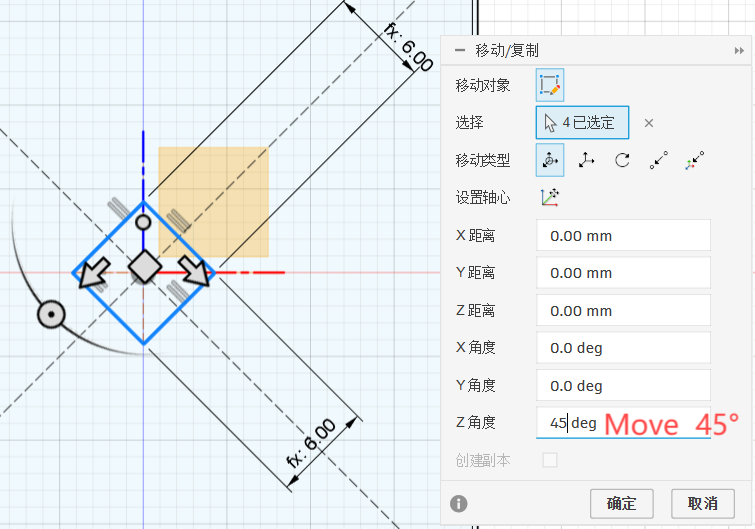
Click Move/Copy, select the diamond to move
Rotate it 45° around the Z-axis.
Do the same operation,draw the surrounding diamonds, define their size as “diamondSide” and rotate them 45° around the Z-axis.
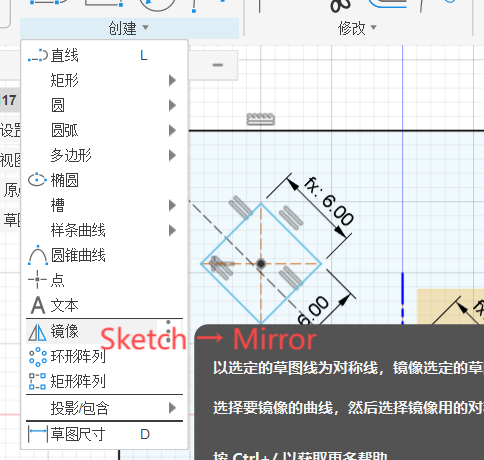
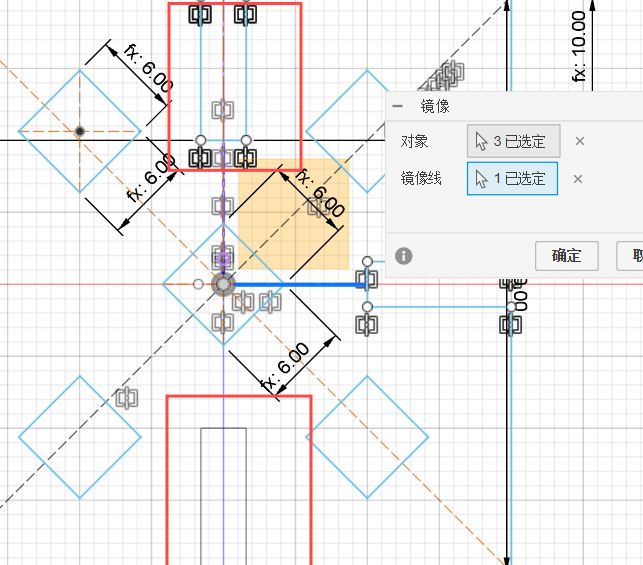
Click Create → Mirror.
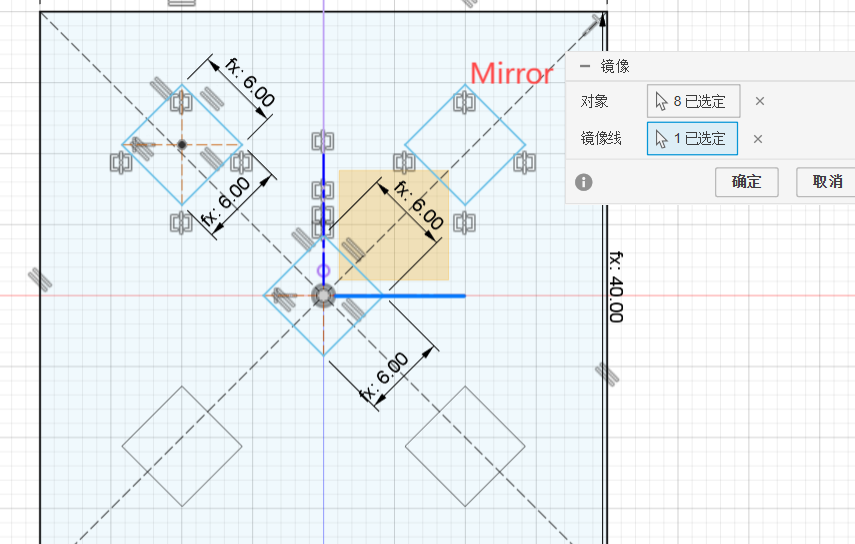
Mirror the surrounding diamonds once.
Mirror the surrounding diamonds a second time.
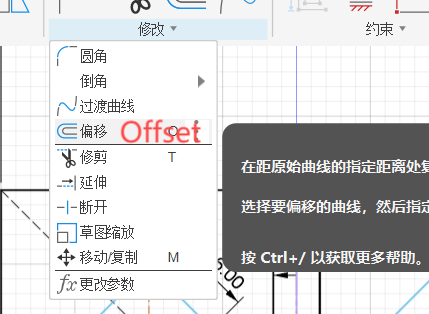
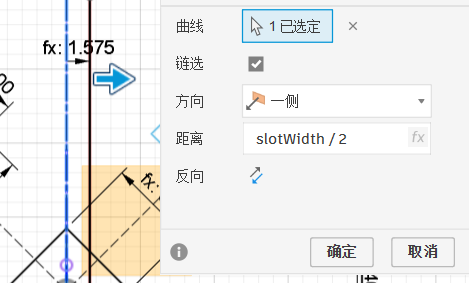
Draw a centerline, select the centerline, choose Offset, and define the offset dimension as “slotWidth/2”.
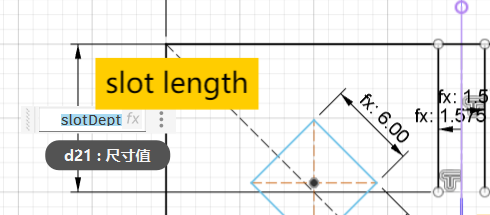
The slot length is defined as “slotDepth”.
Mirror the slot.
Trim excess lines.
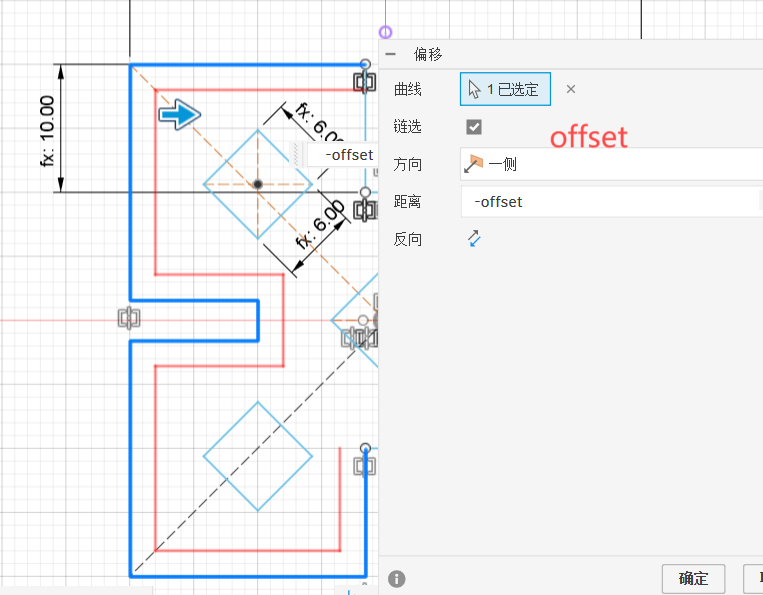
Offset the outer frame inward by the offset value.
Sketch completed.
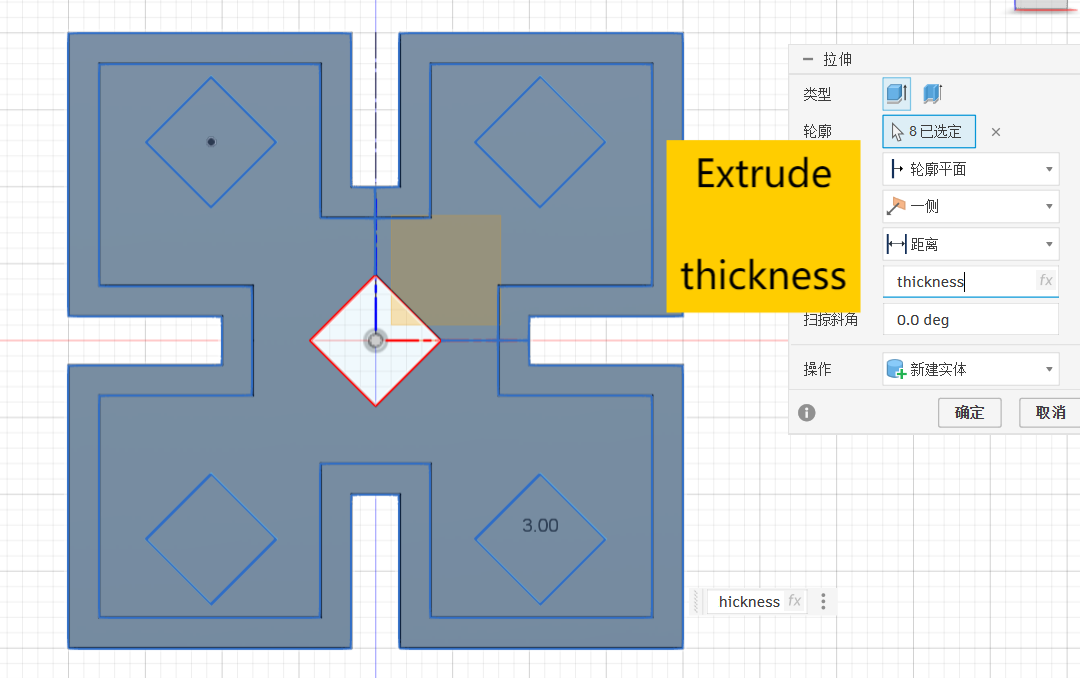
Extrude — set the thickness to “thickness”.
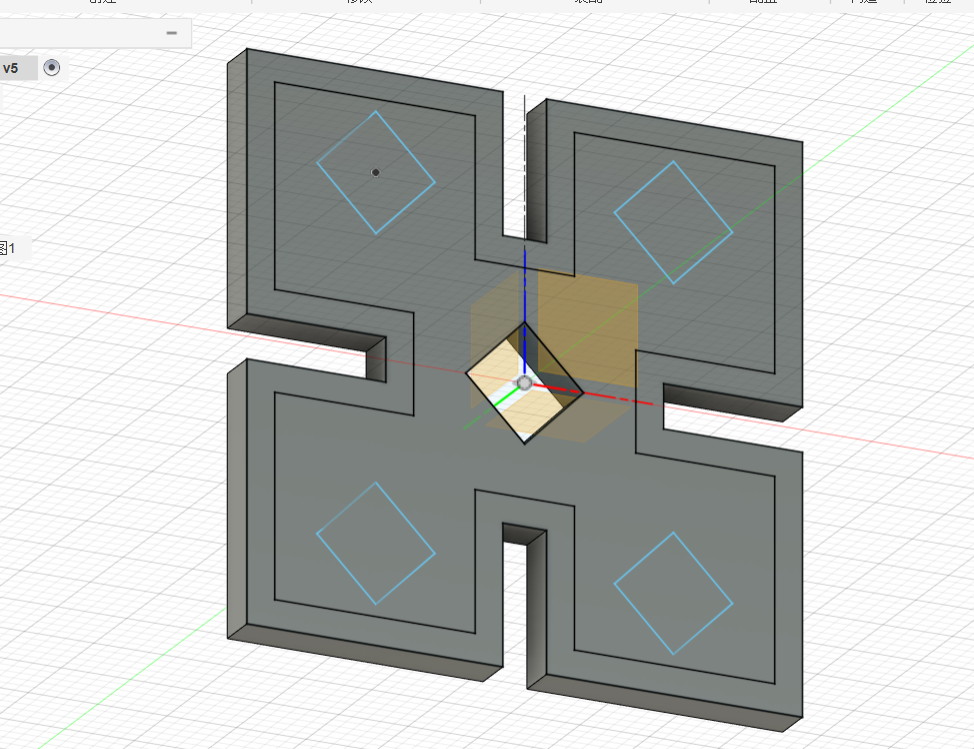
3D model
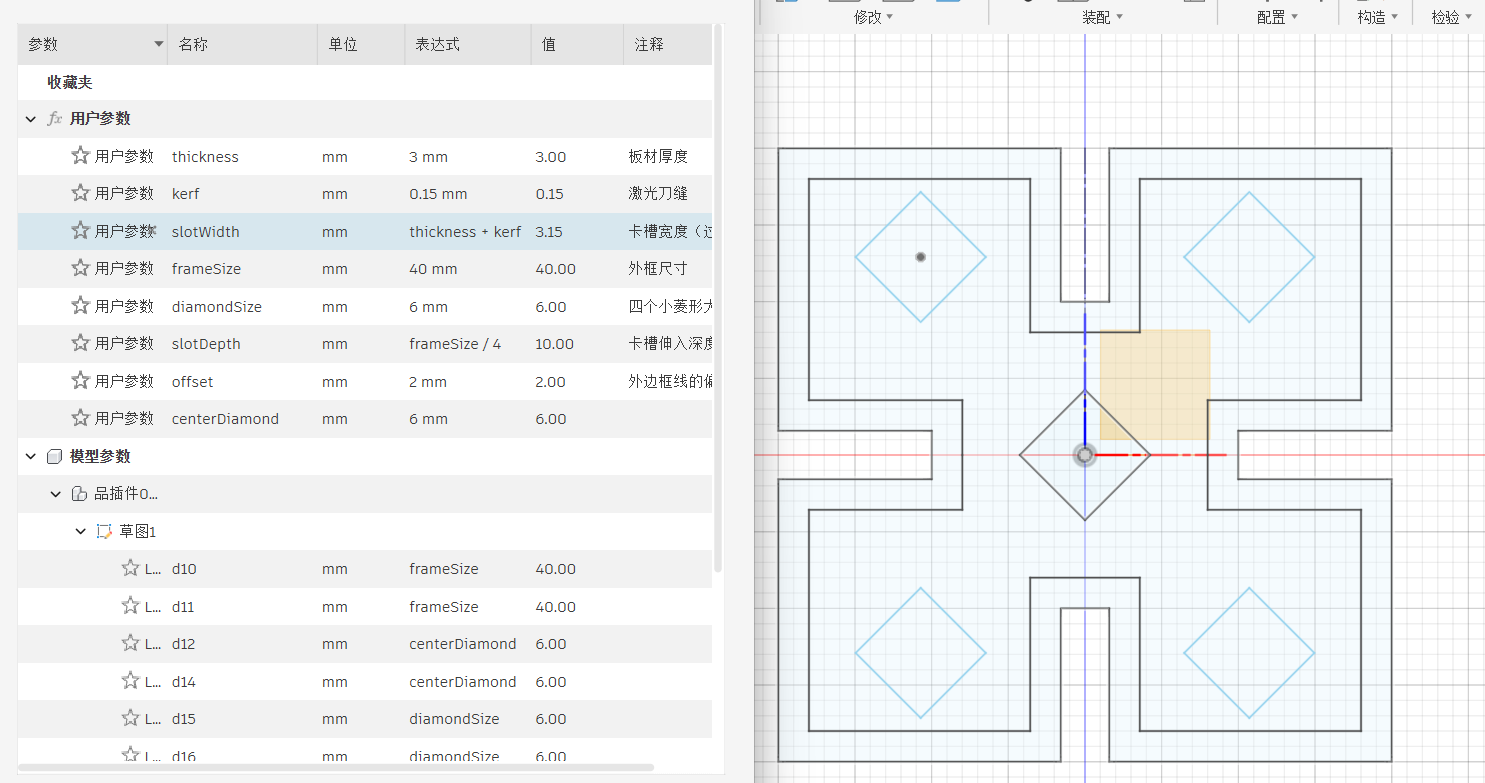
The parameter table for the model is as follows:
By modifying thickness and frameSixe, you can adjust the material thickness and overall size of the square inserts.
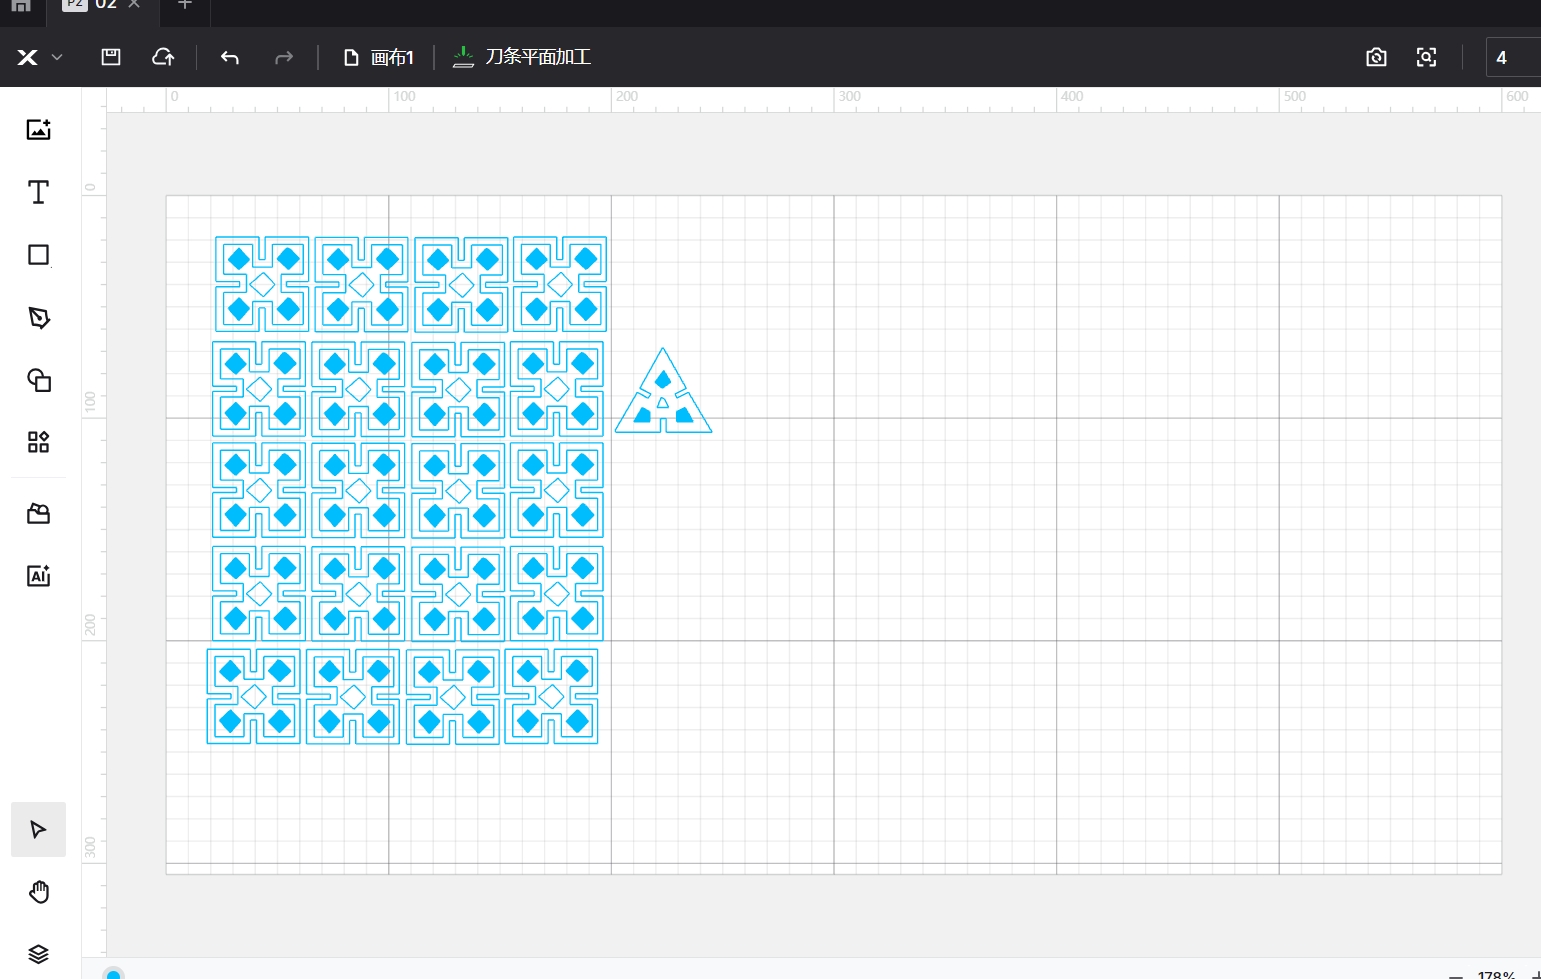
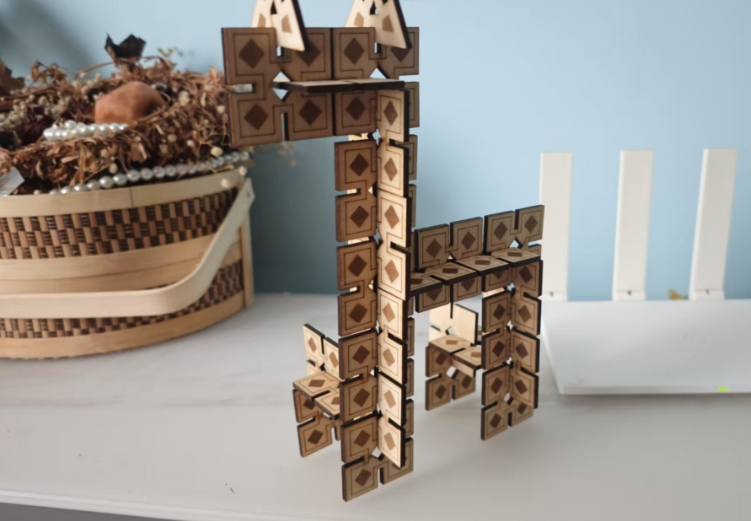
After importing the file into X-tool, copy and paste multiple times. I also used X-tool’s own tools to quickly draw a triangular insert.
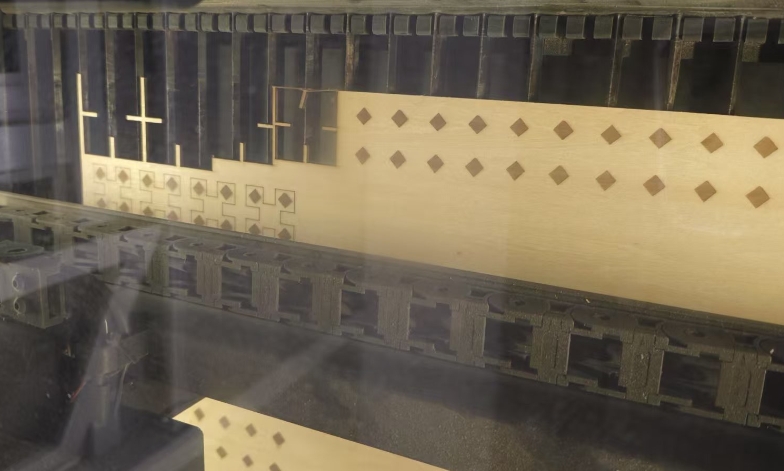
Laser cutting
test
Interlocking giraffe
Student club class works
Final Project
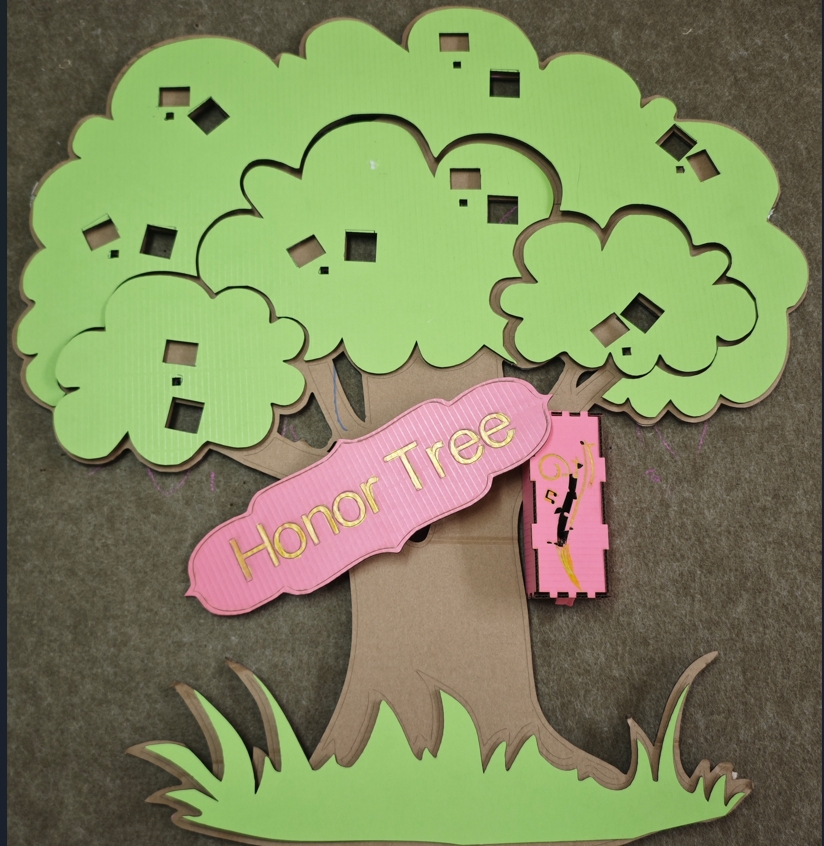
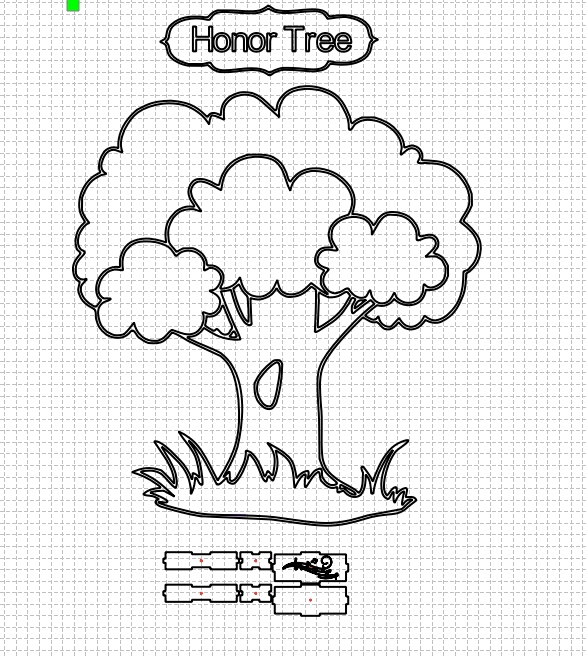
I designed a multi-layer tree in 2D Designed.
Design and Manufacture
Manufacture
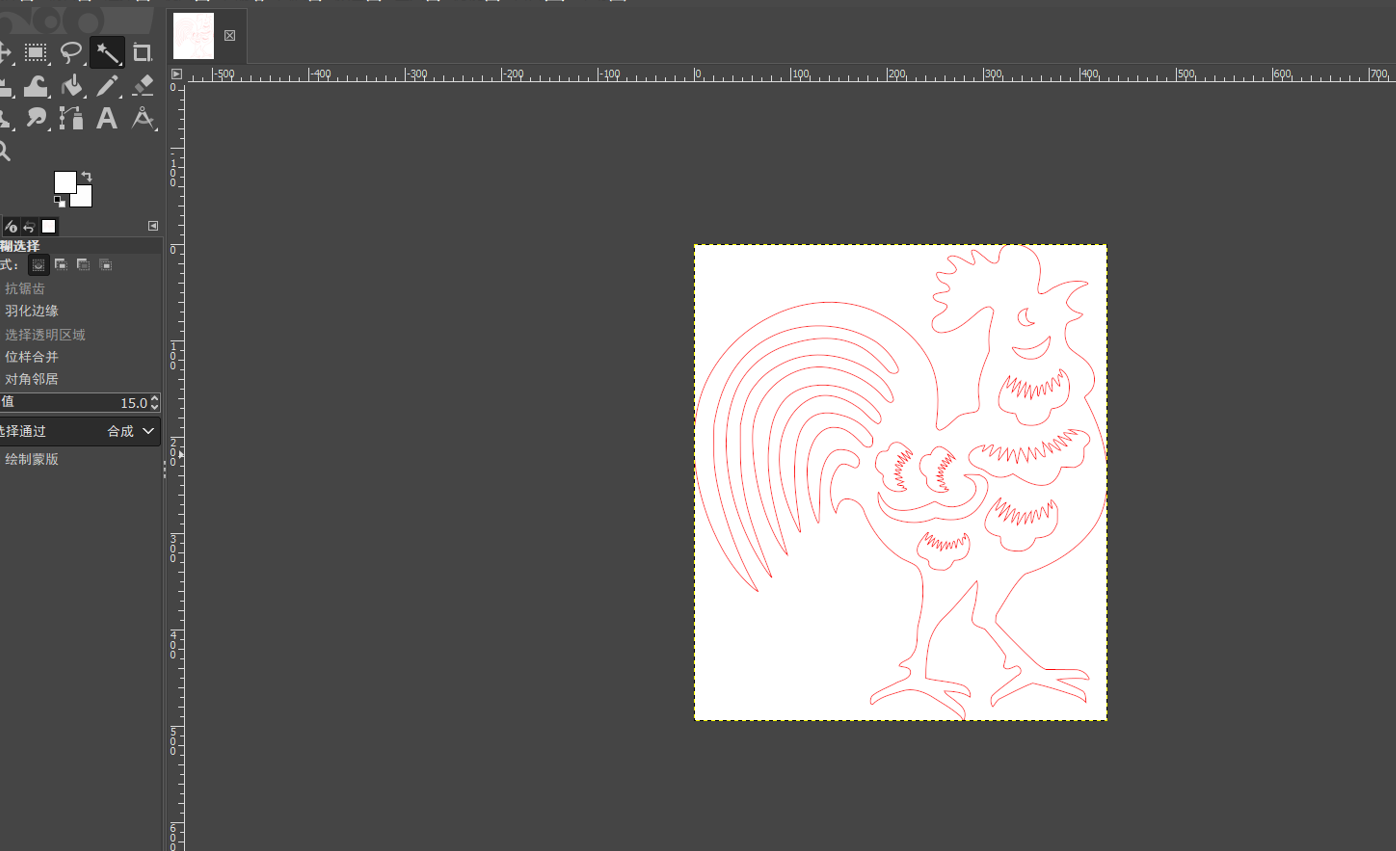
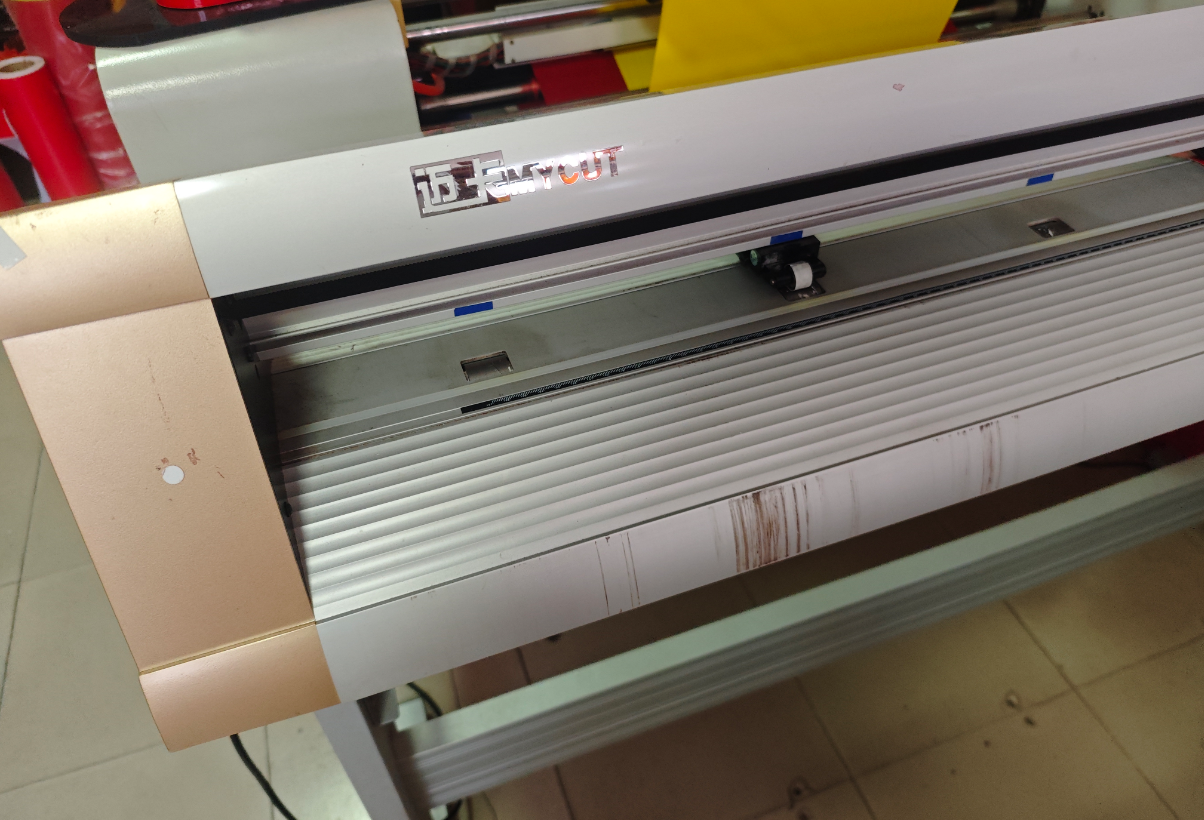
4.Vinylcutter Design
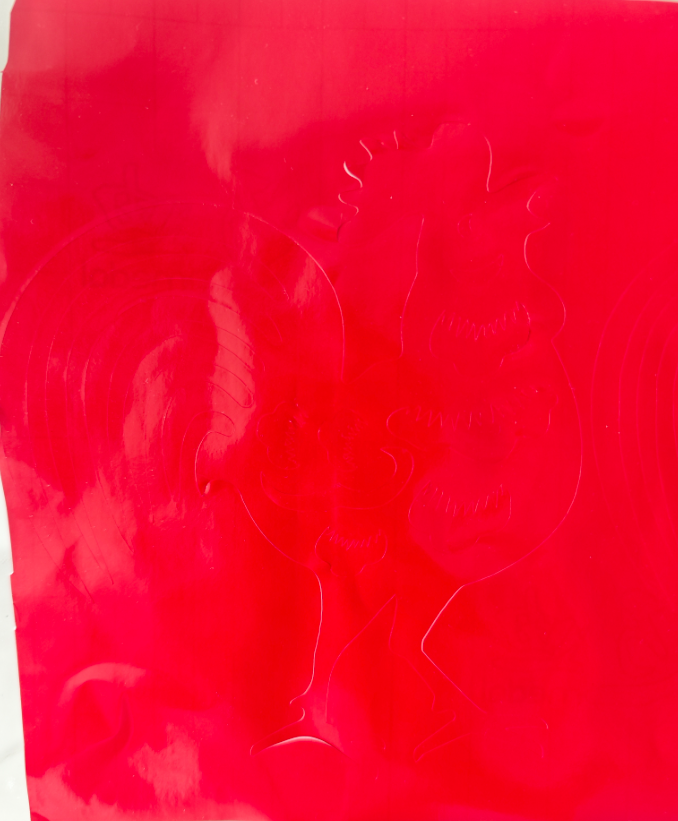
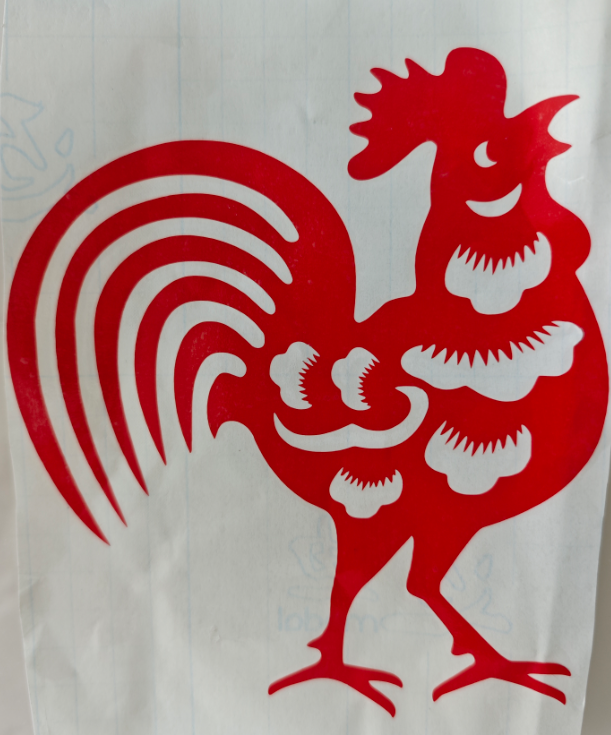
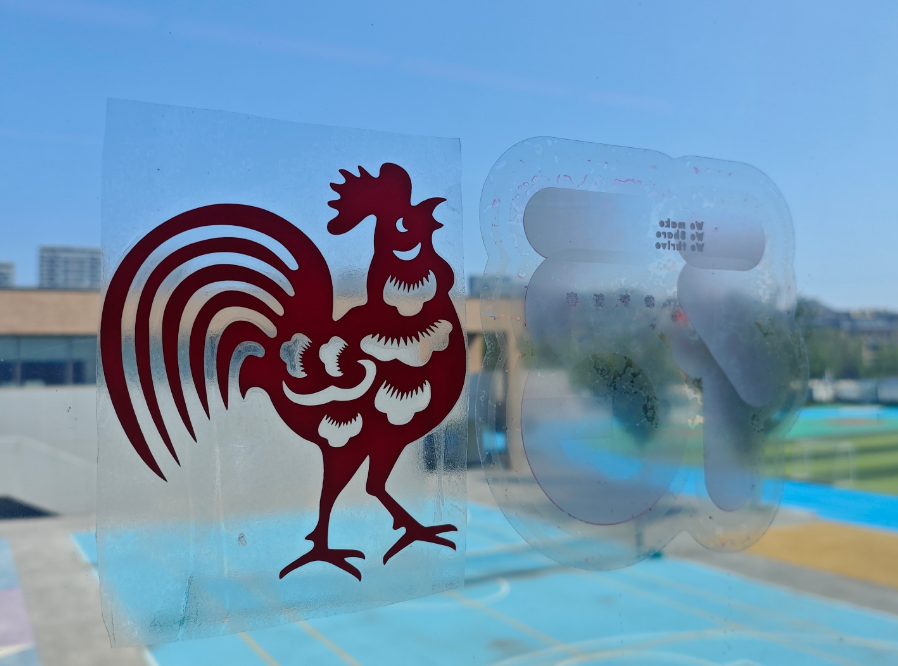
Using a vinyl cutter, I created a paper-cutting-style design of the Chinese zodiac animal — the rooster. These can be used as traditional window decorations during the Chinese New Year.
I used the MIKA 1350 vinyl cutter to cut PVC sticker material. This machine, made by the Chinese company MIKA, is widely used in advertising, crafts, and fine arts for cutting text and graphics. It is commonly applied in sticker lettering, heat transfer vinyl cutting, reflective film production, label making, clothing patterns, and wall decoration.
Parameter
Recommended Setting
Note
Cutting Speed
300–500 mm/s
PVC stickers are thin, so a moderate speed is better to avoid shifting.
Cutting Force (also called "power")
80–120 gf
Start testing from 80gf to avoid cutting through the backing paper.
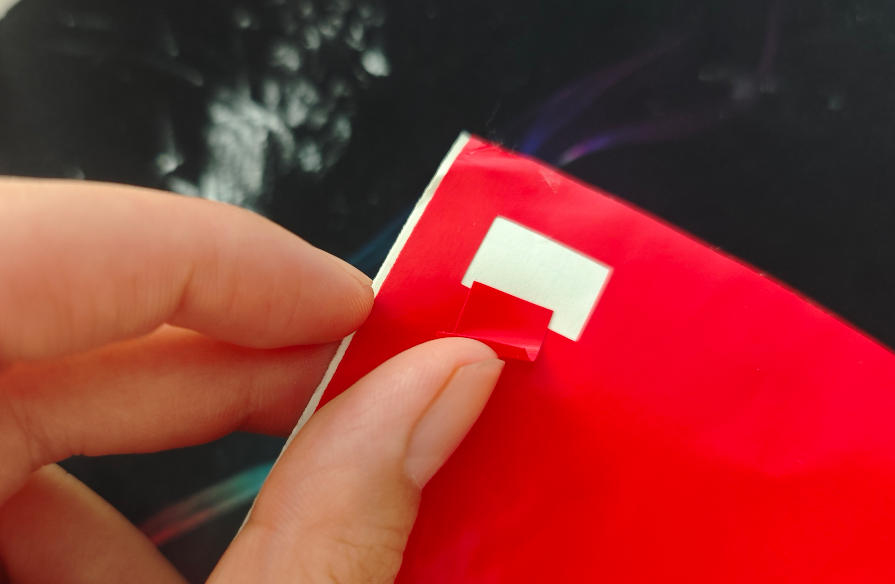
I used a 45° blade with a speed of 300 mm/s and cutting force of 100 gf — this worked fine in the initial test.
Initial Cutting Result:
Clean outline with no through-cut on the backing paper.
However, the first cut went through the backing paper. I adjusted the force to 90 gf, and the cutting result was much better.