Computer controlled cutting
| Owner | Oscar Diaz |
|---|
- Do your lab’s safety training
- Characterize your lasercutter’s focus, power, speed, rate, kerf, joint clearance and types.
- Document your work to the group work page and reflect on your individual page what you learned.
About this week
Briefly describe the goal of the assignment. What are you characterizing, testing, or exploring
Part one of this week is to work together as a group to build the skills to use the machines effectively, safely and to characterize there properties.
Tools and materials used
List all the machines, software and materials used in this assigment.
Process and methodology
Describe step-by-step what the group did. Include sketches, screenshots, or videos if possible.
1. Safety Induction
The induction that we were given for this class was the same standard induction that members of the FabLab would get. The key goals are to understand how the laser can create unsafe situations and what to do when those situations arise. As a rule we try to pull from manufacturers recommendations, in the guide below we were guided buy Flux who have complied some nice concise guidelines.
- General Safety Precautions
✔ Read the Manual – Always review the manufacturer’s instructions before operating. ✔ Use in a Well-Ventilated Area – Ensure proper airflow and fume extraction to prevent inhalation of hazardous fumes. ✔ Know Emergency Procedures – Familiarize yourself with emergency stop functions, fire extinguishers, and first aid kits.
- Personal Protective Equipment (PPE)
✔ Safety Glasses – Use laser safety glasses if operating an open-lid machine. ✔ Gloves (Optional) – Wear gloves when handling materials but NOT while operating the machine (loose gloves can get caught). ✔ Mask/Respirator – If working with materials that emit strong fumes, wear a respirator suited for fumes/particulates.
- Machine Setup & Pre-Operation Checks
✔ Inspect the Machine – Check for damaged components, frayed cables, or misaligned laser lenses. ✔ Clean the Work Area – Remove debris and flammable materials from the laser bed. ✔ Check Ventilation & Air Assist – Ensure the exhaust fan and air assist are functioning properly.
- Approved & Prohibited Materials
✔ Approved Materials – Wood, acrylic, paper, leather, fabric, cardboard, certain plastics. ❌ Prohibited Materials – PVC, vinyl, polycarbonate, fiberglass, coated metals, and materials that produce toxic fumes.
- Operating the Laser Cutter
✔ Never Leave the Machine Unattended – Always monitor during operation. ✔ Secure the Material – Ensure the work piece is flat and properly positioned to prevent movement.
✔ Use Proper Settings – Match power, speed, and frequency settings to the material type and thickness.
- Fire Prevention & Emergency Procedures
🔥 Stay Alert for Fires – If flames persist for more than a few seconds, stop the job immediately and smother fire with fire blanket. 🧯 Fire Extinguisher Nearby – Use a CO₂ or dry chemical extinguisher if needed. Do NOT use water. ⚡ Emergency Shutoff – Know how to quickly power down the machine in case of a malfunction.
- Post-Operation Maintenance
✔ Allow Cooling Time – Wait before removing materials to avoid burns. ✔ Clean the Work Area – Remove any leftover debris to prevent fire hazards. ✔ Check & Clean Components – Regularly clean the lens, mirrors, and exhaust system.
2. Characterize
Speed and Power
The key learning outcomes from the below is the relationship between power and speed and how they affect a cut. For a given result often possible to get what you need by holding one constant and reducing the variables to just one. For example on most of our lasers power will max out before speed so keeping power at the highest safe level and then using spread as you key variable for dialing in your depth of cut has been a key learning. See some experimentation below from our group assignment.
Material testing
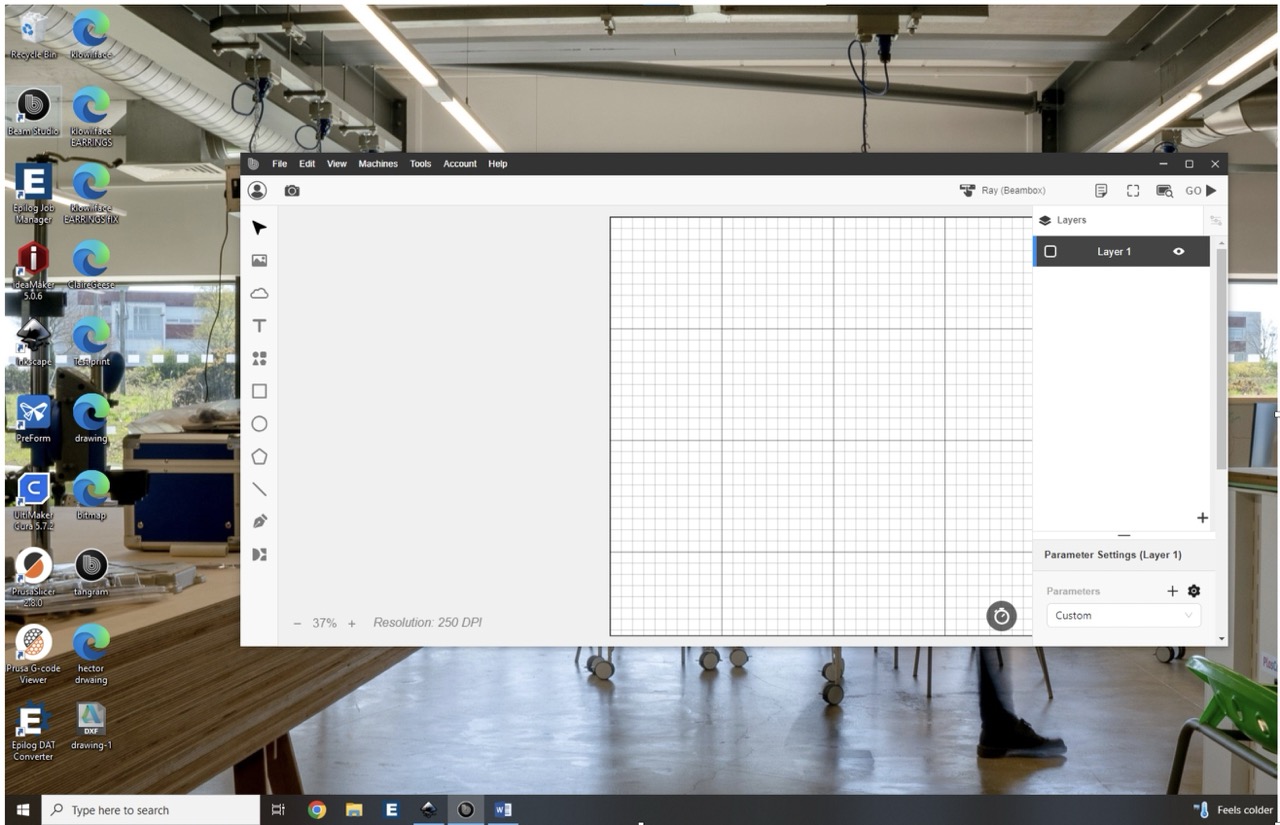
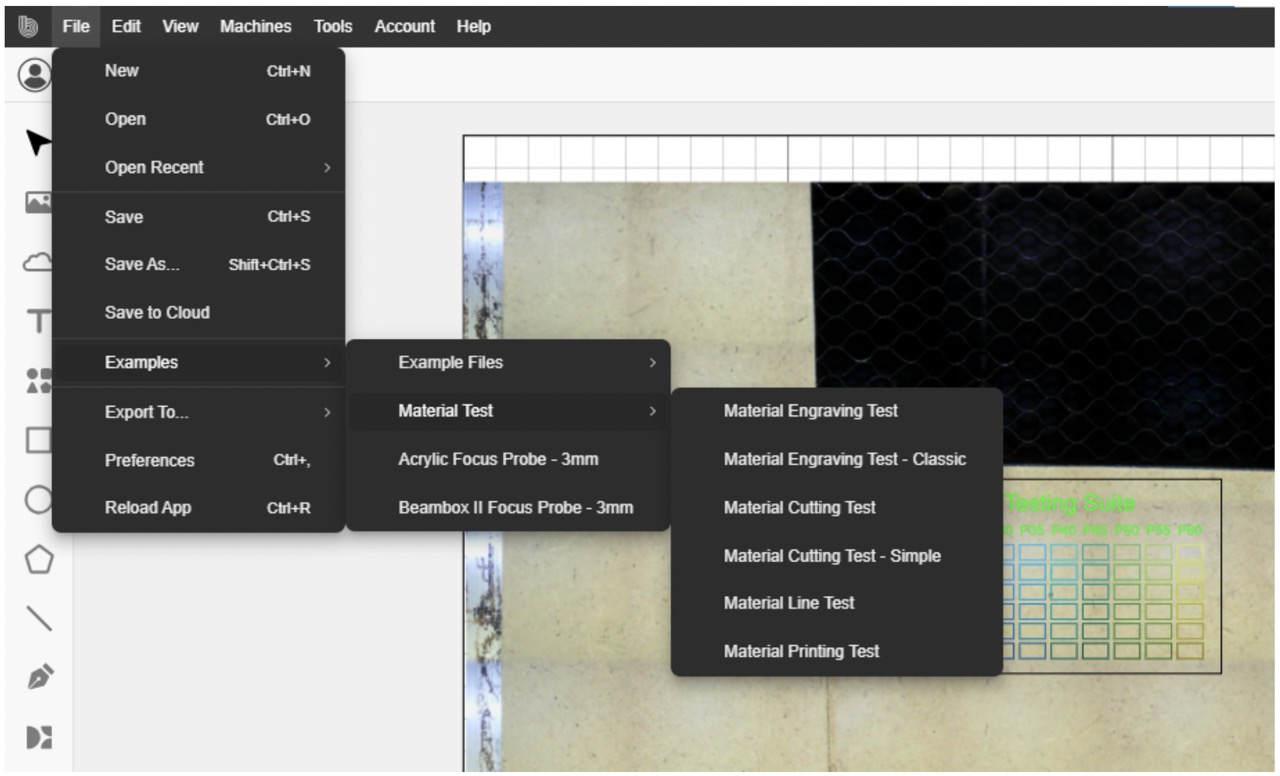
Open Beam Studio
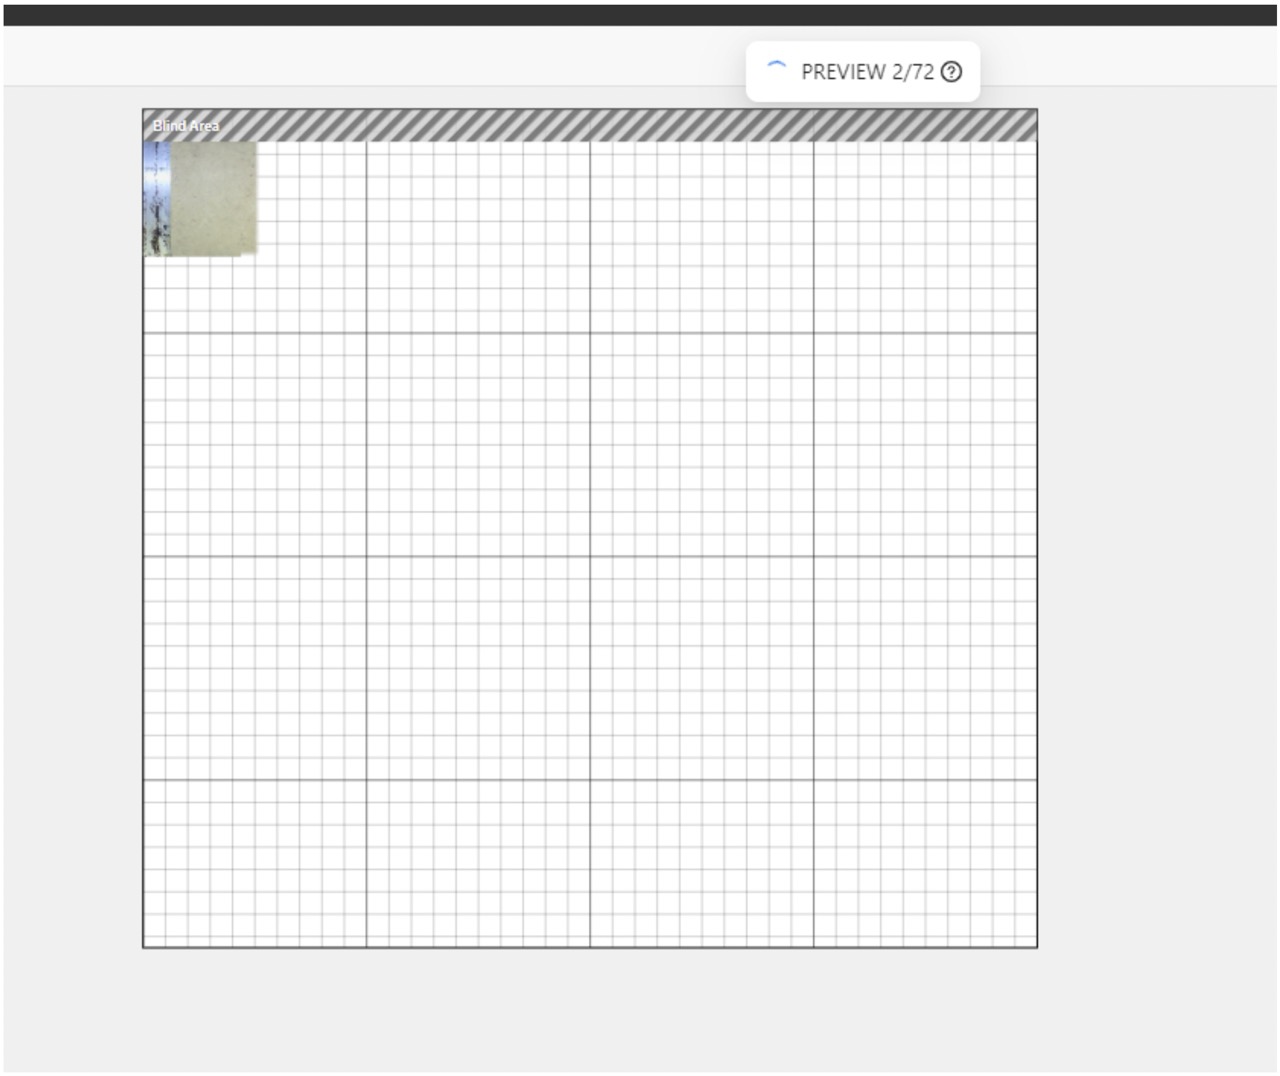
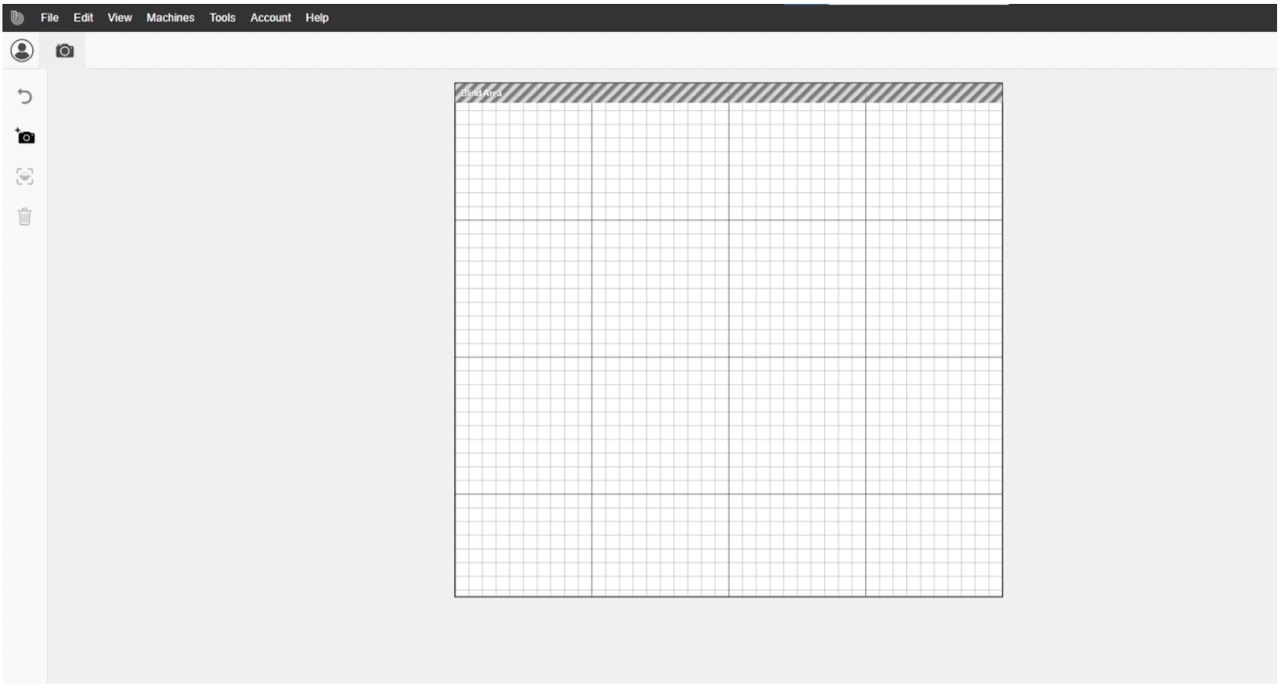
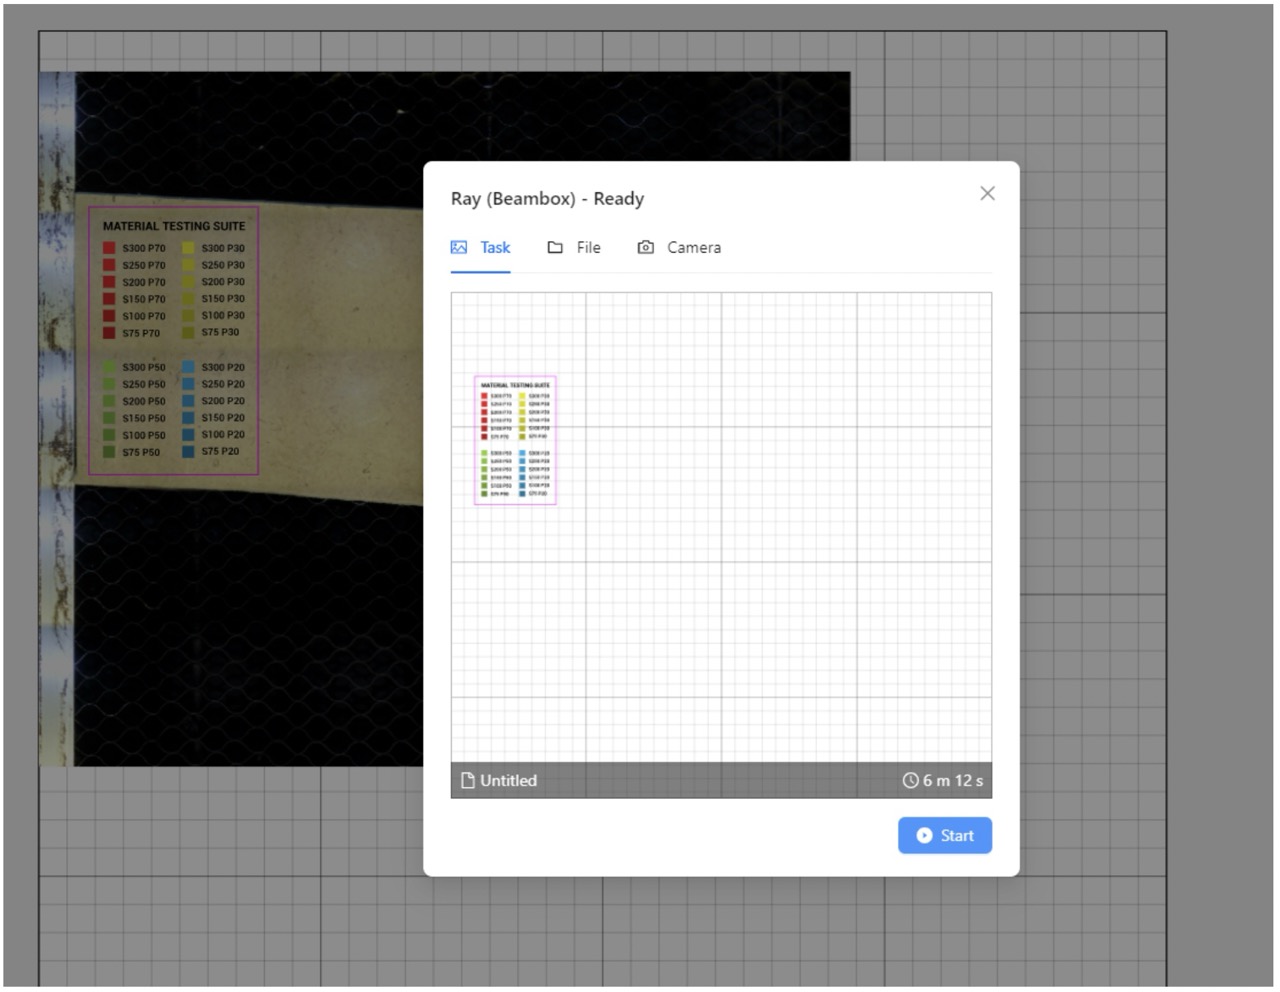
Use camera tool to scan bed
In this example we are using some of beam studios build in test cards
The x-axis represents increasing power and the y-axis represents increasing speed
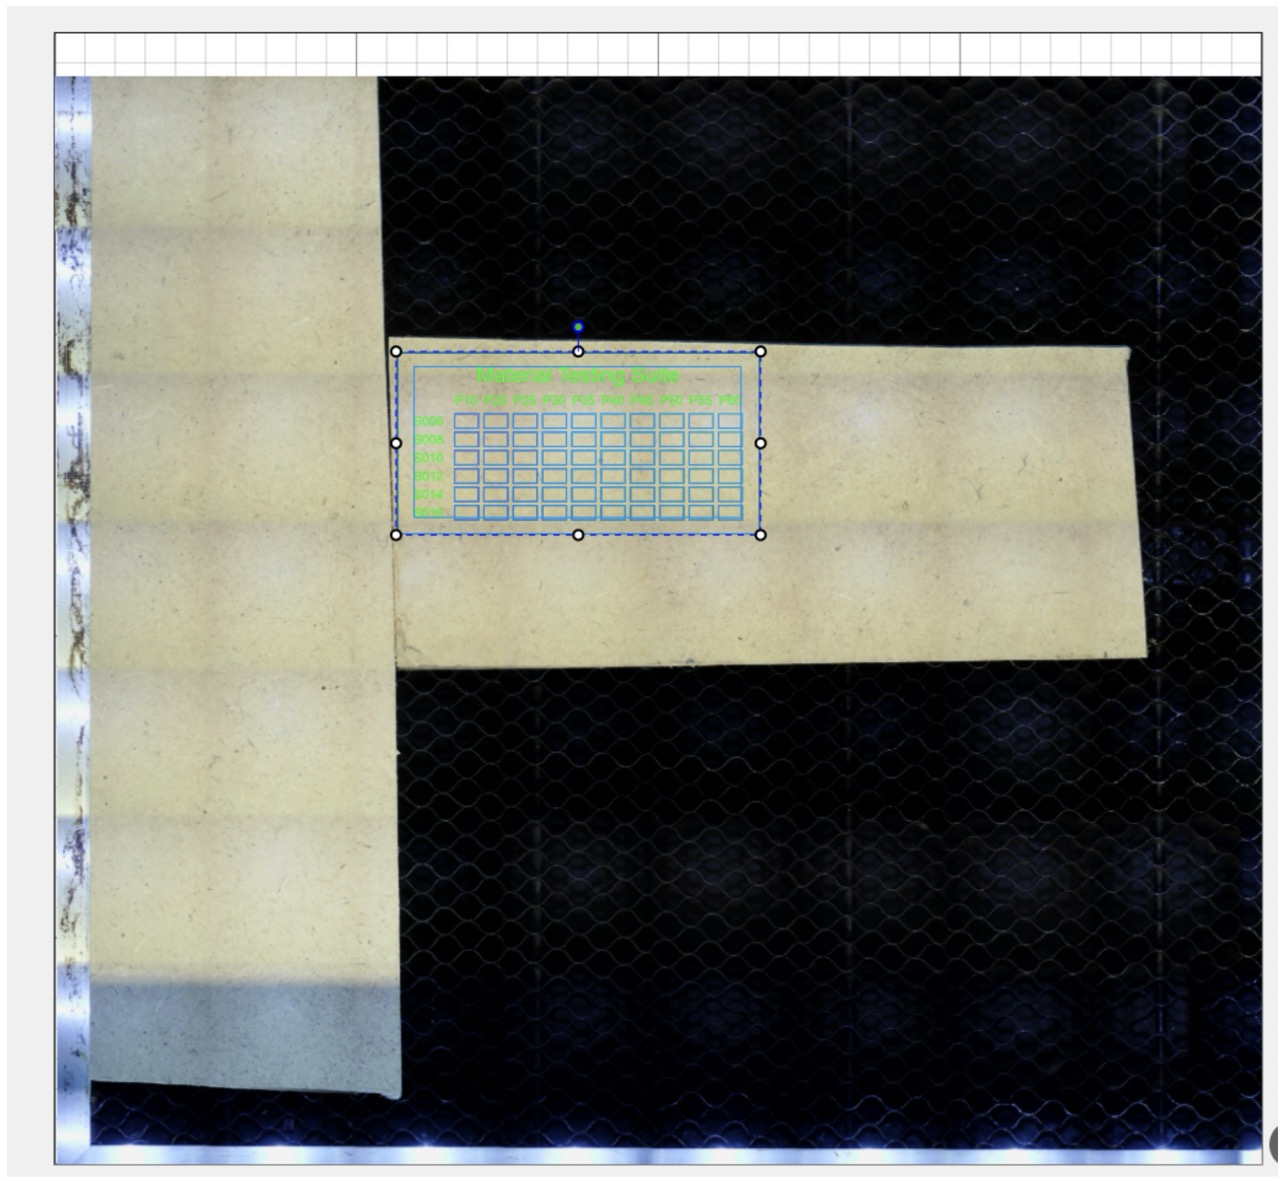
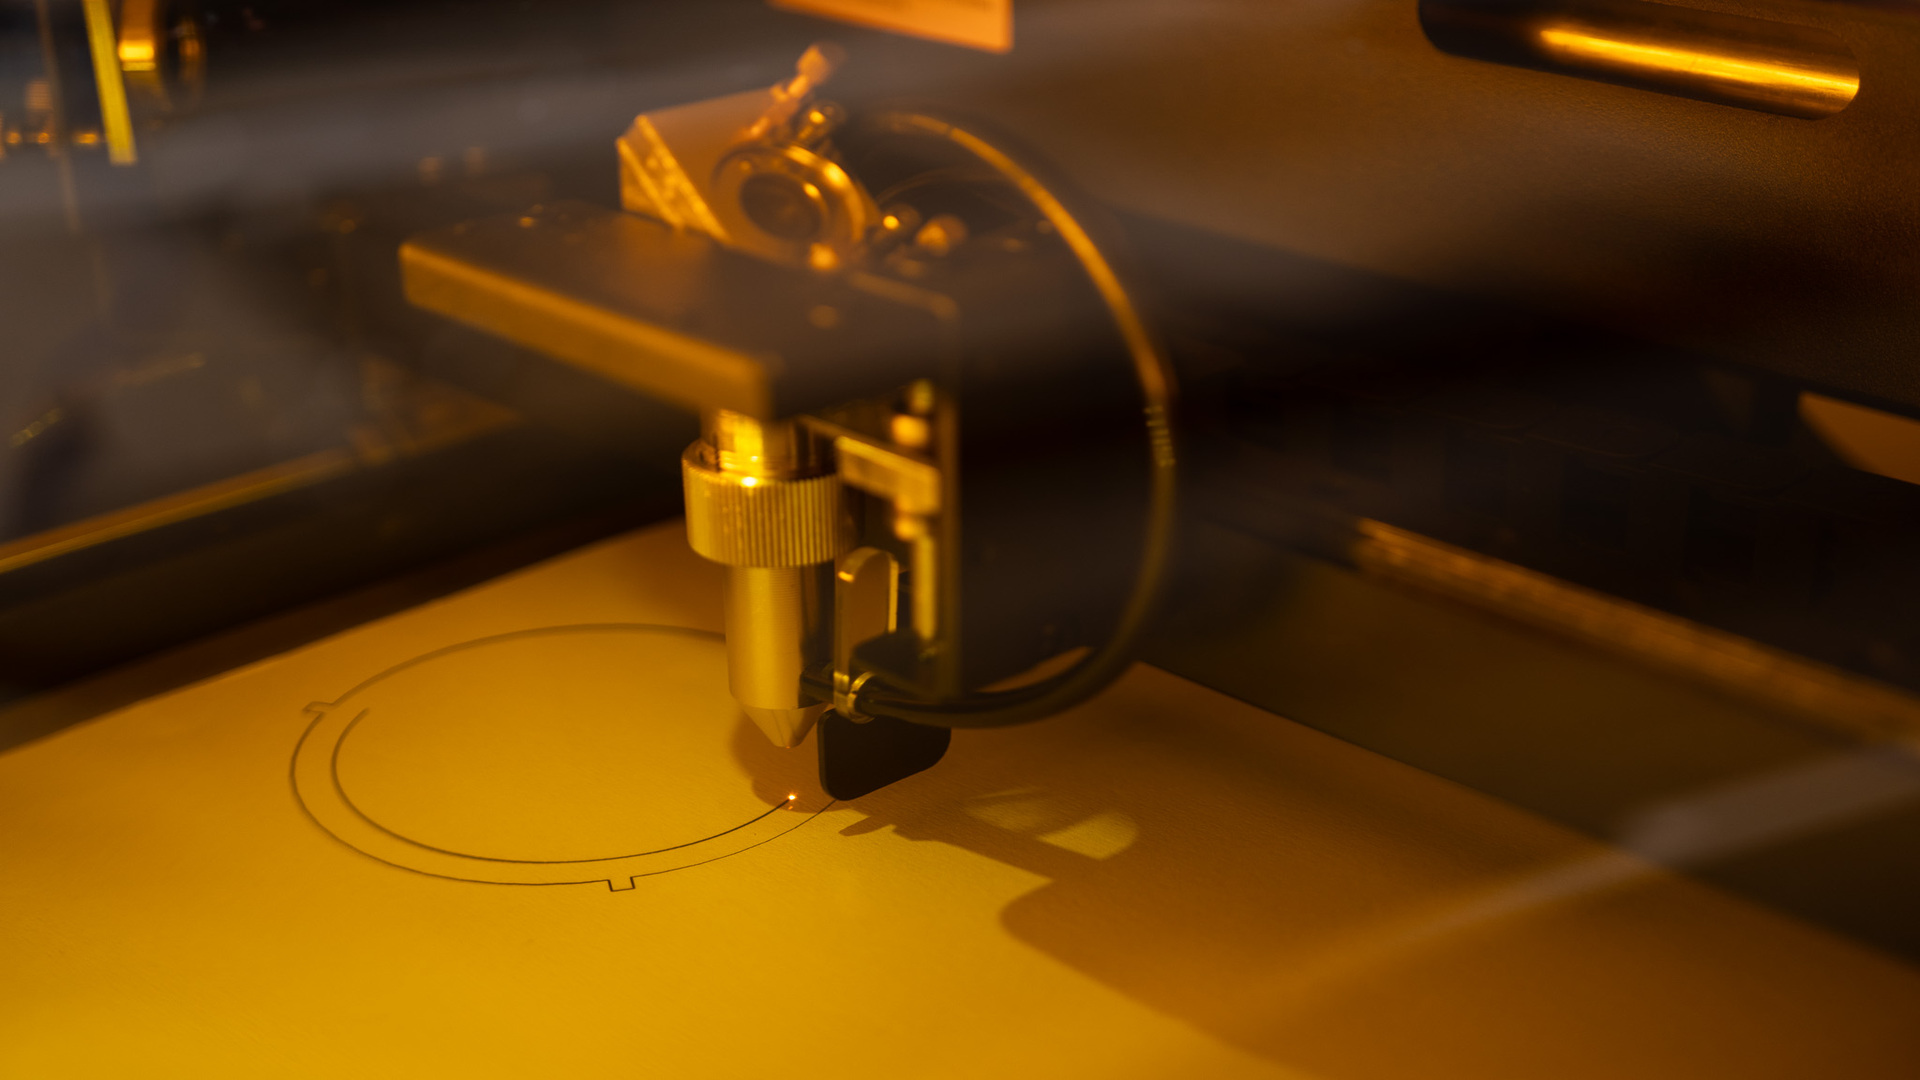
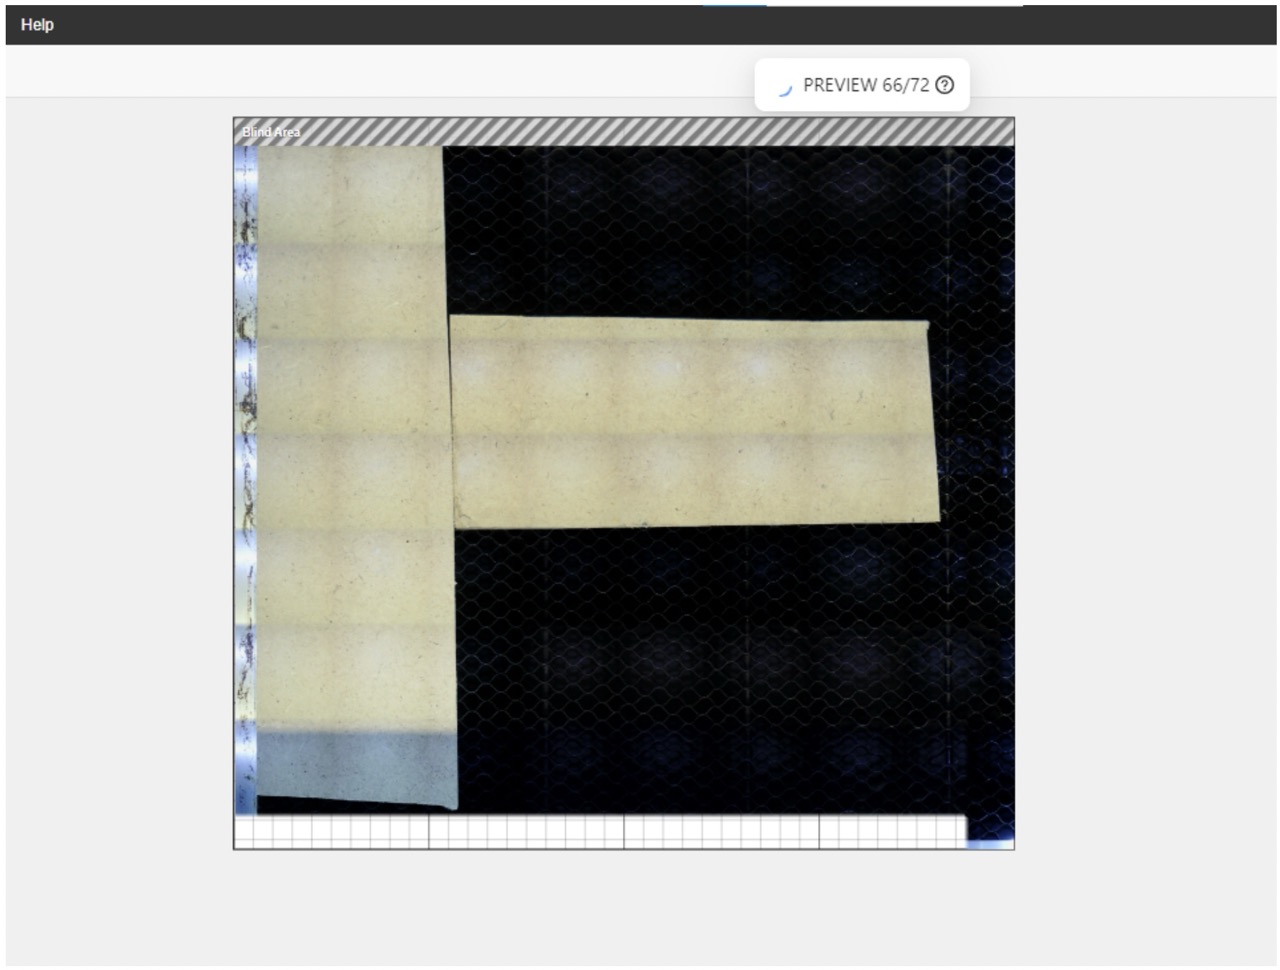
We place the test card on the stock in the machine
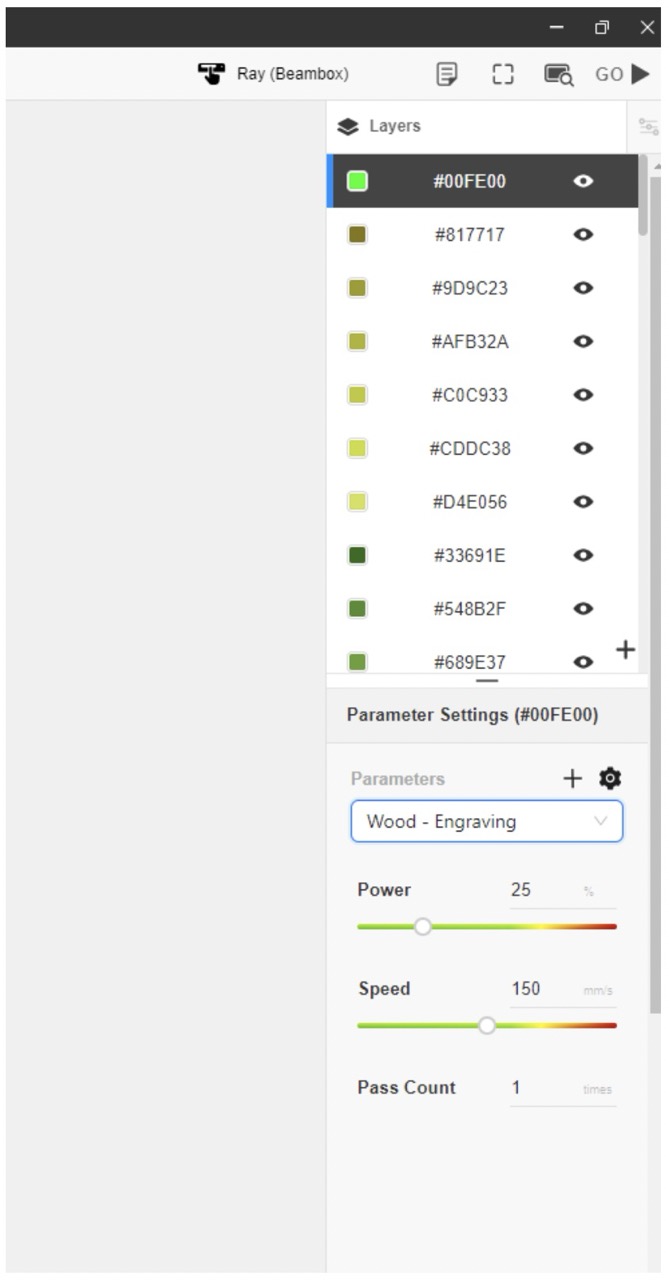
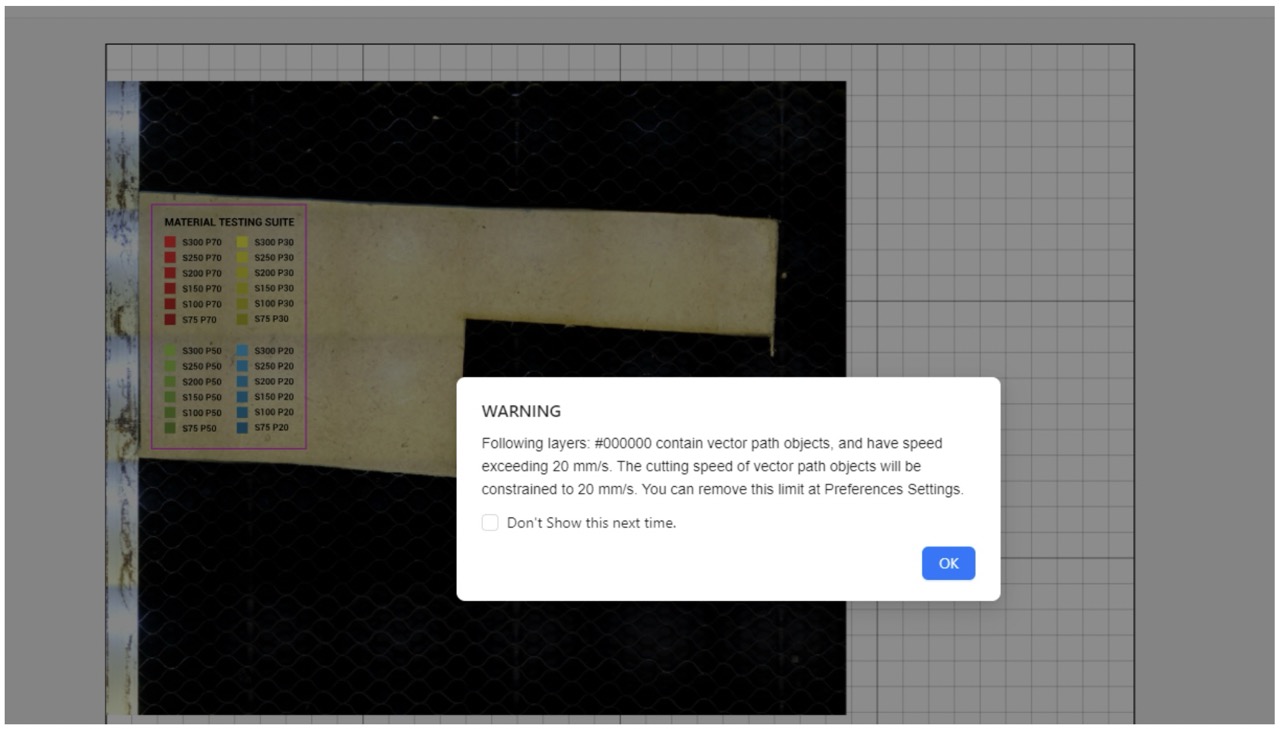
This has set all the layers to control the laser power and speed for each square
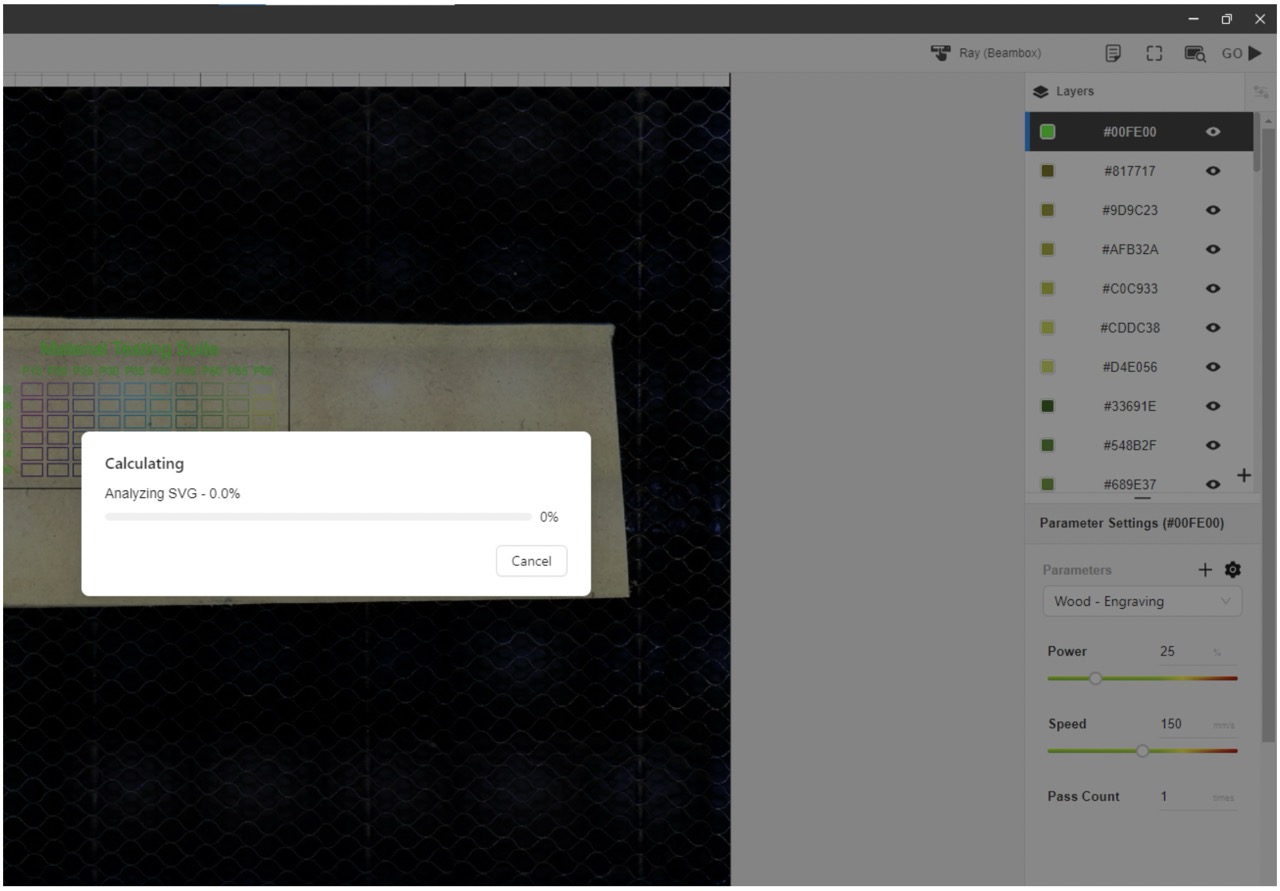
After sending the program analyses the vectors and create a tool path
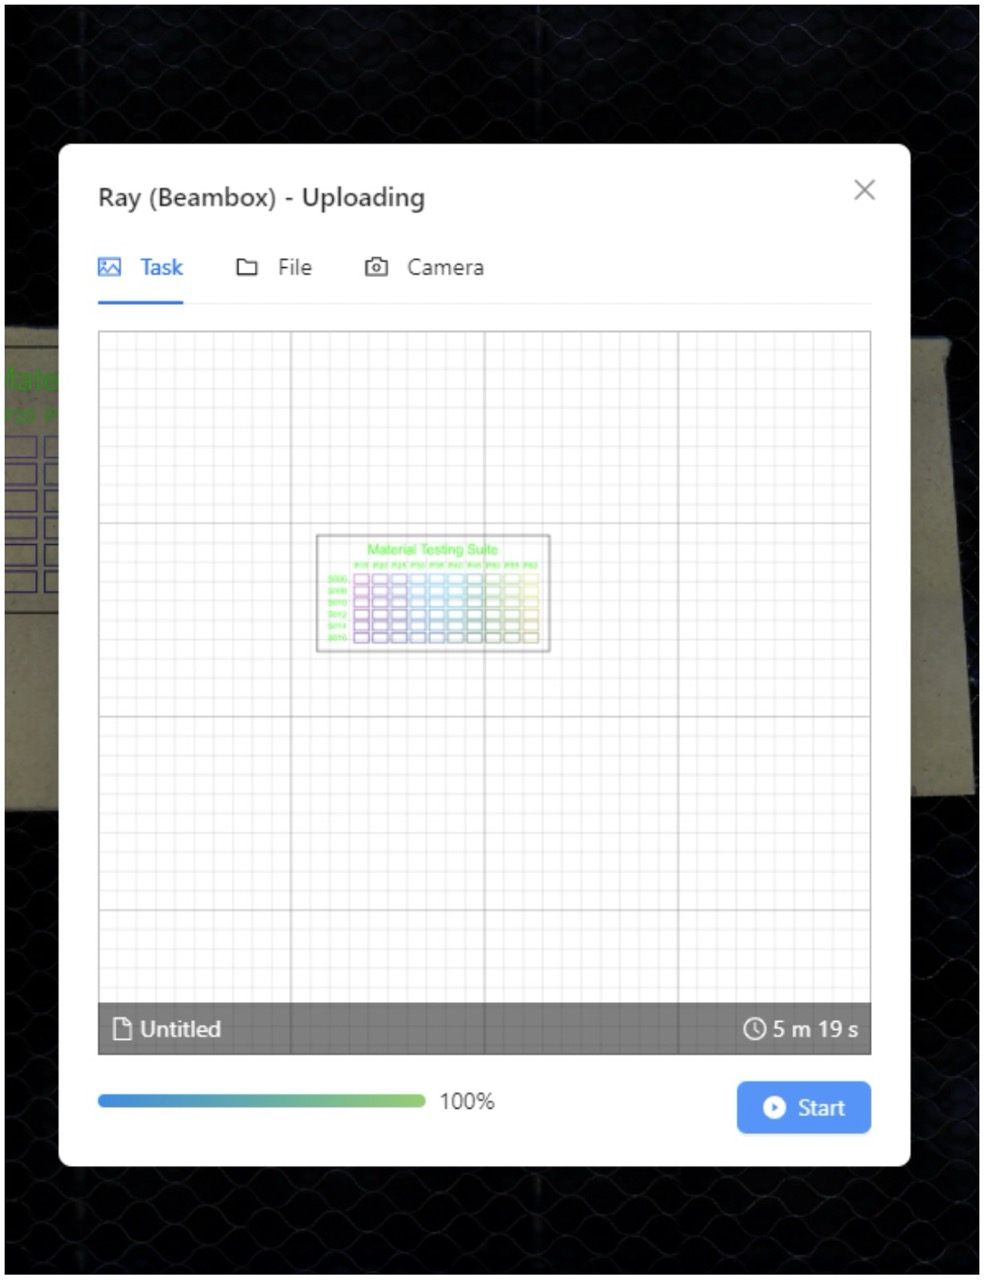
We hit start and the laser starts its work
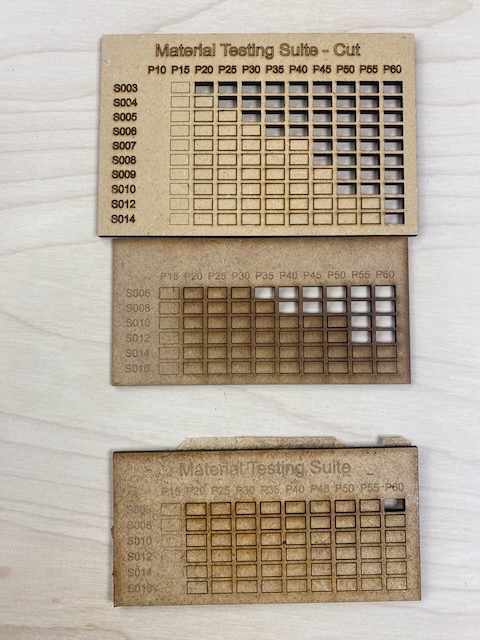
Examples in a few materials
Repeat the process for the engravings
Click through
And start the job
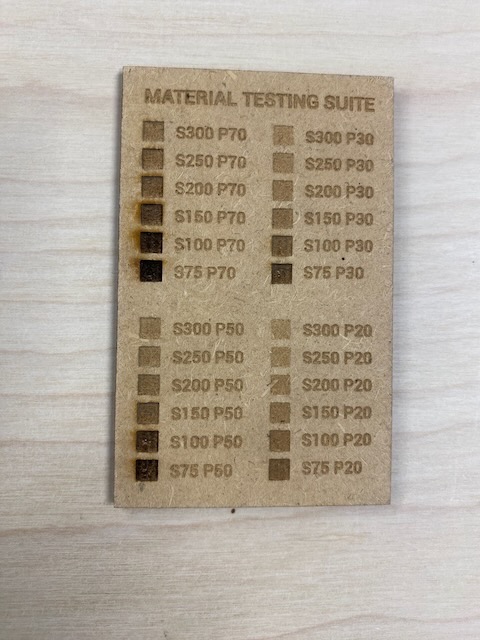
Examples in a few materials
Group conclusions
Findings: [What did you learn from the process?]
Challenges: [What issues did you encounter?]
Solutions: [How did you solve them?]
Understanding the how and why of the laser has been the key for dealing with novel situations when they arise and also bringing jobs to the next level in terms of fit and finish. Understanding kerf in particular is a key factor in gaining control as to how your parts go together.
Files
See below link to to files created this week: