03: Computer Controlled Cutting
Key Concepts
Week 3 introduced the concepts of Laser Cutting, Vinyl Cutting and Parametric Design using Geometry Nodes.
Group Assignment
The kerf of the RayJet 400 laser for cardboard, plywood and acrylic were calculated during the group project, more details of which can be found on the following page:
https://academany.fabcloud.io/fabacademy/2025/labs/barcelona/students/group-assignments/week3.html
The results are summarised in the table below.
| thickness (mm) | kerf (mm) | |
| cardboard | 4.7 | 1.4 |
| plywood | 4.07 | 0.9 |
| acrylic | 2.39 | 0.05 |
Individual Project
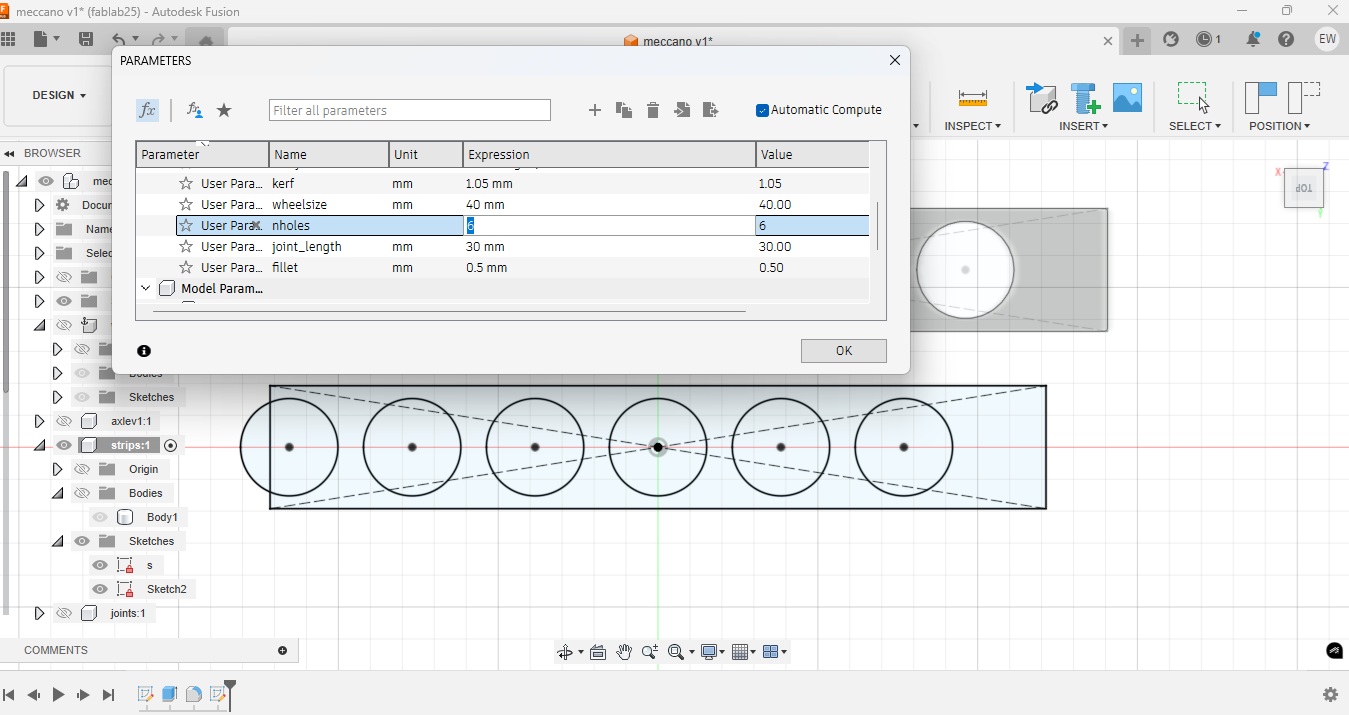
Parametric Design
During the week we used Fusion 360, Rhino8 with Grasshopper and Blender with it’s Geometry nodes.
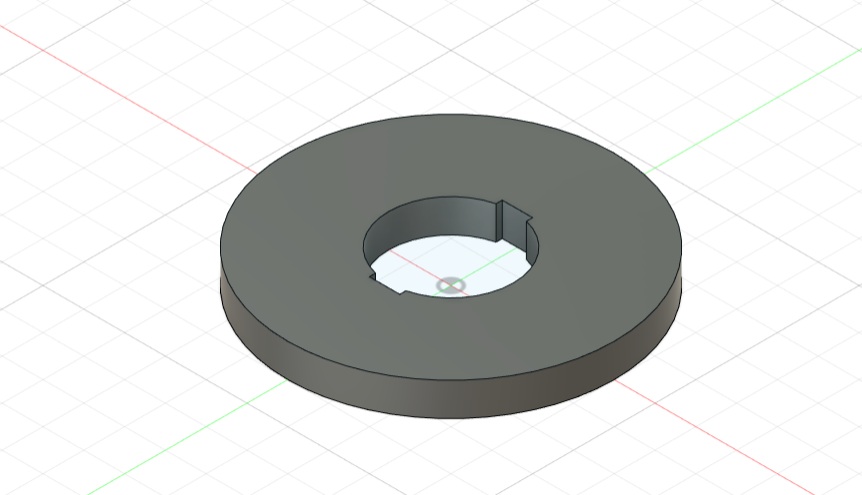
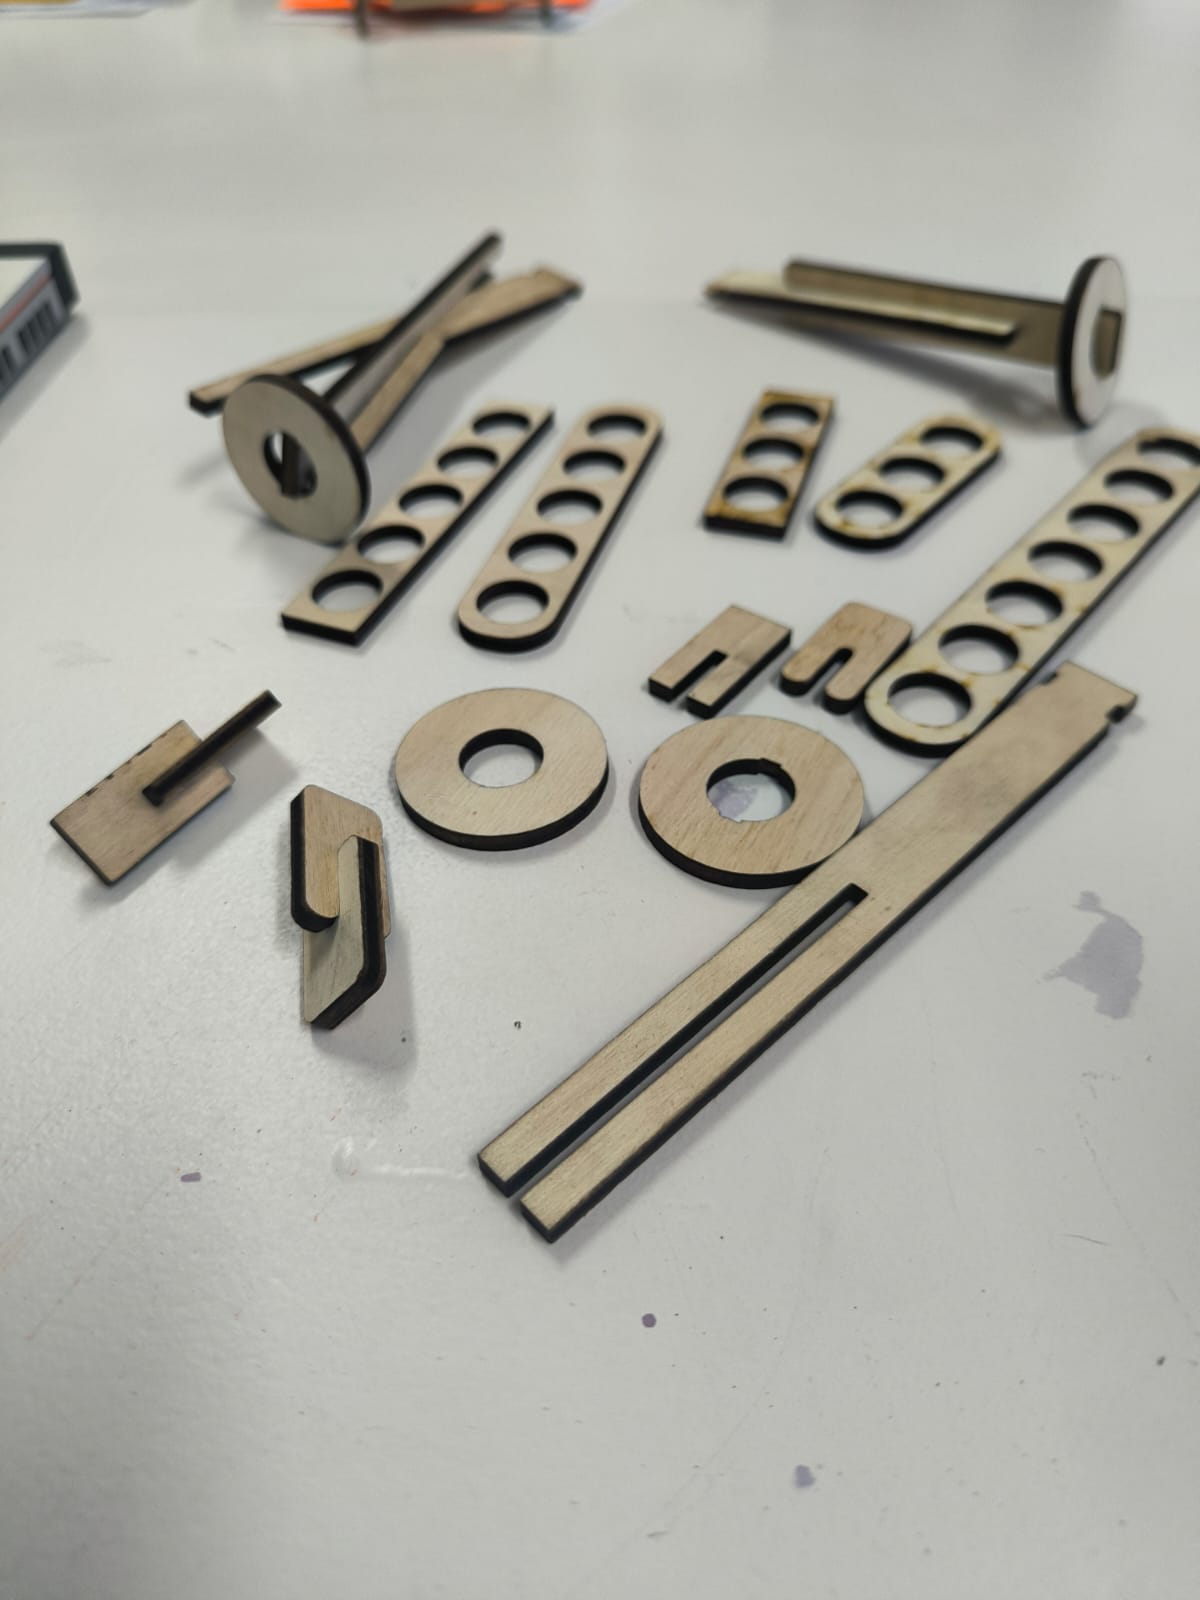
For my personal project I wanted to experiment with Meccano style shapes laser printed plywood. Meccano was originally made with metal strips, girders and connected with metal nuts and bolts for enjoyers to make mechanic structures. Over the years it has been used for making model buildings, cars and aeroplanes and more recently plastic has been the material of choice.
In order to get a feel for the week I’d like to make some simple pieces in plywood to see if they fit together nicely.
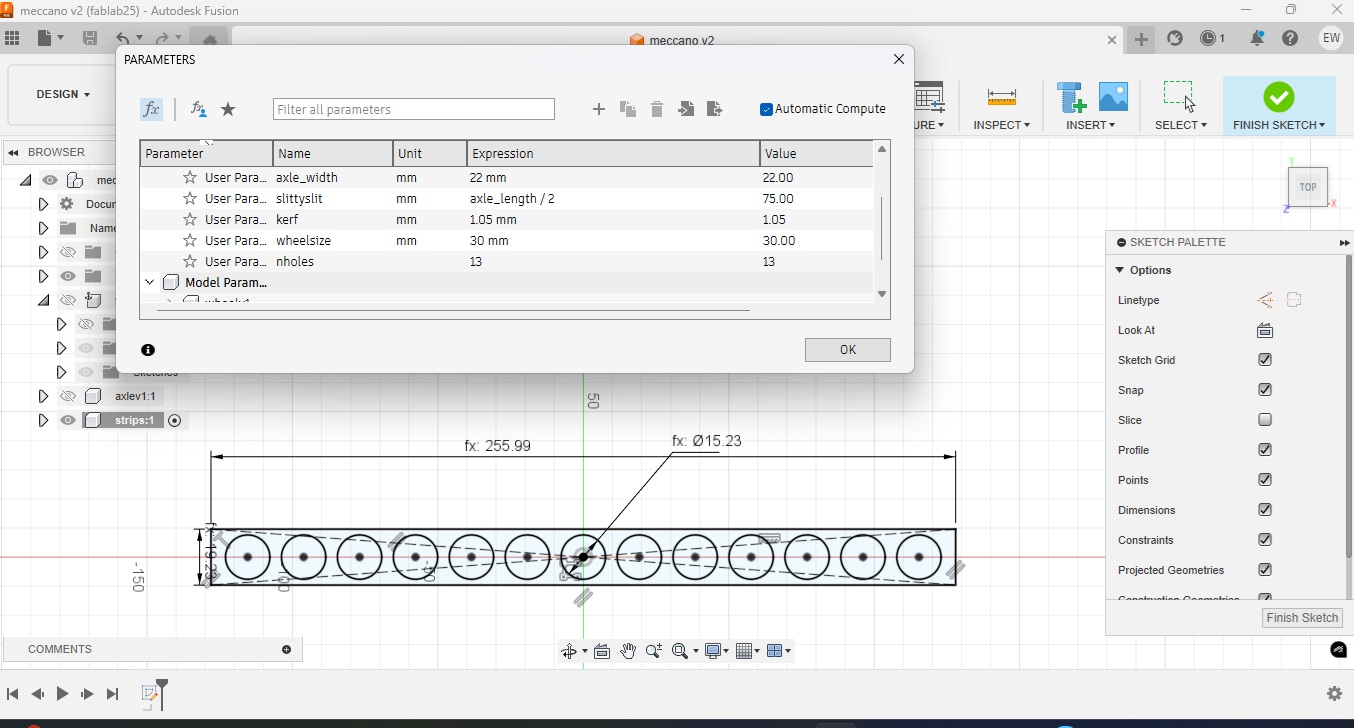
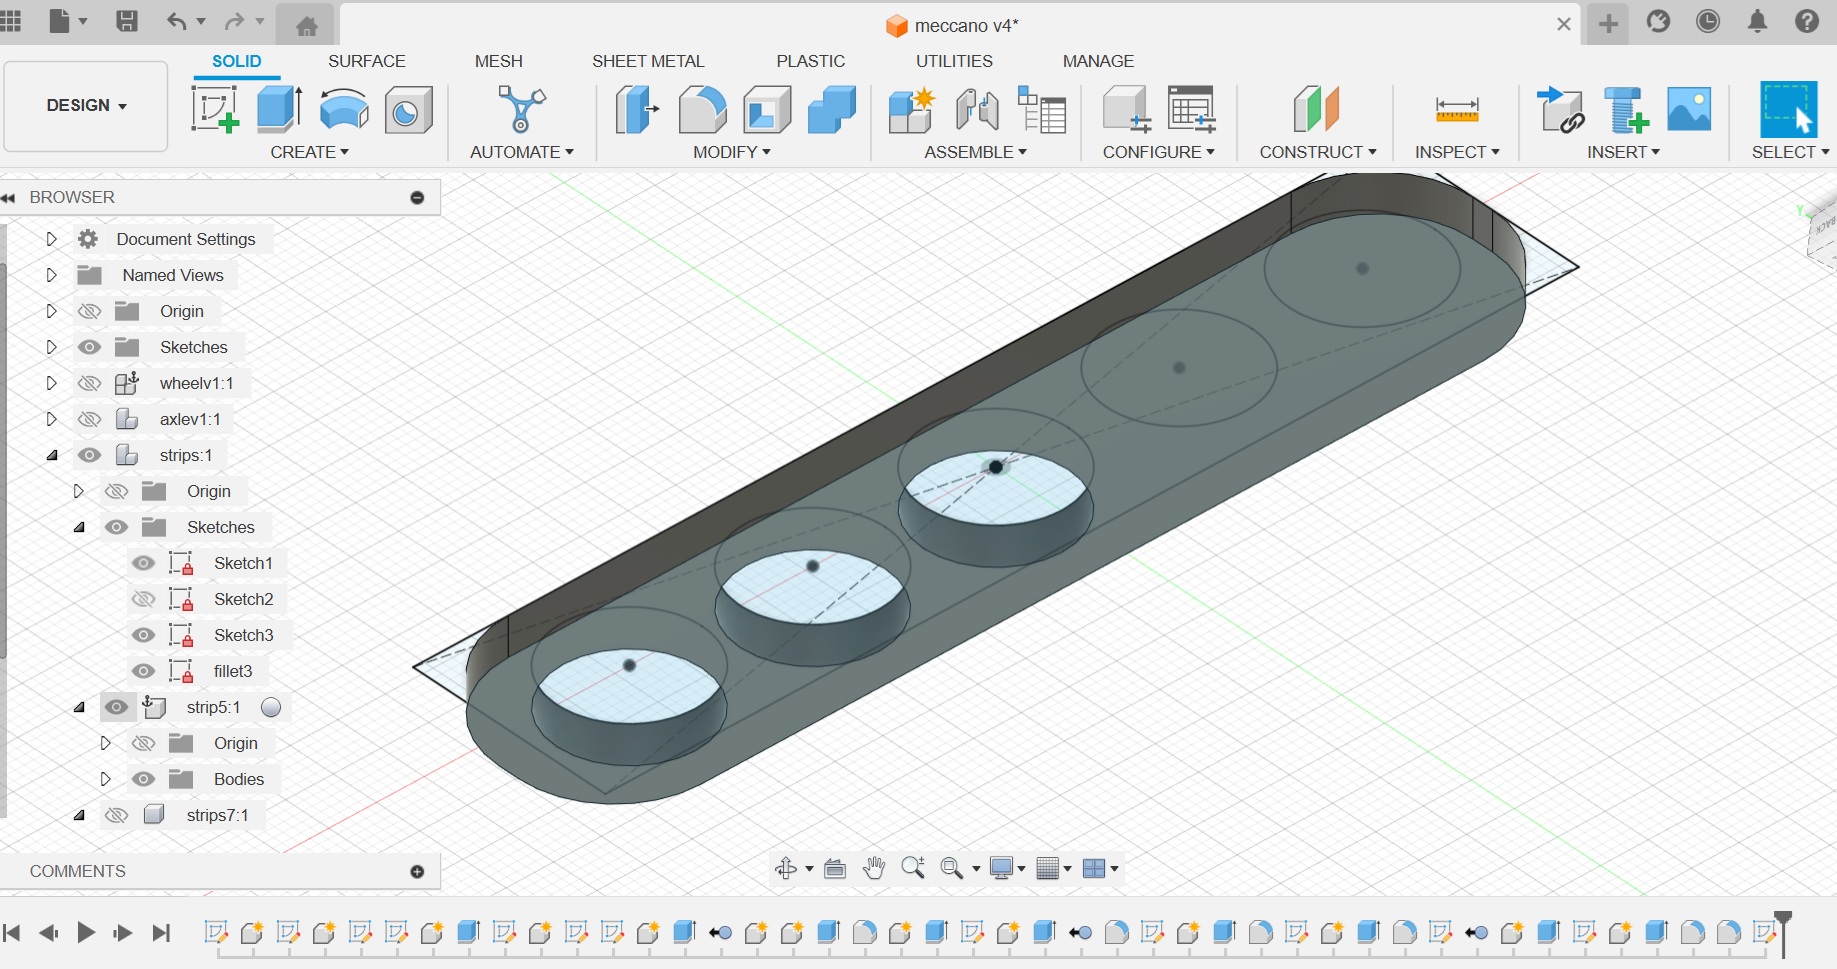
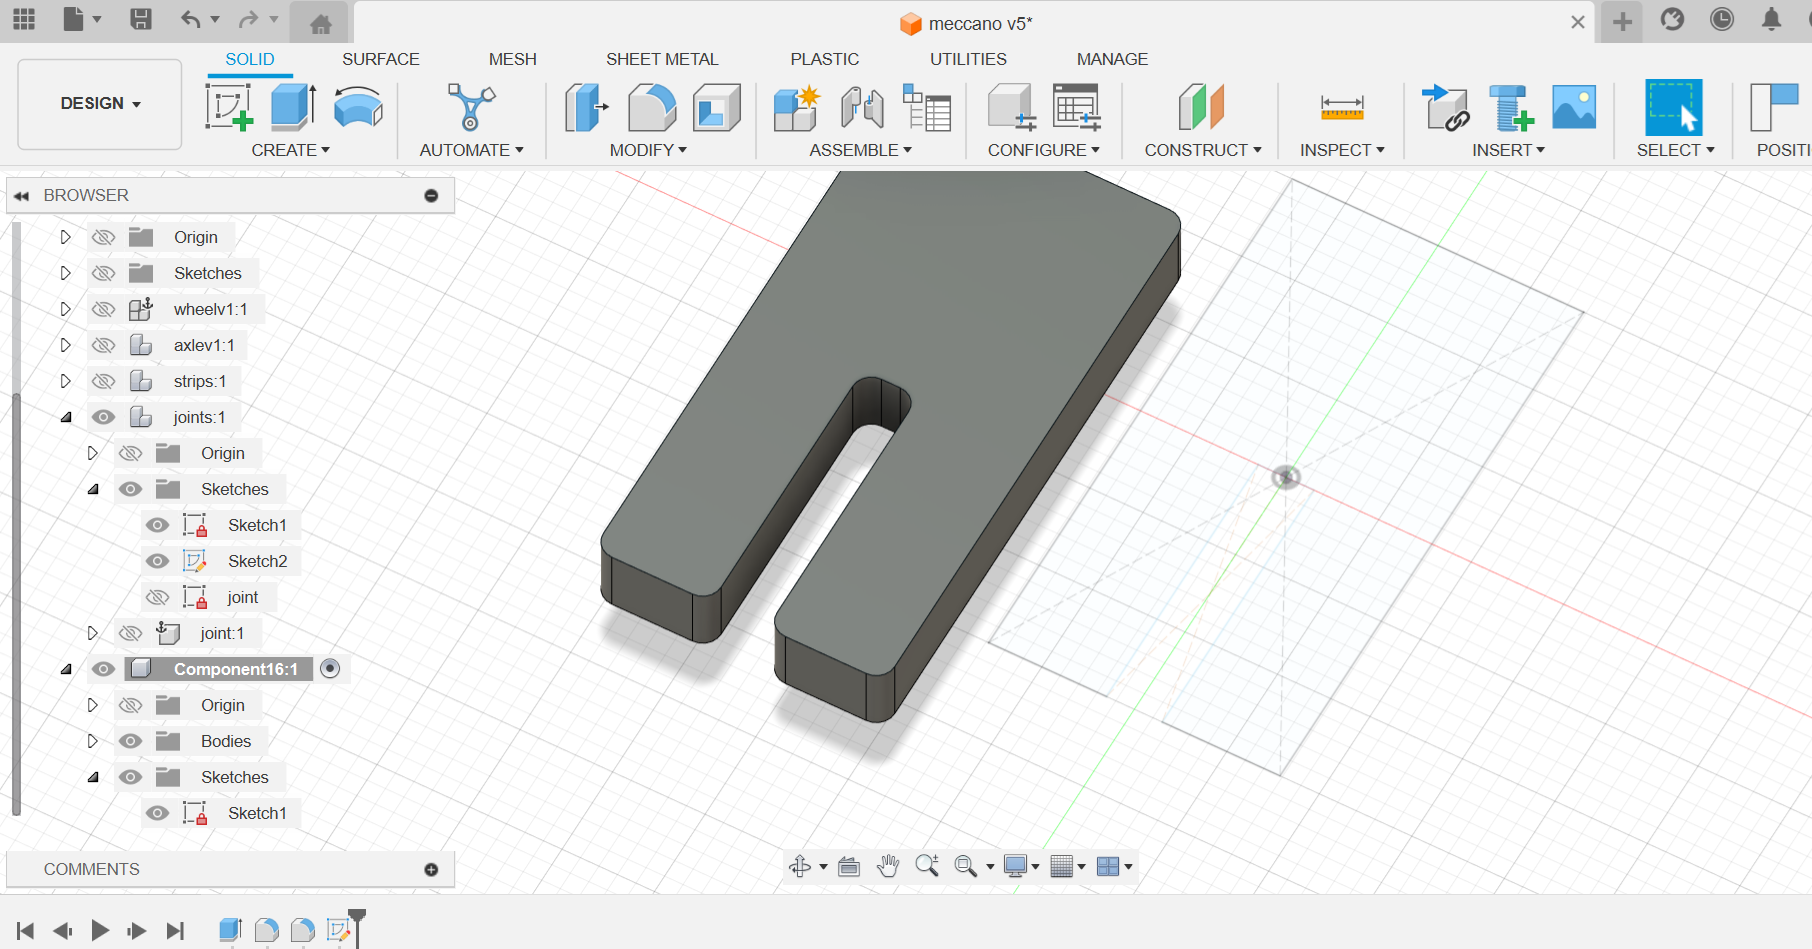
Lasercut workflow with Fusion 360
I used fusion to sketch a design, then extruded the material thickness, then filleted the edges to make it a better fit, then created a sketch from the object to export as a .dxf for rhino and then the rayjet 500 printer.
Fusion 360 Designs
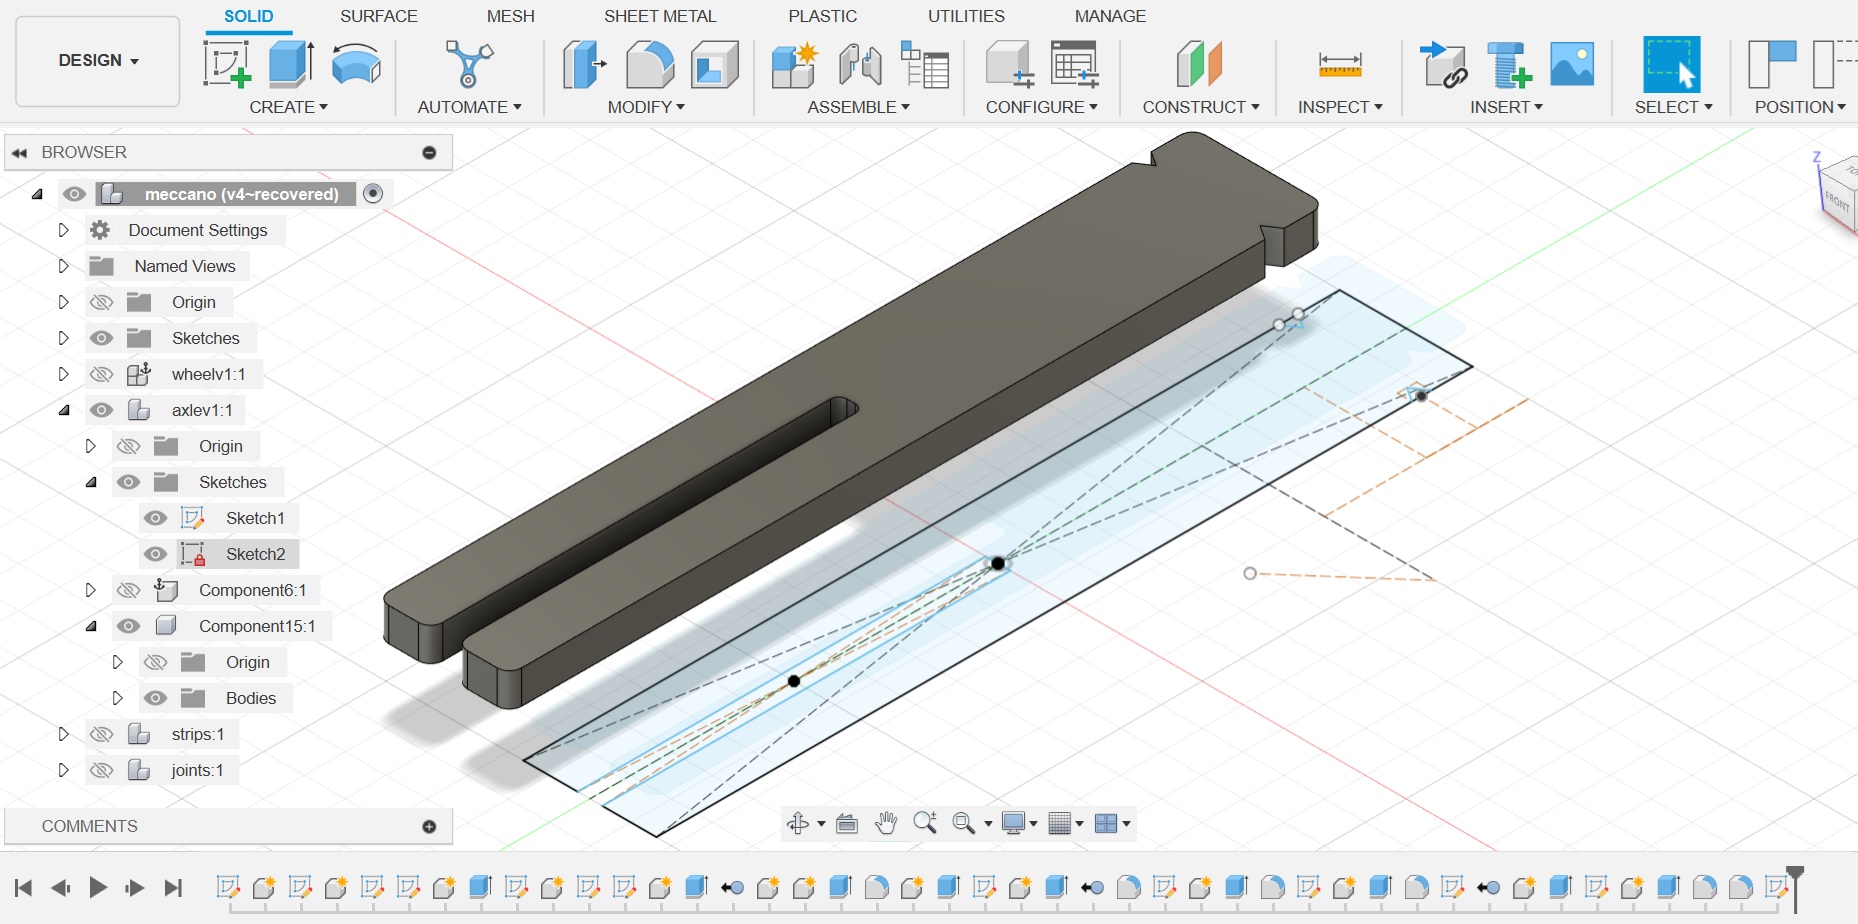
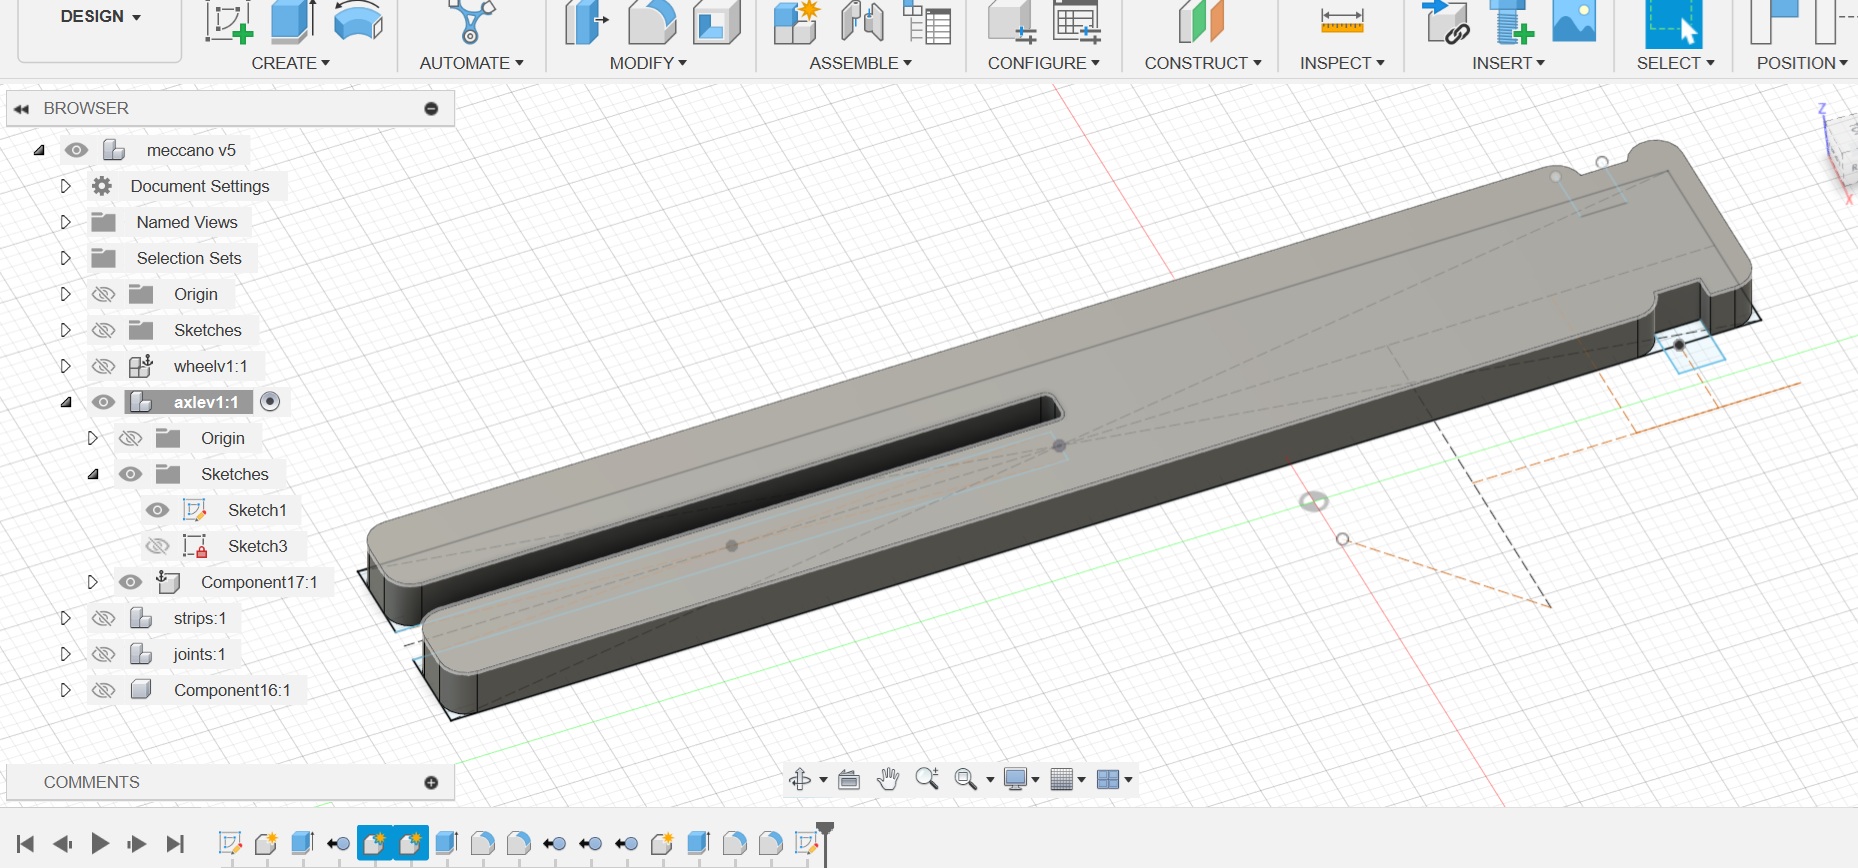
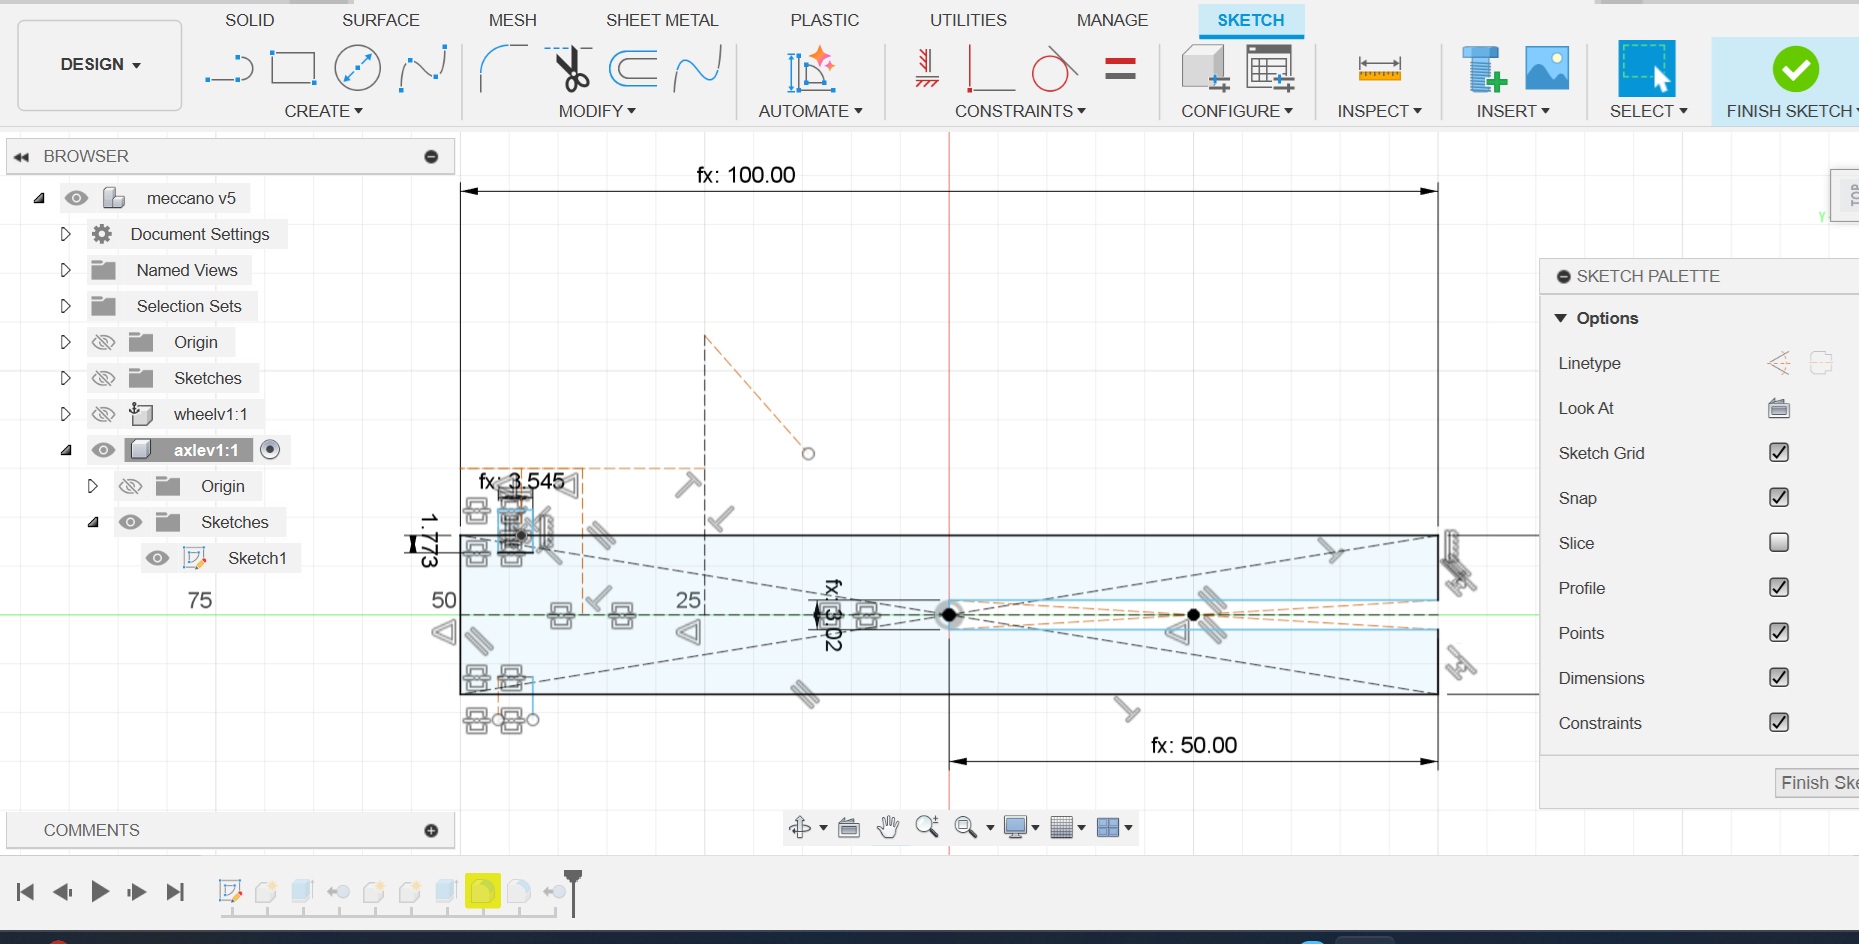
Here is the Fusion 360 file :
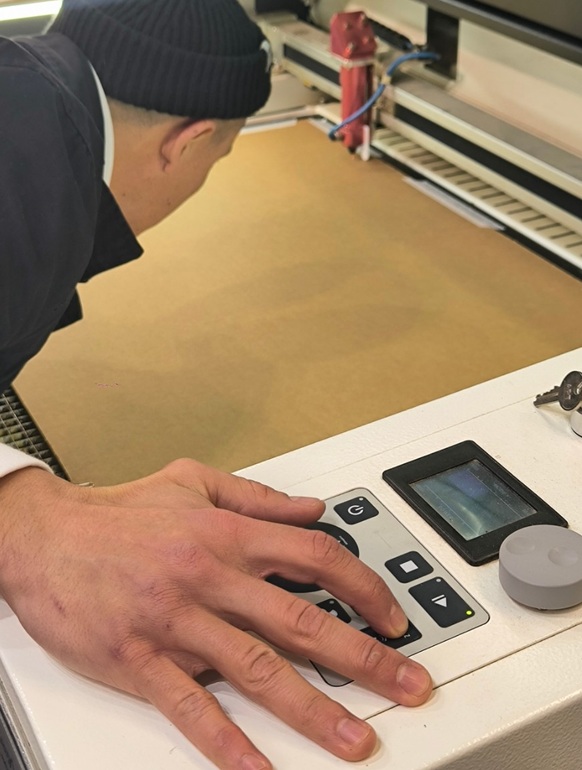
Laser Cutting Workflow
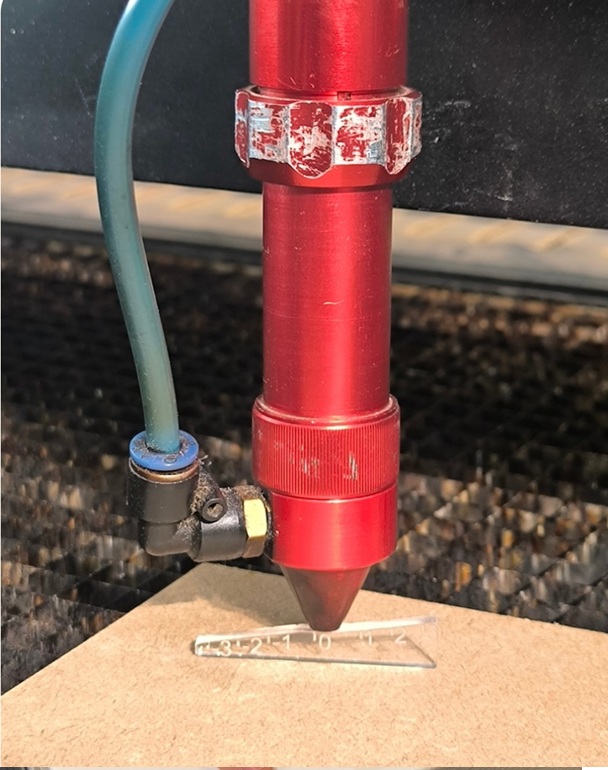
Workflow: 4 things to verify before launching the machine:
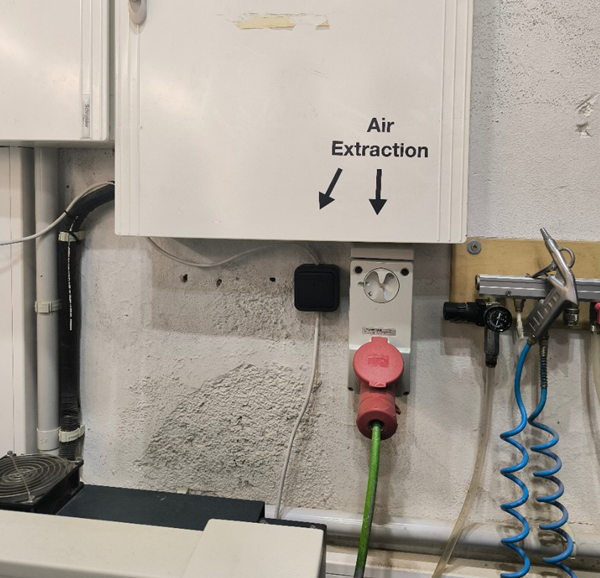
-focus, key parameters, extraction and air.
- Prepare Work Surface Tape material to corner and clamp if necessary. Clip and slide.
- Launch rhino: select the images to be cut and the order in which they are to be cut using different colours for layers. Set the units to mm and the sequence of colours is generally black for engraving, red first cut, green, the blue and yellow, but this can be selected manually later in the laser software.
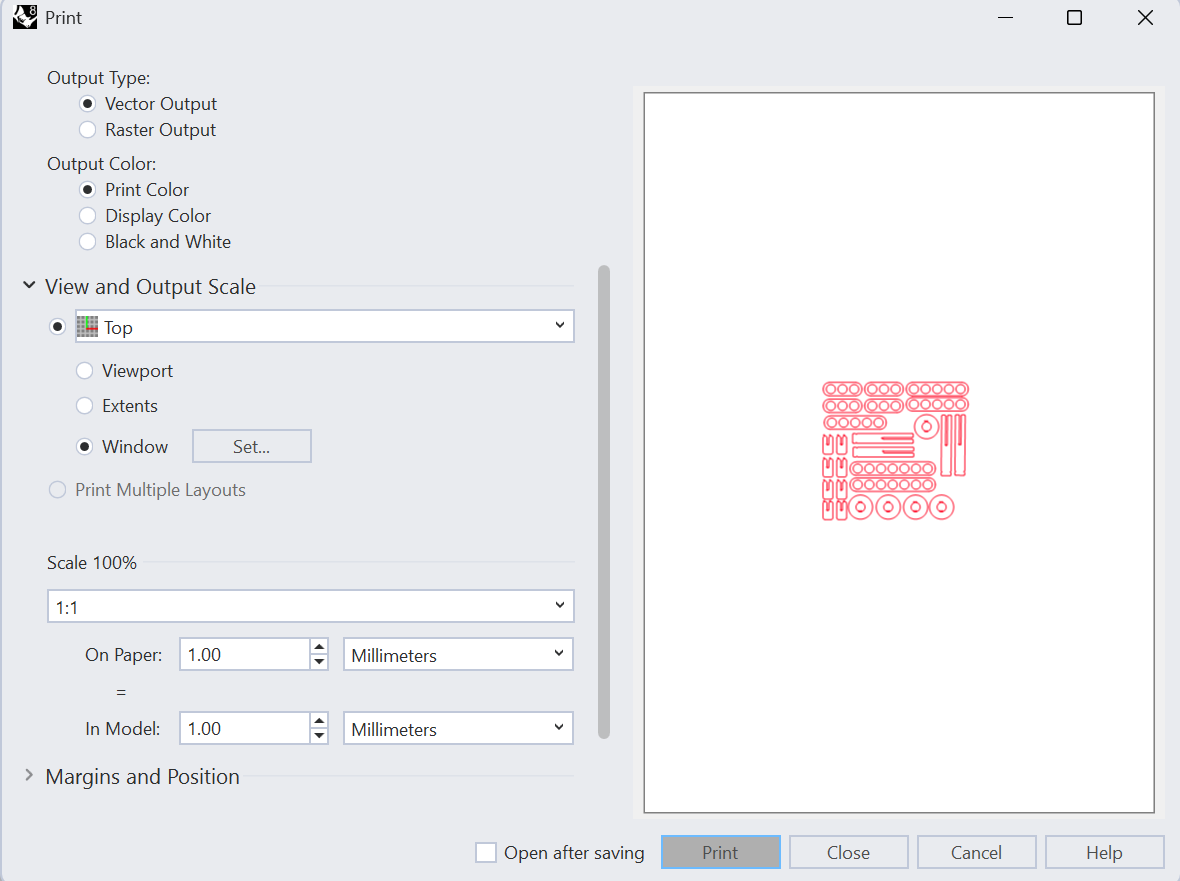
- Select Print., choose the print window and verify that the scale is 1:1.
- Print then connect file to laser jet.
- Set the laser cut parameters for each colour (power, speed) for the matieral to be cut based on the reference settings on the wall of the lab.
- Then align curser and header in software and verify physically on the machine, and focus if needed.
- Open air flow before launching print and ensure extraction is on.
- Close the protective cover, launch the cut and enjoy the smooth precision of the cut.
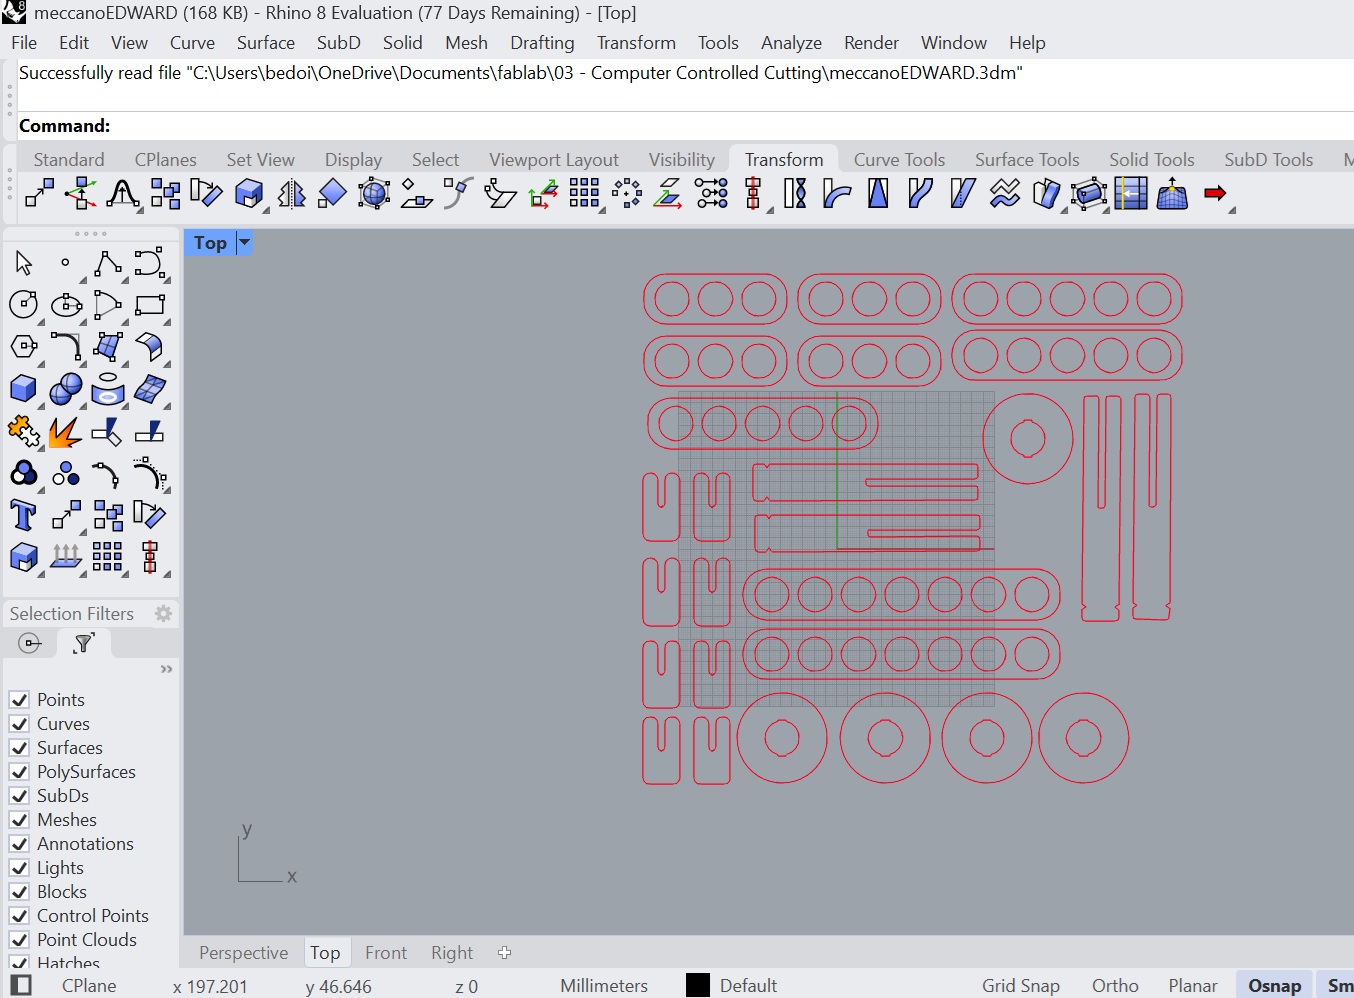
Laser Cutting with the Rayjet 500
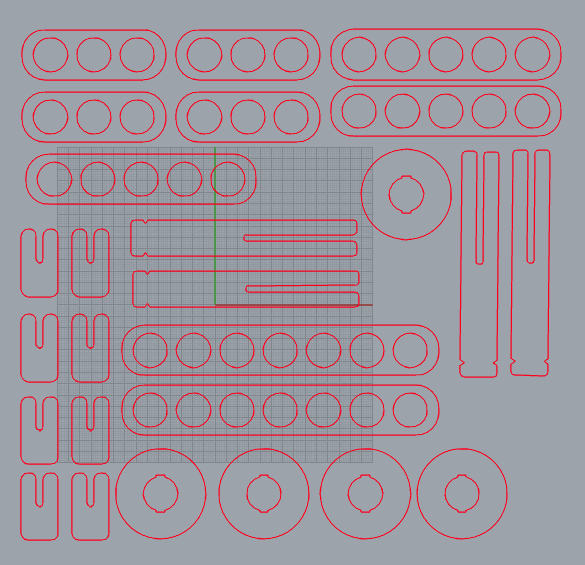
I used the Rayjet 500. My .dxf files were uploaded into Rhino7 and the elements were placed next to each other to have the number of desired components. The good practice to follow is to explode and join components, delete any rogue points and SelDup to select and then delete any unwanted duplicates.
When printing using Ctrl+P or Print command it is important to verify that the scale is 1:1 otherwise you can end up with enormous pieces like I did on my first piece! Also the laser itself jumped around in the order of the objects imported into the file, and for each component the order that the curves were constructed. I could not use the join feature on the circles.
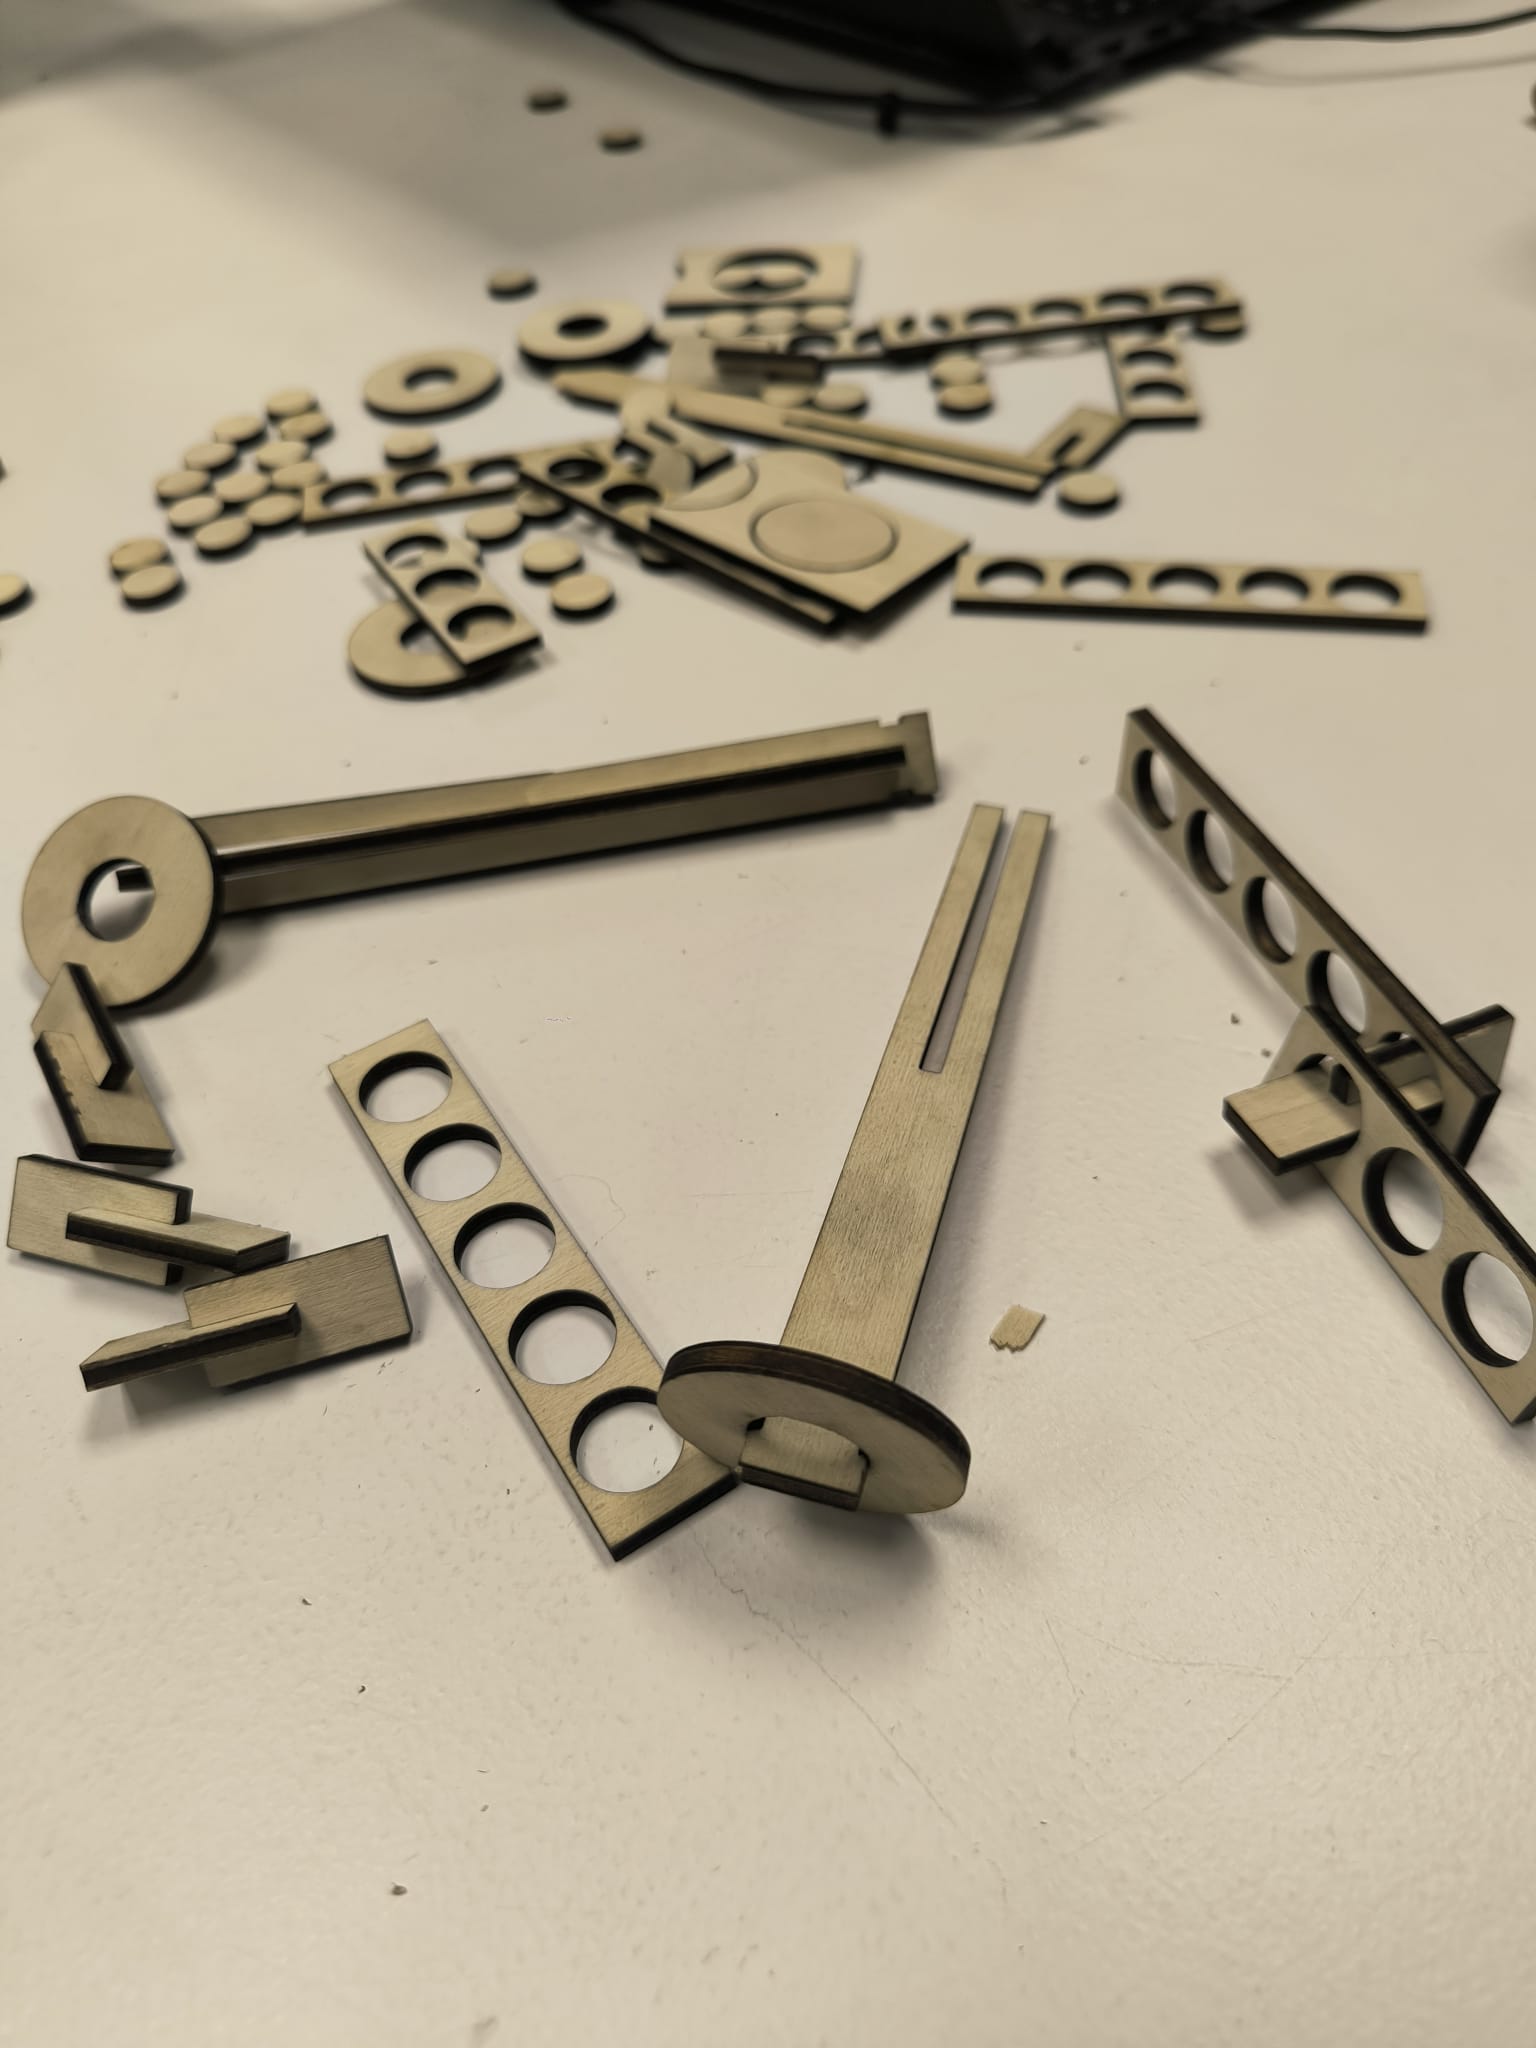
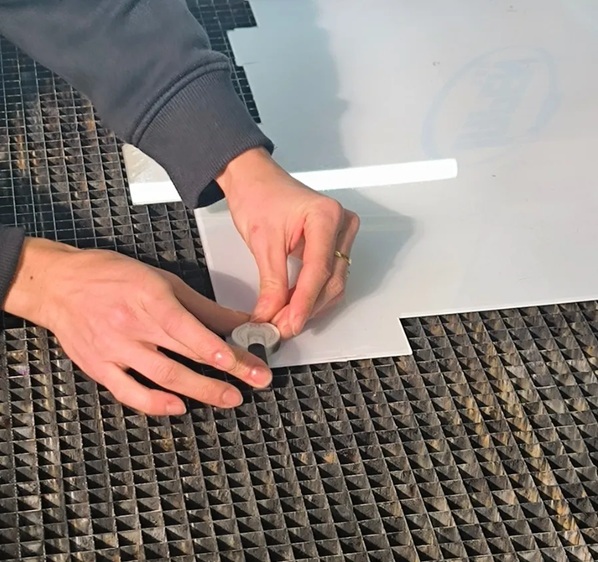
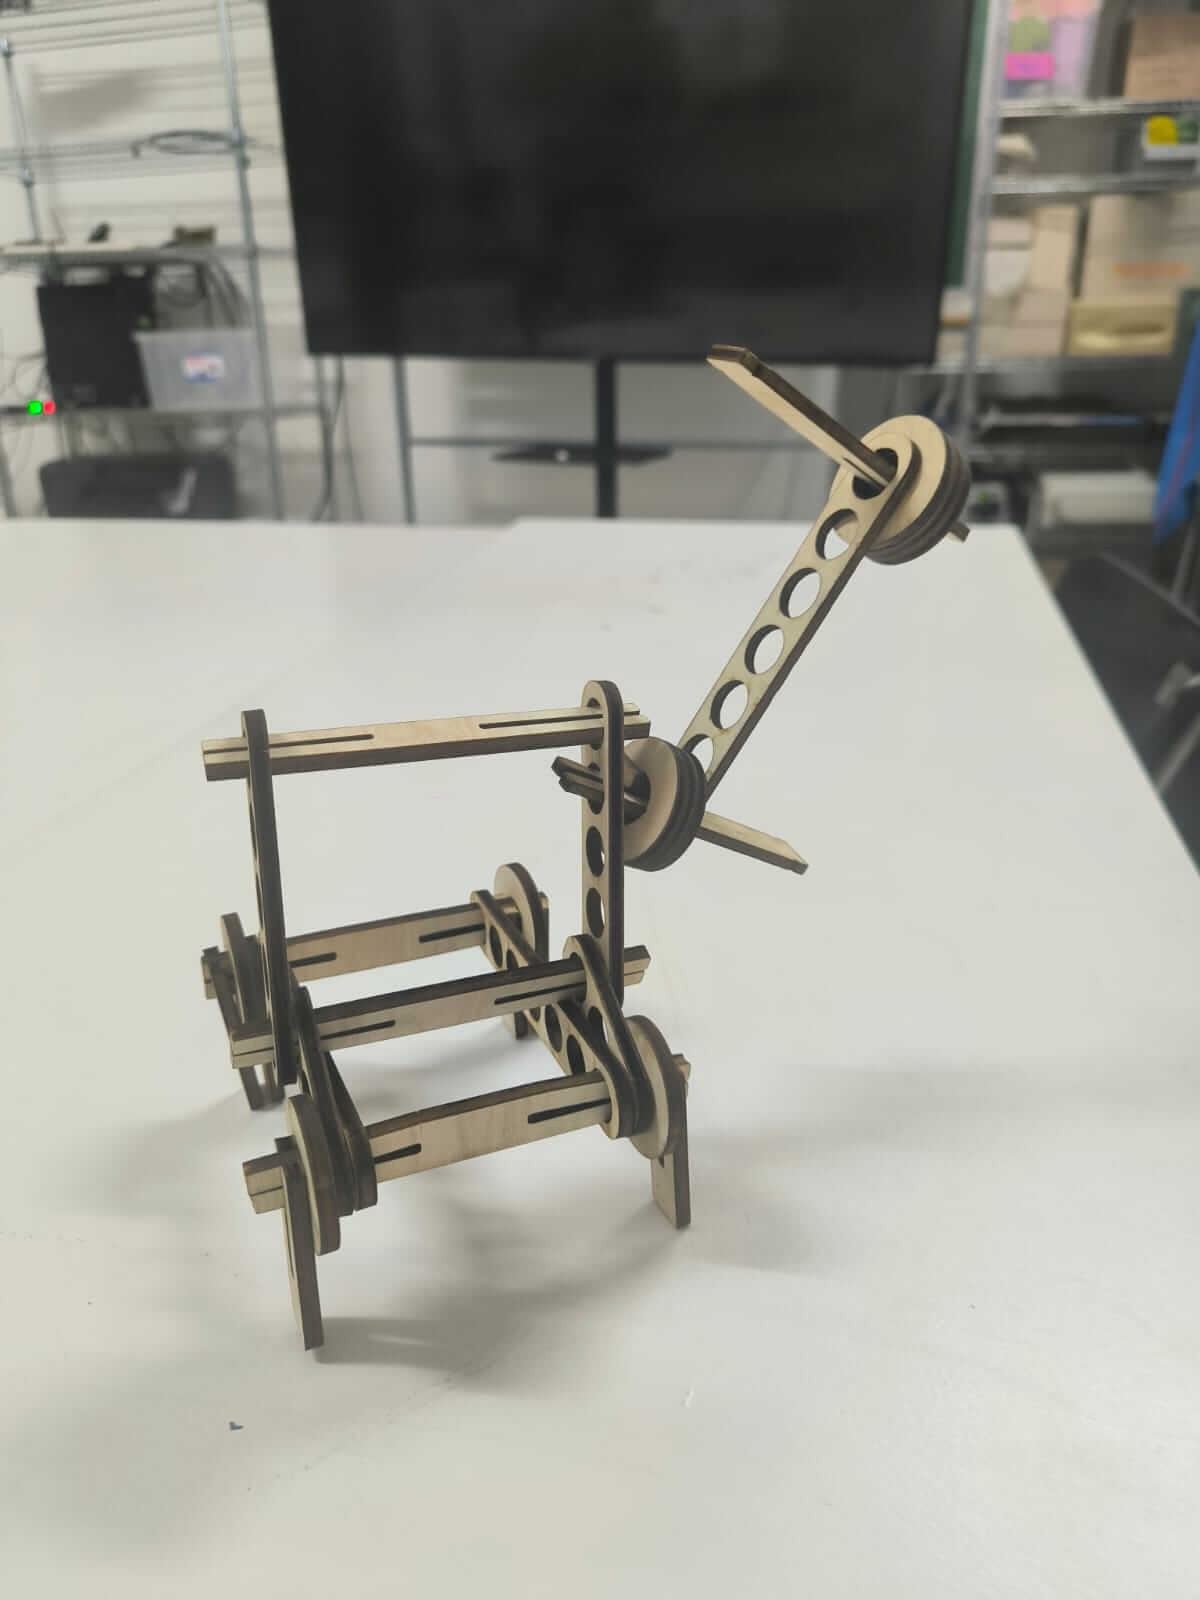
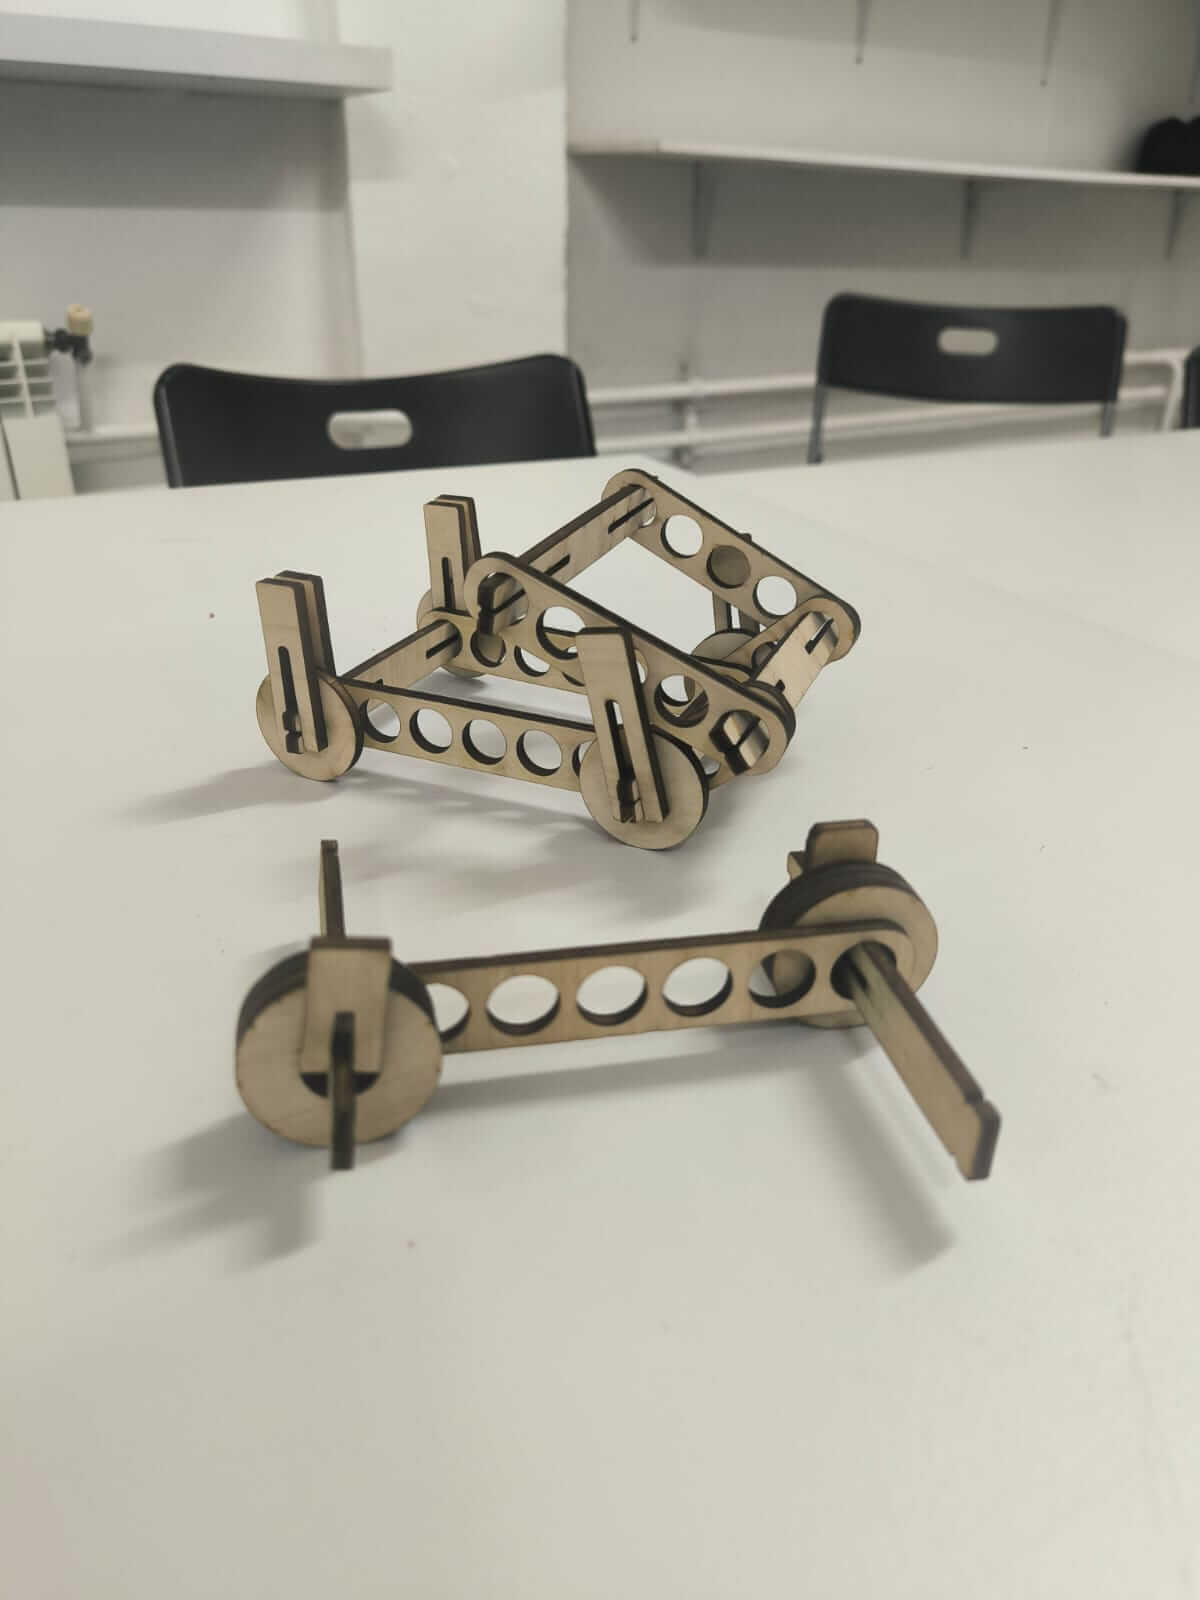
As the design was a prototype, it required several iterations to optimise the kerf. I found that I needed a different kerf for fitting the axles or joints through the holes required than for the axle and joint pieces requiring press-fit. My first and second attempts lacked the desired precision, the third produced a fun, multi-option assembly as you can see in Figures LC4 and LC5 below but still a little less detailed that the Space Quest rocket from electricBricks shown in Figure LC6!

Vinyl Cutter
I used the Silhouette Studio CAMEO5 and it’s native software to import my .dxf design from inkscape https://www.silhouetteamerica.com/silhouette-studio.
I traced an image of the painting of LS Lowry a Landmark (hat I had believed was a painting of Peel Tower Landmark from my home town, but it could be from the nearby Lake District) with the snap cutter tool on Inkscape, and drew a rectangular frame around it, playing with the colours.
I launched the vinyl cut with the following setting: Force 10, Speed 6 on a Vinyl Glossy Material. Below you can see the results.


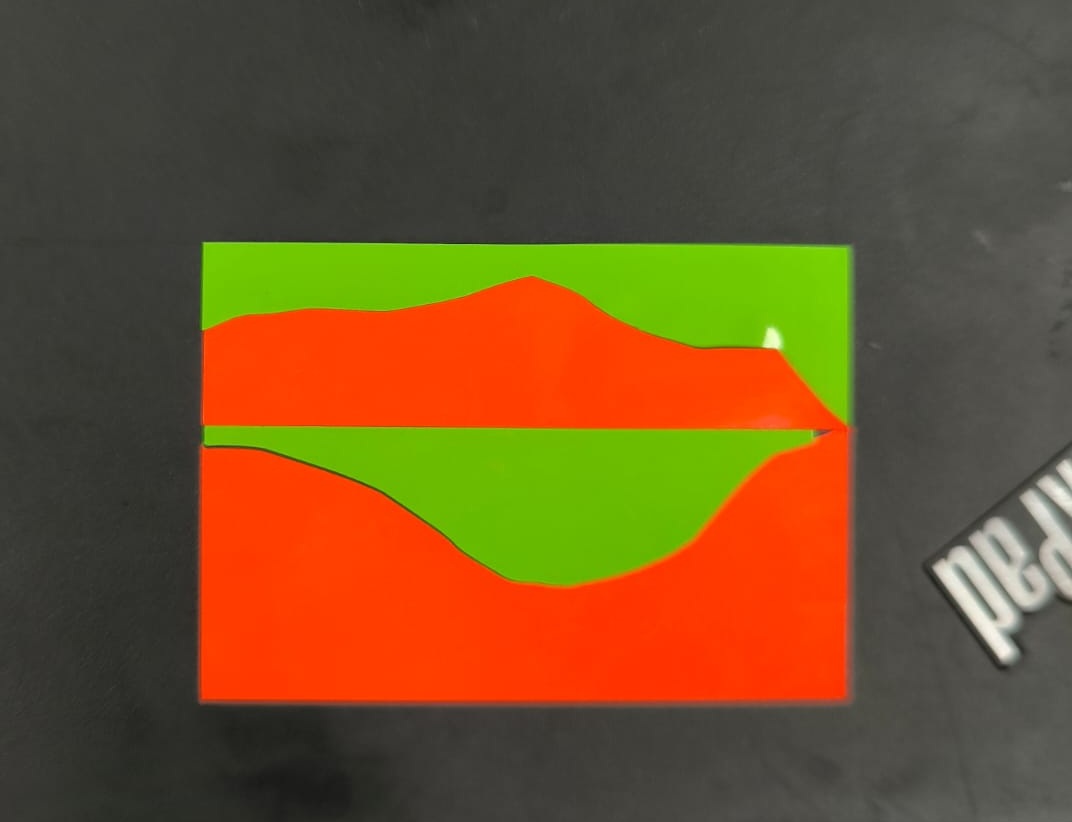
It’s important to have some nice colours available.