13: Molding and Casting
   group assignment:
      review the safety data sheets for each of your molding and casting materials,
         then make and compare test casts with each of them
      compare mold making processes

   individual assignment:
      design a mold around the process you'll be using,
         produce it with a smooth surface finish that
         does not show the production process toolpath,
         and use it to cast parts
      extra credit: use more then two mold parts
Group Assignment
Our Group assignment page is here.
https://academany.fabcloud.io/fabacademy/2025/labs/barcelona/students/group-assignments/
Individual Assignment
Ice lime mould
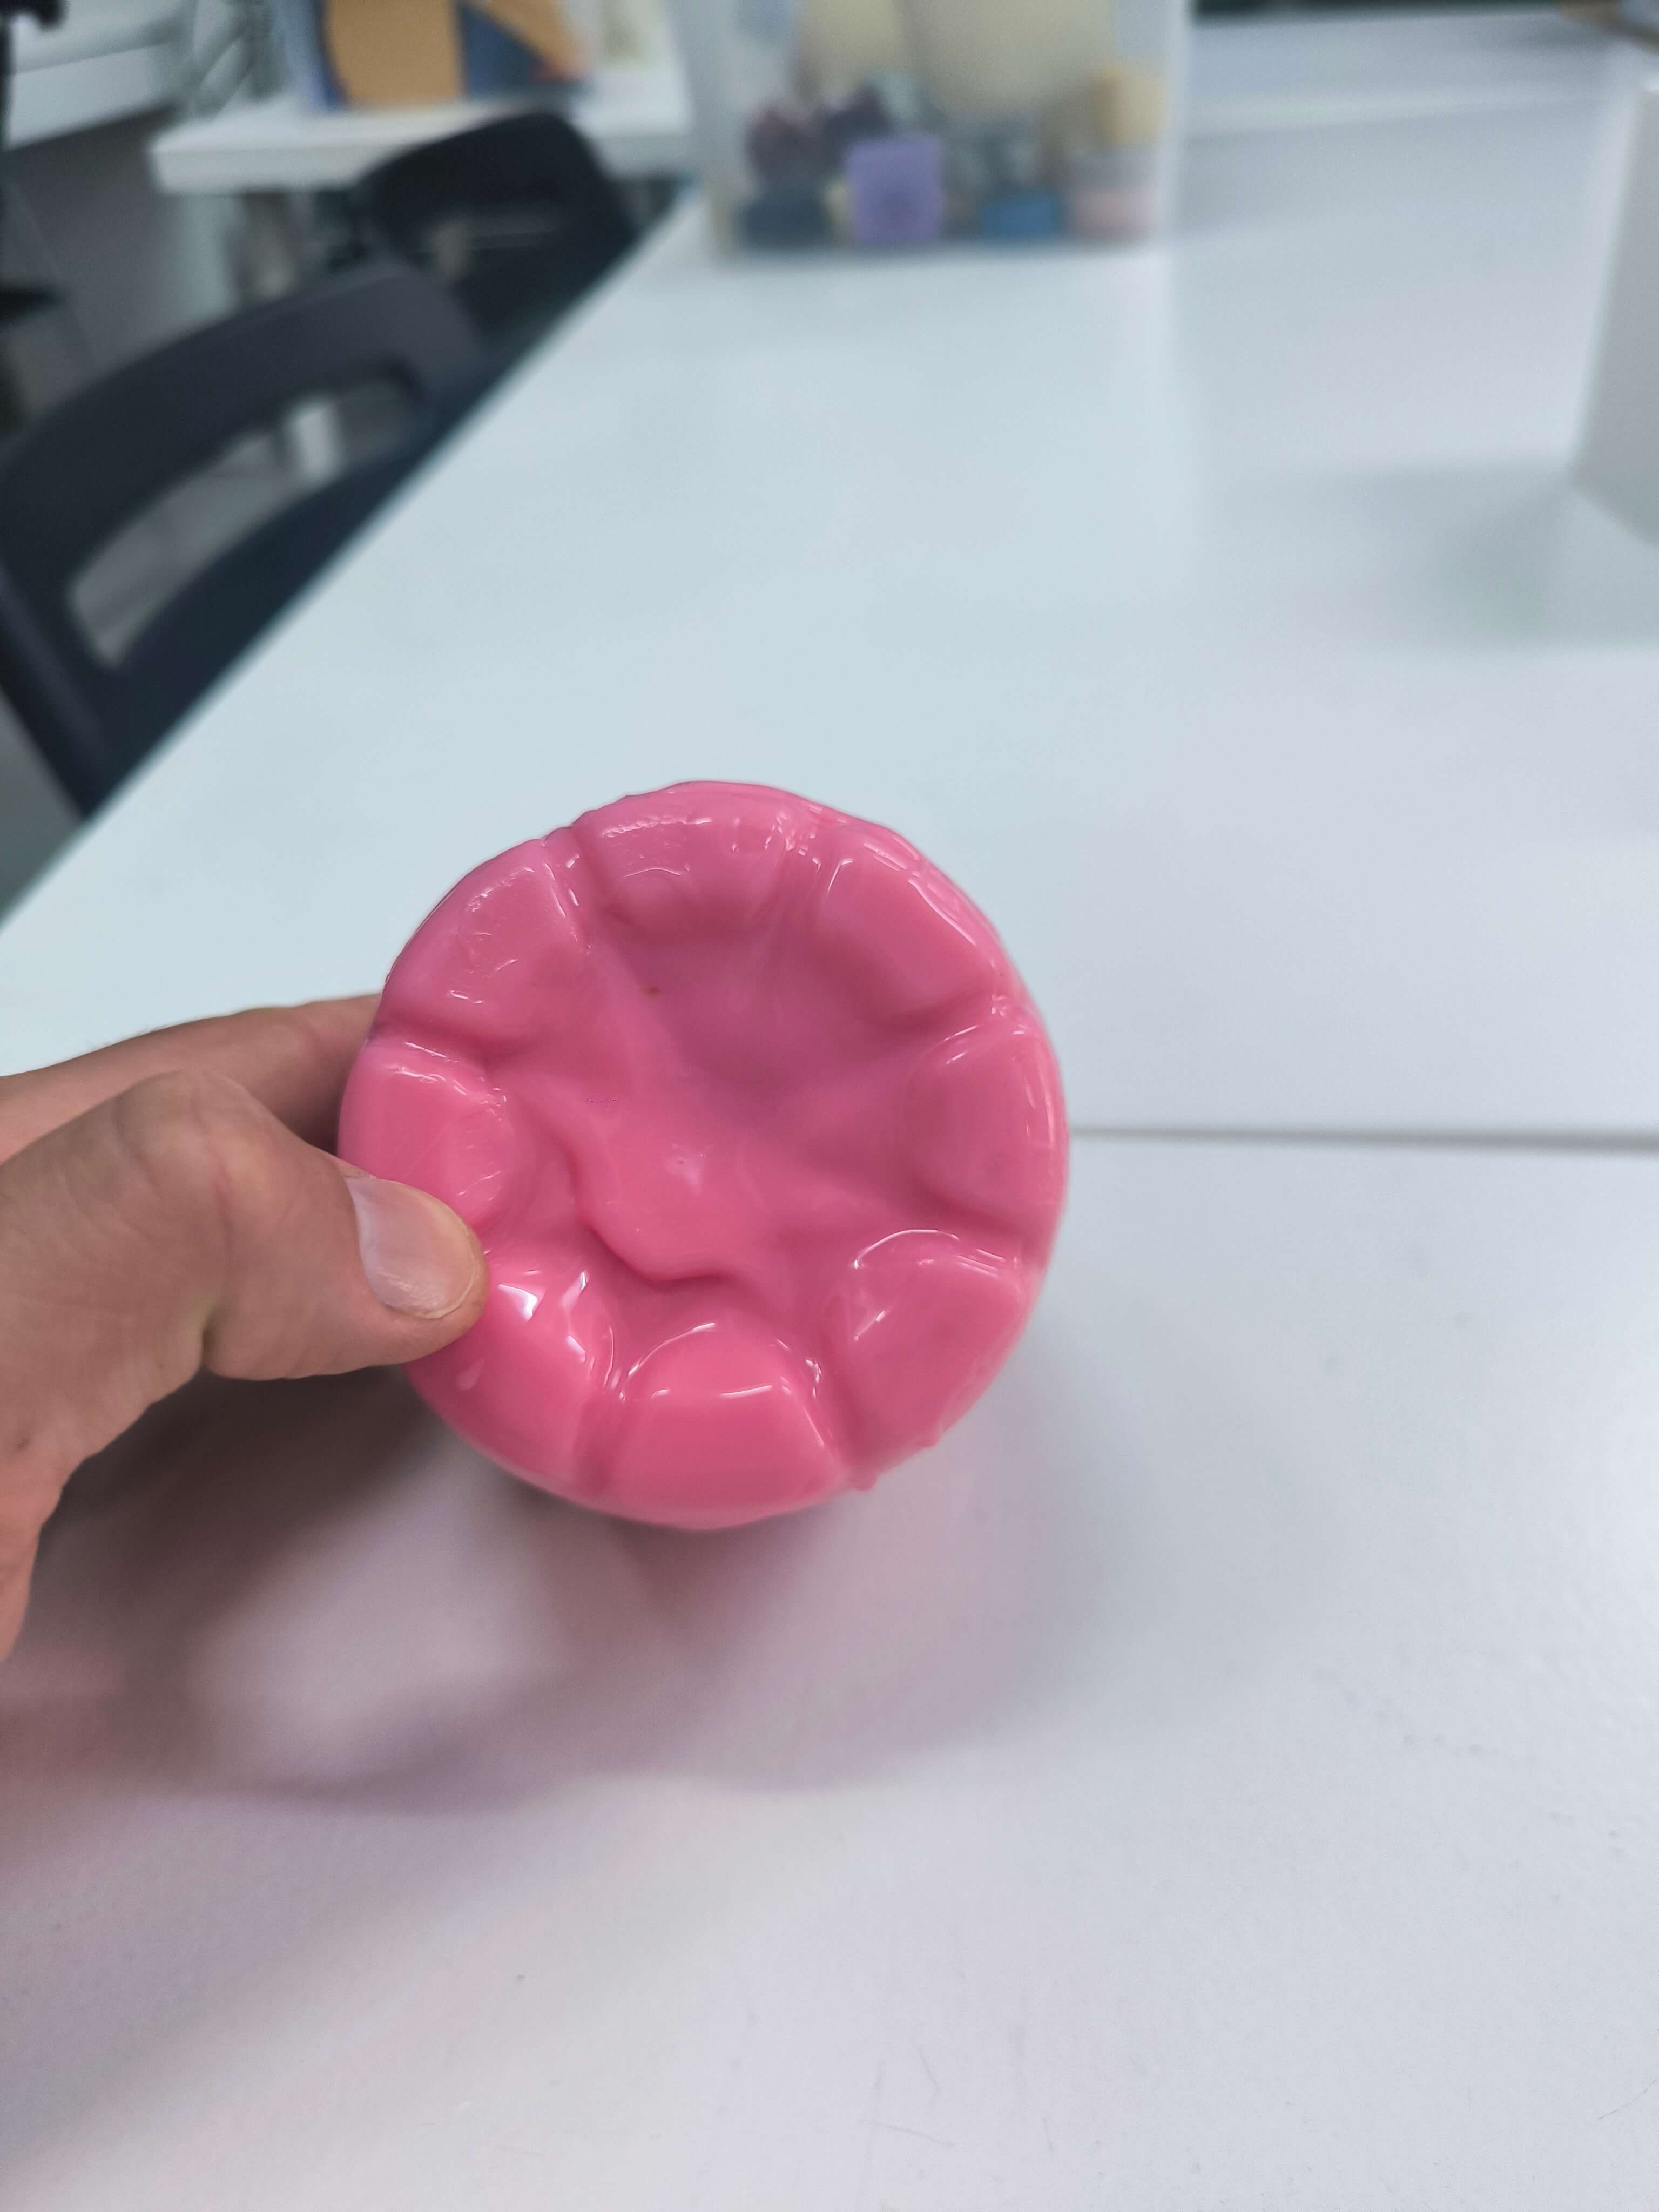
I wanted to make an alimentation friendly silicon mould in order to make a lime shaped ice cube or a patisserie in the shape of a lime.
To do this I headed down to the slow food farmers market in Barcelona to select an appropriately sized and shaped fruit and headed into school to prepare the silicon mould.
I thought about making a beetroot mould and filling it with strawberry flavour to mess with people’s senses but preferred the idea of lime and juice ice cubes.

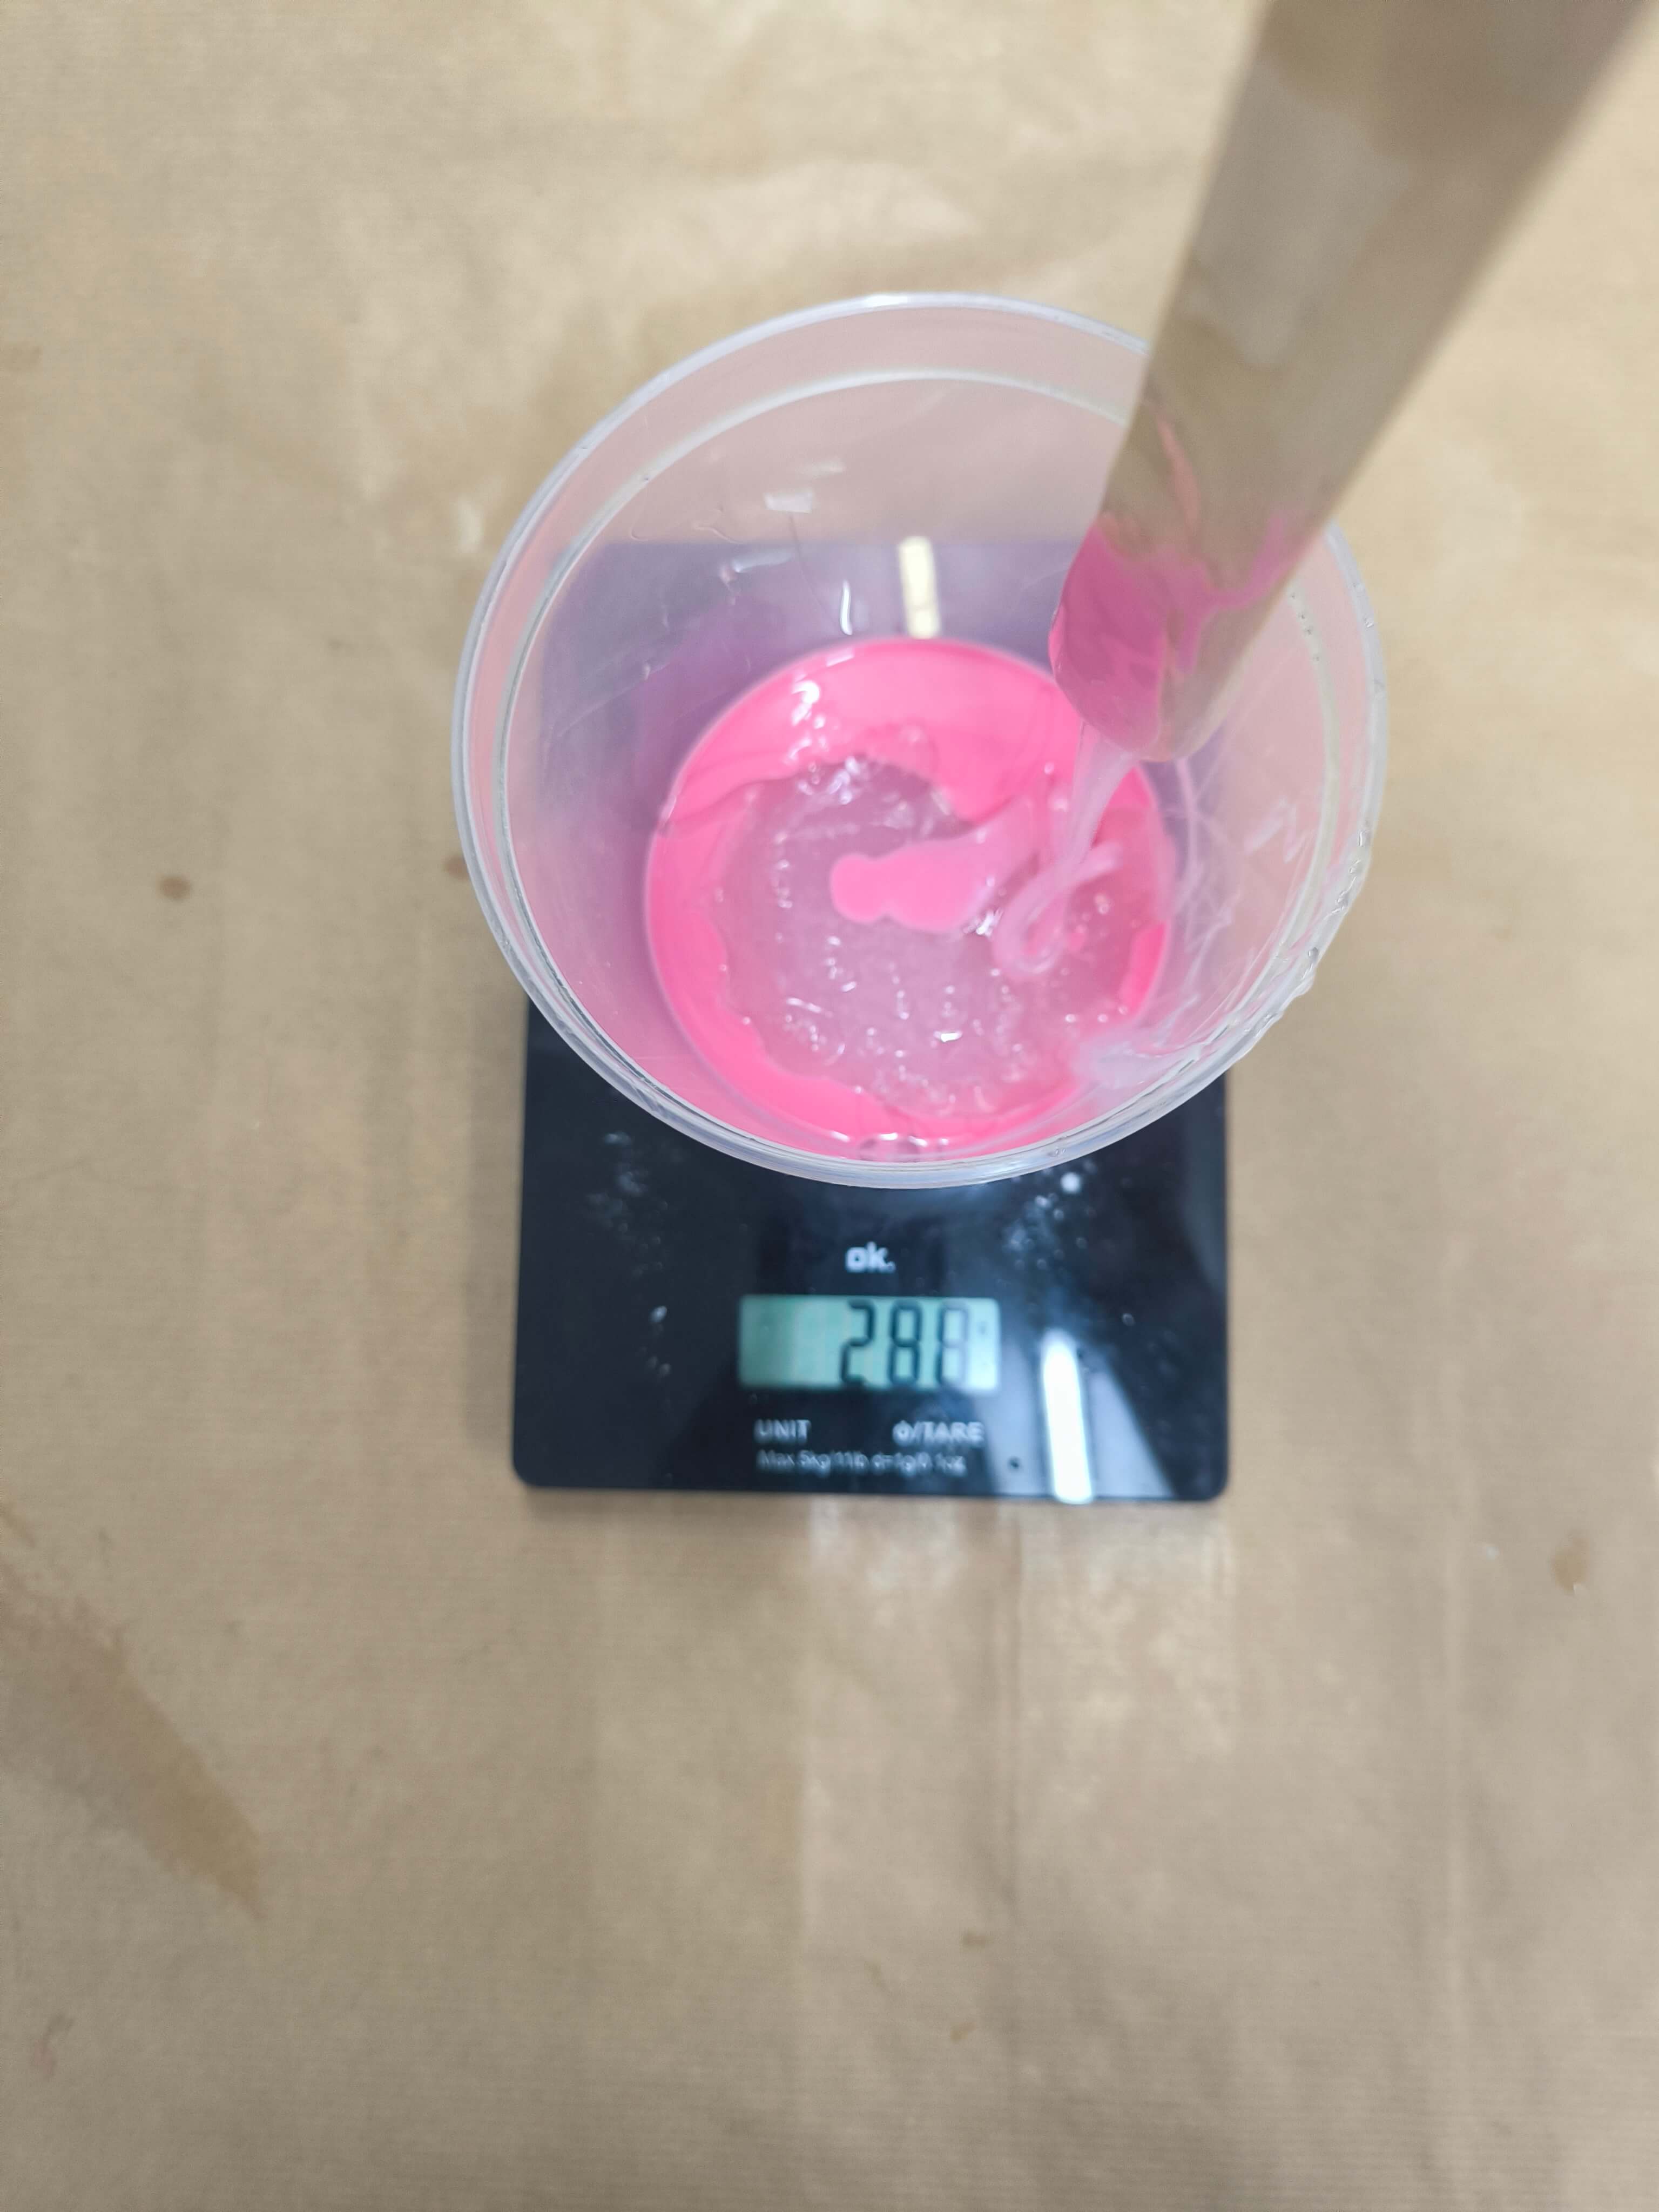
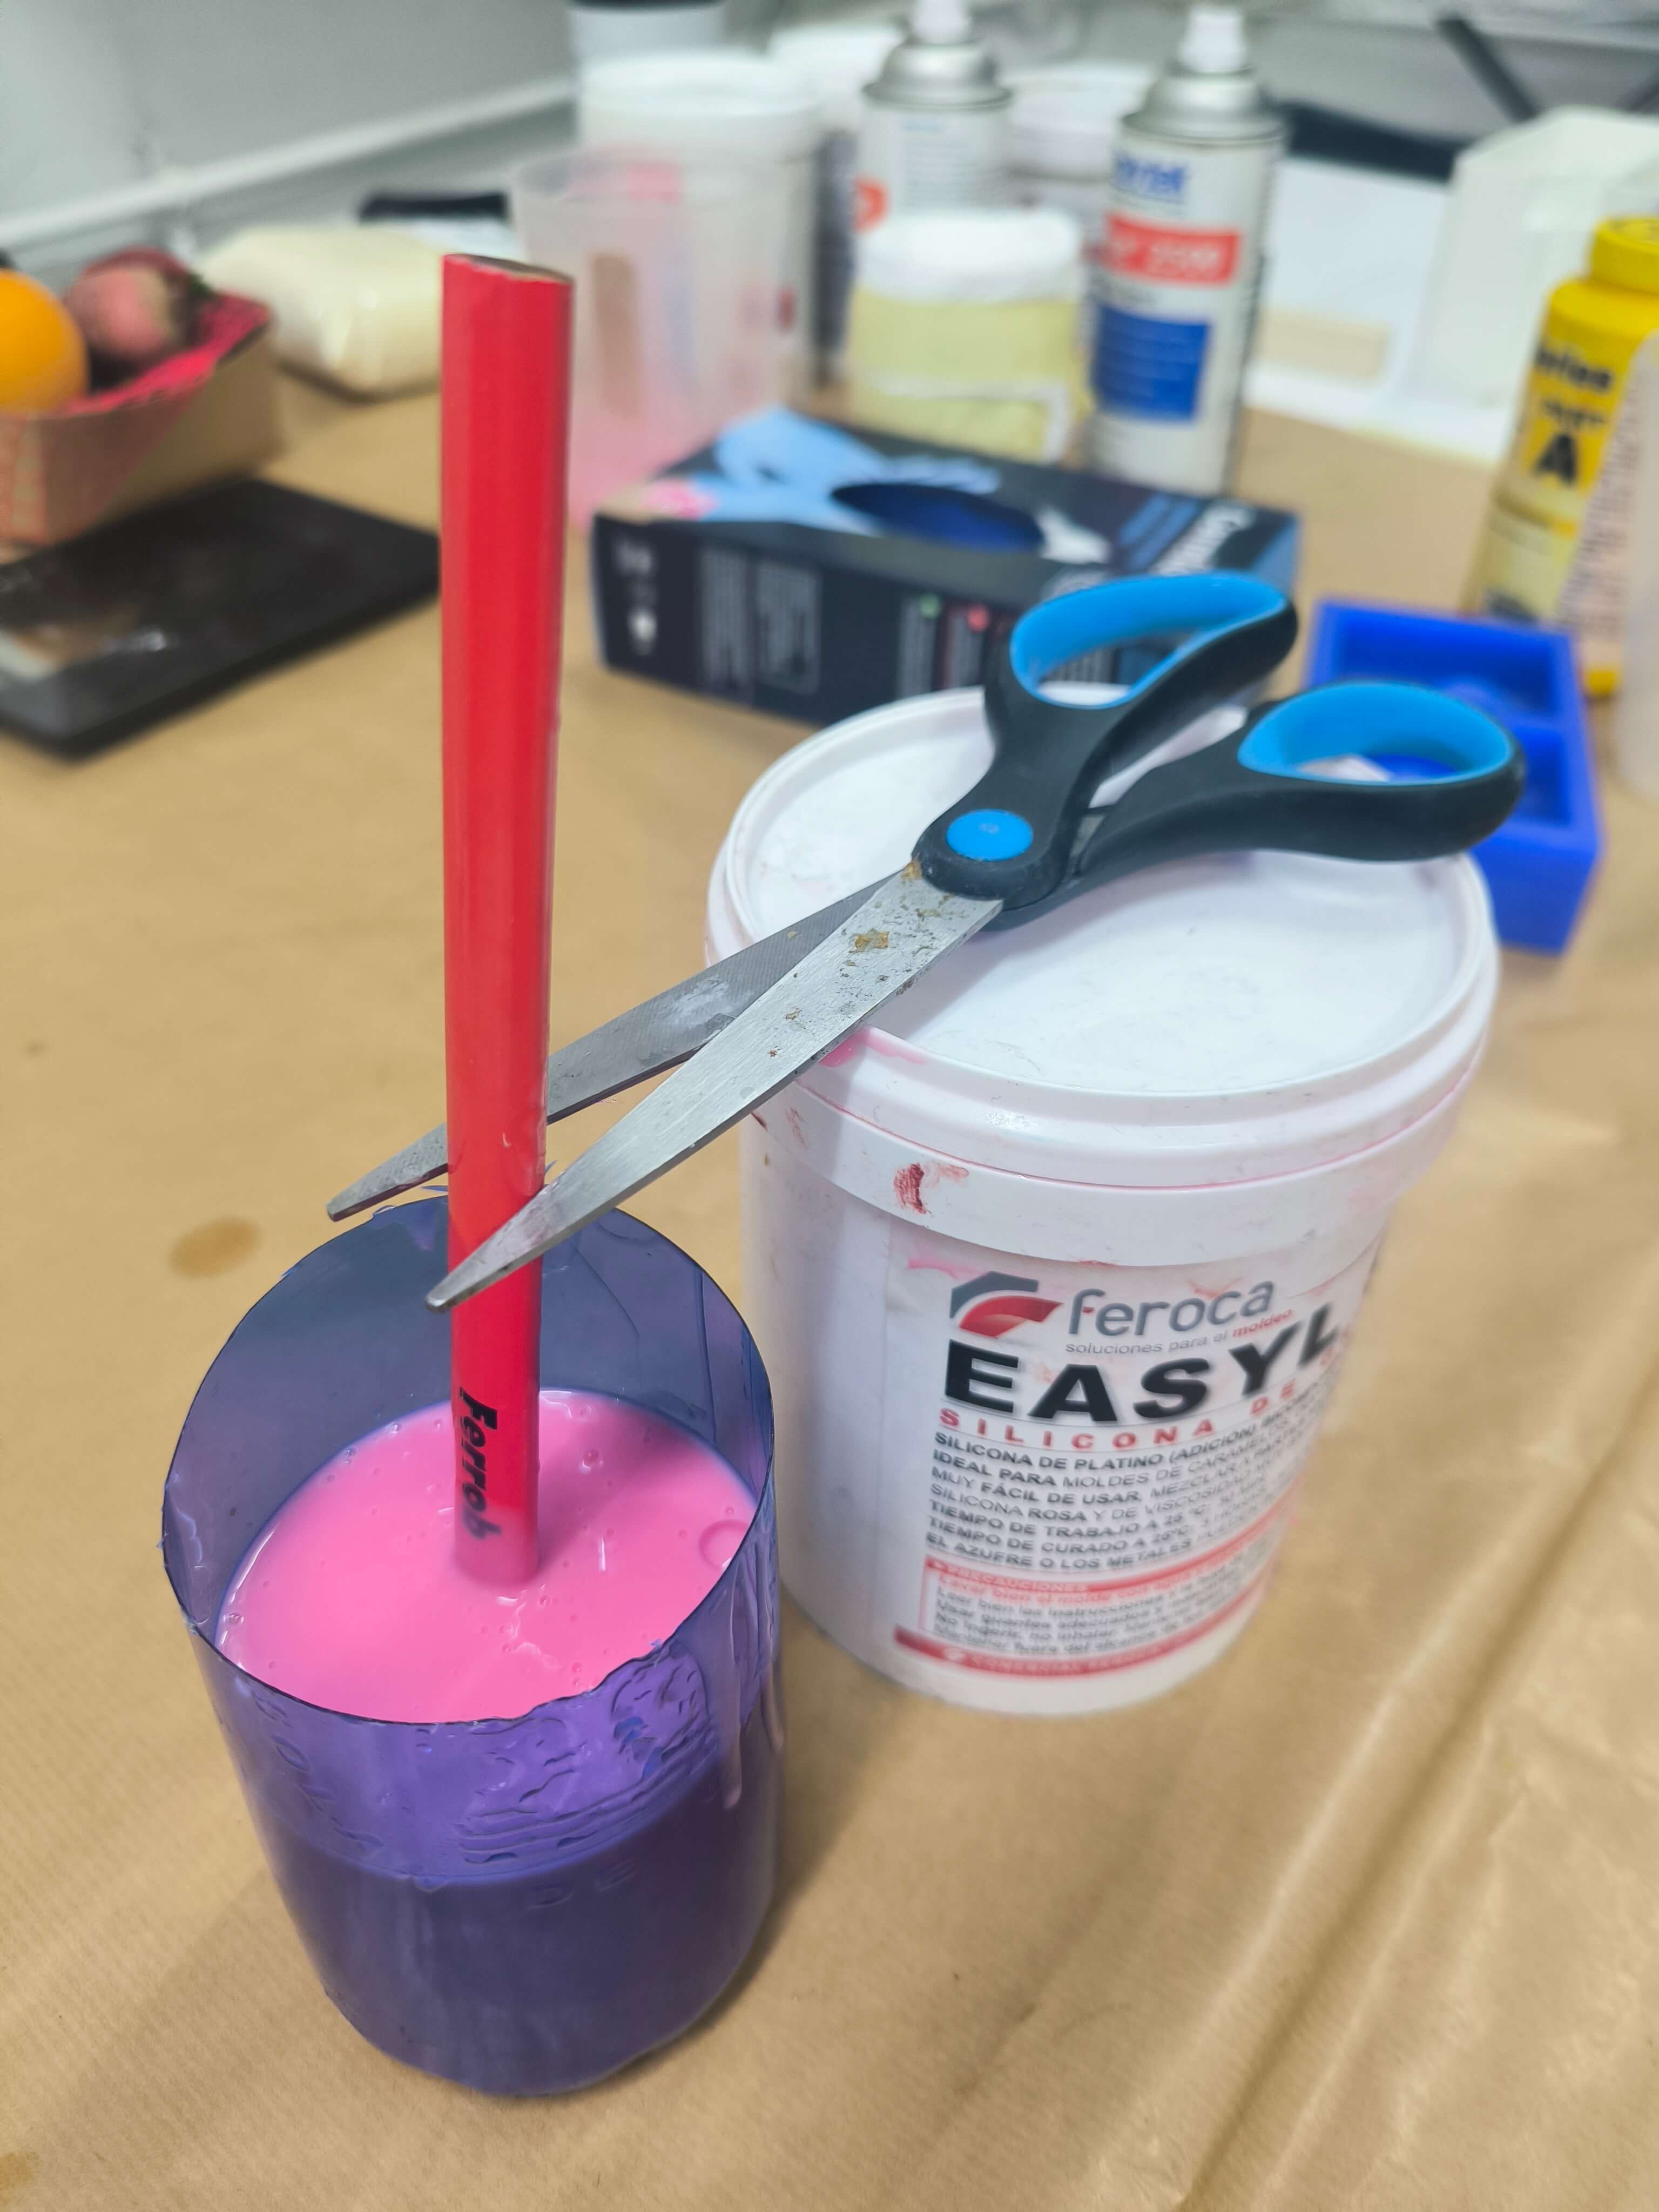
I found a plastic water bottle, cut it open so that it could comfortably fit the lime inside. I then placed the lime and submerged it with water taking a note of the volume of water required to completely submerge it. I then used chat gpt to calculate the equivalent weight of the silicone mixture required, and mixed the part A and part B together in equal parts as specified on the bottles.
As the lime is buoyant in the silicone I had to make a contraption to keep the lime submerged. I found that the pencil allowed to make a future pouring hole and also supported the lime in place with the help of a pair of scissors and some “weights”.
This process can be seen in the following images:
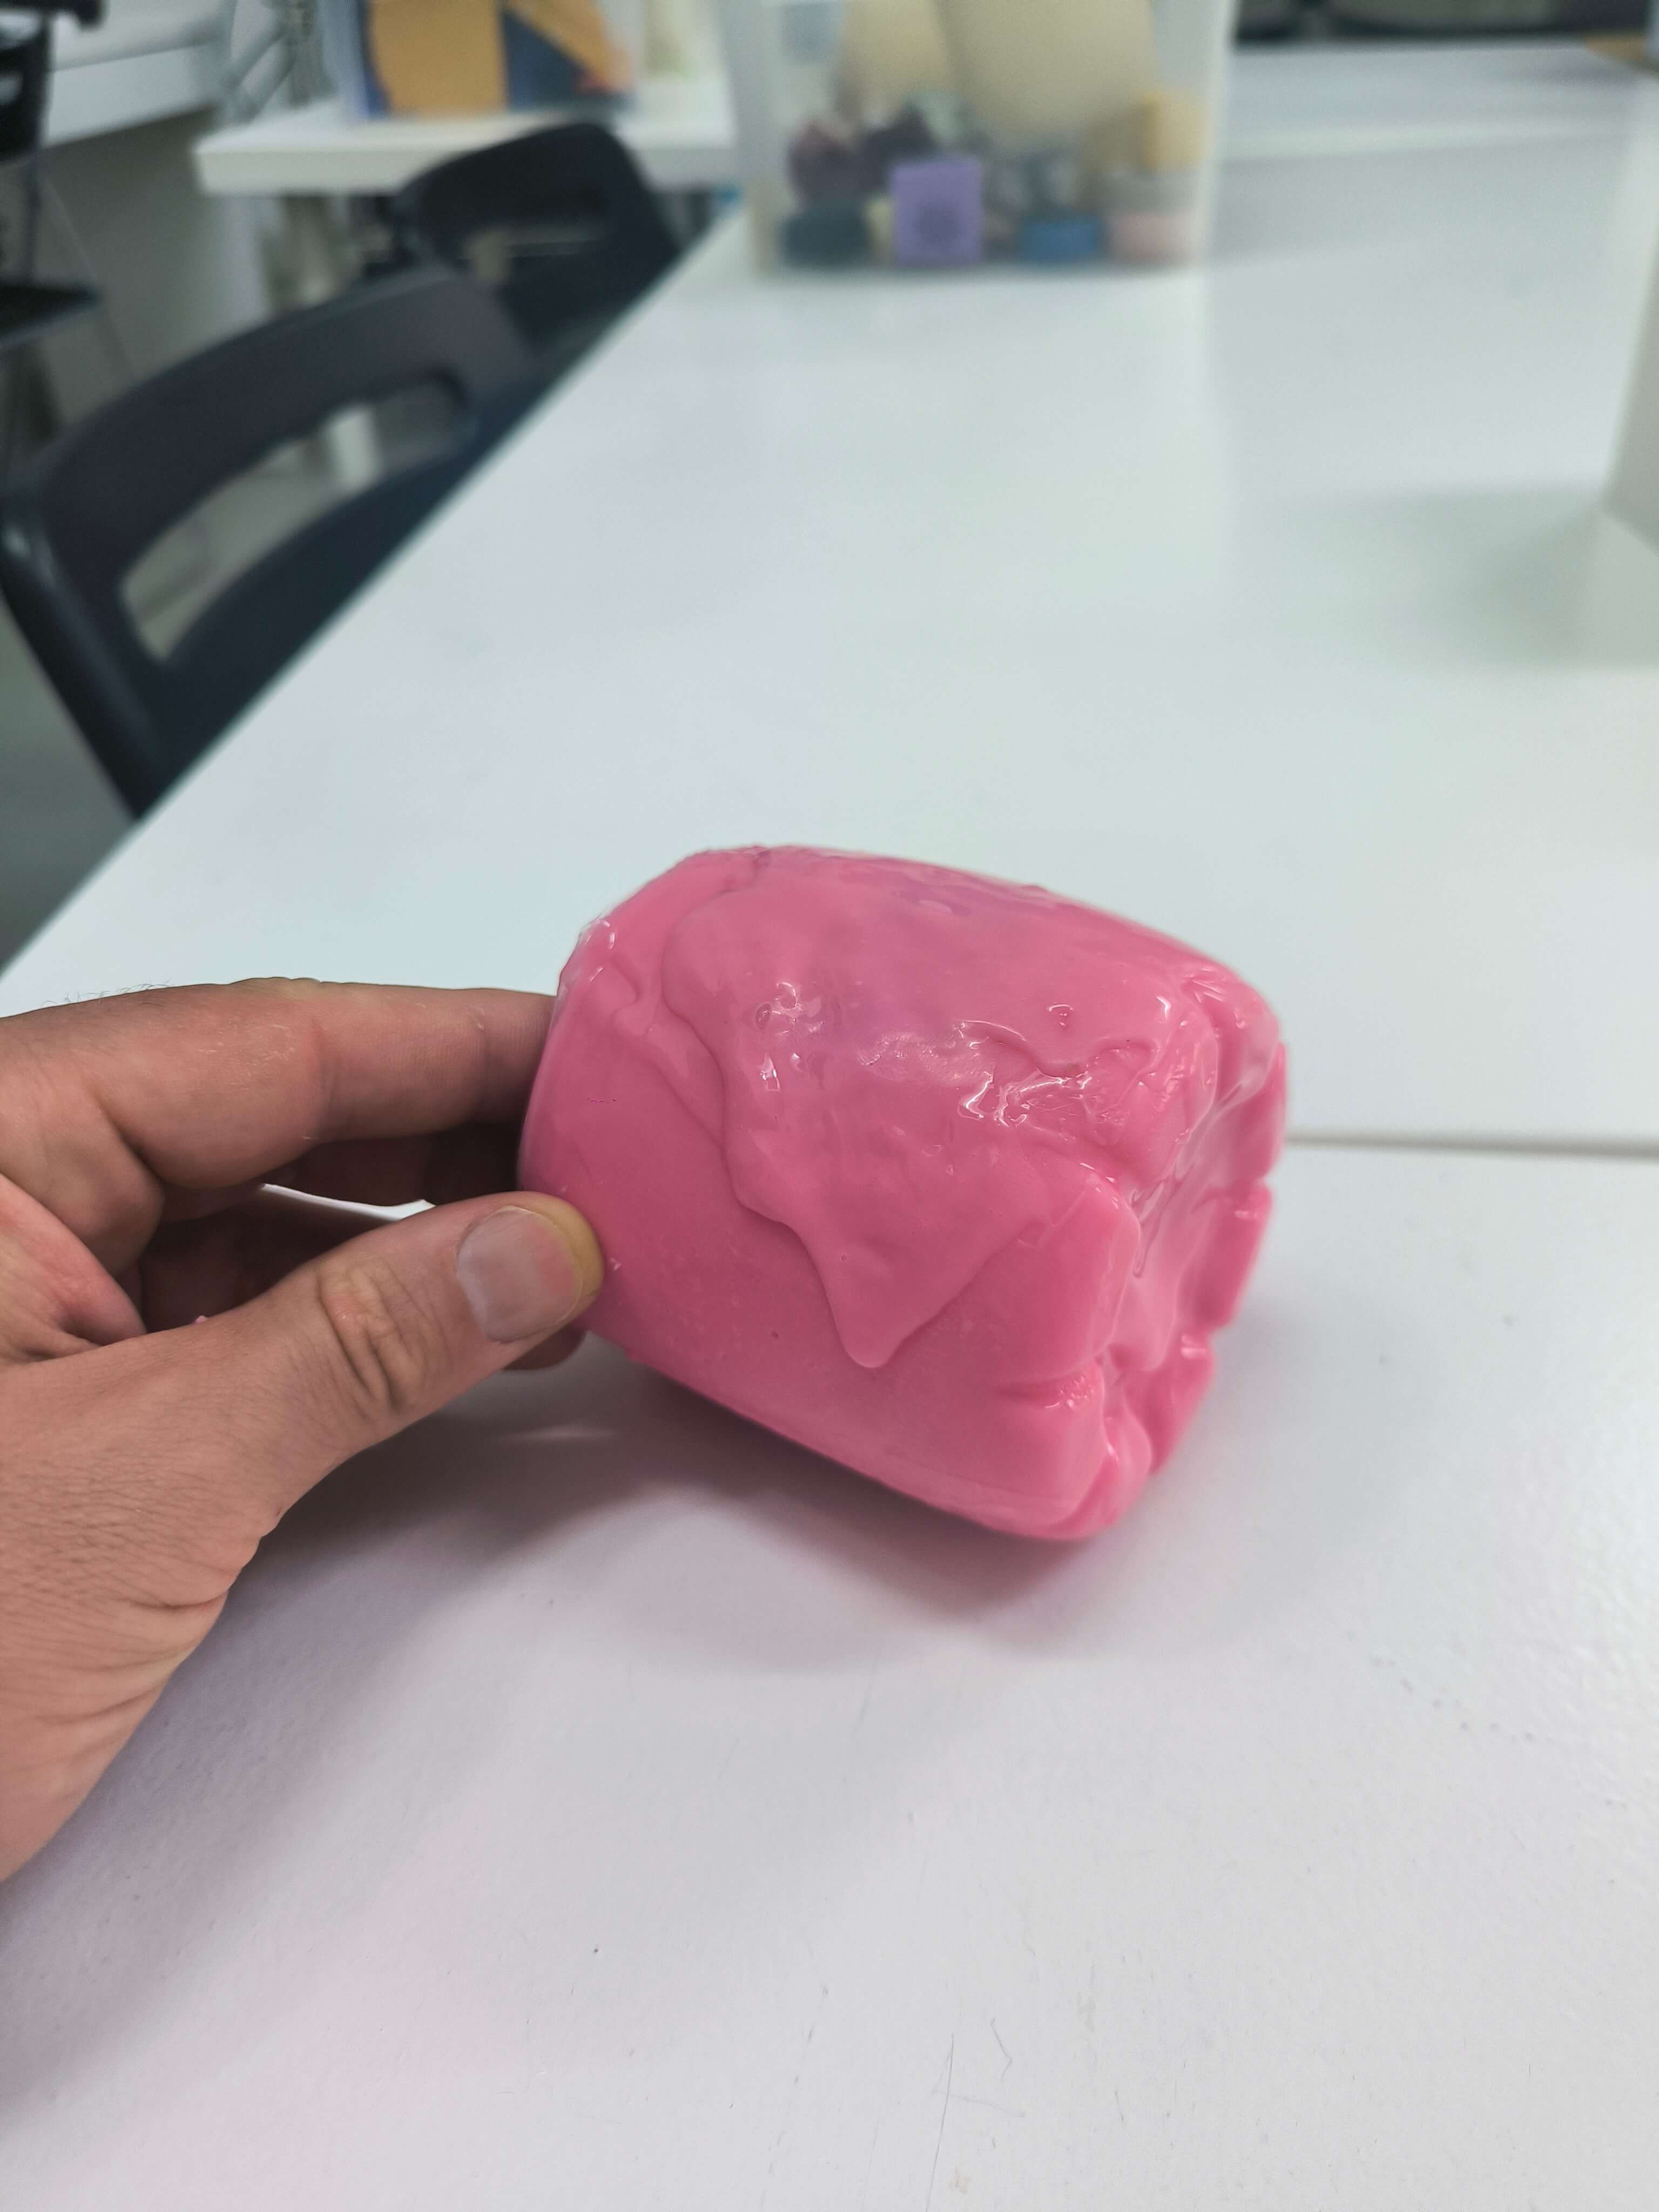
The mould turned out quite well but a little patchwork was needed where the wall was too thin as you can see in the pictures below.
I cut out the lime with a zig zag so that it would hold the casting material better.
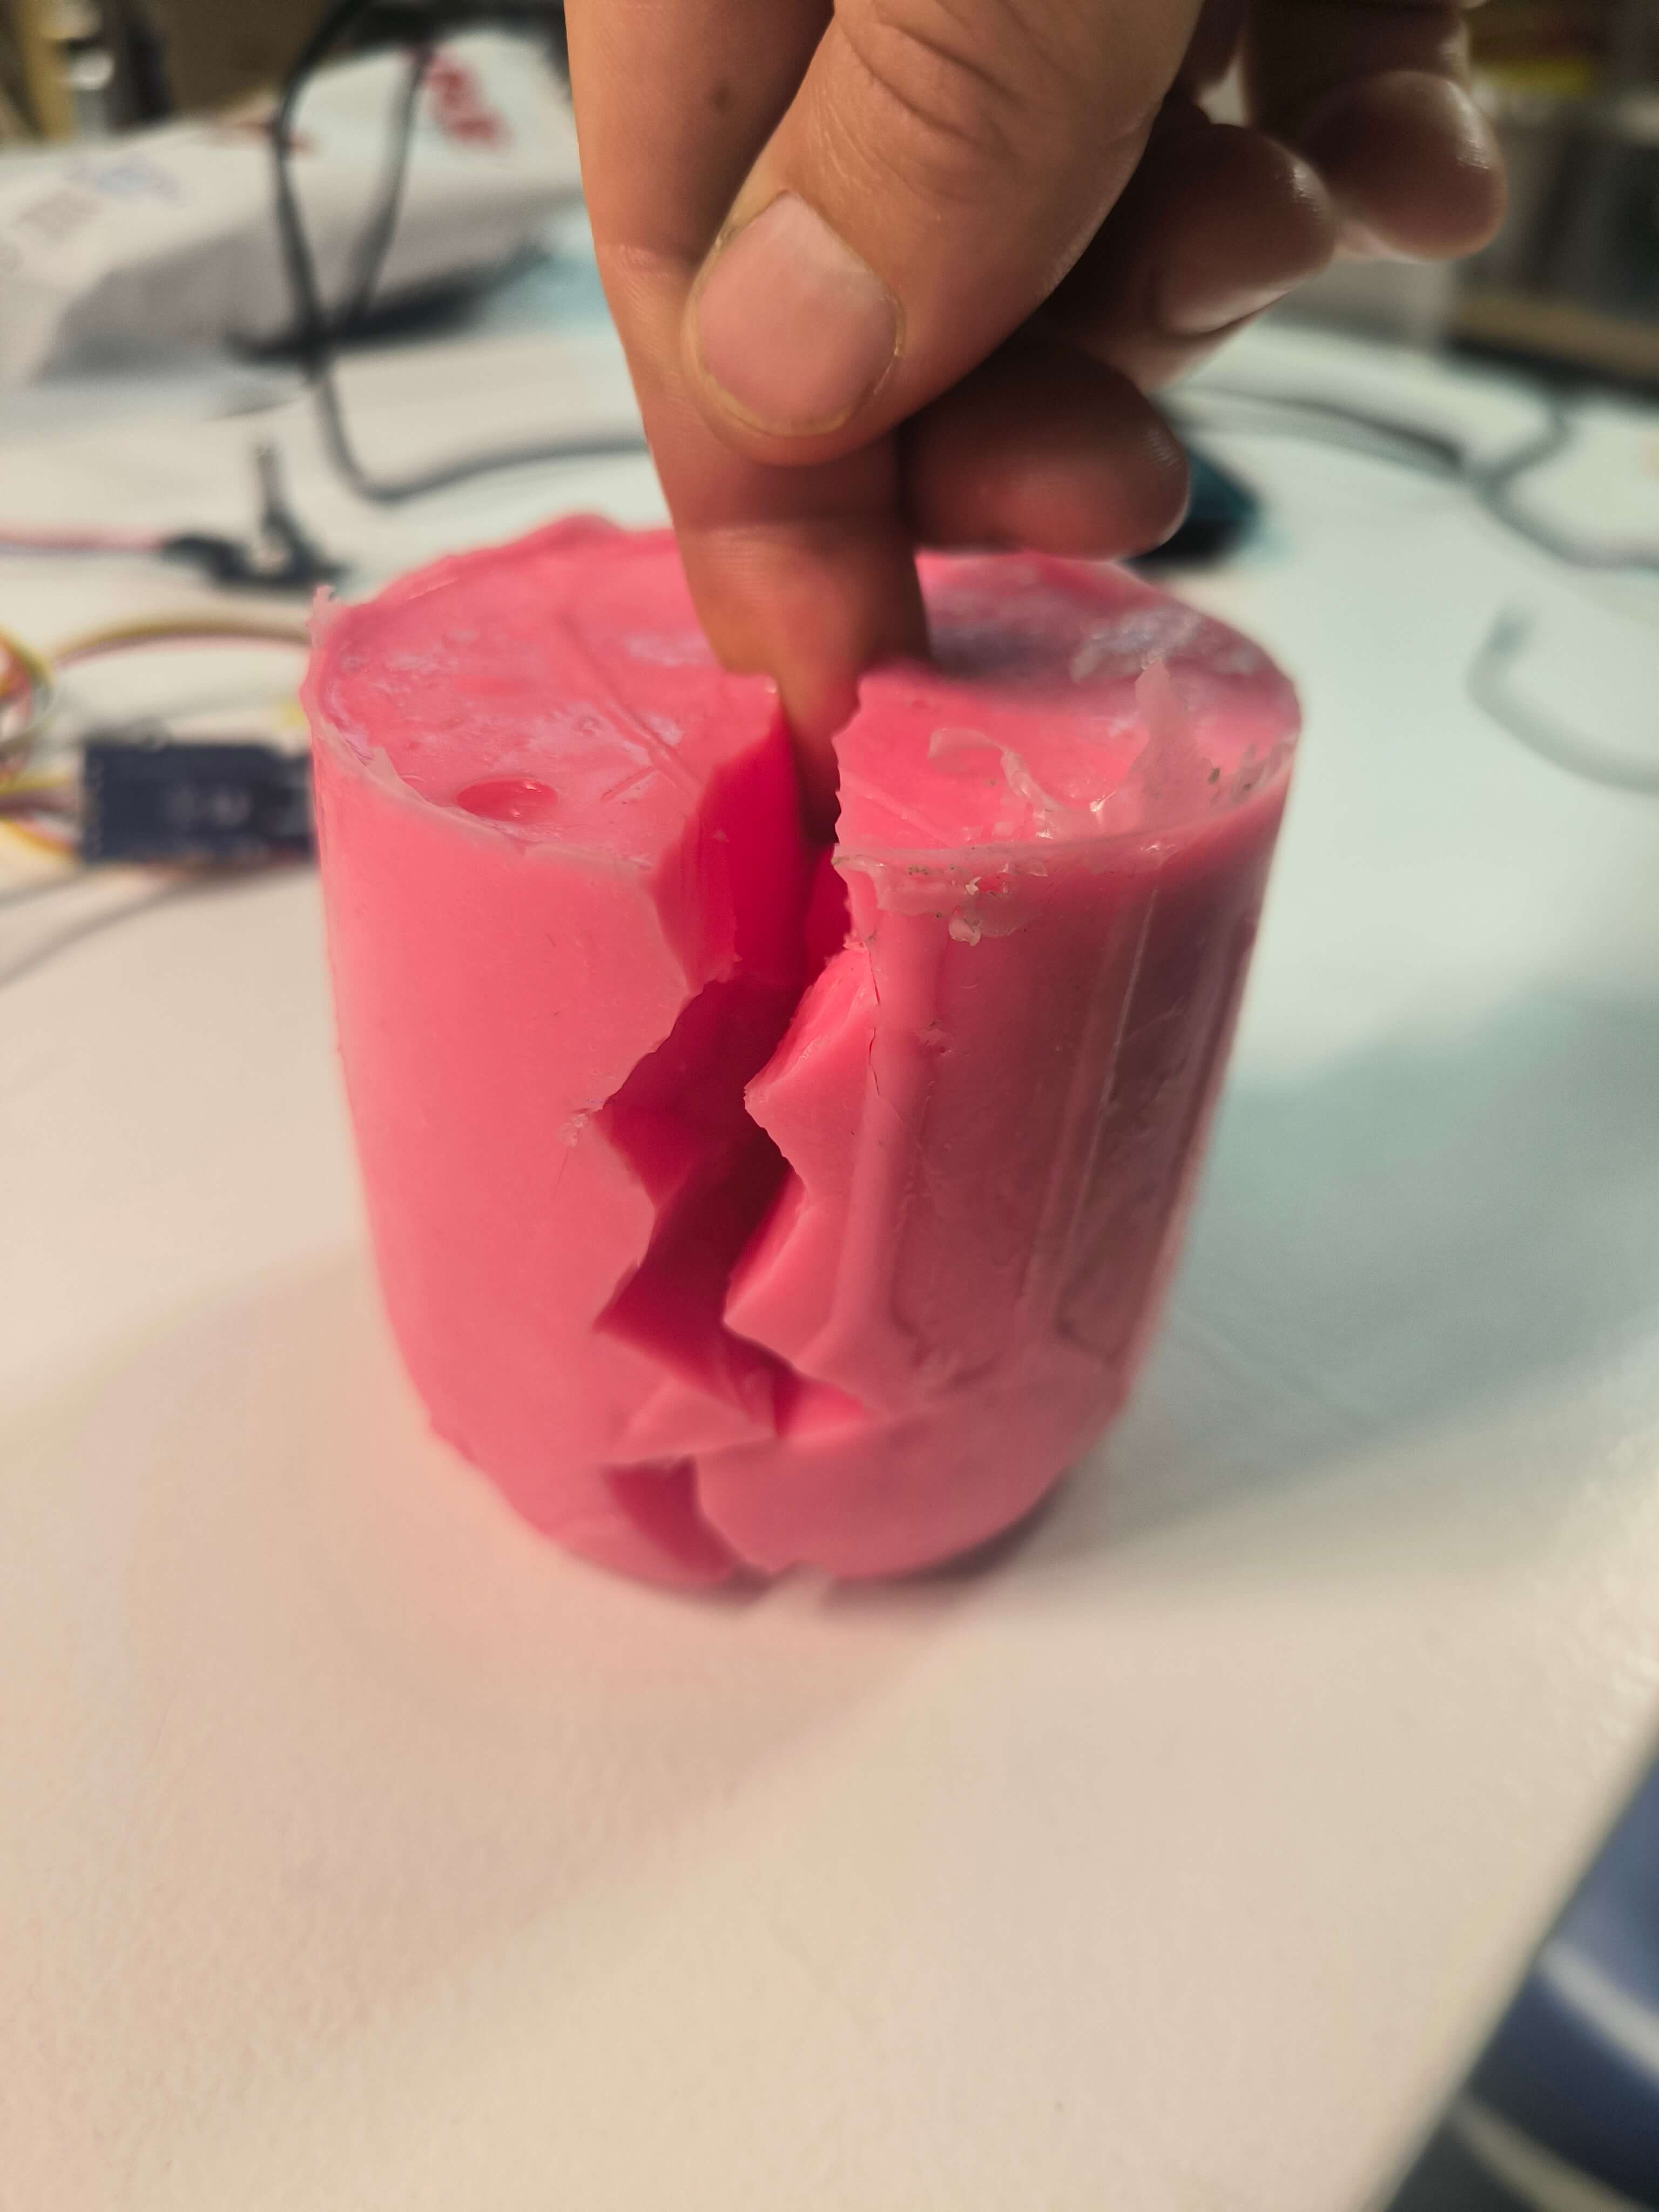
I then filled up the mould with water and placed it in the freezer. The result was a cracked lime ice sculpture with some nice detail on the butt and pores of the lime ice cube.
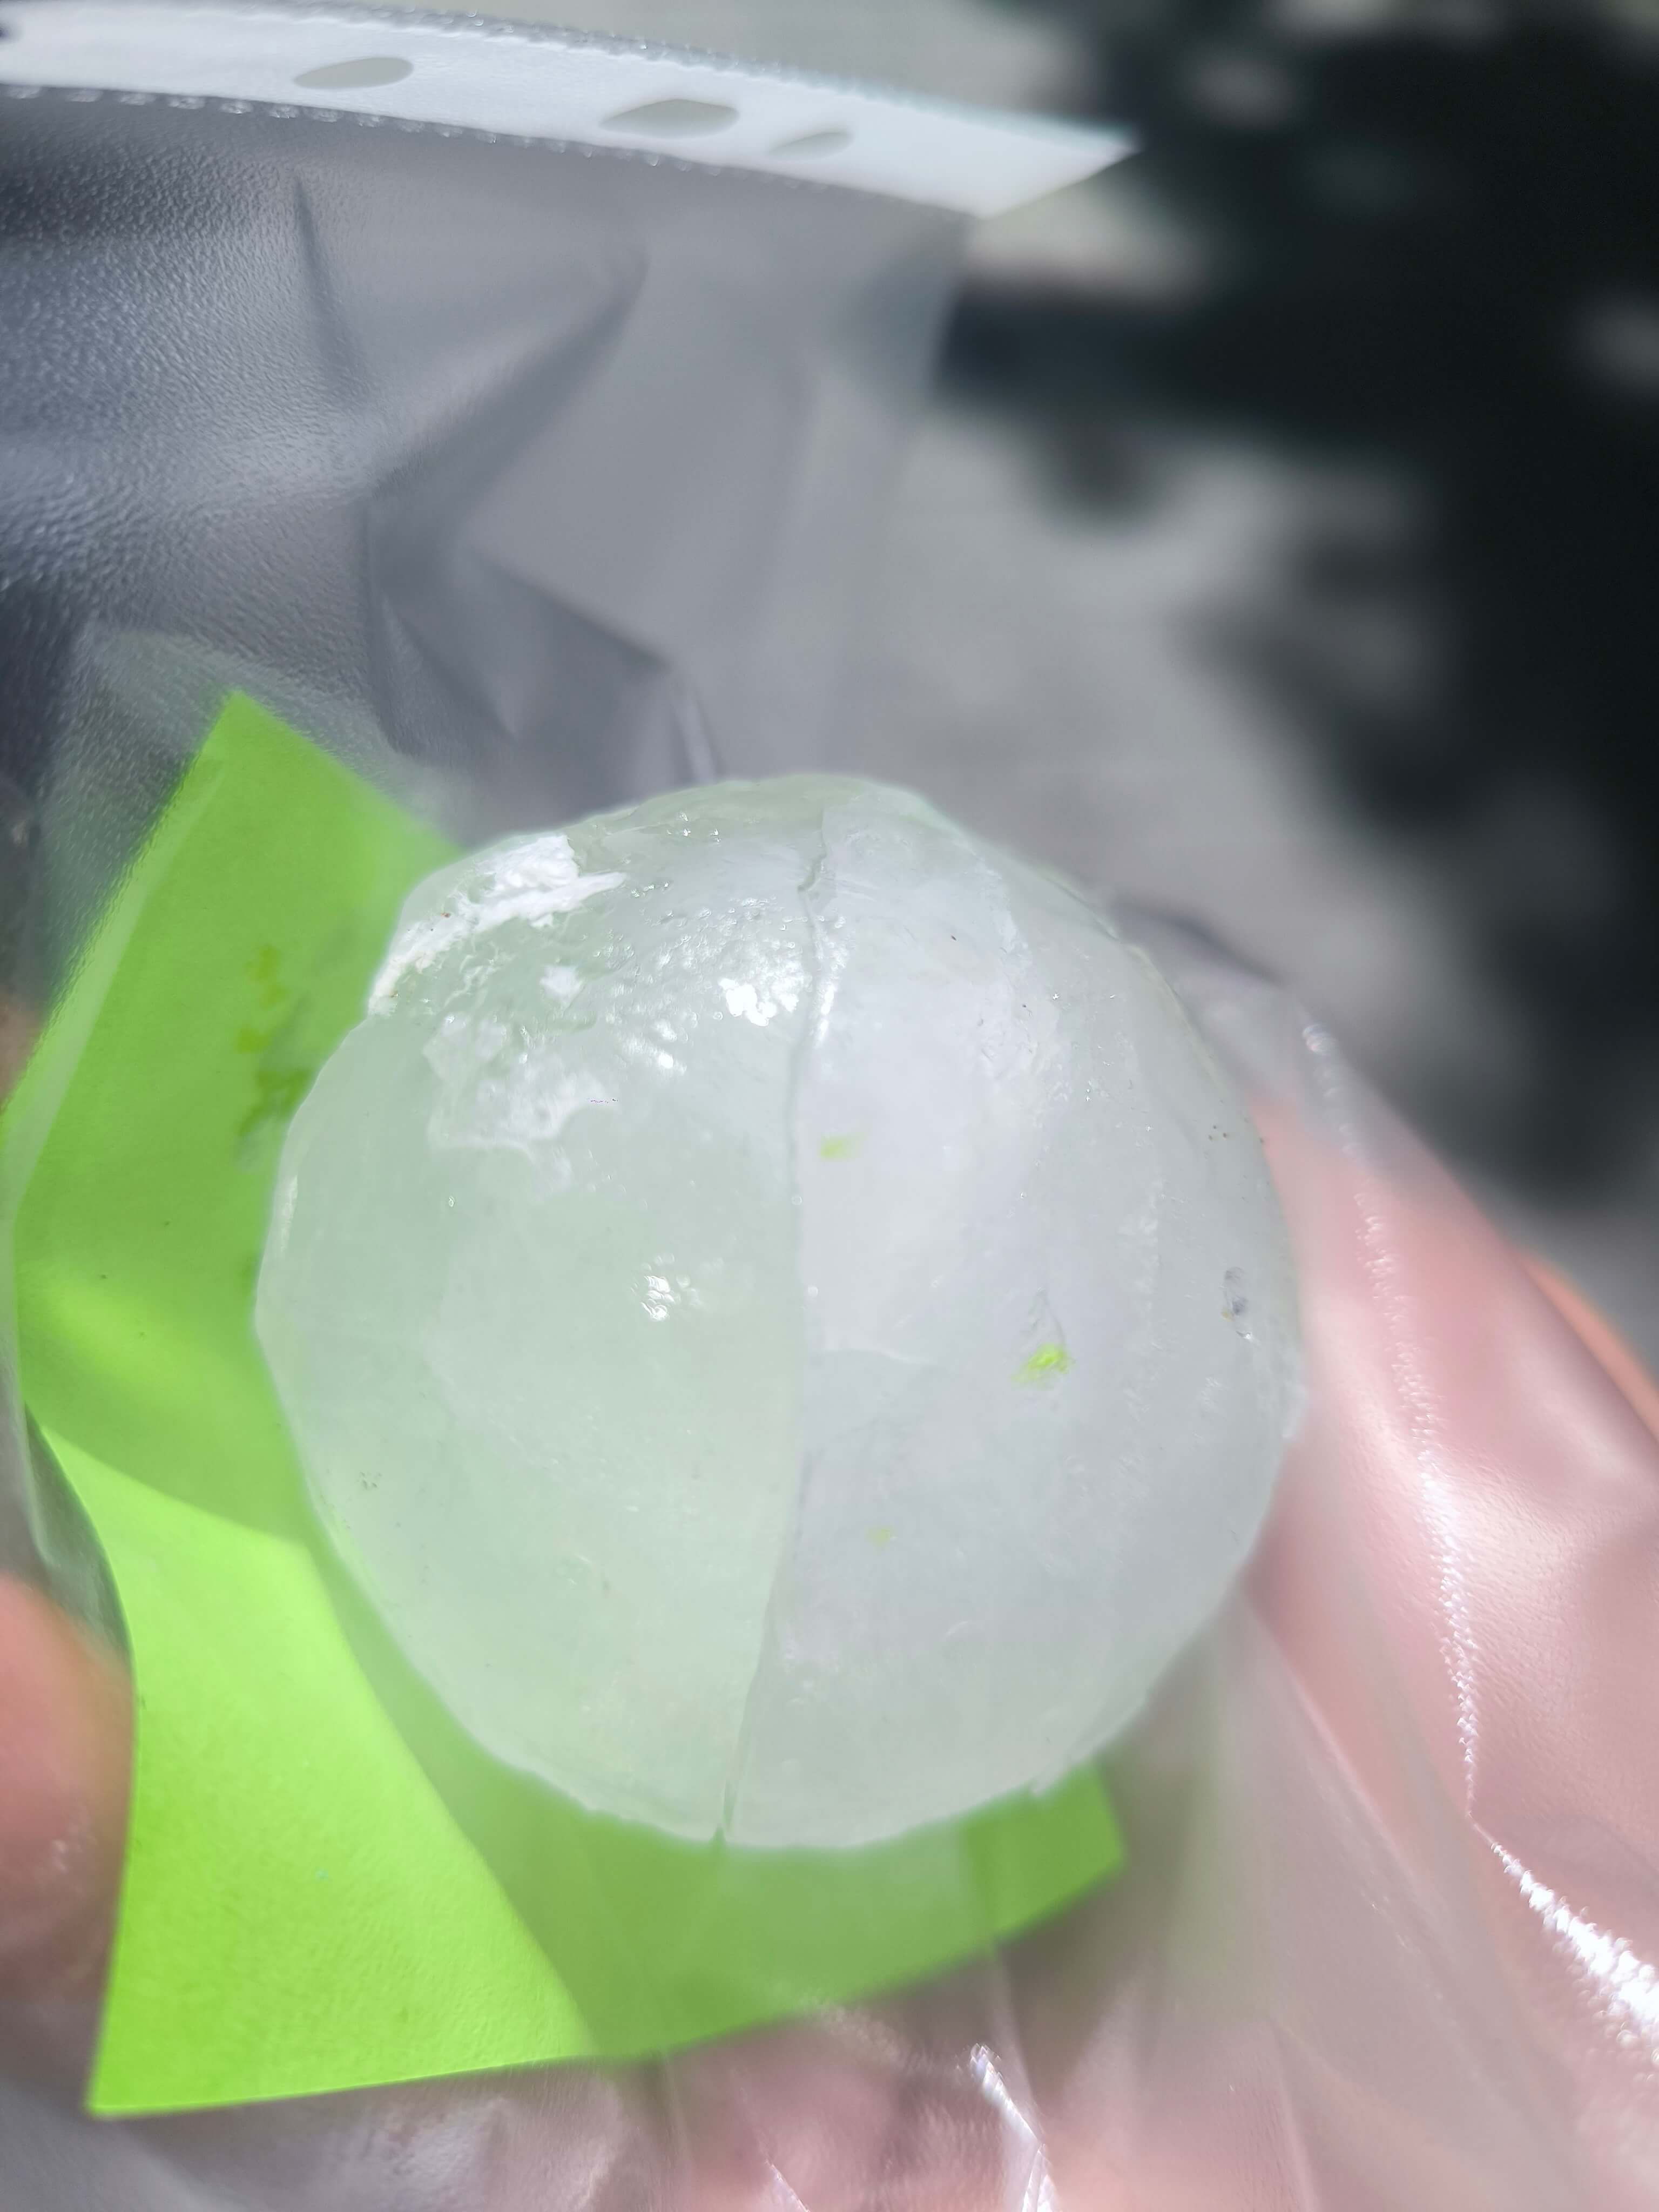
As you can see in the video above it was quite fragile and cracked along the fissures as it was dropped.
Nevertheless this could be useful for cocktails.
Blender Citrus
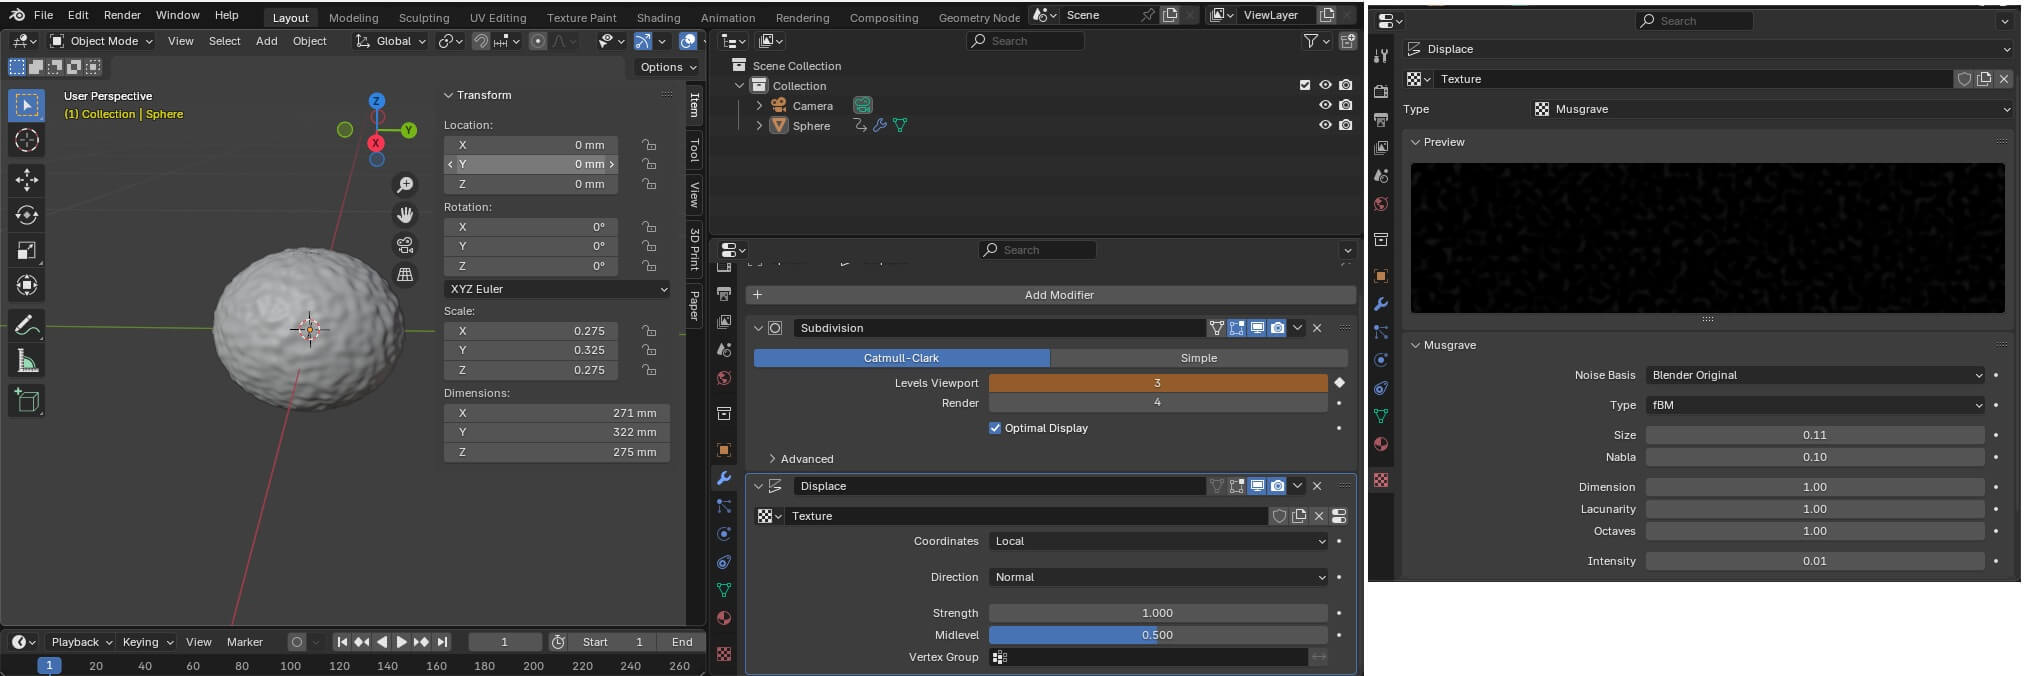
I used Blender to simulate a Citrus fruit. The workflow and a screenshot is given below, along with the blender file.
- UV Sphere X 550 Y 650 Z 550
- Add Modifiers :
- Subdivision → Catmull-Clark → Levels Viewpoint 3 Render 4
- Displace → Texture → Strength 1.0 Midlevel 0.5
- In the Texture Tab choose Musgrave
- Noise Basis - Blender Original, Type - fBM, Size 0.11, Intensity 0.01
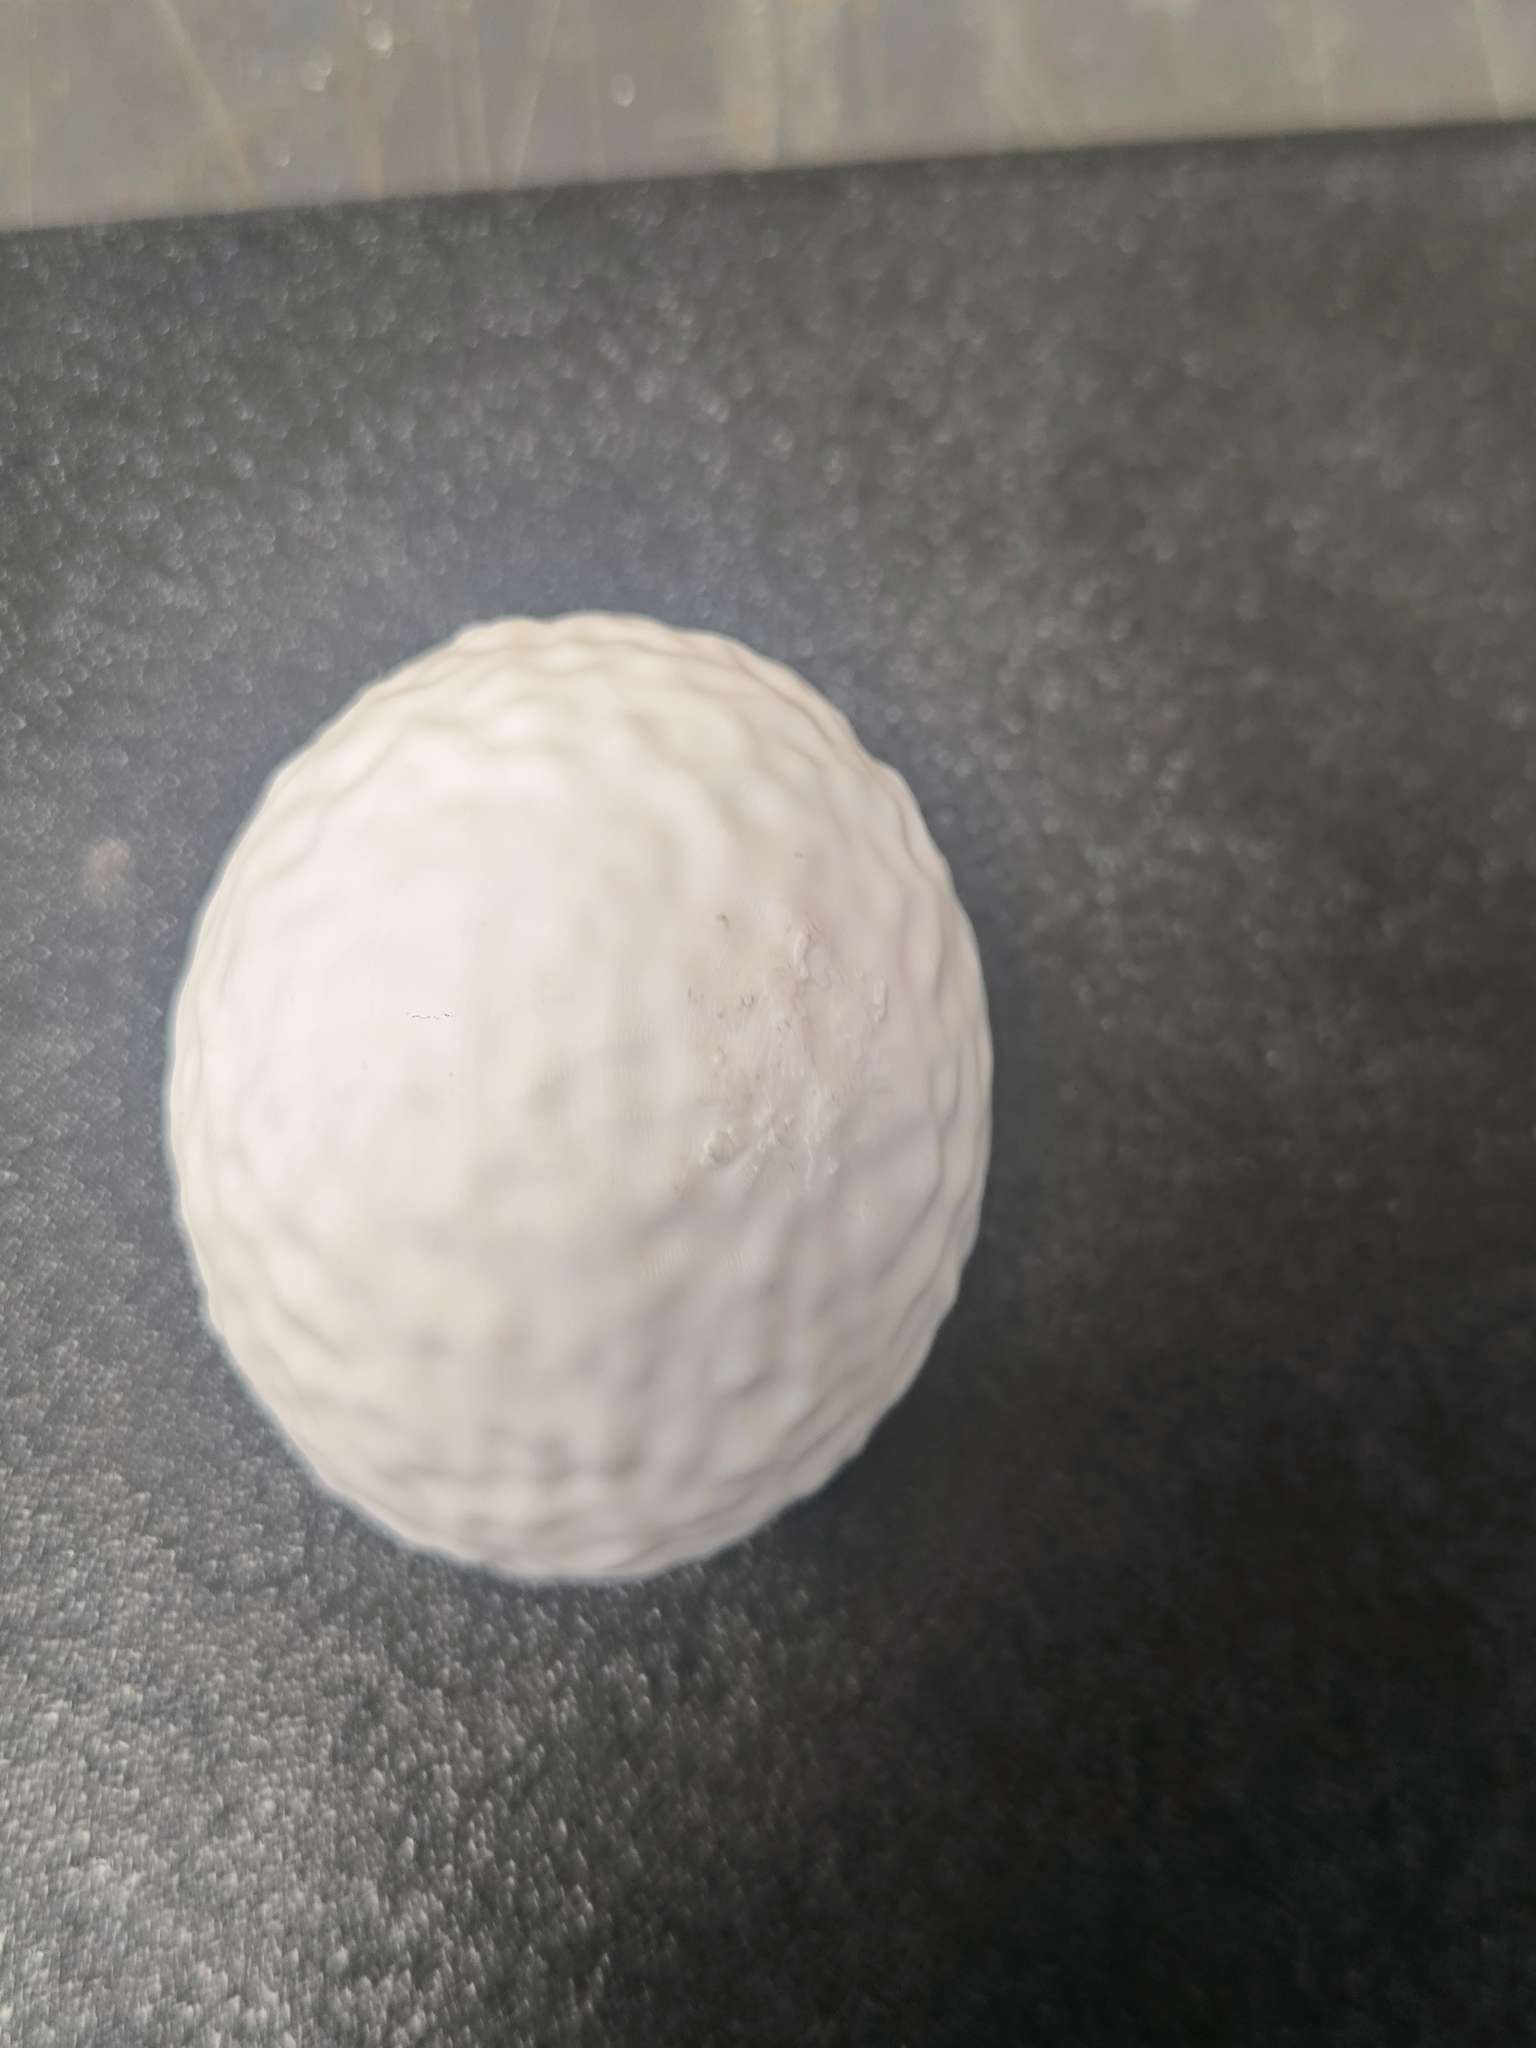
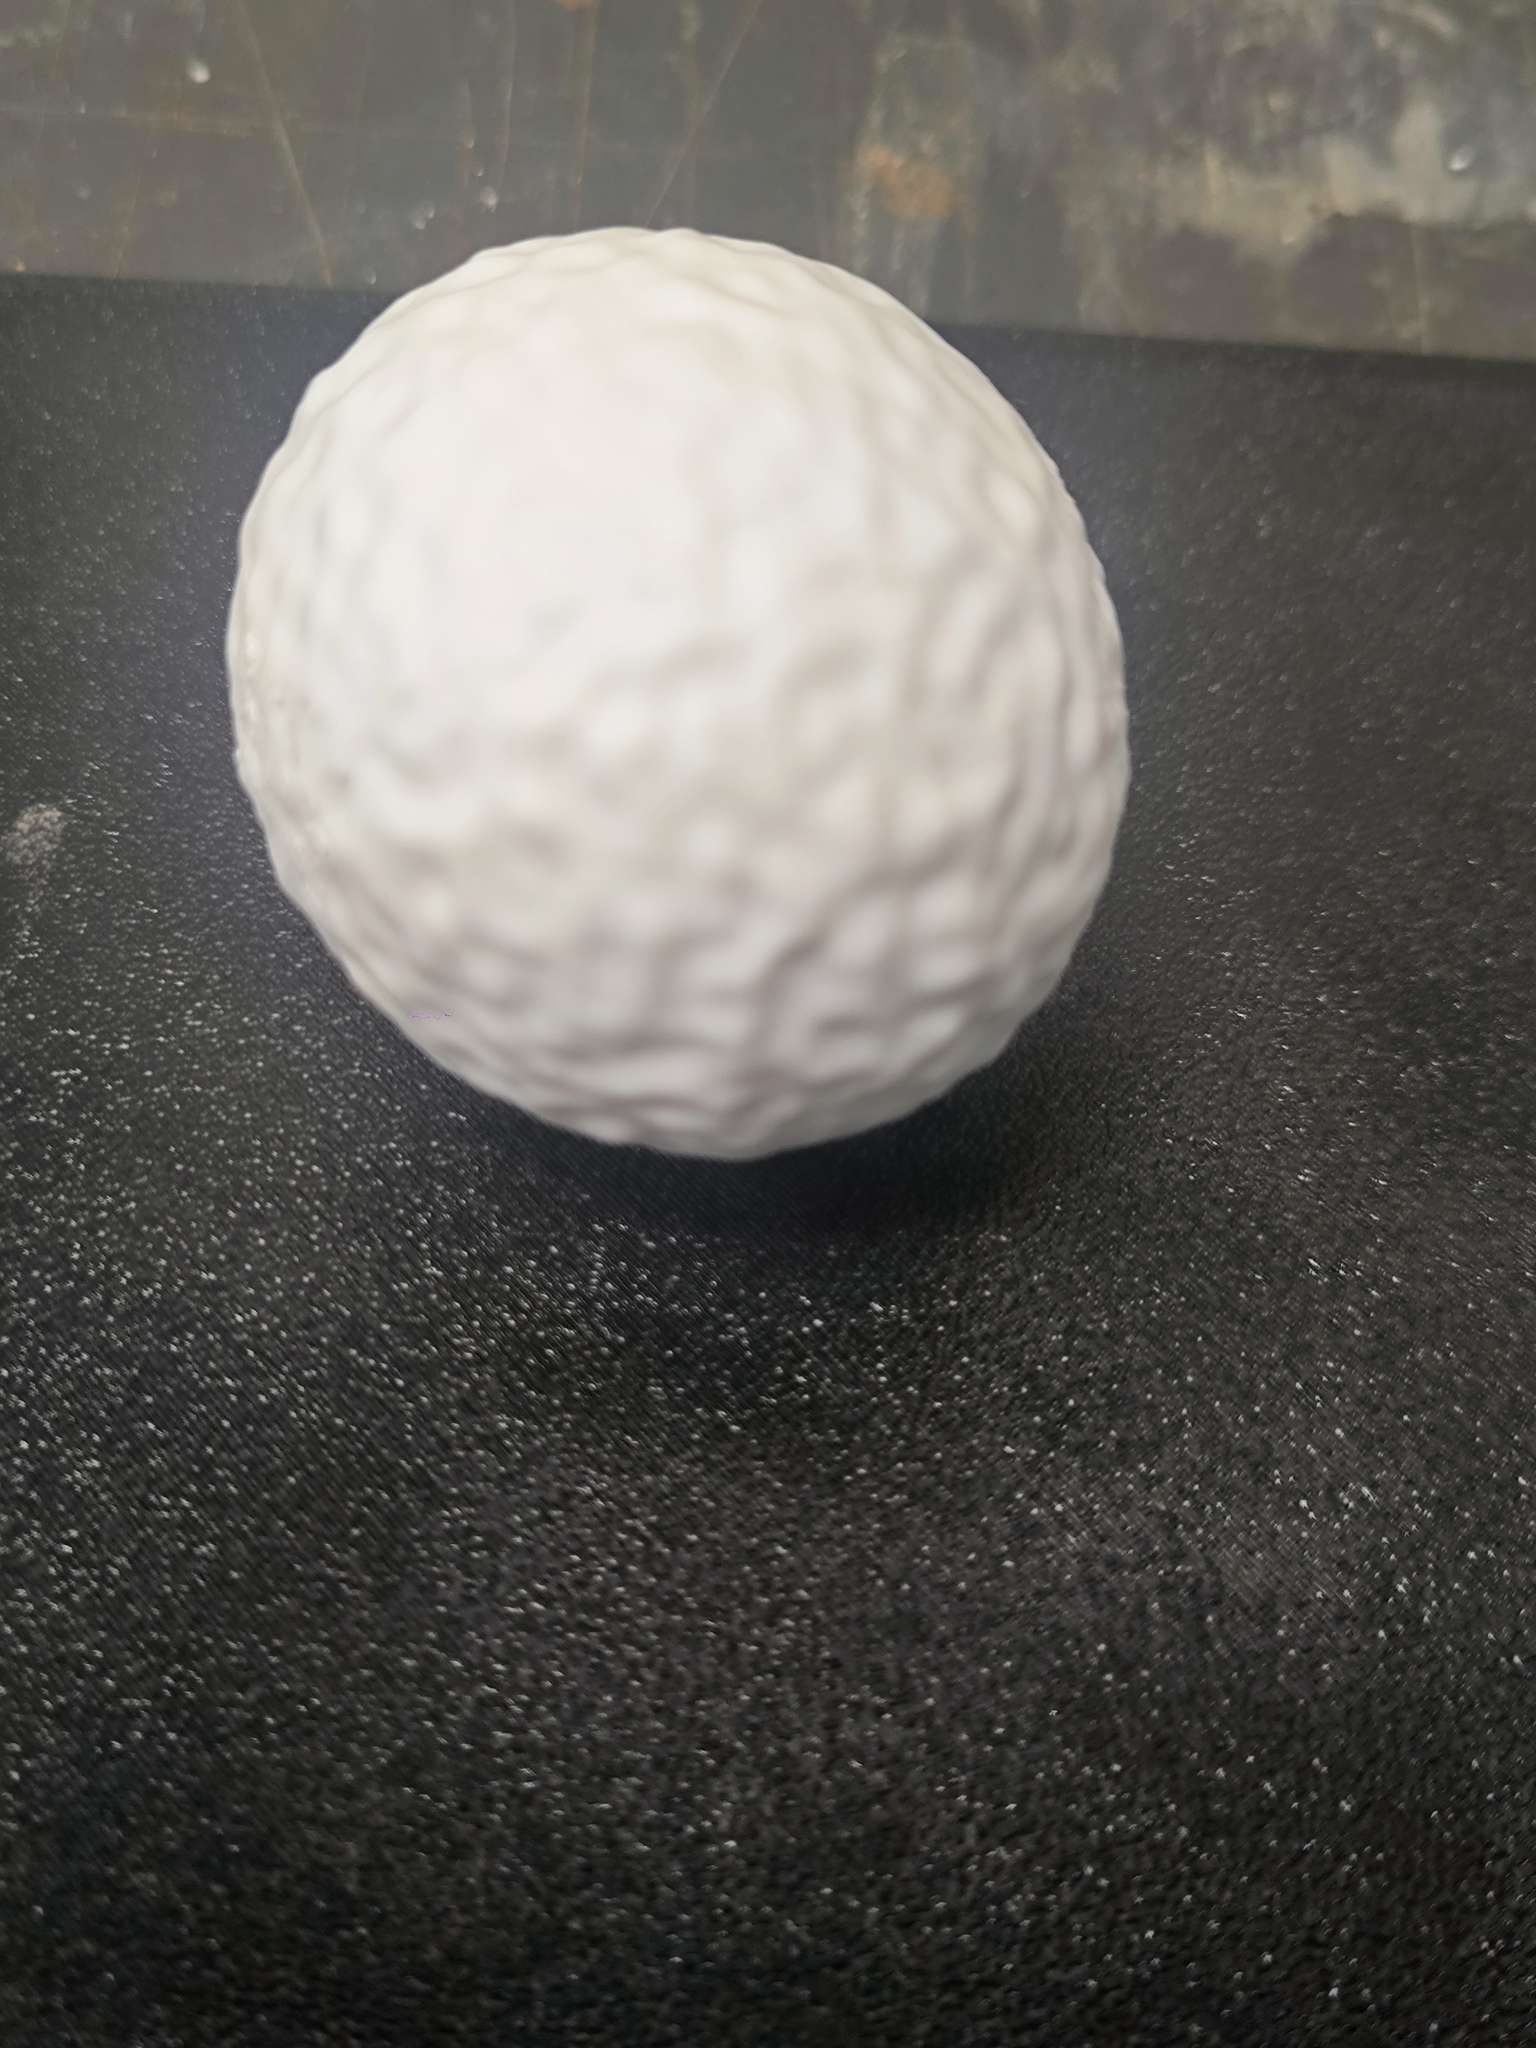
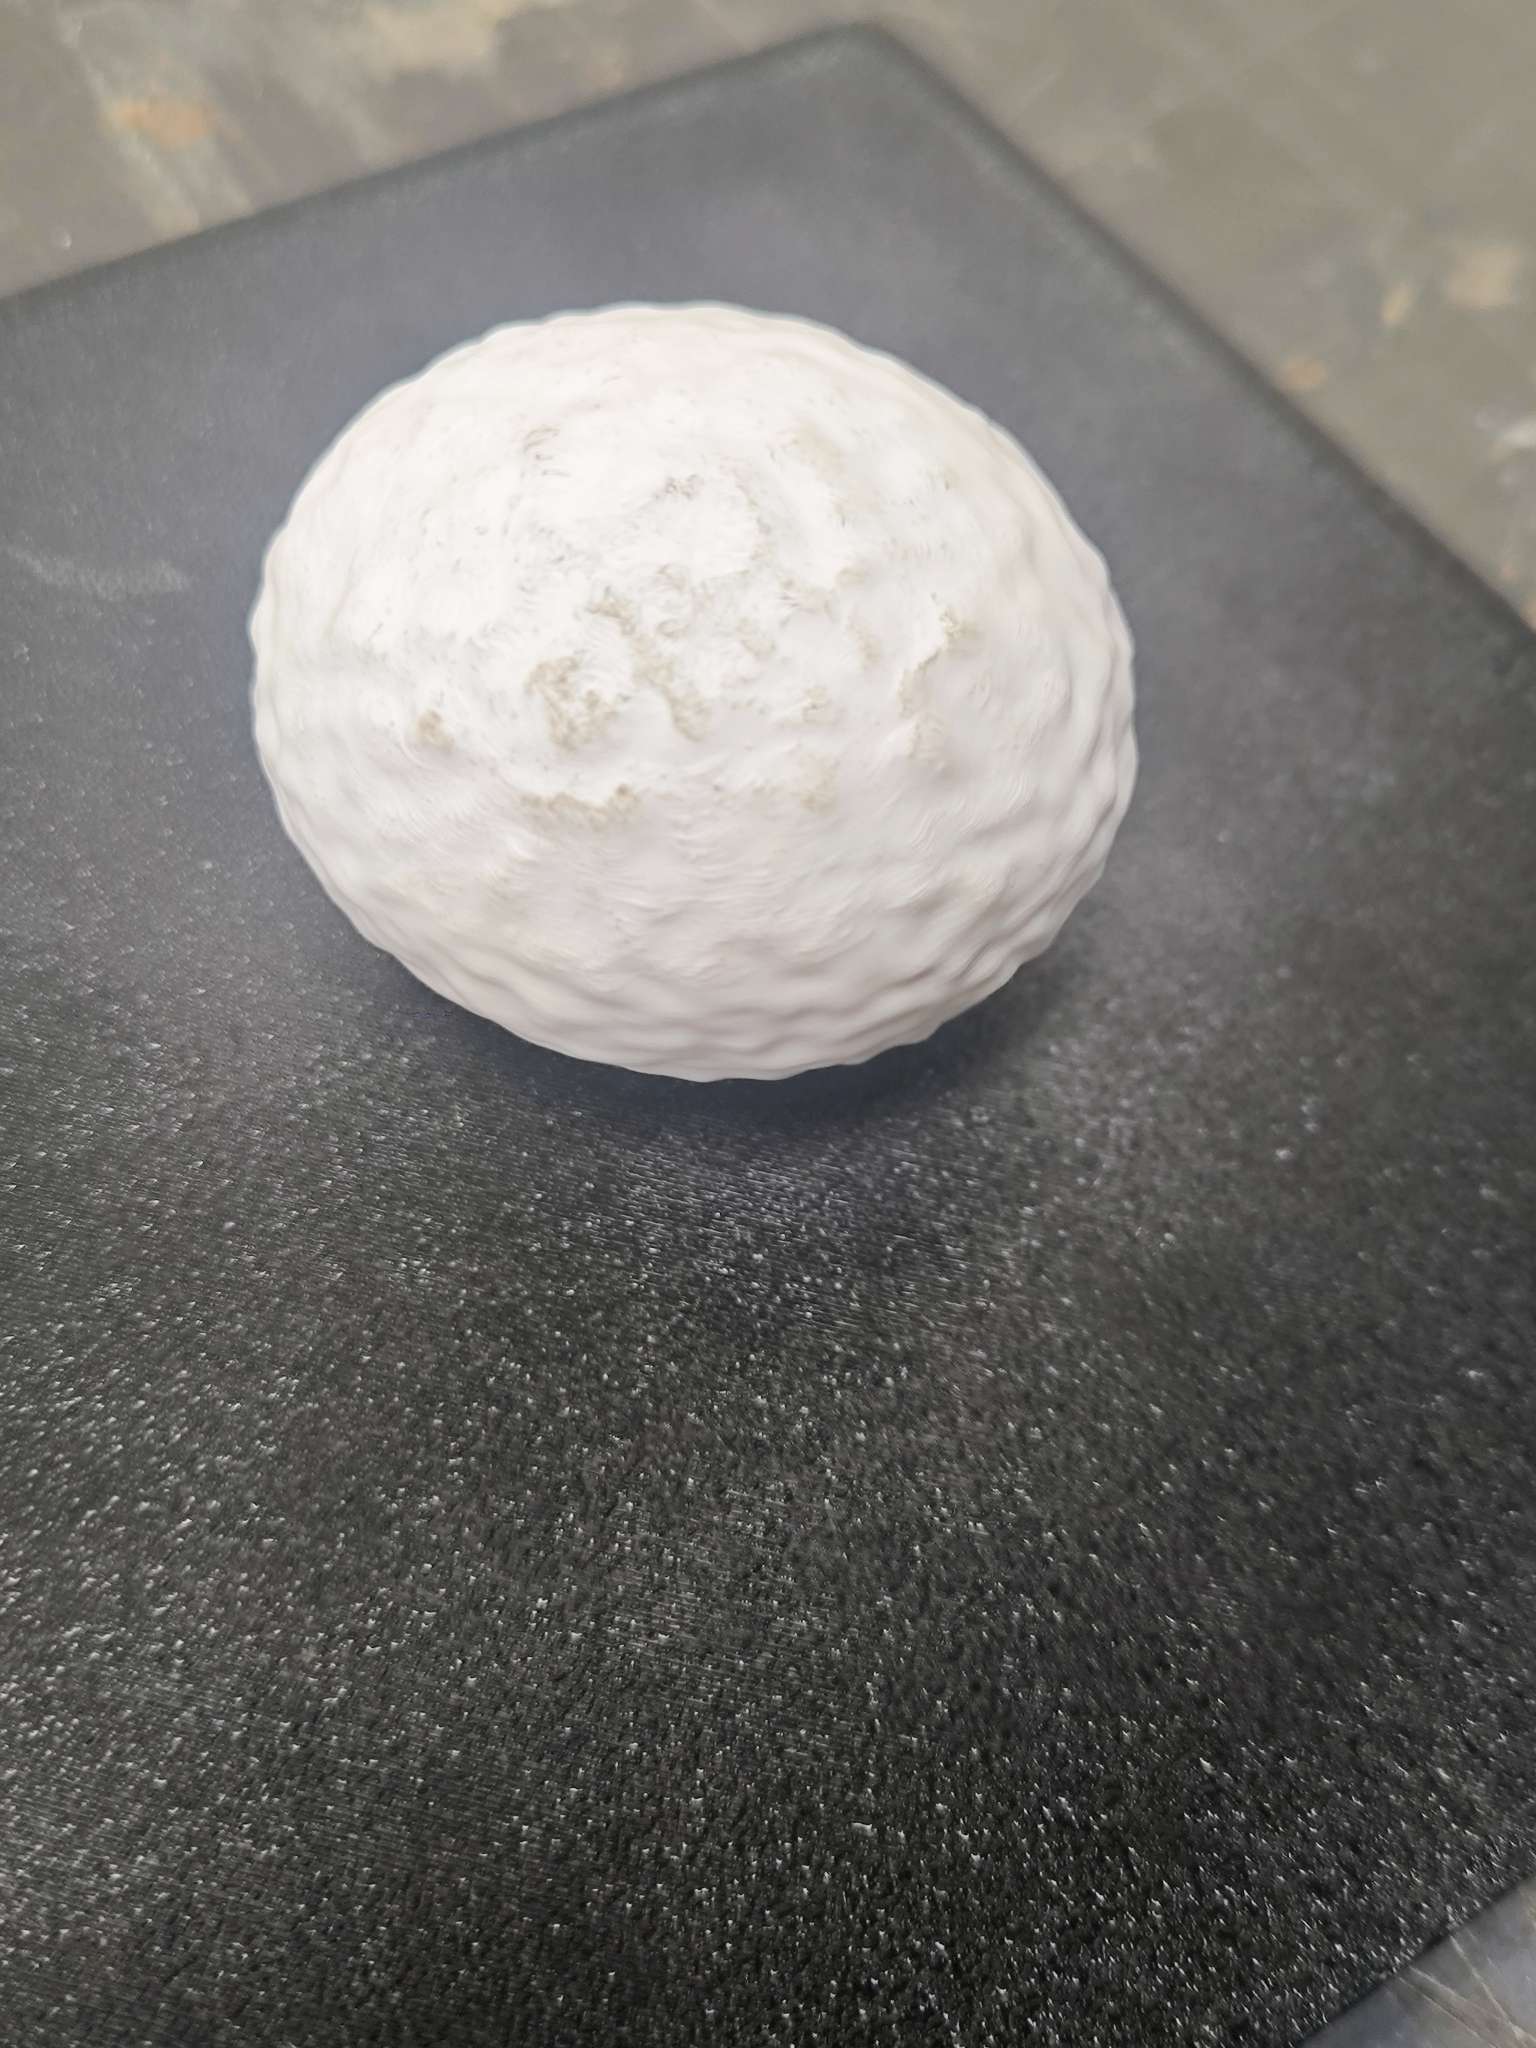
I then exported the Lime as an .stl and sliced it using Bambu studio.
I used supports and a high quality 0.08 mm layer height.
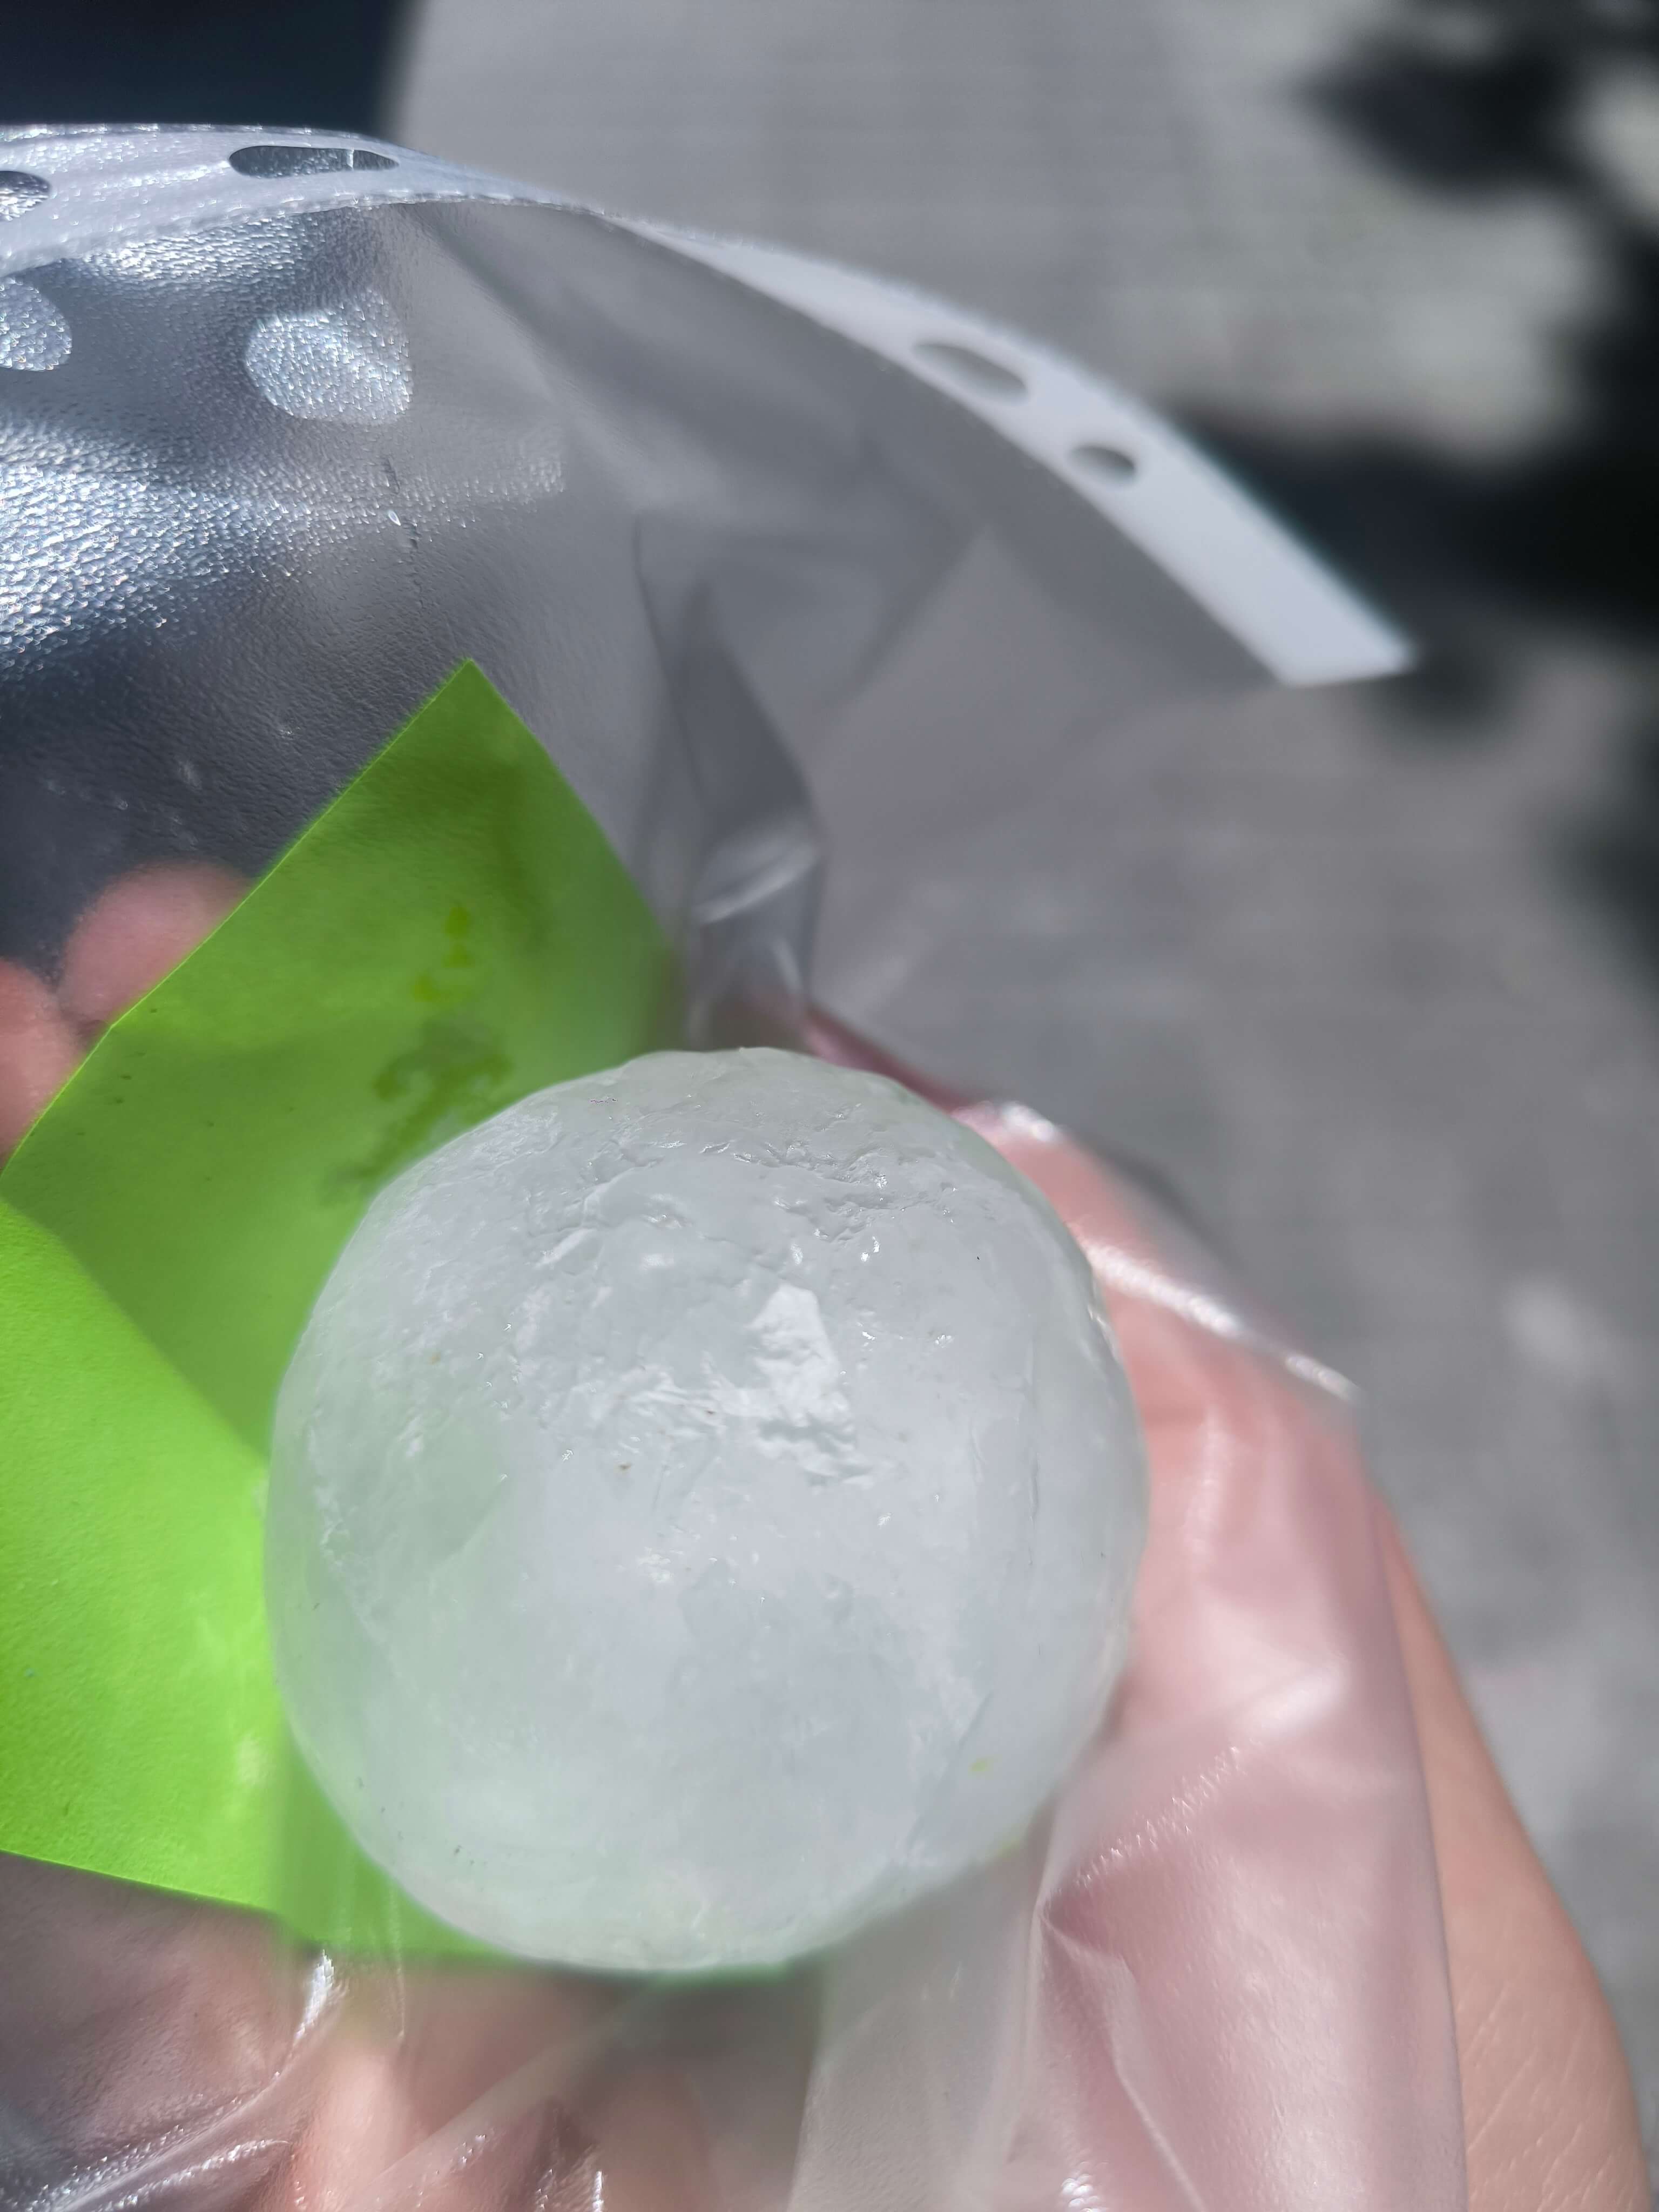
The resulting 3D print looks more like an elliptical golf ball but the quality is pristine except for where the supports were. I tried to sand as much as possible without ruining the pattern, but it still remained blemished as seen in the third photo below. The quality is fit for purpose, as it is to be used as an ice cube for cocktails.
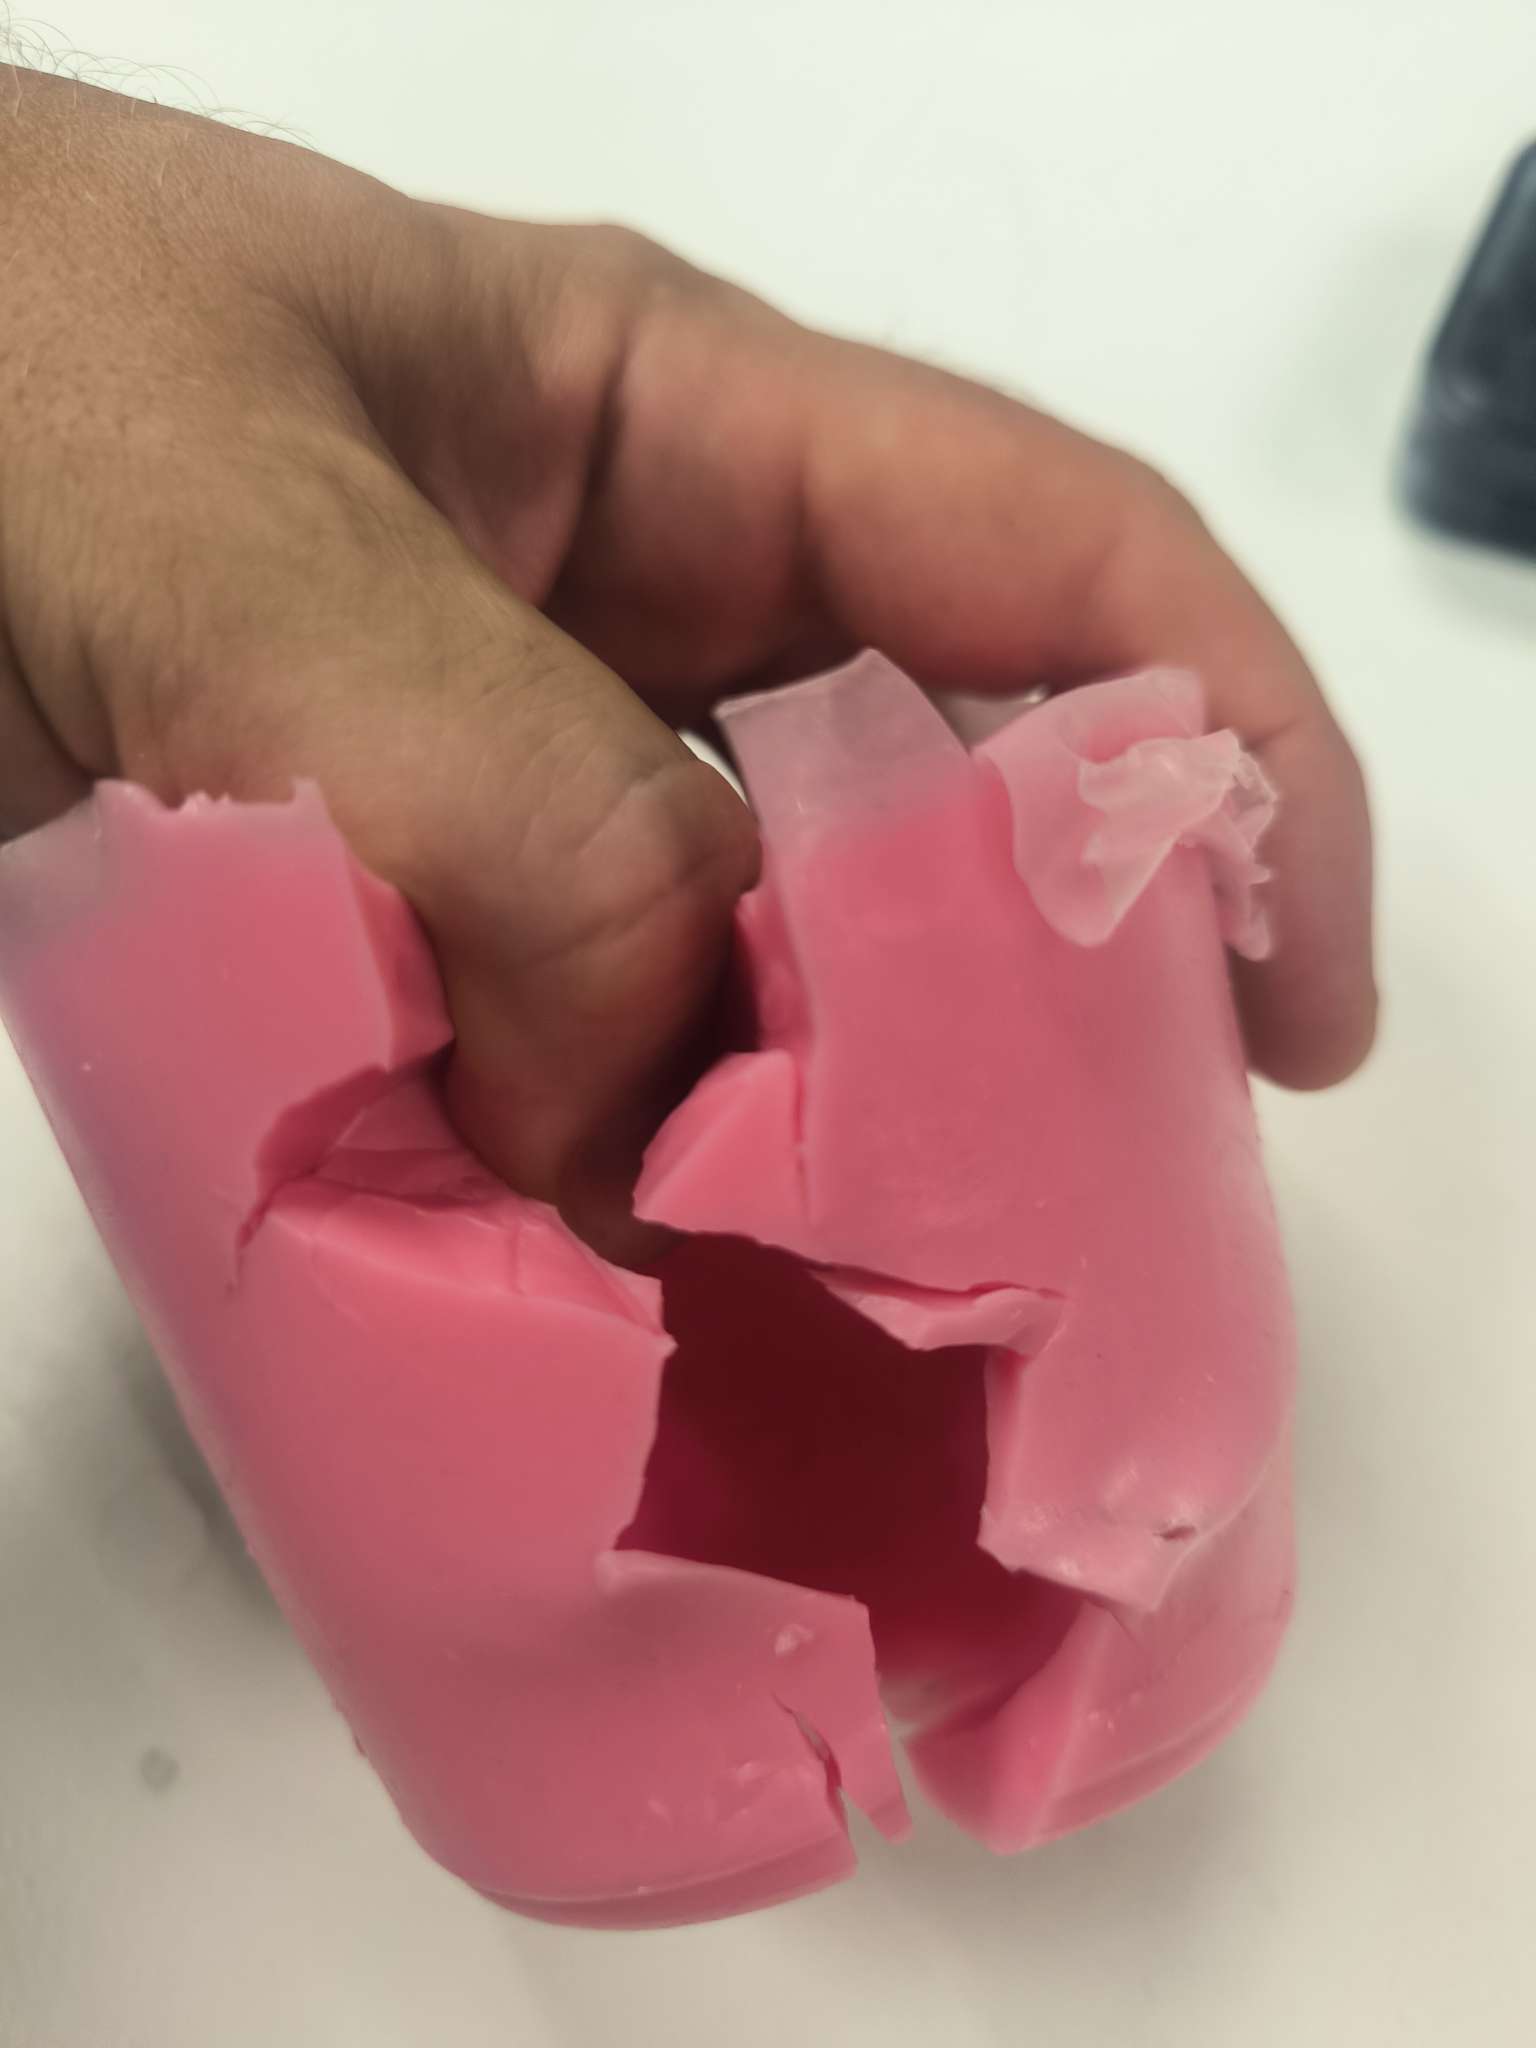
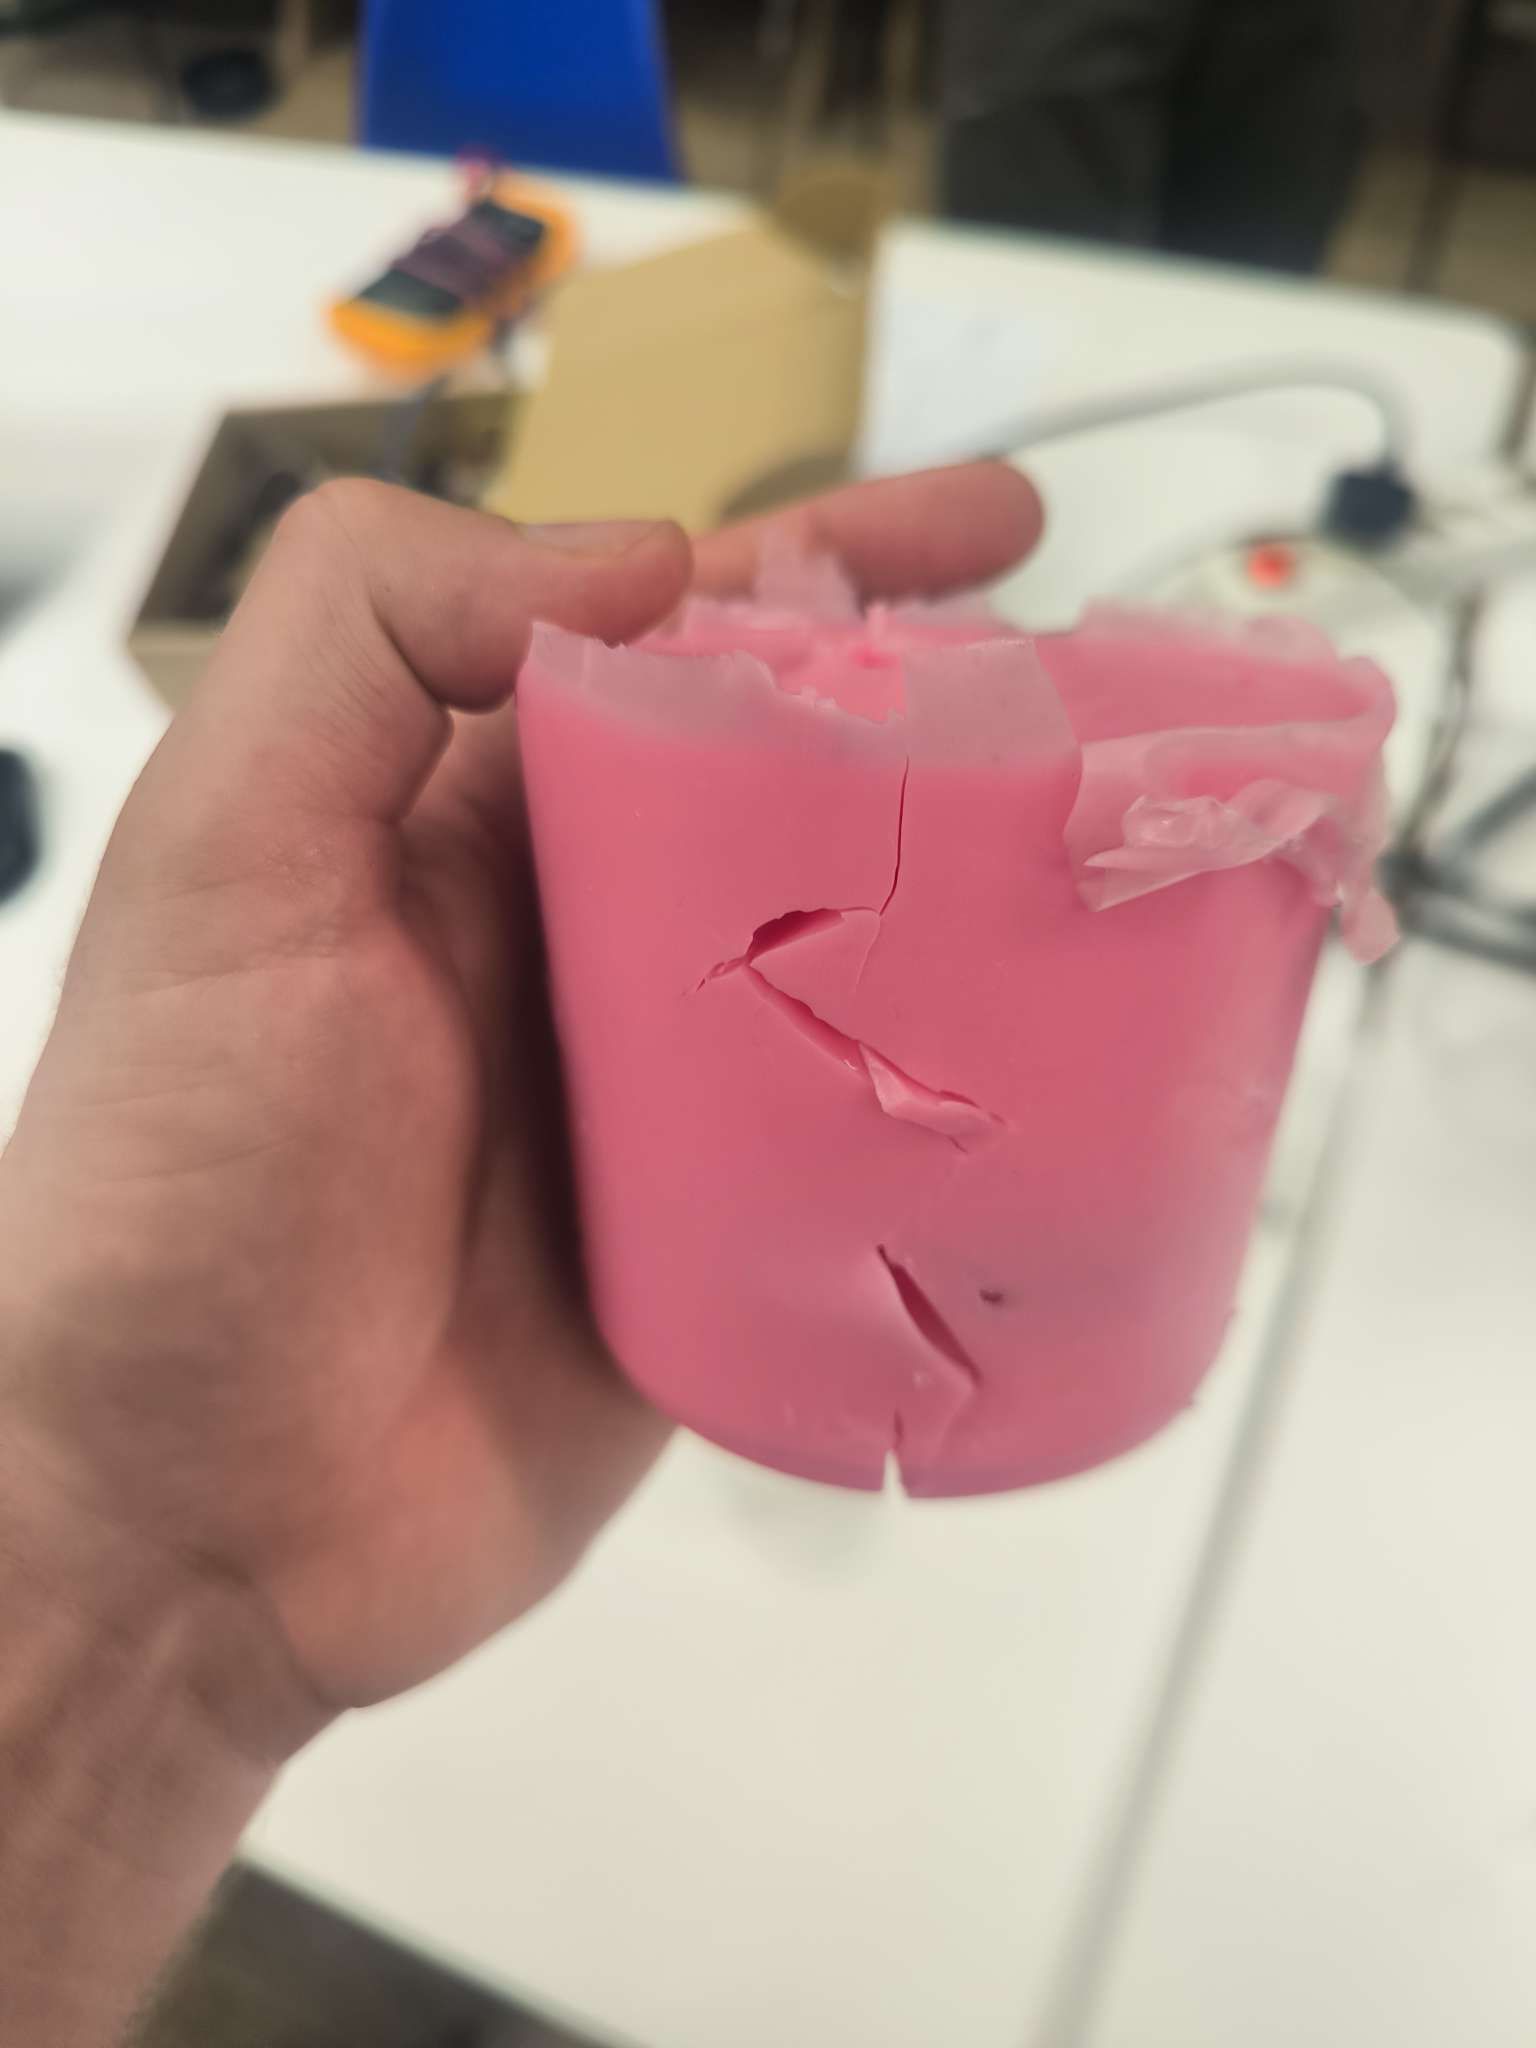
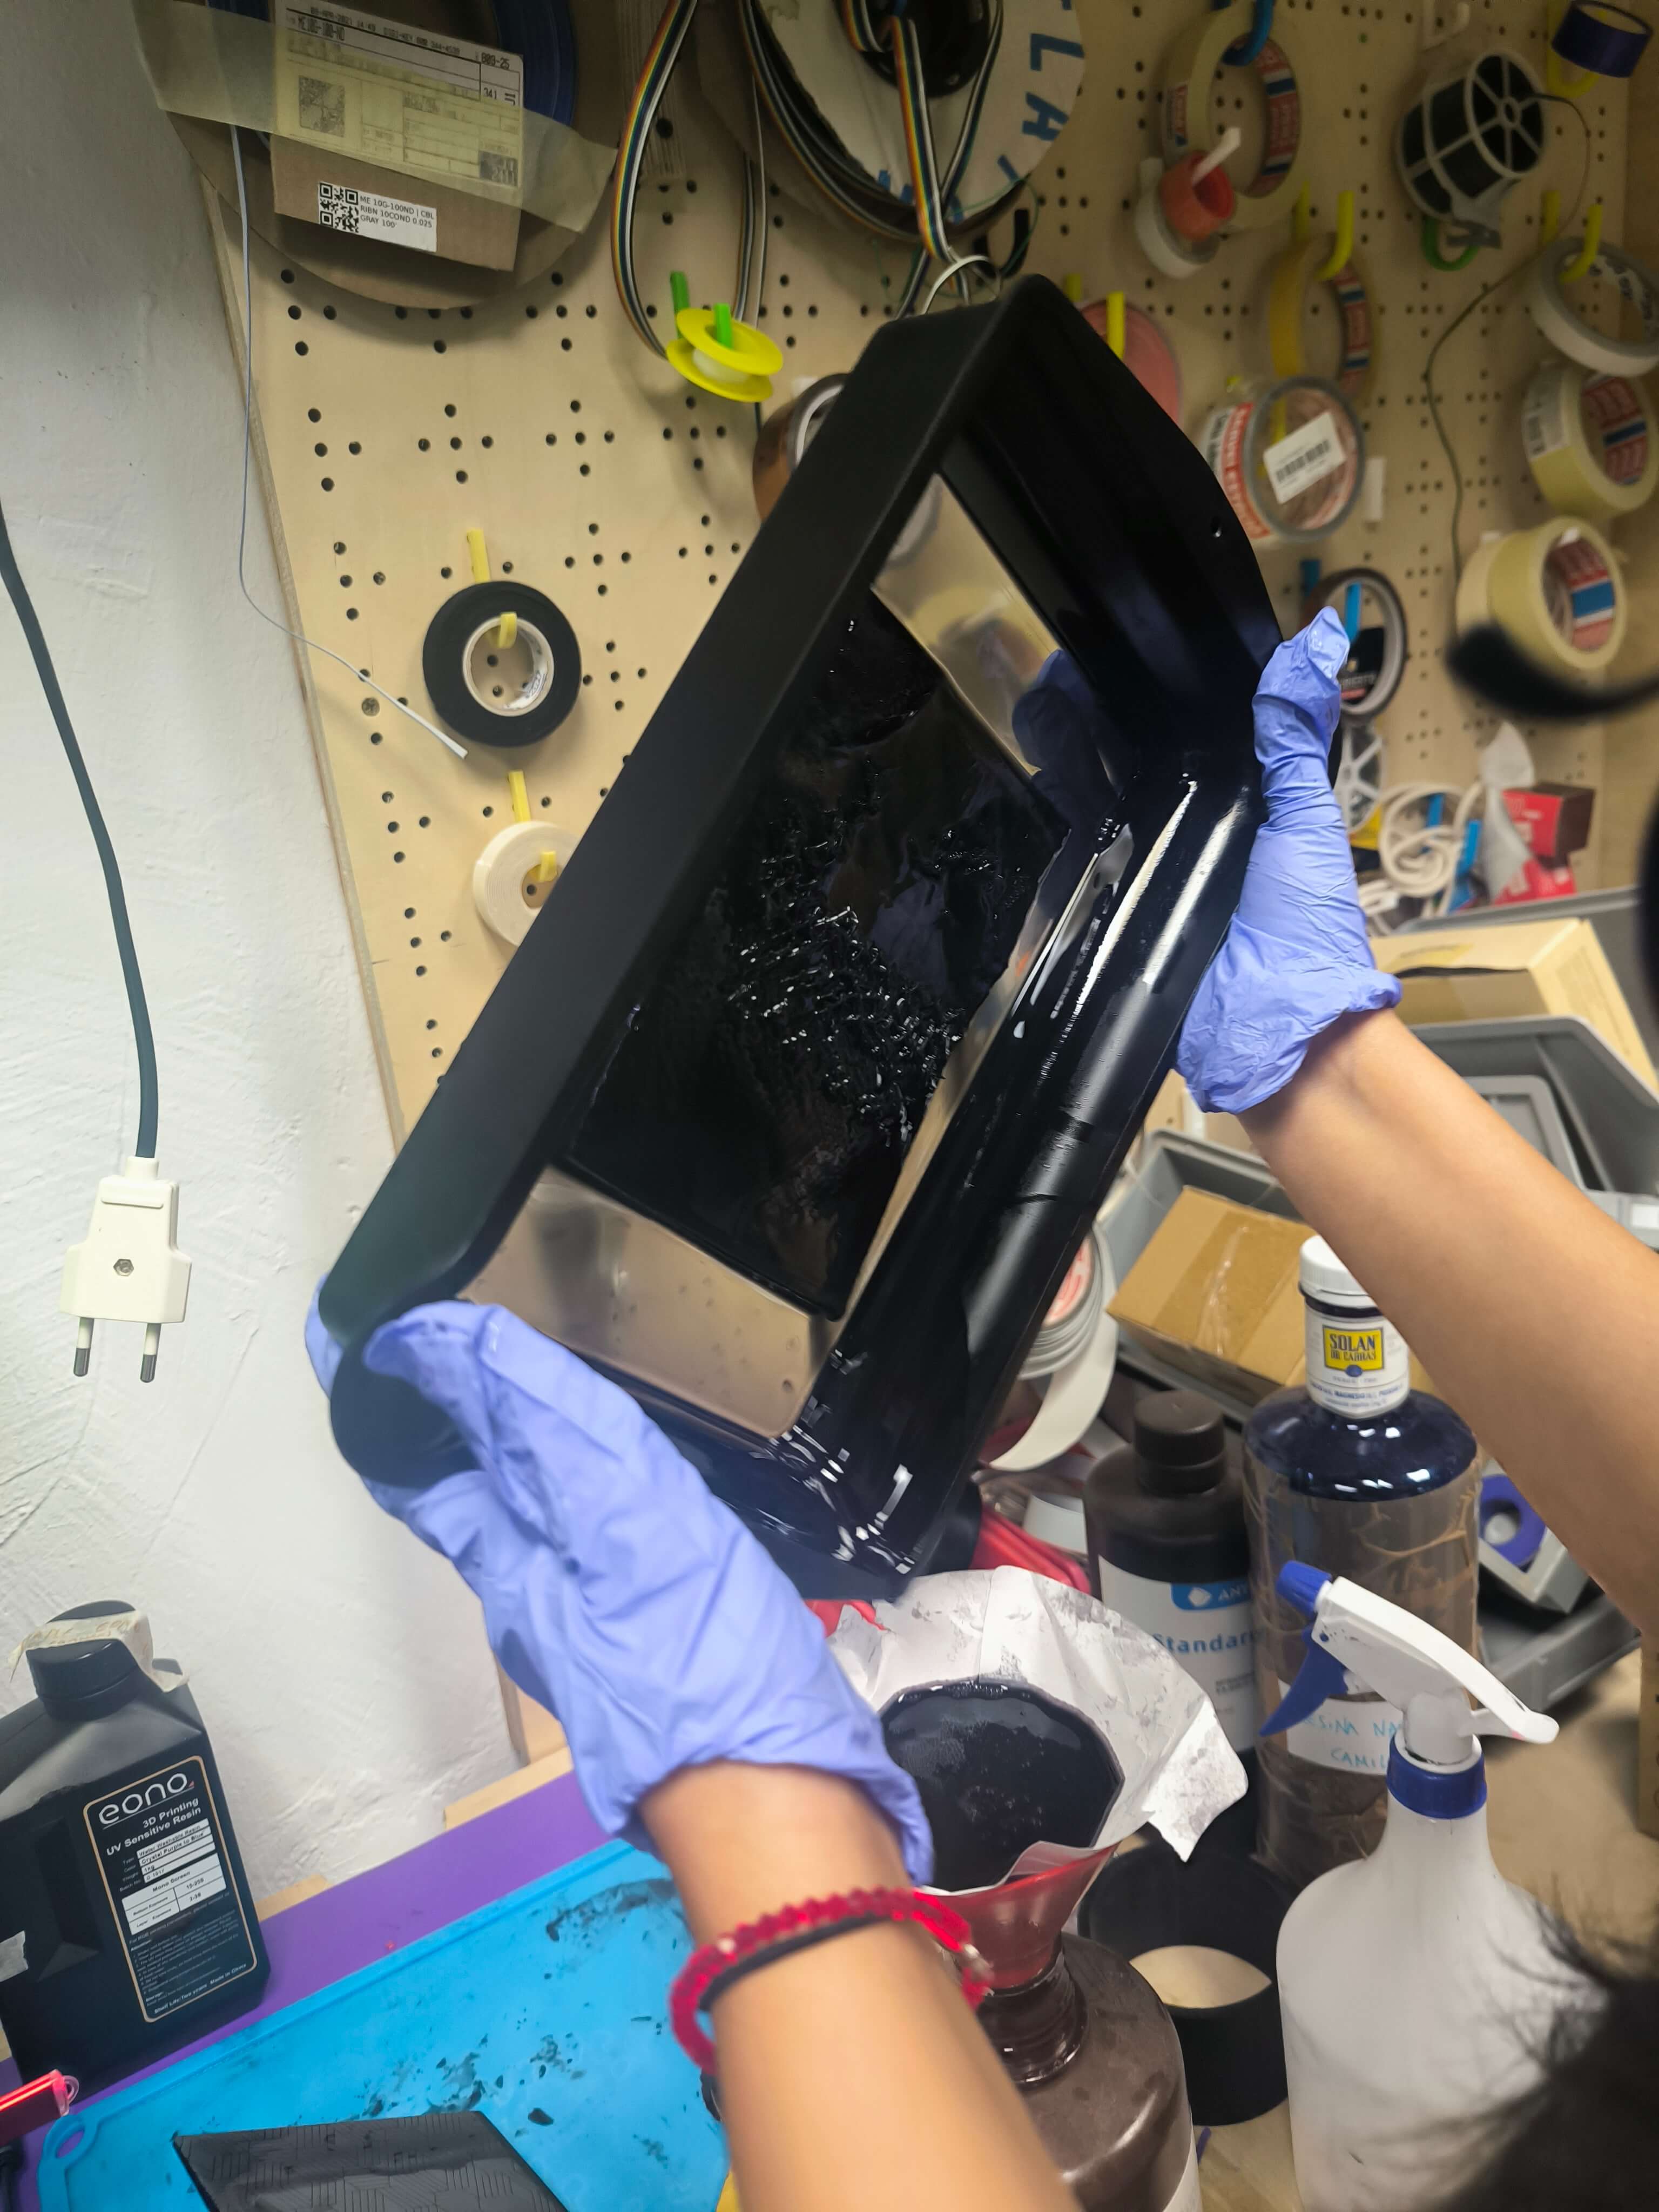
I then repeated the process of using the Easyl 940 FDA, passing the freshly mixed silicone through a vacuum machine to remove as many bubbles as possible. Holding the “lime” in place required an intricate setup once again as seen in the photo below. I should have taped it down!

The result is similar to last time, although a little more flimsy. I need a better cutting method than a scalpel knife.
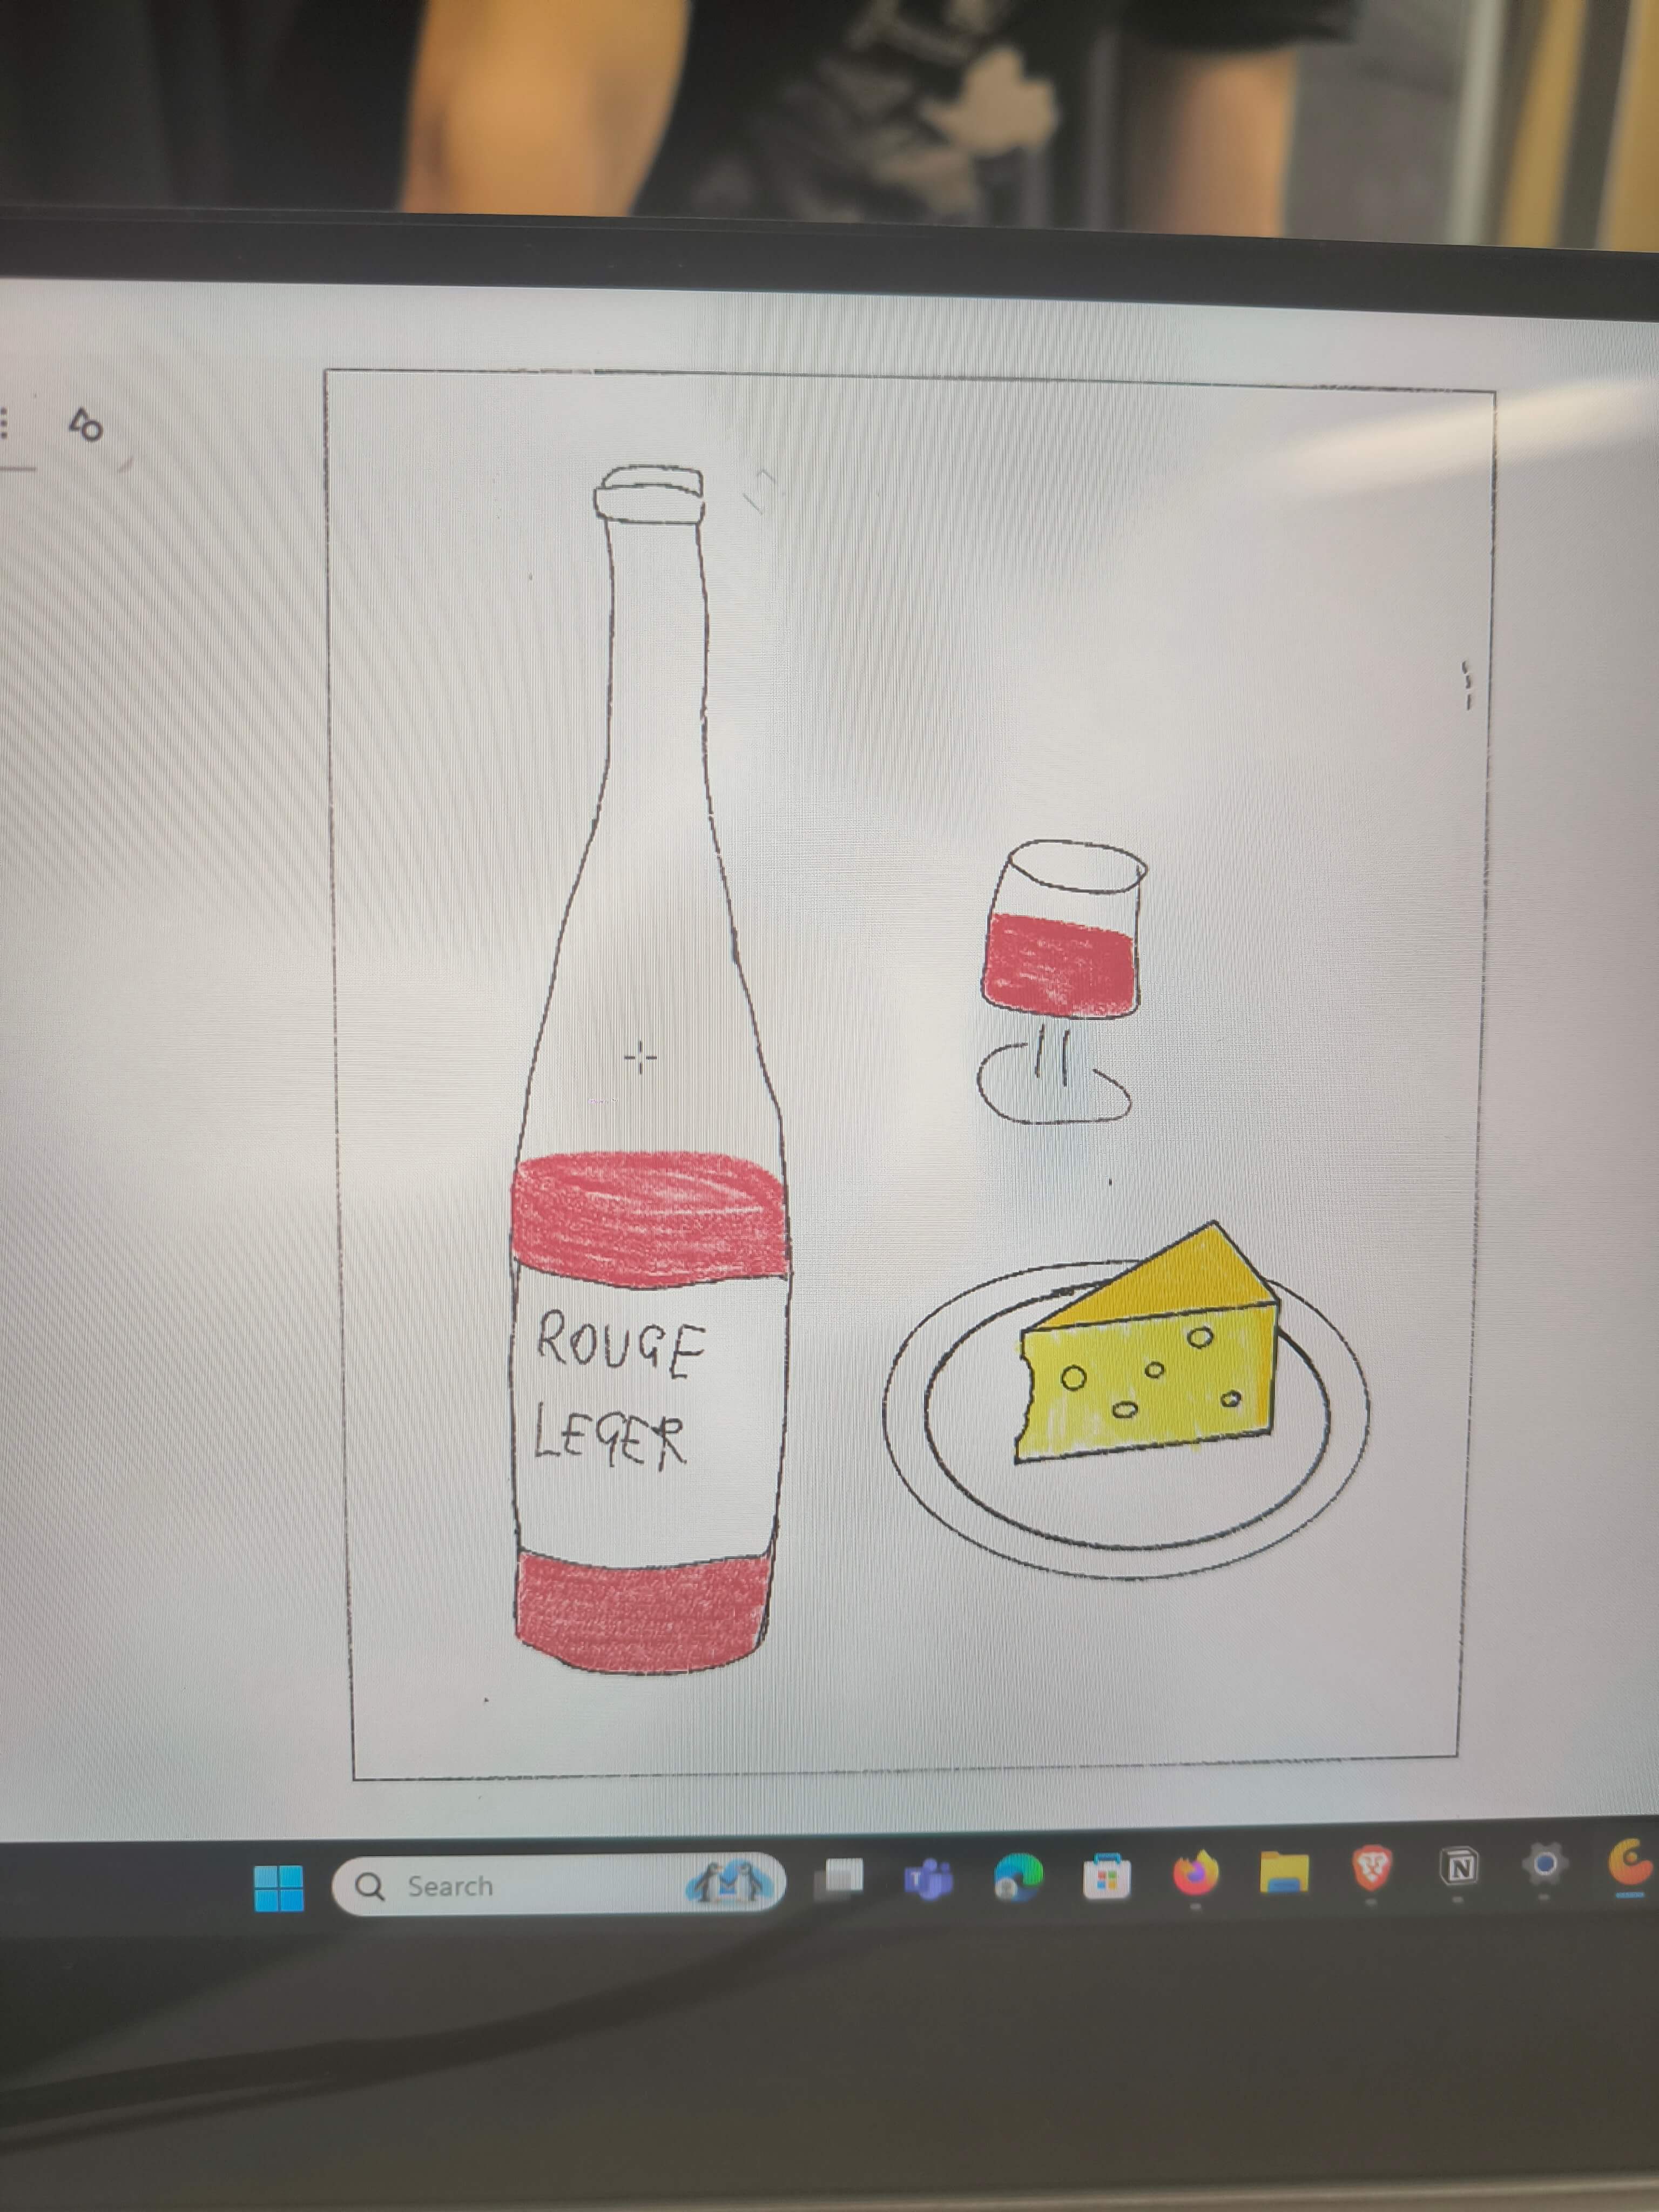
Wine, Cheese and Tiles
I had the great idea of printing out an SLA print of a 2D extruded drawing. I drew the illustration on concepts and tried to import that directly to blender, converting to a mesh, merging and using solidify to make a nice stamp like design. However, there were too many problems and the mesh did not close.

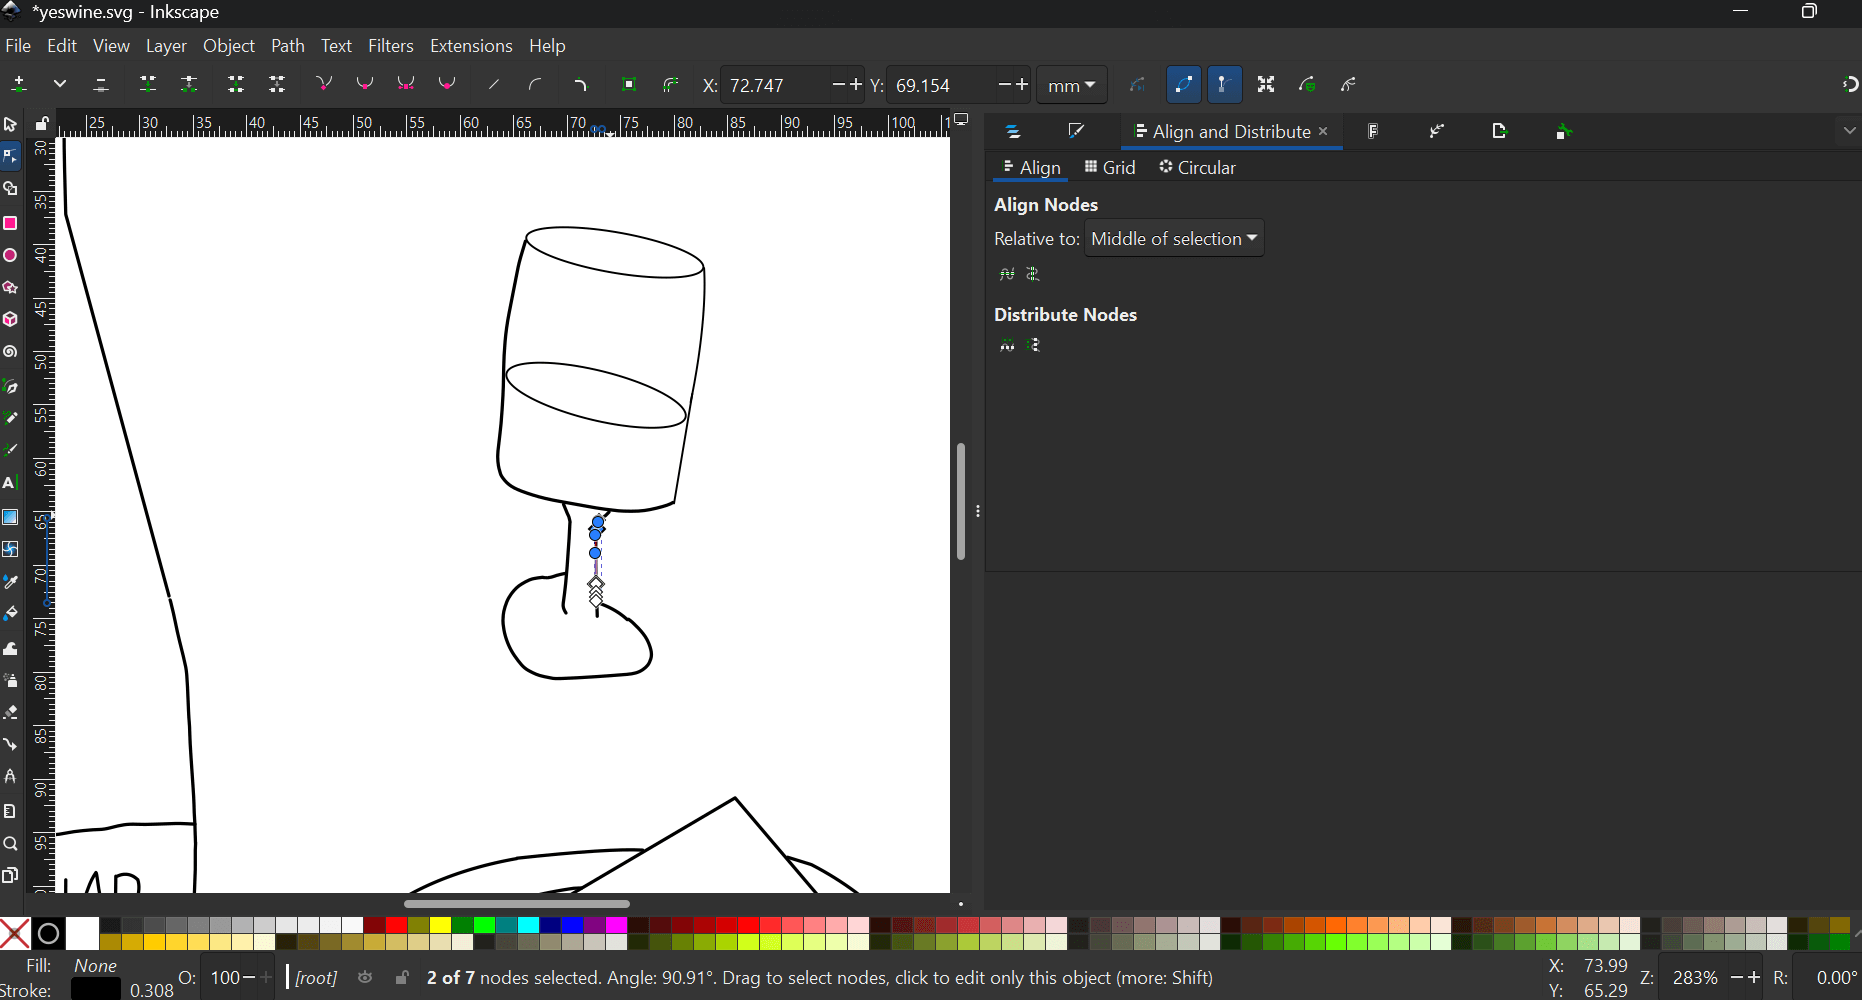
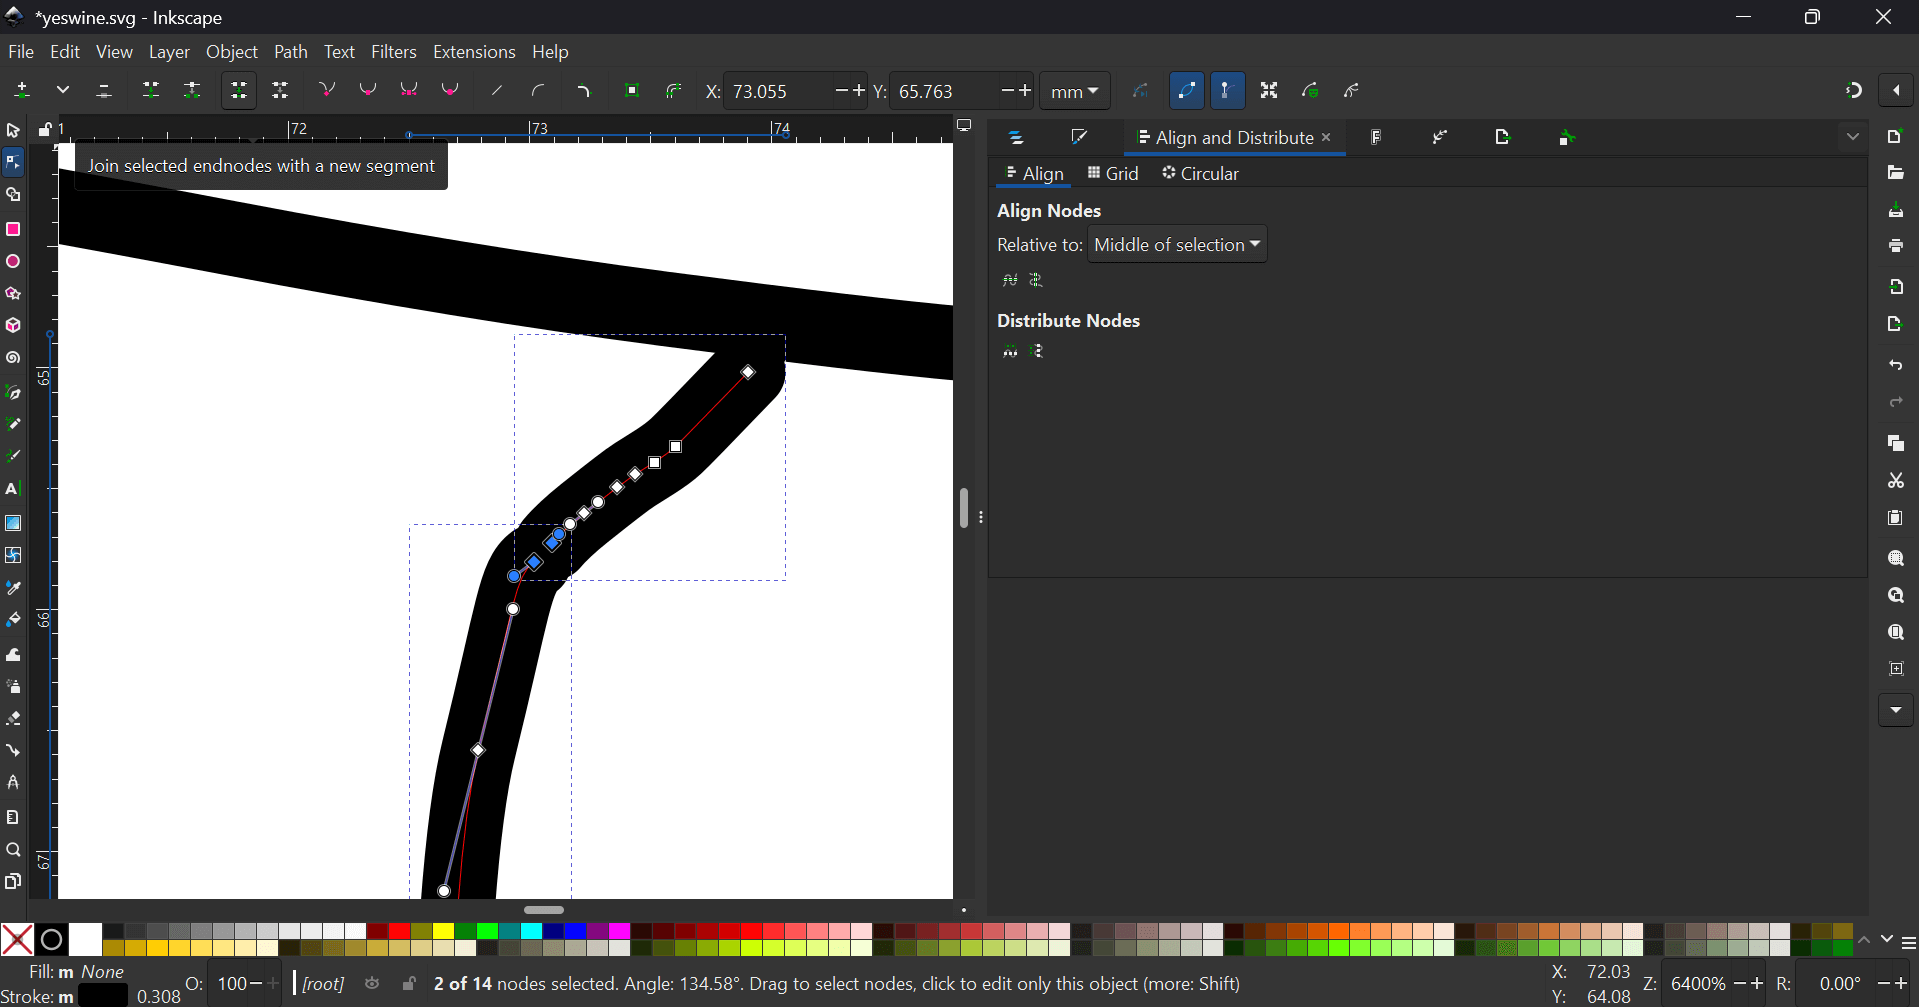
I then opened the drawing in inkscape and started connecting the nodes, node by node.
I had high aspirations for this but in the end once I tried to import it into rhino I had problems connecting the curves, everything remained open.
After a weekend of reflection and with some terrific help from Camilla Simsiroglu, we managed to Blend a masterpiece in Blender.
Import the image, go to curve settings and add a depth to the drawing of 7 mm, round selecting “fill caps”.
This creates a thickness to the line drawing, convert to mesh, apply all transforms. We then created a back tablet for the image to be Boolean Unionid with, smaller than the resin printer bed 11 mm X 18 mm.
Before using the modifier Boolean on both objects we used the remesh modifier and reperformed “All transforms”.
The illustration successfully united with the backplate and it was time to split the plate into 3 X 3 equidistant tiles in edit mode with the cut tool, setting the number of corresponding cuts.
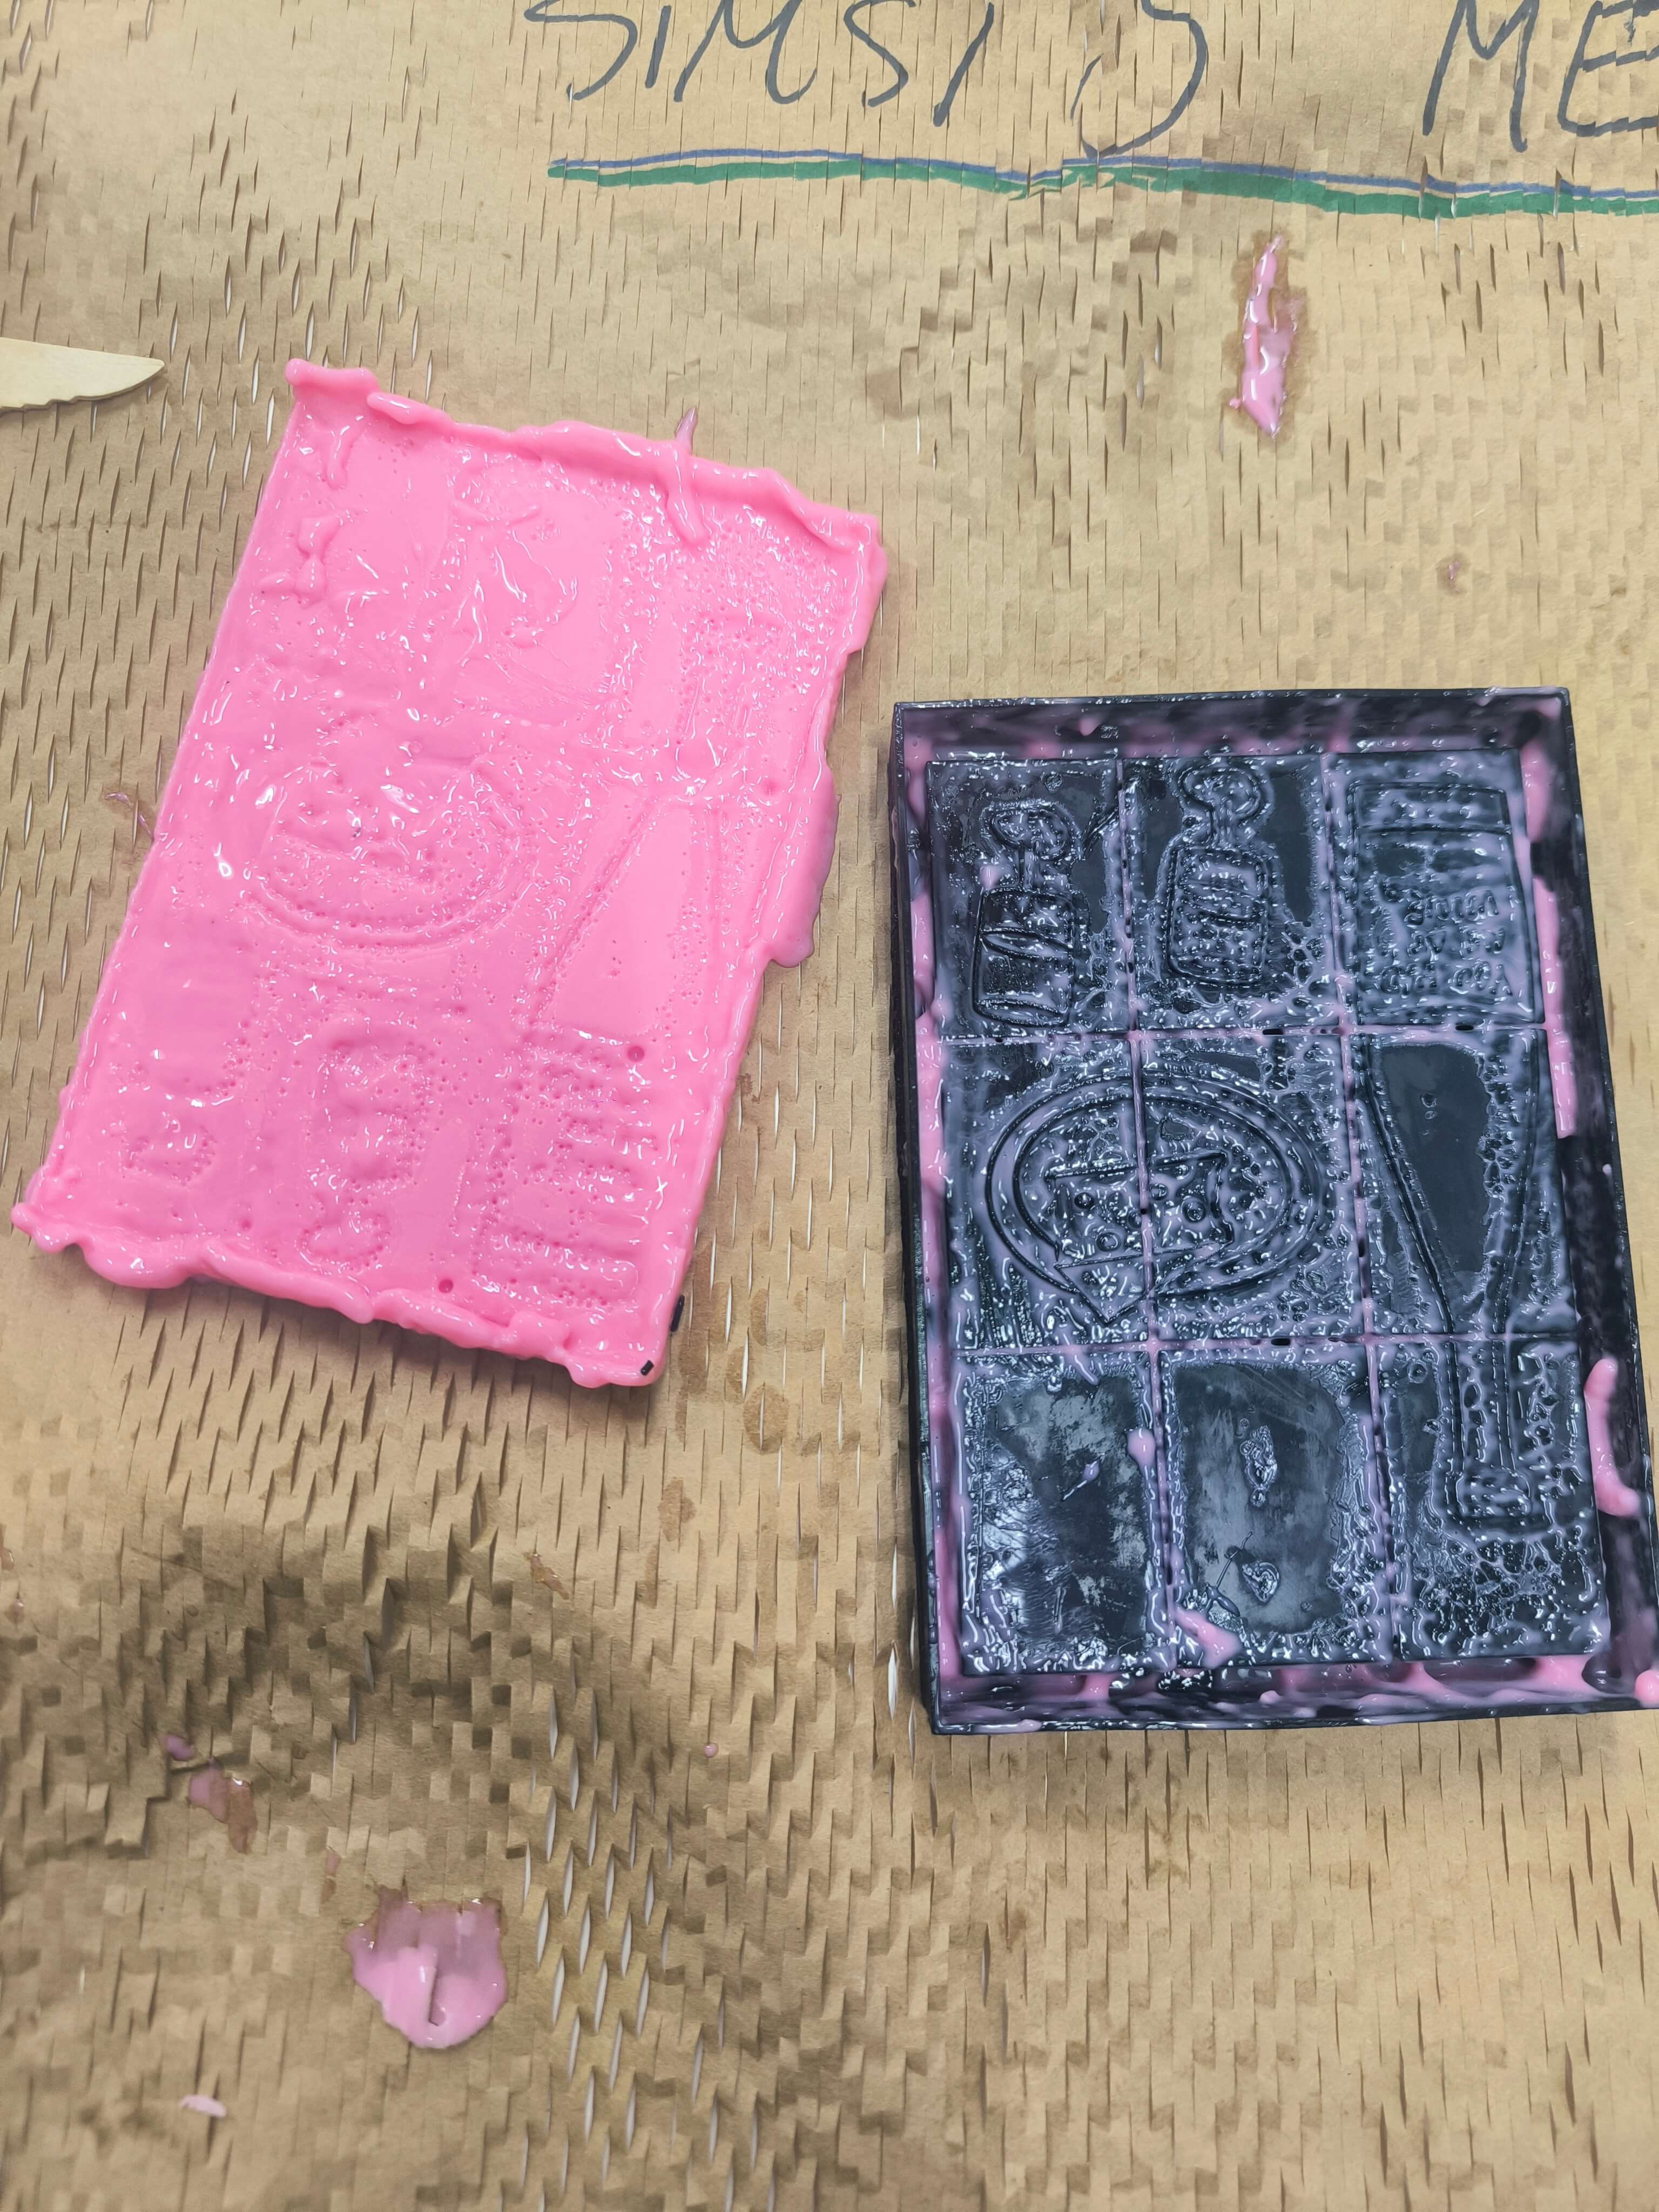
We rearranged the image so that the bottle, cheese and now 2 glasses of wine were clearly visible within the new lattice structure. The thickness of the grooves were set at 1.5 mm so that there will be a distinct tile look to the finished product.
We added a 3 mm margin border and a wall that surpasses the image so that the silicon can be poured into the print to produce a usable mould.
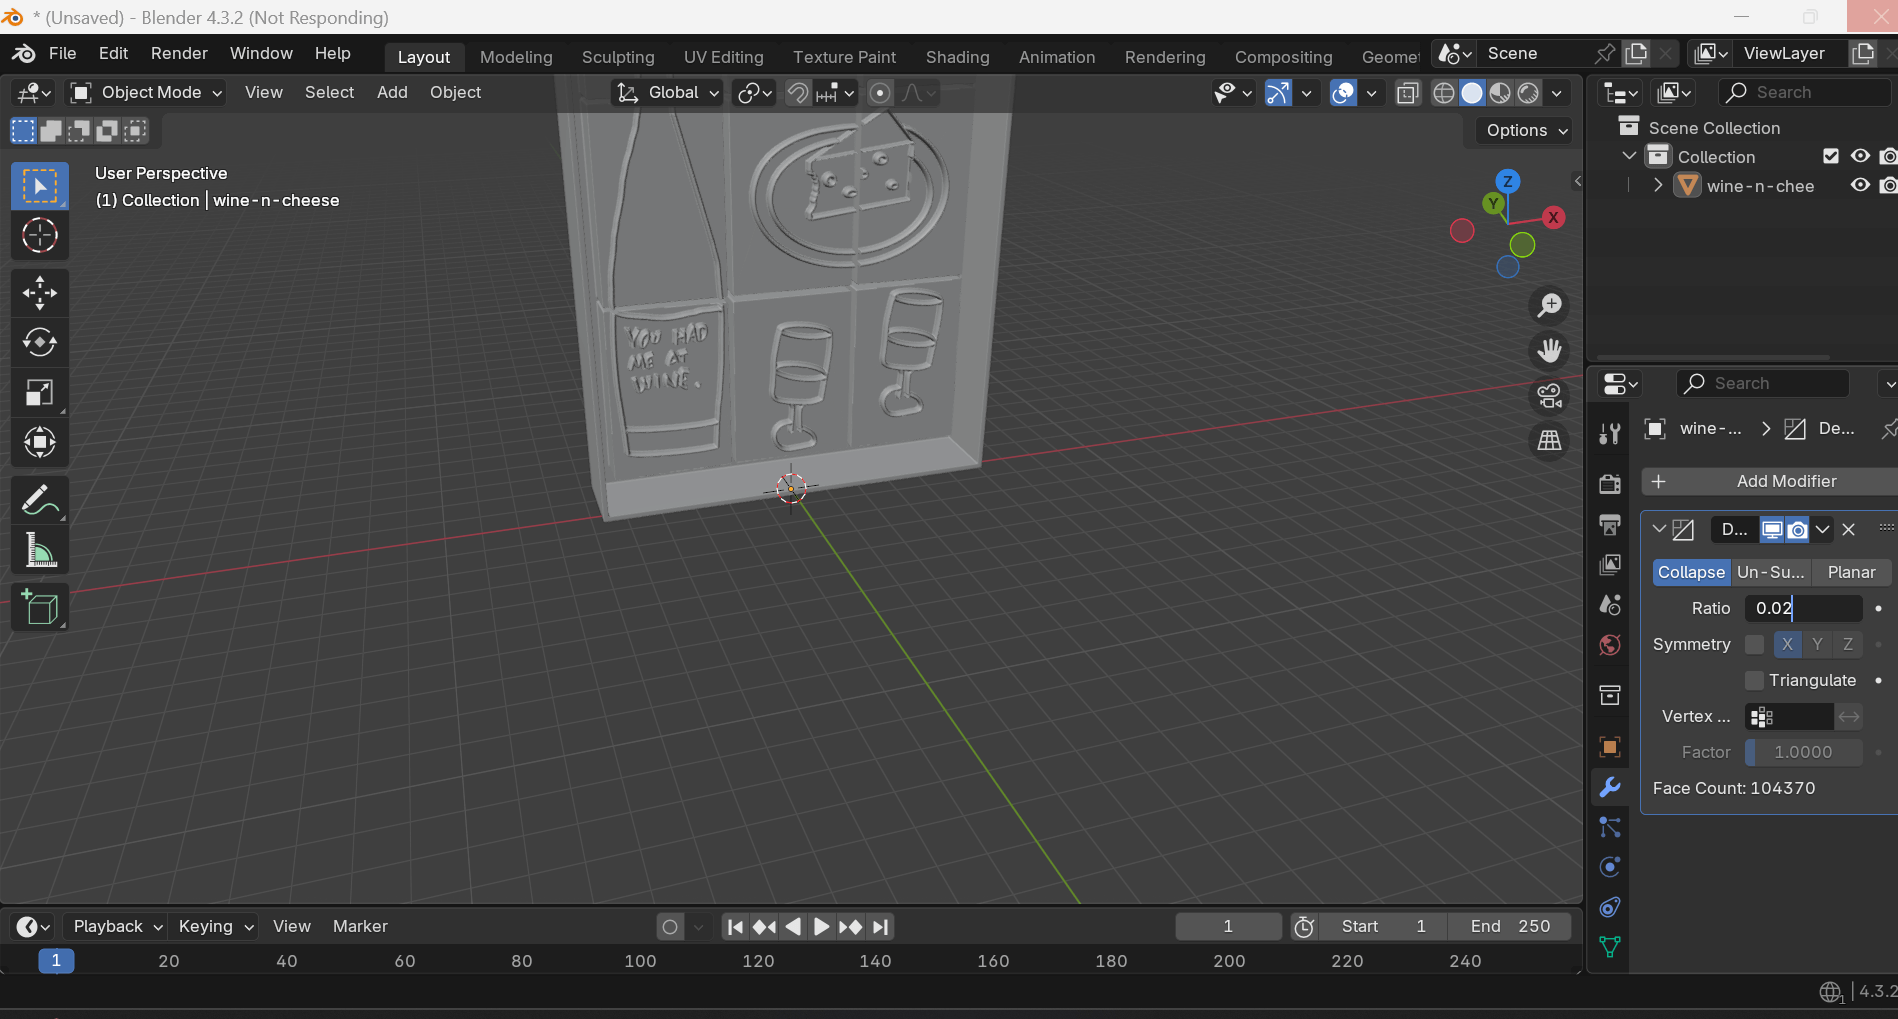
The blender file is too big to put in the git repository bit the stl file is given hereafter. It was originally 200 MB with over 4 million face count, so I used the Dessimate modifier with a ratio of 0.2 to reduce the face count to 83496.
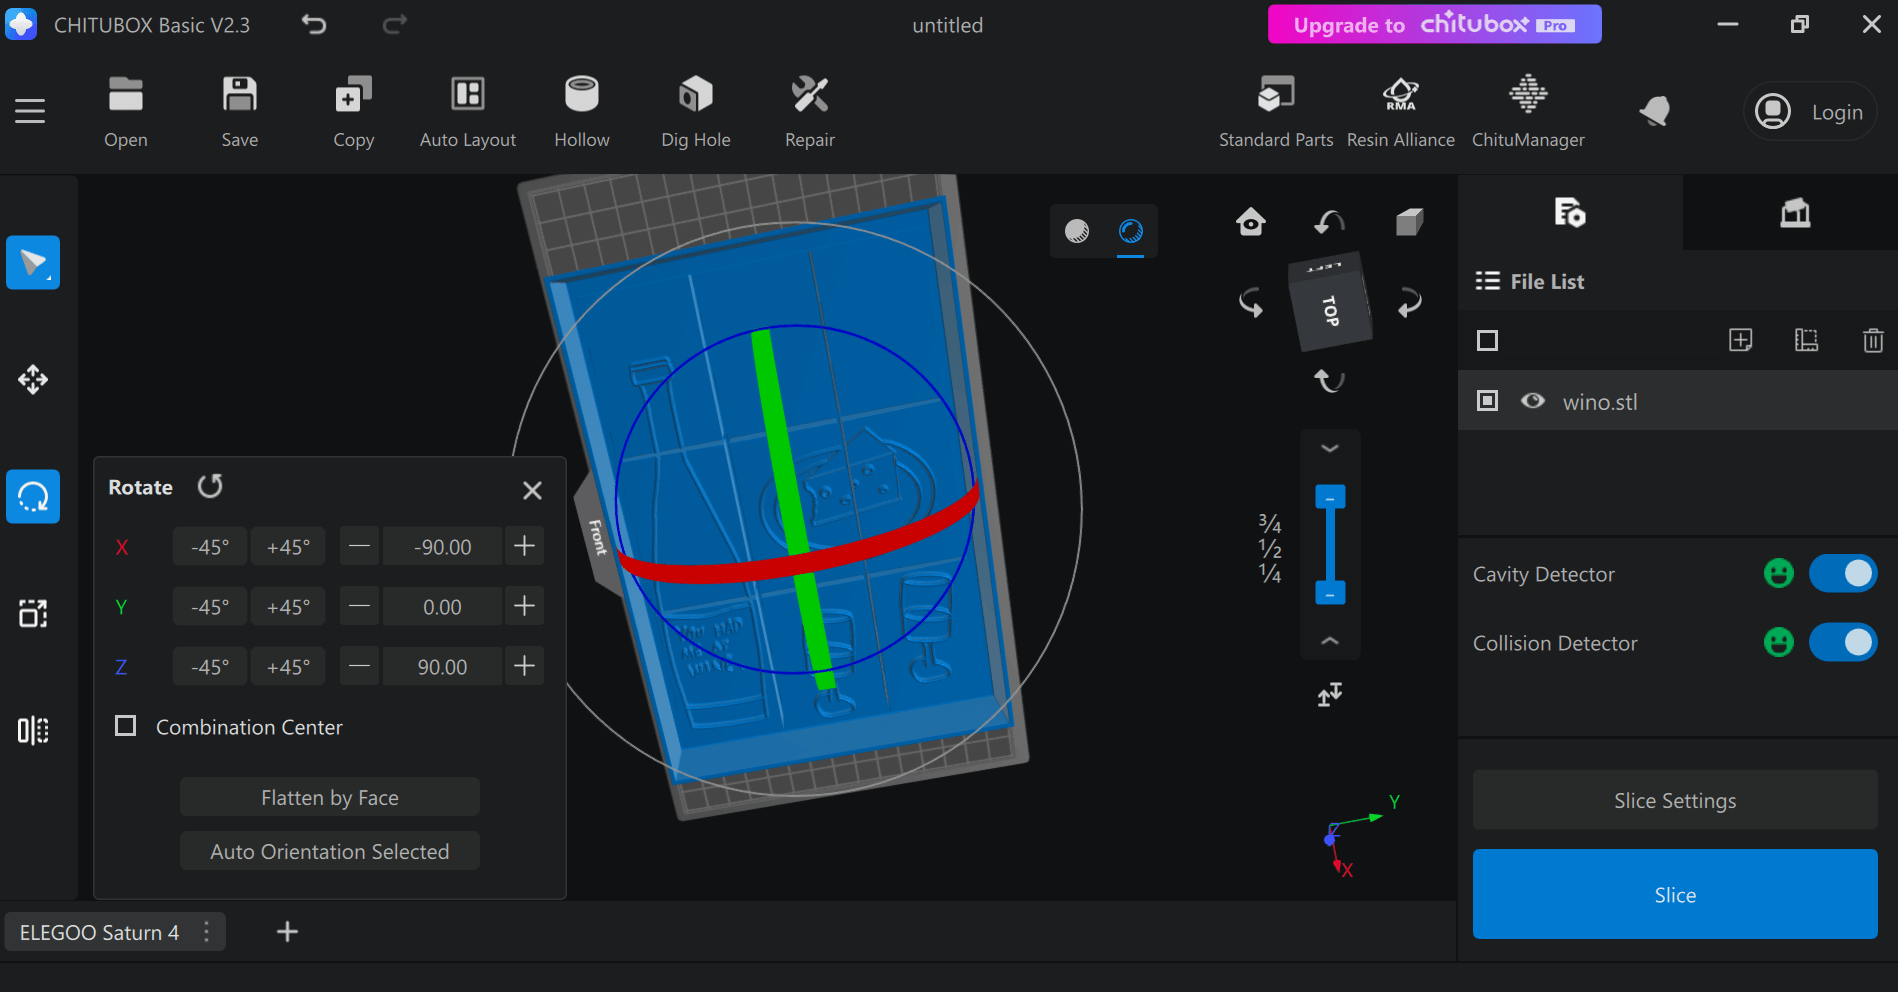
The STL file was exported into the Chitubox slicing software, selecting the Elegoo Saturn 4 resin printer for the setup.
The first attempt was unfortunately cut short with 8 minutes left on the print by an unexpected nation power outage which cut our day in the lab very short.
Upon arriving the next morning I had a beautiful print although it fell short only having the first mm of the illustration and the outer walls did not extrude higher as the power outage was too long for the print to successfully finish afterwards. I also noticed that the separation between the tiles was too narrow so it was time to go back to blender to improve the next print.
This time I used a 1.7 mm gap between each tile and sliced the design including supports with the intent of making it easier to remove the print from the elegoo bed, as last time it was difficult due to the fact that it approaches 70 % of the effective bed surface.
Unfortunately the print failed with the bulk part of the design being left in the resin pool at the end of the print. This could be due to the suction forces created during the printing process.
So one final attempt to successfully print the design was made without supports!
The print came out great but the silicon did not harden so I got a very messy result and an unusable silicone mould :(
This week was lots of fun, I hope to make many more moulds in the future.
Reflections
EASYL 940 FDA silicon achieved the desired realism when using the lime as a mould. However, the next time I pour a mould over a buoyant material I will use tape to stick it to the bottom of the vessel.
EASYL 940 FDA silicon does not work well to create a negative mould from a resin printed positive. Perhaps because the resin did not cure enough. In my design there was tight detail that may have eluded the UV light and alcohol curing processes.