16—Wildcard Week
Assignment
Design and produce something with a digital process (incorporating computer aided design and manufacturing) not covered in another assignment, documenting the requirements that your assignment meets, and including everything necessary to reproduce it. Possibilities include but are not limited to wildcard week examples.
00—Reflection
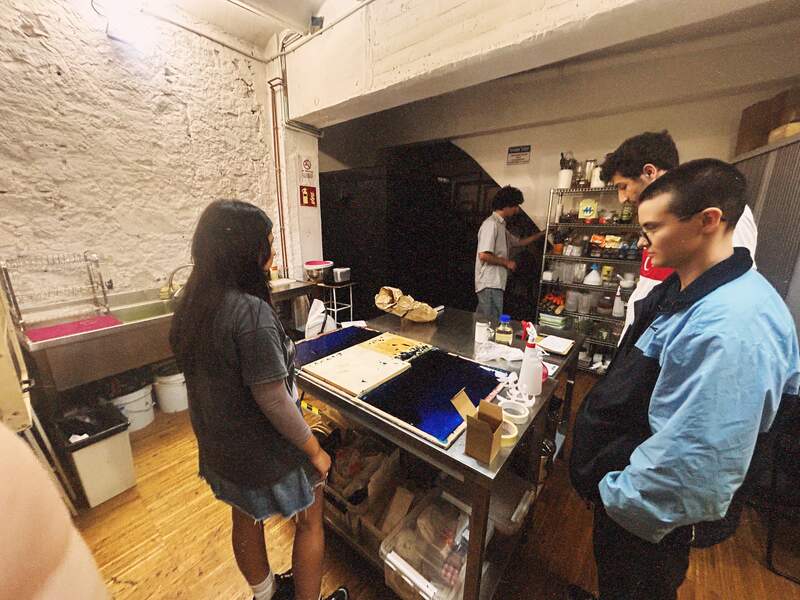
In our class we did four tutorials on different fabrication techniques for the wildcard week. These different fabrication methods were: robotics, welding, soft robotics, and embroidery. I chose embroidery as my topic for this week, but have included limited notes on the other topics so that I could come back to the topics.
I did not expect to be focusing on embroidery this week, but I am happy to say I really like it as a medium. I think embroidery really gives a lot of texture and depth to a 2D design. I have created a abstract graphic work, for a long time, but have never really like the way it looks printed on a piece of paper or on screen. For this reason, I really like the depth that embroidery imparts to a 2D design. This is obviously just a test, but I feel like there are a lot of possibilities I would like to explore with this. Two things I would be interested in trying in the future are creating custom clothing like bandanas or creating custom embroidered framed ‘prints’.
01—Digital Embroidery
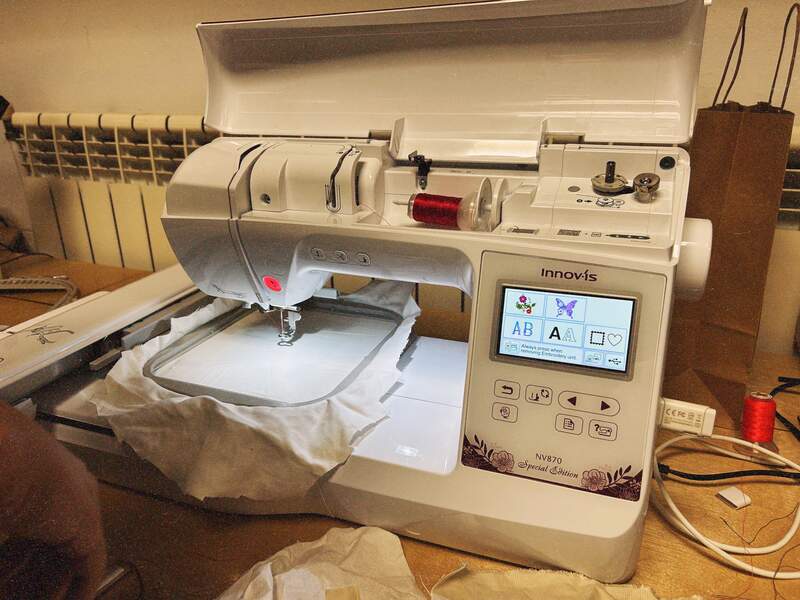
In class Adai taught a tutorial on how to use the Brother Innovis NV870 digital embroidery machine. For this session I honestly did not pay that close attention to the tutorial because I figured that embroidery was not something for me. That said I was completely wrong in my initial assessment and ended up really liking how embroidered designs come out. I have honestly been wanting to integrate textiles in my creative work for a long time and I haven’t found the right ‘in’ to do this. Below is an overview of my process to get the embroidered result below. I say overview because this In depth online tutorial that I referenced is already very complete. There is actually quite a lot of nuance to embroidery much of which is not covered below or in the tutorial. If I took another pass at this process I would try to understand what all of the settings in the param dialog do.
Digital Design Creation
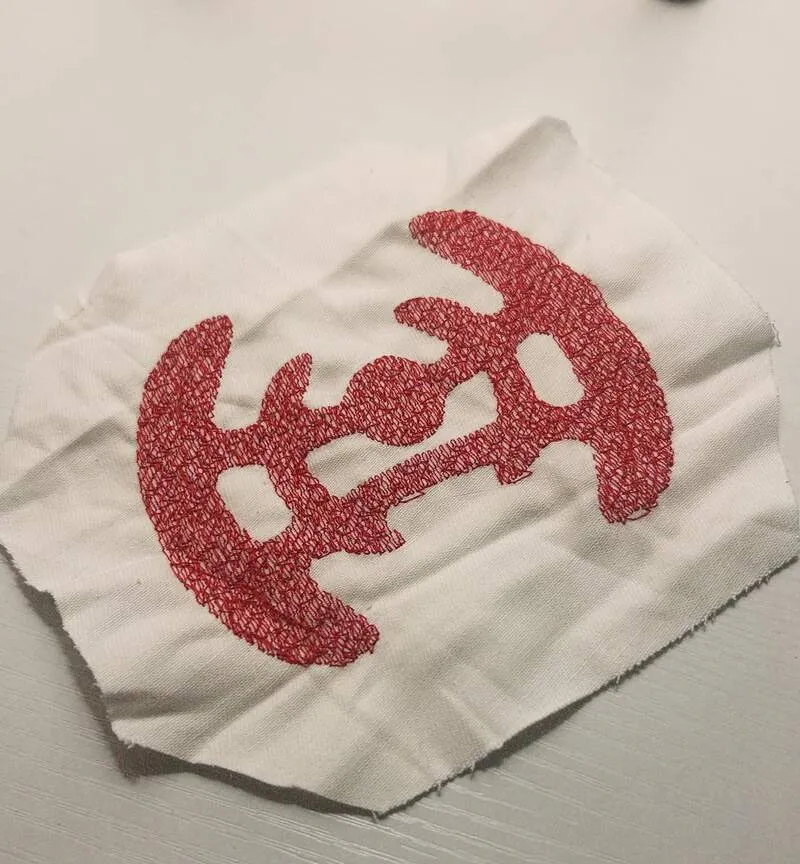
- The design was reworked from an original graphic I created for one of the cover images on my website. Essentially I arrived at this design by play. I wanted to connote the idea of wireless communication so chose to design with the rough idea of a dish with energy emanating out from the center.
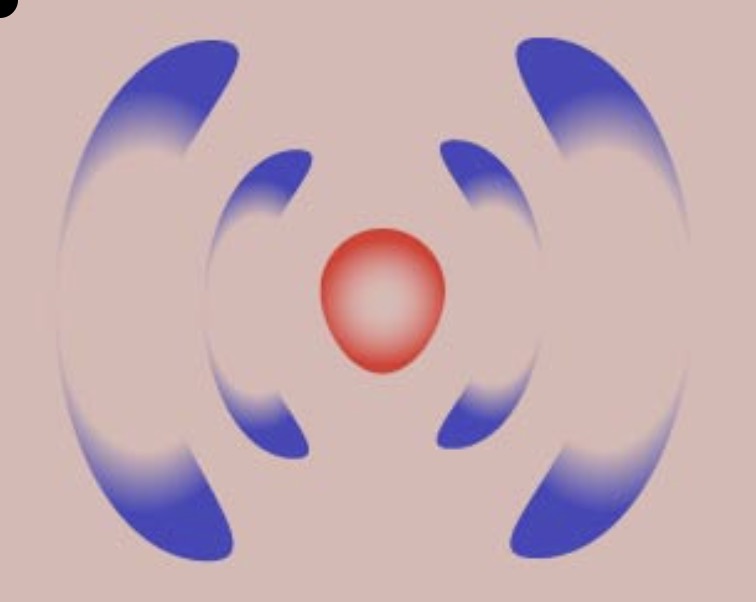
- First I recolored the vector so that it was a single color as I needed to copy a color we had in thread that was stocked in our lab. Similarly, I only wanted to do a single color for the embroidered design.
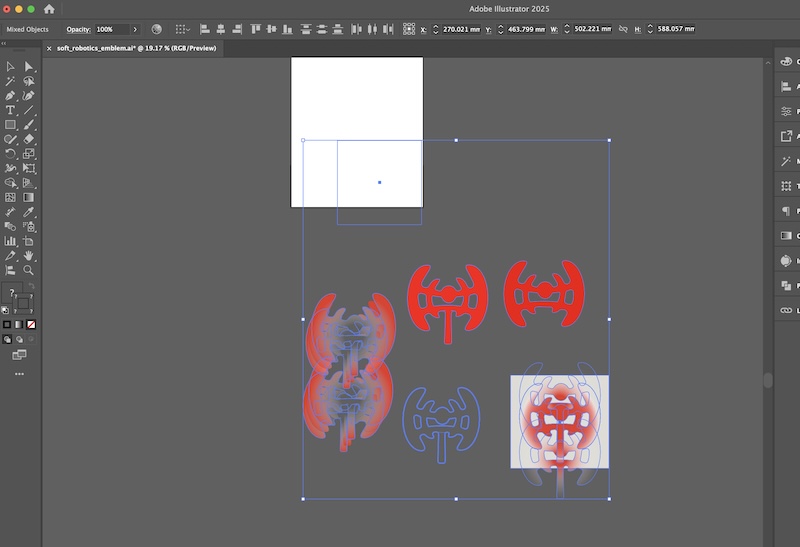
- The next step was again a process of play. I used the elements already established in the first design and rotated and moved them until I found a form that felt visually cohesive with a nice sense of symmetry and a vague air of violence (looking at it again it looks reminiscent of a gun sight). After I found the right layout and proportion of the elements I united all of the shapes using pathfinder and then applied rounding to all of the straight internal edges by just selected everything with the hollow selection arrow. This softened the whole design and made it look more homogenous. I intentionally left the design without perfect left right symmetry to connote a hand drawn or stamped look.
Digital Design to Embroidery File Workflow
- Design for the machine happens in Inkscape with the plugin Ink/Stitch already installed. Make sure you have this setup before you begin.
- Since I use adobe Illustrator to design vector graphics I started with my finished design here. I then exported the file using the
asset exportpanel and selecting .svg.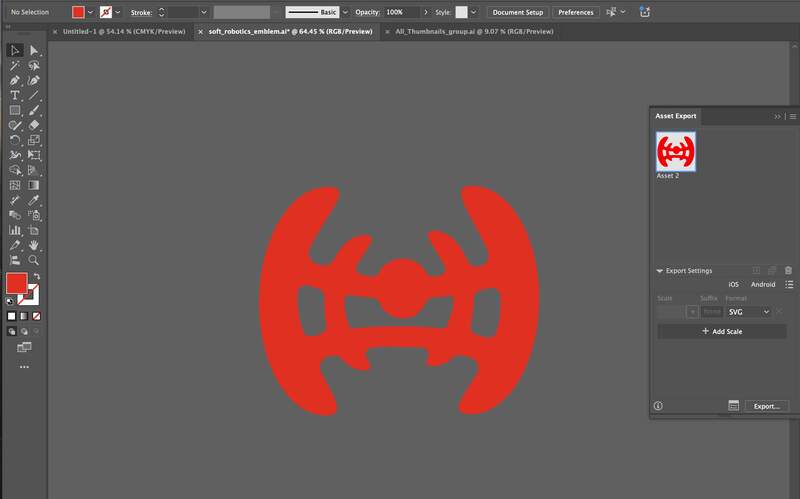
- I brought the .svg into Inkscape using the
file->import. Select everythingctrl+lto simplify/close all lines.
- Duplicated object as suggested in tutorial.
- You now work with the duplicate place layer item(s) in group (not sure why). Hide unused layers so they are ignored by inkstitch.
- Select your design then select
exstensions-> ink/stitch -> params. This is how you process the vector so it can then be reprocessed to machine readable code.
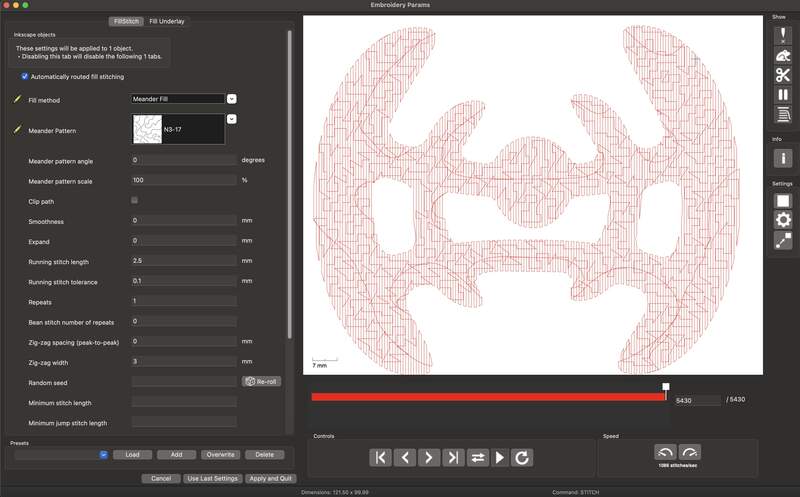
- The params window has a lot of settings. Since this is my first run through I am not sure what all of them do or what I should be considering to improve the quality of the design. To begin I just chose a fill setting I liked. Information on the specific settings and what they do can be found on the aforementioned tutorial.
- Fill → what it sounds like different filling types much like 3D printing infill
- Underlay → depending on fabric type this can be important to make sure the embroidered design holds its shape on stretchy/thin fabric.
- Meander pattern → I chose a fill patten style that I thought was visually interesting
- Open
exstensions→Ink/Stitch→ visualize and export → stitch plan and previewthis creates a new layer with the data ready to be converted to your machine file.
- Select the new generated stitch preview files turn off visibility for everything else and export the file as .pes to run on the brother machine.
- Load your file onto the machine USB drive.
Physical Setup on Brother Innovis NV870
- Connect your USB drive to the brother embroidery machine. Select the USB drive then use capacitive arrow keys on the display to find the file.
- Load your fabric into the two part frame. Tighten the frame down and carefully pull out the slack in fabric so it is moderately taught.
- Load the frame into the mount for the moving stage by first lifting and then lower the lever when it has been slid onto the stage rails.
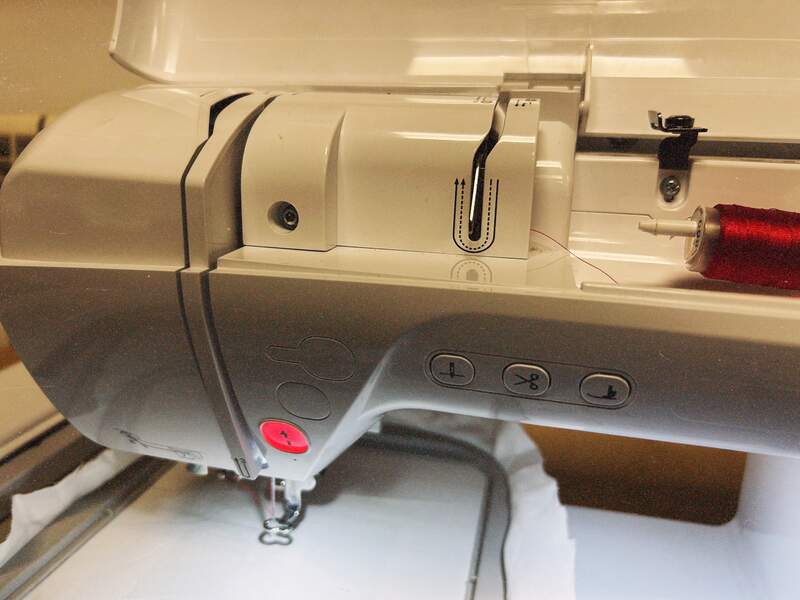
- Now you need to open the upper compartment and load in your thread. This thread needs to be routed through about 7 different zones. This process is best described in the official manual or the aforementioned documentation (linked above).
- Now click your file. This will open a dialog to move the origin point of the design so you can change it placement on the fabric. Since this was just a test I left it as is.
- Drop your shoe using the button on the side of the machine and click the run button which is closest to the needle to run your program.
- Run and wait ;)
Final Result
02—Soft Robotics
In class, we did a soft robotics tutorial in which we worked from a 2D design to create a custom inflatable out of biomaterial. This was not a success because we made the biomaterial incorrectly. The biomaterial we used did not work at all. Mainly, the material did not bond with itself when we heat pressed it this cause the air bladder to rupture under moderate pressure. In the future I would definitely just use silicone if I wanted this to work. Otherwise though the process of creating the inflatable was surprisingly straight forward. The resource Morpho source that was mentioned in class is amazing for finding clean 3D mesh models of organic structures of all kinds. I expect this website to be a very valuable resource for my 3D art work going forward.
Quick overview of Process
- Create 2D graphic with geometry for an air inlet and or air outlet. Make sure things have reasonable spacing and reasonable feature size.
- Prep files for laster cutting.
- Laser cut design out of non stick cooking paper.
- Create a flat bio material sheet (different process for working with silicone sheet although this process is probably preferred).

- Place your kitchen paper between the layers and fold over biomaterial.
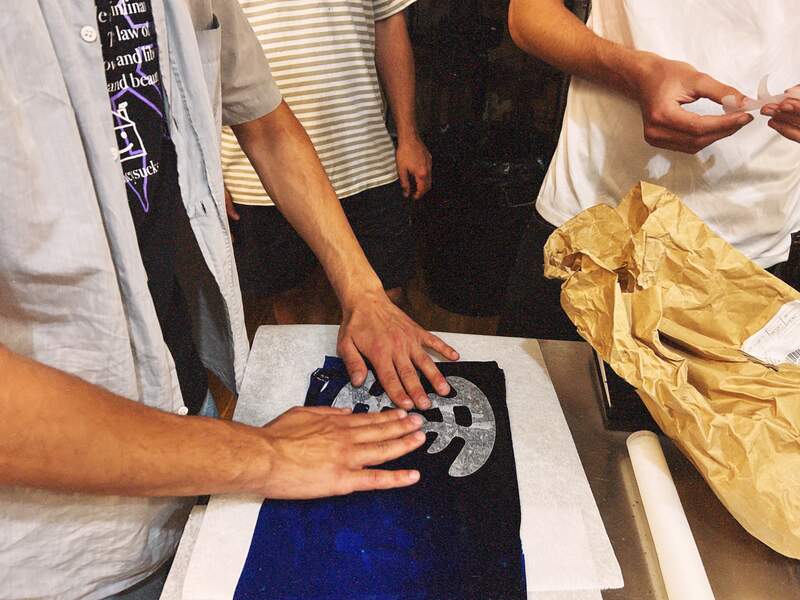
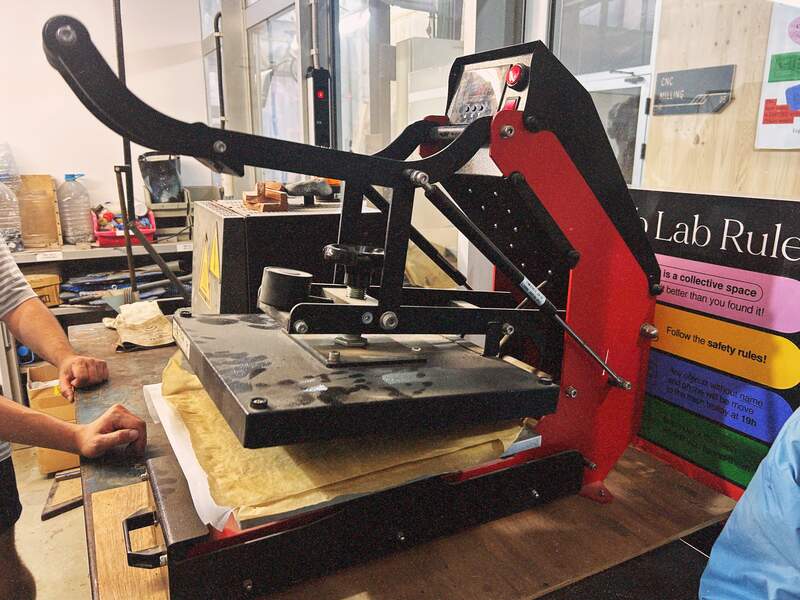
- Use a heat press to laminate the biomaterial → kitchen paper → biomaterial sandwich
- Use simple air pump circuit to test.
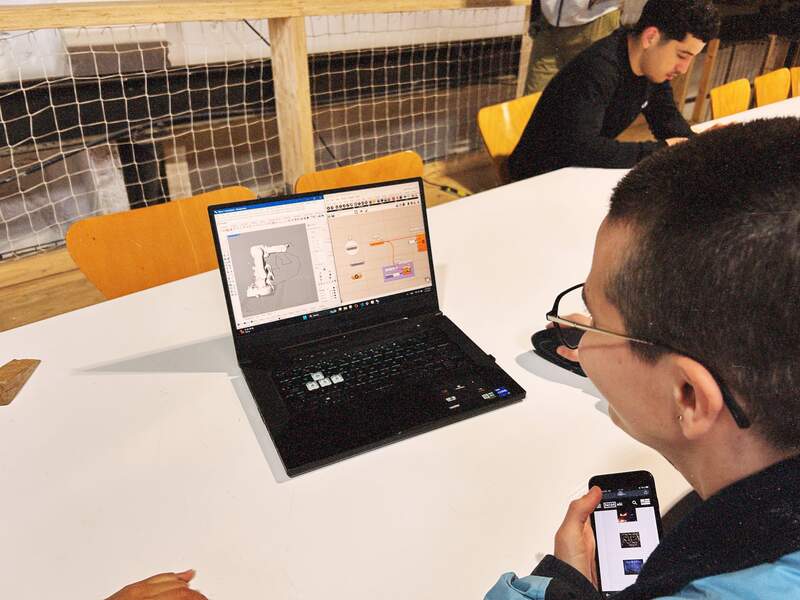
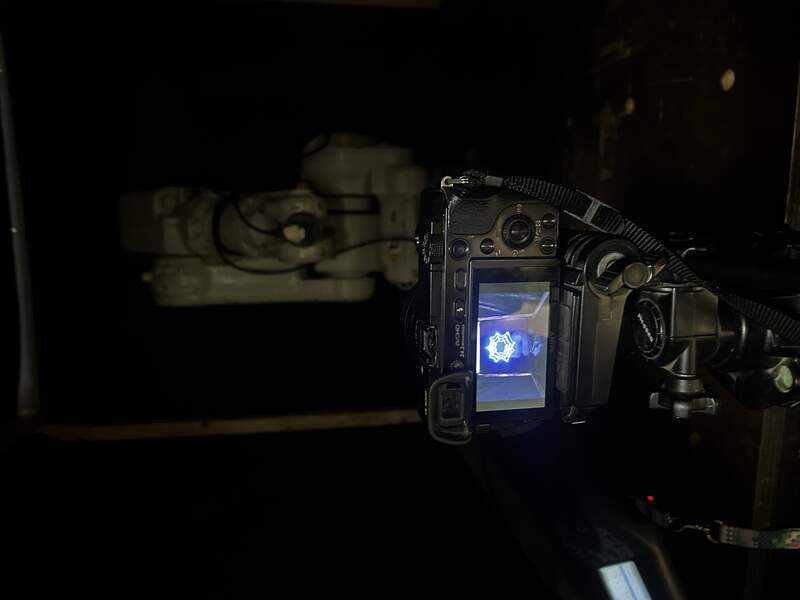
03—Robotics
At IAAC we had a tutorial on how to use the small robotic arms we have in the upstairs lab. I think when I know I am not going to have enough time to dig into something I feel a bit apathetic about the learning process. I think robotic arms are cool and I really enjoyed the presentation on some of the basic differences between brands, styles and control systems. I was however, at a loss of how I would want to leverage this technology in a few days. Similarly, IAAC robotics course uses Rhino’s grasshopper which I did not have a license for. So I decided to not buy the package and just followed along with Katya’s setup process. all in all I am glad I was introduced to this, but right now I am not sure if I have a compelling reason to learn more about this technology. Link to the presentation can be found here Fab BCN page with robotics presentations.
Project Files