week 7 Computer-Controlled Machining
group assignment
- do your lab’s safety training
- test runout, alignment, fixturing, speeds, feeds, materials, and toolpaths for your machine
Individual assignment:
- make (design+mill+assemble) something big (~meter-scale)
Summary:
On Thursday, our peer Pepe Vázquez, who has extensive experience with the CNC machine, guided us through its operation, focusing on both safety and setup procedures. He explained the steps involved, including adding the piece, selecting the toolpath operation, choosing the appropriate tool, and configuring parameters like ramps and passes. He emphasized the importance of monitoring the machine’s movement to prevent accidents.
In my individual assignment, I conducted a kerf test to determine the material’s tolerance. After testing different values, I found that 0.05 and 0.1 mm provided the best results. I then proceeded to create my final product, ensuring correct positioning of the X, Y, and Z axes, fixing the board securely, and monitoring the milling process closely. The final product was successfully milled, cleaned, and assembled, contributing to my thesis project.
Group Assignment
On Thursday, our peer Pepe Vázquez that has vast experience with the CNC machine explained to us the operation of the CNC and all the steps to follow both for safety and for setting up the machine.
He started explaining us the characteristics and procedure of the machine, which you can see in detail in the group assignment on the following link:
Group assignment link, click here
The first window is to add the piece.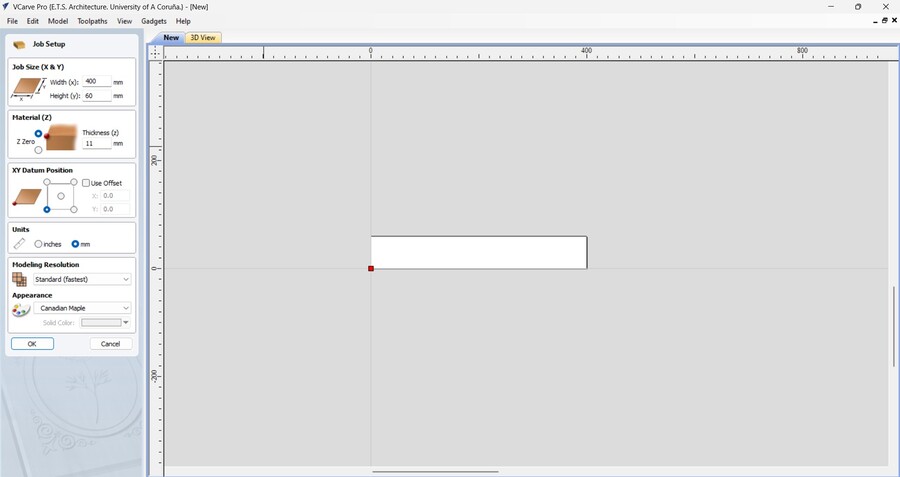
On the toolpath operations is where you add the works.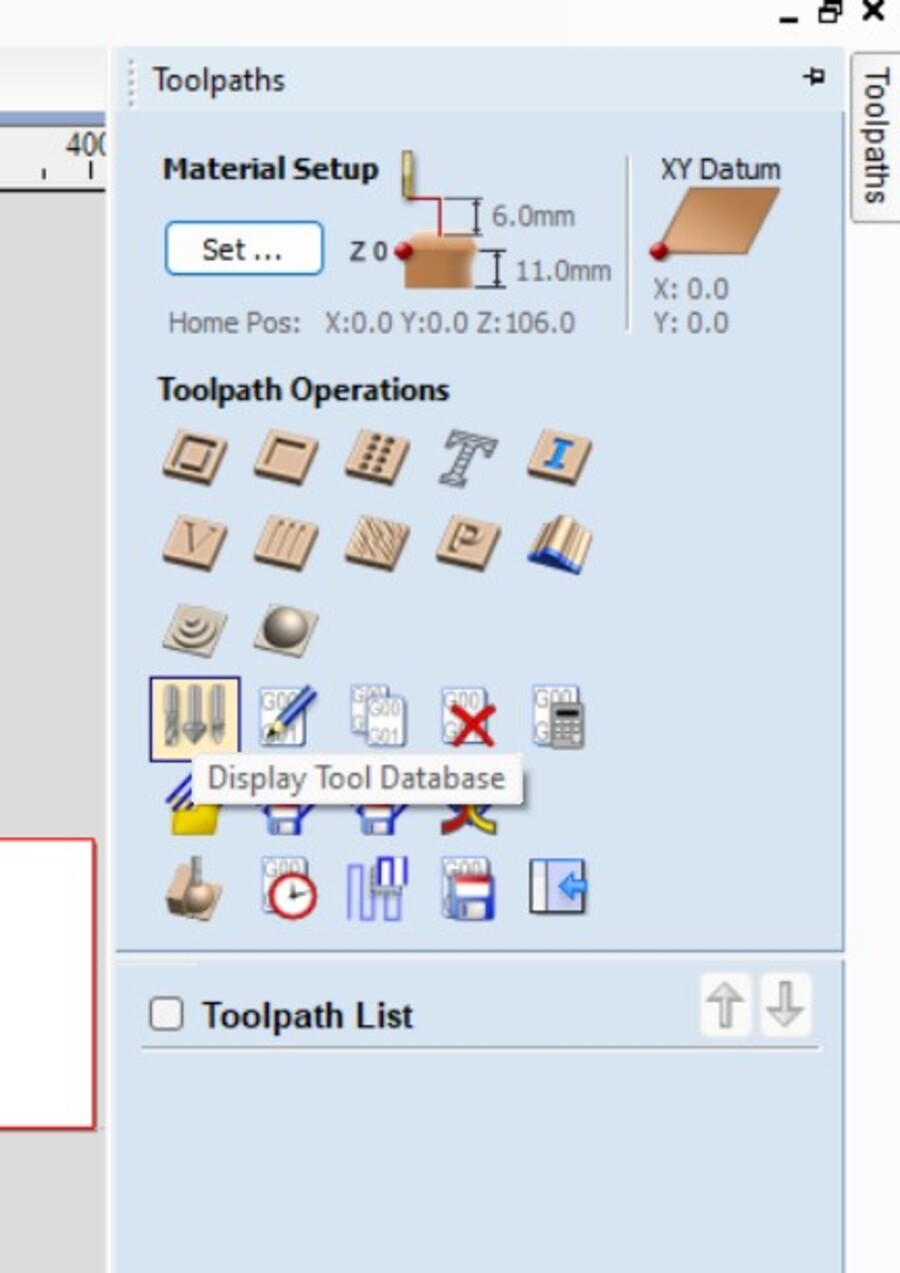
You have to select the tool and insert the info of it.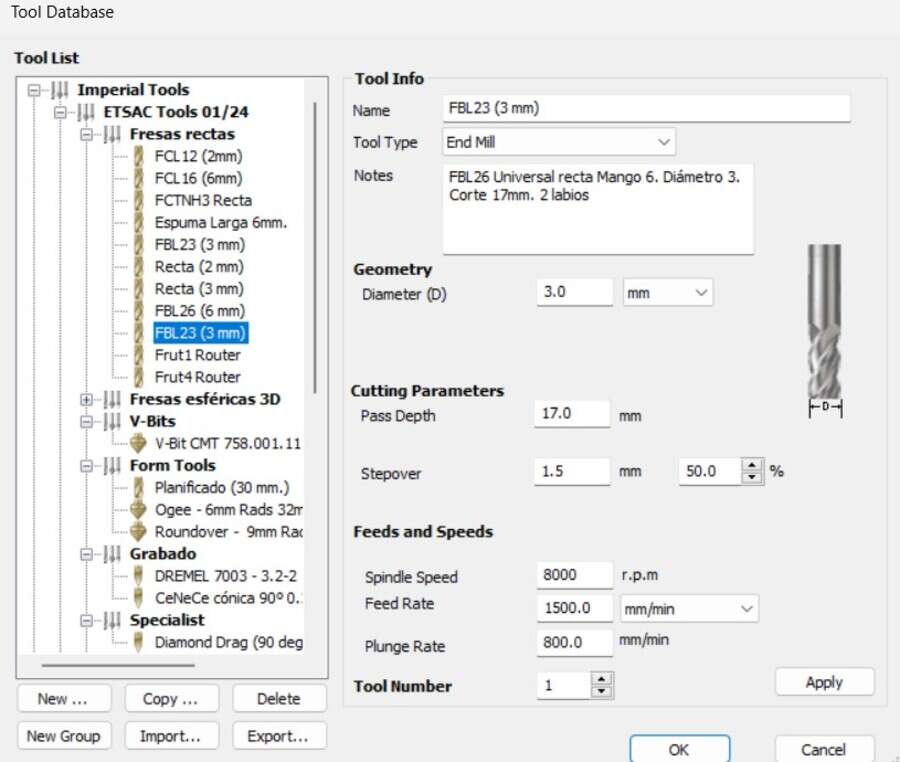
In the majority of cases it is recommended to add ramps so the tool goes down slowly.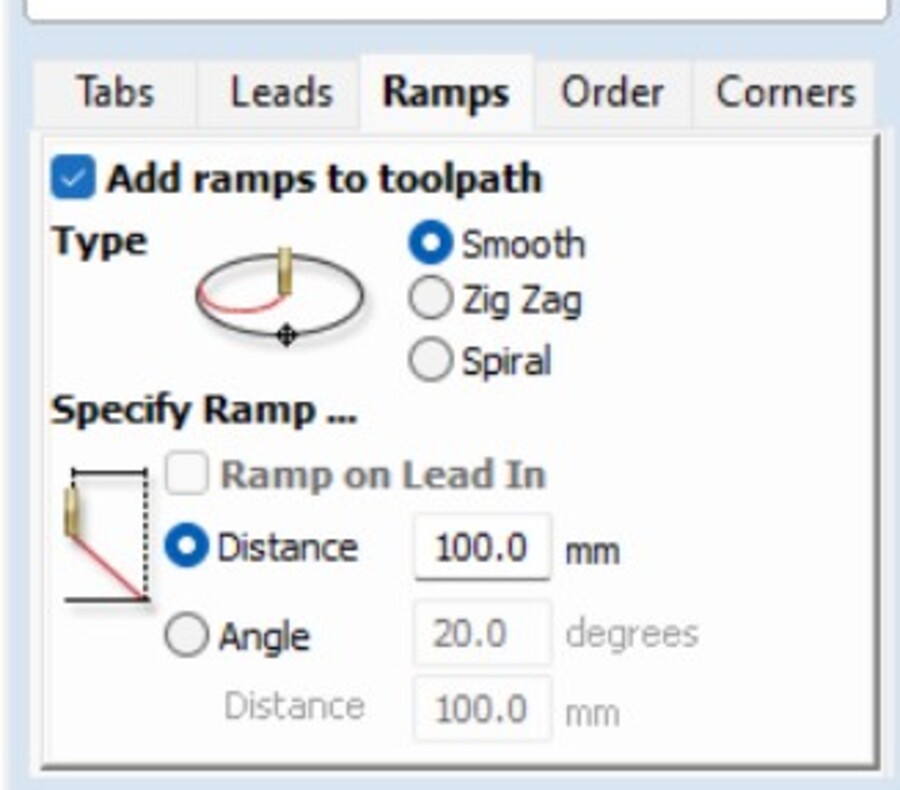
Depending on the material, choose how many passes the mill will do. In this case we use 4 for 13 mm of wood.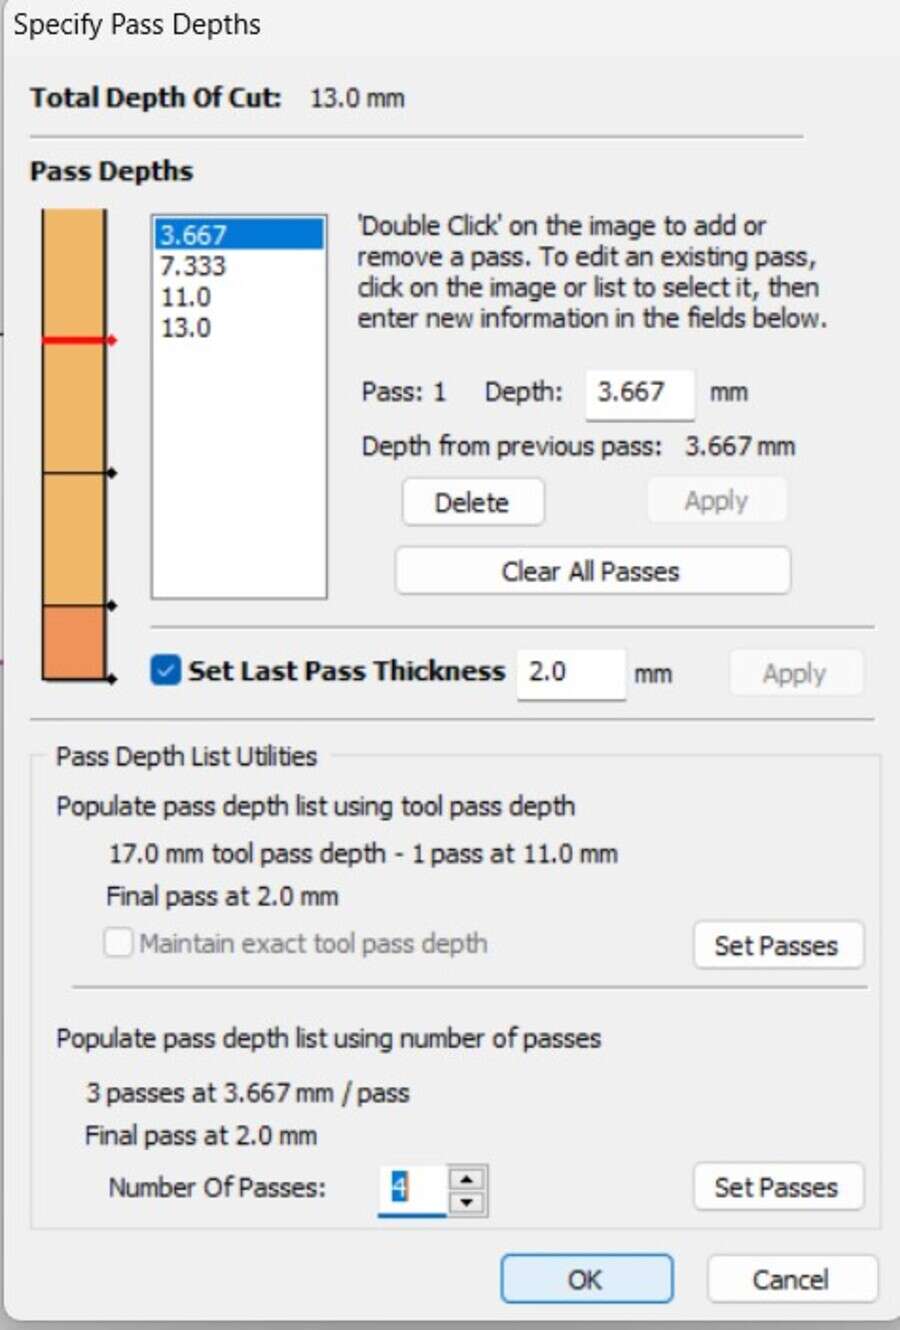
In every work there is the deployable menu to change parameters.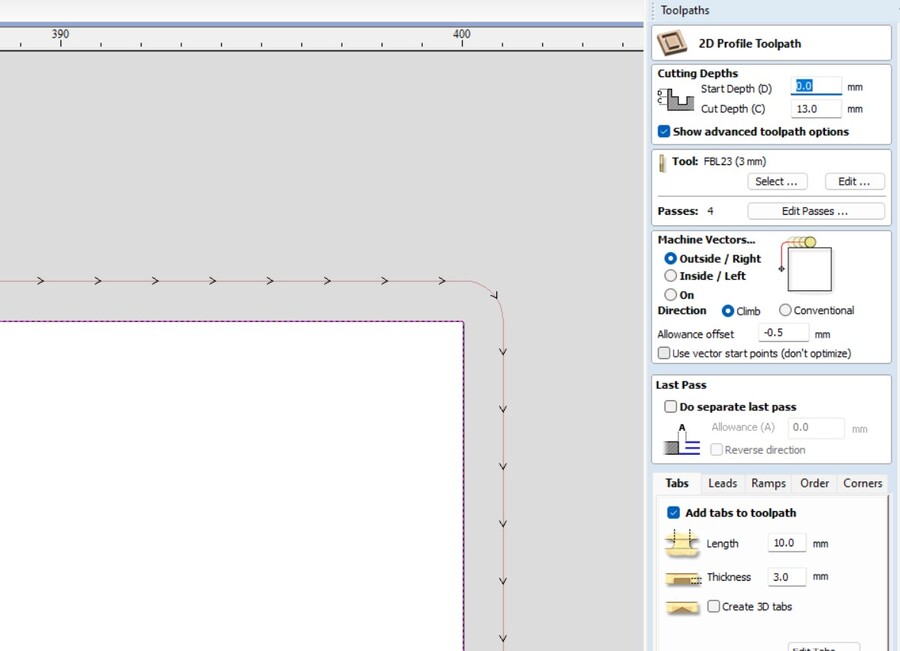
Export the work with the post processor of the machine.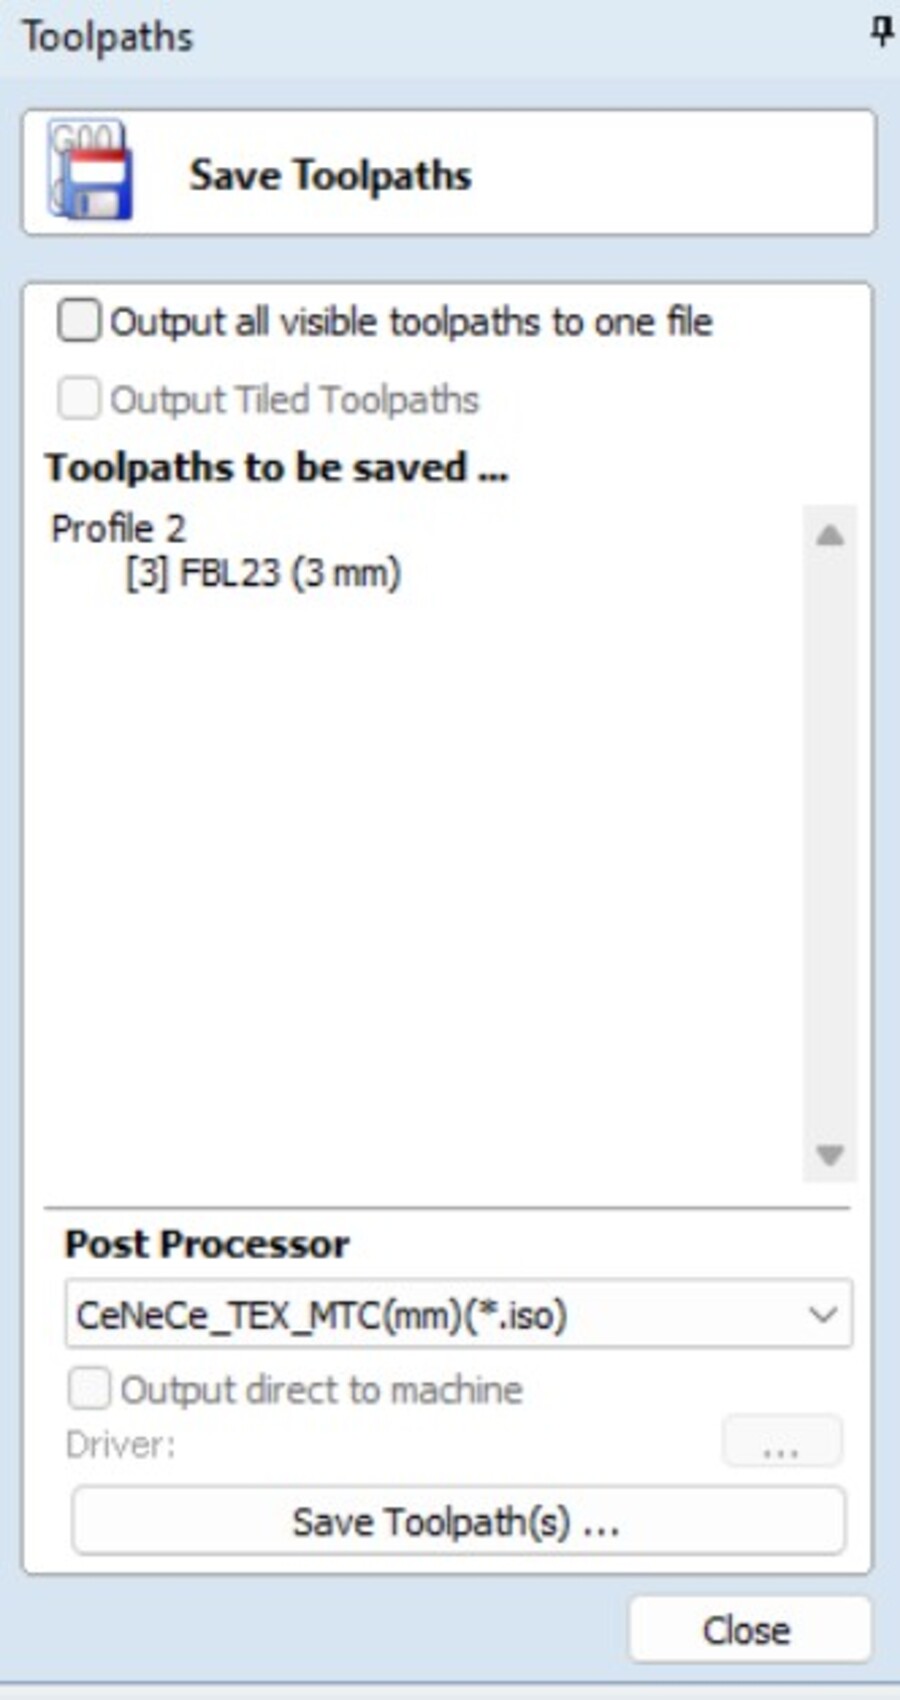
Always watch the Movement to prevent accidents or errors.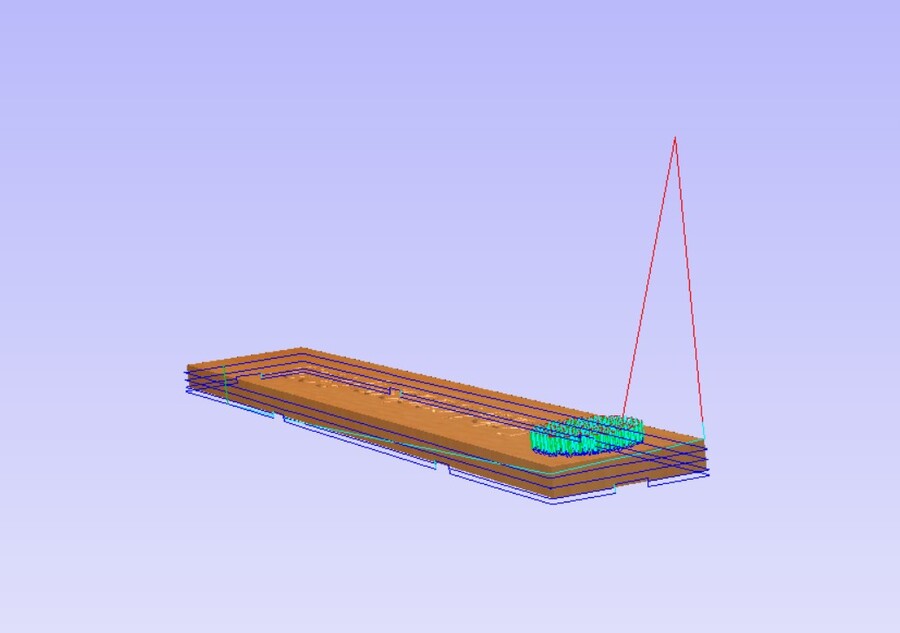
Final product of the lesson.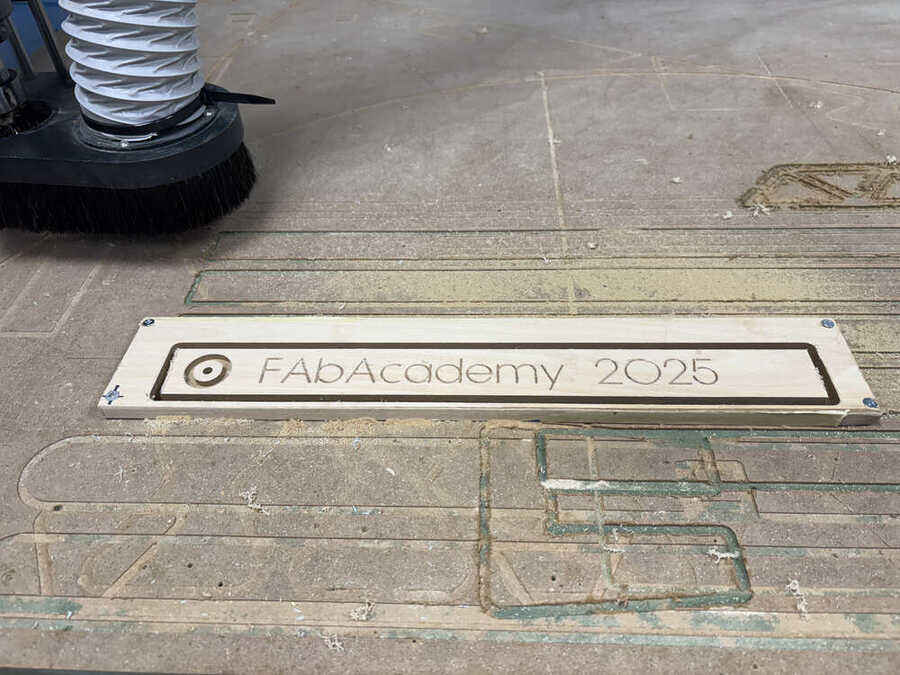
Individual Assignment
Hero Shot
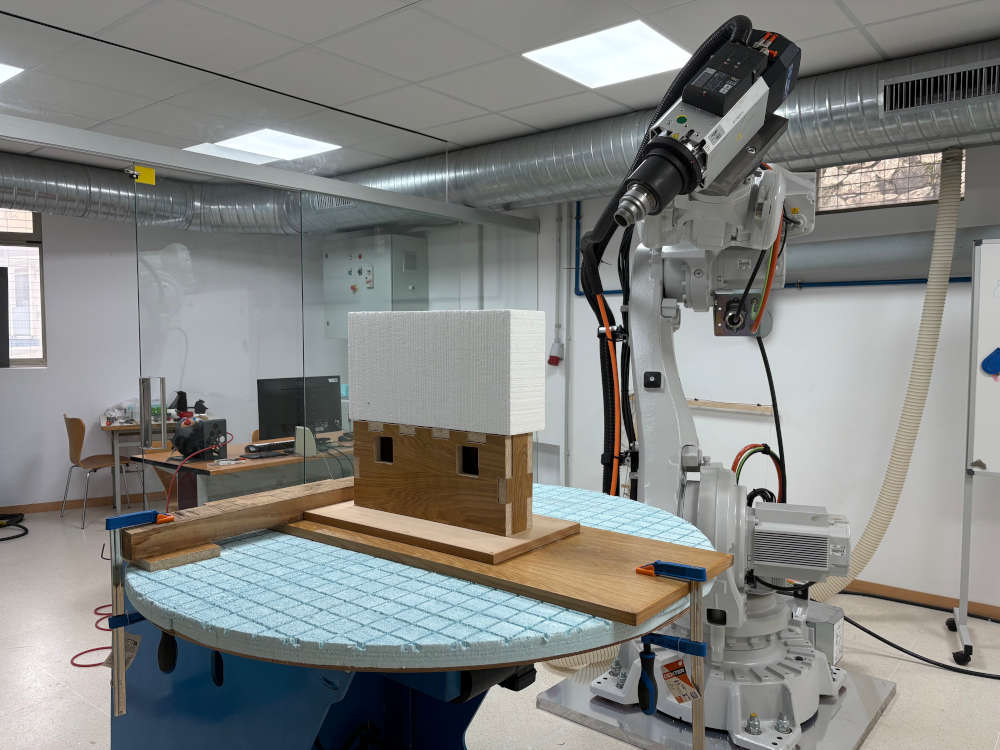
Afterwards, It was time to do the individual assignment. What I did first was a kerf test to see the tolerance of the material.

Kerf tested with different tolerances and fillets.
I did one test and the next one by mistake, the suffer board was not in the correct position.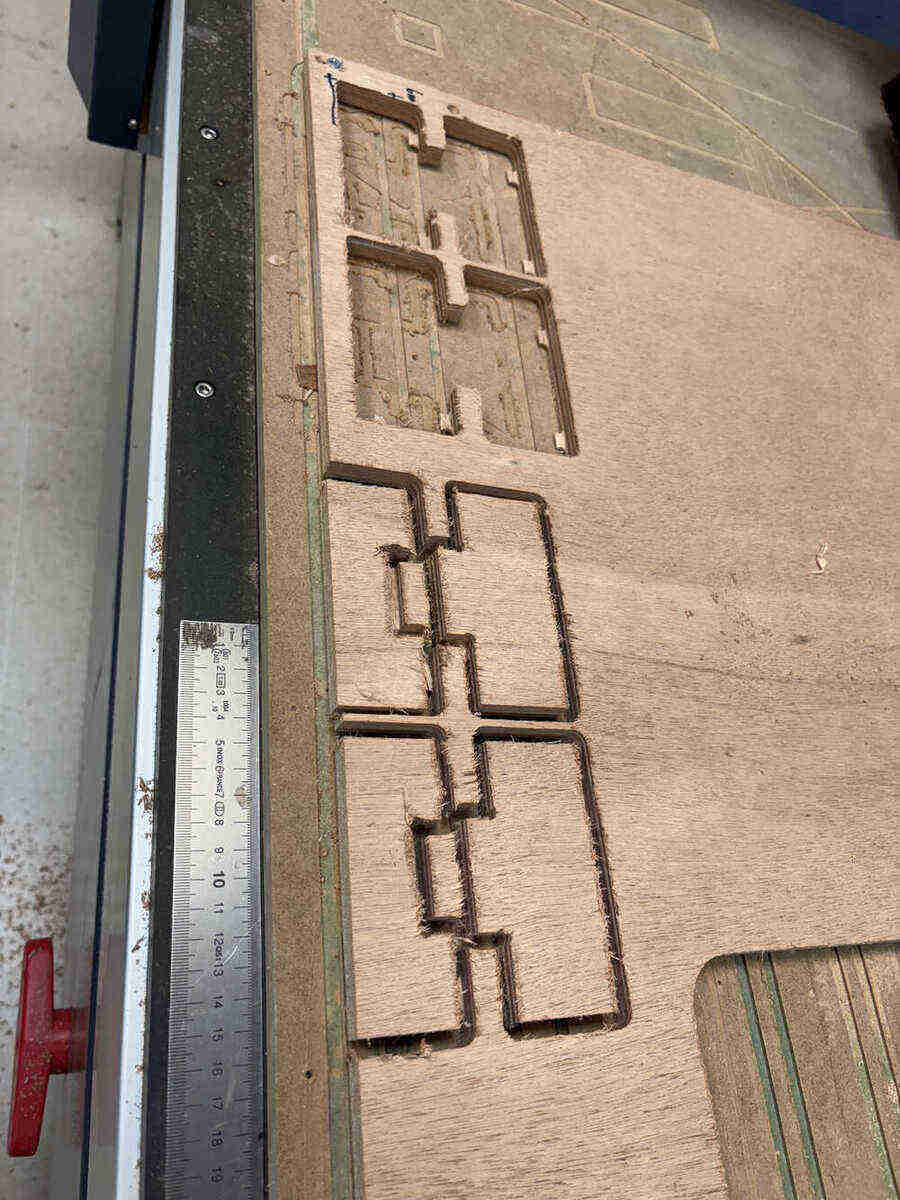
0.05 and 0.1 was the best tolerance.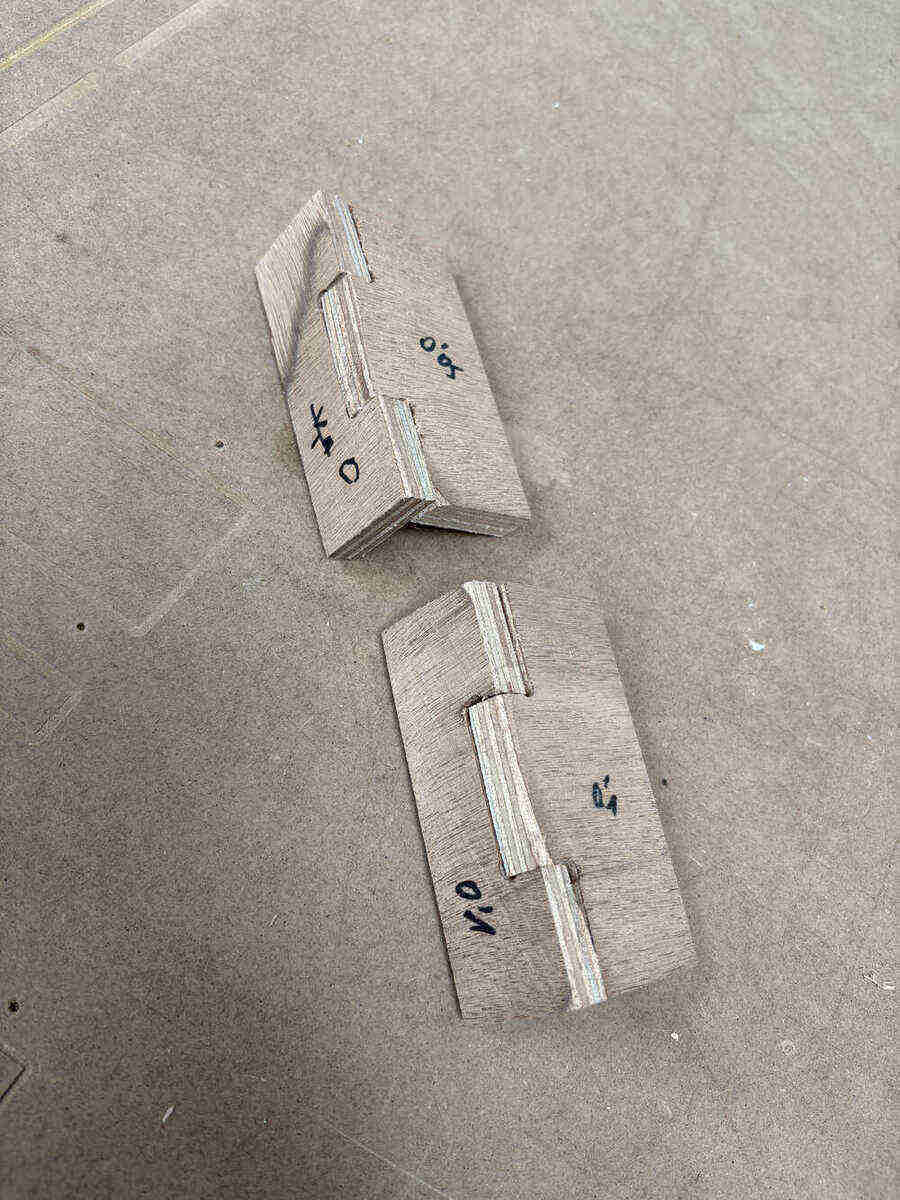
Always put the 0 and the Z correctly as we said on our group page.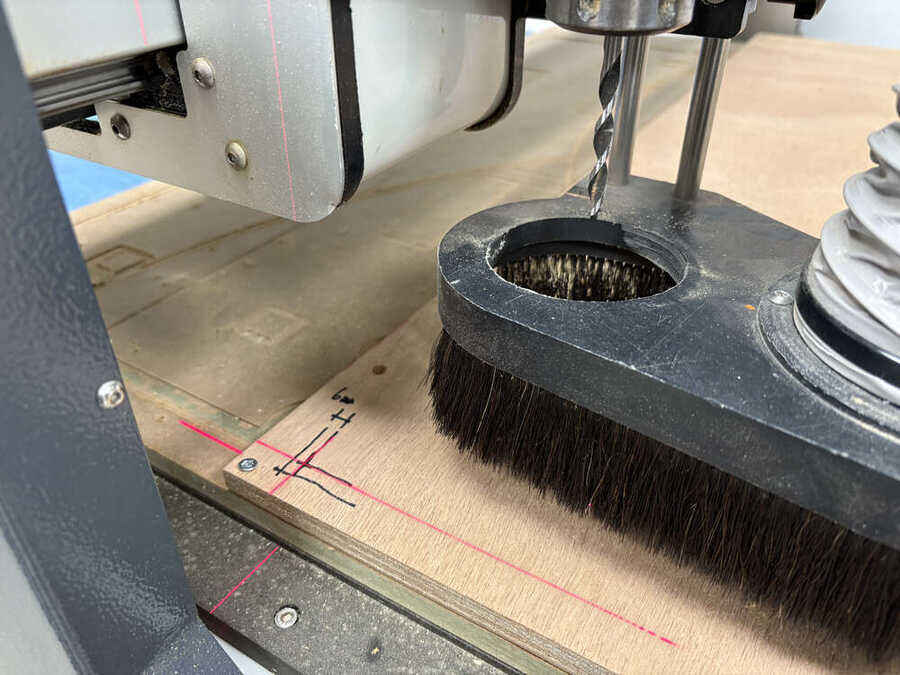
Then I did my final product which I will use in the future to mill wood.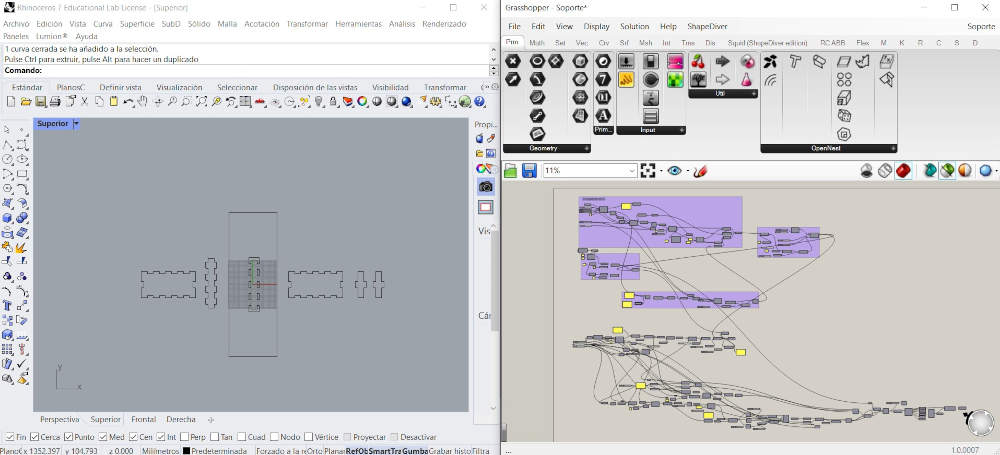
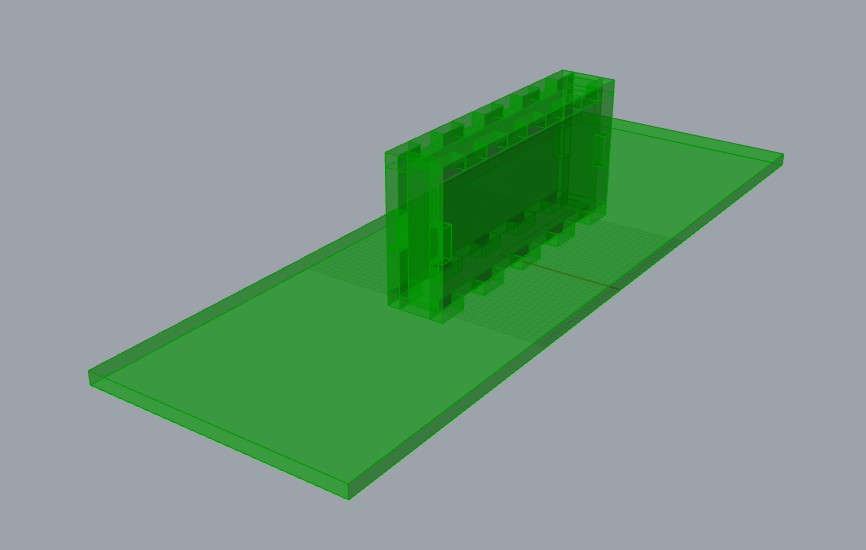

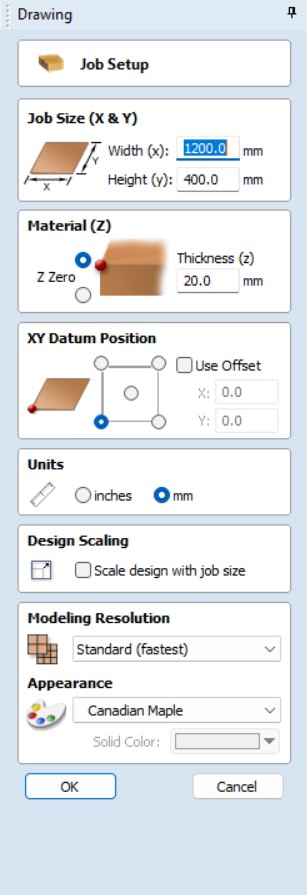
Vcarve job
First I input the job size.
Then I import de curves that has to be .dxf
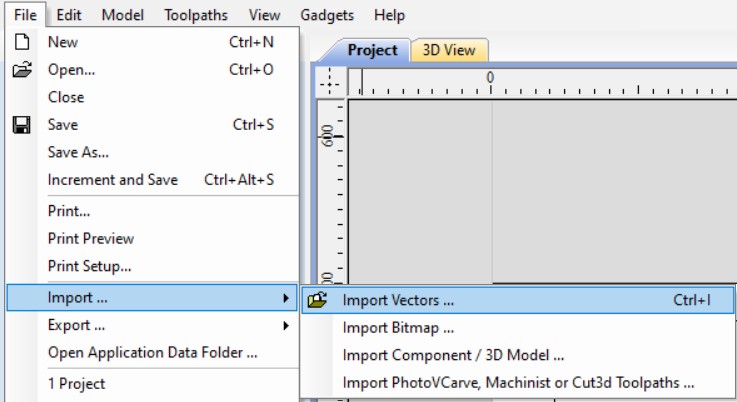
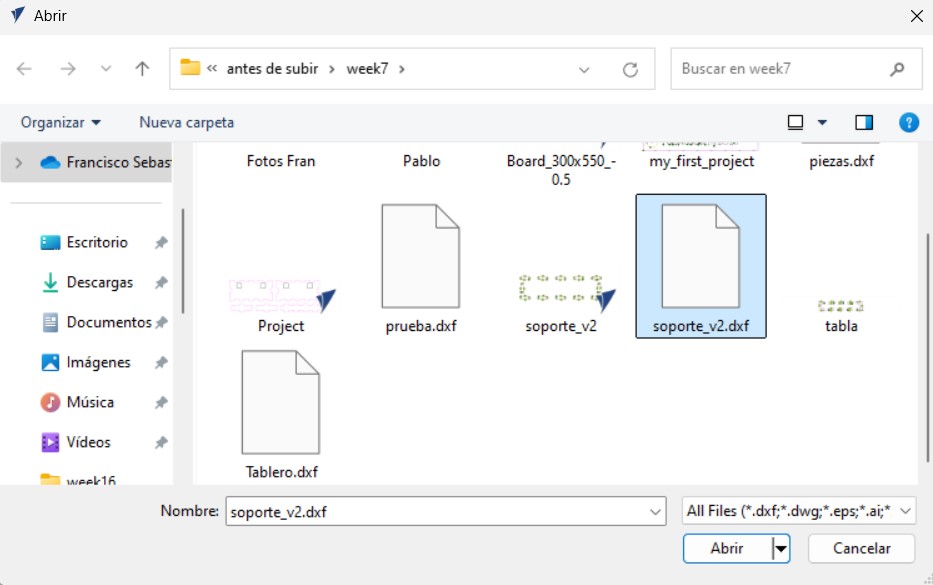
Then with the transform options move the curves.

Select them and input the job with sepcifie characteristics. For this job I used a 8 mm mill. i add tabs so the part does not move and ramps for the mill does not break
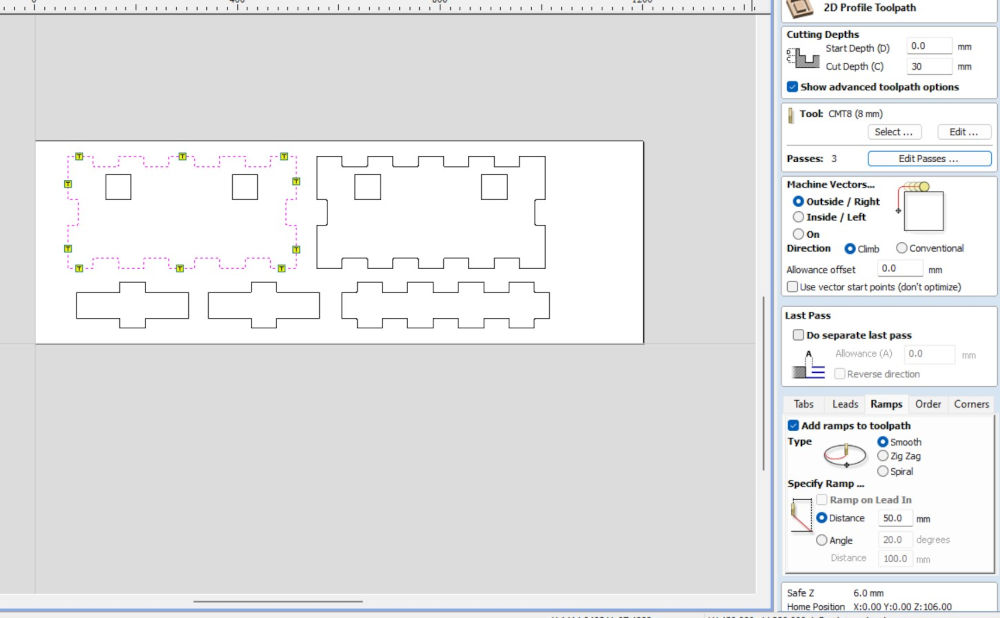
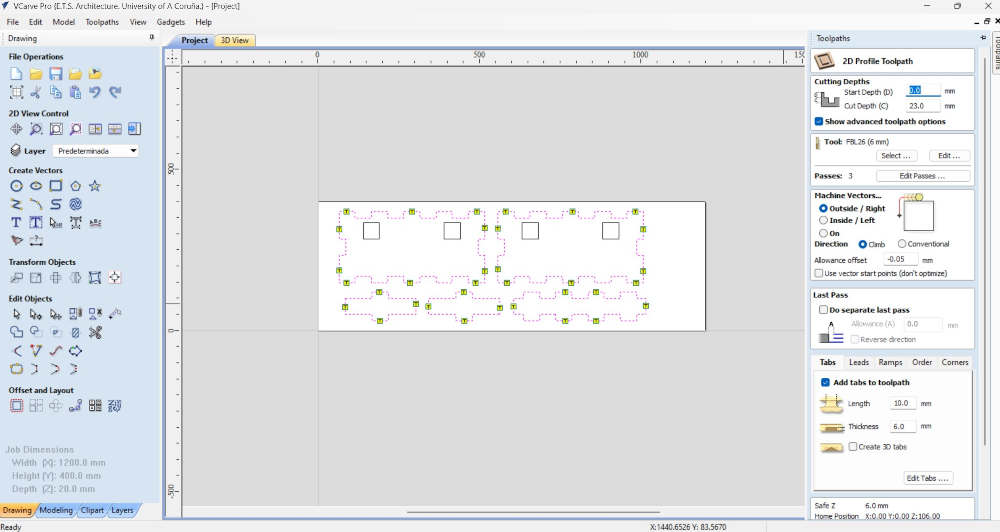
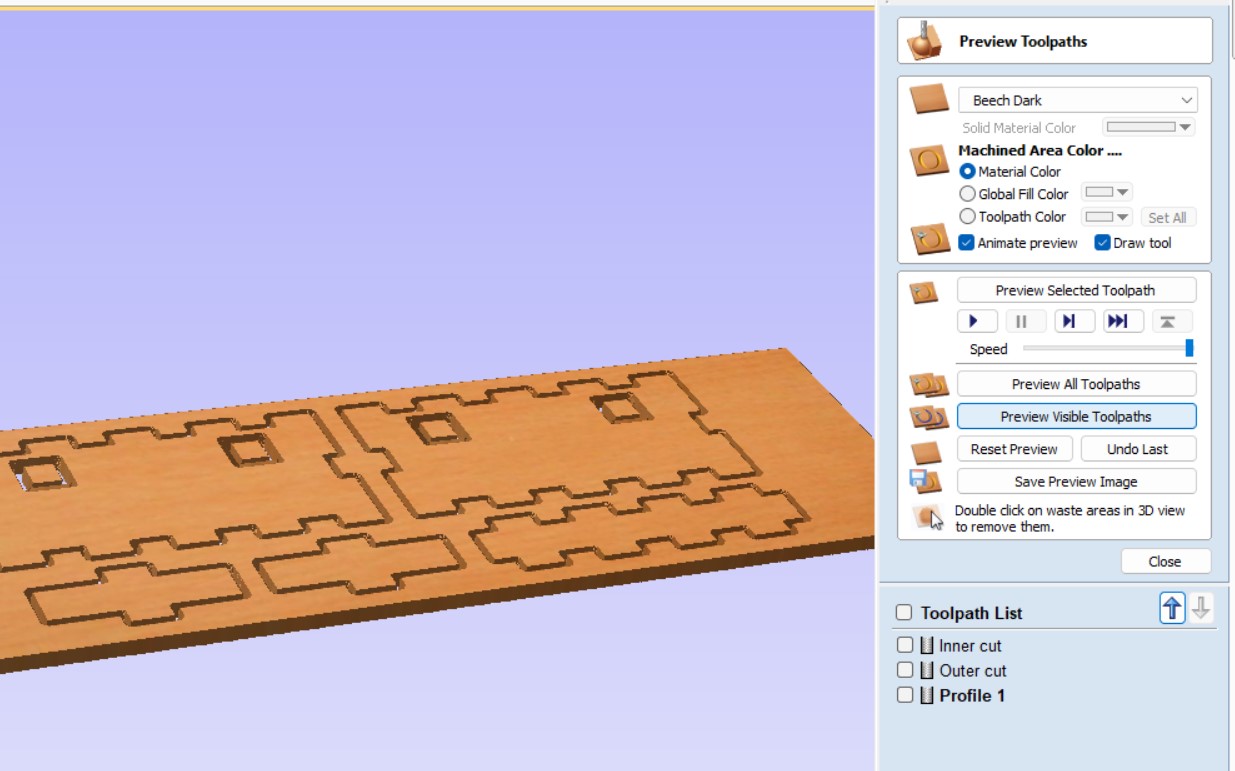
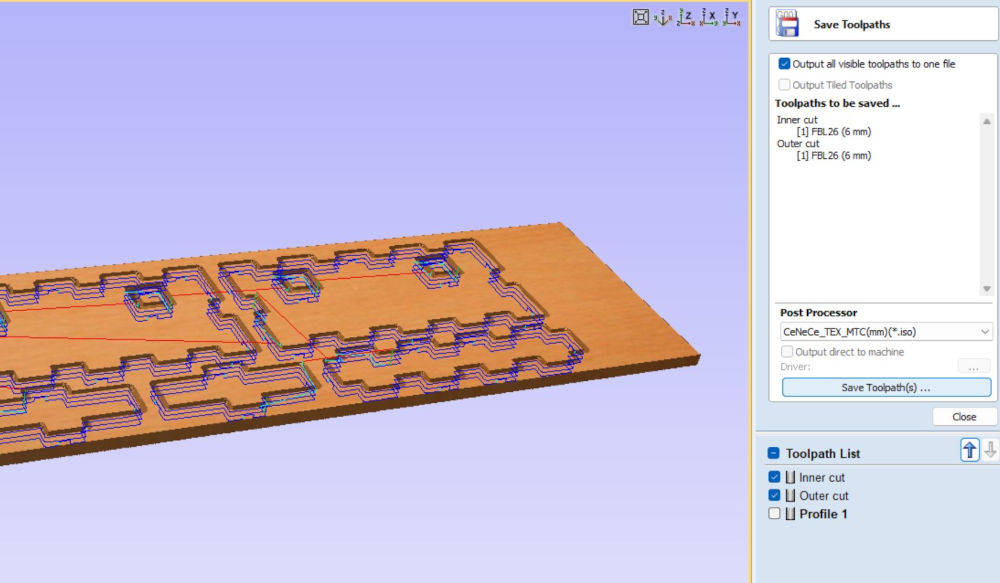
Machining
Here the board was fixed with nails to the suffer board.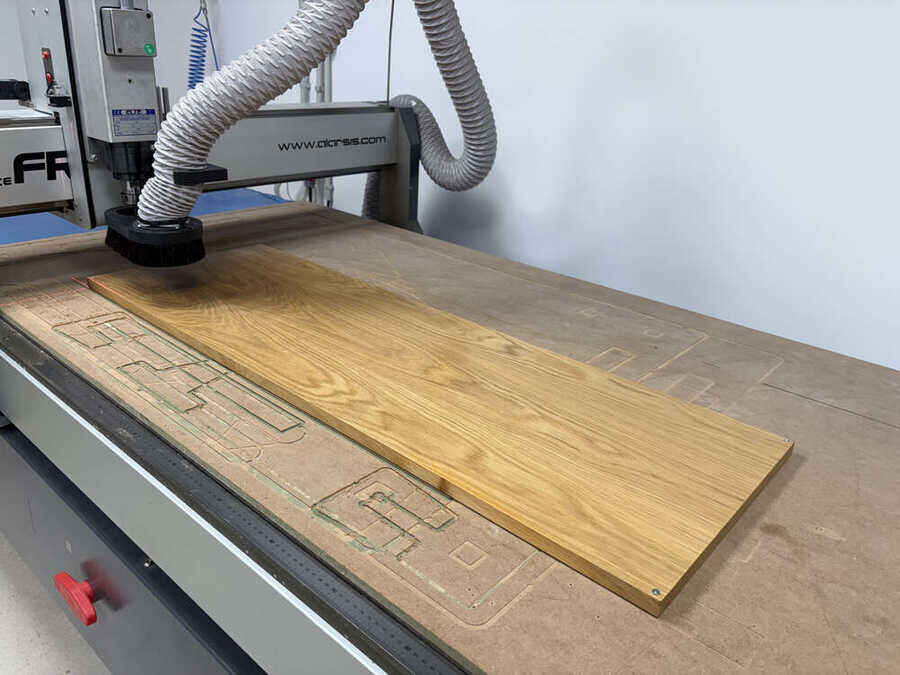
Put the XY and Z in the correct position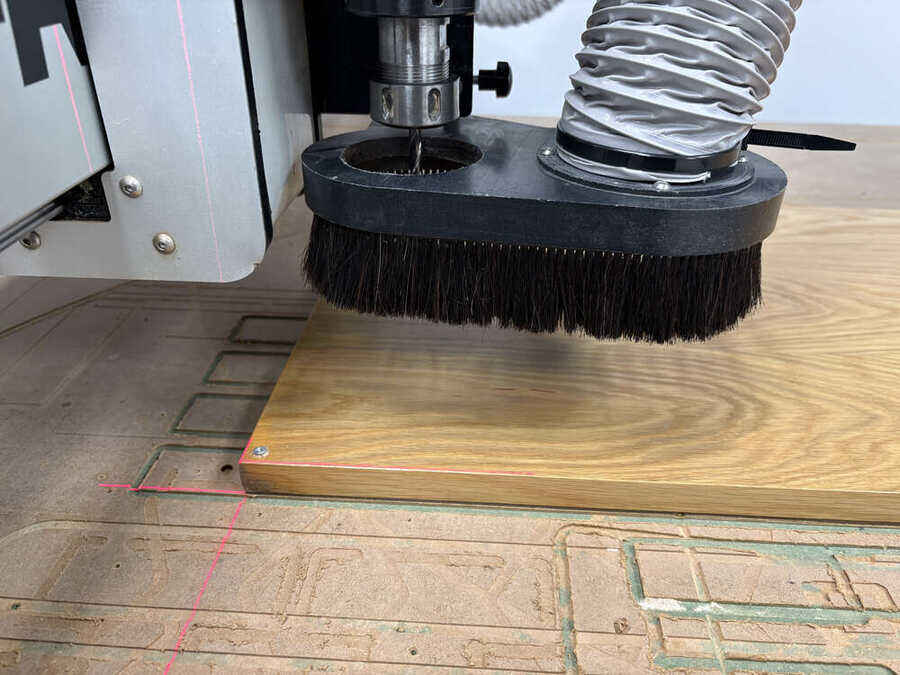
Starting to mill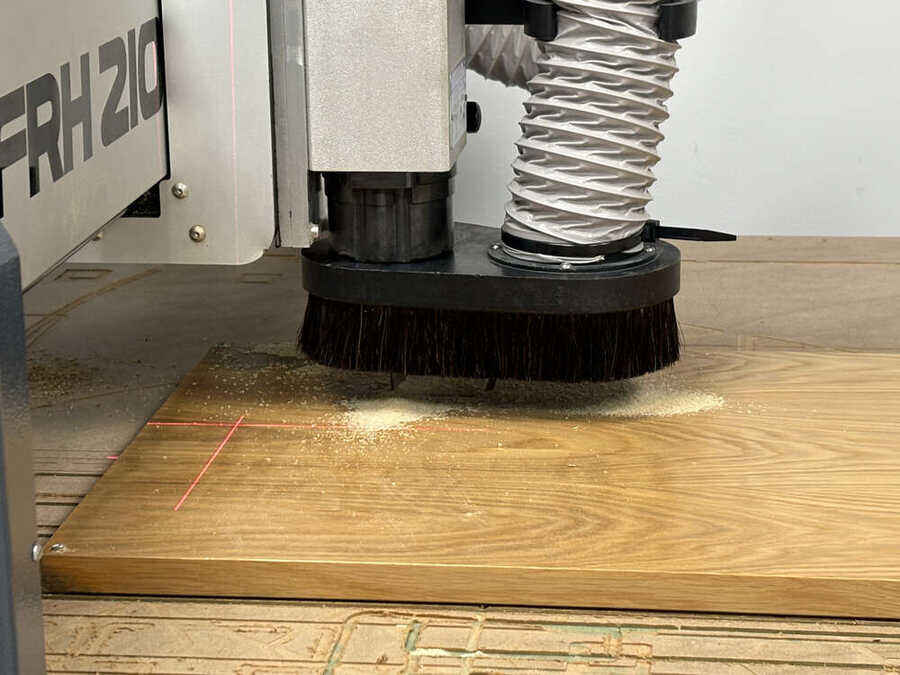
This is how it looks on the screen of the machine.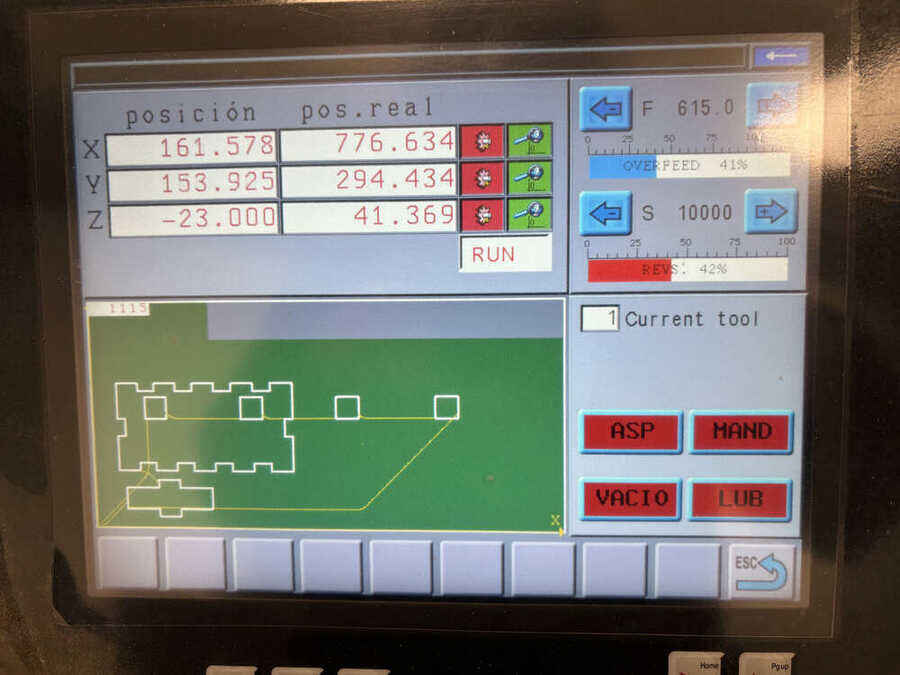
Board milled.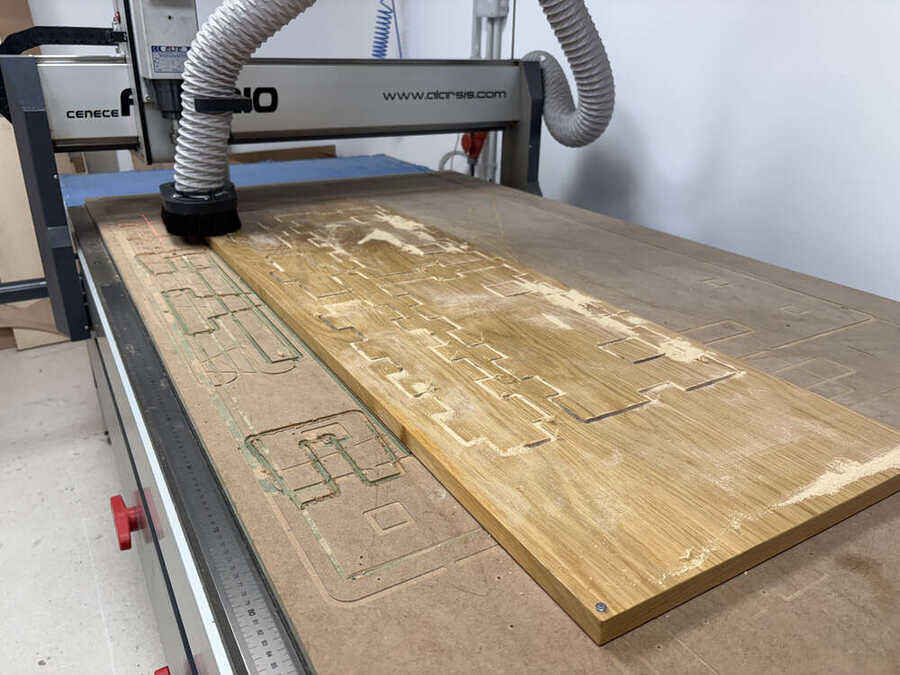
Board before vacuum cleaned, and also I took out the supports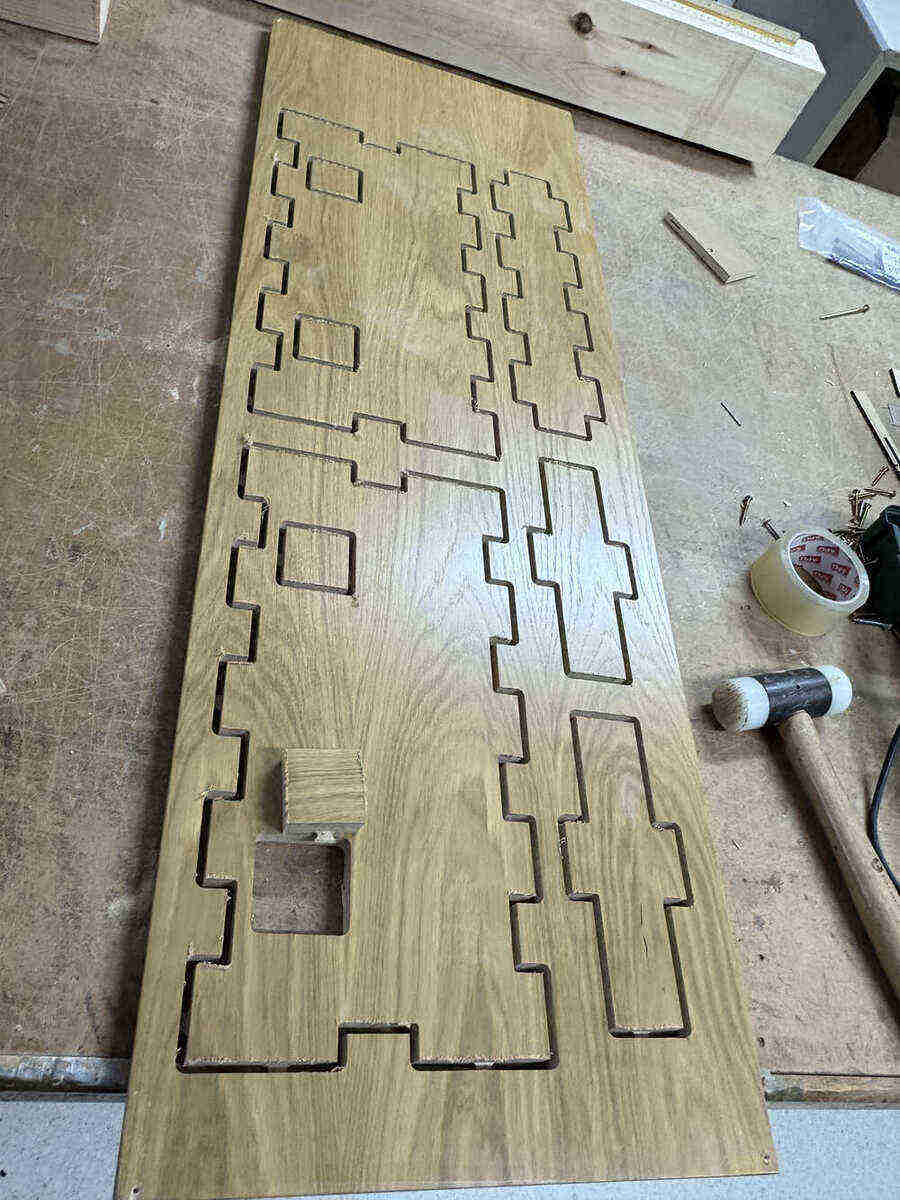
Final product assembled.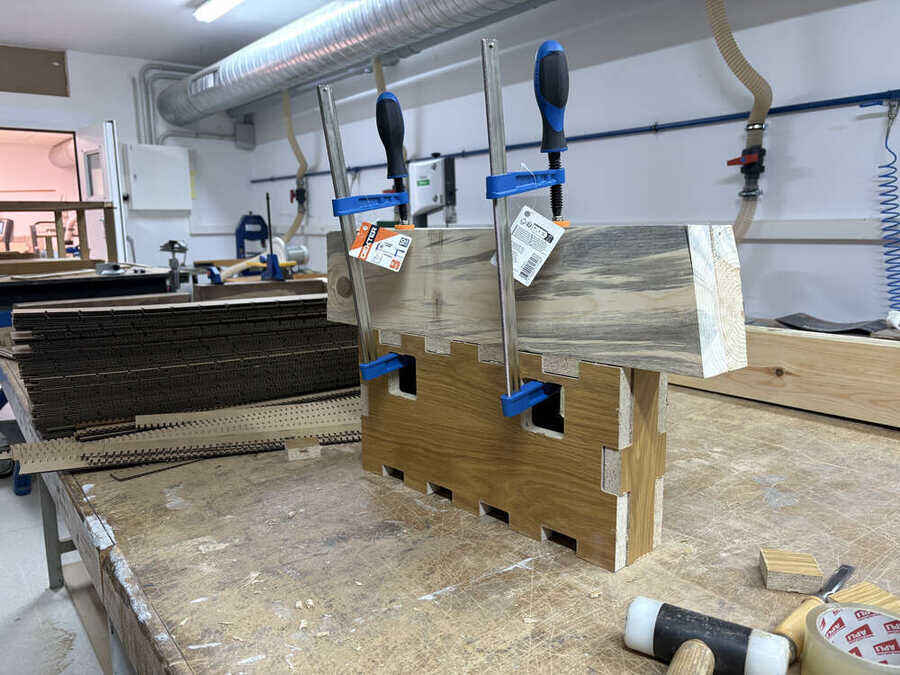
Learning Oucomes:
Throughout this experience, I gained valuable insights into CNC machine operation, emphasizing both technical skills and best practices for safety. I learned the importance of proper tool selection, configuring appropriate parameters such as ramps and passes, and consistently monitoring the machine’s movement to prevent errors. Additionally, conducting the kerf test helped me understand material tolerances and how slight adjustments can significantly impact precision. Finally, the process reinforced the importance of meticulous setup, including setting the correct X, Y, and Z coordinates, ensuring accurate and successful milling results.
Documentation
- Vcarve individual and grupal: .zip click here
- Grasshopper: .zip click here
- curves on .dxf: .zip click here