week 5 3D Scanning & printing
Group assignment:
Test the design rules for your 3D printer(s)
Individual assignment:
- Design and 3D print an object (small, few cm3, limited by printer time) that could not be made subtractively
- 3D scan an object (and optionally print it)
Resume:
For the group assignment, Pepe, an experienced 3D printer user, taught Pablo and me about the lab’s 3D printers, and we focused on characterizing the Prusa printer by conducting various print tests. In the individual assignment, I worked with ImageMagick to convert HEIC images to JPG and tested a 3D-printed joint for my final project, refining the design through sketches, boolean operations, and Prusa slicing parameters. I also explored 3D scanning using the Scanniverse app on an iPhone 16, successfully scanning, modifying, and exporting a model into Rhino. The documentation includes Arduino and Wokwi programming examples.
Group Assignment
For the group assignment on Thursday, Pepe who has a vast experience with 3D printing thought Pablo and me about the 3D printers we have at the lab, here is a picture of us learning about pruse:
Then Pablo and I took charge of characterizing the prusa printer.
For this we print various tests which can be seen on the group assignments in detail. Here is a resume of what we did in for the group assignment.
| Test | Image | Observation |
|---|---|---|
| Temperature | 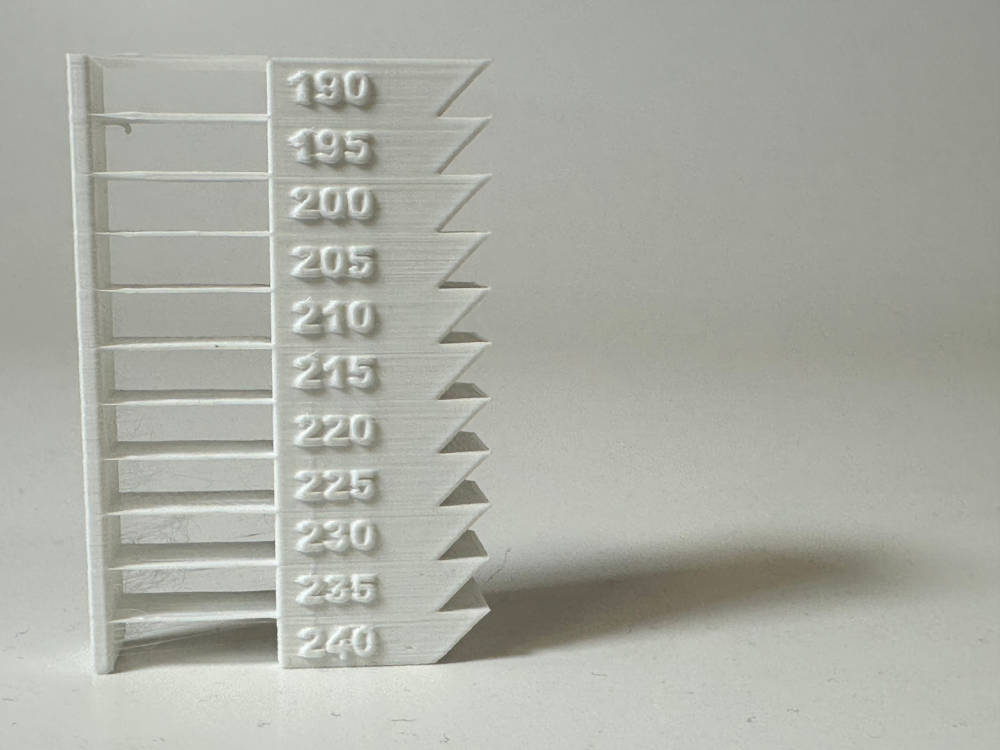 | From 200°C up to 220°C good result |
| Clearance |  | 0.2 is perfect last one didn’t move |
| Unsupported | 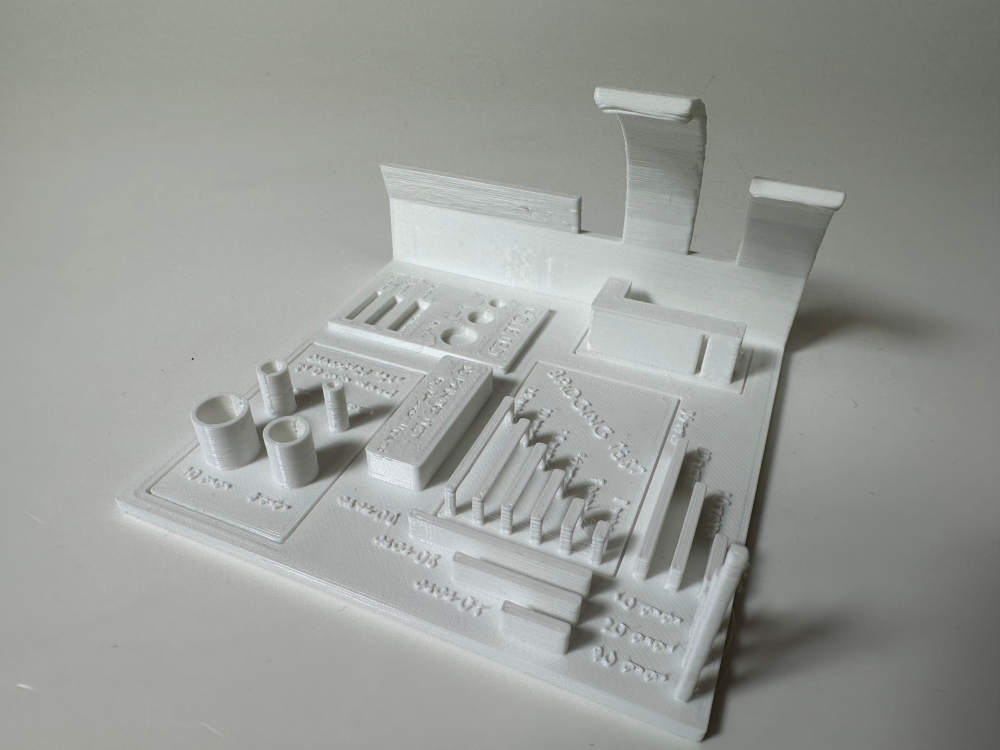 | Good result up to 35° |
| Overhang |  | Fail quick because it estruded too much material (0.3 mm layer height) |
| Clearance Fail |  | Didn’t turn on the support option |
| bridging | 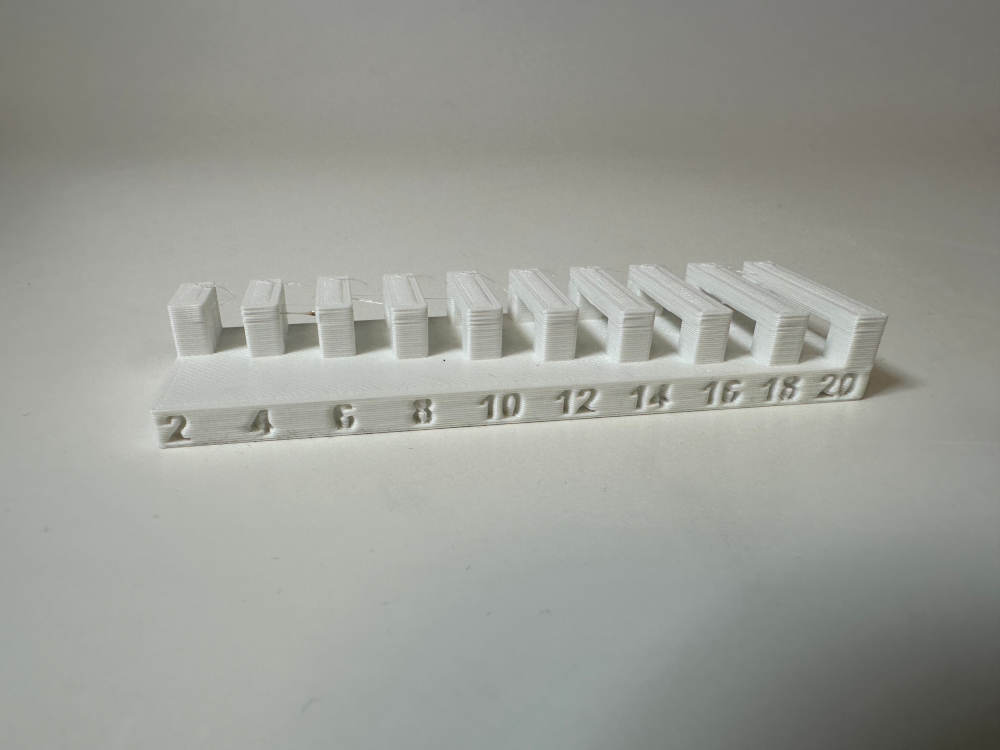 | maximus 12-14 mm |
Group learnings:
This week, we learned how to characterize the Prusa 3D printer by conducting various print tests, analyzing factors like temperature, clearance, overhangs, and bridging. We identified optimal printing settings and troubleshooting techniques to improve print quality. Additionally, we gained hands-on experience in evaluating print failures and adjusting parameters accordingly.
Individual Assignment
This week I decided to work with ImageMagick because Iphone export images in .HEIC format and I wanted to change all the images to .jpg The command magick mogrify -format jpg *.heic
3D printing
For the individual assignment this week I decided to test a part for my final project, which you can take a look in more detail here. I print the joints to see if it is a good option.
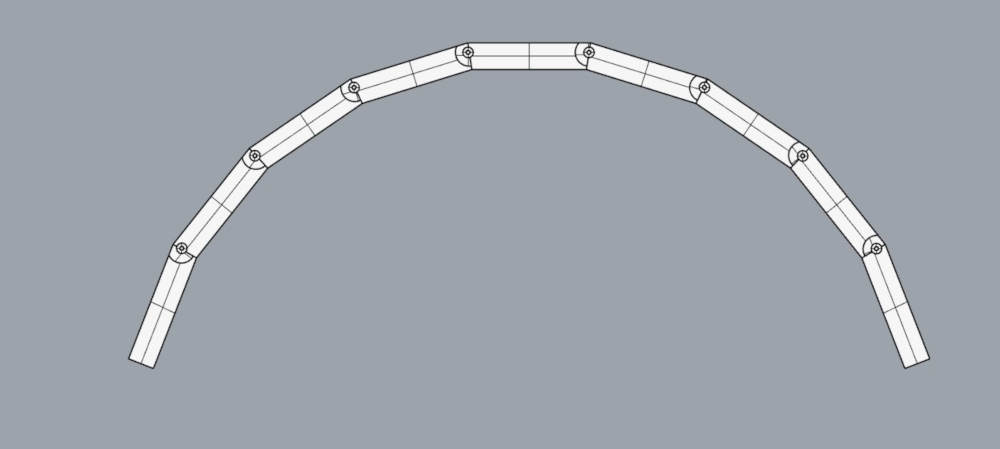
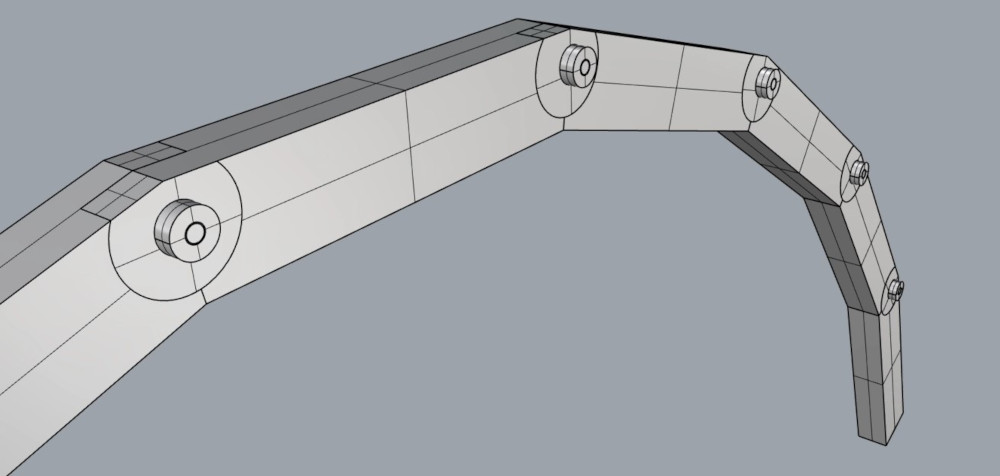
I did this by just adding cilinders, so it has actually a simple design
For this after a lot of thinking, what took my most of the time on Friday, I did several sketches


I wanted that the mechanism worked like you can see in the next image:
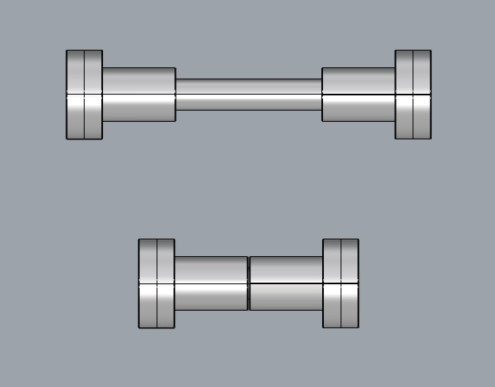
Finally I get one result:
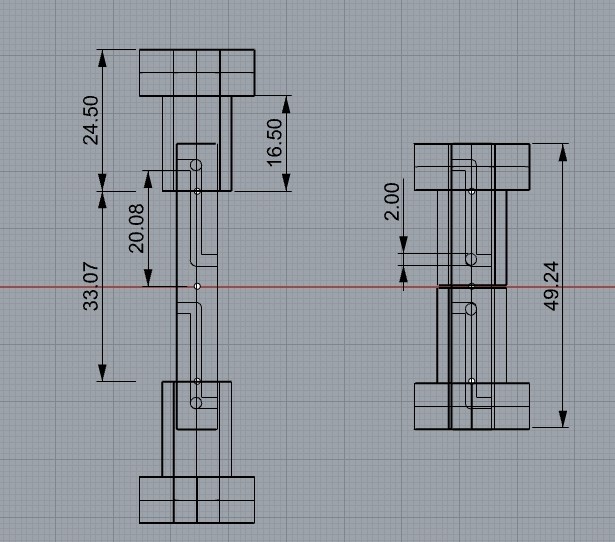
I did the boolean difference with the ‘_FlowAlongSrf’ command What it does is that lets you morph or wrap objects from a base surface onto a target surface while preserving their proportions relative to the surface. It’s useful for applying patterns, text, or complex designs onto curved surfaces

Once I got the solid I transform it to mesh using the command ‘_Mesh’ and the result is here
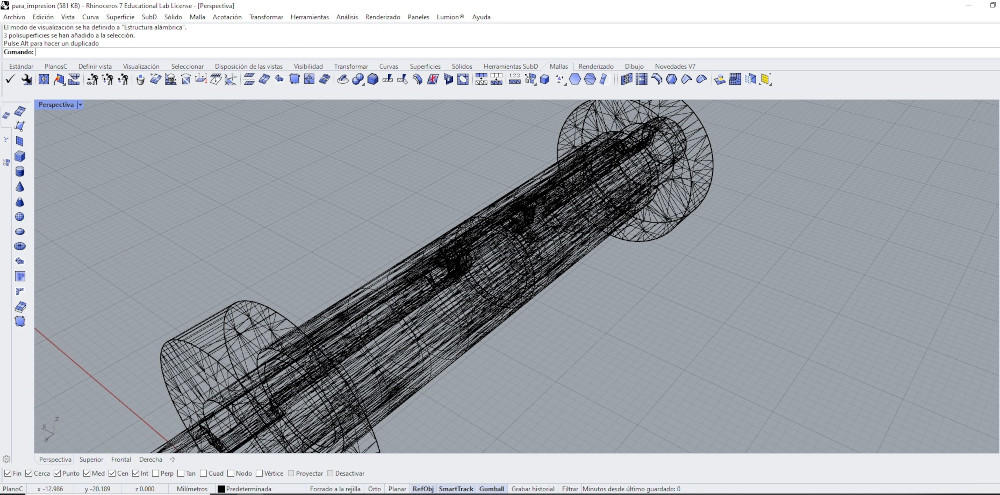
Then I _Export the selestec object in a .stl format and imported in prusa
Is important to notice that I used a generic PLA, and put support everywhere but controling the parameters it needed and a 10% of infill honeycomb.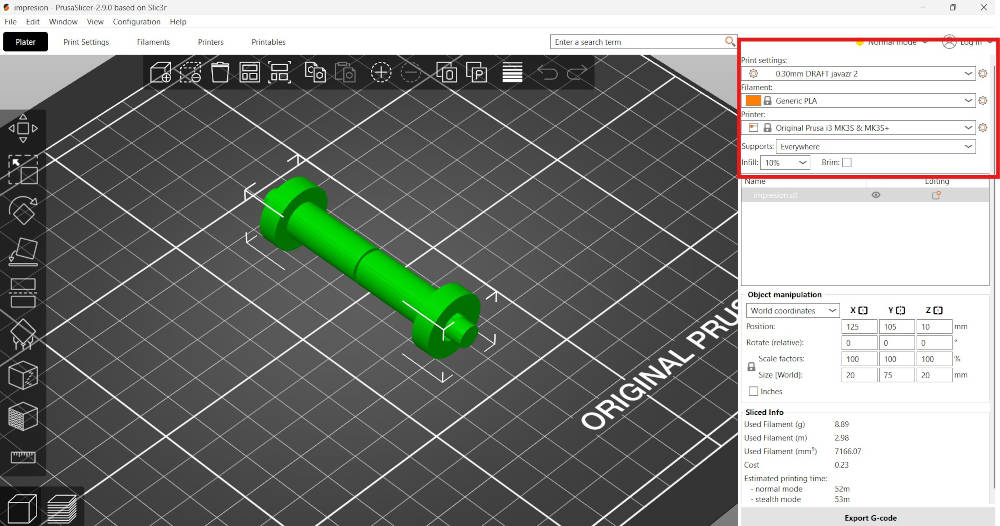
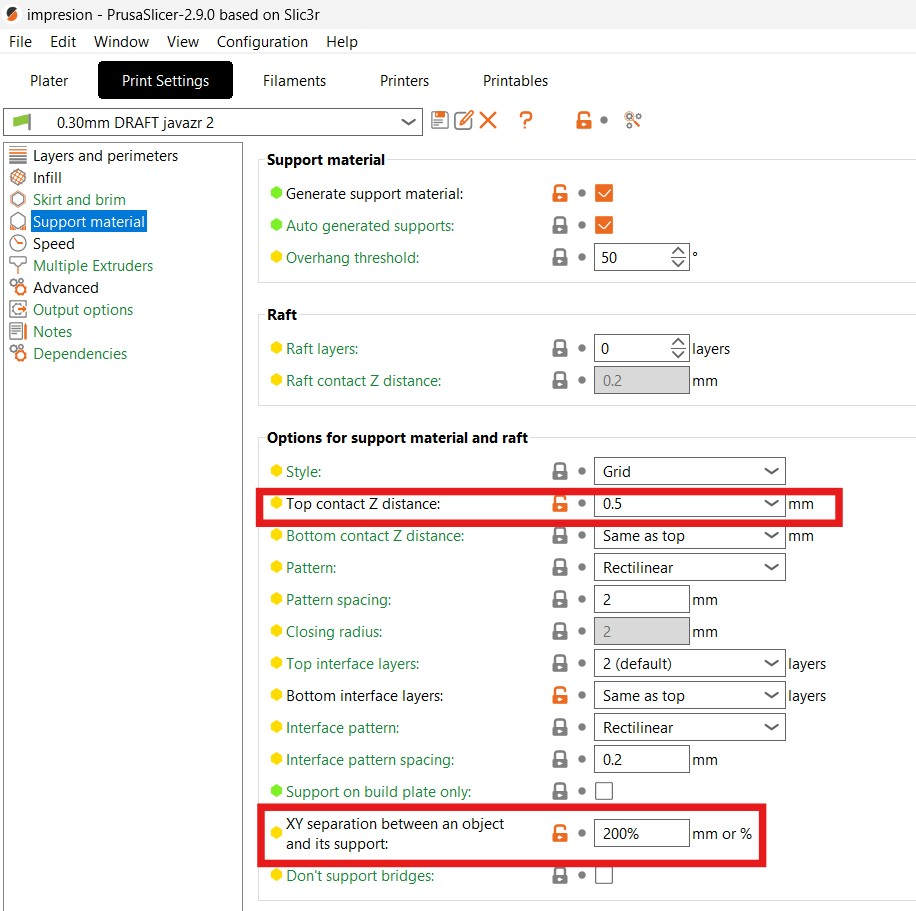
you can see in the following imges the parameters used.
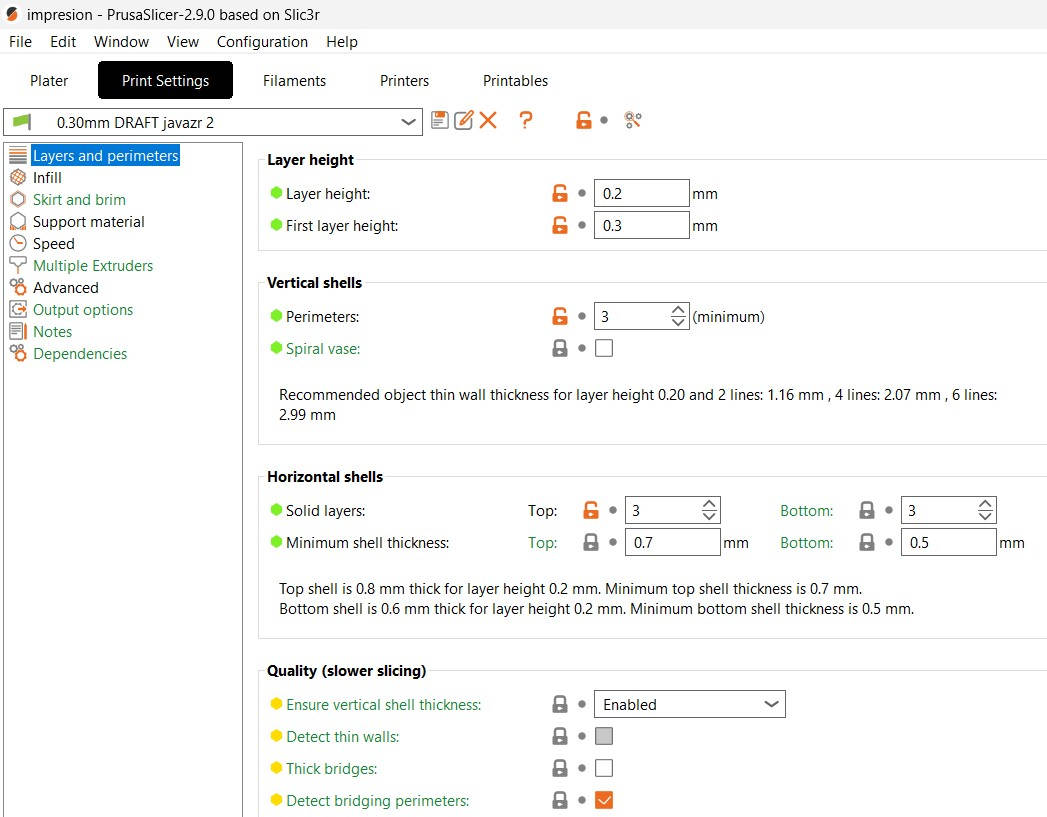
Notice that here eventhough 0,5 mm of distance seems a lot, actually with 200% of the second parameter works because I didn’t want to have support on the upper part
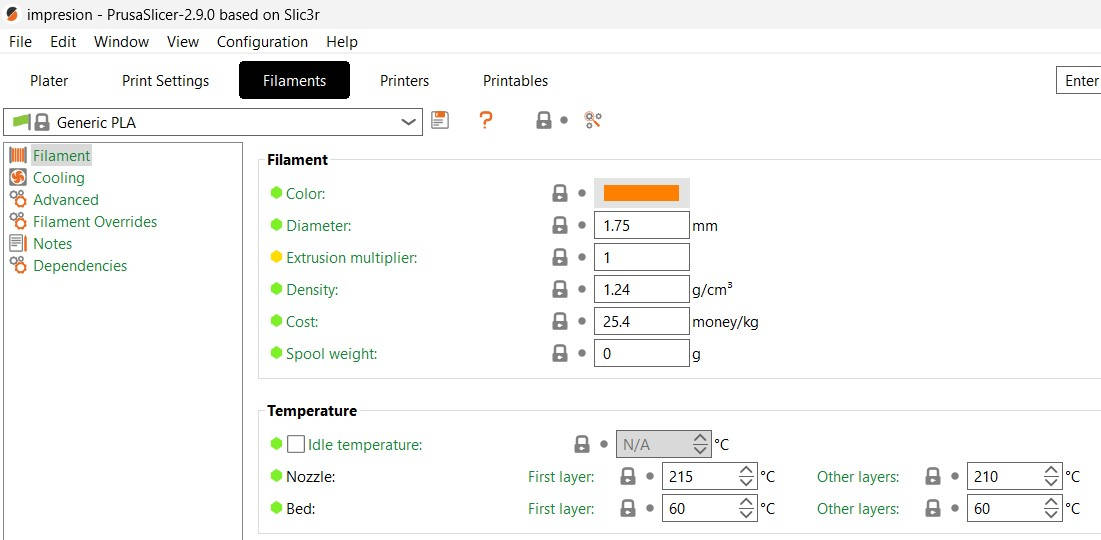
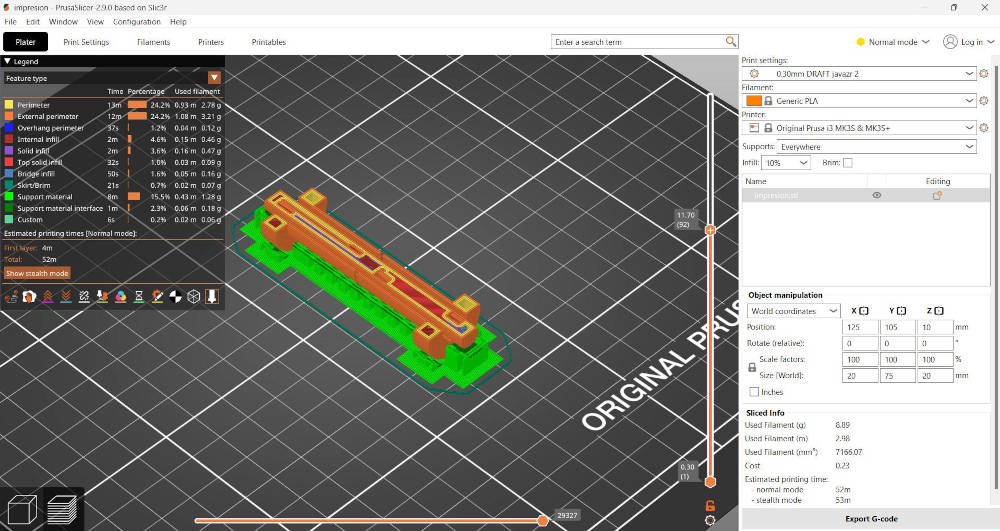
It took 52 minutes to print.
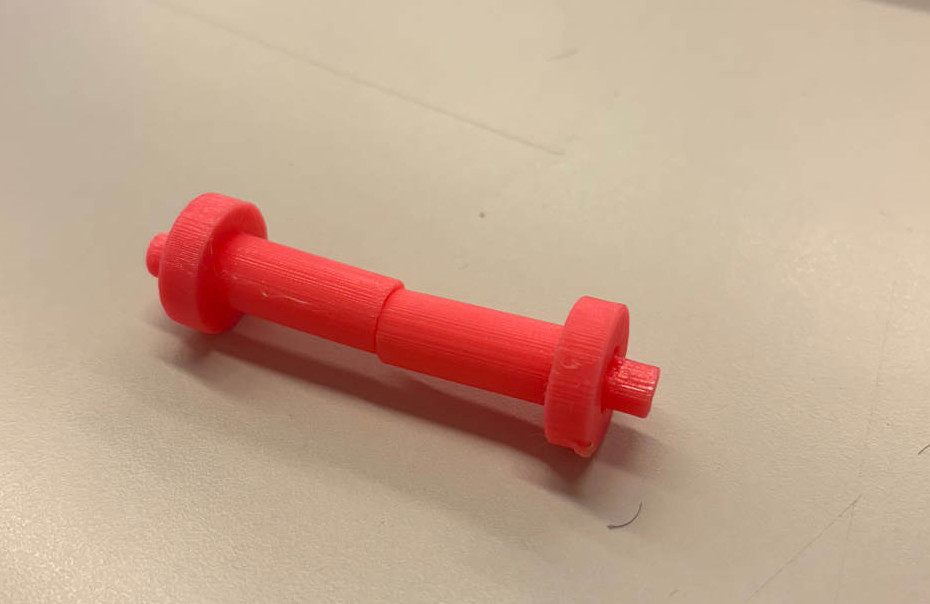
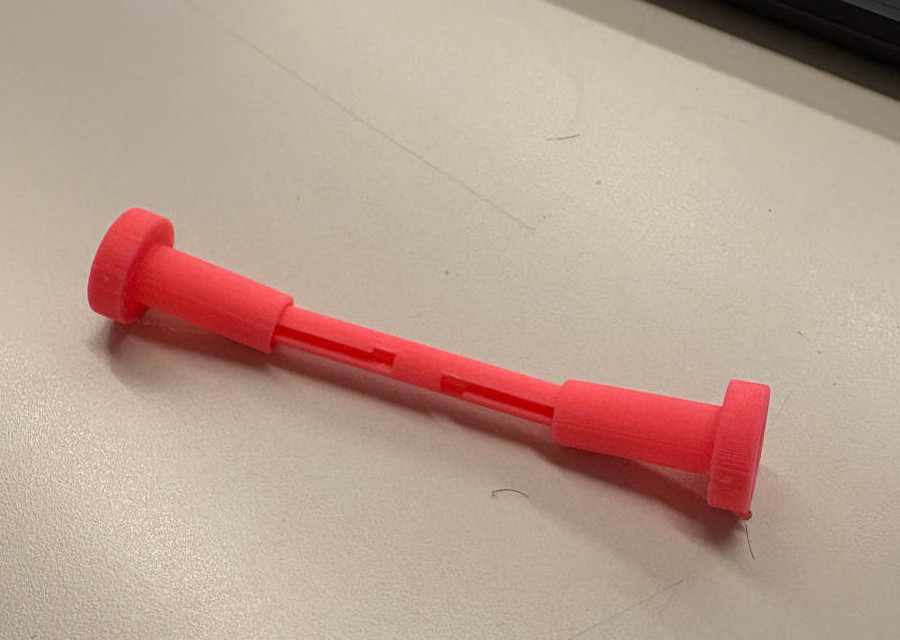
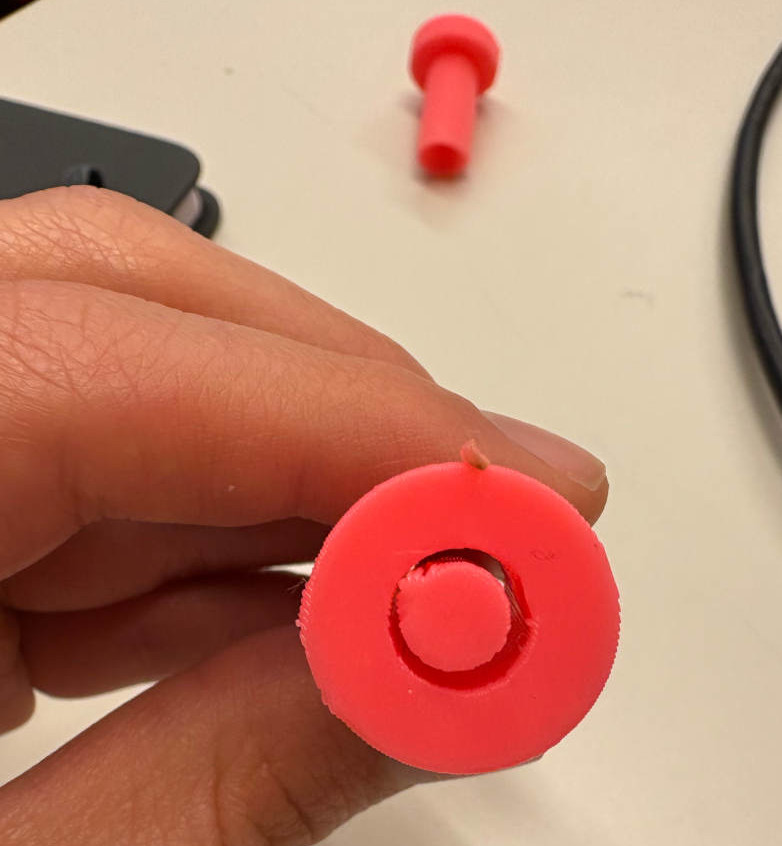
And the final result is here
Scanning
For scanning I downloaded an app Neil comented on class. It’s called Scanniverse. I used an iphone 16.
Then I scann a minirobot we have at the lab following the app instructions which are very easy and well explained
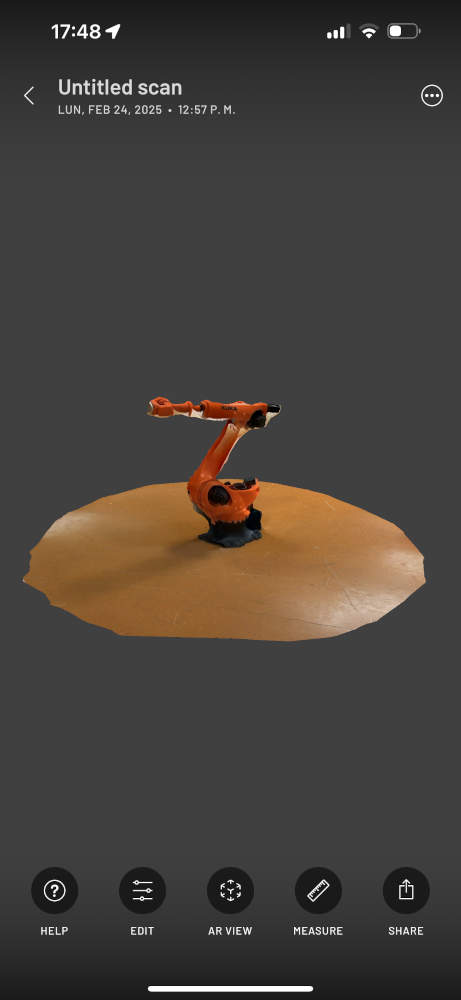
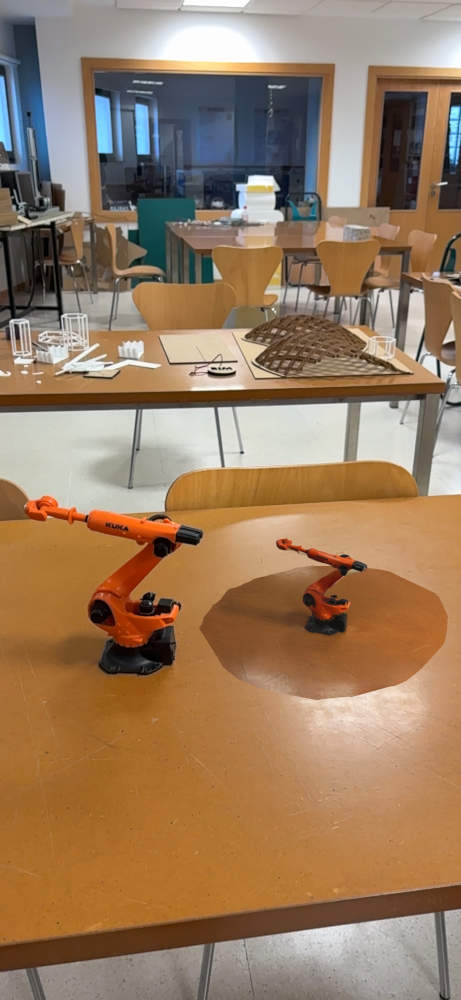
The result you can look here at a 1:2 scale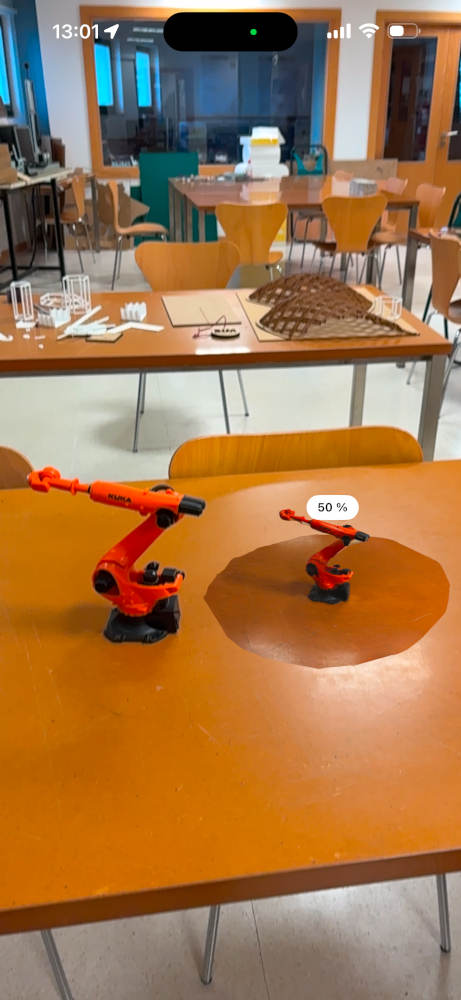
Then I modify the area that has the robot so I take out the floor which looks very bad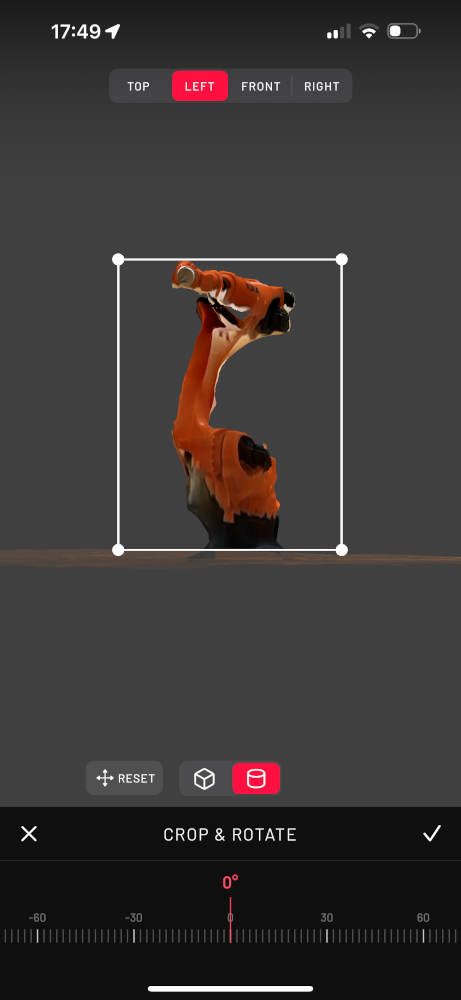
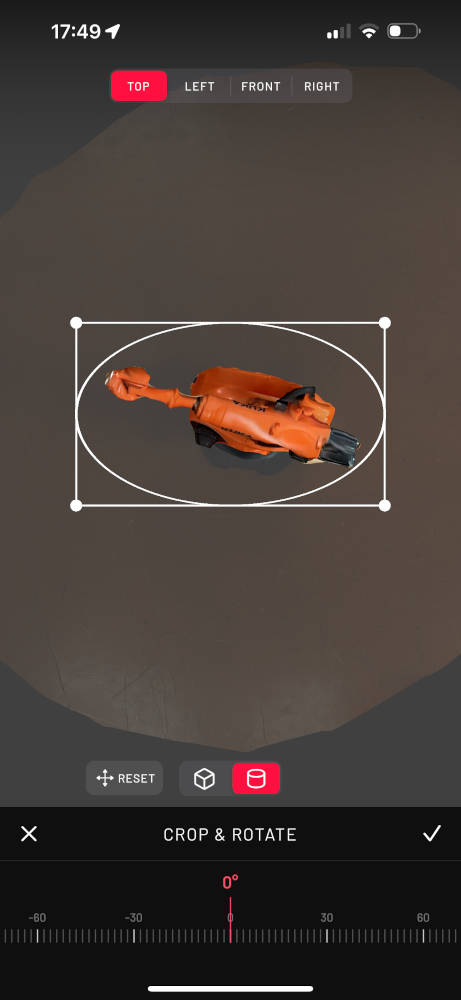
The result is here: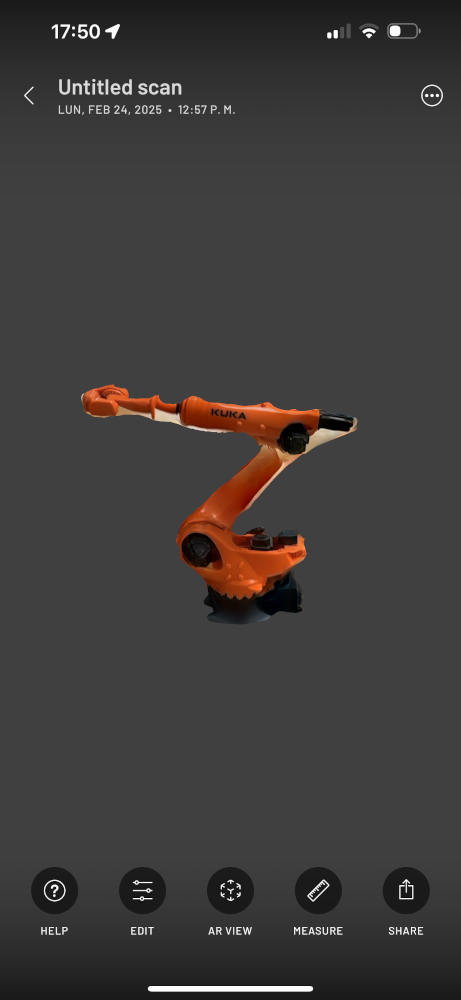
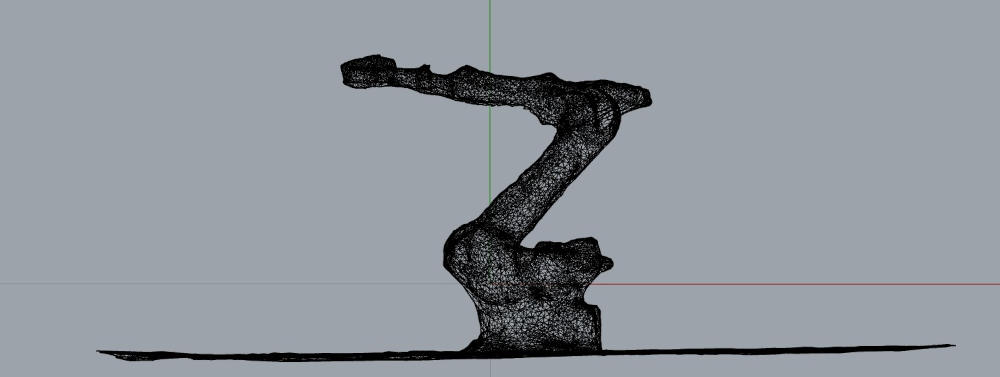
Amzaed by the result finally I export it as an .stl and import it in rhino. It worked well.
Learning Oucomes:
This week, I learned how to characterize a 3D printer by testing temperature, overhangs, bridging, and clearance to optimize print quality. I improved my design process by iterating through multiple sketches and refining the model using boolean operations and surface transformations. I also explored 3D scanning with the Scanniverse app, successfully capturing and modifying a model before importing it into Rhino. Additionally, I worked with ImageMagick to convert HEIC images to JPG and gained insights into optimizing slicing parameters in Prusa for better print results.
Documentation
- Files: .zip click here
- Files: .zip click here