week 14 Moulding and Casting
group assignment
- review the safety data sheets for each of your molding and casting materials,
- then make and compare test casts with each of them compare mold making processes
individual assignment
- design a mold around the process you’ll be using, produce it with a smooth surface finish that does not show the production process toolpath,
- use it to cast parts
Group Assignment
The link for the group page at ETSAC is the following link
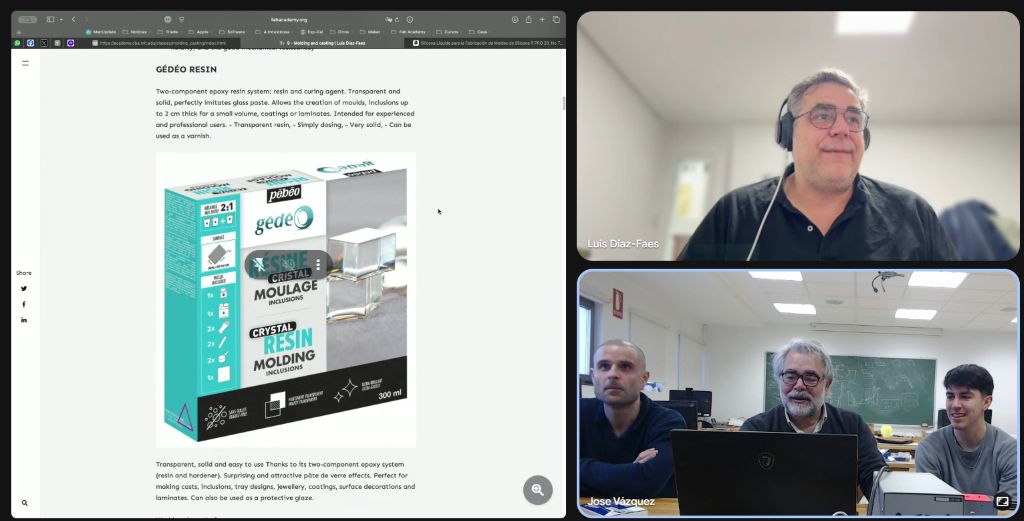
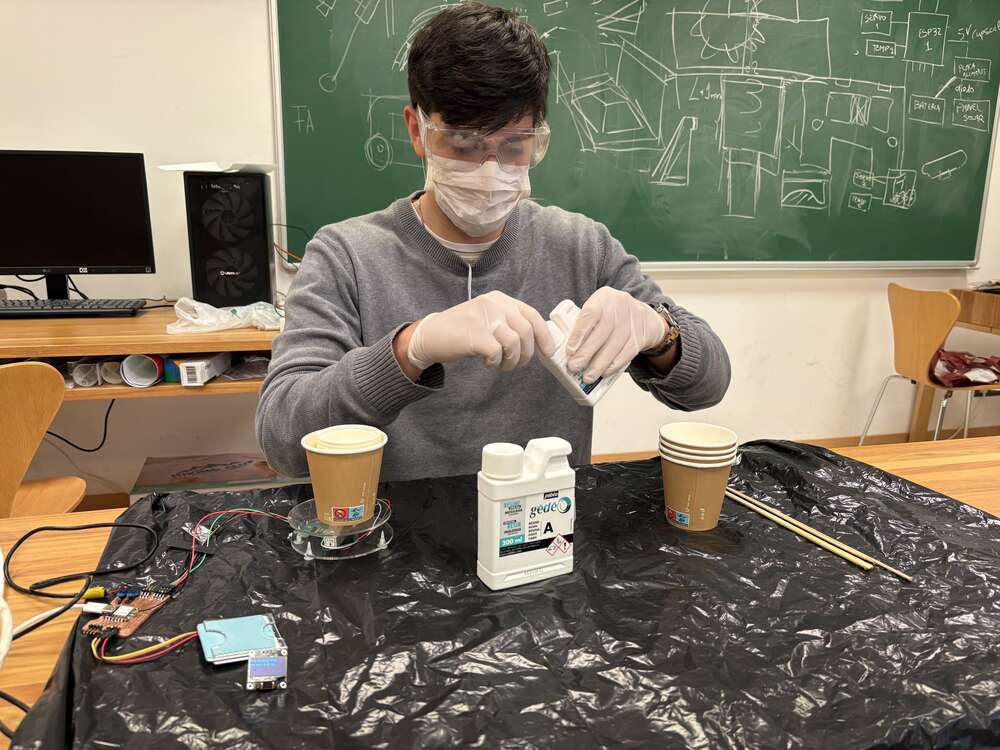
This week with our instructor Luis Díaz we had classes in order to complete the first part of the goup assignment, he taught us about the safety to work with this materials and how we should work each of them.
This week, we learned about three key materials used in professional moldmaking and casting processes:
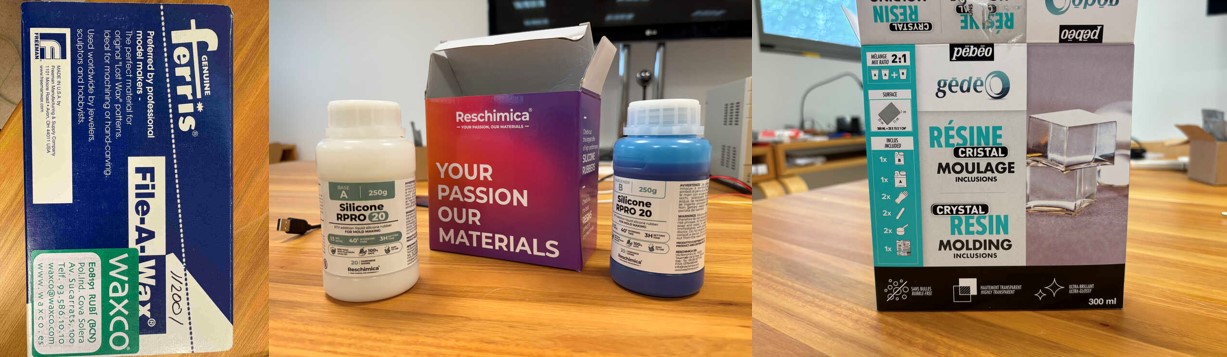
Ferris File-A-Wax – A professional-grade carving wax used in the lost wax casting process. It can be hand-carved or machined to produce highly detailed models like rings or pendants. It comes in several colors, each with a specific hardness and flexibility. For manual carving, the blue wax is ideal due to its softness and excellent flexibility, while orange and gold types are better suited for CNC machining.
Silicone RPRO20 – A high-performance, platinum-cured addition silicone from Reschimica. It cures at room temperature in about 3 hours, with 0% shrinkage. Its low viscosity and elasticity make it perfect for capturing fine details. It’s widely used in moldmaking and ceramics because of its strength, durability, and ease of demolding.
GÉDÉO Epoxy Resin – A two-part epoxy resin system used for casting, coating, and decorative inclusions. It has a working time of 1 hour 45 minutes and cures fully in 18–24 hours. The final result is a transparent, solid surface similar to glass. It’s ideal for jewelry, trays, and artistic applications, but requires careful mixing and safety precautions.
We also reviewed technical specifications of Ferris waxes and learned how factors like hardness, flexibility, and melting point influence their suitability for hand carving or CNC work. We now understand which materials to choose based on the fabrication method and level of detail required in a project.
Individual assignment
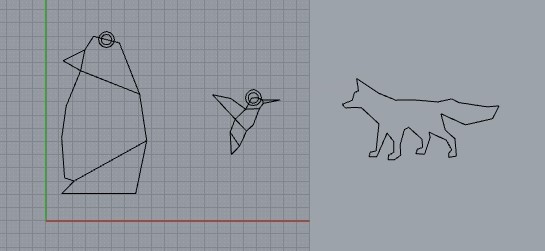
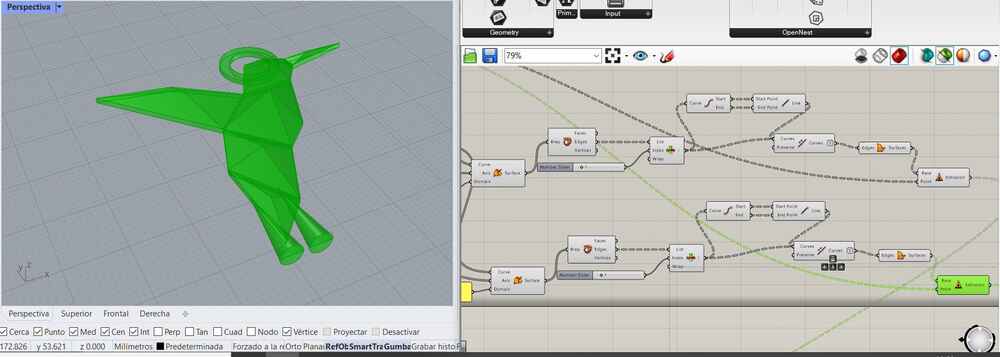
For my individual assignment I used grasshopper to do a keyring, which with a 2D siluette the program automatically will do the 3D model.
To accomplish the task first I draw the 2D curve like the following image.
Then I have took the centroid of each polygon and extrude to one side with a variable that change the height of each point.
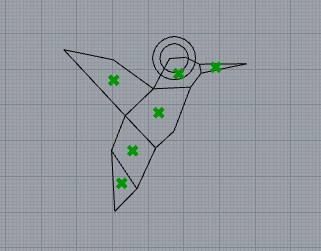
Then I generate the surface of the figure conecting each 2D point with the 3D points to have a origami look like figure.

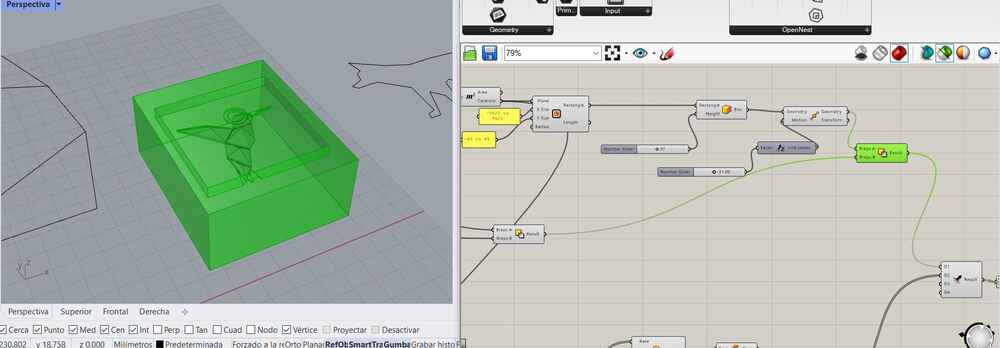
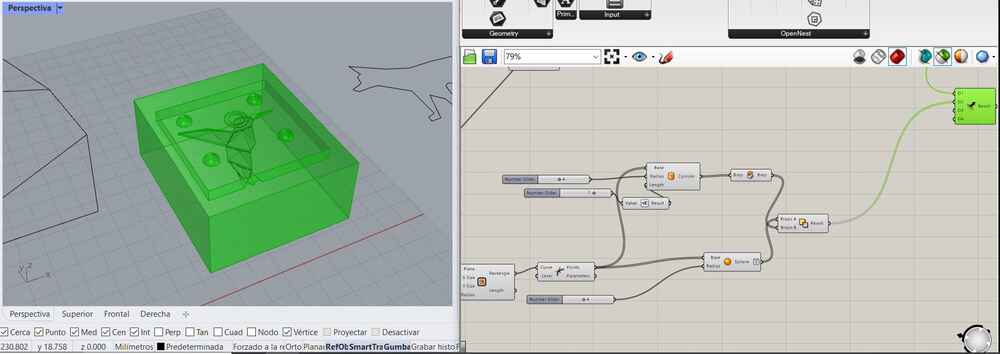
Then I add the cones where the sylicon will be verted, also parametrized so if there is any error I can change it with ease.
Then I did the box whith a boolean difference that contains the figure and the mould.
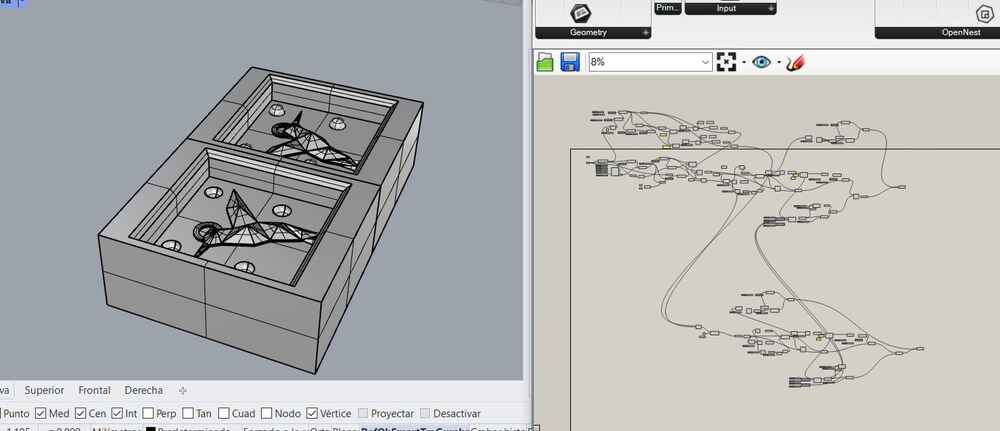
Finally, I did the details so both parts match and a little inclination on the top so the sylicon is taken out easily.
Last, I did the other part with a mirror onto a middle plane.
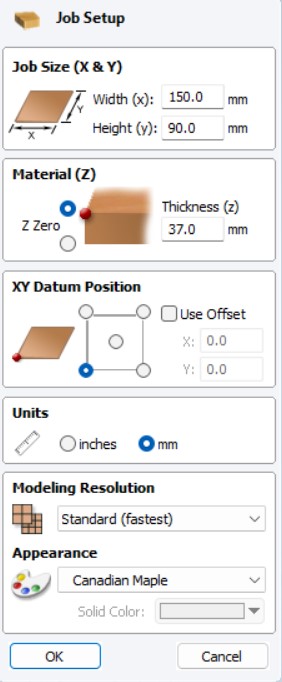
VCarve
First, input the dimensions of the part.
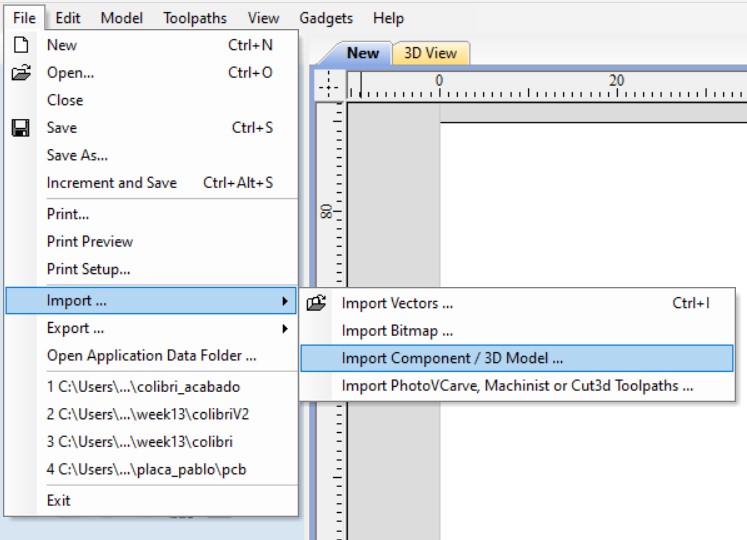
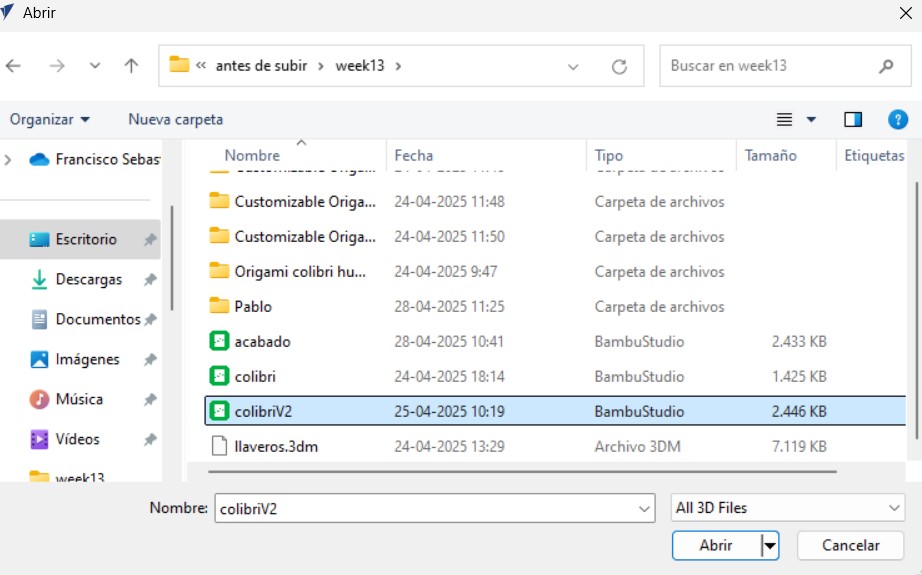
Then I imported the .stl fill
Then, I had to configure the material and the part.
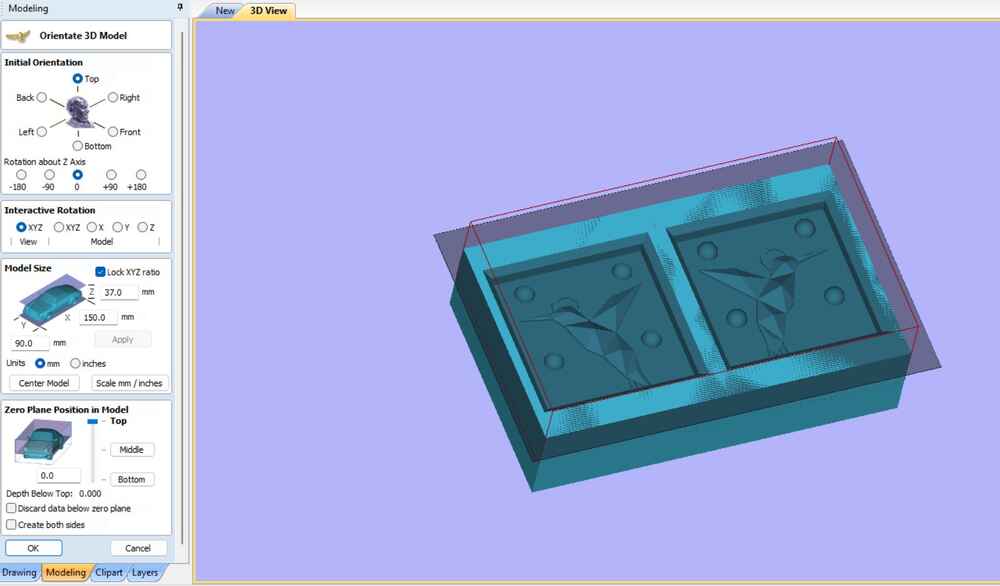
Then, I draw the work zone
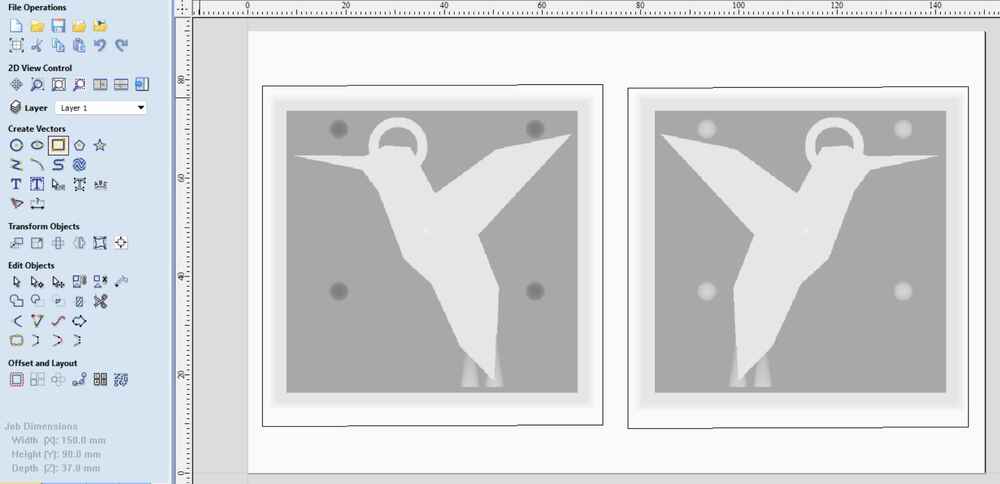
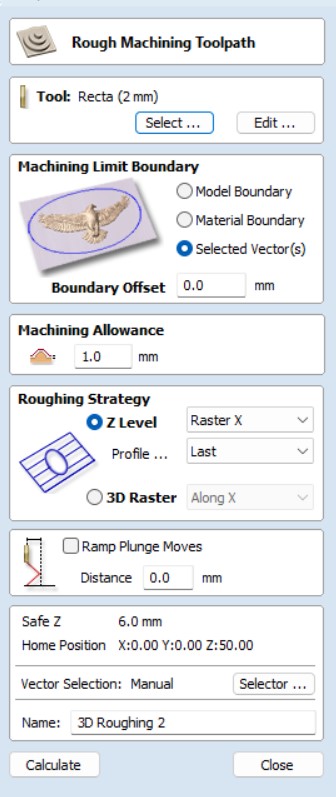
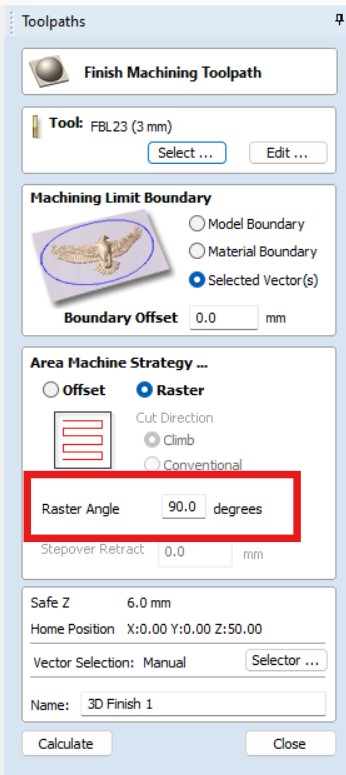
Last I configure the 3 jobs: one rough machining and two finishing machine on 0 and 90 degrees angle.

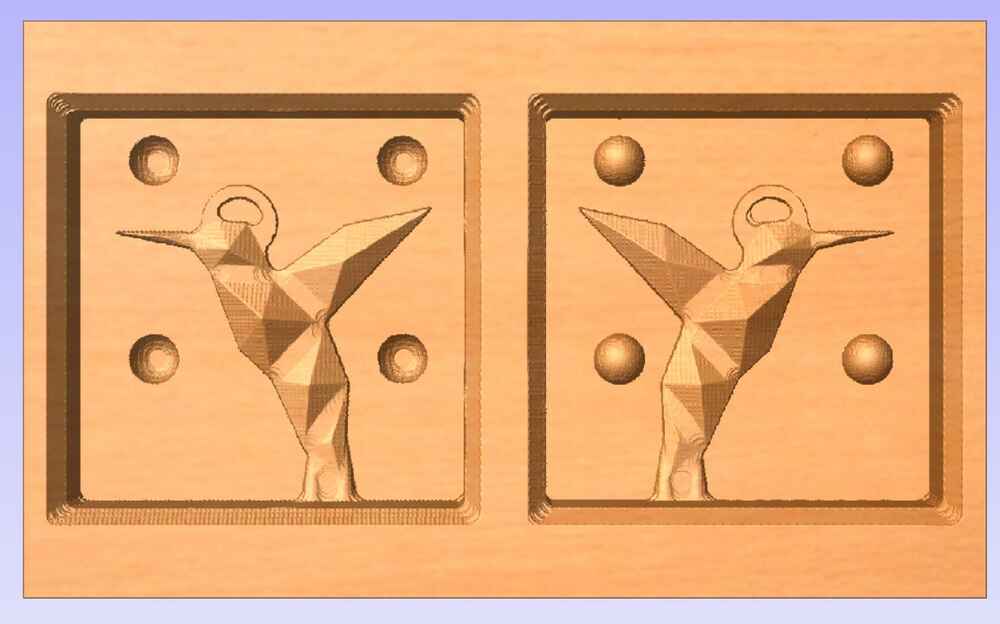
Finally here is the result of the program.
I did the machining explained on week 7: Controlled Machine Cutting
First, I did a foam test. to support the material I did a frame with the laser machine.
Here is the result
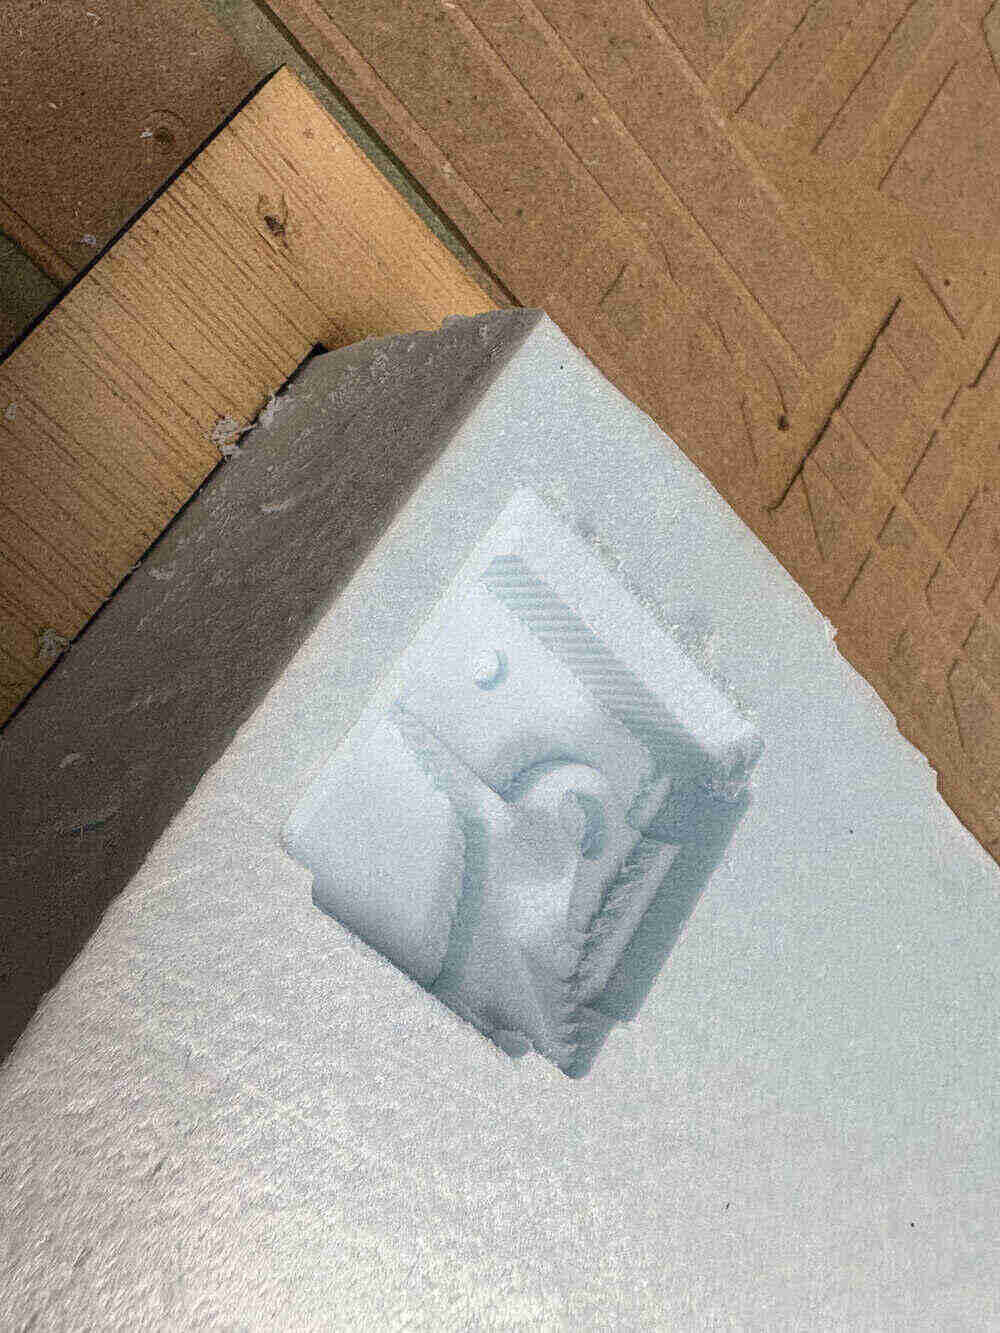
The result showed some points to imporve:
- the point to assemble the parts had to be bigger because the tool didnt enter properly.
- the figure was very wide.
Also showed some good points:
- The parameters of the milling were apporpiate. There were
feed rate: 300 mm/min Plunge rate: 200 mm/min Spindle speed 7000 r.p.m
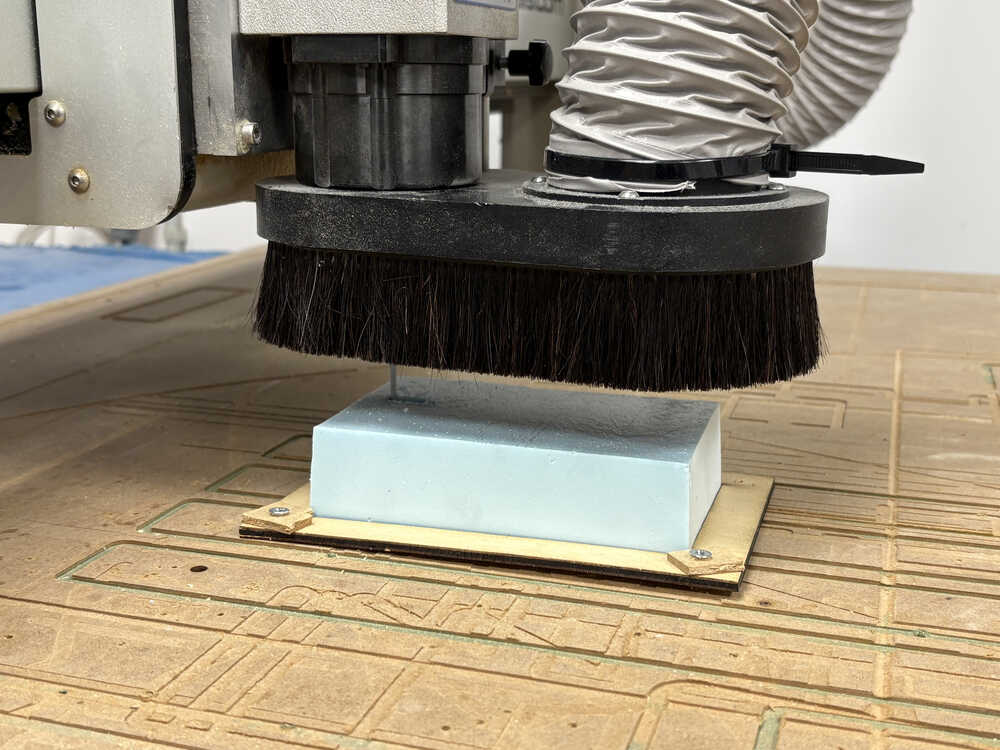
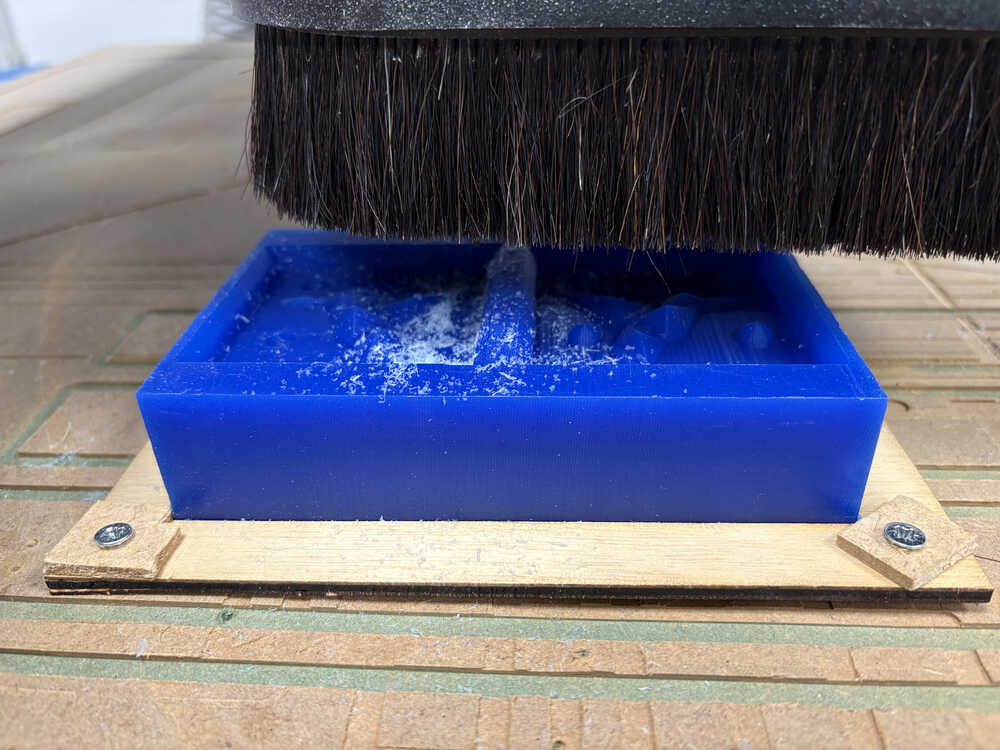
Once those errors were fixed I tried on the wax with the same parameters.
This time I put Double-sided tape so the connection between the material and the board has more strength.

The result is shown in the following image.
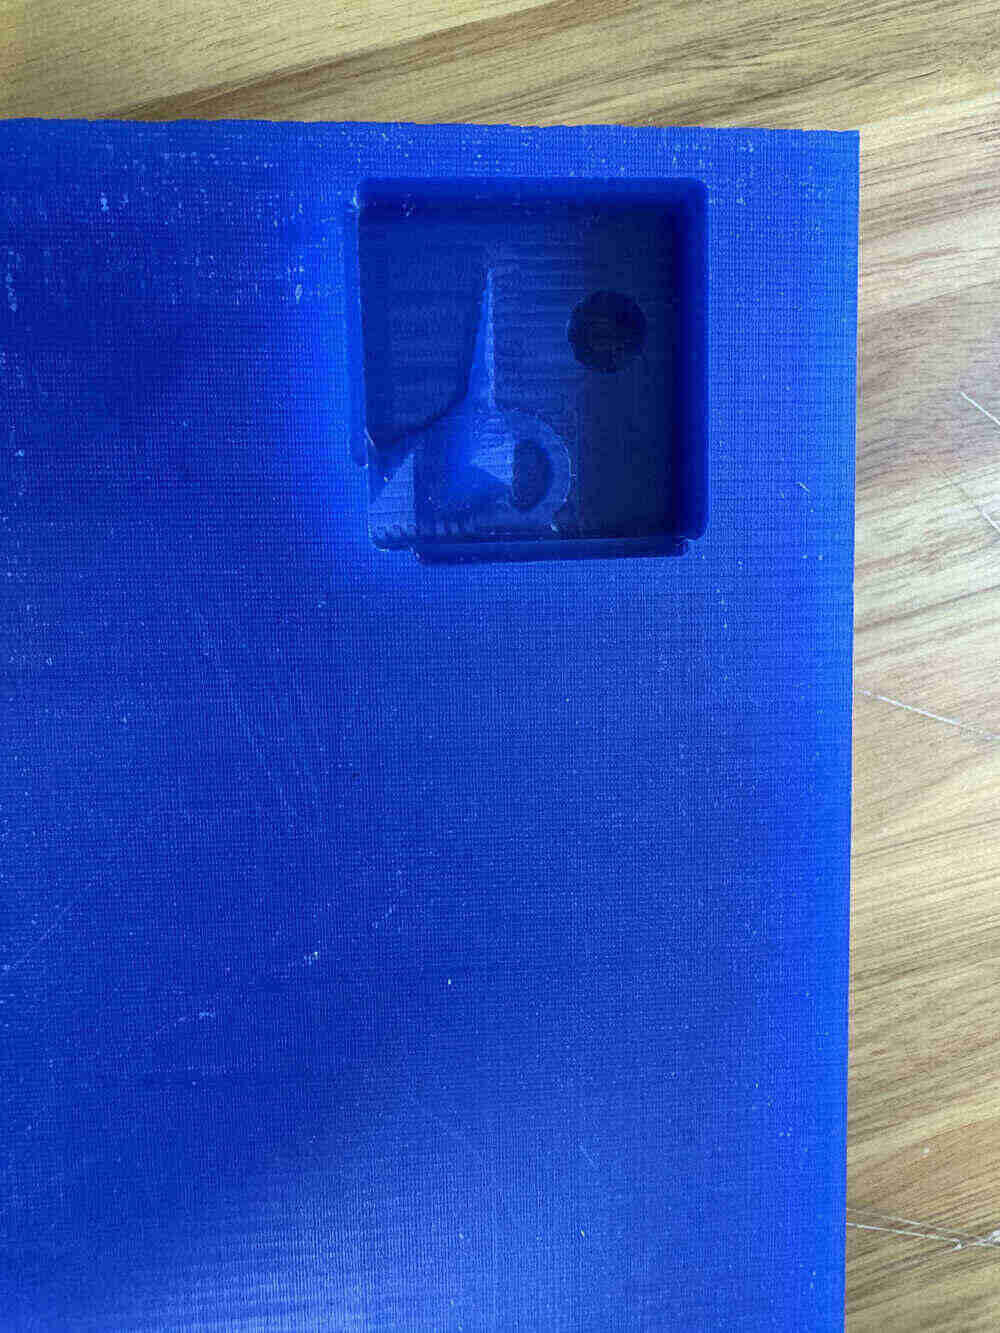
I turn the wax and did the job on the clean face.
I wanted to do the details with a engraving tool.
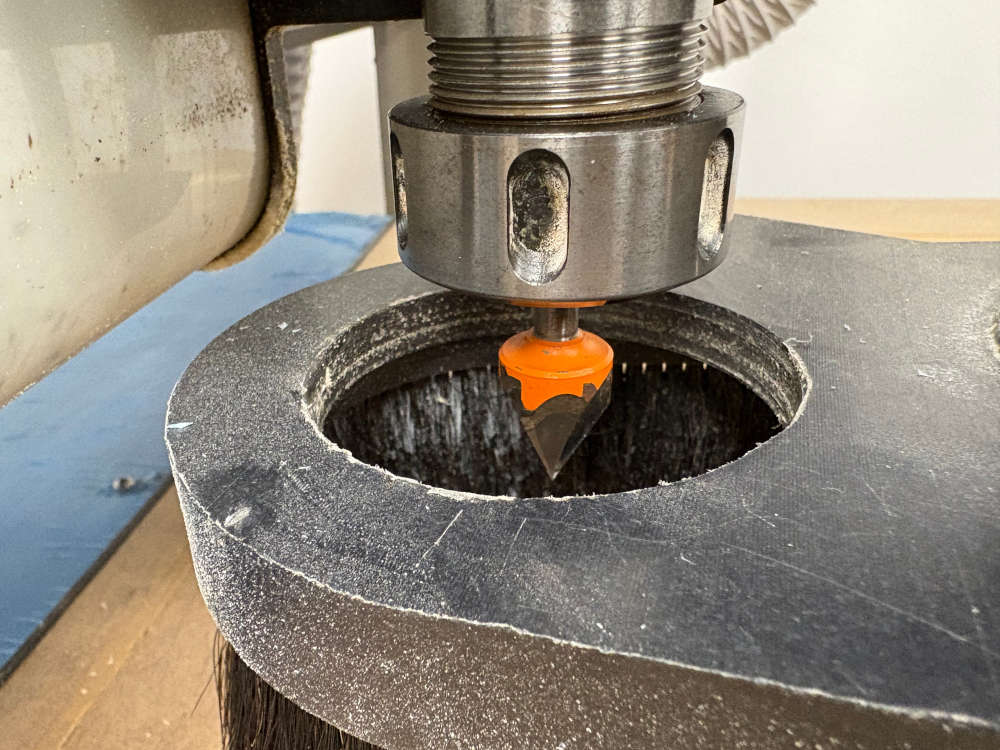
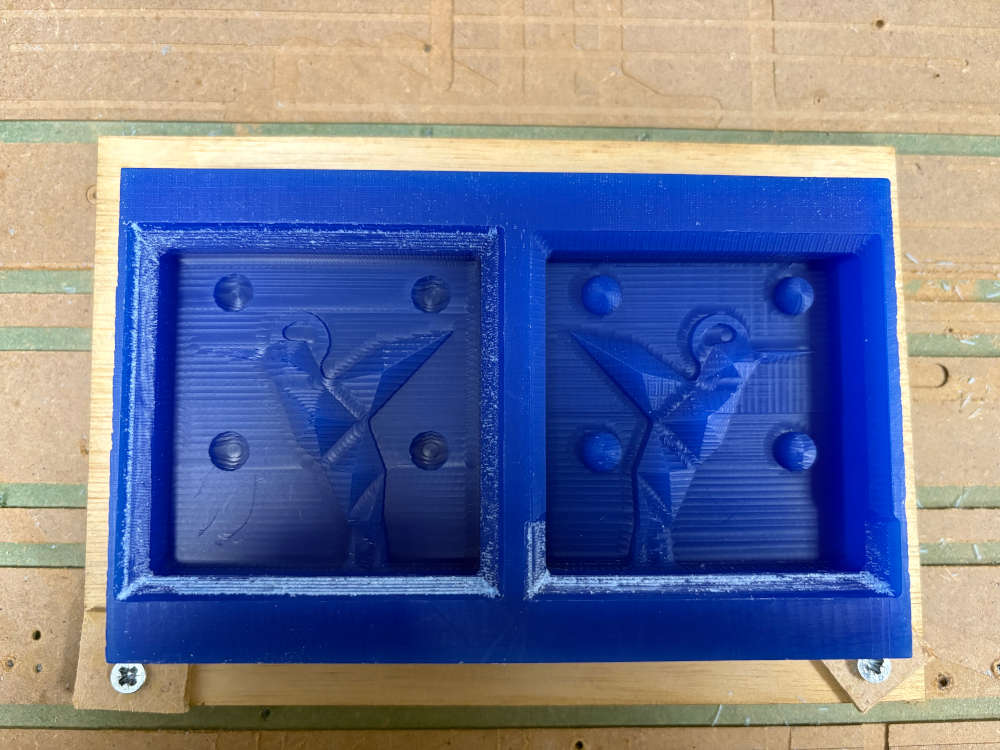
I was specting another result but the reality was the following:
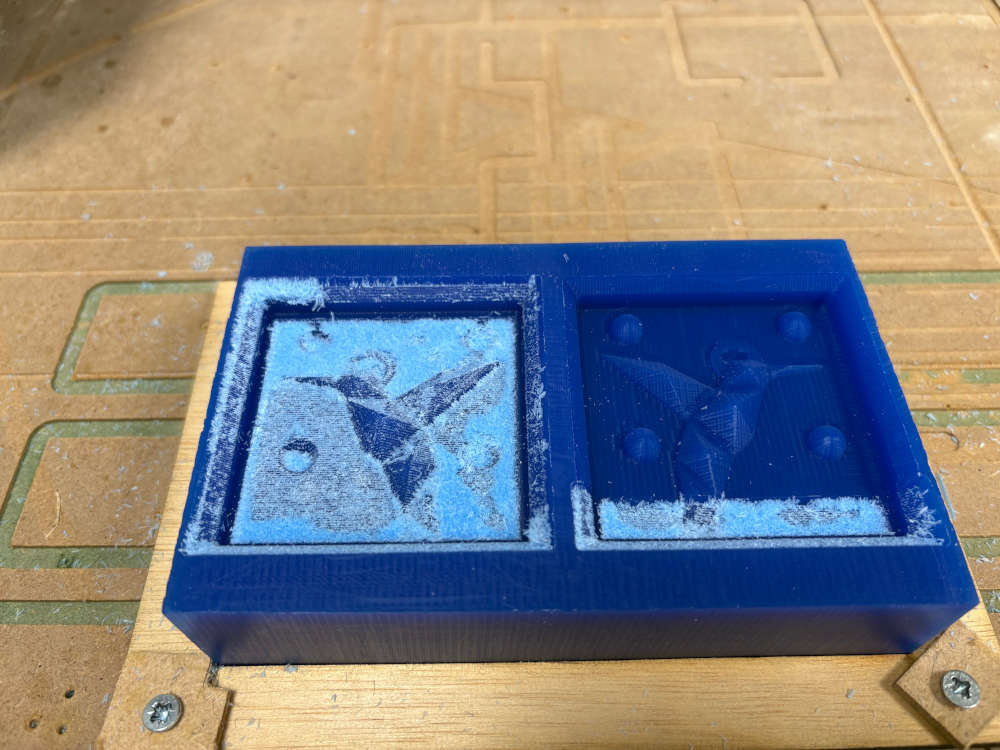
Also at this time happened that there was a massive power outage in Spain so I couldn’t continue working until wednesday morning when I resume the work with the straight bit. This was the result.
Mold and cast
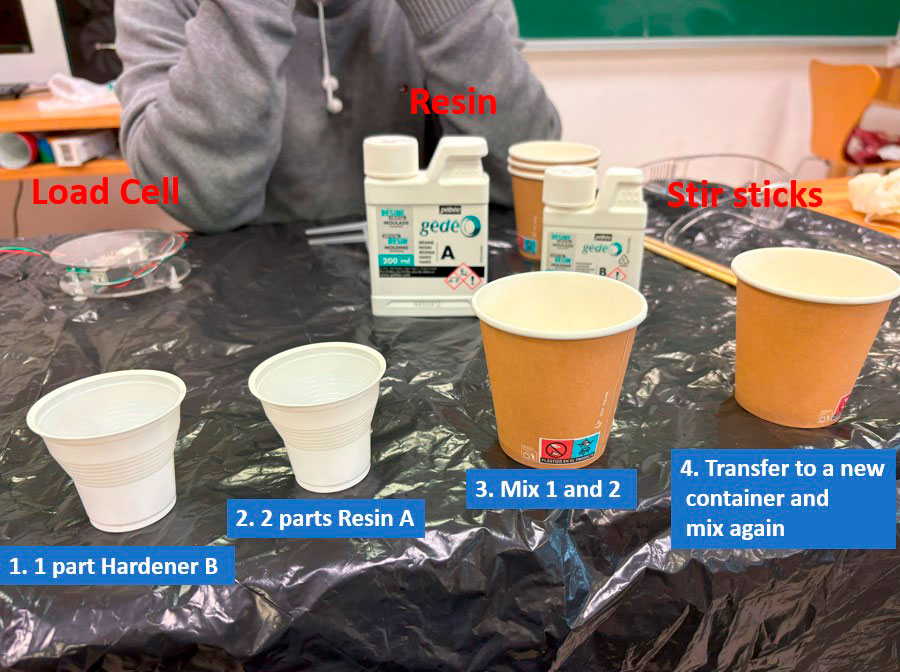
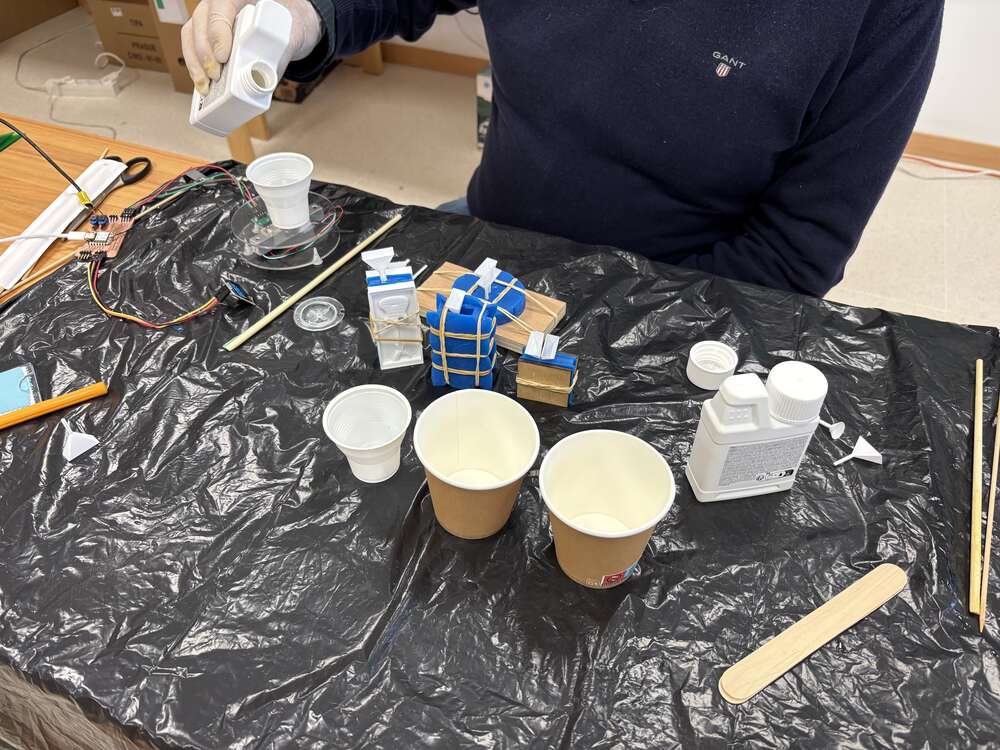
For the resine mold first I did the mix as it is documented on the group assignment
The resume of the instrucitons are in this image.
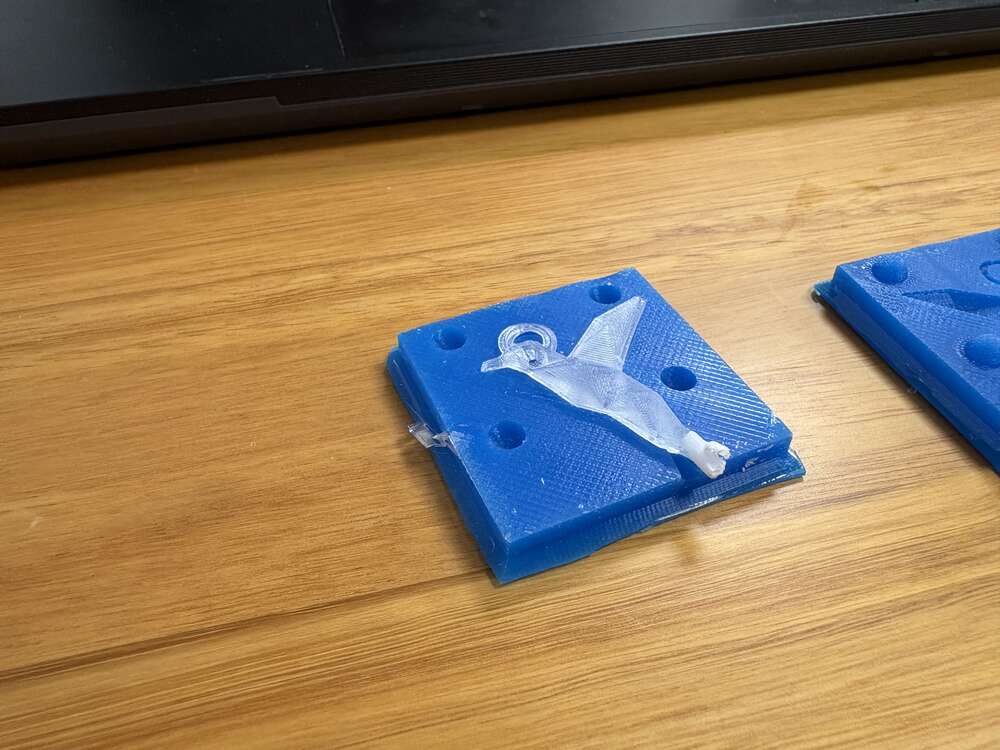
The pour it on the 3d printed mold
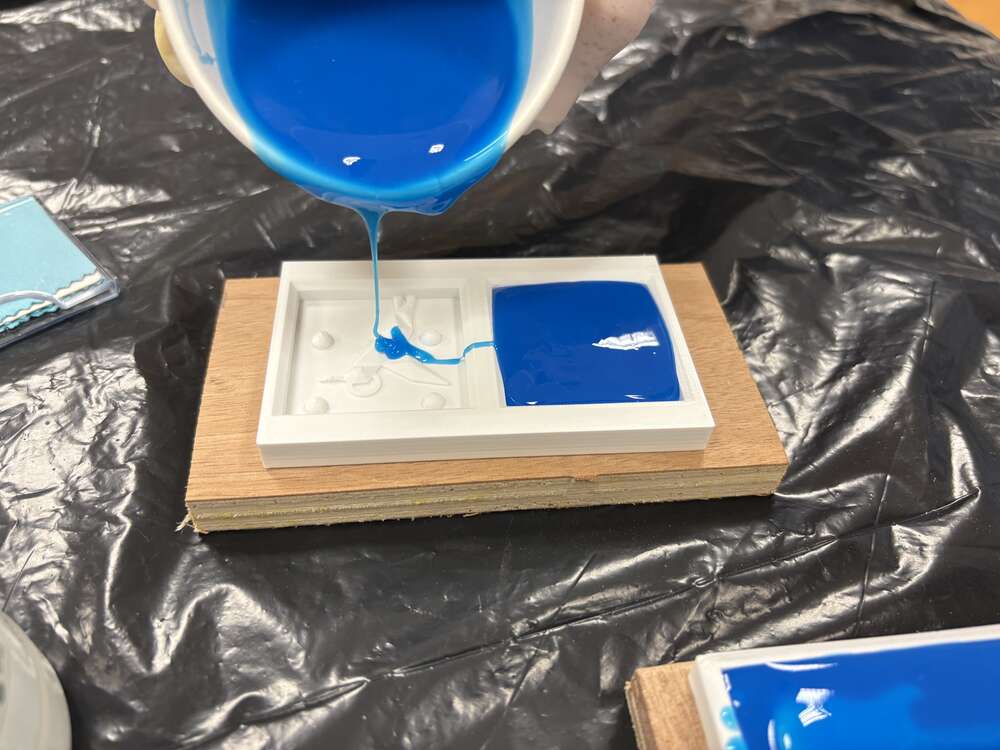
To vibrate and take out the bubbles inside I was a long time giving little punches. Probably there is a better option.
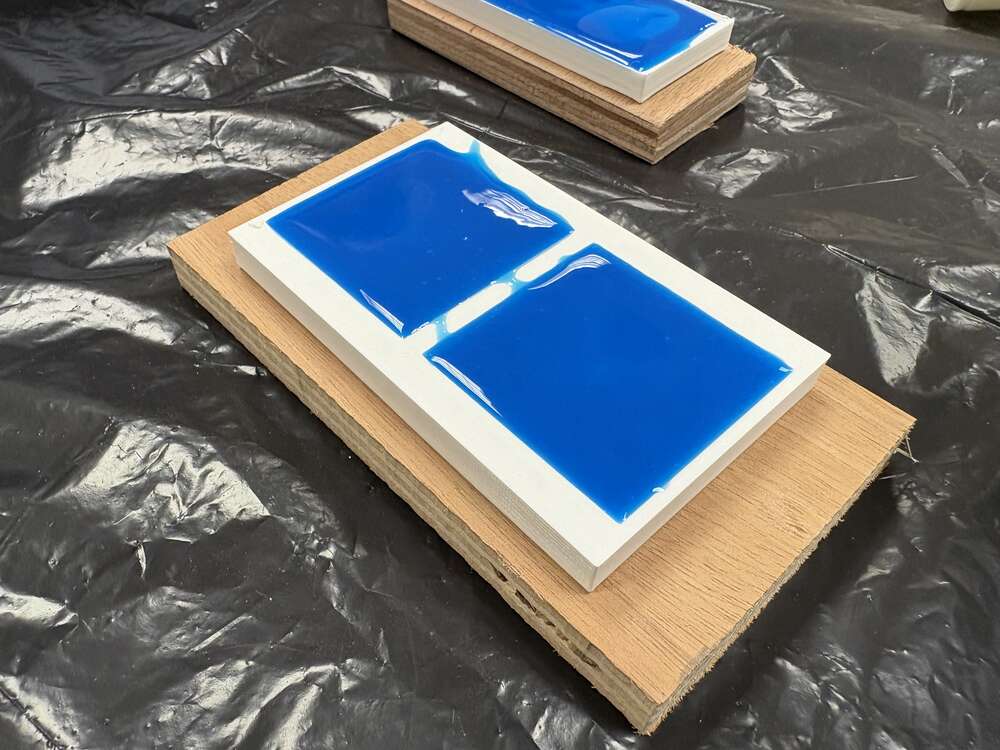
And wait for a complete day

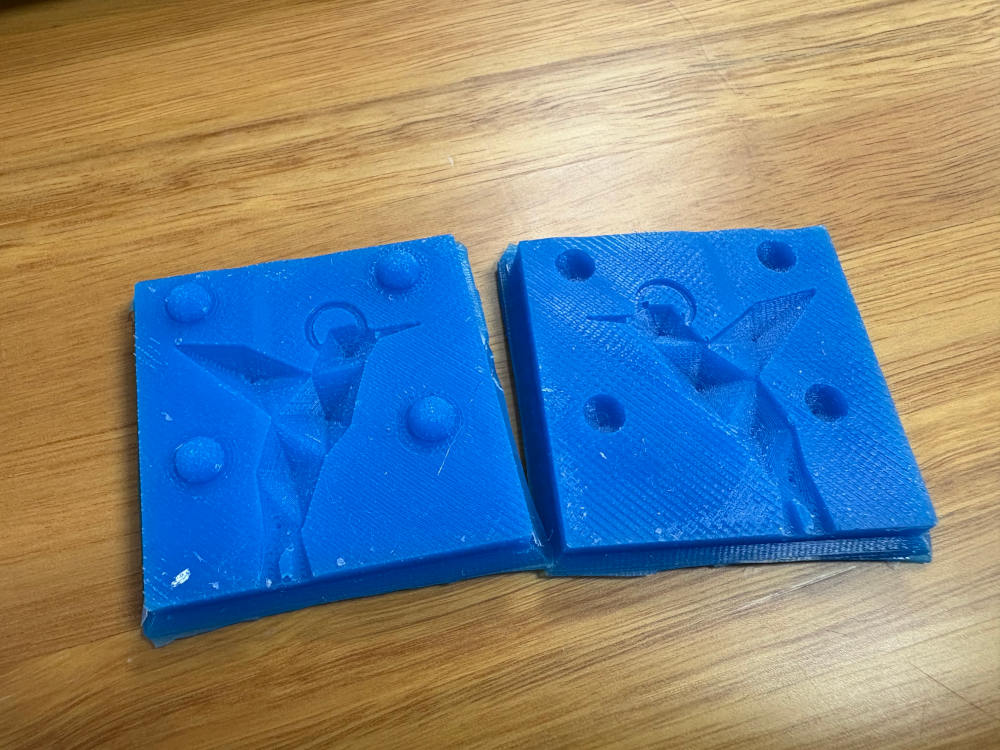
Finally here is the result. I was amazed how well it resulted.
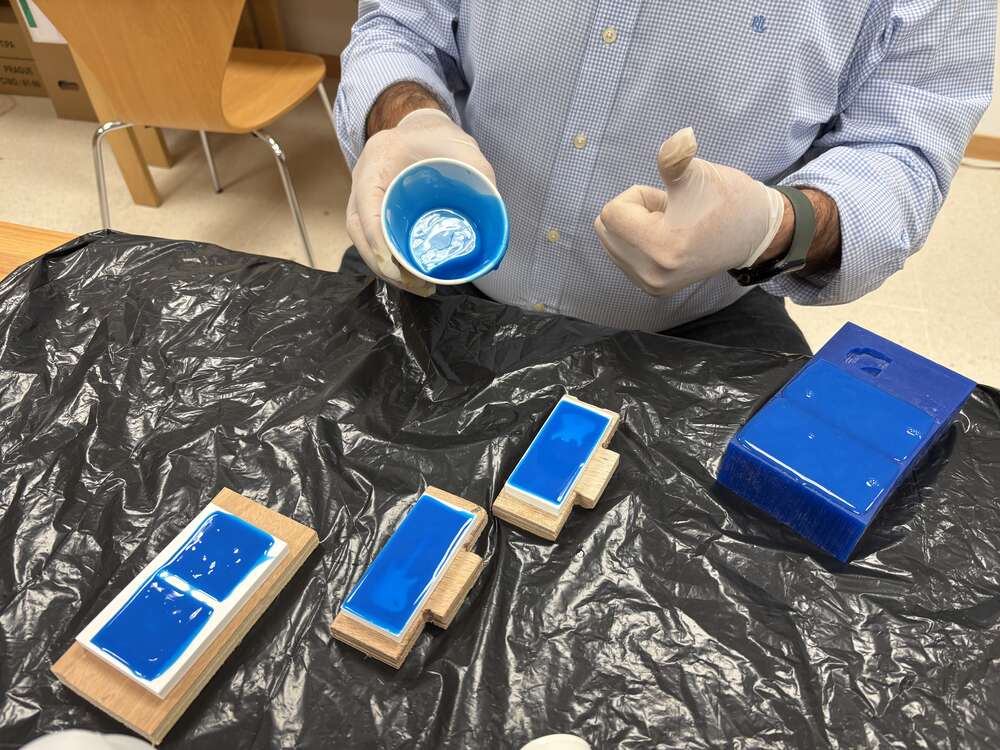
So then it was time to pour the silicone.
First I did was the mix as it is documented on the group page.
 then we pour it into the resine molds and wait for a hole weekend
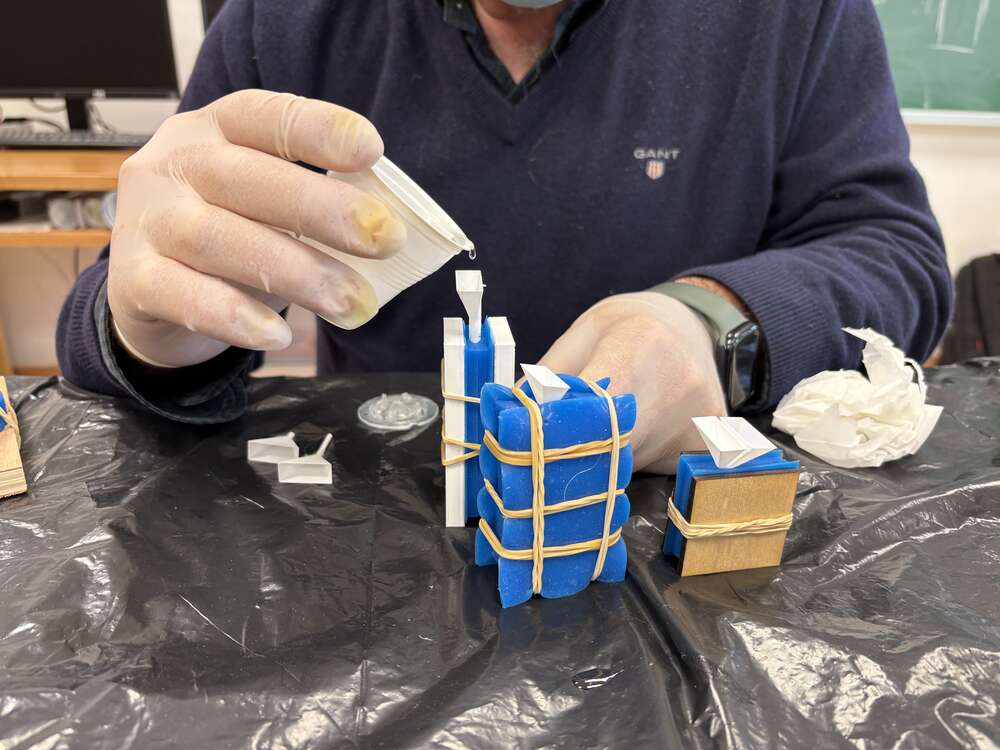
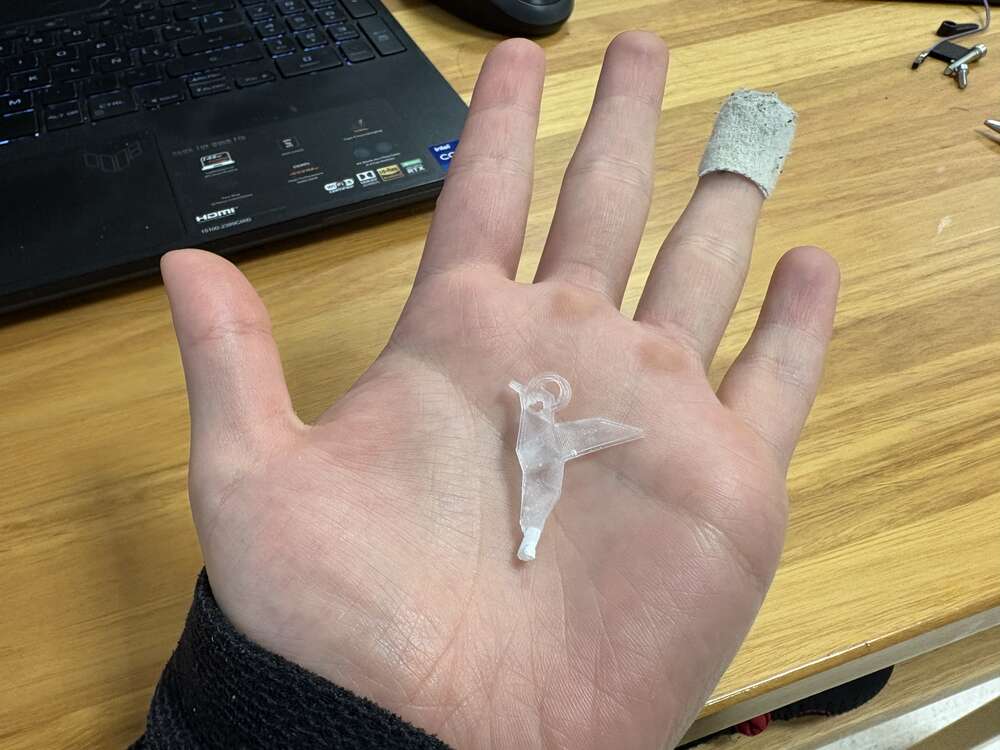
Here you can see the result.
Sadly there was a big bubble inside and the mix did not went to every corner of the part.
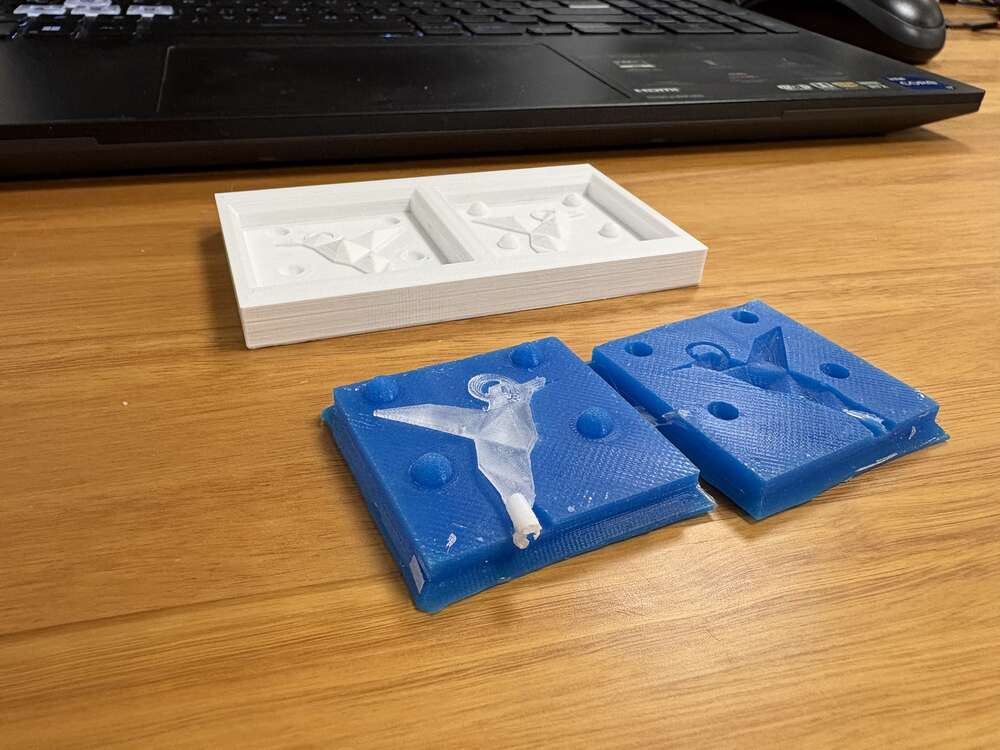
Although it was not perfect I am happy with the result because when I poured the mix inside the resine mold I did not know if it was going to work
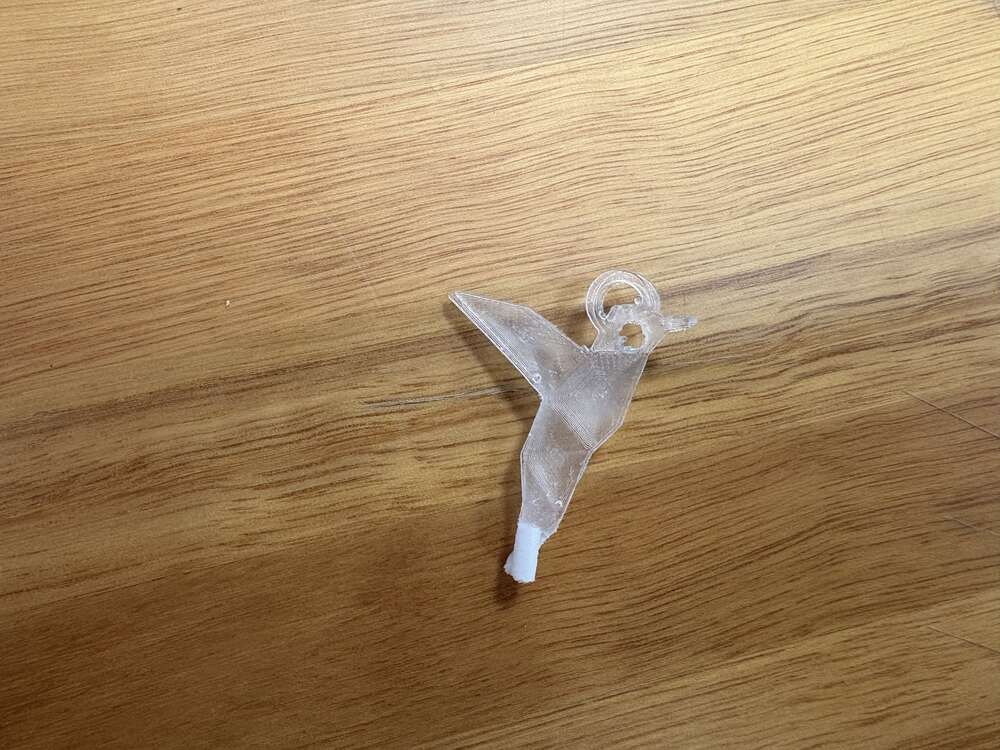
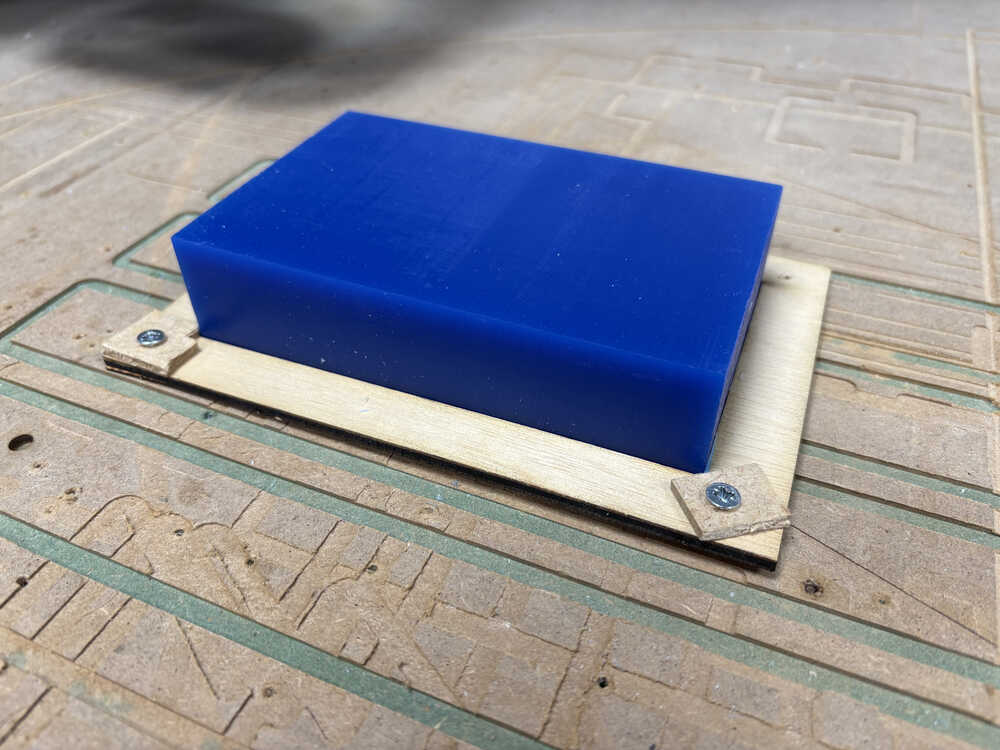
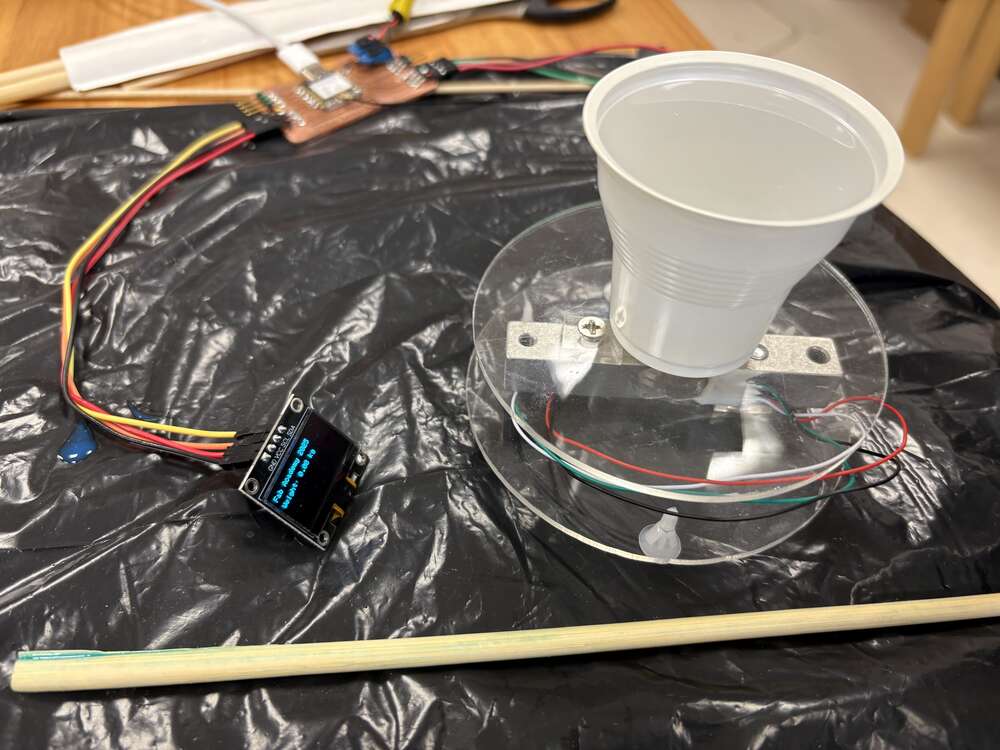
Here you can see the size i worked with.
Learning Outcomes:
This week, we learned the fundamentals of molding and casting by working with professional materials such as Ferris File-A-Wax, RPRO20 silicone, and GÉDÉO epoxy resin. We studied their properties—including flexibility, hardness, and curing time—to understand which materials are best suited for specific fabrication methods like CNC machining or fine-detail molding. Under the guidance of our instructor Luis Díaz, we also learned important safety protocols for working with these substances. Additionally, we designed and fabricated a 3D mold using parametric modeling in Grasshopper and toolpath planning in VCarve, testing our process with foam and wax on a CNC machine, and iterating based on the results.
Documentation
- STL extracted from grasshopper: .zip click here
- Vcarve: .zip click here
- Grasshopper: .zip click here